Toyota 4Runner 1984-1995: Brake Diagnostic Guide
Bad brakes can be dangerous and must be taken care of. If you have any issues with your brakes, there are a few easy checks that can be done to find out what is wrong. Continue reading to find out how to diagnose some common brake issues.
This article applies to the Toyota 4Runner (1984-1995).
Your truck's brakes are a crucial part of your vehicle. They have to work properly at all times for the safety of yourself, your passengers and everyone else on the road. If you experience any issues related to your brakes, it is advisable to diagnose the problem immediately to avoid any future issues or hazards.
There are many reasons for the brakes to malfunction, and there are also a number of issues masquerading as brake problems where the real problem is somewhere else. For instance, often times a bad wheel bearing, or tie rod end can feel like a warped rotor, or cause the pistons in the caliper to get pushed back in, resulting in brakes that don't engage immediately. Blow shocks, or too stiff springs can cause a wheel to lock up prematurely, making people think it is the fault of the brakes. We will focus solely on brake problems, and not other issues that can cause brake symptoms.

Materials Needed
- Your car and your eyes
- Jack
- Lug wrench
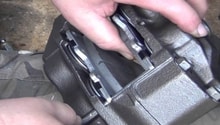
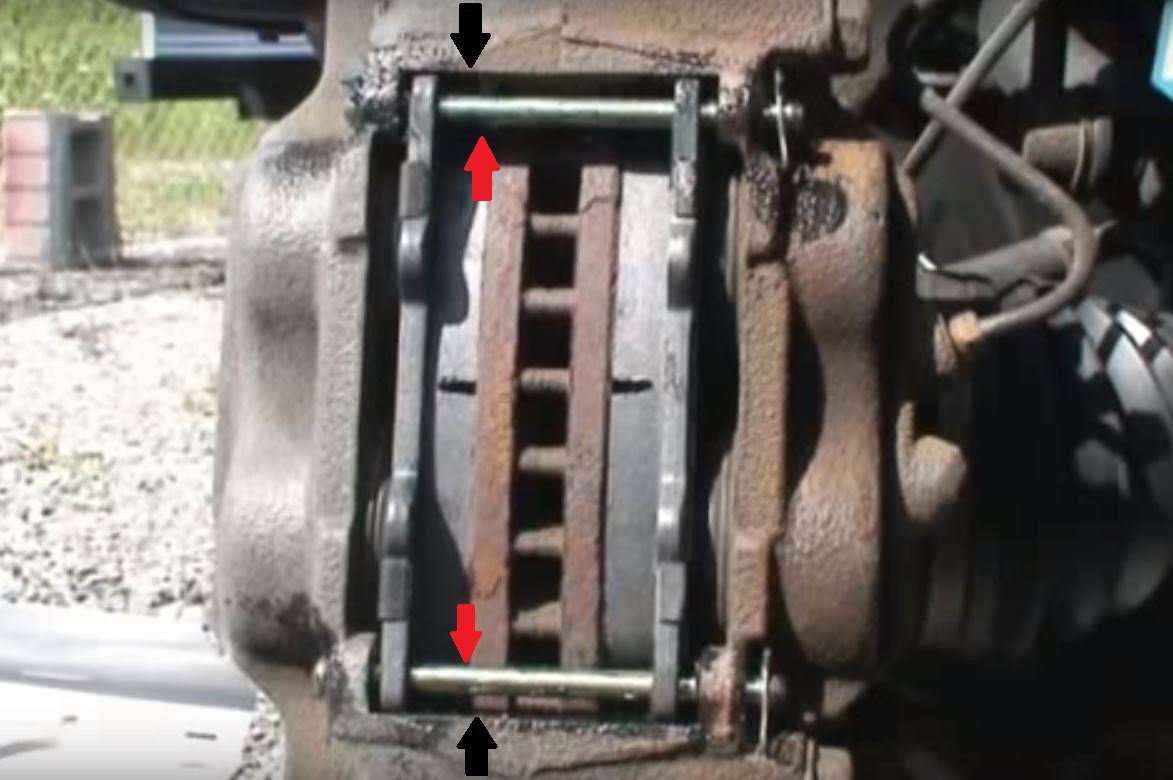
Step 1 – Stuck front brake pads
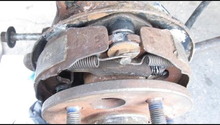
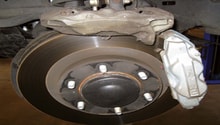
If you are experiencing grinding like noise from the front wheels or if you have problems braking occasionally, the front brakes could be the culprit. The front wheel brake pads are held in place by two pins, and the sides of the caliper itself. When the brakes are operated, the brake pads have to be able to move freely against these surfaces. If the pads get cocked at an angle, or the pins get rusty, the brakes on the wheel may not release when you take your foot off the pedal. Also, another possibility is the pads may not move enough to activate the brakes on the wheel.
Take the front wheel off, one at a time. Check if the pins are rusty, or the pads are bound up. The pads should have a little bit of freedom you can feel with the wheel off. Also, with the wheel off, try turning the disc and see if it turn freely, or with at most a little bit of drag.
A second reason for the brake pads to bind could be that the pins holding the pads in place are bent. They come out easily enough after pulling the clip holding them in place. Pull them out and roll them on a flat floor to see if they are straight or not. If any of the pins are bent, replace it/them.
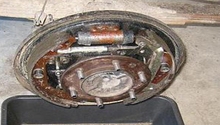
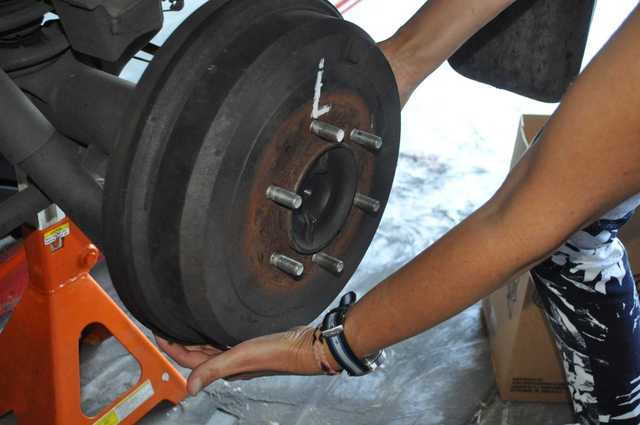
Step 2 – Rusty or contaminated rear drums
Rusty rear brake drums, or drums contaminated with oil from a leaking axle seal can cause rear brake lock up or no rear brakes at all. Since the entire brake mechanism is embedded within the brake drum, it is not possible to see the brake mechanism without disassembling the drums.
To diagnose if there is some problem with the rear brake drums, simply drive to any dirt road or parking lot, bring your truck up to about 20 mph and then slam on the brakes to a complete stop. Then get out of the truck and take a look at the skid marks from the tires on the ground. If there are no signs of skid marks from the rear wheels at all, or if there is a brake mark from only one of the rear wheels, odds are your rear drum brakes have an issue.
When you test your rear brakes by slamming on the brakes, just make sure there are no other cars nearby. You don't want to surprise anybody else by slamming on the brakes just in front of them.
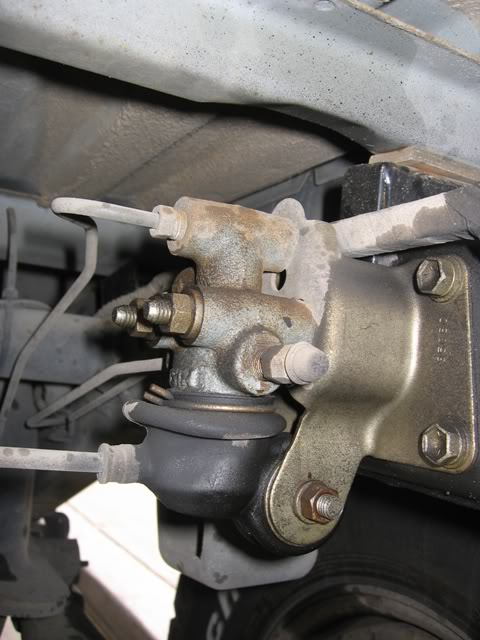
Step 3 – Proportioning valve
The proportioning valve is located on top of the rear axle and enables the rear brakes to use more force when the truck is heavily loaded and to use less force when the truck is unloaded. This is achieved with a rod attached to the proportioning valve and the other end of the rod connected to the floor of the truck. The rod "senses" how much load the truck currently carries and forwards this to the proportioning valve.
If you are experiencing rear brake lock up, odds are the proportioning valve doesn't work properly. In case of a malfunctioning proportioning valve, it has to be either adjusted to provide less rear breaking power or the entire proportioning valve has to be replaced.
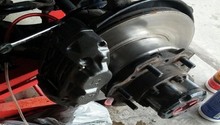
Step 4 – Warped rotors
If your 4Runner develops a shimmy or shudder after driving in the hills, or repeated stops from highway speeds, chances are you have warped rotors. This is more of an issue with later 4Runners, but it happens to 1st generation trucks as well. The quick and easy temporary solution is to have them turned and made flat again. A new set of rotors is also fairly cheap and lasts longer, but usually will develop the same issue over time. The only real solution is to be careful how you use your brakes, so they don't get hot or glaze the pads.
Related Discussions and Video
- Brake Problems - YotaTech.org
- Proportioning Valve -YotaTech.org
- Front Brake Issue - YotaTech.org
- Front Brake Pads - Youtube.com