When you click on links to various merchants on this site and make a purchase, this can result in this site earning a commission. Affiliate programs and affiliations include, but are not limited to, the eBay Partner Network.
This is the first vehicle I've attempted to completely paint by myself. I welcome the learning curve. It's not a concours Corvette so I'll allow a flaw or two but if I can get good results using high-quality materials and tools, I'll be better positioned for future project cars. The local autobody supply store has been VERY helpful in helping me pick out the right products and tools.
There are quite a few decisions that have to be made along the way. I've decided to change the color, slightly to Toyota Super(or Supra) white which is more brilliant than the original 030 white. I think that brighter white will "pop" better with the aluminum rims and chrome. (no black rims for this guy.) I think I will also try to recreate the two-tone blue over silver on the lower parts of the truck. Not sure where this paint scheme came from. I know it's not original to the truck and I've only seen one other like it, currently on Ebay. The style and even the spacing between the stripes is nearly identical, as if they were painted by the same person. But that truck was painted in Albuquerque(according to the previous seller) and mine was never near there. It may have to remain a mystery.
Last edited by Melrose 4r; 04-09-2018 at 01:41 PM.
Looking forward to seeing your work. Are you going to paint in your garage?
Thanks for the encouragement. Yes, I plan to paint it in the garage. First I'll prime the fenders, cowl, hood and valence off the truck next week.
Taking the week off from work(Monday is a holiday here) so I should be able to get it done. Waiting on a rear wheel arch from Wolf steel.
The lead time was about 2 weeks but I have plenty to keep me busy.
On this slow schedule, I don't think I'll get the base/clear shot until May. It'll be easier to get out there after work as it warms up and stays light out longer in the evenings.
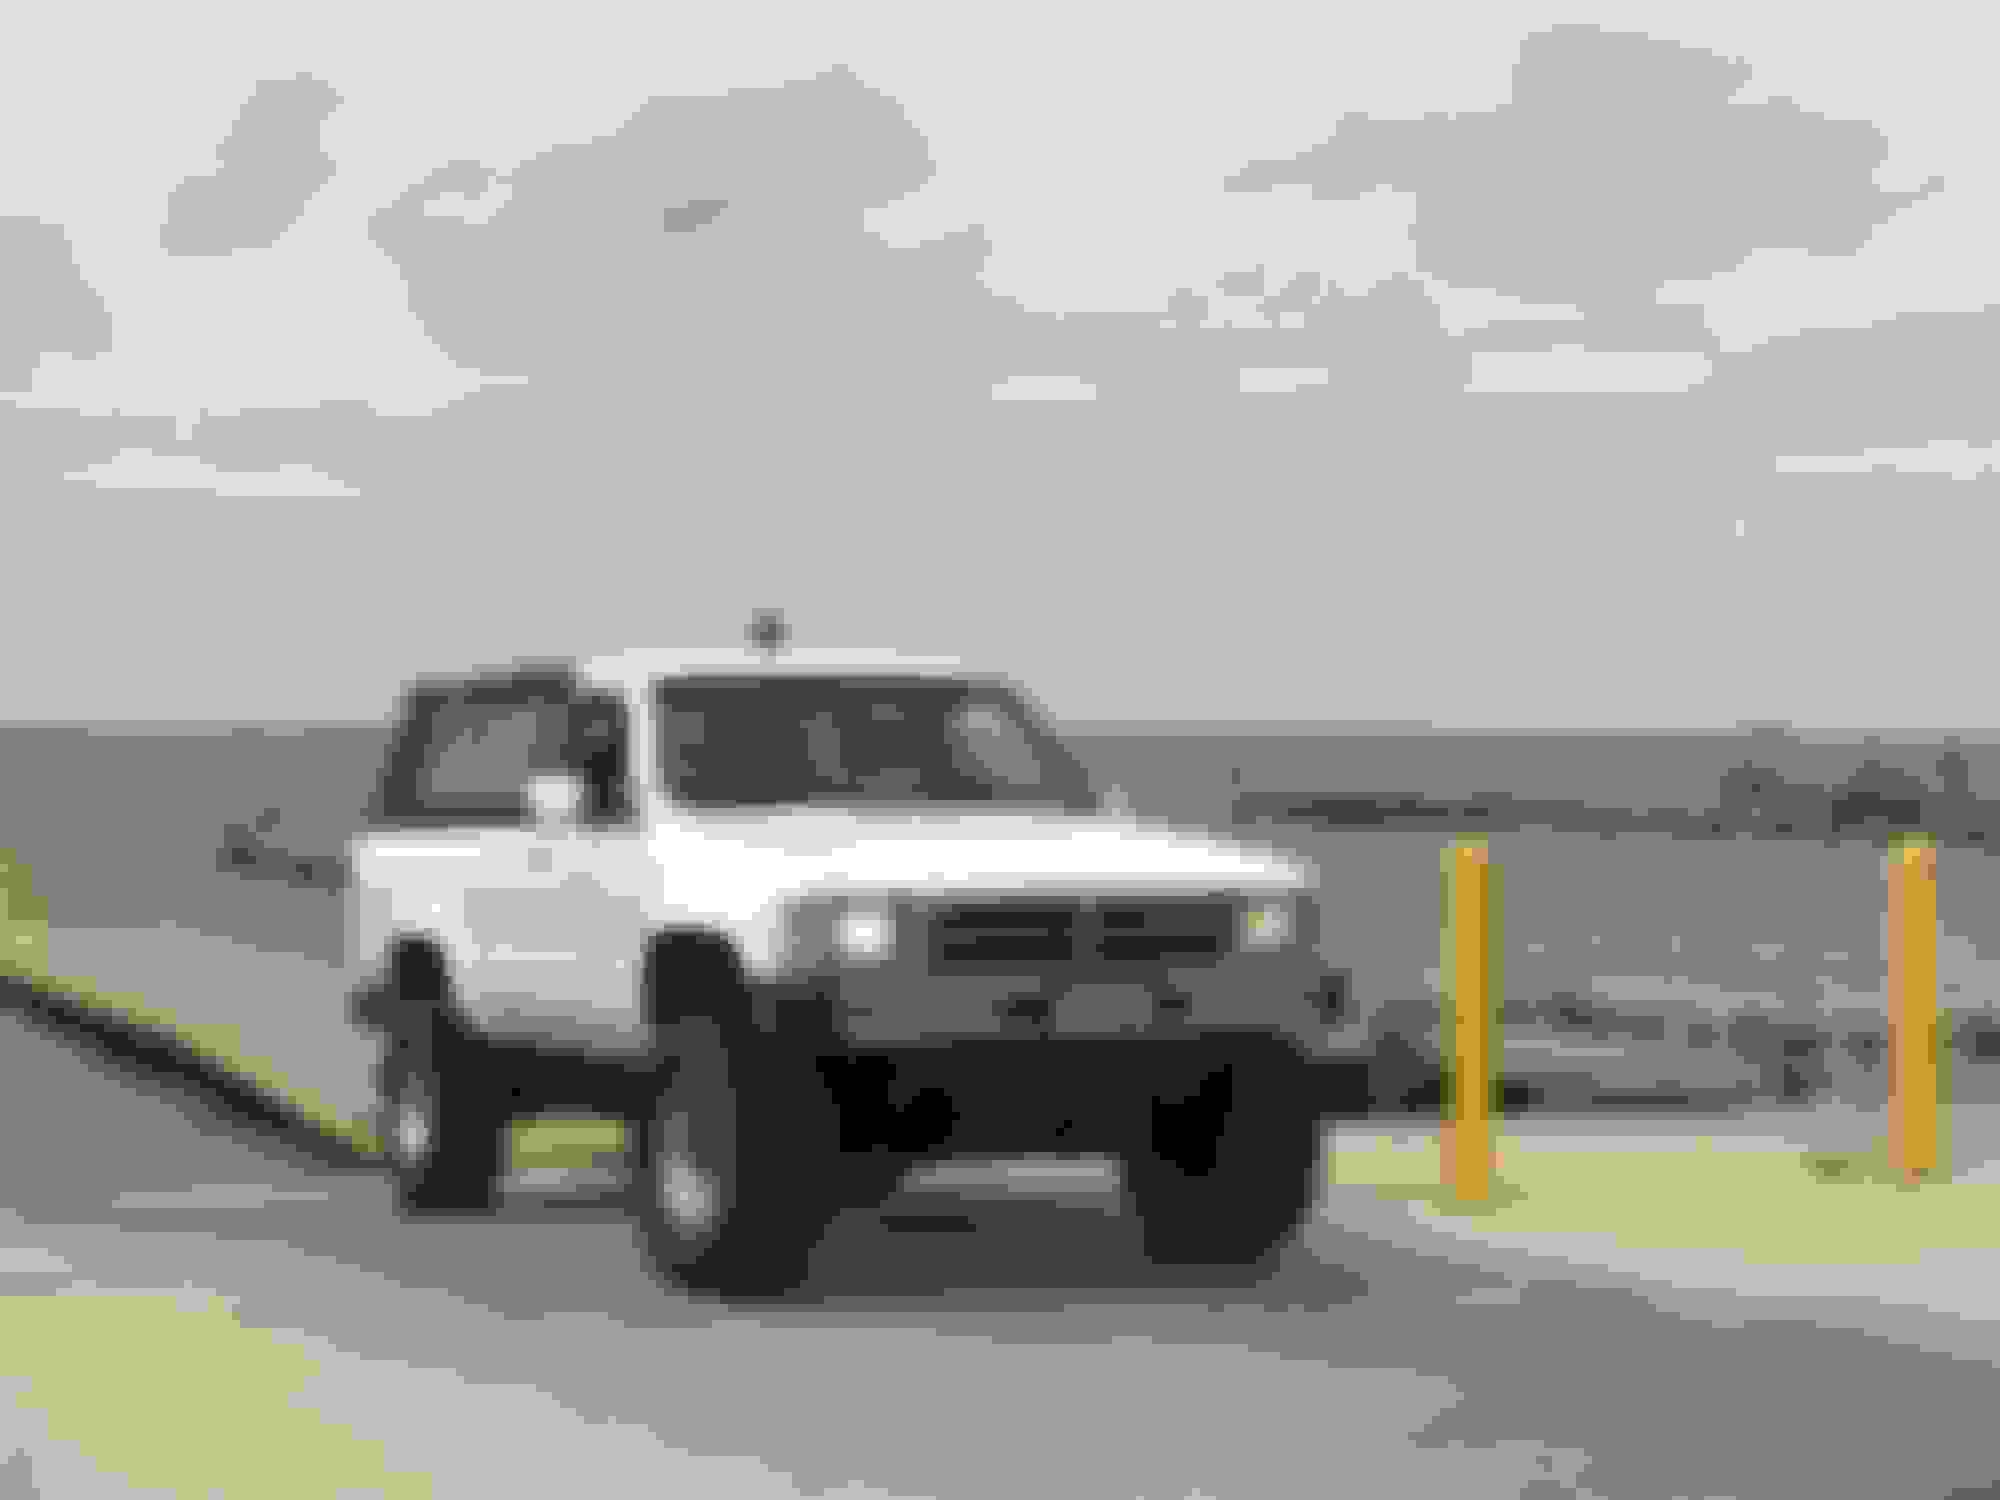
Great minds think alike. I had mine painted Toyota Super White 040 at Maaco. I took off the valence, gas door, and cowl and had them painted separately. I took off the bumpers, pillar trim, emblems and all the lights in the parking lot of the place. I had already taken off the roof. The paint is the same as my 2016 Tacoma. I like that I can get touch up paint off the rack if I need it. I did not paint inside the doors but no one notices unless they know to look for it. The paint was done in September '16 and still looks great.
Last week at the boat ramp.
Wow! Thanks for the photo. That helps a lot. I've owned a couple white cars and it wouldn't be my first choice but the thought of a complete color change is too overwhelming and frankly beyond my patience level.
My truck wears 40% of it's original paint. The other 60% is some sort of brighter textured garbage that some hack put on over surface rust. Thankfully, it's coming off easily.
What do you think of the Maaco paint job? Is it base/clear or single stage? I'd think if the prep was good enough, it should be satisfactory.
Haven't posted anything in a while because I haven't done much work on the truck. Too many other spring-related things getting in the way and not enough energy.
However I have watched about 250 videos on YouTube related to body work and paint(this is two separate things) and many of them are extremely helpful.
The best I have found are:
LeanAutoBodyDIY
Eastwood Company with Kevin Tetz
Donnie Smith
I bought an Eastwood Concours 2 gun for color and clear. It was backordered and was not supposed to arrive until June but has already arrived. Very nice quality it appears and has great reviews and is supposed to perform well at low pressure. My compressor is borderline for the task of painting and sub-par for operating the D/A continuously.
I feel I'm getting over the learning curve and so far I have accomplished:
*original hood bodywork, dents pulled or filled, primered bare spots and sanded to 220
*junkyard hood, original paint removed primered bare spots with etching primer and sanded to 220
*new black-coated fender scuffed with red scuff pad.
*original driver's fender taken down to bare metal and worked to remove dents and rust. I think I will be able to keep it. It's fit is better than the repro fender.
*original pass fender some dents removed and filled.
*cowl panel removed, cleaned with wax and grease remover. Needs to be sanded 220.
My plan is to complete all the bodywork and primer in May and shoot color and clear in June.
I received the rear wheel arch from Wolf steel. $150 . it looks pretty good compared to the first patch panel I bought. I will only be using part of it.
Thank you for the update!
What compressor are you going to buy?
Whenever you can, upload a photo of that rear wheel arch, please.
This is the compressor I currently have. I don't plan to replace it but have thought about adding more capacity by way of additional tanks.
I will take photos of the wheel arch patch panels and post them, maybe a separate thread.
I just saw you asked about the Maaco job. I got the medium package with the clear coat mixed in with the paint. Originally these trucks didn't have clear coat anyway. They did a nice job. The Maaco in Glen Allen, VA has always had a pretty good reputation. It does depend on the franchise.
I got one of the Kevin Teetz videos on painting off eBay several years ago. I think a lot of his stuff is on YouTube now. You can learn a lot from them. I have a gas furnace and water heater in my garage so in the end I decided to do the body work and pay Maaco $700 to paint mine. I would have had to buy a big compressor too. You bought the exact one I considered buying. I bought my 4Runner in 2010 and really didn't get it repaired and on the road until 2016. It seemed like an endless project and I'm glad it's finished. My youngest son drives it daily and it has needed very little in the last year. We did do the timing chain and water and oil pump last fall. Now that I'm not buying random parts off eBay it's pretty economical.
No time for the truck tonight, trying to get my Camaro ready for the first cars and coffee sat morning in NH and broke the starter solenoid(old plastic!) and had to pull a header to get the starter out.
Meanwhile the daily driver Honda got a new windshield today but ate an idler pulley bearing on the way home from work in bumper to bumper traffic. I hacked off the a/c belt so I think it's good for now.
Next time I may get to work on the 4Runner is Sunday.
cars are like dogs. Give them some attention, they demand more!
...I took off the valence, gas door, and cowl and had them painted separately....
Last week at the boat ramp.
This photo lit up a light bulb in my mind...
A color coordinated valence (like most of us have) looks "dainty". Painting the valence black / bed liner would give a rugged look, illusion of a higher ground clearance, and that anything below the bumper is ready for rough and tumble. Thoughts?
Got in a couple hours of bodywork tonight. All the time was spent on the driver's side fender which was pretty bad(see photo in post #220). I already have probably 5 hours into it from sandblasting, leveling dents and high spots and sanding. Tonight I decided the accent line around the wheel arch wasn't clean enough so I added more filler and shaped it by block sanding. Then used what is called "glaze putty" to fill small imperfections in the filler and block sanded it again.
Glaze putty is really just a thinner type of filler that can fill pin holes and very minor imperfections.
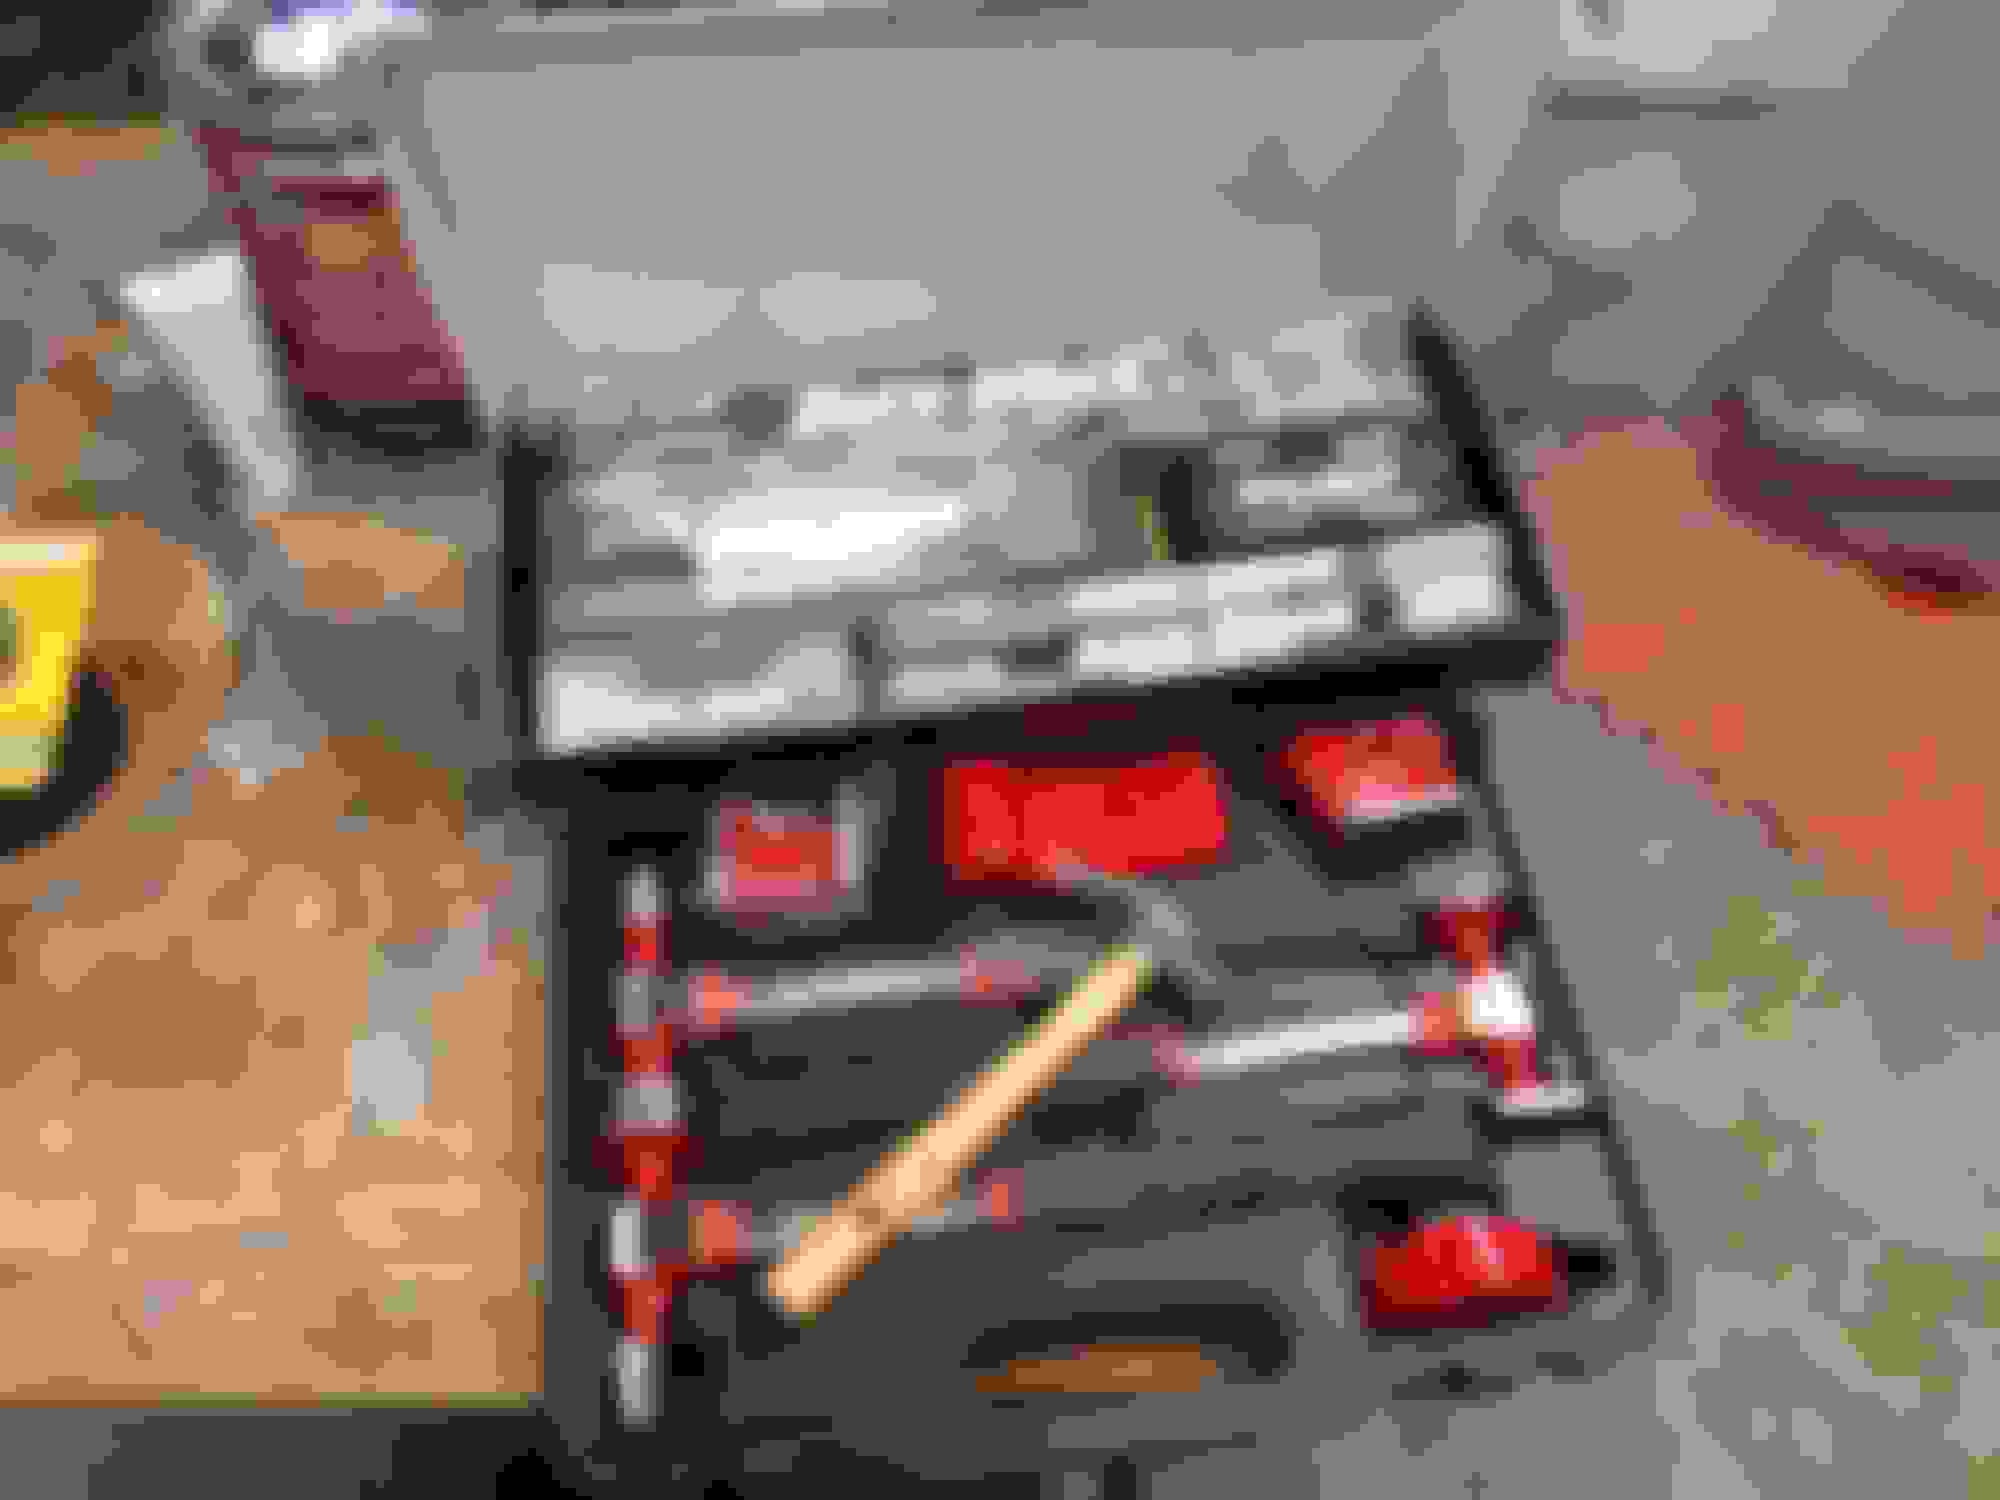
Here are some photos of the products and tools I bought to start this job. They have all proven to be worth their weight in gold already!
The hammer and dolly set came from Harbor Freight. Yes, it's also legal to use small hammers from your kid's tool set if that is what is required.
The durablock set is fantastic. It's about $50 or more but well worth it.
Last edited by Melrose 4r; 05-07-2018 at 06:48 PM.
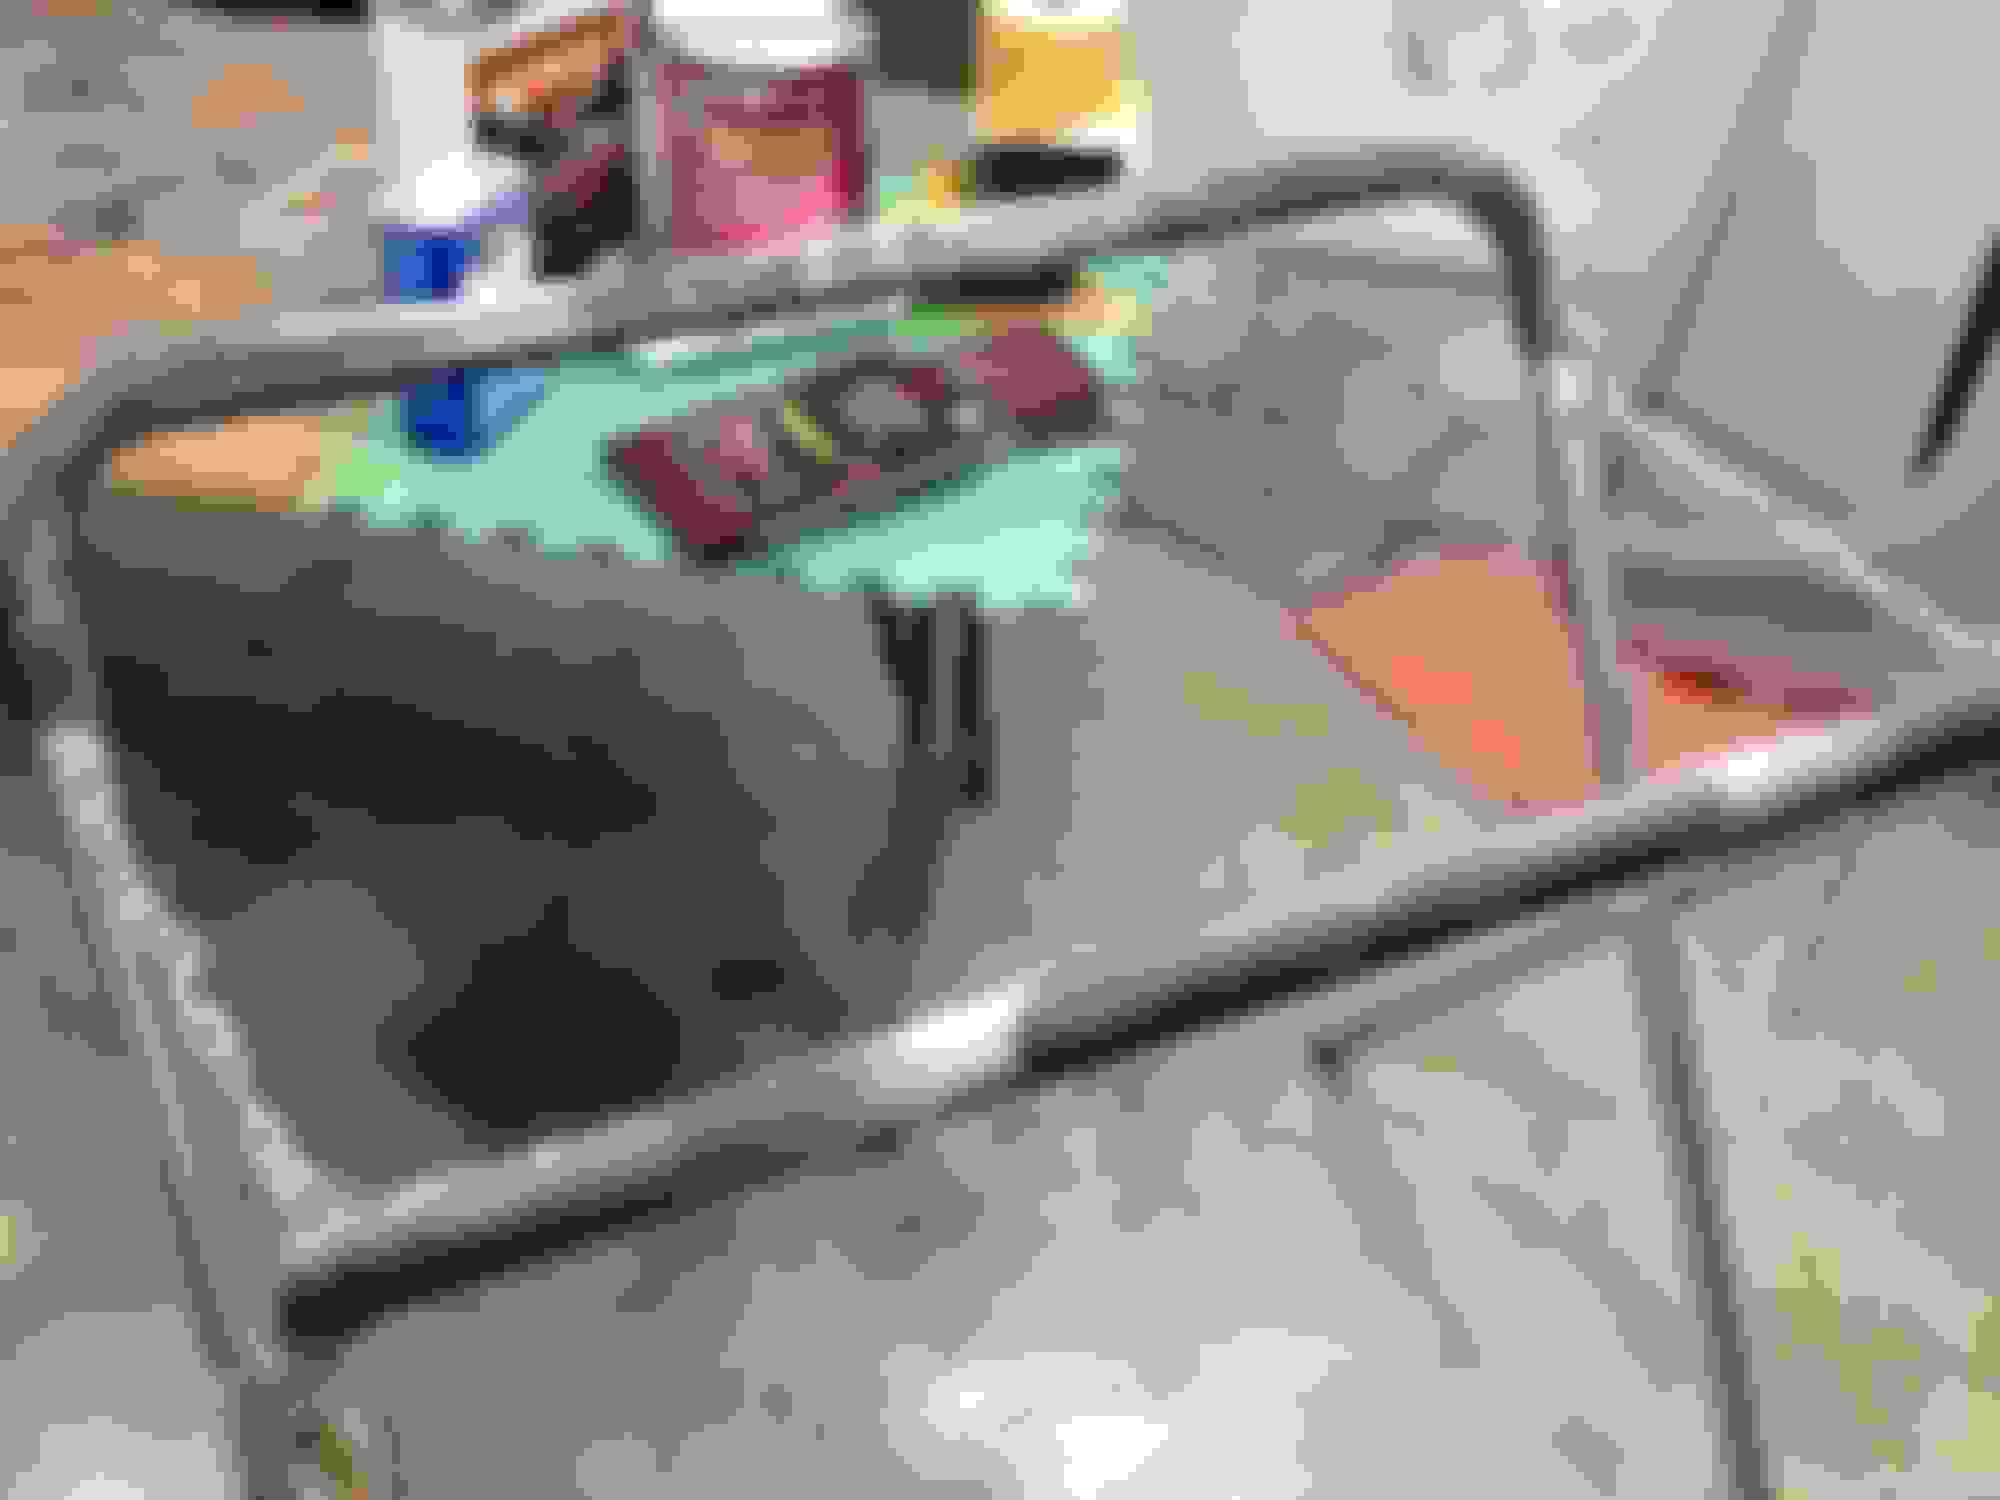
These are the body fillers and chemicals and abrasives I bought. The wax and grease remover gets used on everything, even before you start any bodywork otherwise you may be moving contaminants around by sanding.
The Rage Ultra filler is fantastic. It's a little soupier than the last filler I used but sands beautifully. The laquer thinner is mainly for cleaning the spray guns, And the stuff that says "Icing" on it is the glaze putty. It uses the same activator as the Rage ultra filler. The scotch brite pads will be used on the new valance and new fender which are both coated in black primer. (wax and grease remover first!!)
The other sand paper grits are 80, 120 and 220.
Lastly, my new best friend, the bodywork stand. Costs about $50 but it would really be a pain in the you know what to hold hoods and fenders any other way for sanding.
A color coordinated valence (like most of us have) looks "dainty". Painting the valence black / bed liner would give a rugged look, illusion of a higher ground clearance, and that anything below the bumper is ready for rough and tumble. Thoughts?

 04-09-2018, 01:39 PM