When you click on links to various merchants on this site and make a purchase, this can result in this site earning a commission. Affiliate programs and affiliations include, but are not limited to, the eBay Partner Network.
Looks like you are staying busy and getting some things done. I recently got a welder and I am not learning it as fast as I would like. Some make it look easy. Your tubs turned out nice.
Ok looking back over my thread and I think wow how my mind has changed over the past few years....So the official build plans are as follows
Body: 82 long bed, bed will chopped front and rear of bed, interior and dash from 86 extra cab.( I was told the dash would be hard to do we will see.)
Paint: see below
Frame/Drive train: 85 4runner W56 and top shift t case (possibly will stack two stock low range boxes), IFS rear axle. would like 488's but if I have to buy a new set I will buy 529's.
Engine will be 86 22re:
susp: 84-85 4runner front OME springs, 88-95 pickup OME rear springs (longer), billstien shocks. (longer than OME shocks)
Tires: 33-35s depending on what gears I go with.
plate style front bumper I like the one from NWTI, 2x4 tubing for sliders and rear bumper, swing out rear bumper or possibly build my own style tire gate to fit the 82 bed and store the tire vertical.
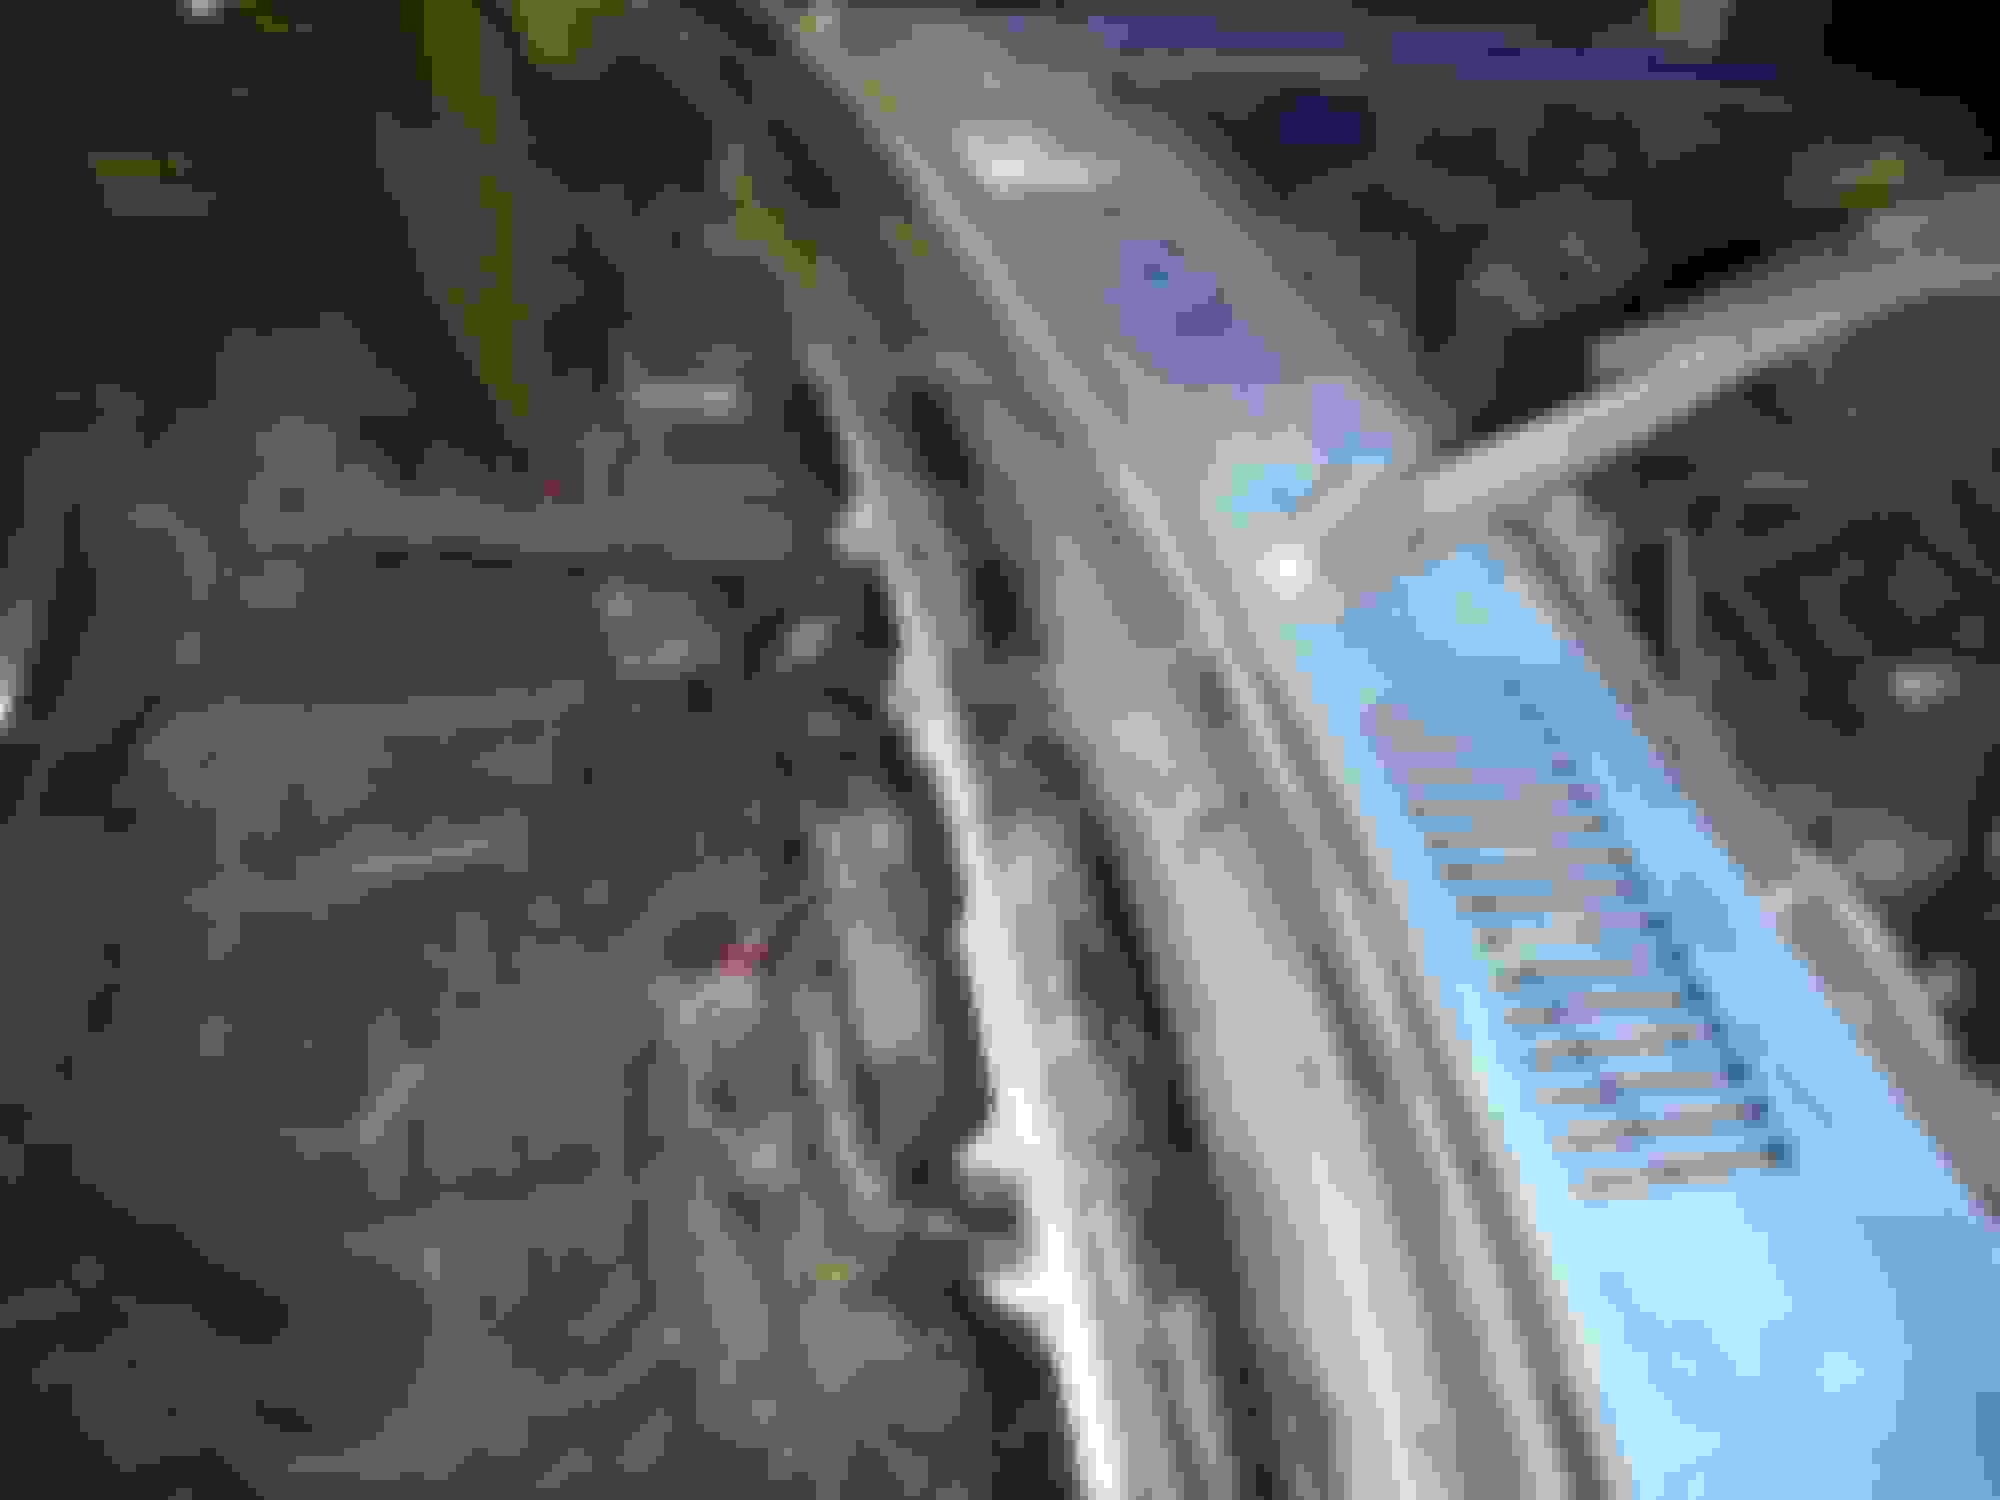
So I tacked the fuel filler pocket back to the inside of the bedside probably a few more welds that what was from factory, I have a question though. Should I put some type of seam sealer around the filler pocket or just leave it with the tack welds? I know the bottom of the pocket has a drain I assume for over filling of the tank so that would remain opened but if I don't seam seal around it sand and mud would get in there. What do you guys/gals think?
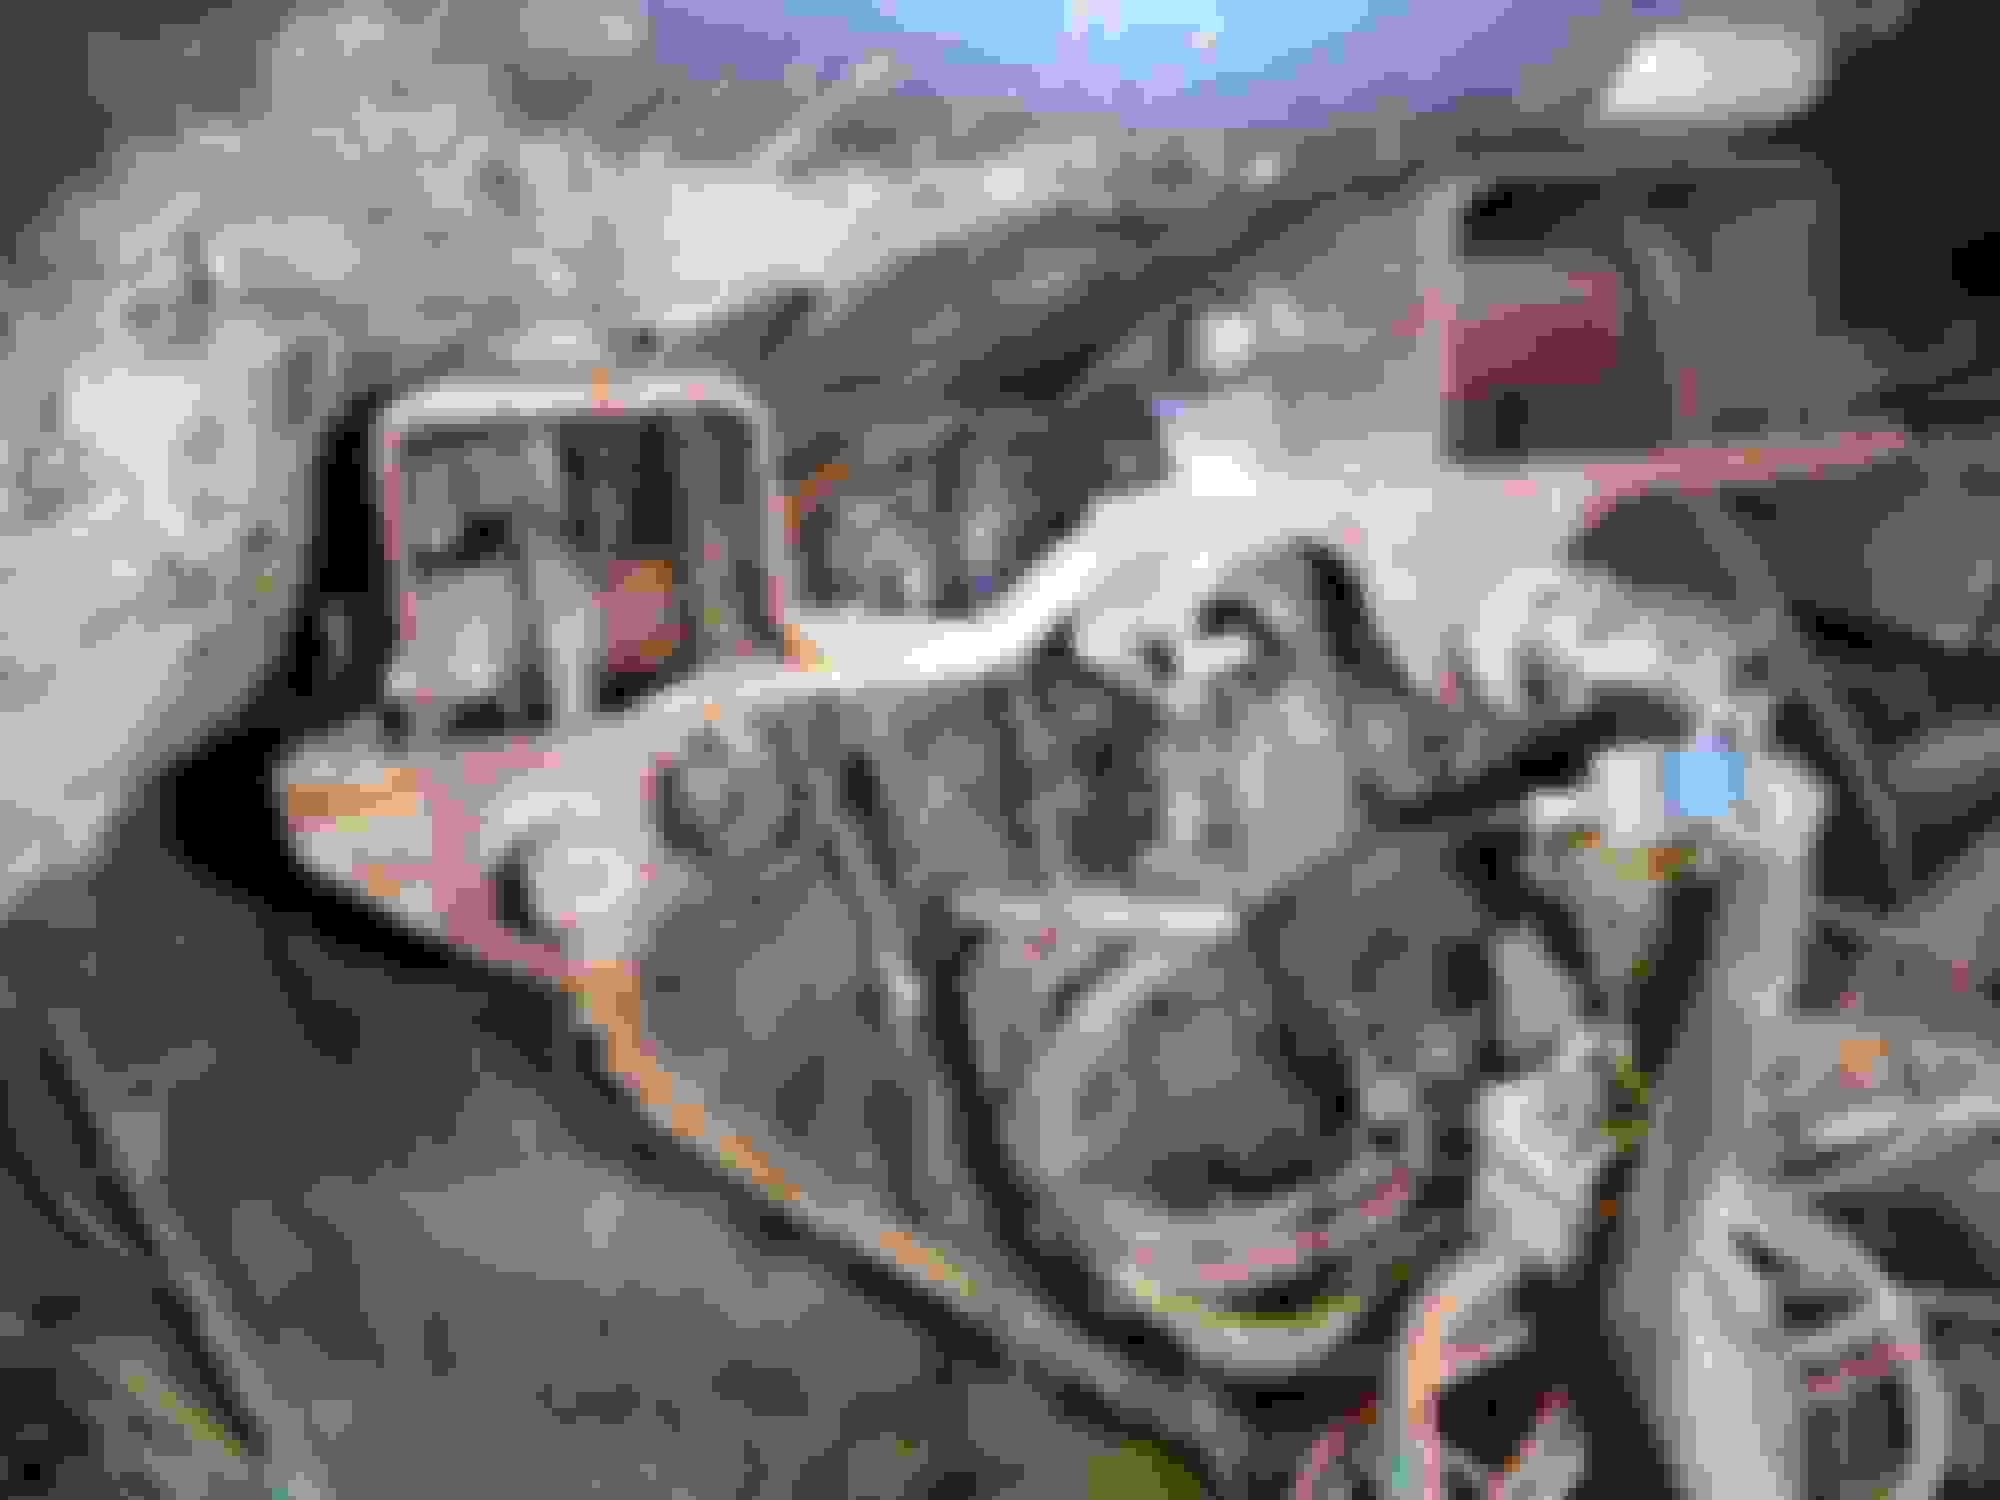
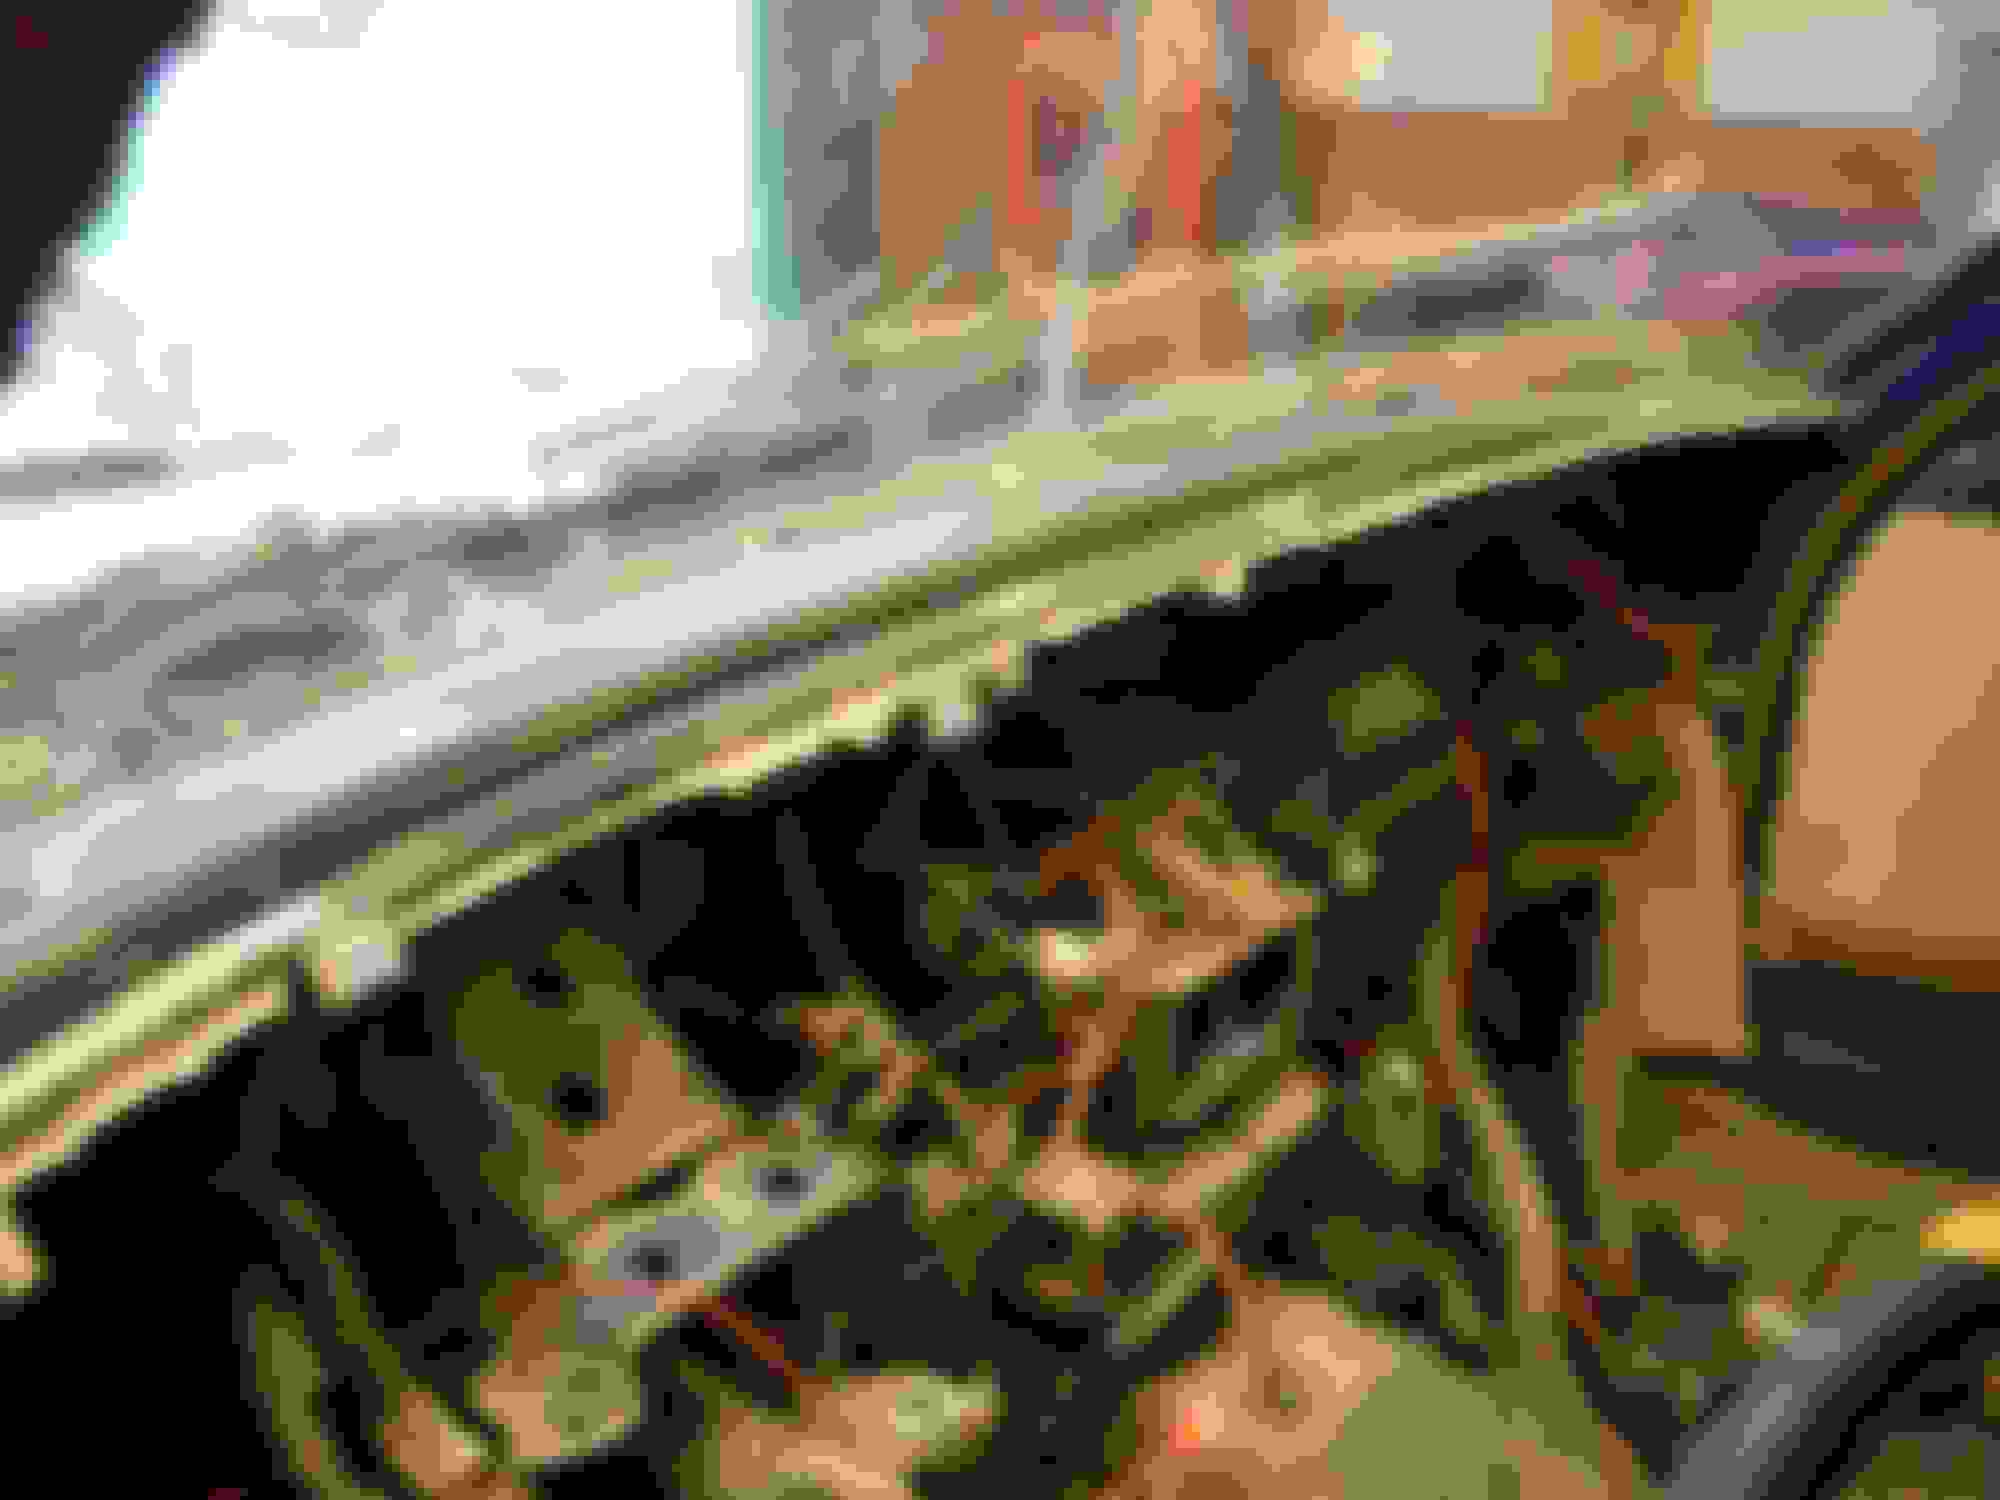
I got the windshield out of the 4 runner this afternoon, got the dash and HVAC system out and started to remove wiring harness then the skeeters got bad and I gave up for the night. I did find a aftermarket box above the steering column that I have no idea what it is. Any one know what its for?
dash and cross bar came out easy Pile of parts is getting bigger. black box above the it was installed with standard bolts and some L brackets and zip ties. dial on top. a ton of wires come out of the bottom.
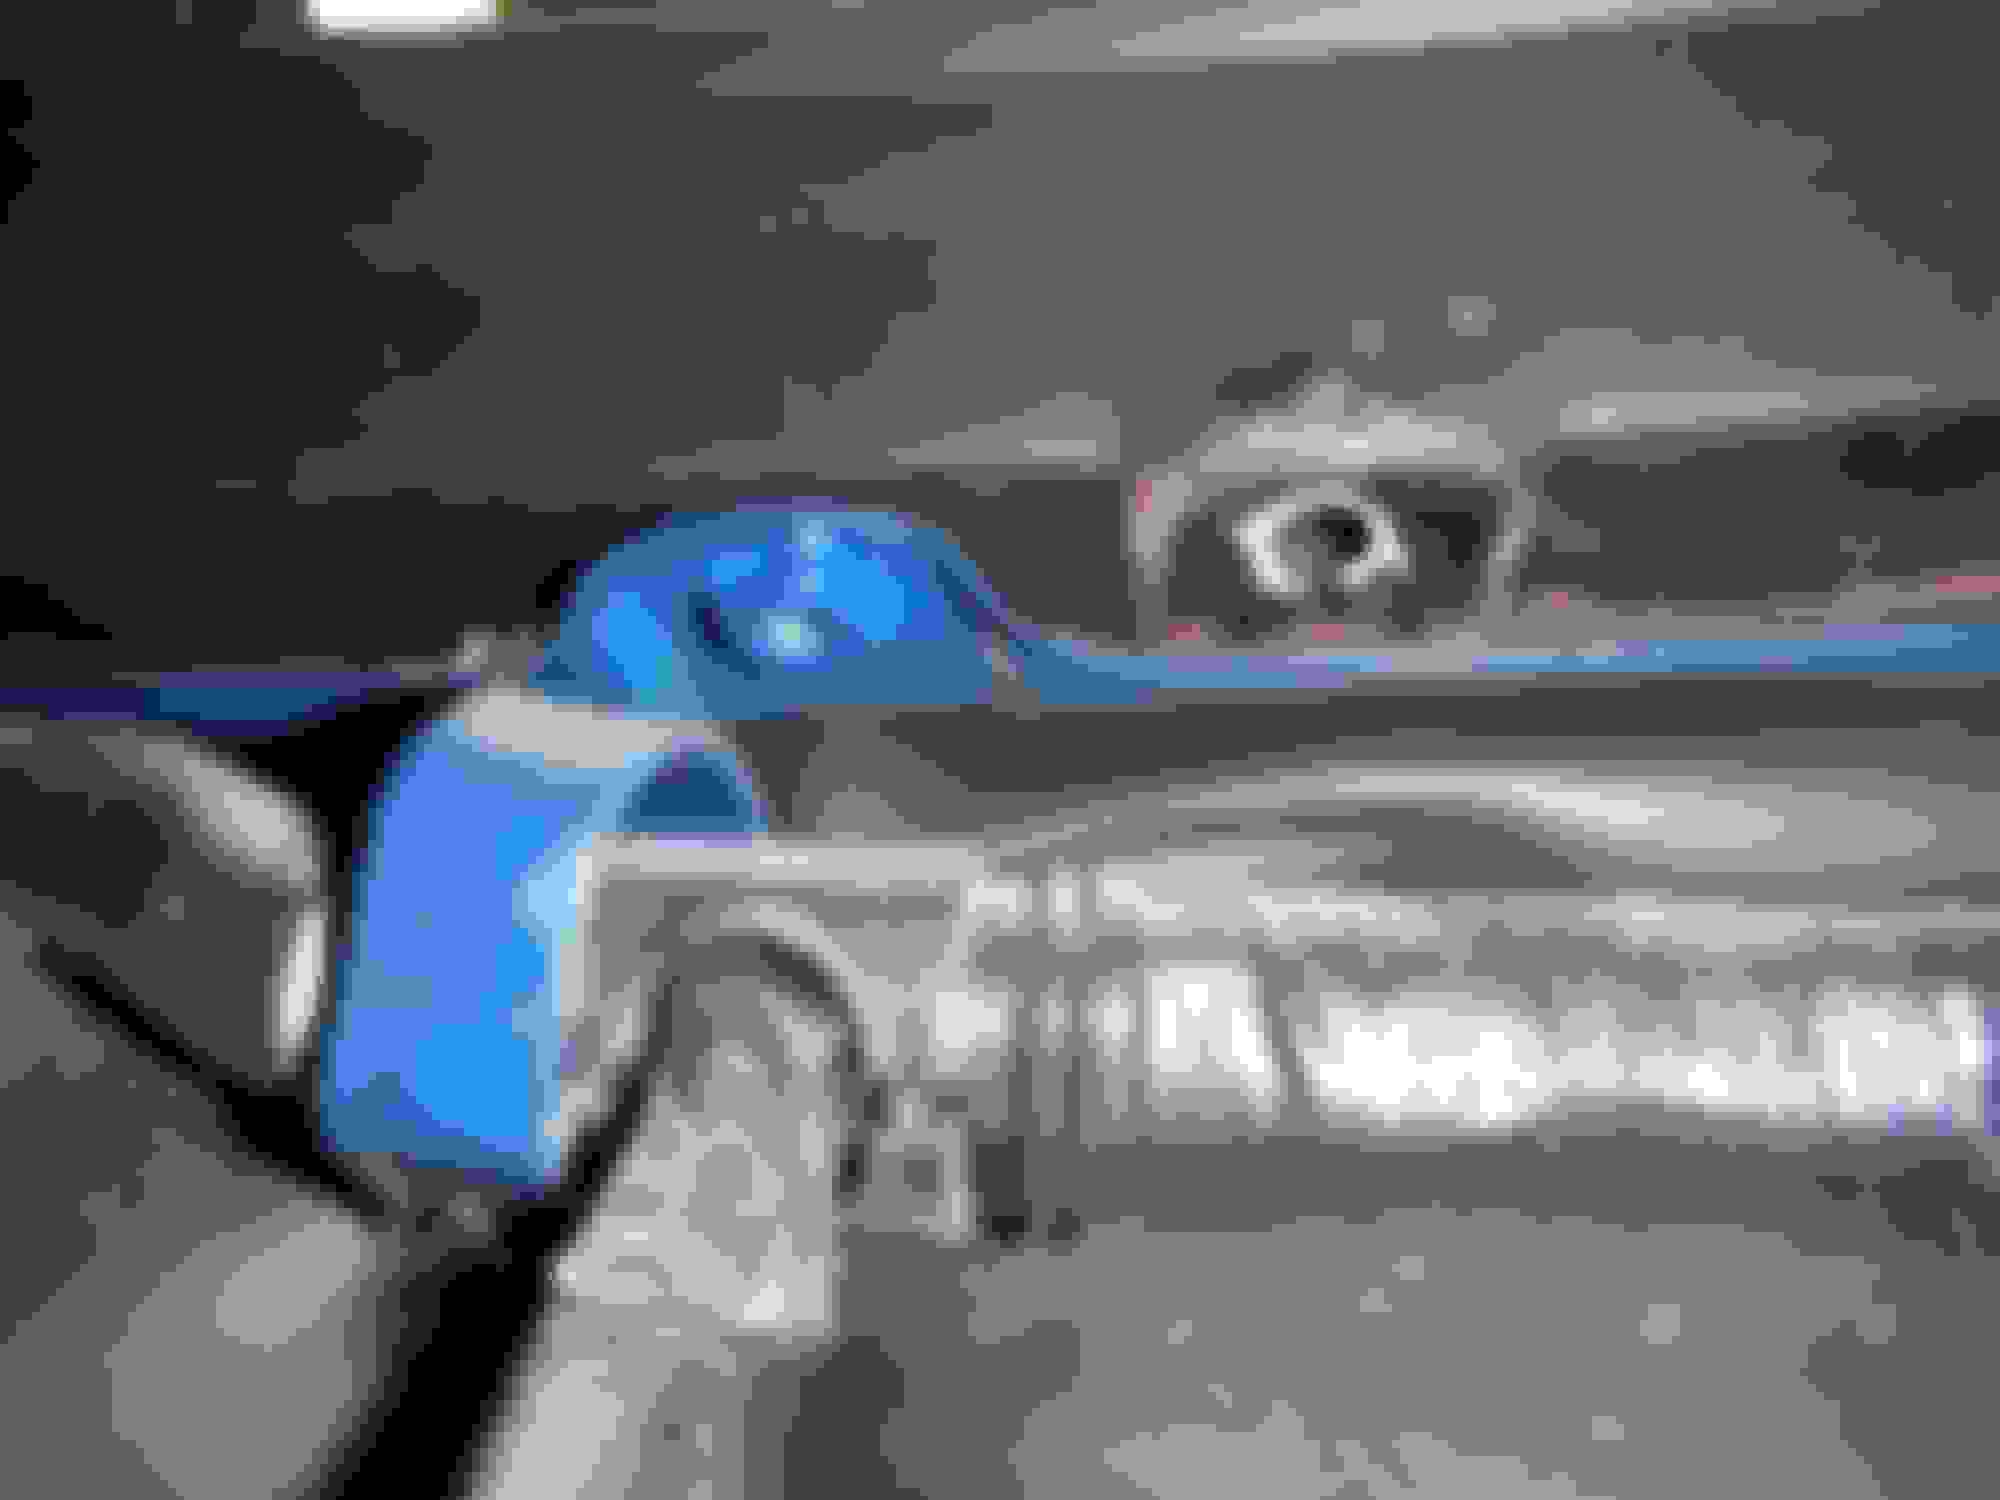
are the wiring harnesses in the manual and auto trucks the same? The more of the wiring harness I expose the more crap I find. Wire nuts connecting 6 wires and they run all directions. from the plug for the back of the instrument cluster and another one that runs up to front of the truck I don't know what they are for, I mean I know they were running hot wires but why? So what I'm thinking is using the wiring harness from the 86 but its an auto truck.
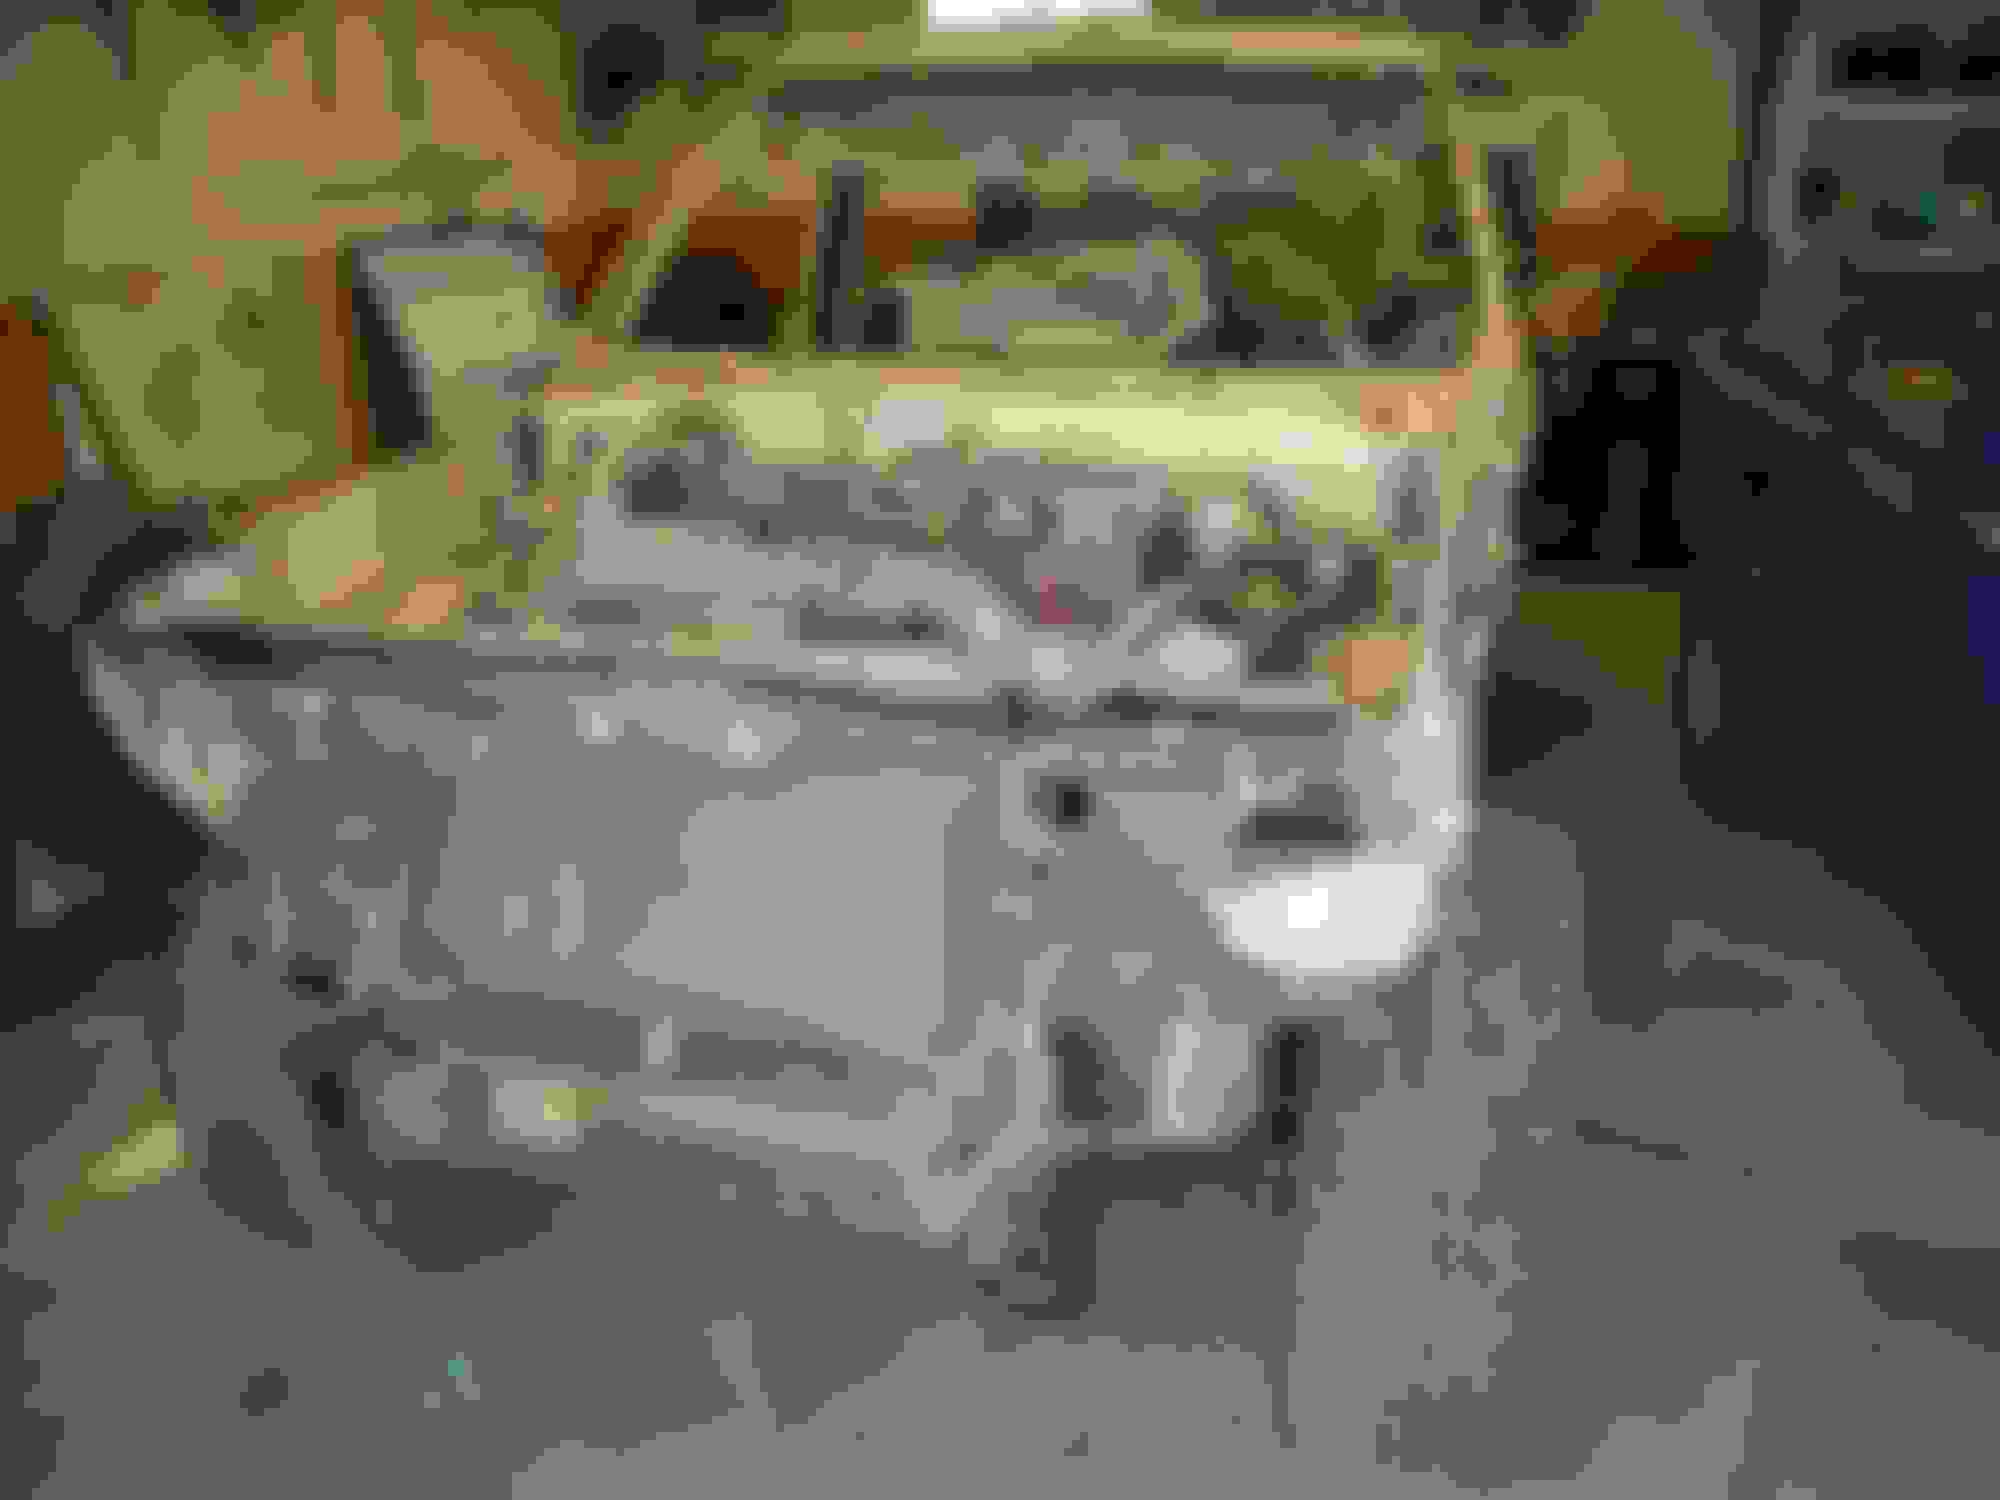
I got the wiring harness removed, all the tabs that hold the dash and HVAC system off the fire wall and the dash mounts off the floor board removed all that is attached to the fire wall is the e brake and steering column. Every thing is off the firewall and laid on the engine that was attached to the fire wall and fenders I still have remove the radiator and then I will be able to cut the front off the body and haul it off to the scrapper.
also cut off the body mounts on the radiator support to weld on the radiator support of the 82 2wd. This will keep from having to cut anything off the 2wd frame and also move the front body mounts to the front of the radiator support and out of the way of the tires
I have never seen that aftermarket box you posted earlier. No telling what it goes to. Ever one that I have dealt with in the past caused nothing but trouble. I would toss it in the trash can. I have never needed one when I was done with it.
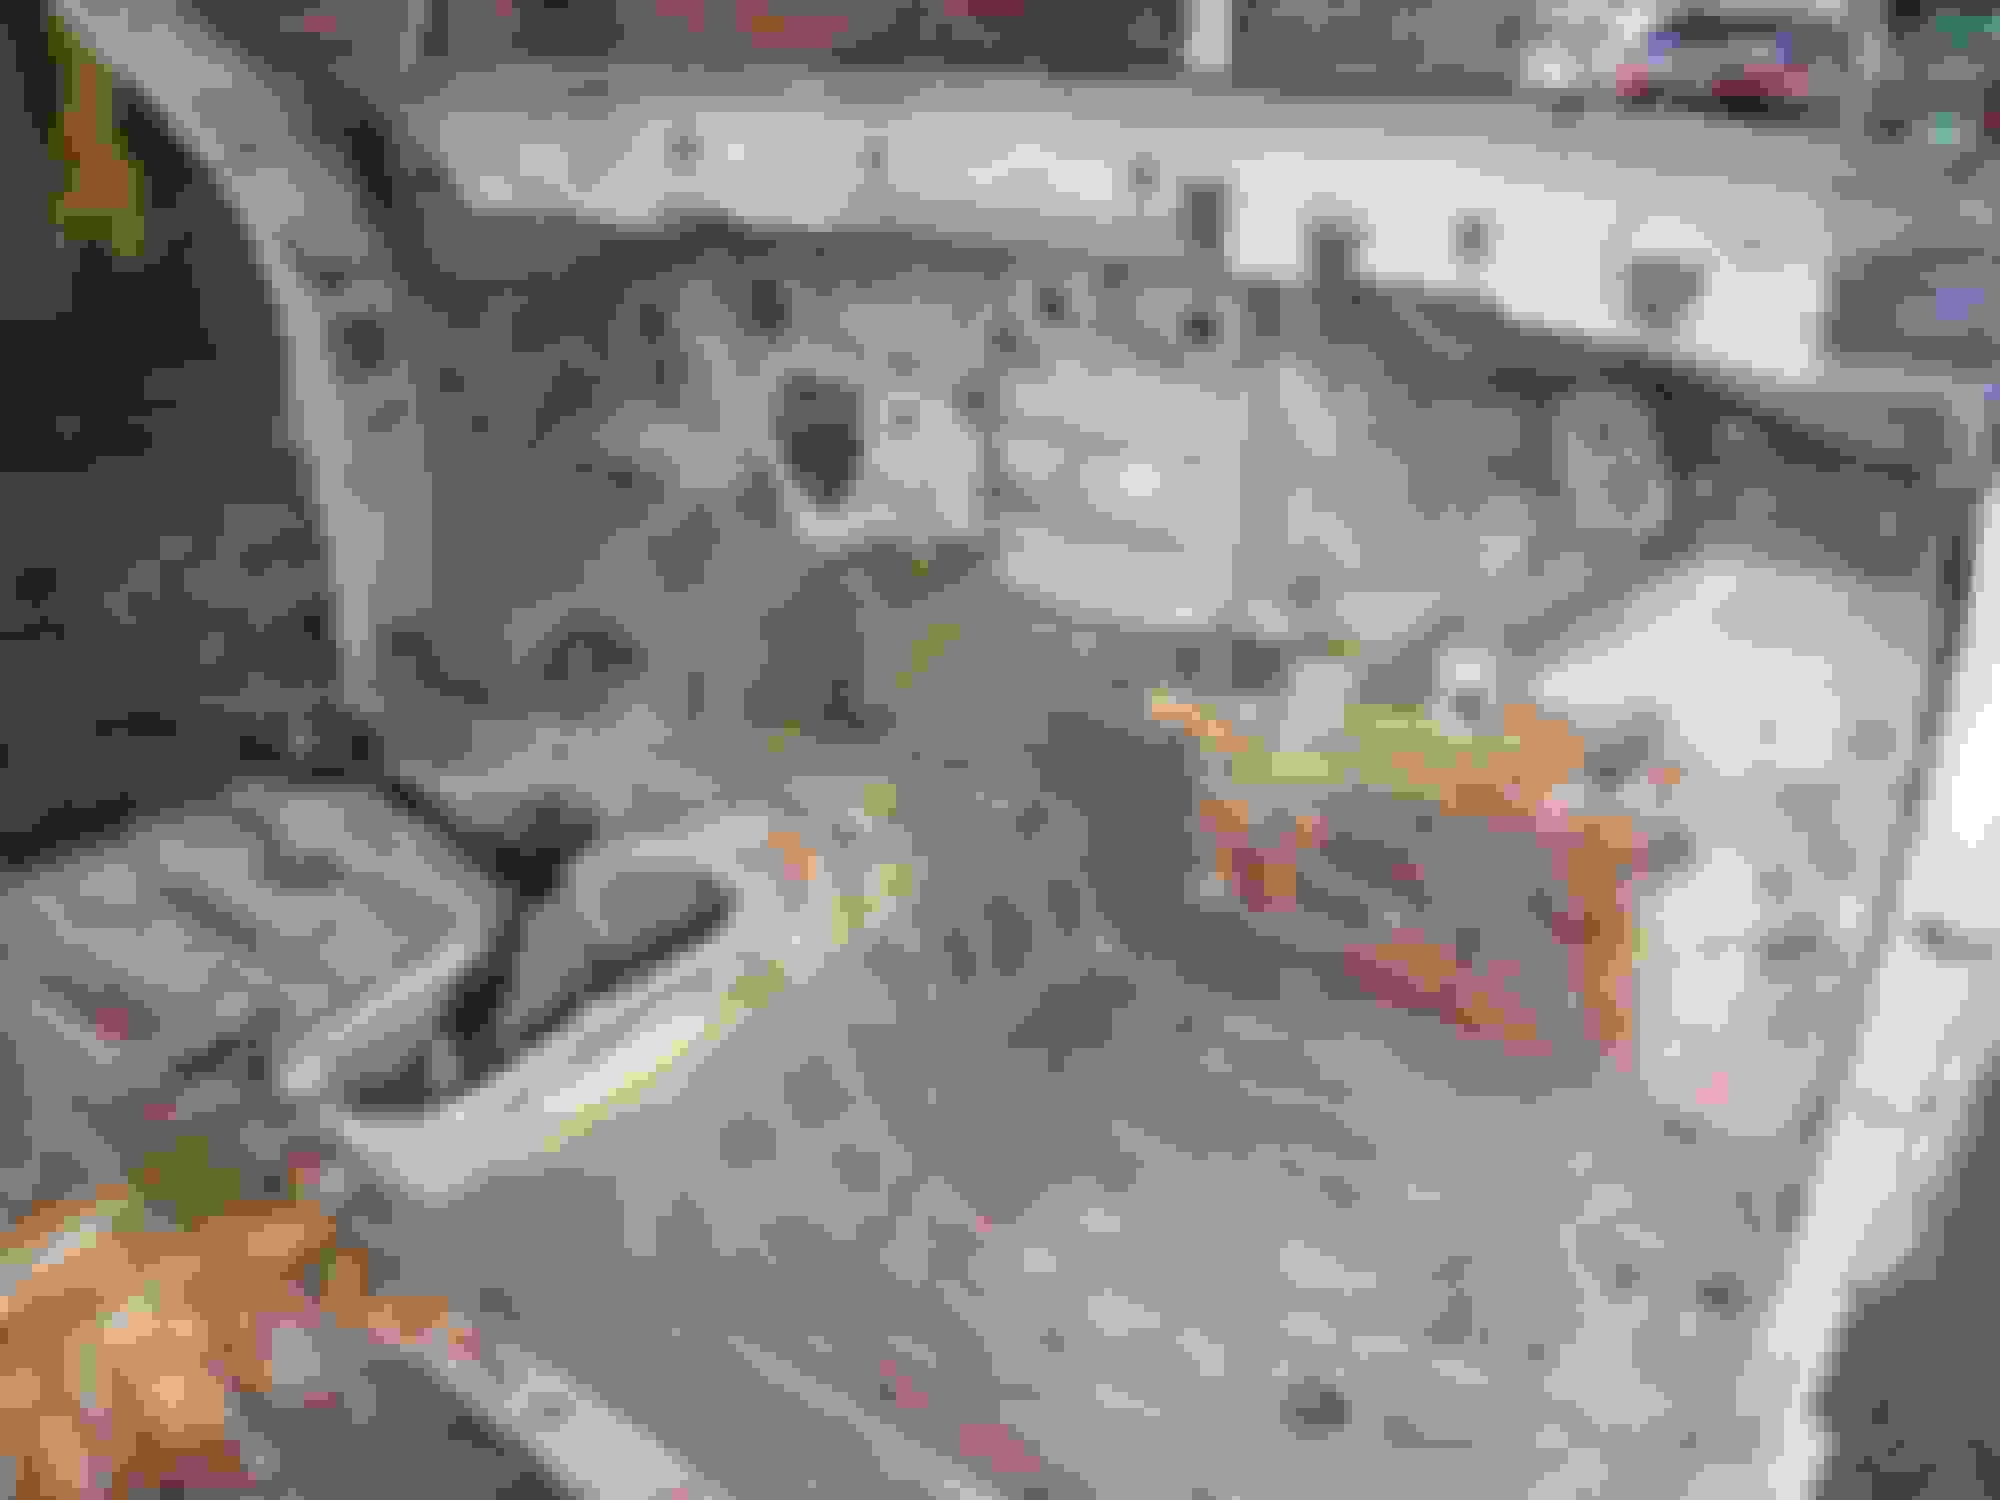
I got the front sheet metal fire wall forward cut off and thrown in the scrap pile the only casualty was the darn line for the clutch I blew right through it and never seen it. Can some one explain to me how to separate the parking brake cable/ handle at the fire wall????? its the last thing to take off the fire wall so I can cut that section of the 4runner off and take out to the scrap pile.
So the parking brake I pulled the switch and pushed both levers behind the t handle toward the front of the truck and shoved the handle the same direction, pulled the pulley assembly off the fire wall and pulled the cable out of the rod then removed it all. I also got all the body mounts pulled last night.... they all came out with out a problem the bolts all still had the zinc coating on them but the bushings were shot. I'm surprised how every thing on this runner come off easy it could not have been used off-road very long at all but with 313,000 miles on it I sure suspected a lot more trouble with taking stuff off.
got a couple hours in on it last night. got a lot done.
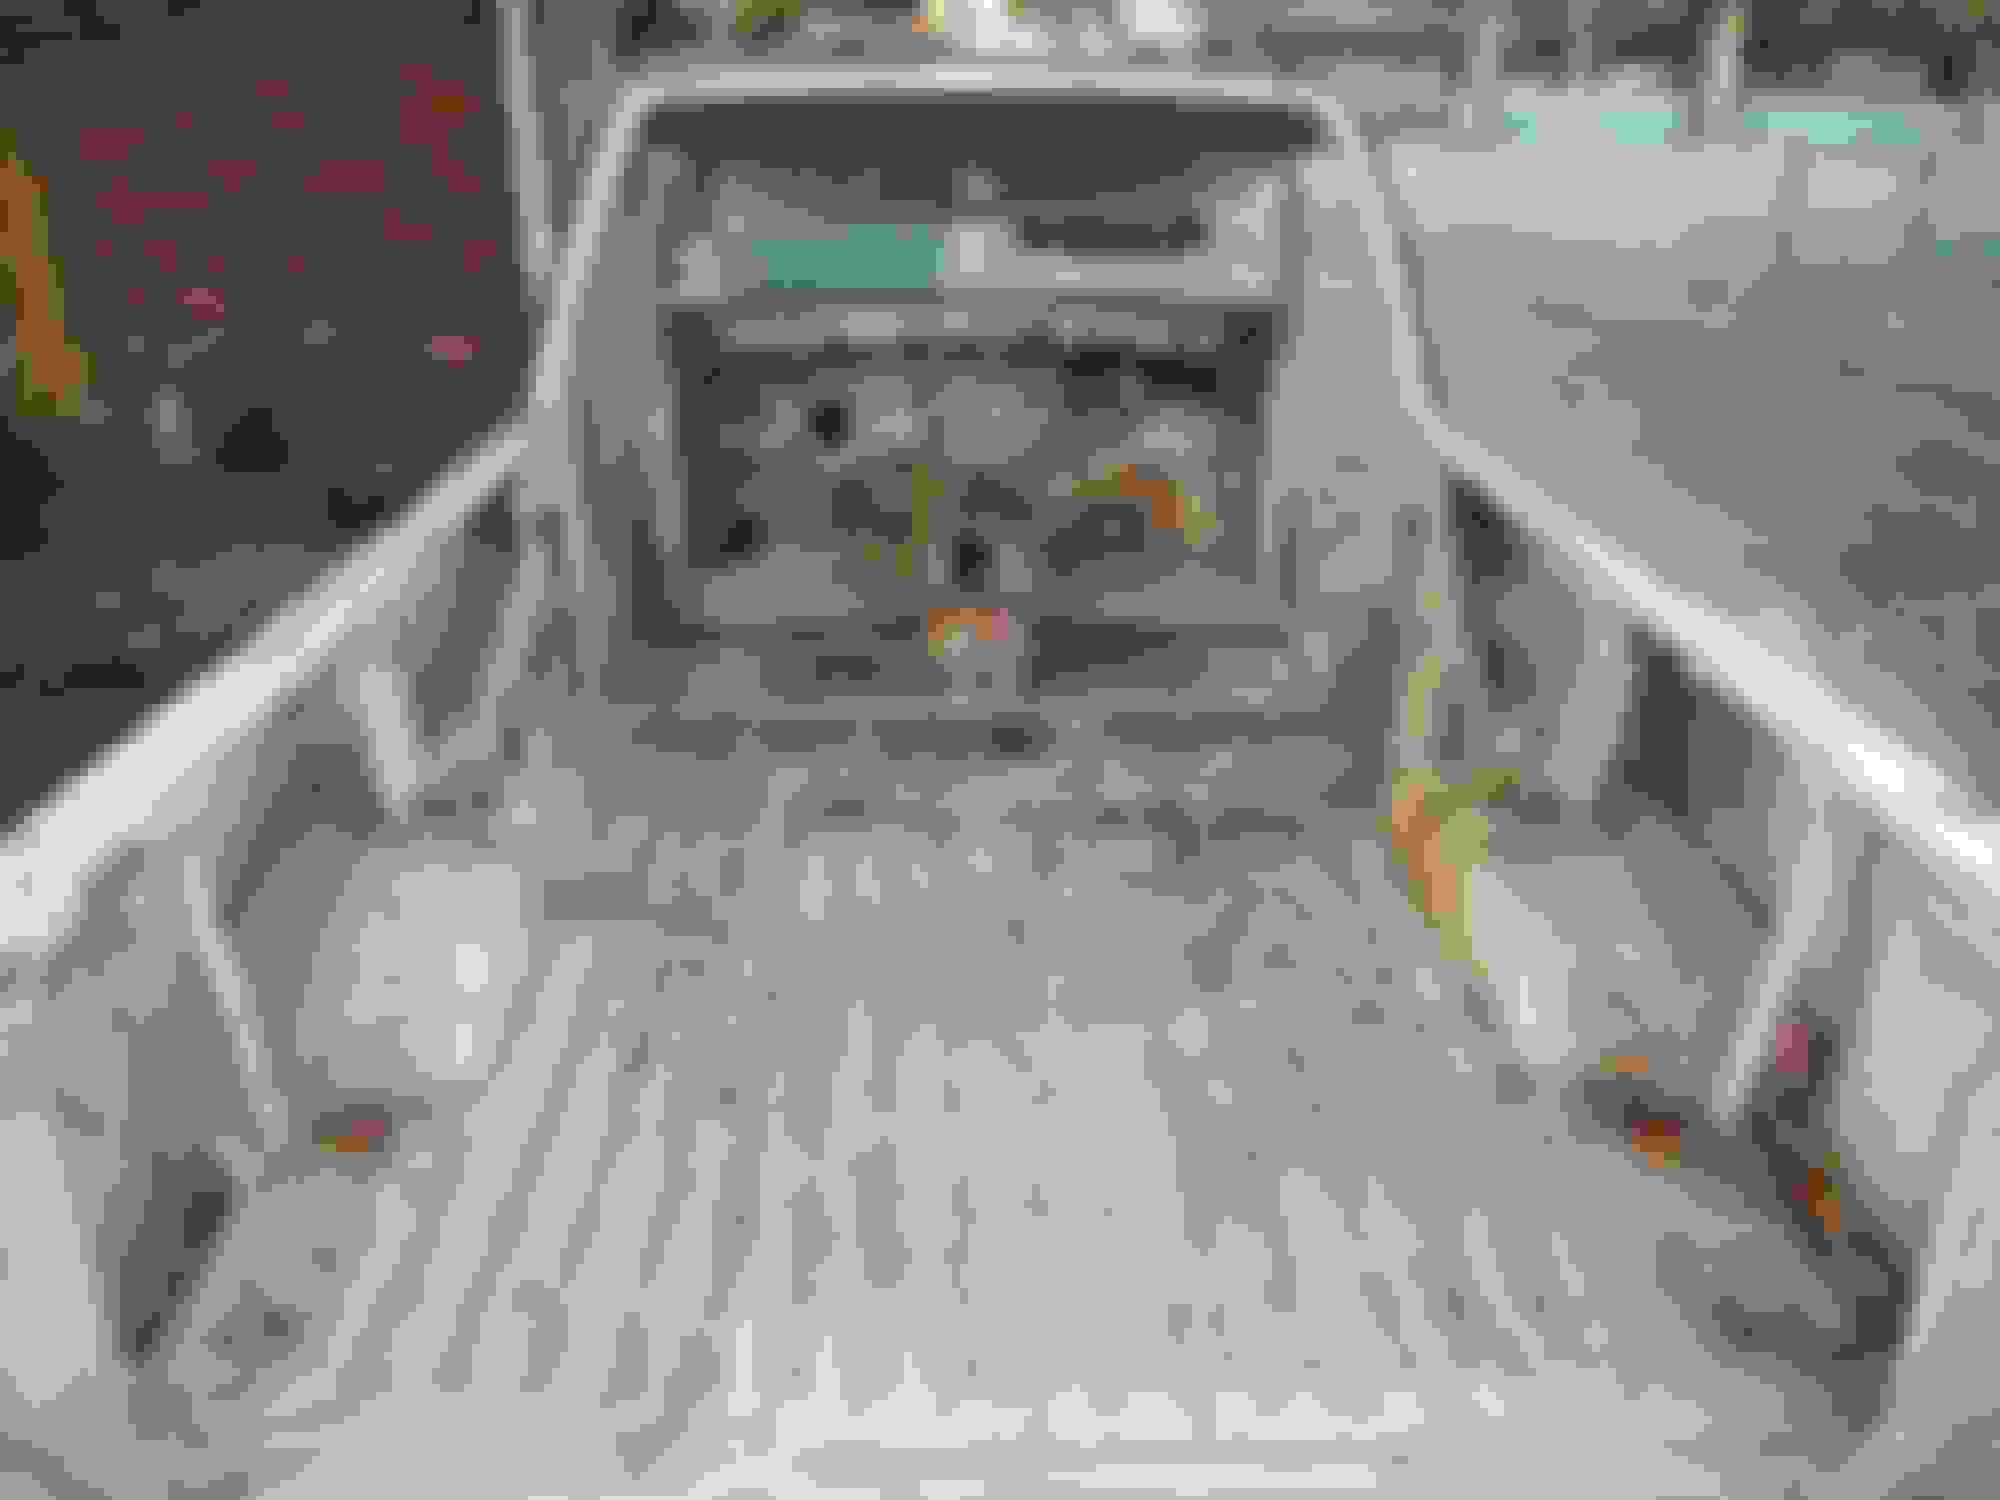
stripped as many of the brackets off the inside as I felt I might need its actually in better condition than I thought it would be in. the body was a lot lighter than I anticipated the stackers were not needed and the kids thought I was super man! frame has a lot of surface rust and some scale but no weak spots.
some thing is off with this one! worst rust on it. Factory marks??? looks like an add a leaf added to these. I don't see very many factory stickers in this good of shape initials I assume in marker stuffed behind one of the inside panels.
I got the pressure washer out and when at the frame and transmission/tcase/engine with it cleaned up pretty good I cranked it up to 3000ps and the blaster tip to use on the frame and it blew all the scale off of it and did not blow through it any where! YAY!!! I also started taking he interior out of the 82 got the jeep seats pulled out of it and found more rust this time on the driver side rear cab mount. and the inside of the rocker panel....ARGGGGG!
Finally the good news the windshield dash mount fits the 82 cab perfect all I will have to do is drill holes to line up with the tabs on the 82 firewall!!!!
The frame looks to be in great shape. Tearing one that far down sure makes it easy to fix several issues at once and not have to deal with them at a later time.

 06-27-2017, 11:03 PM