When you click on links to various merchants on this site and make a purchase, this can result in this site earning a commission. Affiliate programs and affiliations include, but are not limited to, the eBay Partner Network.
Thought you were running hydraulic hose for coolant return, but now I see that's probably just the 3/8ths ones?
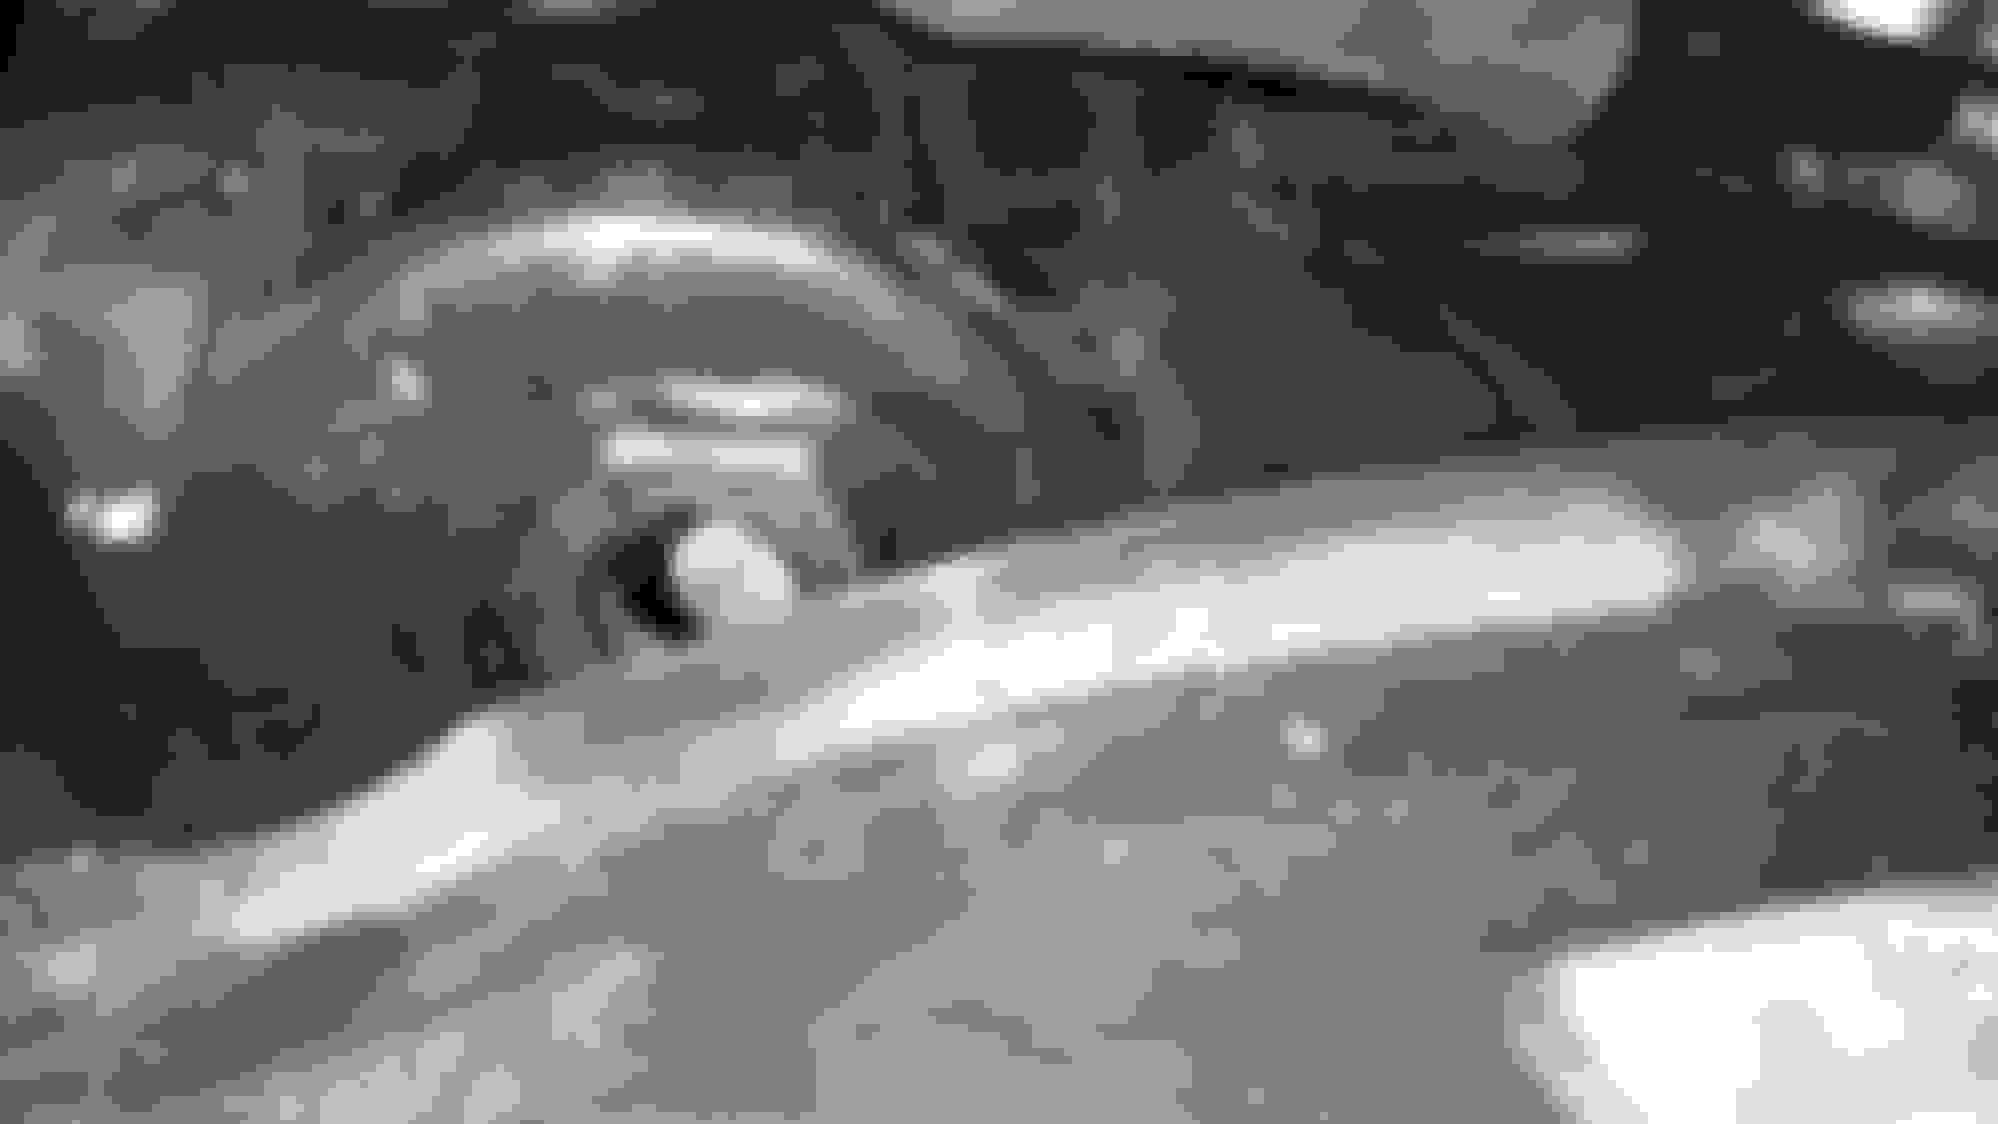
Here is that oil cooler line, I just took these the other day for thehands. I'm not sure the part number for that elbow..
Oil cooler, forward hose to elbow, rear hose to pump output.
What's up with that crank case vent line, you have an elbow for it that is not installed yet right not just going to leave it on the valve cover nut?
Thought you were running hydraulic hose for coolant return, but now I see that's probably just the 3/8ths ones?
Here is that oil cooler line, I just took these the other day for thehands. I'm not sure the part number for that elbow..
[SNIP PICTURE]
Oil cooler, forward hose to elbow, rear hose to pump output.
What's up with that crank case vent line, you have an elbow for it that is not installed yet right not just going to leave it on the valve cover nut?
I did use hydro line for the return, but just that little 3" section from intake to radiator.
i figured out where the horseshoe pipe goes by looking at google images of intakes. but your picture DOES help. Thanks!
the vent line is just set there. i figured that it would trigger you. hahaha. seems like a little thing like that would bug you so i just put it over the acorn nut to mess with you.
Update for the day. Got the hot side of the motor buttoned up except for the down pipe off the turbo. Manifold is torqued. Intake is plumbed. I decided to forgo using the silicone elbow that came with the LCE kit. It was not a sharp enough elbow and sat squished on the lower rad hose. So, the intake is a little sketchy as to wetter it will seal properly. I think I'm going to replace all that in the future anyways with a custom setup. As long as it gets me by for now. Got every belt on and tightened. So, I think that I'm ready to move onto the intake side to wrap that up. Probably gonna hit that tomorrow and also torque the down pipe from the turbo. Hopefully the 2.25" turn down I ordered will be here so I can get that installed. The flex pipe I ordered came in along with a few quarts of dex 4 ATF. Still need to buy 4 flanges and 1 gasket for the exhaust along with a muffler. Need to get an o2 sensor and some toyota red coolant and I think we are good to go!
now, I've heard that the TPS is going to need to be calibrated. I don't know what that is, but I hope it won't be too bad to do.
So close now. Got the intake and throttle body on and all the associated hoses installed. Got the rad hoses installed. Got the ATF into the PS pump and the lines bled the best I can. Basically, I'm ready to start getting the vaccuum lines done. After that, fluids and then...start? Still need to trim down the fan shroud to fit the new rad. I need to purchase new bolts to hold the rad down and to hold the shroud to the rad. They are a mishmash of different sizes at the moment. Need to get the gasket for the CSI, and after that, I'm not too sure what else I need to do. Of course the little things will pop up.
Onto the pics.
El cheapo turn down
intake almost 100% done.
she's looking like a mostly complete motor now!
Drivers side for reference.
Last edited by space-junk; 02-25-2017 at 03:32 AM.
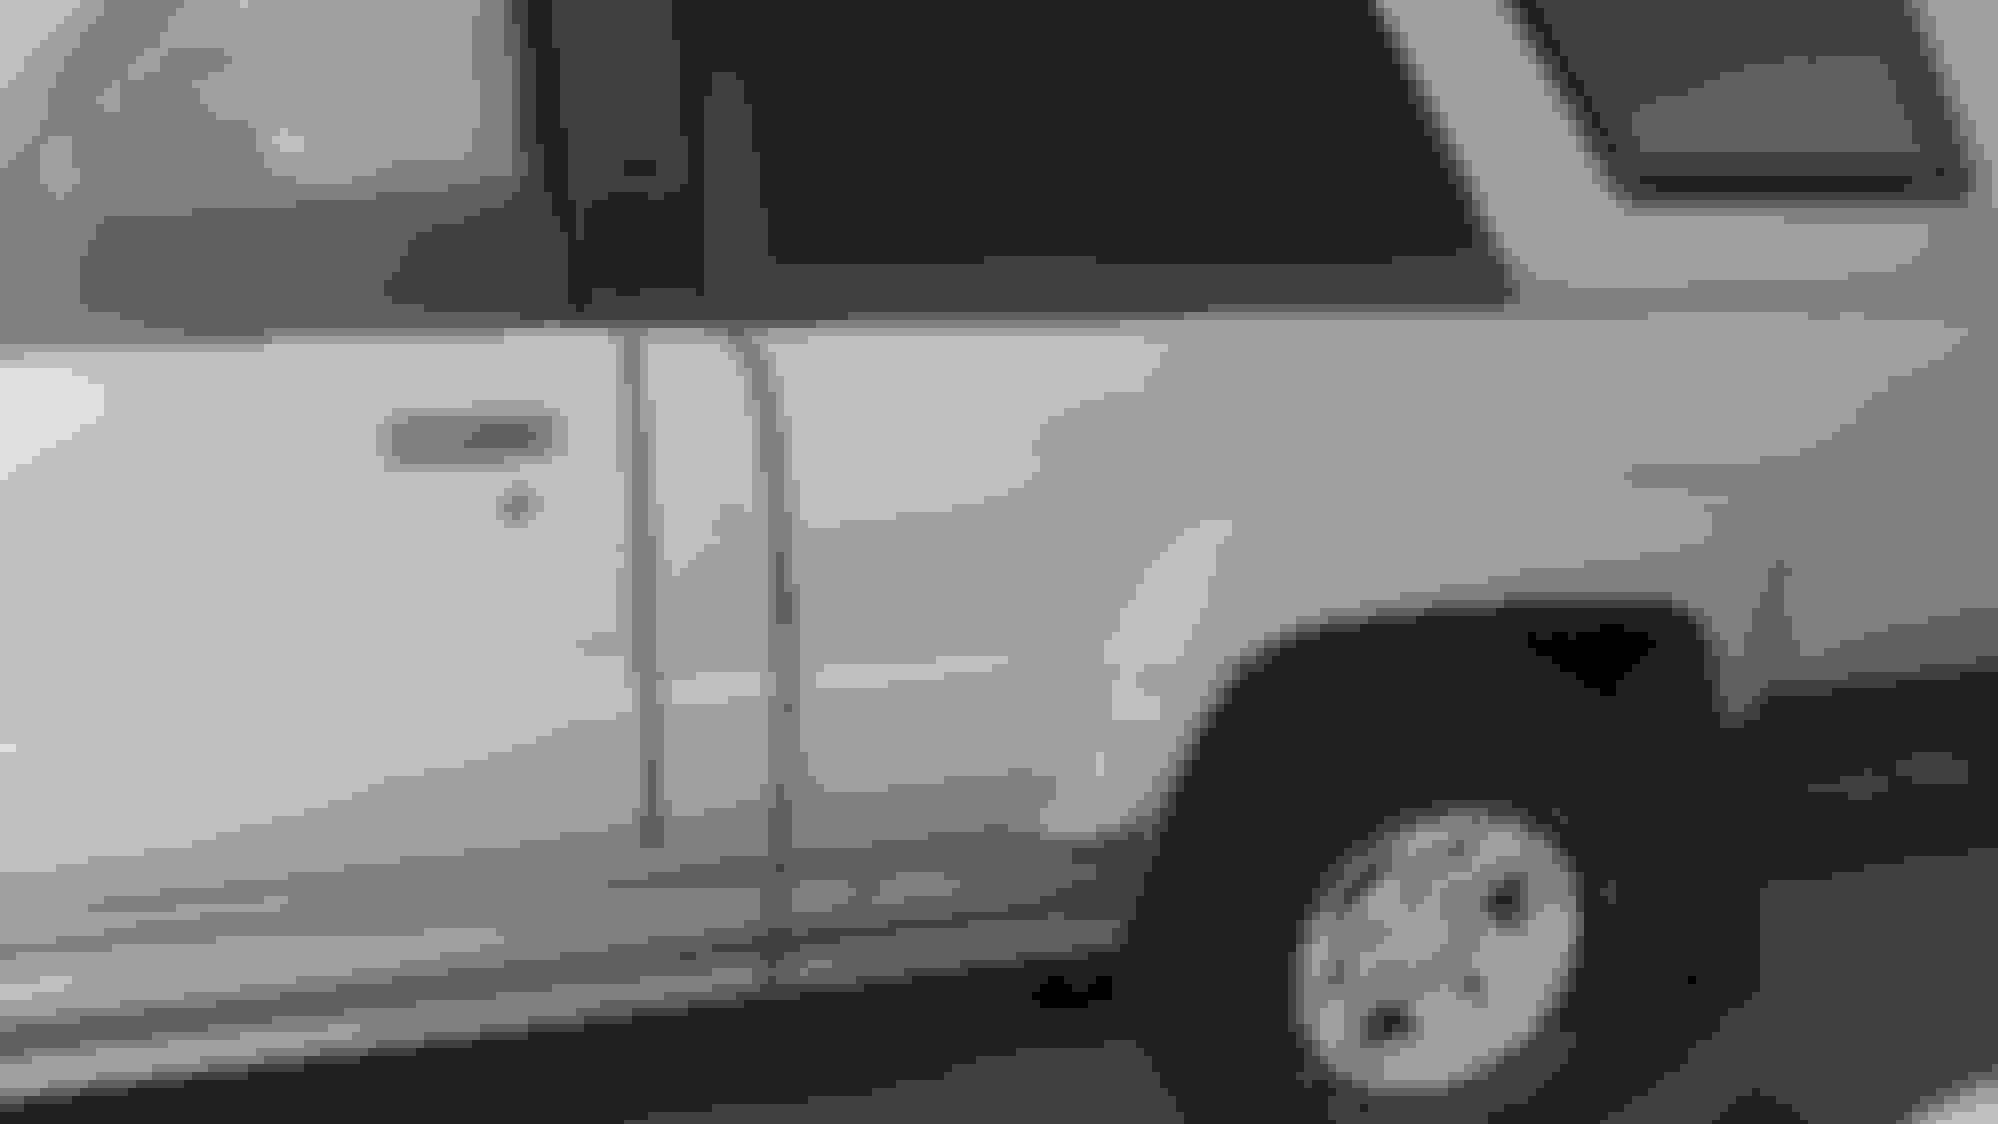
The "rather large club looking object" on your bench, yeah that still needs installed and wired up it's not an anti carjacking device!
I was going to tell you to get a longer exhaust ,it's bad for your health if it's not outside the body blah blah blah, before I realized what I was looking at is the temporary get it to the exhaust shop hookup.
But just think about how baffled a the if would be trying to steal it!
you are, as per the usual, right Co. Need to get the dizzy installed. Hahaha. Can't believe you noticed that sitting on the shelf of the cart!
side note. The TPS, I never un plugged it from the truck when I pulled the motor. Now trying to get it back on is a pain and almost impossible with the TB installed. Should I take off the TB and put the TPS on or is there a trick?
I only have the upper OEM screw installed I believe, my sensor housing is busted. I use hemostats to get them in regardless of the type cause dropping em suck. Off set or regular needle nose will get you there also. Ty has two spares Allen head ones, dropped into the depths of hell and not retrieved...
Had a bit of time between my primary job and my secondary jobs today so I got a bit done. Dizzy is installed and spark plug wires in place. Got rid of the "fancy"(crappy) loom seperators I had on there. Didn't fit right. So I just used the old zip tie seperator trick. It'll do for now until I can figure something out.
also managed to get the breather line sorted. Thankfully I had a bunch of leftover silicone vaccuum line. And the spring clips were also a lifesaver. I think it looks good.
next on the agenda is to get proper bolts for the rad and fan shroud and to trim the shroud to fit. Then onto vaccuum lines and final check of bolts and fluid fills. 2 major things I currently do not have are a battery (a crappy old honda civic battery is being used to roll the windows down, but not sure if it'll be enough to start her) and the o2 sensor.
Pics as always.
A little friend to help me. Found him passed put on the concrete floor. It's about 30*F in the shop. I put him under a chair so my dog wouldn't think he's a toy and eat him.
Vaccuum line and spring clips.
So, the VC to charge pipe is a bit sketchy, but as long as the line doesn't collapse, it should be good.
Little baby zip ties till I can get something better. I'd love the LCE bullet loom seperatpr, but they say it won't work for turbo trucks. Hmmm.
Where she's at.
Also, got the fan fully seated. Pain in the tuchus trying to not damage the fan blades further Than they already are.
Little more accomplished. Brand new PCV installed along with a silicone hose. Few small lines hooked up. Still not sure of the placement of the VSV lines. Will need help there.
The fan shroud, while ugly as all hell, is serviceable with the trimming I did. Wish I would have had something other than a bench grinder to do it, but I had to work with what I have.
Tried to touch up the charge pipe and screwed up spectacularly, so now I get to fix that. Oh well.
pics.
The little nubbin in the middle was ground flat. Less sharp edges to get cut on.
Clarence is good enough.
Other side looks much better. Lol.
Fits around tranny cooler nipple aND drain petcock just fine.
The threaded insert for the turbo return line was partially blocked by the fan shroud. Had to grind this away as well.
Looks terrible.
Had to chop out the upper shroud support.
Radiator overflow tube.
PCV and silicone hose installed.
Skid plate installed.
Flubbed the touch up.
The VSV lines that I don't know where they go.
Where I left her this evening.
I want to say, if you own a turbo 22re and want to get a new radiator while not modifying anything, stay far far far away from LCE. This is NOT a radiator designed for a turbo and you WILL have to chop your fan shroud like I had to. I am NOT happy about this and after a year and several emails/calls about it they flat out stopped responding to me. With that said, if you plan on using an electric fan, this rad is a great addition. Be warned! They do NOT supply the nipple required to hook up the turbo drain back.
clipped the images out.. except the one, what's up with that modification it didn't make sense for me why and only sort of where?
That first picture made me all kinds of sad, I thought for a moment your radiator shrunk even more and you weren't going to get it to fit up at all! My shroud had to be cut also for the stupid aftermarket radiator that is spec'd wrong. You at least have metal tanks and a proper bung, mine is crappy nylon which I had to drill and tap, super sketchy!! I did the driver's side with a hack saw and it came out pretty clean a bit under sized, the passenger side I was fuming mad and took a death wheel to it.
Well I had photos attached not sure where they went...
AC idle up VSV, the outer/forward line goes to the small outlet on the top rear of the valve on the intake, the inner/rear line goes to the bottom.
The legit radiator is available from precision but I think they are out of business. This is a legit fitting radiator, the one I pulled out and is still full of sludge. Unable to find it, I think precision went out of business
oh now it finds the radiator image. I guess me and technology aren't going to get along today...
clipped the images out.. except the one, what's up with that modification it didn't make sense for me why and only sort of where?
I'll get you a better picture, but essentually, I had to make a u-shaped section there and the price I cut off was hanging on by just 1/4" of metal. Hit it wrong with the grinder and it twisted around completely. Clipped it off after that. Definately made me sad. I just wish they would have said in their advert that this was a modified 22re rad. Then I would have planned ahead and got a 22re shroud. I don't think that would have needed to be chopped up.
As usual, thanks for the help with the technical stuff, Co. You've been a lifesaver.
Gotcha. The end of the crescent had to come off, where that fan overlaps the square shape of the radiator tank/tubes.. guess the end tanks are even a bit different from the RTE ones. You can see where it should have been in the first photos.
Not much to report. O2 should be here tomorrow. Got the vaccuum hooked up. At least I don't have any more likes to work with. Rad, shroud, and skid plate all have brand new bolts in them and are all secured. Just need the fitting for the turbo and a battery, I believe. And to have the TPS adjusted. Allen head screw kit for TPS is on its way too.
other news, the member here who was going to sell me the SAW Tbars, BJ spacers, and Dif drop kit backed out. Buuuut, another member on here is giving me some of his old equipment including 4 ball joints, 2 spindles, a pair of control arms, and 2 axles (1 with torn CV boot). I am stoked about this! I have 1 axle with a ripped boot, and am in need of ball joints since the ones on the truck are hammered. I can also modify the control arms for BJ spacers correctly by welding in the extra metal around the cut and get them painted and new bushings pressed in for when I swap them. This is a huge windfall for me since I'm trying to keep costs down at the moment. I'm trying to save up for the exide edge battery I have picked out as well as the borla muffler.
anyways, a few pics. As always, if you notice something out of place or done wrong, post it! I need all the help I can get.
All bolted
Ugly hack job. Wish I knew how to make this look better. But hey, it works.
Not a whole lot got done tonight. I got the Denso O2 sensor in, however, I have discovered that my hands are too large to fir in between the turbo manifold and the firewall. So that will need to wait until doomy is available. So, since I couldn't really do much more, I did a few odds and ends. I double checked ally grounds and made sure they were all properly installed, removed the junk stereo wiring that the PO had installed(that crap was a fire hazard), trimmed some of the vaccuum lines (fixed the A/C idle up VSV lines), and got the hod reinstalled. After that, I organised my tool cart and started cleaning out the interior a bit. Think I'm gonna pull the drivers seat to allow more access to the cab and start vacuuming everything I can reach.
getting rid of this fire hazard of a fuse block for the stereo.
Hood finally on
LCE turbo swap checklist almost done.
Where she sits at the moment.
Tool cart organised. Don't mind the extra bolts. If you have leftover parts it means you built it better than the engineers did....right?
Apparently I'm gonna need new weather stripping. Anyone have advice on where to go for this?
Well, since I have to wait on funds before I can do any more work to the runner I decided to start ripping out the interior. Didn't find a whole lok, but I have come to the realization that this truck is much filthier than I originally thought. Ended up stripping out the seats and the rear seat carpet area before I got too cold. So, lots of cleaning needed and some repair on a few things. Also need roomy to decide if she wants the interior to be black so we can dye the carpet while it's out. Also, opinions needed. I was planning on doing peel n seal on the floorboards and firewall like I did in the tacoma. In that truck I just rolled it out over the stock "deadening" material because it was super thin. This stuff in the runner is thick. Should I remove it? And is using dry ice the easiest way to do it?
anyways, onto the pics.
Definately can tell that this was a backyard spray job.
Corner of the windshield trim.
Not sure what all is growing in there but its nasty.
Trim on top of the windshield. I have no clue how this hapened. theres no scratches or divots in the glass.
Passenger side rust showing through above the door frame.
Somehow a 3" section of driprail just...fell off. I dont get it.
Another thing i dont get. the guel door has a lock yet also has the release knob in the cab. and the door is tweaked something fierce. not sure how to fix this.
Drivers seat out. carpet is roached.
I think the front seats are from either a pick up or a second gen. The material doesnt match the rear seats at all and the head rest is way off.
Passenger seat. This thing is filthy. and theres something horrendus lurking under it.
Interesting. whys there a second set of holes in the floor? hmmmmmmm...
This bolt wouldnt come loose no matter how hard i tried. Just spun and spun.
Oh, its because theres a nut on the underside...wait, whys there a nut when it bolts into a capture....OH BOB SAGET!!!
These seats definately werent from this truck. Darkfairytales mentioned earlier that they might be different because they didnt have the norma 4runner foot release for the passenger seat but this kinda seals the deal. I have no clue what these are out of, but the PO just drilled holes in the floor and bolted them in. Didnt even cover up the old holes so who knows how much moisture made its way into the cab over the years.
Rear seats out Not as dirty, but not great either, Also, Shasta was checking out all the new smells. I think he approves of the smell even though i thinkthey smell like mildew and butt.
OOH, A FREE MARBLE!!!
AND FREE MOLD TOO!!!
Drivers rear seats have weird stains on them. The flash of the camera actually washed out a lot of the nasty filth in the pics.
Nothing fancy under the drivers rear. seat belts look different. cleaner.
Rear section carped removed. PRetty clean and no rust.
Drivers side carpet removed. Oops, looks like ive left my screwdriver there...
Ooooor the PO did 20 years ago. this thing has been there so long that it was stuck in the tar. i had to use a pair of pliers to remove it.
Theres some funny white spots on the roof of the 4runner. maybe water leaks? i cant actually get into the rear due to it being used for baby junk storage. and the fact that i cant roll the back window down.
The sunroof is a little loose for my liking and it feels like the gasket is shot on the outside. It didnt leak 5 years ago. I guess we will see.
The armrest is FILTHY. And broken. seels like the PO pulled the rivet out of the bottom of it that hold the armature on. i think im gonna recover the armrest and JB weld the armature in place on the lid.
I hate this so much. im not sure if theres a trim piece that hides under the stereo, but the PO just left all the wires hanging out in a rats nest down there. Also, the faceplate for the stereo has gone MIA.
Interior trim pieces cracked. ITs been Plastic welded in the past. looks like im gonna have to do it again.
Better shot of the white spots.
Interesting to me that the plastics around the sear belt have degraded so far that its cracked and spiderwebbing.
This is the broked pull tab for the passengers back seat. not sure if it can be repaired or i should look for new seats.
Anyone want a Razor scooter toy?
More of the POs wonderful wiring job.
At least on the drivers side he used some nice monster cables.
Last edited by space-junk; 03-04-2017 at 03:09 AM.
I didn't use peel n seal on the floor because I want to monitor for rust. The doors and sides are full of it. I'd use a removable carpet pad. The weather strip for the top is discontinued. Look through Amazon or McMaster-Carr for some thing similar.
I ended up replacing my gas door. It was like yours and I just couldn't get it to bend back and look good. I had the new one painted separately from the truck and it lines up great.

 02-17-2017, 07:26 AM