When you click on links to various merchants on this site and make a purchase, this can result in this site earning a commission. Affiliate programs and affiliations include, but are not limited to, the eBay Partner Network.
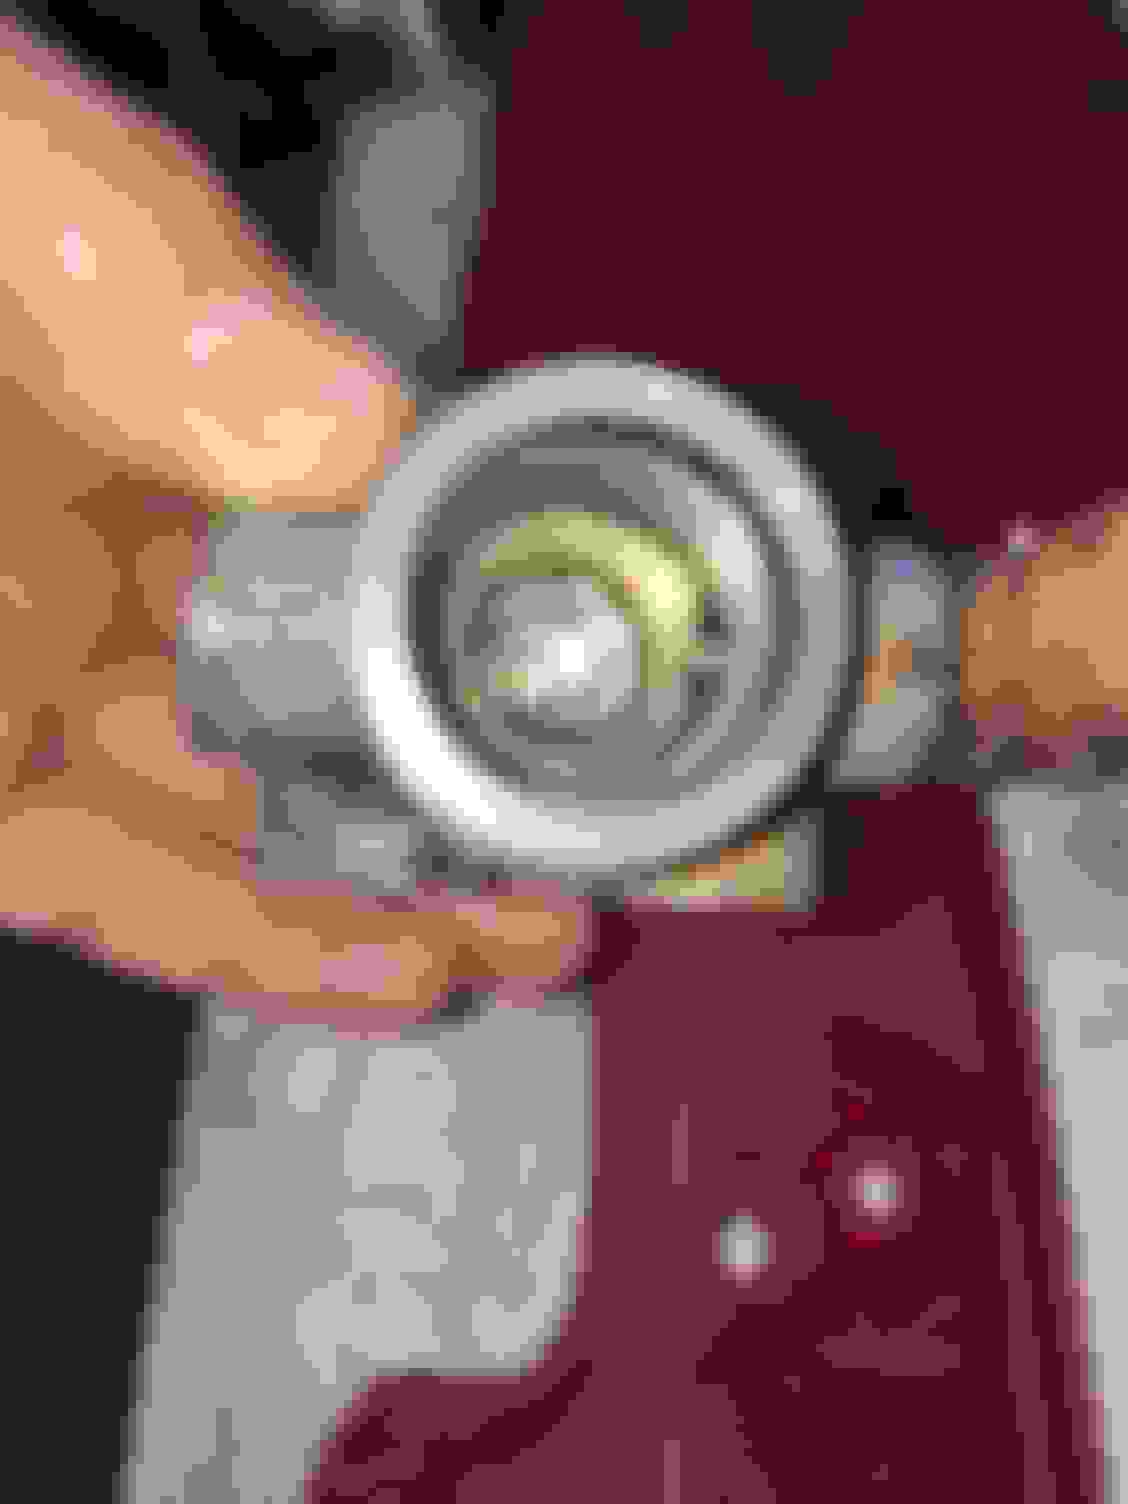
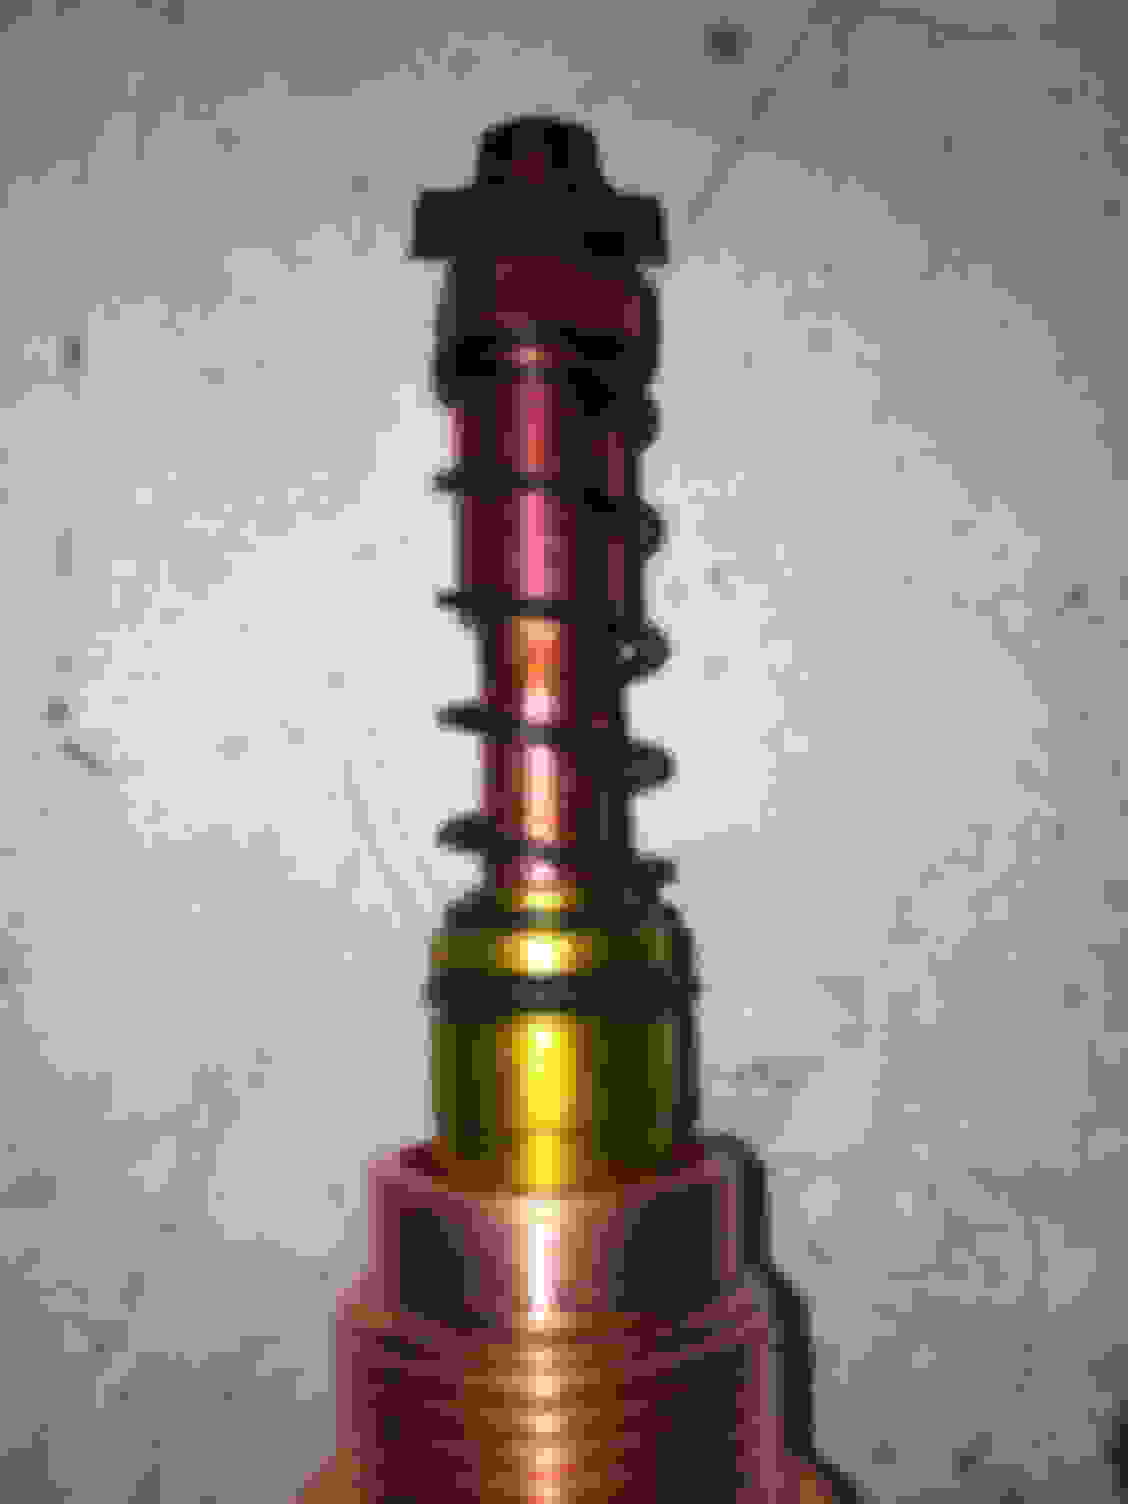
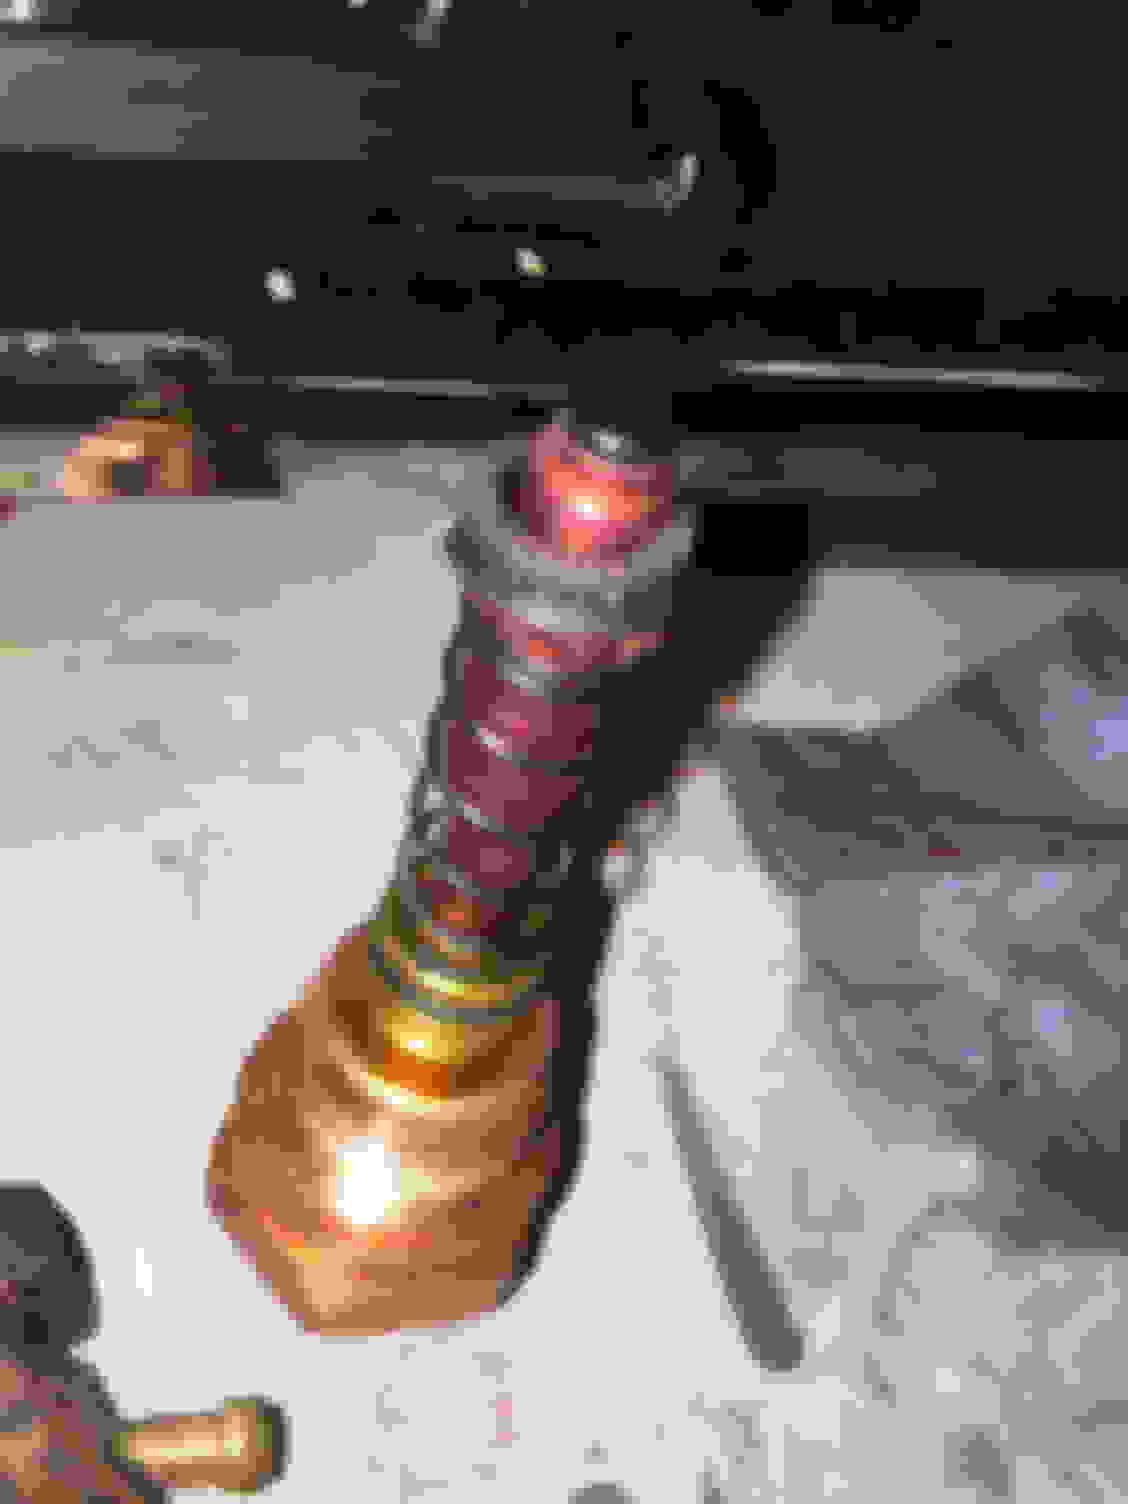
Hi all, hopefully someone has experience in solving the inoperable LSPV problem. I rebuilt the entire brake system and I still have weak brakes. When I say weak, I mean that I can nearly stop and it definitely won't skid. So I took the LSPV apart and found the rubber cup at the top of the piston was the only suspect item. It seems to fit very loose on the piston shaft and comes off when the shaft is removed from the body. The inner diameters are way off allowing the rubber seal to fall right off. My question is, should I buy a new one for $178 or has anyone modified this system effectively by deleting this item and substituting it with another valve?
I've heard of using an adjustable valve from summit and I watched a video of a guy who attempted to install bolt in the top end and was unsuccessful. Then he put a funky bolt on the bottom and that looked way to dangerous. I want a solid solution. I'm not actually sure why there are two input lines for this valve. Is one for the rear and the other for a contribution from the front or return to the front? I'm wondering if that line is actually needed for a pickup that doesn't carry much of a load at all. Maybe the two inputs could be combined into a T and then the result metered by an adjustable valve?
The truck is an 88 4x4 pickup
new front rotors
new front pads
newly rebuilt calipers
new rear shoes
new wheel cylinders
new 1" diameter master cylinder (replaced 13/16")
30.5" diameter tires
Last edited by mitch88RN63; 01-27-2017 at 03:50 PM.
Not two in lines more like 2 out lines. 1 to the rear brakes the other reroutes fluid/pressure not used by rear to front brake circuit. I removed mine for the manual valve you mentioned but went through Amazon. To the swap you'll need to make some changes to whole brake system. I ran a new brake line to rear to extend so it attaches to flex line going to rear axle. I put adjustable proportionate valve under hood and installed electric line-lock. I removed the T junction that ties rear brake circuit into front brake circuit and replaced it with an L junction. I can post pics if you want.
Not two in lines more like 2 out lines. 1 to the rear brakes the other reroutes fluid/pressure not used by rear to front brake circuit. I removed mine for the manual valve you mentioned but went through Amazon. To the swap you'll need to make some changes to whole brake system. I ran a new brake line to rear to extend so it attaches to flex line going to rear axle. I put adjustable proportionate valve under hood and installed electric line-lock. I removed the T junction that ties rear brake circuit into front brake circuit and replaced it with an L junction. I can post pics if you want.
I'm confused by the line lock. Do you use it for parking brake? So, let me see if I understand. You eliminated the line that went from the front brake T to the old LSPV using an L instead of a T. Couldn't I just plug the T with a plug? You also tied the old rear brake line to the rubber line with a longer piece of tubing. Couldn't I just couple the two pieces together? You put the new proportioning valve on the rear master cylinder tubing line under the hood? Why not just put it where the original was? Did you lose front brake pressure by eliminating the extra line to the original valve?
Last edited by mitch88RN63; 01-27-2017 at 05:01 PM.
Delete it completely and install a manual proportioning valve off of the master cylinder. Just replace the LSPV with a T junction.
Is your truck lifted at all?? If so, you need to install an LSPV lift bracket.
No, the truck is not lifted. Were you suggesting two different options? One under the hood and then one in the original location using a new T? Will there be a noticeable difference in braking to the front using one over the other? I would think eliminating the line to the rear from the front T would give you less pressure to the front brakes by not sharing it with the rear. Is that right?
Last edited by mitch88RN63; 01-27-2017 at 04:59 PM.
I did a disc brake conversion. Already had tank dropped. I Offroad so didn't like the idea of the proportionate valve being in original position. Line-lock since I now don't have a parking brake for trail stops. Plugging T junction, had L junction and welder so easier than sourcing a metric plug (would that need to be flared to mate?). Using connectors to splice pieces together. Had it all apart so easier and cheaper to make my own lines, metric connector at one end and standard at other to plumb rear circuit. As adaptors get spendy.
or maybe just the way I wanted to do it, IDK. Works awesome best brakes I've had. Believe me I'd done every trick I could find to the drum brake set up to have better performance including cruiser large bore cylinders. Drum brakes had failed multiple times from mud building up and I'm on 35" tires. I digress; depending on what you use your rig for you may prefer LSPV vrs manual valve.
Well, this pickup belongs to a 55 year old woman that wants it to go fishing and see her grandkids in a couple different states. I just want her to be safe. She's not a mudder and I doubt she knows how to put it in 4x4. I think keeping the adjustable valve in the original spot and keeping the extra line back to the front will maximize the pressure to the front brakes and keep the valve hidden from the casual observer. Also, it should be the cheapest solution. Thanks for all your help.
put a proportioning valve from the pain line out from the MC. Eliminate the LSPV entirely. Takes a bit to get it adjusted properly, but its the best solution.
No worries guy, you can built or repair it anyway you want. I'm not a professional mechanic so really only speak of what has worked or not worked for me and what I've read but will disclaim if I've only read it. Good luck.
If anyone is looking for a used OEM proportioning valve, I have one for sale (mount, linkage & valve). As shown above. Just needs a new rubber seal.
I ordered the summit adjustable valve and plan to buy a T and 12" piece of tubing placing the new valve and T where the old one was. I'll take a picture when finished.
brake are not soft at all. when truck is off brakes are hard. they soften when started. the truck stops fine but has alot of travel. brakes engage and stop but towards the low end of the pedal. that doesn't sit right with me.
truck has all new brakes around. 32 inch tires on 15x10. there are no leaks and truck was bled out 3x. (Each time i bleed I do get a little air.) i understand i may stlll have some air in the lines but the pedal travel is just more than i like.
I have already adjusted the pedal and the brake sensor. Could it just be air is still trapped in the line and I will have to keep bleeding?
I also replaced the original 13/16" master with a 1" bore and a wildwood proportioning valve but T'd the lines to the proportioning valve instead of removing the return line to the front. That way I allow extra pressure to be used on the back or the front, whichever is needed.
Eliminating that line would have subtracted the extra fluid coming from the rear line to the front which wastes extra stopping pressure for the front brakes.
Major improvement for the 30" tires with drums on the rear.
I placed my proportion valve by the mc. i believe t'ing the lines in the rear wont work due to the pv being outside that loop..
QUOTE=mitch88RN63;52368115]I also replaced the original 13/16" master with a 1" bore and a wildwood proportioning valve but T'd the lines to the proportioning valve instead of removing the return line to the front. That way I allow extra pressure to be used on the back or the front, whichever is needed.
Eliminating that line would have subtracted the extra fluid coming from the rear line to the front which wastes extra stopping pressure for the front brakes.
Major improvement for the 30" tires with drums on the rear.[/QUOTE]
1. Adjusted rear brakes ... they dref needed it2. Originally capped 3rd line from lap valve under bed, redidcand capped at tee in right wheel well.3. Bled brakes rr,rl,fr,fl (2 times)4. Still lots of travel5. Noticed idle was low, adjusted and better6. Adjusted brakes pedal againBingo stop on a pebble with little travel.
Well, this pickup belongs to a 55 year old woman that wants it to go fishing and see her grandkids in a couple different states. I just want her to be safe. She's not a mudder and I doubt she knows how to put it in 4x4. I think keeping the adjustable valve in the original spot and keeping the extra line back to the front will maximize the pressure to the front brakes and keep the valve hidden from the casual observer. Also, it should be the cheapest solution. Thanks for all your help.
You want her to be safe? Then replace it with the solution the Toyota engineers tested to be safe under lots of use cases. You want the cheapest solution? Get a used replacement from a junked truck, or rebuild yours.

 01-27-2017, 03:48 PM