
First Yota....Project Roof Rack (pic intensive)

 01-11-2011, 09:09 PM
#22
Registered User
Join Date: Feb 2010
Location: Medford Oregon
Posts: 205
Likes: 0
Received 0 Likes
on
0 Posts
I want to put a rack on top of mine but I am very worried that the shell is not strong enough. There probably is no way that you can stand on that can you? I guess I would have to do it like the truck canopy with lumber rack legs that run down underneath the mounting of the shell???? clean work i want one bad!!
 01-15-2011, 09:45 PM
#27
Registered User
Join Date: Nov 2007
Location: Gilbert, Az.
Posts: 680
Likes: 0
Received 0 Likes
on
0 Posts
roof rack..
The roof slider option on this install is great...
Thanks for the awesome idea and links to the sites for the rails. I'll be using this idea to mount my roof rack...can't ever have to much storage.
Thanks kiddmen57 for everything here.
-Ted
Thanks for the awesome idea and links to the sites for the rails. I'll be using this idea to mount my roof rack...can't ever have to much storage.
Thanks kiddmen57 for everything here.
-Ted
02-23-2011, 05:23 AM
#30
Registered User
Join Date: Feb 2011
Location: Broken Arrow, OK
Posts: 342
Likes: 0
Received 0 Likes
on
0 Posts
And now I actually found a roof rack that I approve of and i can make my brother weld it up for me. hmmm now to save that drawing and start pricing pipe. I bet he will even build one for his heep....
02-23-2011, 05:30 AM
#31
Registered User
Join Date: Feb 2011
Location: Broken Arrow, OK
Posts: 342
Likes: 0
Received 0 Likes
on
0 Posts
03-19-2011, 09:05 PM
#32
Banned

Join Date: Mar 2011
Posts: 60
Likes: 0
Received 0 Likes
on
0 Posts
Awesome rack. I like the rails you used. I personally prefer ropund tubing in a roofrack, but yours came out awesome. Great job.
First post here on Yotatech. I got my first yota, a 1988 4runner about two months ago. Since then I have been searching the forums non-stop for answers to questions and ideas for future mods. I have helped friends out many times design, fab and fix things for their off-road rigs and after many years of ho-humming finally bit the bullet.
I started by working out a few of the bugs such as the the blower motor not working on setting I and II which turned out to be the resistor. I also went through the entire rear window assembly after it started working only intermittently.
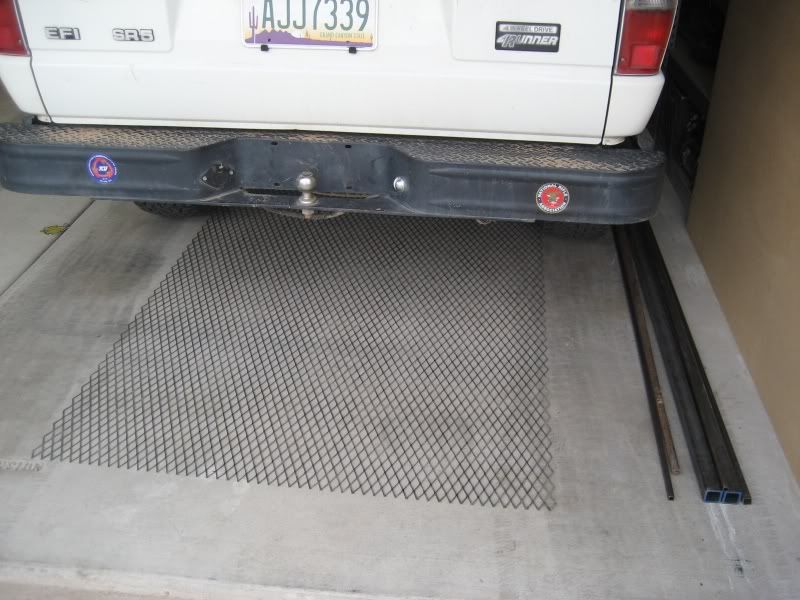
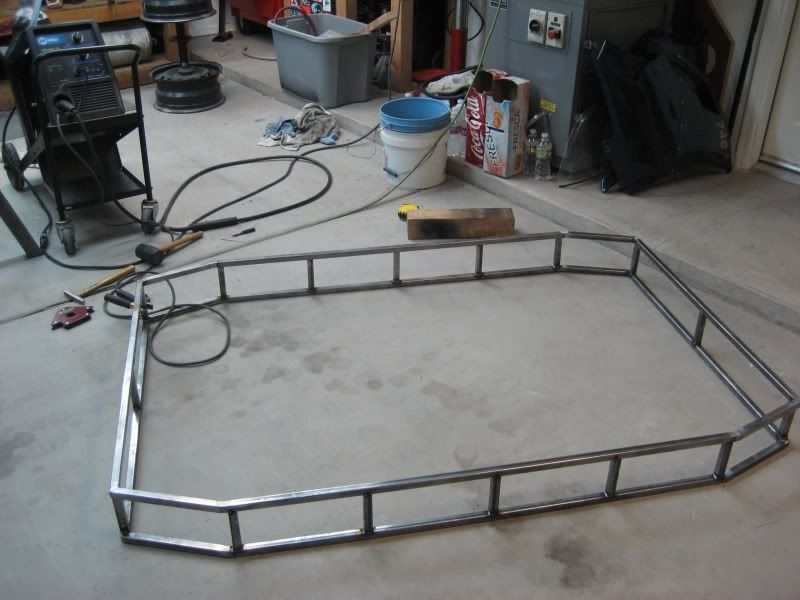
After looking through all my options, I have decided that I am going to go for an overland styled vehicle since this style fits the type of use I prefer. The first thing I did was order a small pile of steel and start fabbing up a roof rack.
I drew up a simple design to follow and can offer a PDF to anyone who wants a copy for their own use, just mail me and it's yours.
Here is a link to the original thread with the rail install idea that I used...thanks snwbrdr852
https://www.yotatech.com/forums/f116...nstall-197292/

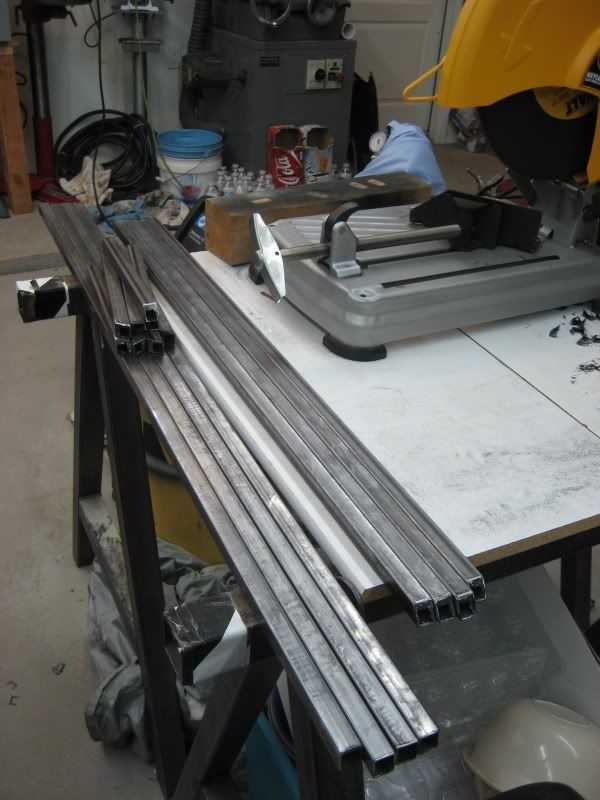
Let the cutting commence

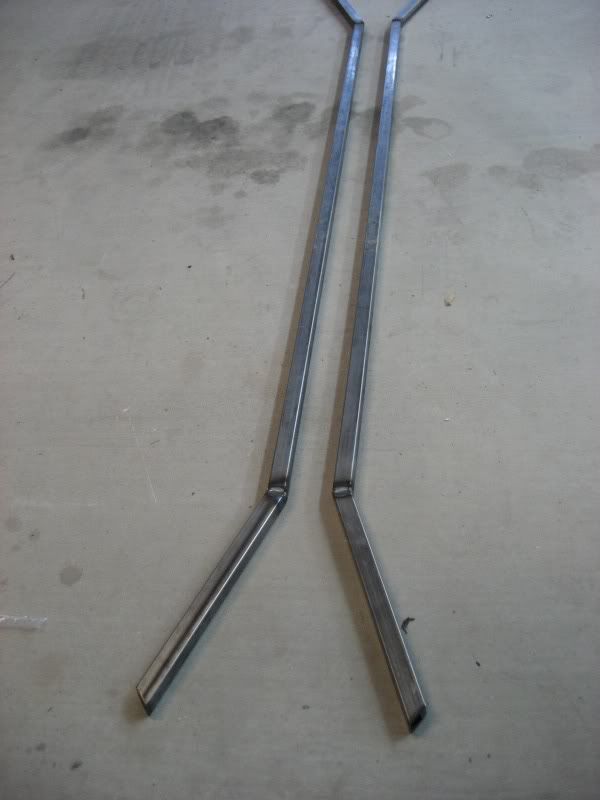
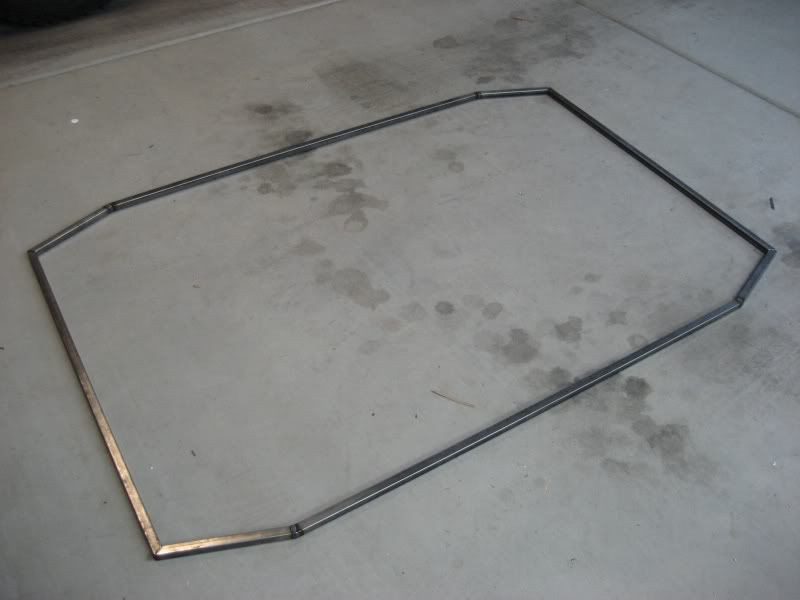
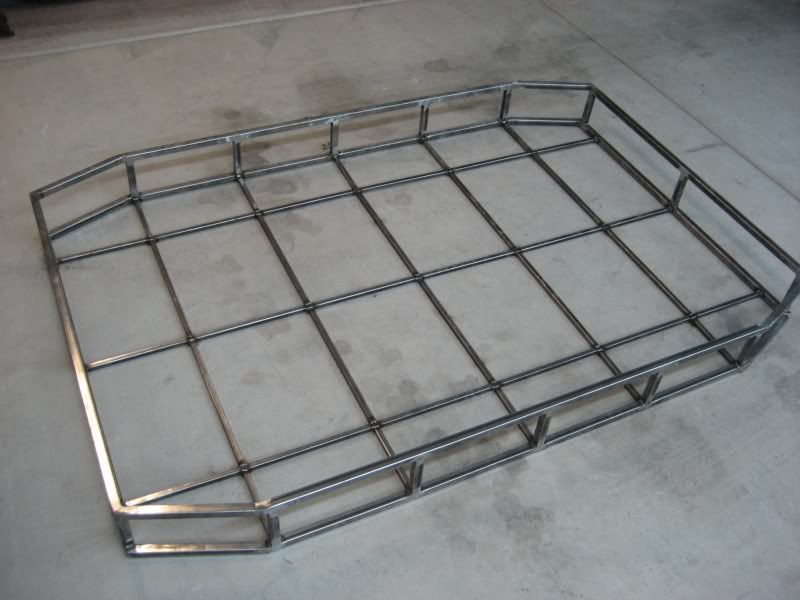
Time for the welder


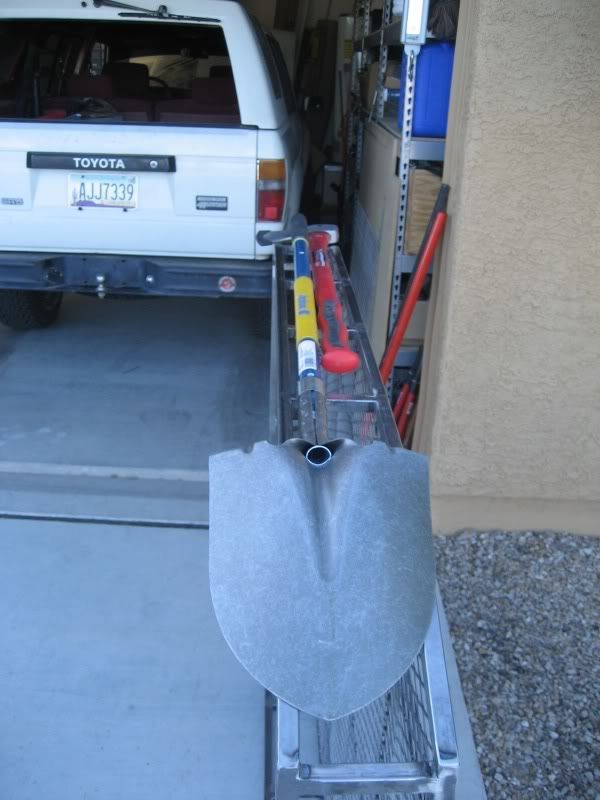
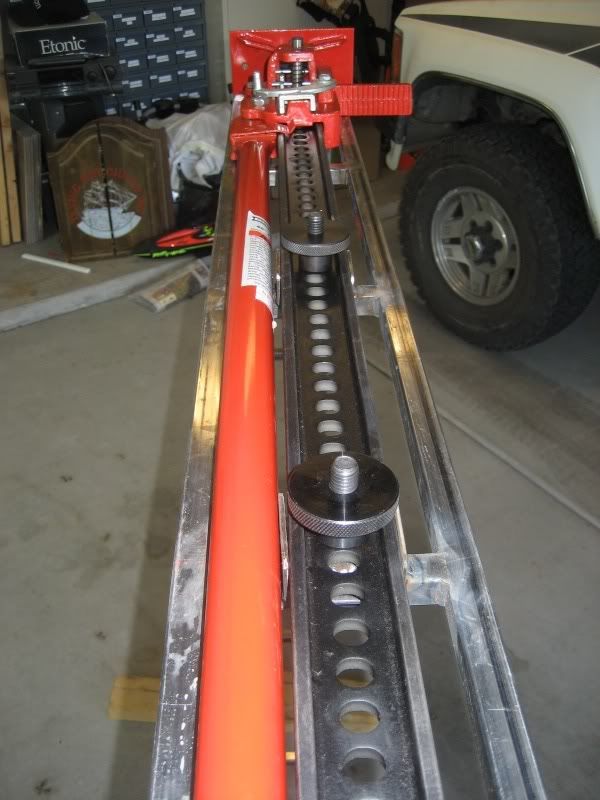
Now....time to accessorize! A highlift, shovel, and axe should do for now.
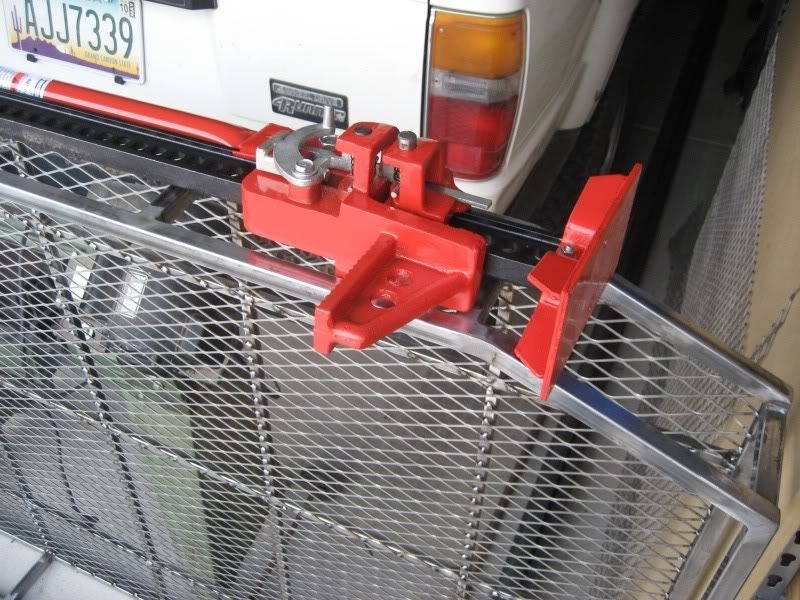


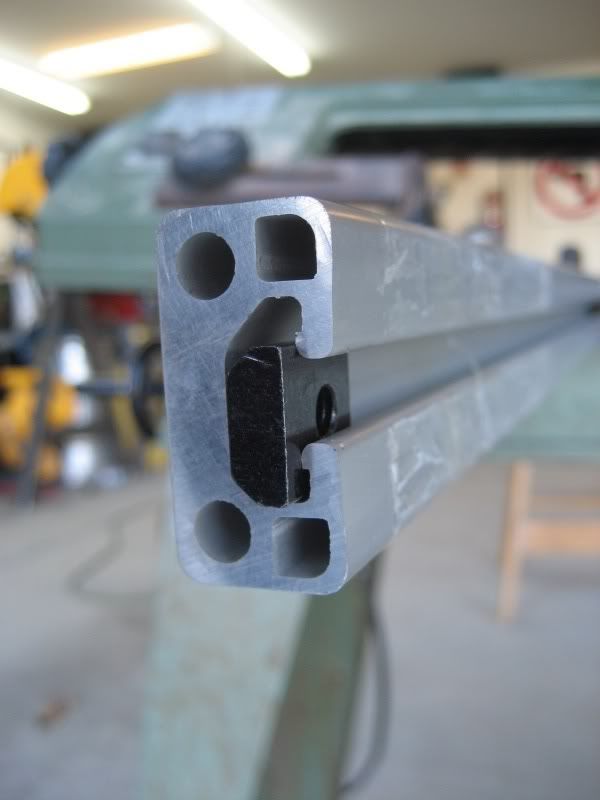
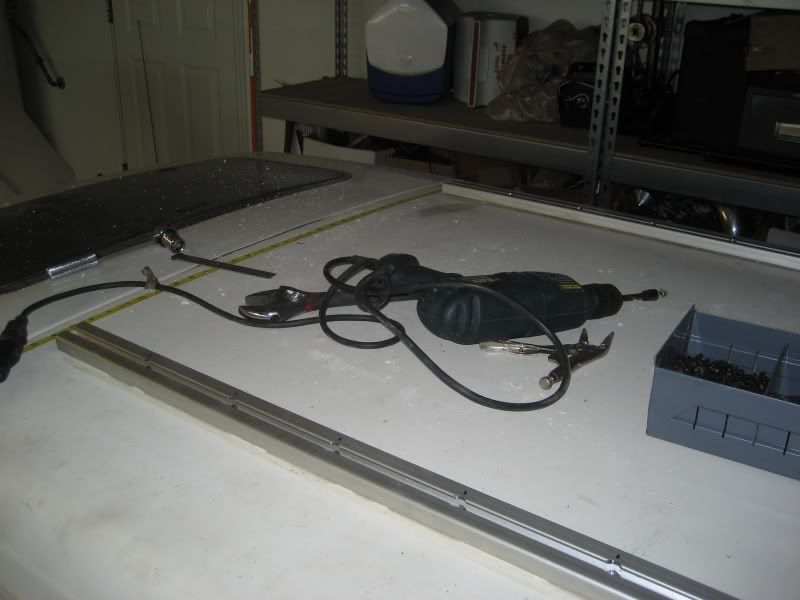
Then there is the actual mounting of the rack to the truck. While searching a while before starting I had come across a post where the user had found some table saw set up rails that he mounted to his roof via rivet nuts. Having an automation background I ordered up some T-Nut channel and T-nuts, along with nut-inserts. This way, the rails would be mounted to the roof, which will allow me to possibly design other types of racks to mount to the roof in the future.
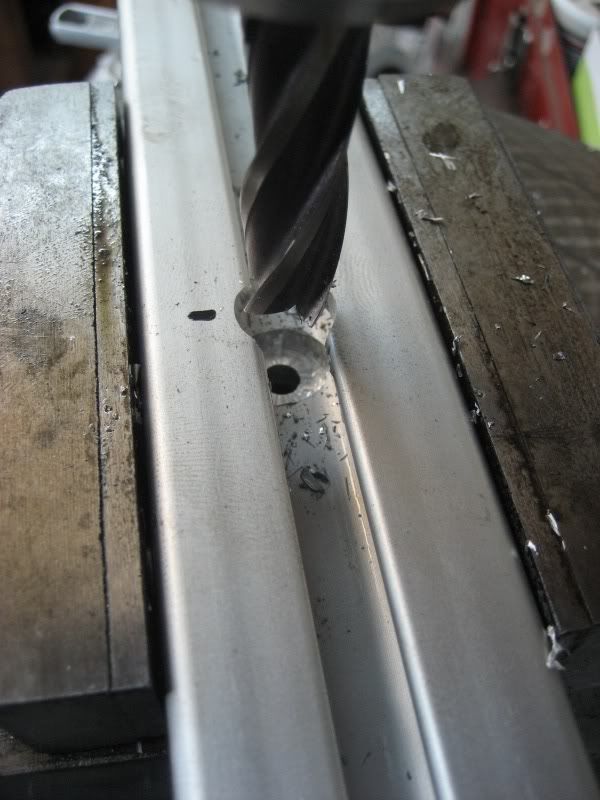
The rails had to be machined to accept through holes and counter bores for the bolt heads. I do have a full machine shop (currently not wired in due to my recent move to the new house) so I used the drill press with mostly decent results (a bit of chatter from the 1/2" end mill is all).


To mount the rails to the roof I drilled a boat load of holes for the nut inserts (11 per side for #10-24 nut inserts). Take time and make sure everything is where you want it...cause once you drill the fiberglass, its not easy to repair.


Test fit

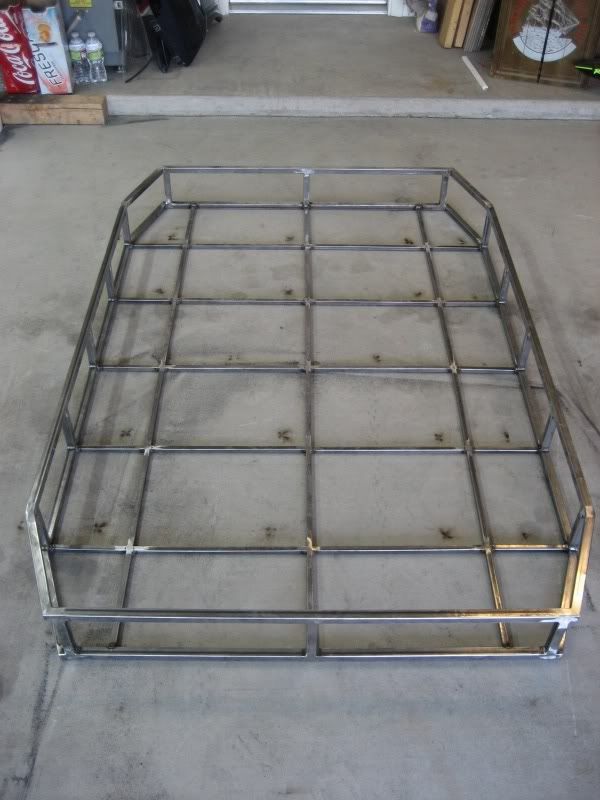
Finally for mounting I drilled some 2" strap for 1/4" bolts and welded them to the underside of the roof rack structure. Gave it a quick shot of black paint which will later become powder coat. I intend on adding lights in the future and will weld mounting tabs to the rack, then it will be ready for the powder coating.
And the final result


Thanks for checking it out. I will post build threads of all my major fab and modification projects as I get to them. Next in line, of which the steel is already in house for, are a set of sliders. I have a friend with a plasma table who is cutting some mounting plates for the frame...but more on that in the future.
I started by working out a few of the bugs such as the the blower motor not working on setting I and II which turned out to be the resistor. I also went through the entire rear window assembly after it started working only intermittently.
After looking through all my options, I have decided that I am going to go for an overland styled vehicle since this style fits the type of use I prefer. The first thing I did was order a small pile of steel and start fabbing up a roof rack.
I drew up a simple design to follow and can offer a PDF to anyone who wants a copy for their own use, just mail me and it's yours.
Here is a link to the original thread with the rail install idea that I used...thanks snwbrdr852
https://www.yotatech.com/forums/f116...nstall-197292/
Let the cutting commence
Time for the welder
Now....time to accessorize! A highlift, shovel, and axe should do for now.
Then there is the actual mounting of the rack to the truck. While searching a while before starting I had come across a post where the user had found some table saw set up rails that he mounted to his roof via rivet nuts. Having an automation background I ordered up some T-Nut channel and T-nuts, along with nut-inserts. This way, the rails would be mounted to the roof, which will allow me to possibly design other types of racks to mount to the roof in the future.
The rails had to be machined to accept through holes and counter bores for the bolt heads. I do have a full machine shop (currently not wired in due to my recent move to the new house) so I used the drill press with mostly decent results (a bit of chatter from the 1/2" end mill is all).
To mount the rails to the roof I drilled a boat load of holes for the nut inserts (11 per side for #10-24 nut inserts). Take time and make sure everything is where you want it...cause once you drill the fiberglass, its not easy to repair.
Test fit
Finally for mounting I drilled some 2" strap for 1/4" bolts and welded them to the underside of the roof rack structure. Gave it a quick shot of black paint which will later become powder coat. I intend on adding lights in the future and will weld mounting tabs to the rack, then it will be ready for the powder coating.
And the final result
Thanks for checking it out. I will post build threads of all my major fab and modification projects as I get to them. Next in line, of which the steel is already in house for, are a set of sliders. I have a friend with a plasma table who is cutting some mounting plates for the frame...but more on that in the future.

Thread
Thread Starter
Forum
Replies
Last Post


