
3rd gen 4runner Front Bumper Build Pictures
 01-24-2012, 04:20 AM
#1
Registered User
Thread Starter

Join Date: Jun 2010
Location: Bayport, MN
Posts: 13
Likes: 0
Received 0 Likes
on
0 Posts
3rd gen 4runner Front Bumper Build Pictures
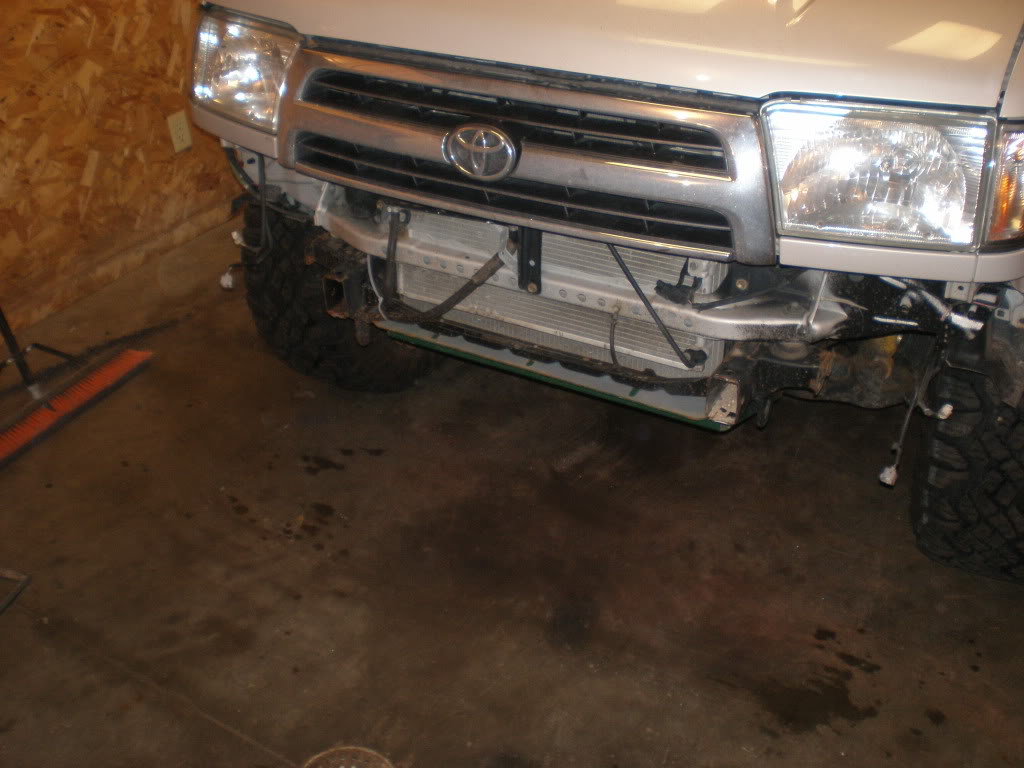
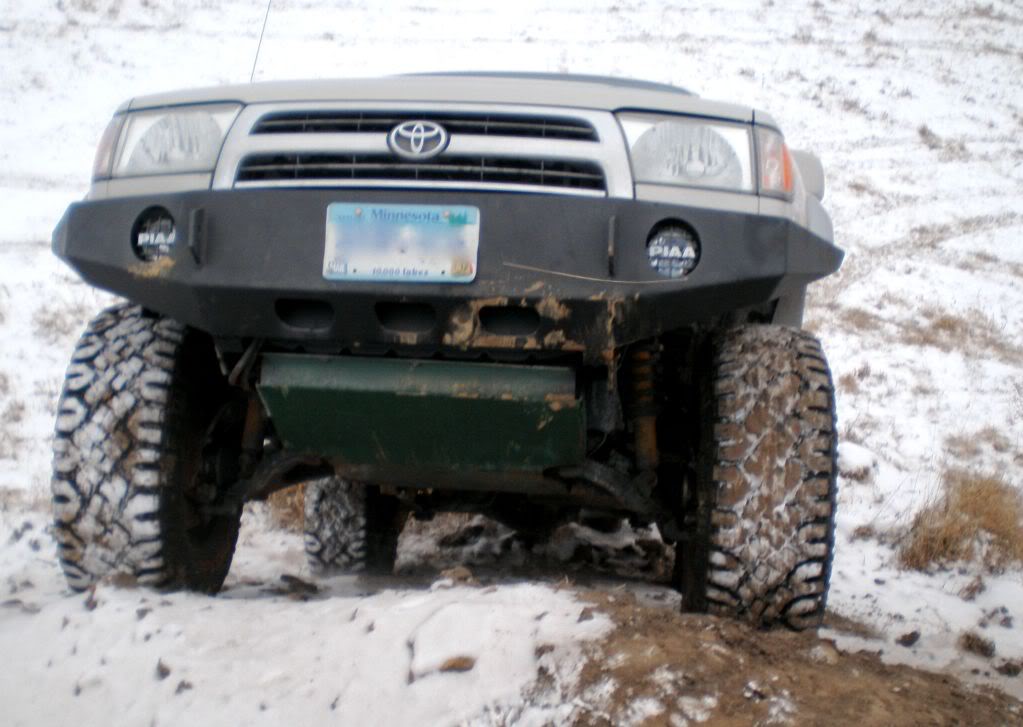
I wanted to post pictures of my build for everyone. The mounts always seem to be what their aren't many pictures so I tried to make mine obvious. I have learned a lot from other peoples builds, so feel free to ask if you have questions. I chose not to do a brace to the ends of the bumper because it seemed like overkill. The plate is all 3/16" plate and it weighs just over 100lbs.
All plastic removed and the frame end caps cut off.
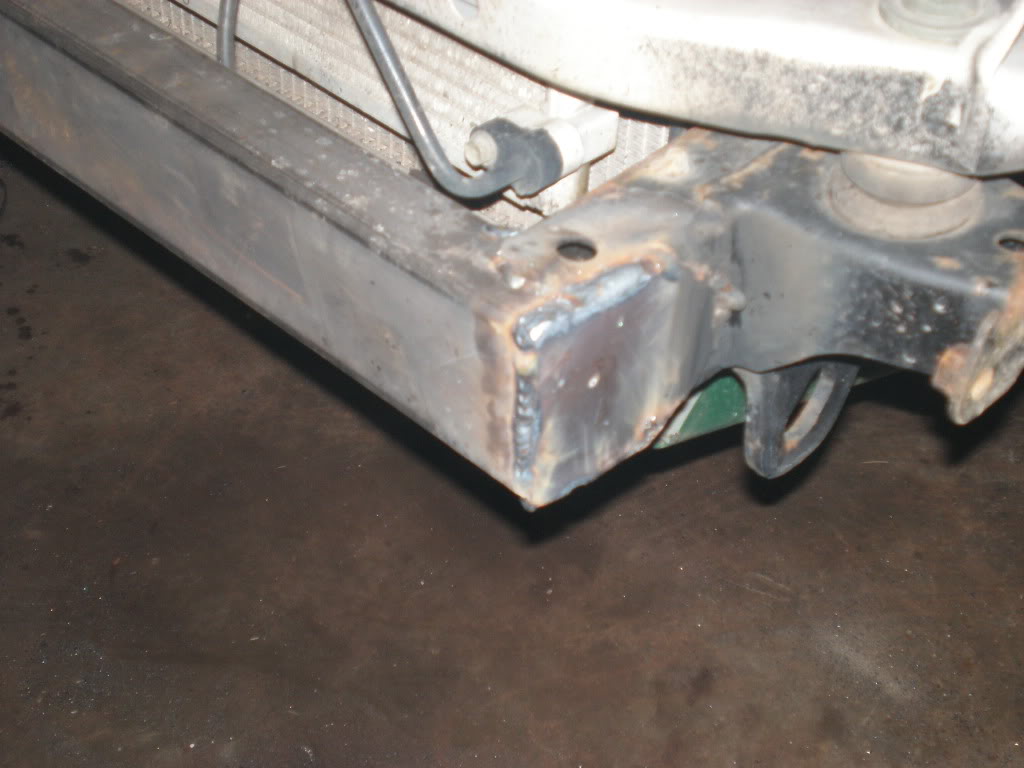
Piece of 2"x3" tube notched it into the frame rails and then fish plates on the ends
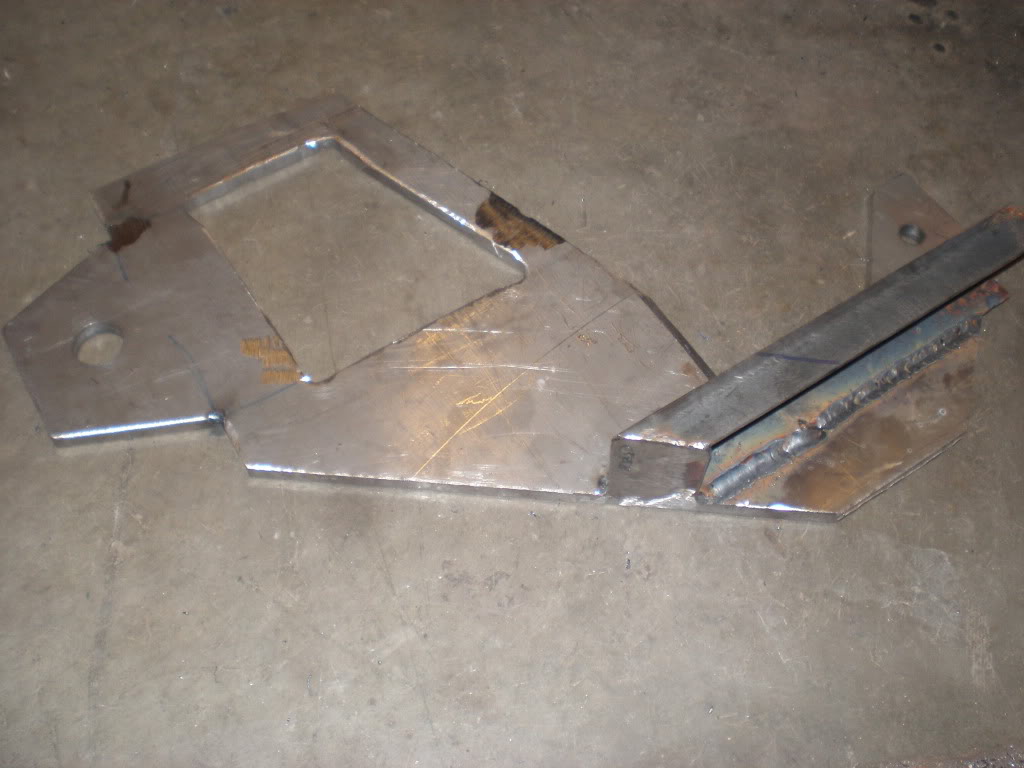
Main mounting brackets (3/8" plate), bolted through the frame in the rear and 2 bolts to the stock tow hook points. It also is tight against the body mount bracket to prevent them from ever pushing back into the radiator. Channel on the bottom for strength and protecting the bolt heads. There is room for a winch in there, I just need to add a support plate and cut the hole for it.
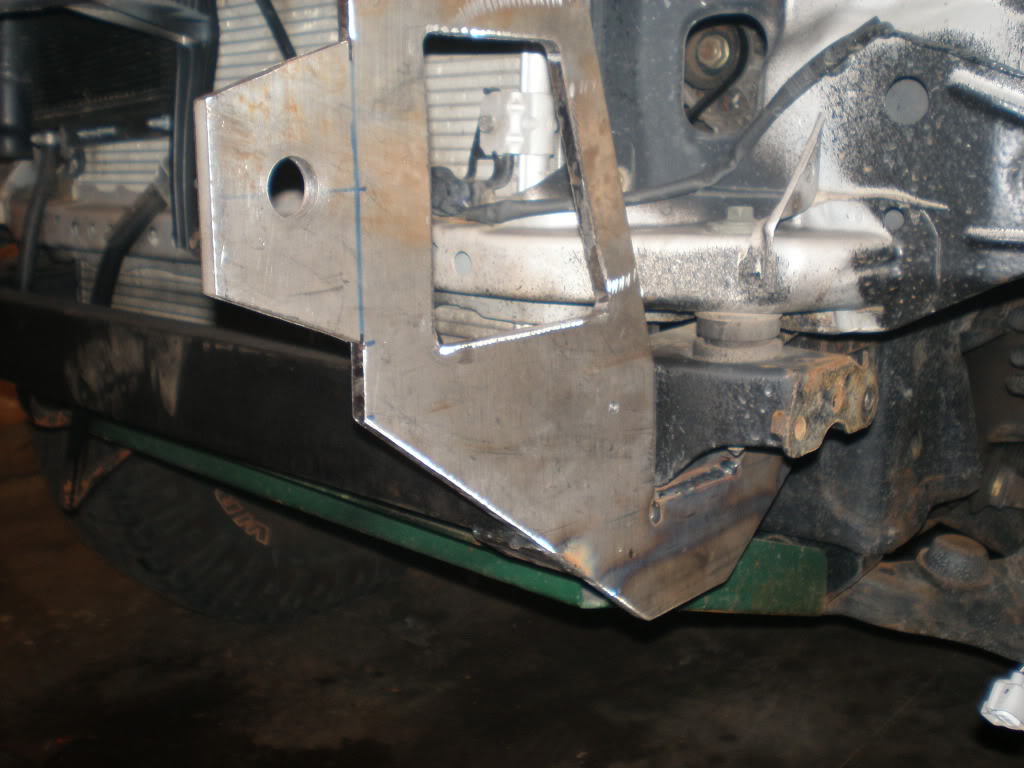
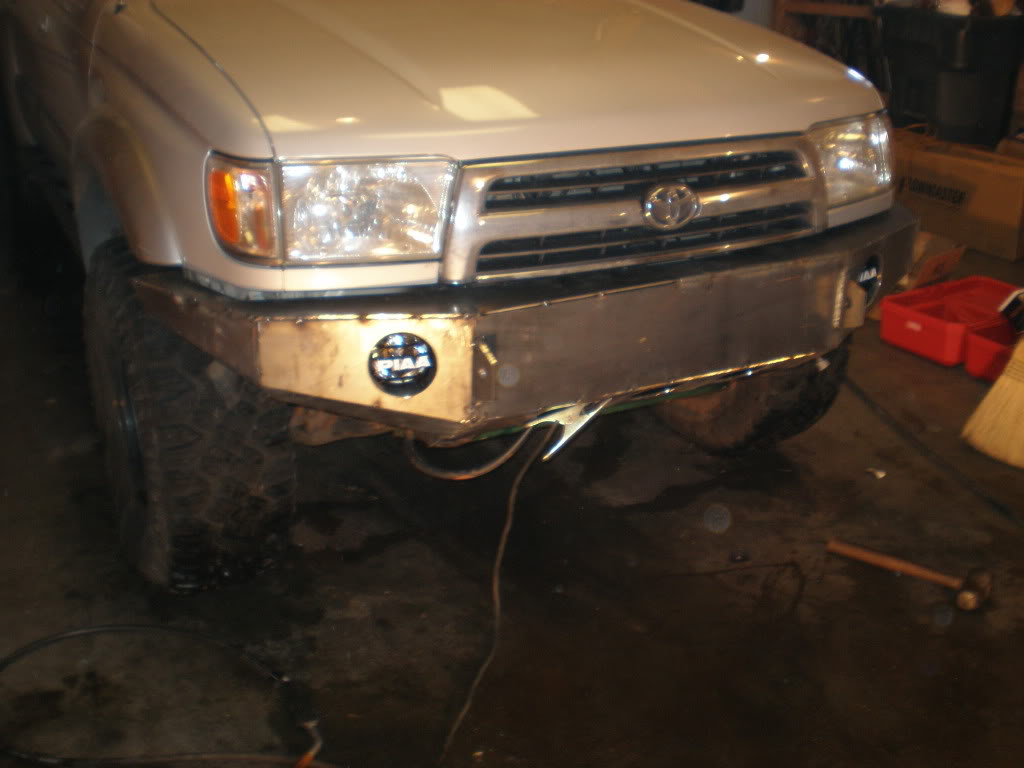
Drivers side tacked in place.
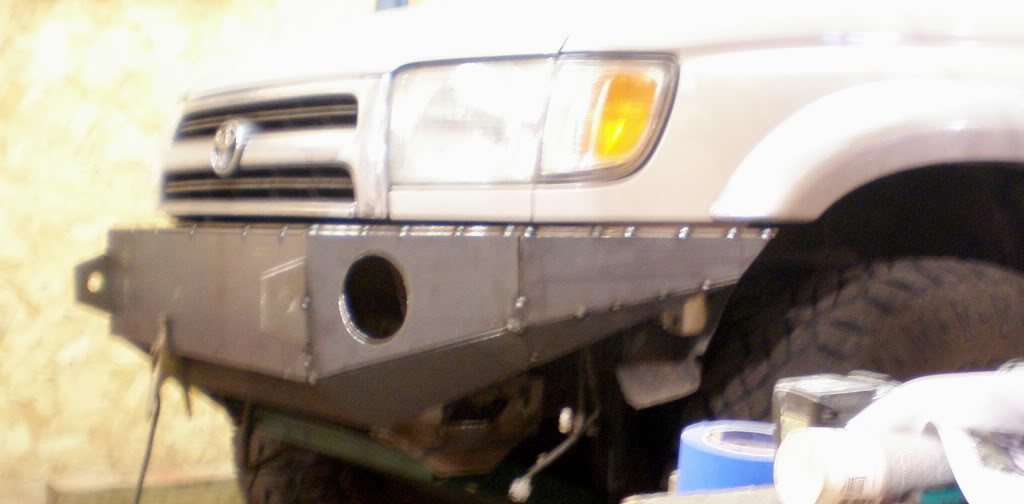
Hard to see, but the lower center section has 3 holes that mirror the shape of the grill, and there are 2 mounting tabs the bolt through the new front cross member.
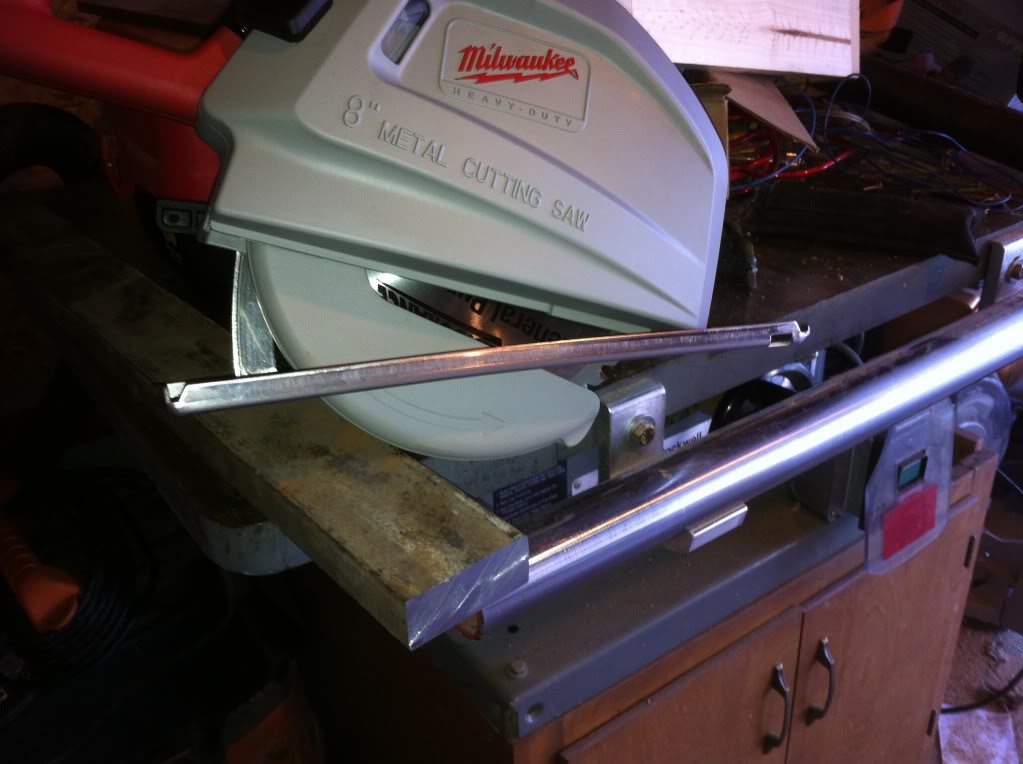
I will give much credit to the Milwaukee metal cutting circular saw I bought for this project. It will cut any thickness of metal with no heat, no sparks, and a mirror finish in about double the time it takes to cut the same thickness of wood.
All plastic removed and the frame end caps cut off.
Piece of 2"x3" tube notched it into the frame rails and then fish plates on the ends
Main mounting brackets (3/8" plate), bolted through the frame in the rear and 2 bolts to the stock tow hook points. It also is tight against the body mount bracket to prevent them from ever pushing back into the radiator. Channel on the bottom for strength and protecting the bolt heads. There is room for a winch in there, I just need to add a support plate and cut the hole for it.
Drivers side tacked in place.
Hard to see, but the lower center section has 3 holes that mirror the shape of the grill, and there are 2 mounting tabs the bolt through the new front cross member.
I will give much credit to the Milwaukee metal cutting circular saw I bought for this project. It will cut any thickness of metal with no heat, no sparks, and a mirror finish in about double the time it takes to cut the same thickness of wood.

 05-21-2012, 08:17 AM
#6
Registered User
Thread Starter
Join Date: Jun 2010
Location: Bayport, MN
Posts: 13
Likes: 0
Received 0 Likes
on
0 Posts
Thanks. I don't have dimensions other than going out an measuring them. Its really just trial and error to get everything right. The top plate is traced off the stock bumper then the flat front plate was the width of the frame rails and height up to the grill. If you want actual plate cutout measurements, id be happy to fill in the dimensions on a drawing but I'm not going to do the drawing myself just to give away.

Trending Topics
05-21-2012, 09:45 AM
#9
Registered User
Thread Starter
Join Date: Jun 2010
Location: Bayport, MN
Posts: 13
Likes: 0
Received 0 Likes
on
0 Posts
05-21-2012, 10:58 AM
#10
very cool. I plan on doing about the same design as you did with the addition of some tubing hoops similar to my ARB to protect the lights and grill more. Will be putting a winch in that one full time also.
I'm also planning to modify my ARB on my taco to put a 2" receiver on it as my winch is in a cradle; then I can hook it up to either end, or leave it home when not out on the trails. I have enough wiring to cover both ends.
will need some betta tools for certain to tackle those, seeing that saw just gave me a new puzzle piece.
 05-31-2012, 02:11 PM
#13
Registered User
Mad skills thats looks great, and much more fun then just buying an ARB... If you sent me picture with detailed dimensions i could make an AutoCad drawing for anyone else who wants to build there own. Only if you want to give away your secrets of course. ;-)


Thread
Thread Starter
Forum
Replies
Last Post


