To Herculine or not to Herculine???
#1
To Herculine or not to Herculine???
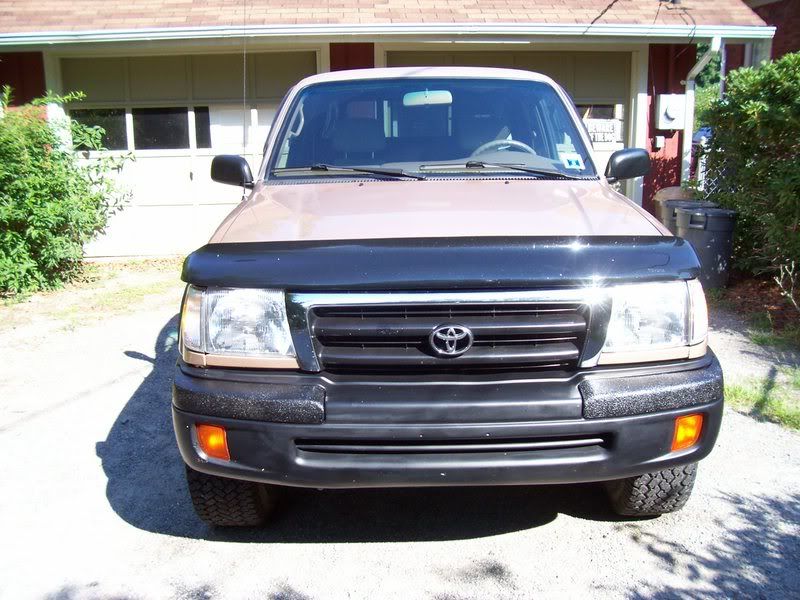
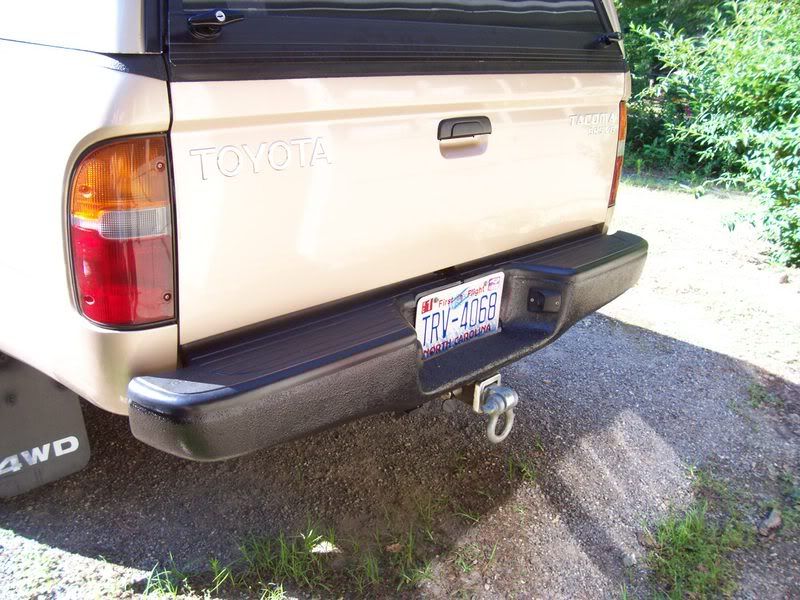
So I just got done Herculining my rear bumper and the chrome pieces on my front bumper for my '99 taco.
I want to do something with my grille and my fender flares. I'm thinking of Herculining my fender flares. Has anyone done this and liked the result? I'm just afraid that it will be too rough of a surface or something.
Also....I was thinking of getting a black chrome grille for my truck. Does anyone make something like that?
Thanks!
Oh...and I'll post pics of my Herculining adventures soon!
#4
Looks good, I plan on doing my whole rig if that means anything to you.
BTW what colour is that? haven't seen any truck around here in that colour. Is it tan or pink? No offence but looks awefully different!
BTW what colour is that? haven't seen any truck around here in that colour. Is it tan or pink? No offence but looks awefully different!
Last edited by blueyoda; 07-18-2008 at 07:05 AM.
#5
It's probably just the way the light is hitting it. It's Desert Sand Mica as Toyota would call it. Or Tan....it's got a metallic flake it in that is the "Mica" I guess.
I was skeptical about the color when I got the truck but this shade of tan hides the dirt and dust like a champ!
I was skeptical about the color when I got the truck but this shade of tan hides the dirt and dust like a champ!
#6
I'LL take your word for it, beacause it sure looks pink on here. LOL. Black and tan is one of my all time favorite colour combos. try the rocker panels, another guy here did it on his runner, black and tan (the drink is good too, smithwicks and guiness MMMMM)
#7
Trending Topics
#8
It's probably just the way the light is hitting it. It's Desert Sand Mica as Toyota would call it. Or Tan....it's got a metallic flake it in that is the "Mica" I guess.
I was skeptical about the color when I got the truck but this shade of tan hides the dirt and dust like a champ!
I was skeptical about the color when I got the truck but this shade of tan hides the dirt and dust like a champ!
Oh, the herculiner looks awesome on the bumpers and fender flares!! About how much did it cost to have that done?
#11
#15
I did all the work myself.
Oh....and i bought some new fender flare trim from the dealership. It was $30.00 for 30 feet of it. That's the only length you can buy from the dealer I guess. Worked out well though....I only had enough left for one more fender flare, in case anything screws up I guess.
So it cost me $62.00 and about a day's work to get it done.
Cheap mod if you ask me!!!
If anyone wants a walkthrough just let me know...I think it's already been covered on here somewhere though.
Last edited by Quattro15; 07-18-2008 at 08:38 AM.
#16
#17
I took everything off but the rear bumper...I did that while it was on the truck as I didn't want to risk breaking the bolts like I've heard people doing on here when removing the bumper. I took all fixtures off the bumper though of course.
It went very smooth. I have a small circular sander that hooks up to my air compressor. I sanded the chrome with that and touched up hard to get to areas with some sandpaper. I sanded until there was nothing shiny, just all scratches. Then I wiped the chrome down with turpentine and hosed all remaining debris off with my air compressor. I put on a coat of Herculiner, waited an hour, put on another coat, waited two hours and reattached everything.
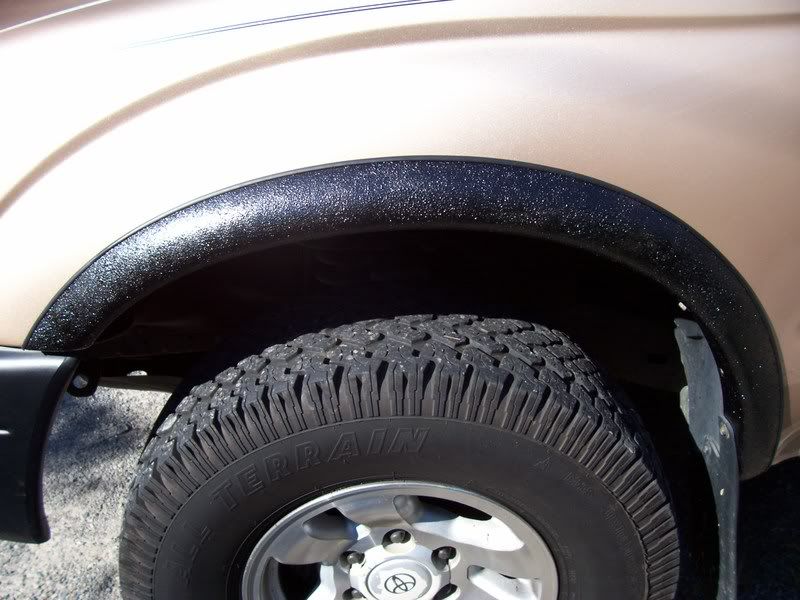
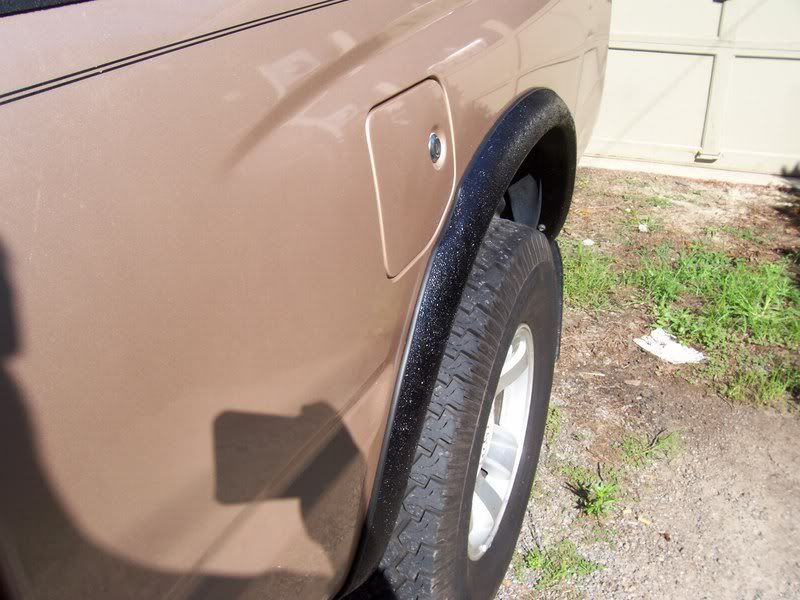
For the flares I took them off, removed the old rubber trim, scrubbed them with a scotch-brite pad, washed them off with soap and water, blasted them dry with the air compressor and let them sit for 30 mins in the sun just to be sure all the water was gone. Then applied the herculiner to the outside of the flares only as I didn't see the need to do the inside of them.
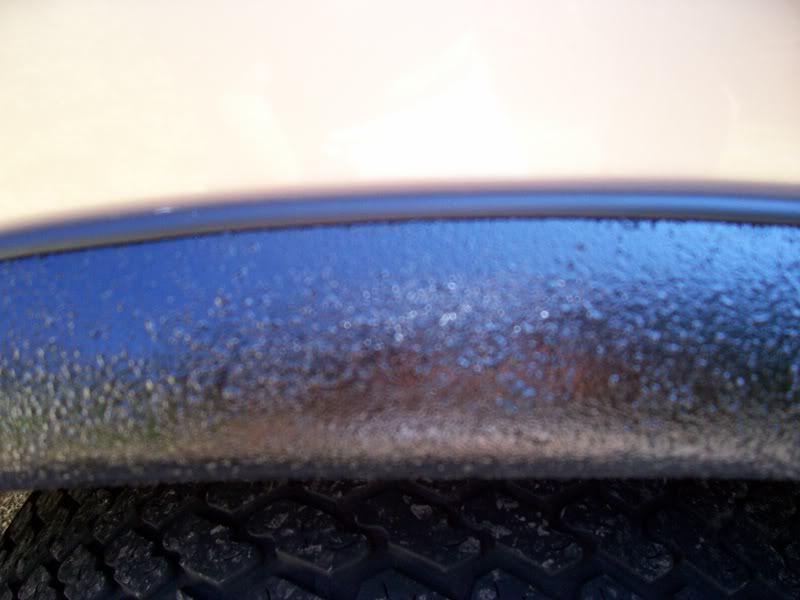
Now I Herculined the entire outside of the flare as my new rubber trim looked like it would just go on right over the newly lined flare. As you can see from the closeup pic (sorry it's blurry!) it did just what I thought it would do. This was much easier then taping the flare off to account for the trim.
I applied the Herculiner with some cheapo foam rollers as I didn't buy the kit that came with these weird foam rollers that looked like they would have put the liner on too thick for what I was wanting to do anyway. It was 30 bucks for the quart that I got...of which I only used half of it buy the way, or 90 bucks for a gallon of it, the weird rollers, scotch brite pad, etc. Nothing that I NEEDED was it the kit and I had no clue what I'd do with a gallon of that stuff either. Even though it's the better deal as you practically get a quart for free.
MY ONE WARNING FOR ANYONE DOING THIS TO THEIR RIG!!!!!!!!!!!!!
If you plan on reusing the Herculiner DO NOT allow any of it to remain on the can's lid area where it's going to seal with the can when you put it back on. If there is Herculiner in that gap when you close the can it will dry and bond the metal together. This makes the can ridiculously difficult to reopen. I practically had to destroy the can to get back into it when I did my flares as that was on a different day.
Also....wear gloves when applying Herculiner. It's almost impossible to wash off your hands if it's almost dry.
#18
Wow, awesome writeup Quattro15!  The rollers it came with might have been intended for a larger surface (the bed, floorboards, etc). I really like this mod, I might do this when the weather cools off some. I'm planning on getting the bed Line-X'd this winter also.
 The rollers it came with might have been intended for a larger surface (the bed, floorboards, etc). I really like this mod, I might do this when the weather cools off some. I'm planning on getting the bed Line-X'd this winter also.
#20
My bed is also Line-X'd...WAY BETTER then Rhino IMO. I did have to put some Herculiner on the bottom of the bed though...I don't really know how to explain where. It's the part of the bed where, when the tailgate is down, I got wood chips and the like stuck in the gap between the bed and the tailgate. About half of that area was line-x'd and I could have gotten the rest done for free but I figured I'd save myself the trip and knock it out with the Herculiner. I had to take my tailgate off to do that properly as well. It won't scratch up any more though!



 A locker in a 2x4


