
xxxtreme22r's 1987 Pickup Build-Up Thread

 02-07-2012, 11:29 AM
#1302
Super Moderator
Staff
iTrader: (1)
Join Date: Aug 2008
Location: Anderson Missouri
Posts: 11,788
Likes: 0
Received 25 Likes
on
22 Posts
Hello Brandon..I follow your thread quite a bit and you are one of the ones that I do searches on for repairs or questions, but I was watching a show today and they were talking about mud build up on your style of wheeling.
Dont know if you know about it and I just seen it today and wouldnt of thought of it myself. But they were showing that before a run to cover your underside with WD-40. Supposed to help keep it from sticking so bad and making clean up a little easier. Guess they sell it in a larger spray can that has a wide coverage.
Hopefully this is one for the 99 times you have helped solve some of my questions.
02-07-2012, 11:32 AM
#1303
Registered User
Thread Starter
Yeah, I use a healthy coating of used engine oil I save after my oil changes on the tires. Haven't used anything on the frame stuff yet though. Thanks.
02-08-2012, 04:36 AM
#1305
Registered User
Thread Starter
This Passenger side CV is being a .....well you know. Might have to undo the lower balljoint on this side. Not quite sure why. I got the inner part of the CV past the diff which was little more difficult due to the diff being on that side, but still can't get the outer part past the lower control arm.
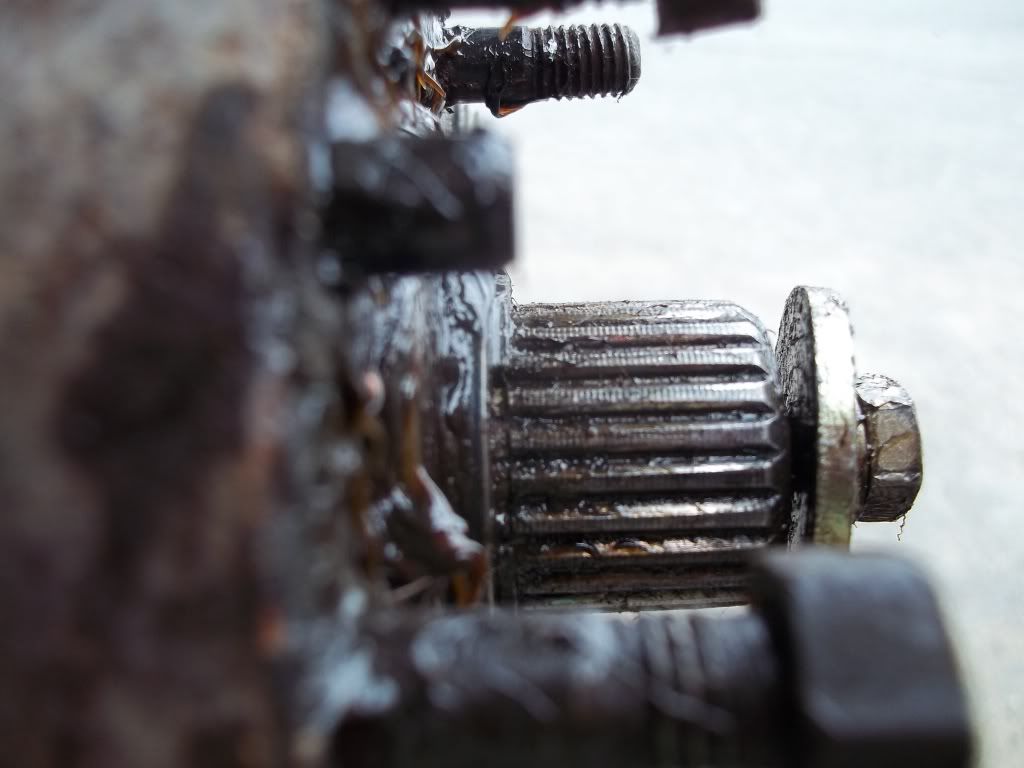
Oh yeah and I bent one of the little studs that hold the hub on as well. I had to persuade it pretty good to get it off their. But beating on the stud with the nuts on was what inevitably worked. This time I didn't trash the hub body.
Oh yeah and I bent one of the little studs that hold the hub on as well. I had to persuade it pretty good to get it off their. But beating on the stud with the nuts on was what inevitably worked. This time I didn't trash the hub body.
Last edited by xxxtreme22r; 02-08-2012 at 04:38 AM.
02-08-2012, 08:09 AM
#1306
Registered User
Thread Starter
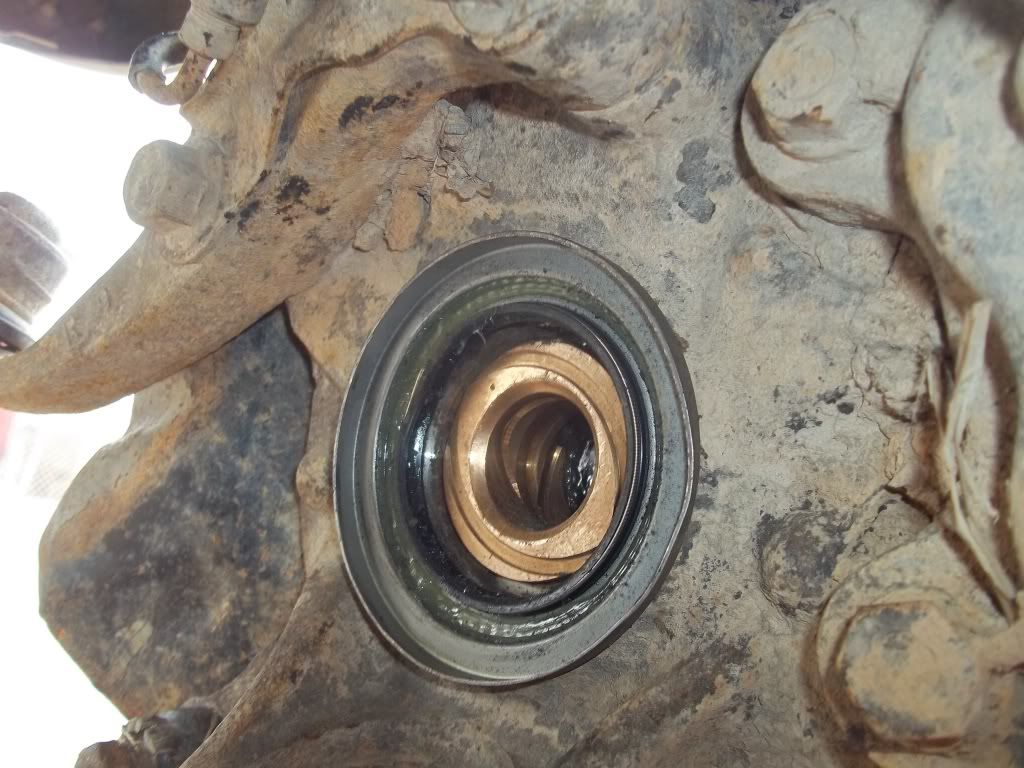
Still can't get the c-clip on. It's much closer then with the original seal, however just not close enough. I wonder if the 'seal on the CV isn't quite right for this new knuckle seal.
Tried Prying on the CV with the center bolt and washer on and using the prybar against the hub studs with no avail. It's just a c hair away from snapping in place. lol. And yes the new seal is in all the way. Maybe too much grease? I don't know.
The seal is sealing really well though. If I pull it out of the knuckle it sounds like a p fart.
 02-08-2012, 08:14 AM
#1308
Registered User
Thread Starter
Doesn't get any bigger then a 4lb mini sledge. At least not without screwing something else up. lol.
With that said, I need at least 1 new lower ball joint, saw an issue with that while unbolting the 4 bolts. Not catastrophic, but a slight gap between the castle nut and the control arm. But that thing is gonna have to be cut off. Probably the original ball joint to the truck.
Snow is coming to once again this afternoon/early evening. Wrenching on the truck go figure. Haven't had a lot of snow and not that I am having issues, it's gonna snow. Supposed to only be an inch or less, but some are saying 1-2". Who knows.
Last edited by xxxtreme22r; 02-08-2012 at 08:26 AM.

 02-08-2012, 09:26 AM
#1312
Registered User
Thread Starter
I knew instead of getting both knuckle seals, I should have gotten matching seals to eliminate the possibility of having incompatible ones. I just don't know if this is right or not.
As you can see how darn close I am to getting that C-clip in.
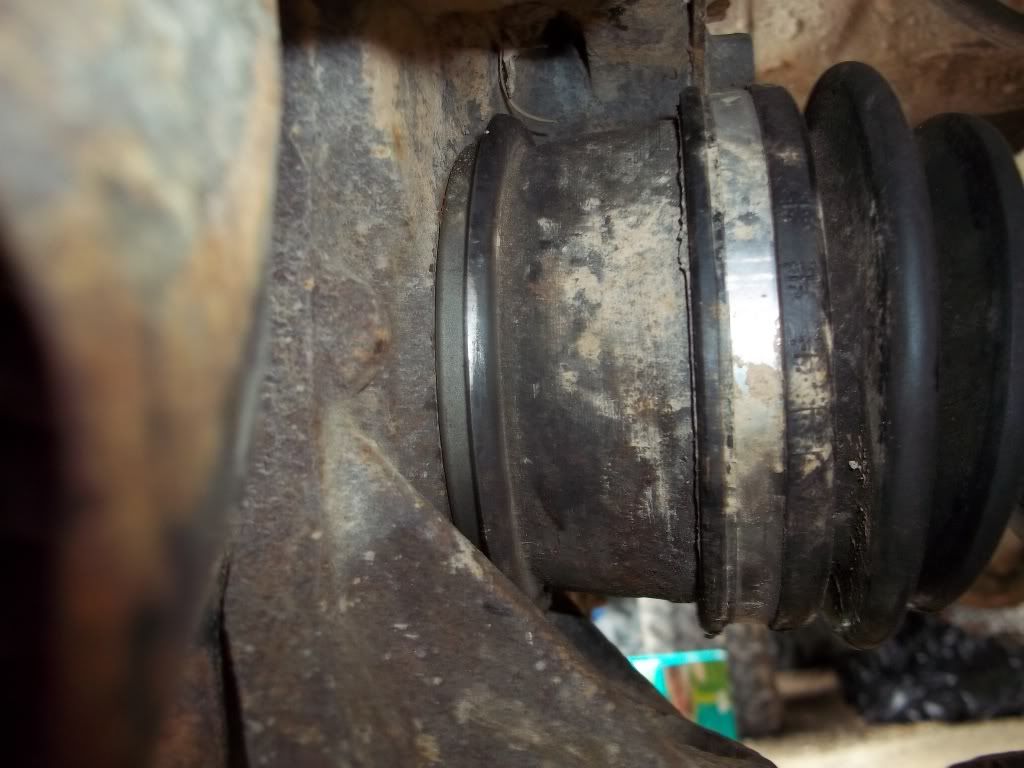
As you can see how darn close I am to getting that C-clip in.
02-12-2012, 08:51 AM
#1314
Registered User
Join Date: Nov 2010
Location: nc
Posts: 59
Likes: 0
Received 0 Likes
on
0 Posts
I was wandering if you could tell me what size spacers you used for the throttle linkage? Ive got the one piece for the same reason you had, the two piece one wont seal up at all. Thank you.
Got the new 1 piece adapter in Friday night.
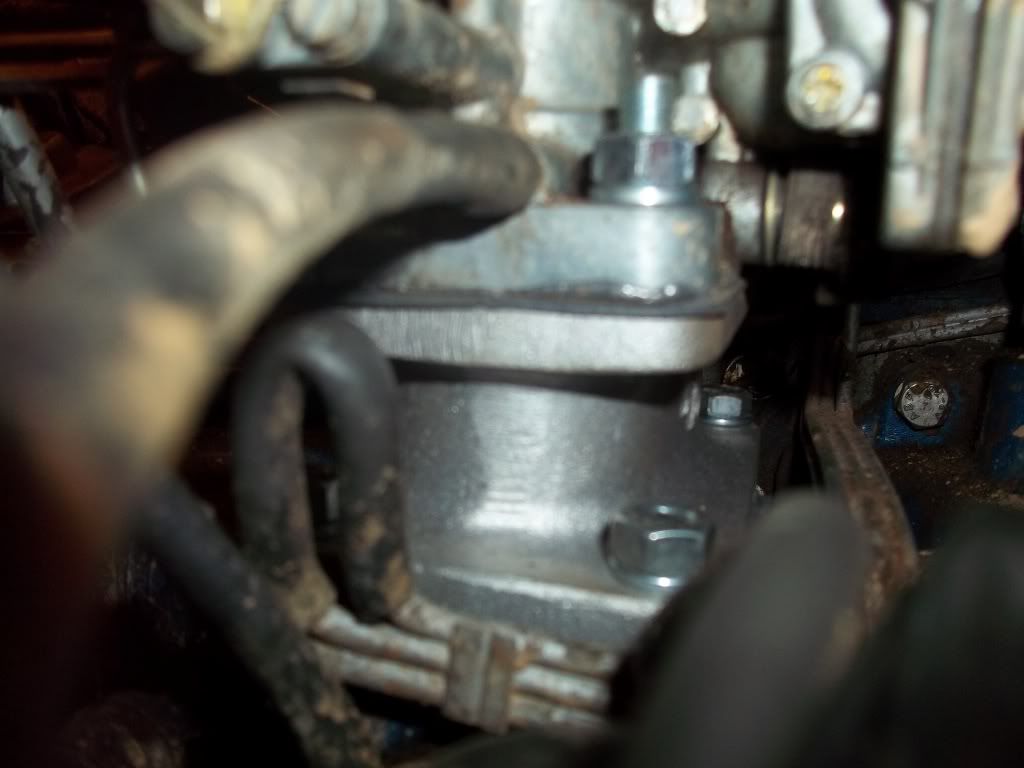
1st thing I had to do was plug up this hole for the PCV. Didn't really have to since my 87 doesn't have a provision in the intake manifold for the vacuum port, but just to be on the safe side.
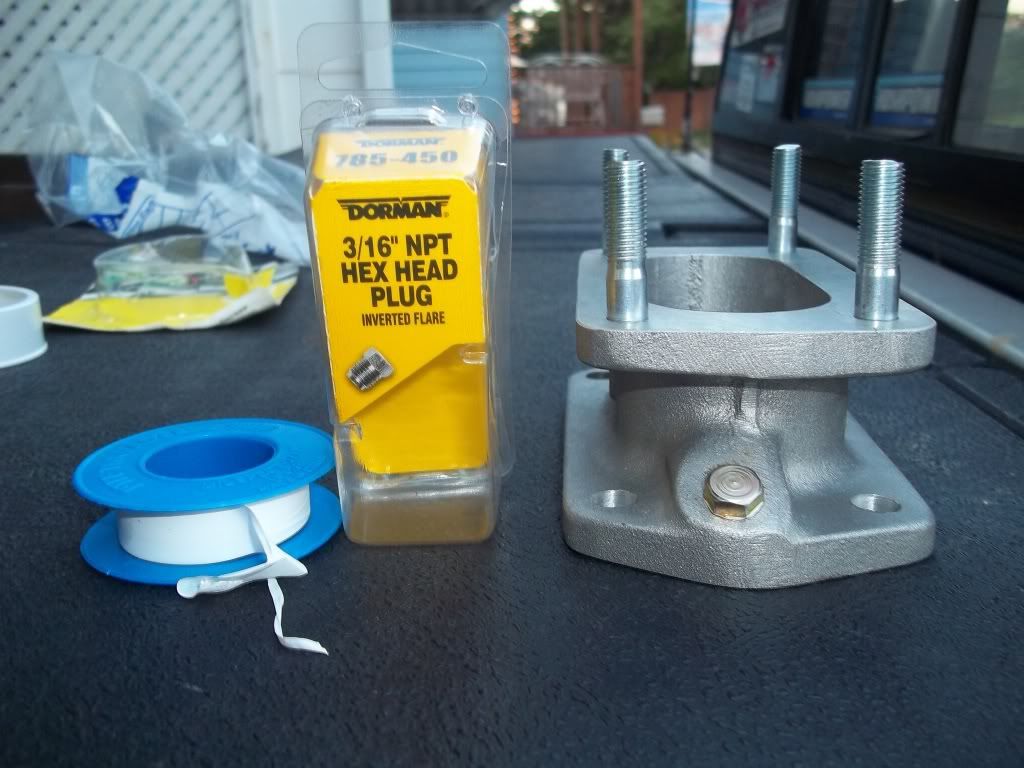
With the time constraints I was working with I didn't take many photos of the whole process. The studs themselves were a little off on the adapter making it a little difficult to get the carb onto the top of it, but I managed with a little persuasion.

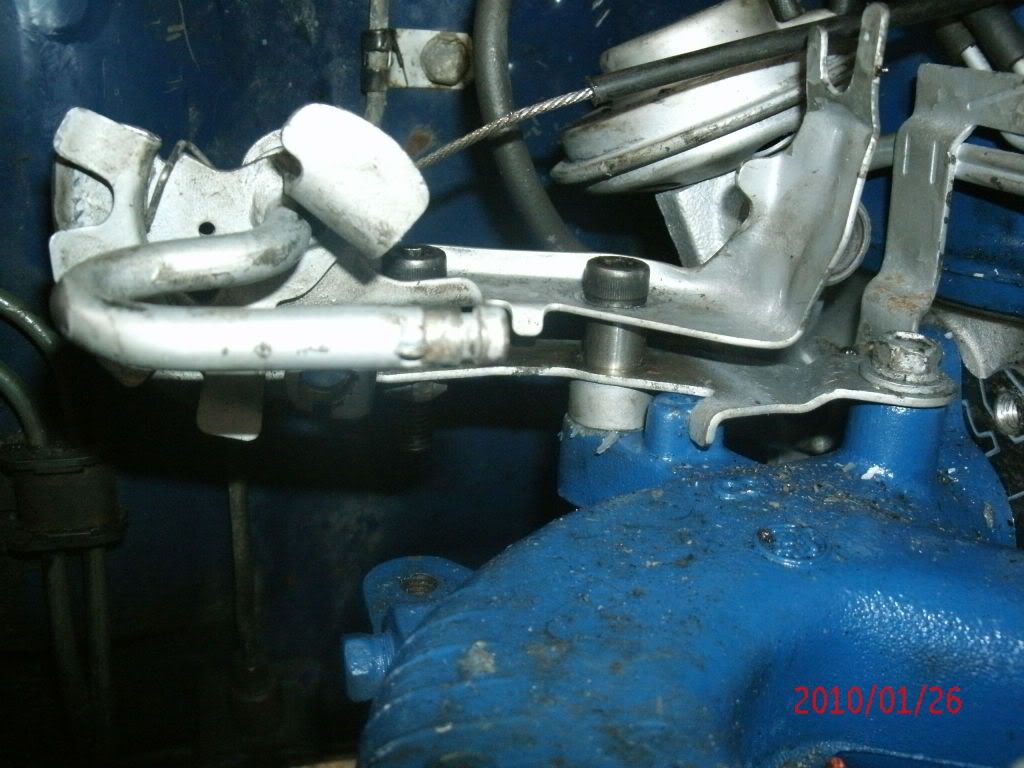
The next thing to do was extend the extensions that were in place from the original weber kit since this adapter is a little taller then the two-piece. Lowes ended up having what I needed as far as the sleeves and longer bolts. NOTE: the linkage bracket came extremely close to the EGR valve that I still have in place making it a little tricky to get one of the bolts in.
Before
After.

No I didn't put more mud on as a part of this process.The before photo was taken when the carb was put on over a year ago.
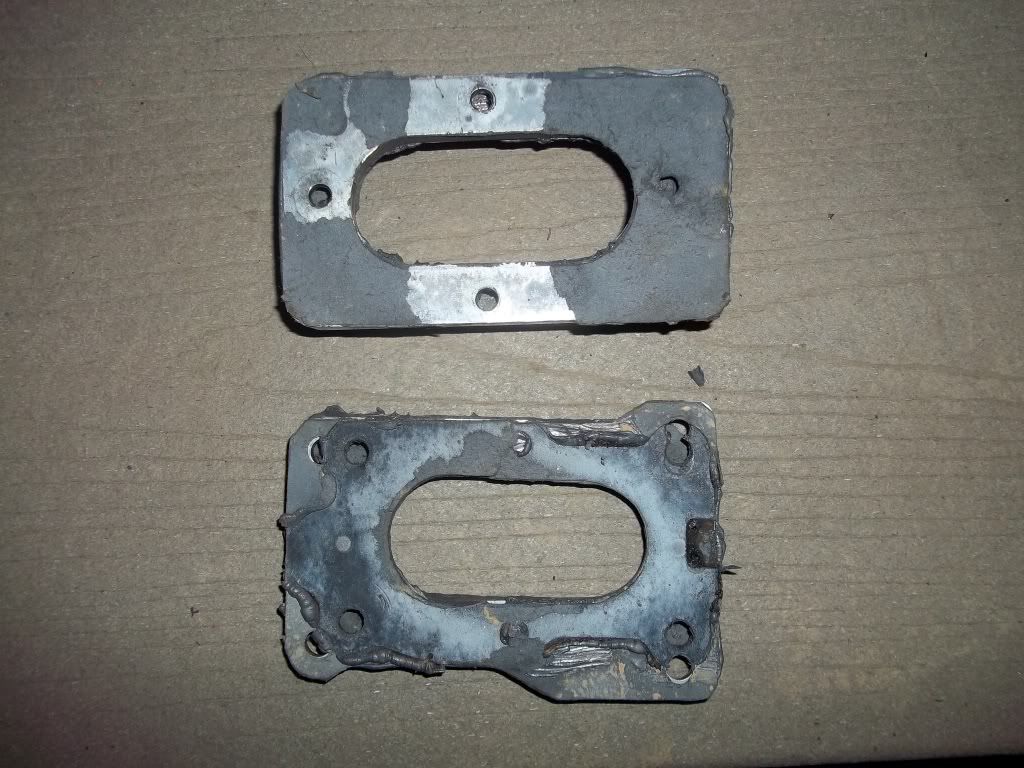
After trying several times to get this two-piece adapter to seal correctly this is what I am left with. I tried using that fuel safe never dry super tacky sealant, didn't work. I tried using thicker gaskets that I cut from material bought from NAPA, didn't work. Last resort was using ultra black RTV with the homemade gaskets, also didn't work. NOTE: using RTV made it extremely hard to get this thing off as you can probably tell in the next few photos.

And lastly, pic taken at approx 11:30 at night. Notice my work light?

Didn't get a final installed pic with the filter on, but I was worried about hood clearance with the taller adapter and the taller type filter. But it clears, but extremely close. After install,
I noticed a great reduction in idle (due to the vacuum leak caused by the two-piece adapter, so I had to screw in the idle speed screw. In addition to that I went from 2 1/2 turns out on the mix screw to approx 2 turns out. Still tweaking on it though. Both the girlfriend and I noticed a change in exhaust tone as well. An improvement in low rpm throttle response is also felt. It's still somewhat of a dog though with the 33's and 4.10's but I can feel it.
1st thing I had to do was plug up this hole for the PCV. Didn't really have to since my 87 doesn't have a provision in the intake manifold for the vacuum port, but just to be on the safe side.
With the time constraints I was working with I didn't take many photos of the whole process. The studs themselves were a little off on the adapter making it a little difficult to get the carb onto the top of it, but I managed with a little persuasion.
The next thing to do was extend the extensions that were in place from the original weber kit since this adapter is a little taller then the two-piece. Lowes ended up having what I needed as far as the sleeves and longer bolts. NOTE: the linkage bracket came extremely close to the EGR valve that I still have in place making it a little tricky to get one of the bolts in.
Before
After.
No I didn't put more mud on as a part of this process.The before photo was taken when the carb was put on over a year ago.
After trying several times to get this two-piece adapter to seal correctly this is what I am left with. I tried using that fuel safe never dry super tacky sealant, didn't work. I tried using thicker gaskets that I cut from material bought from NAPA, didn't work. Last resort was using ultra black RTV with the homemade gaskets, also didn't work. NOTE: using RTV made it extremely hard to get this thing off as you can probably tell in the next few photos.
And lastly, pic taken at approx 11:30 at night. Notice my work light?
Didn't get a final installed pic with the filter on, but I was worried about hood clearance with the taller adapter and the taller type filter. But it clears, but extremely close. After install,
I noticed a great reduction in idle (due to the vacuum leak caused by the two-piece adapter, so I had to screw in the idle speed screw. In addition to that I went from 2 1/2 turns out on the mix screw to approx 2 turns out. Still tweaking on it though. Both the girlfriend and I noticed a change in exhaust tone as well. An improvement in low rpm throttle response is also felt. It's still somewhat of a dog though with the 33's and 4.10's but I can feel it.
02-12-2012, 09:18 AM
#1315
Registered User
Thread Starter
off-hand I don't remember. I just took the height difference between the two adapters and added to the length of the original spacers and bolts. Usually I am pretty good with documenting that kinda of stuff. Sorry. 
03-12-2012, 05:52 PM
#1317
Registered User
Thread Starter
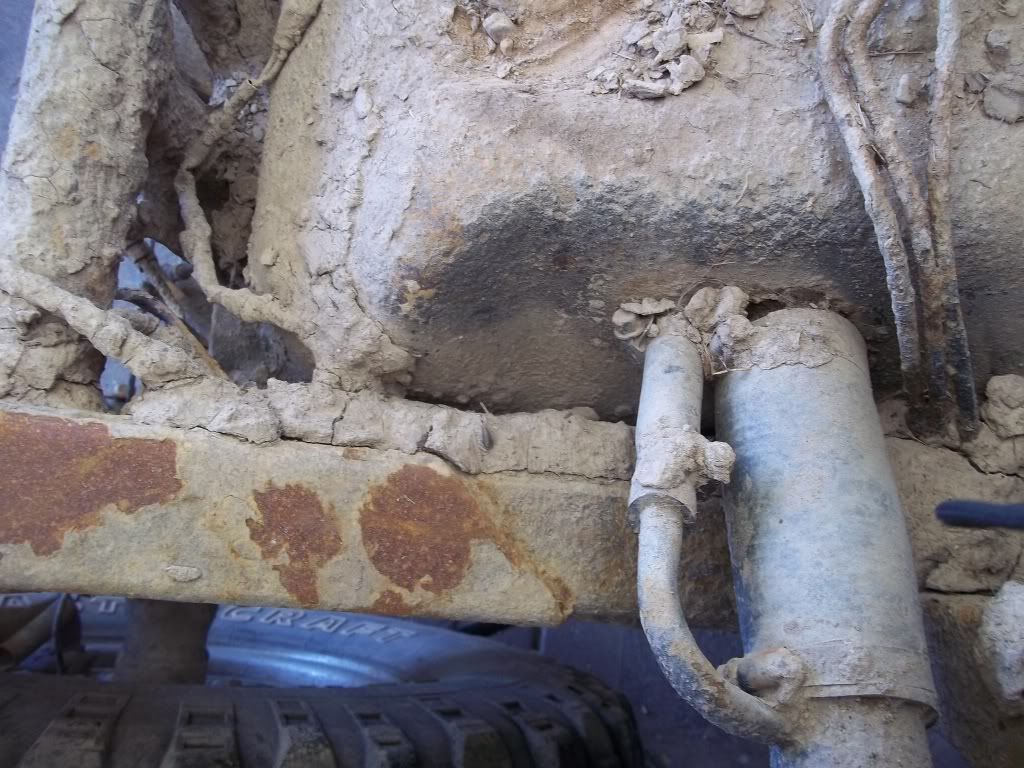
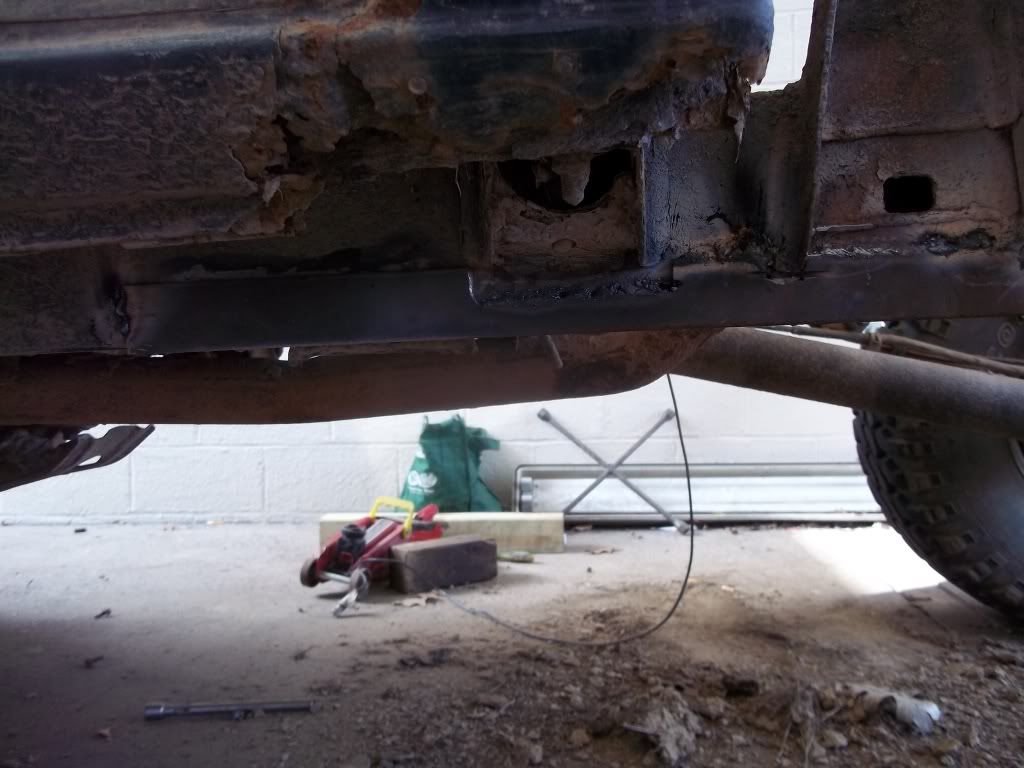
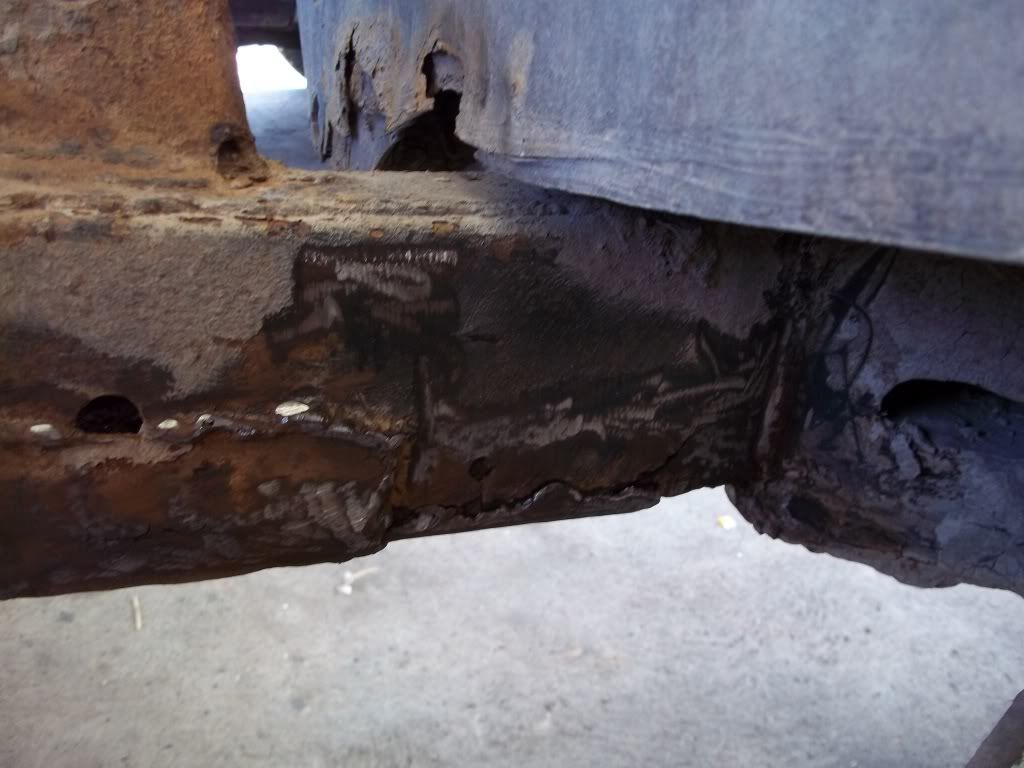
Had some fun this weekend. "Fixed" the frame. IMO Didn't come out too bad considering wasn't the cleanest metal and we were only using a HF 90amp Flux core welder. It should hold though. All material used was 1/8" thick 2" Angle. With a few smaller pieces of flat stock.
Thanks to "itsbroke" for welding it up for me. And cartin my butt around getting parts to replace a broken brake line going into the LSPV in the process and some fuel line. FWIW if your replacing the front to back line(s) you will need a 60" and a 40" line to reach the tee in the passenger fenderwell to the LSPV if you have a leaf sprung single cab truck. It will be an M10 1.0 3/16" metric inverted flare line. Fuel line on the carbed truck is 1/4" line.
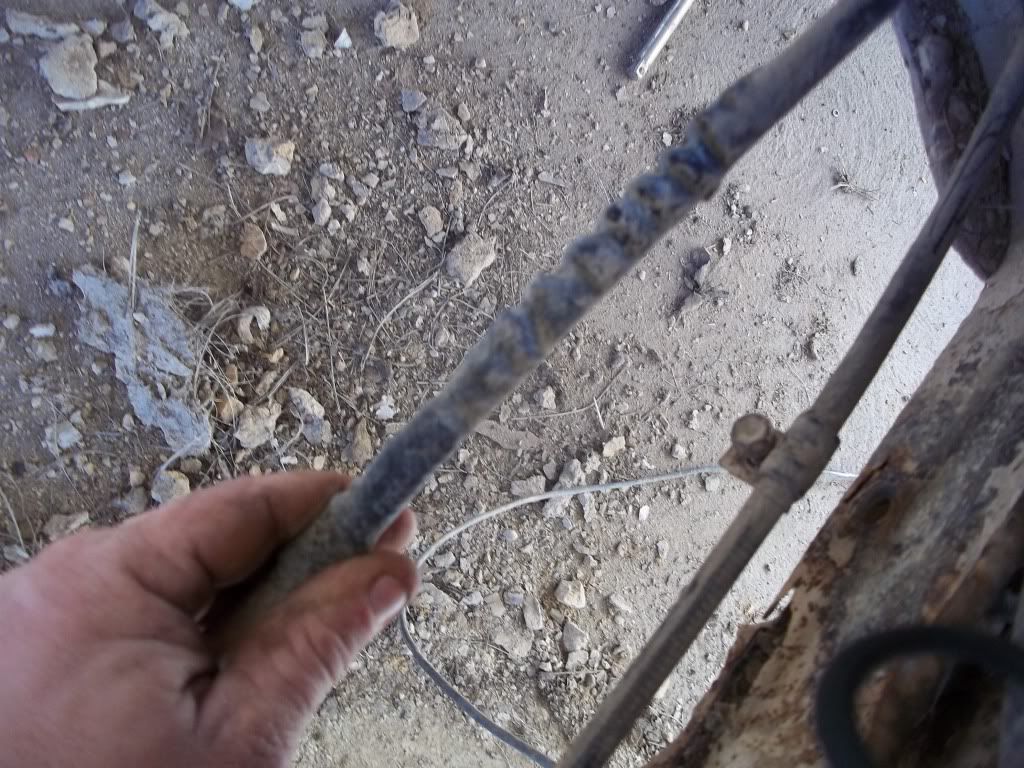
Mud on top of fuel tank.
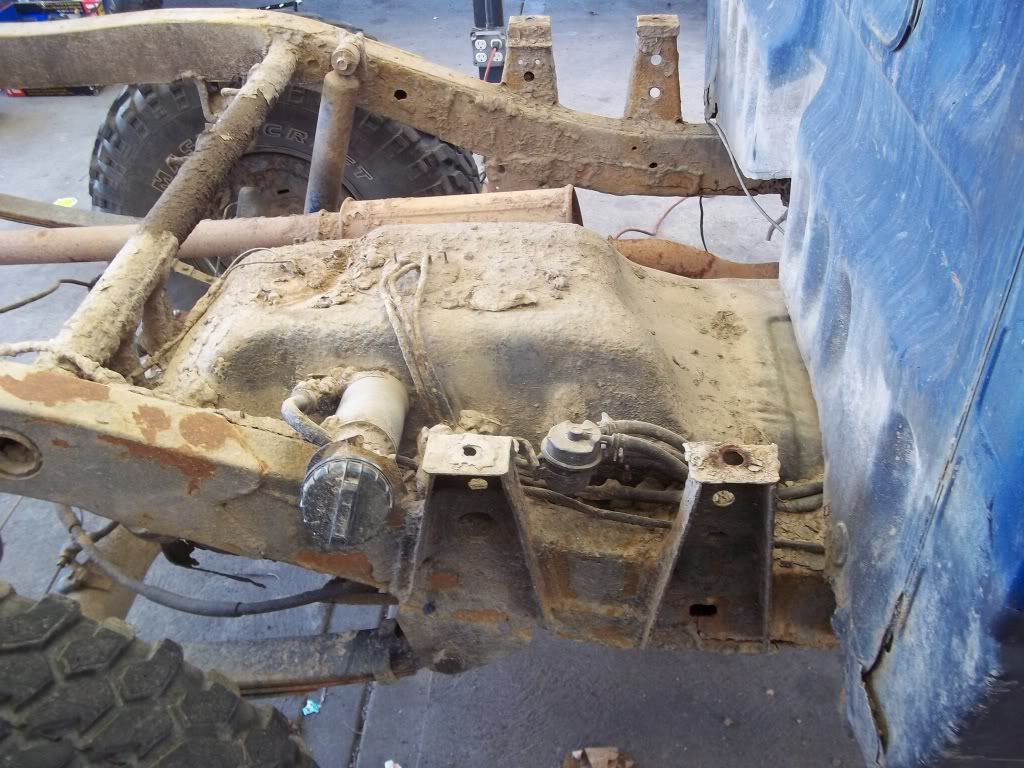

While taking the bolts out for the tank and skid I broke 5 out of the 6 Tank mounting bolts and 2 out of 3 skid mounting bolts.
I replaced all 6 of the tank mounting bolts with 3/8" bolts. I don't remember the length I used, but I believe they were 1" long.
I should have used a half inch longer bolt as I wasn't able to use both washer and lock washers that I had intended on using.
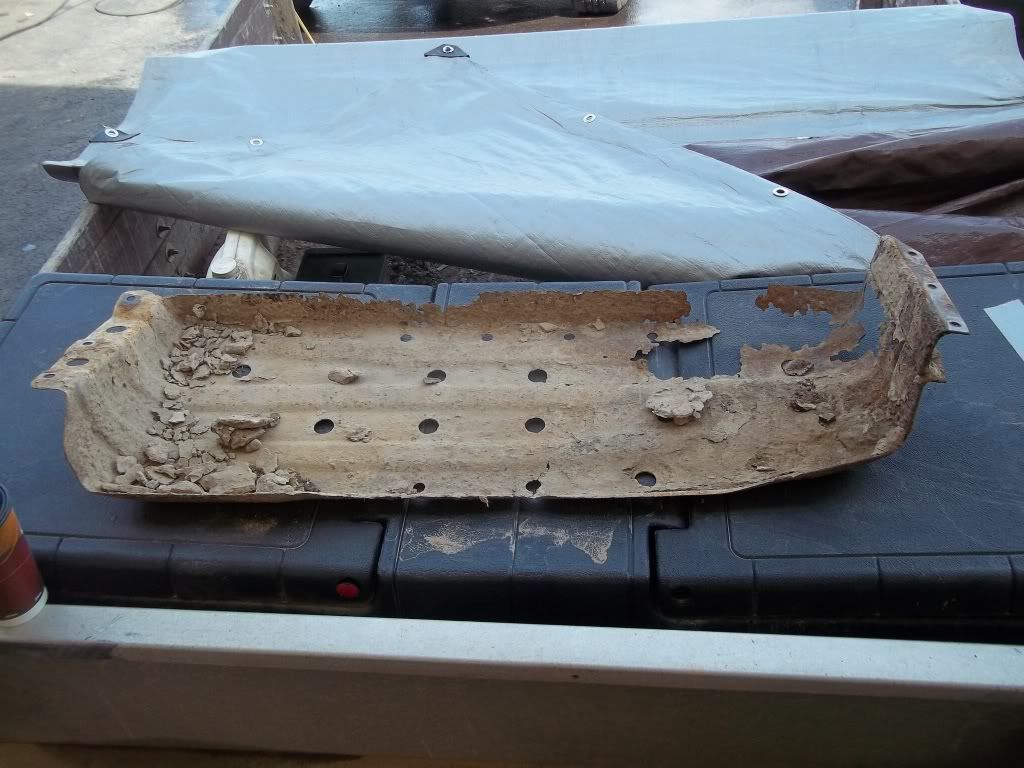
"Non-functional" fuel tank skid" This won't be going back on. I think I'll attempt to fab one up since someone said my fab skills are decent.
Both my fuel lines going into the the tank were fubared. Replaced then with short lengths of 1/4" hose and some hose barbs. In retrospect, I should have replaced the entire length right to the hard line that leads up to the firewall. But they didn't look too bad after tracing them back about a foot so I decided just to splice them off.
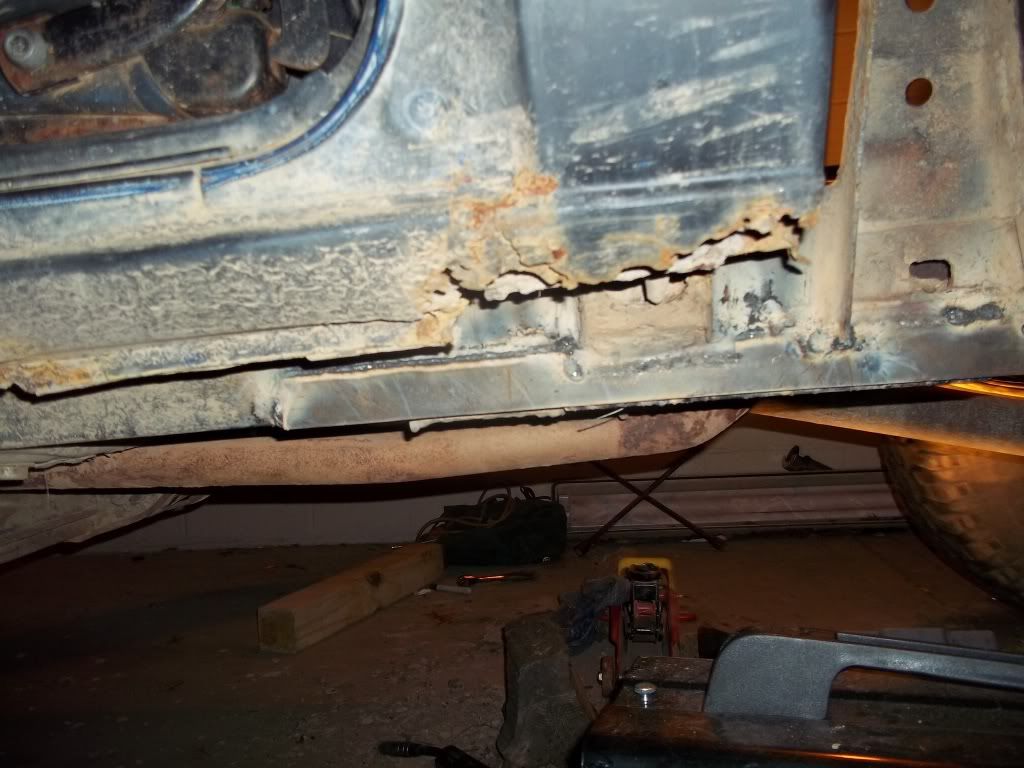
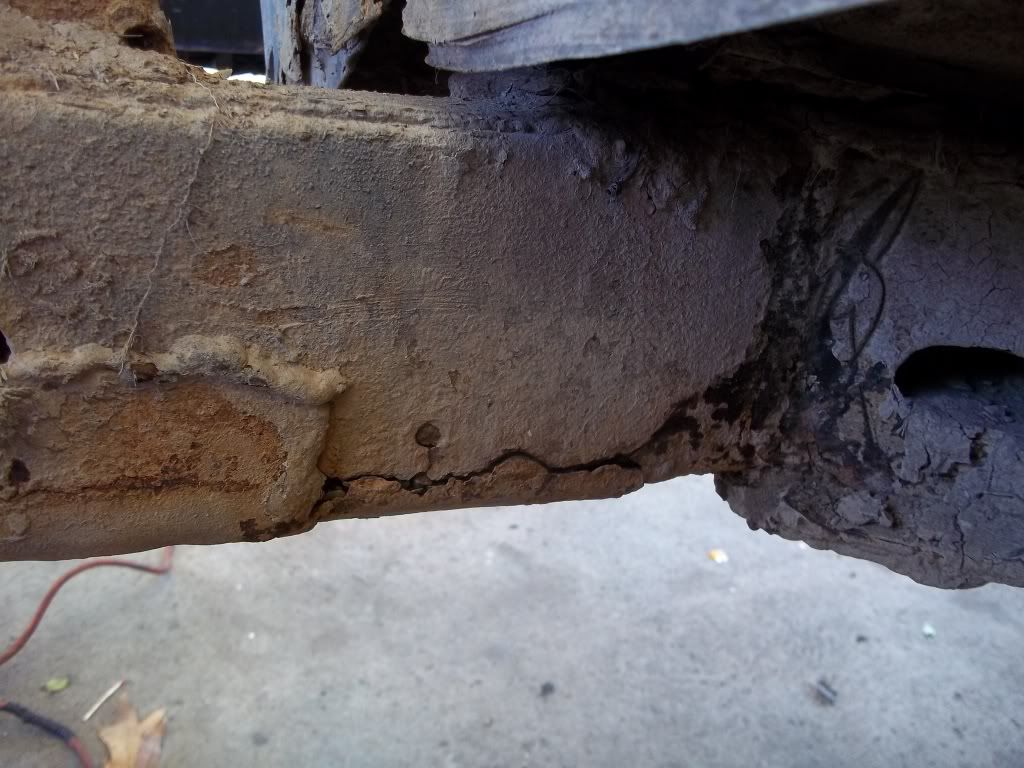
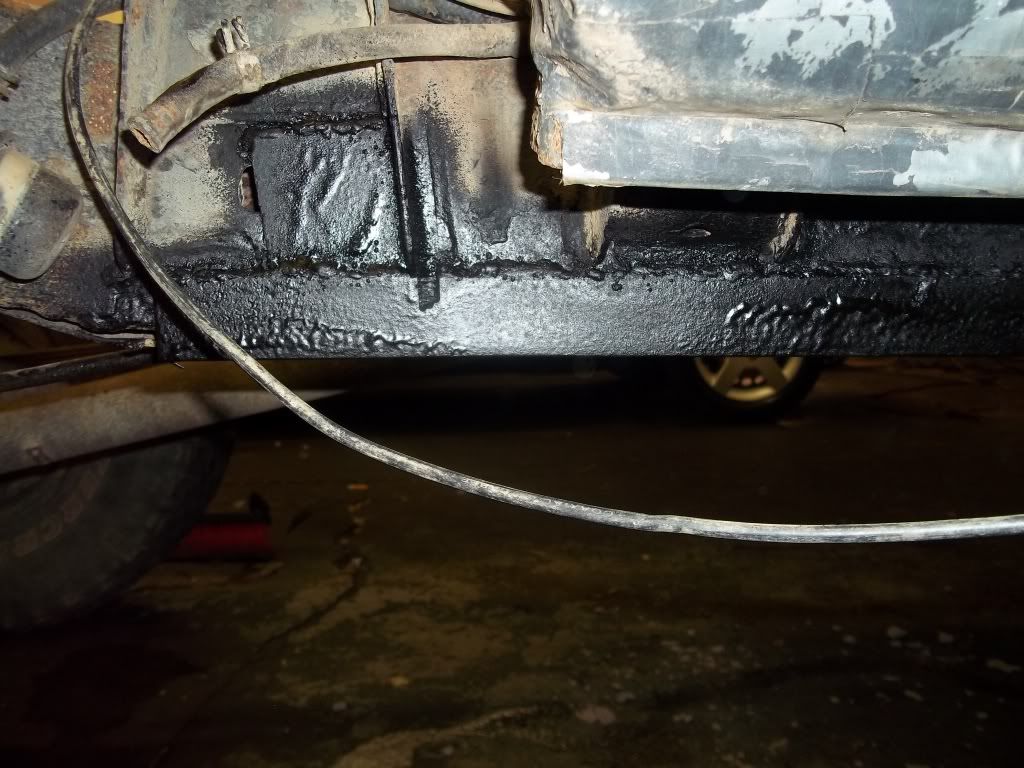
Driver's side outer frame rail. Before
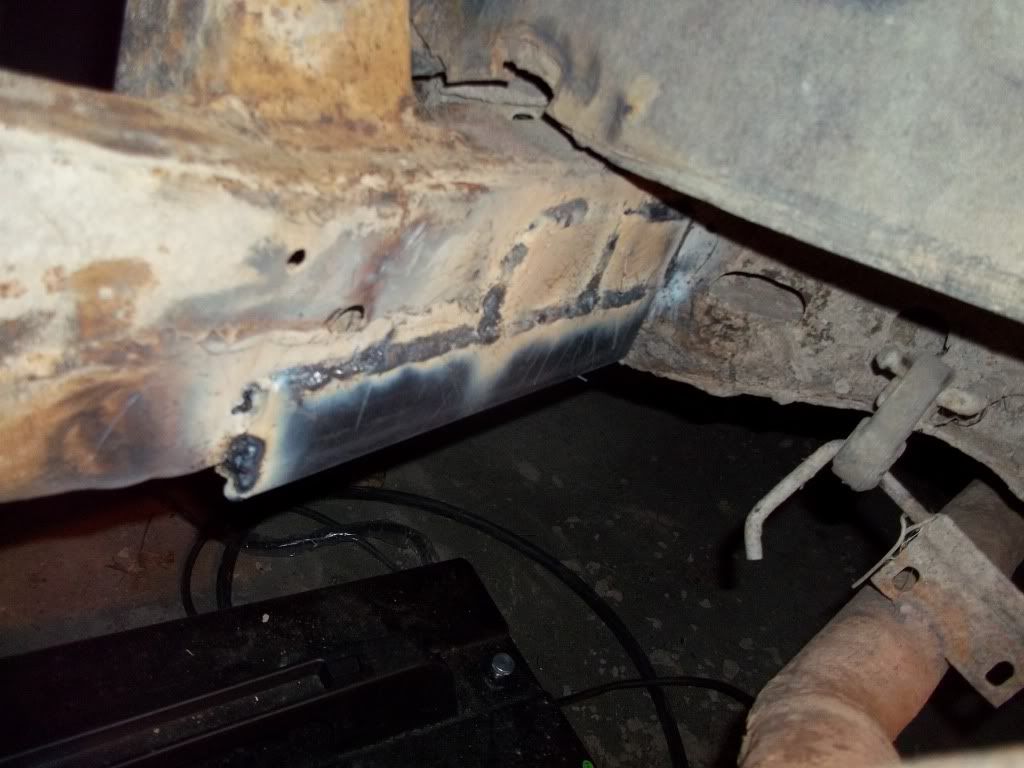
Driver's side outer frame rail. During
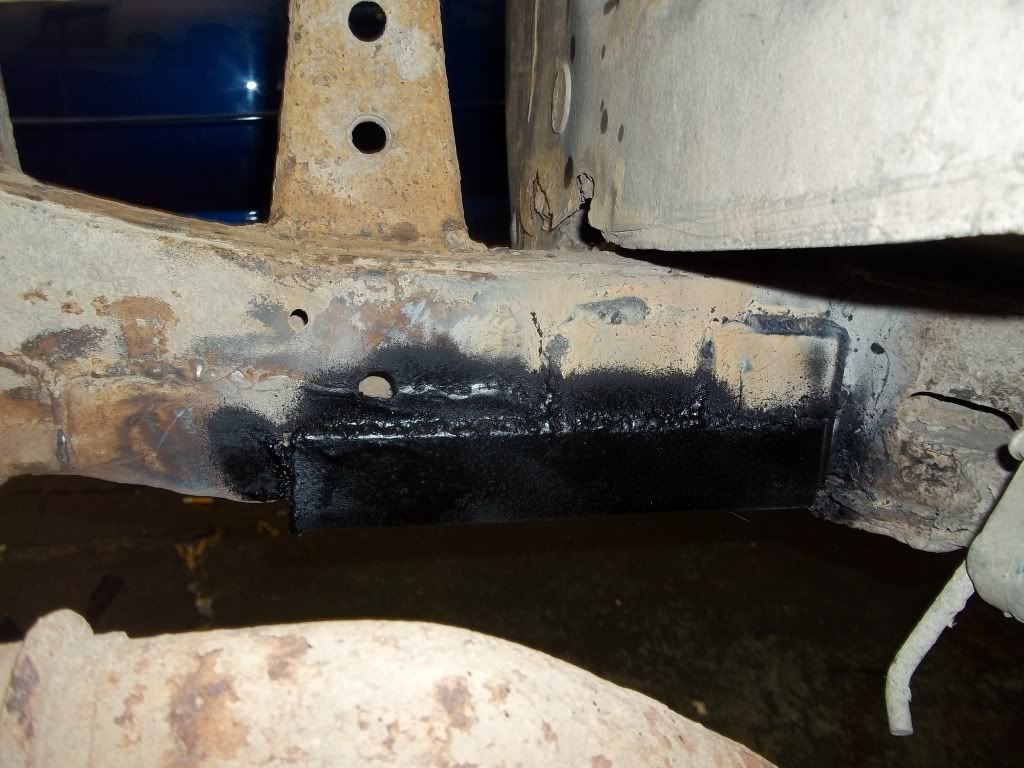
Driver's side outer frame rail. After. Sorry for the blurry photo.
Driver's side inner frame rail. Before.
Driver's side inner frame rail. During.
Driver's side inner frame rail. After.
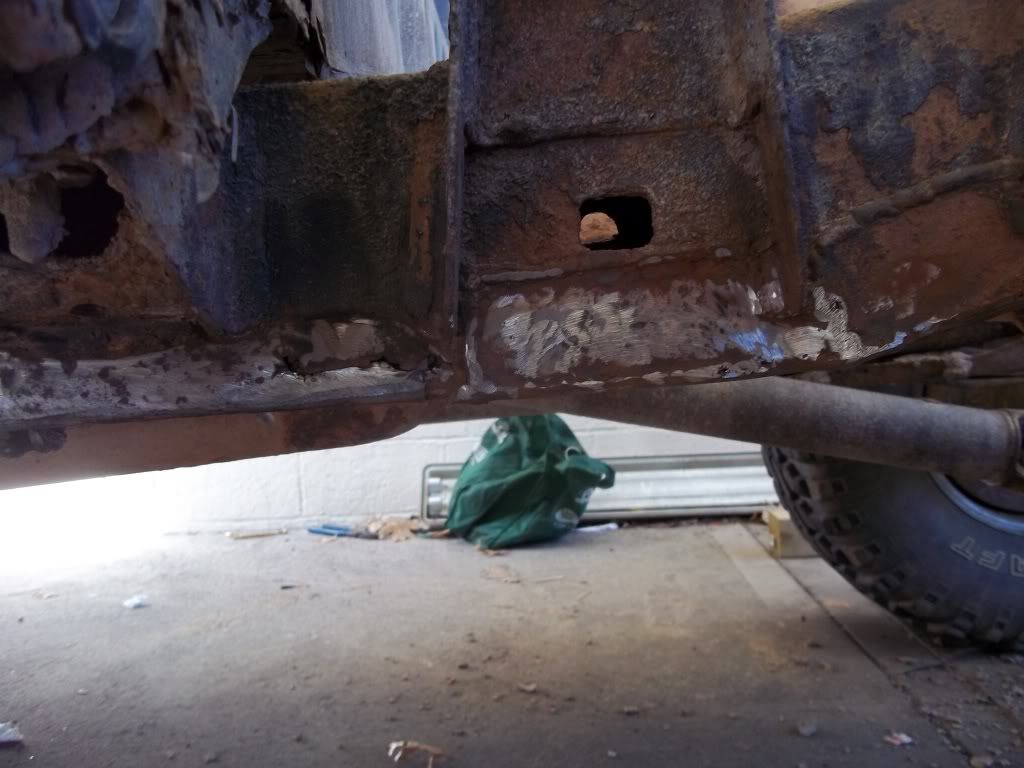
Passenger side outer frame rail Before.
Passenger side outer frame rail After. Sorry no during.
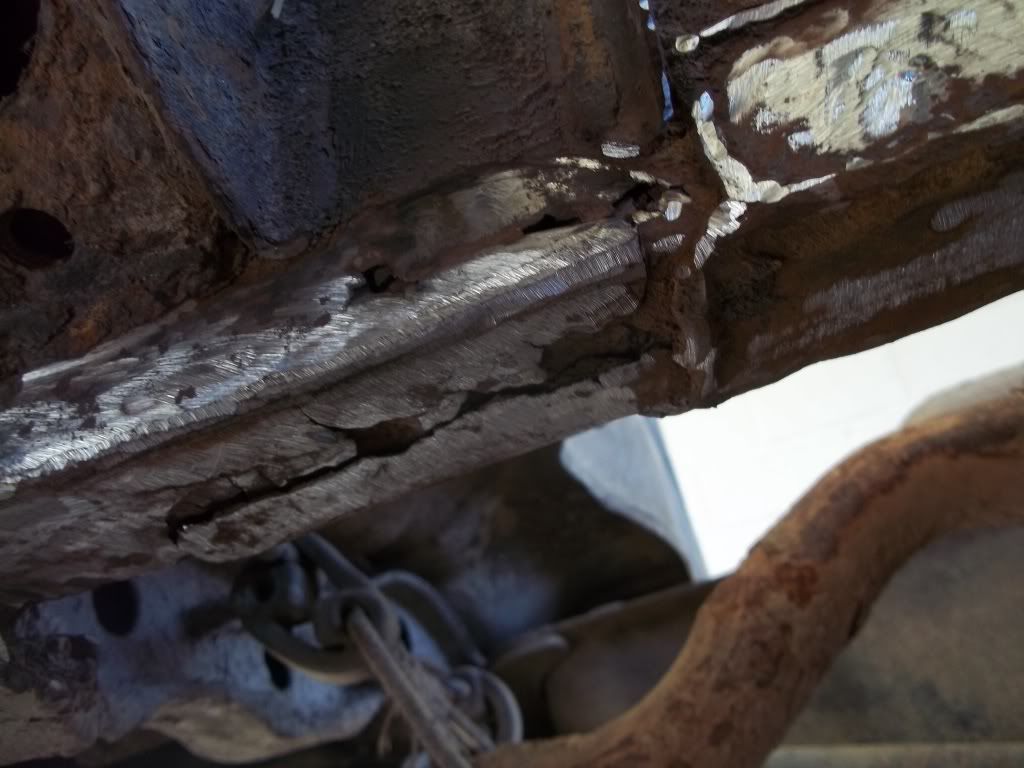
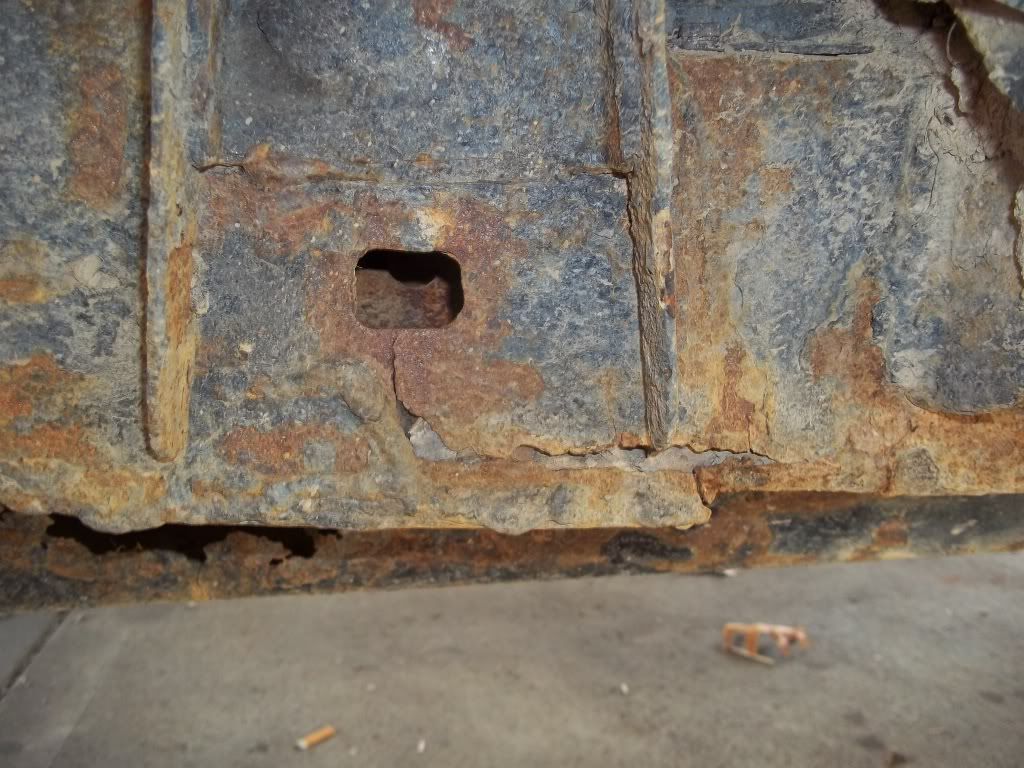
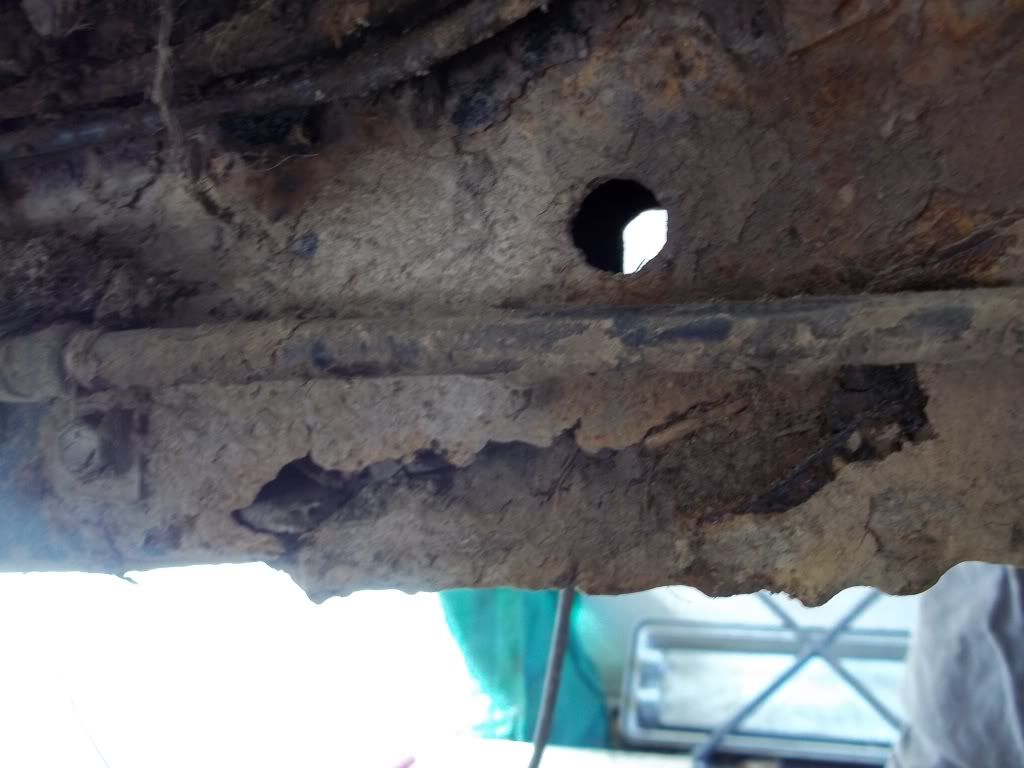
And this is where it really gets hairy.
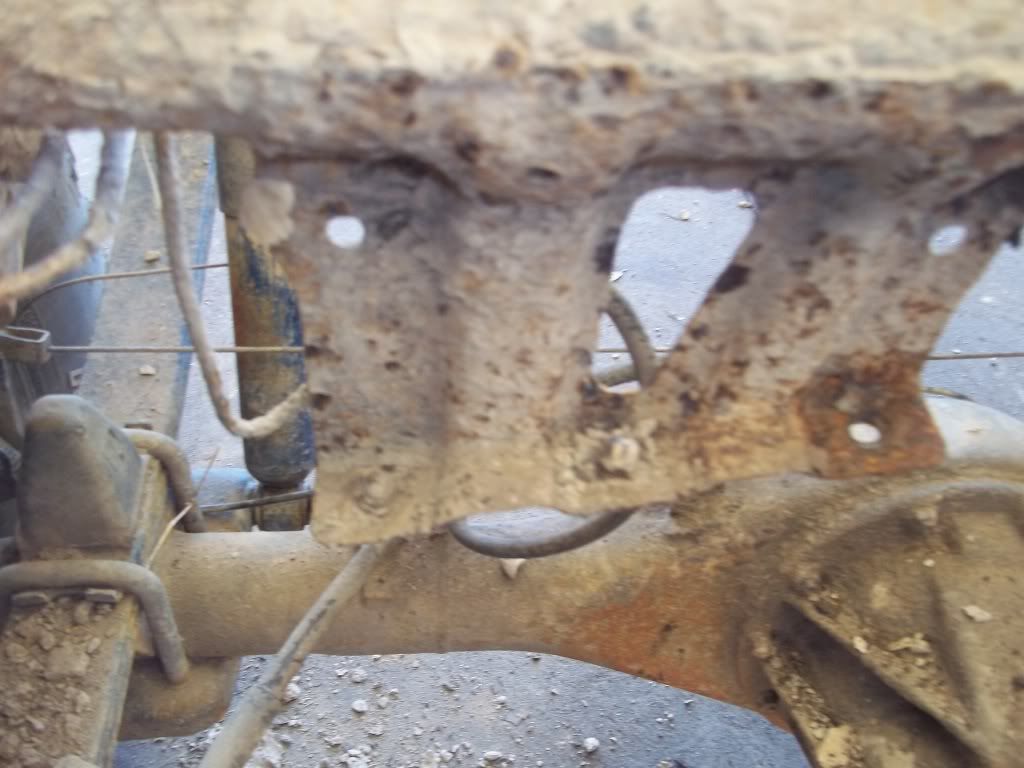
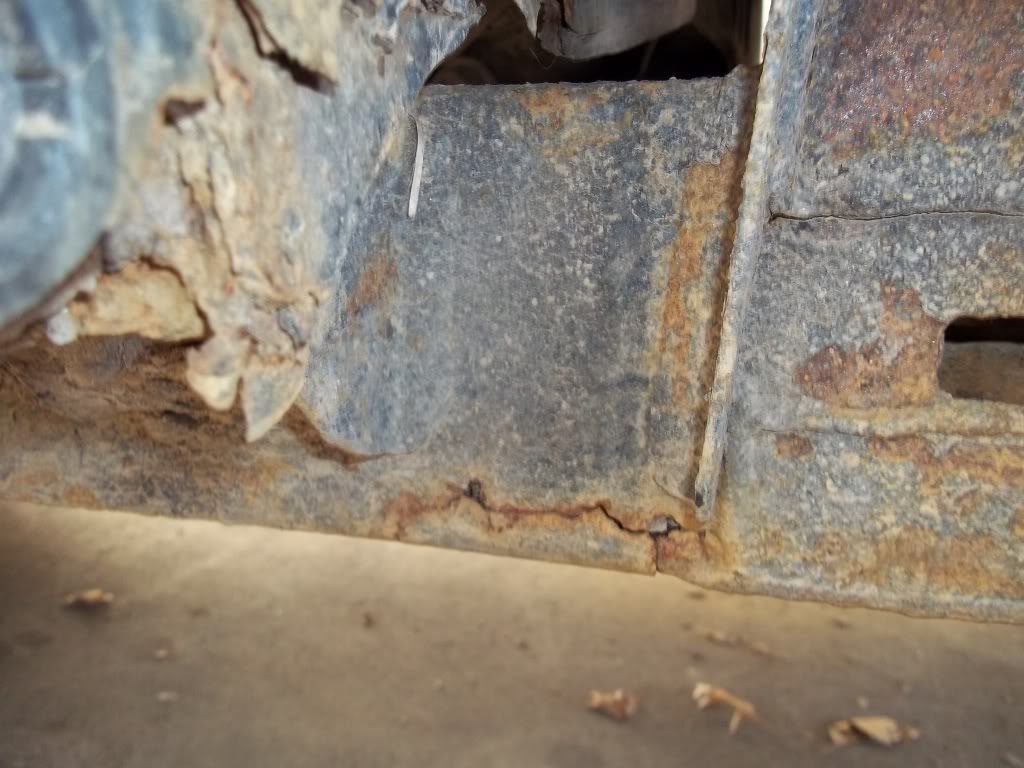
Passenger side inner frame rail. Before.

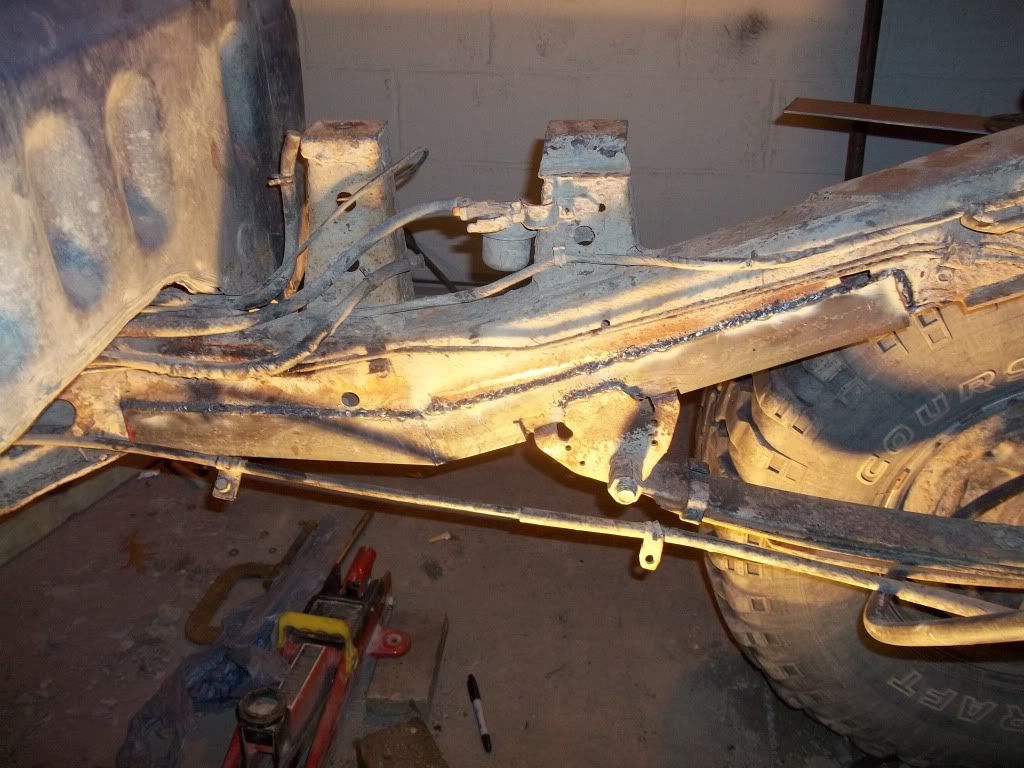
Passenger side inner frame rail. During.
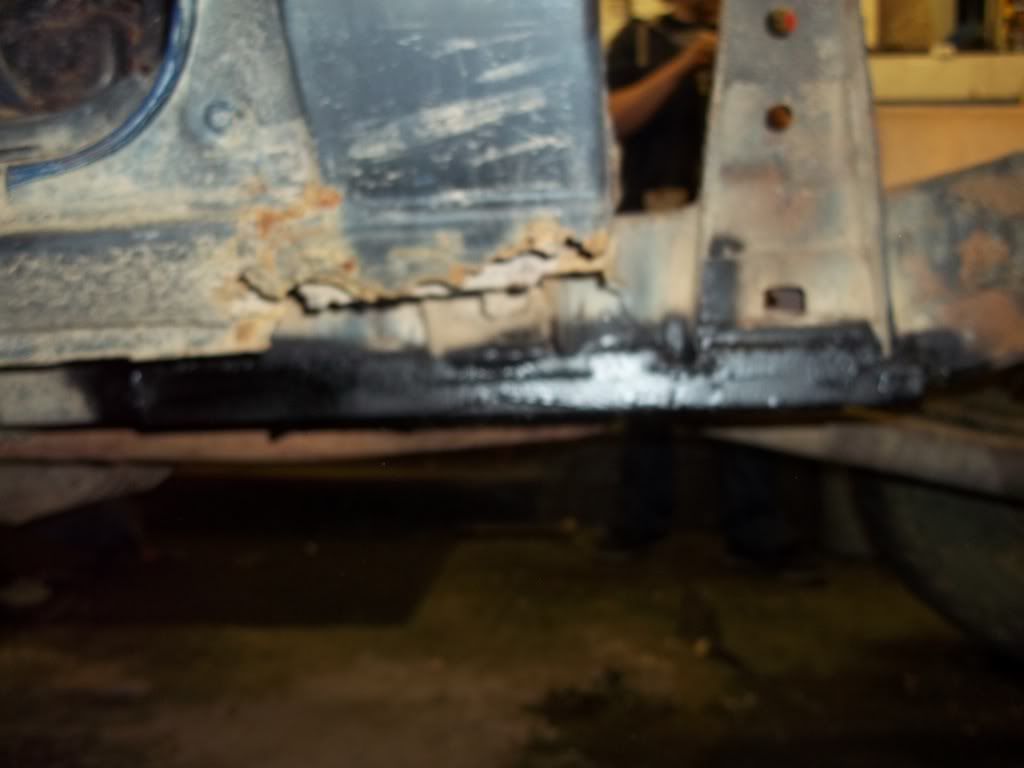
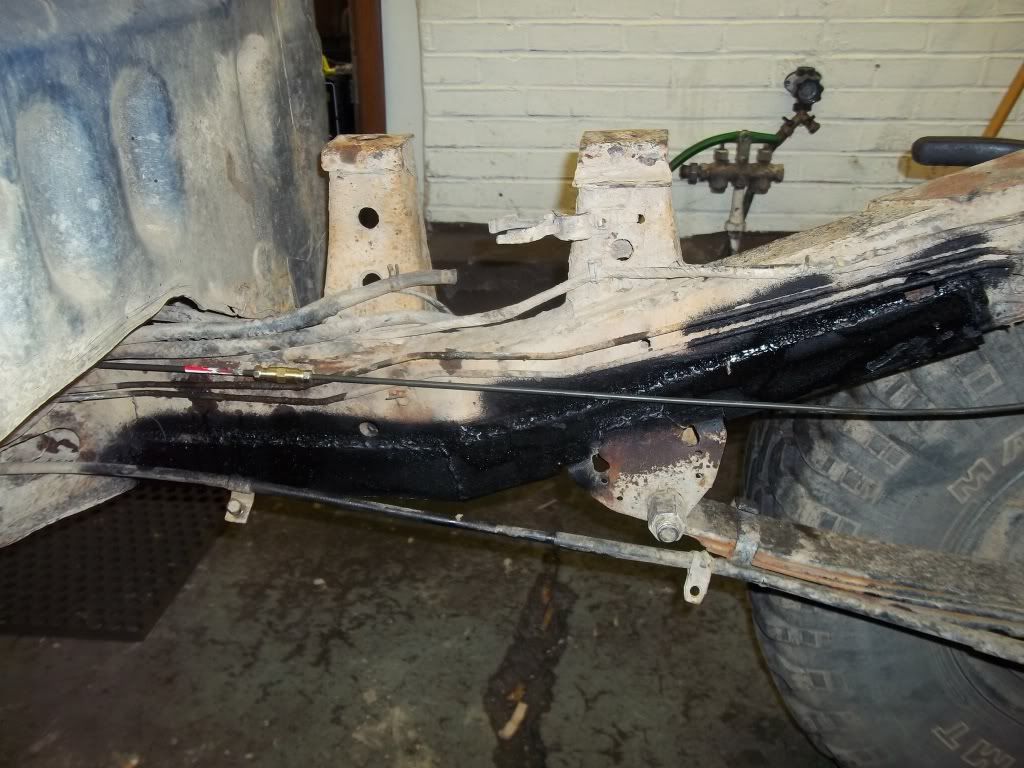
The piece that I fabbed up is one solid piece. Notched to clear the spring mount and "V" cut to bend to follow the contour of the bend in the frame.
Passenger side inner frame rail. After.
Thanks to "itsbroke" for welding it up for me. And cartin my butt around getting parts to replace a broken brake line going into the LSPV in the process and some fuel line. FWIW if your replacing the front to back line(s) you will need a 60" and a 40" line to reach the tee in the passenger fenderwell to the LSPV if you have a leaf sprung single cab truck. It will be an M10 1.0 3/16" metric inverted flare line. Fuel line on the carbed truck is 1/4" line.
Mud on top of fuel tank.
While taking the bolts out for the tank and skid I broke 5 out of the 6 Tank mounting bolts and 2 out of 3 skid mounting bolts.
I replaced all 6 of the tank mounting bolts with 3/8" bolts. I don't remember the length I used, but I believe they were 1" long.
I should have used a half inch longer bolt as I wasn't able to use both washer and lock washers that I had intended on using.
"Non-functional" fuel tank skid" This won't be going back on. I think I'll attempt to fab one up since someone said my fab skills are decent.
Both my fuel lines going into the the tank were fubared. Replaced then with short lengths of 1/4" hose and some hose barbs. In retrospect, I should have replaced the entire length right to the hard line that leads up to the firewall. But they didn't look too bad after tracing them back about a foot so I decided just to splice them off.
Driver's side outer frame rail. Before
Driver's side outer frame rail. During
Driver's side outer frame rail. After. Sorry for the blurry photo.
Driver's side inner frame rail. Before.
Driver's side inner frame rail. During.
Driver's side inner frame rail. After.
Passenger side outer frame rail Before.
Passenger side outer frame rail After. Sorry no during.
And this is where it really gets hairy.
Passenger side inner frame rail. Before.
Passenger side inner frame rail. During.
The piece that I fabbed up is one solid piece. Notched to clear the spring mount and "V" cut to bend to follow the contour of the bend in the frame.
Passenger side inner frame rail. After.
Last edited by xxxtreme22r; 03-17-2012 at 06:44 AM.
03-12-2012, 06:07 PM
#1318
Registered User
Thread Starter
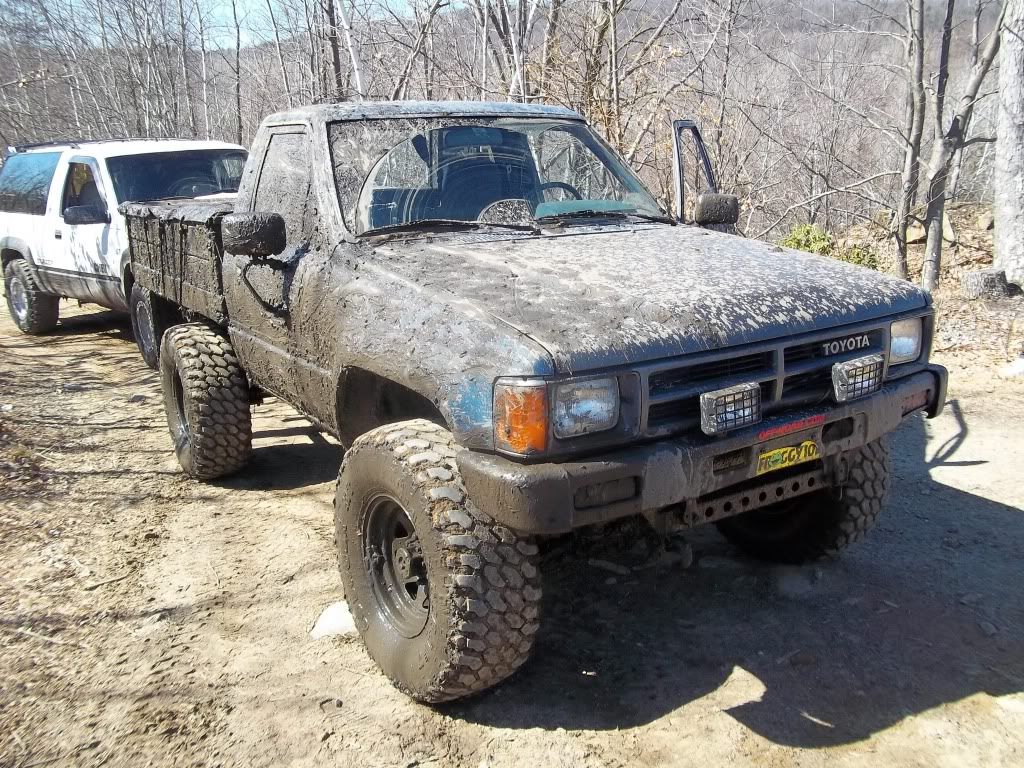
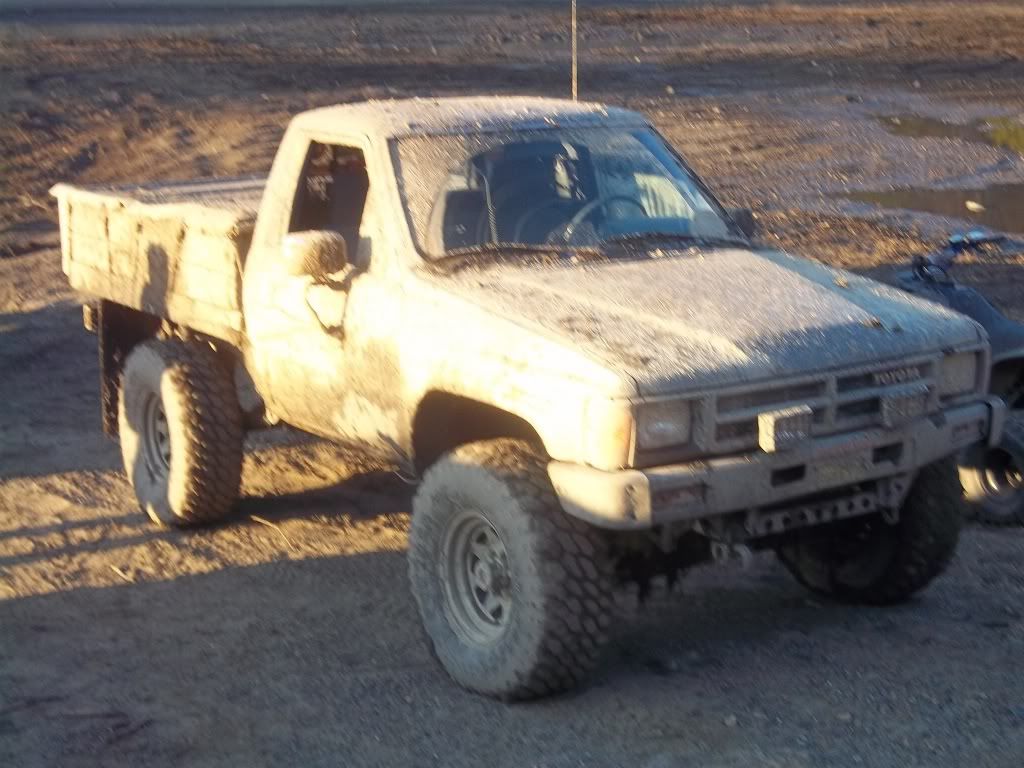
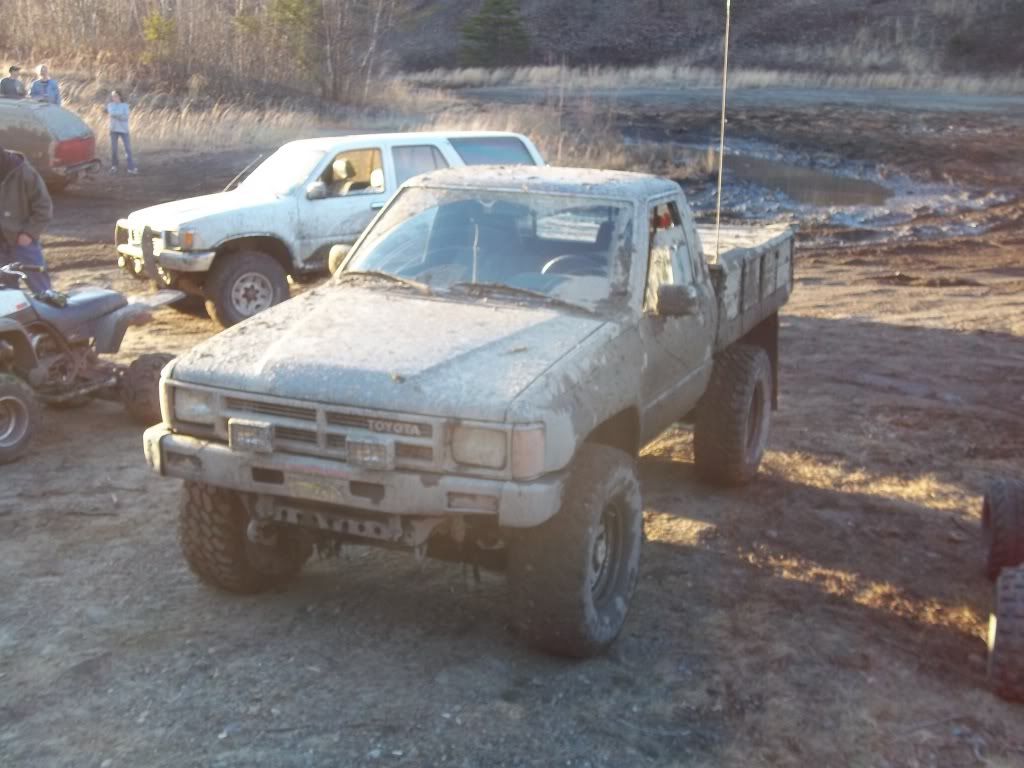
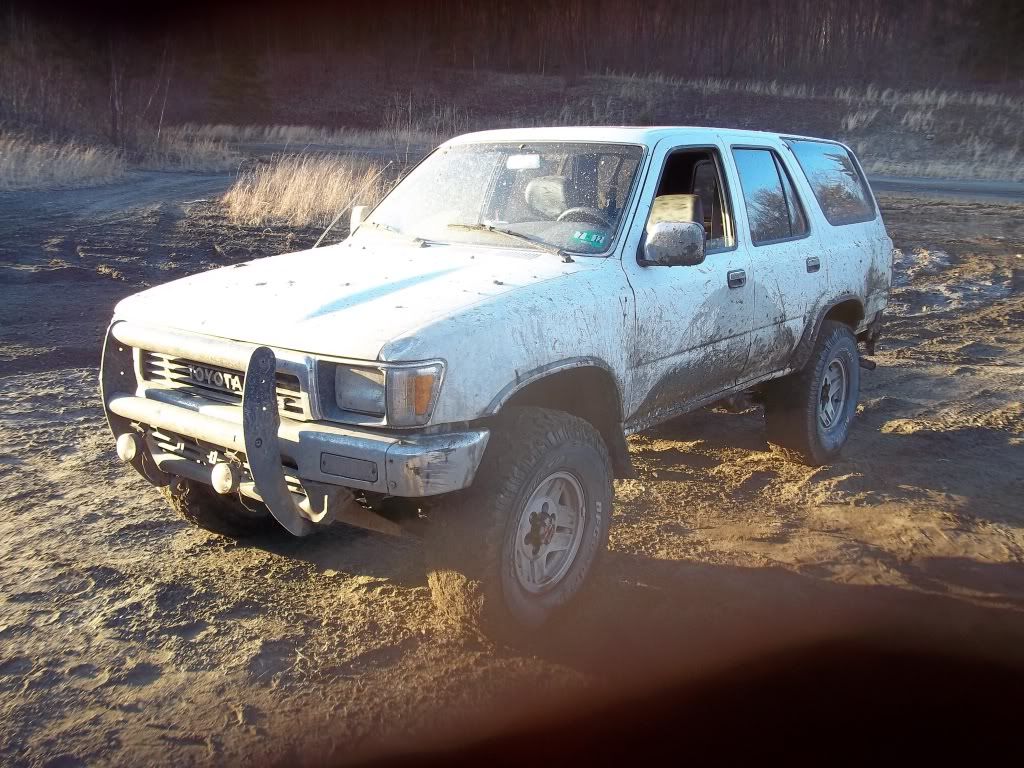
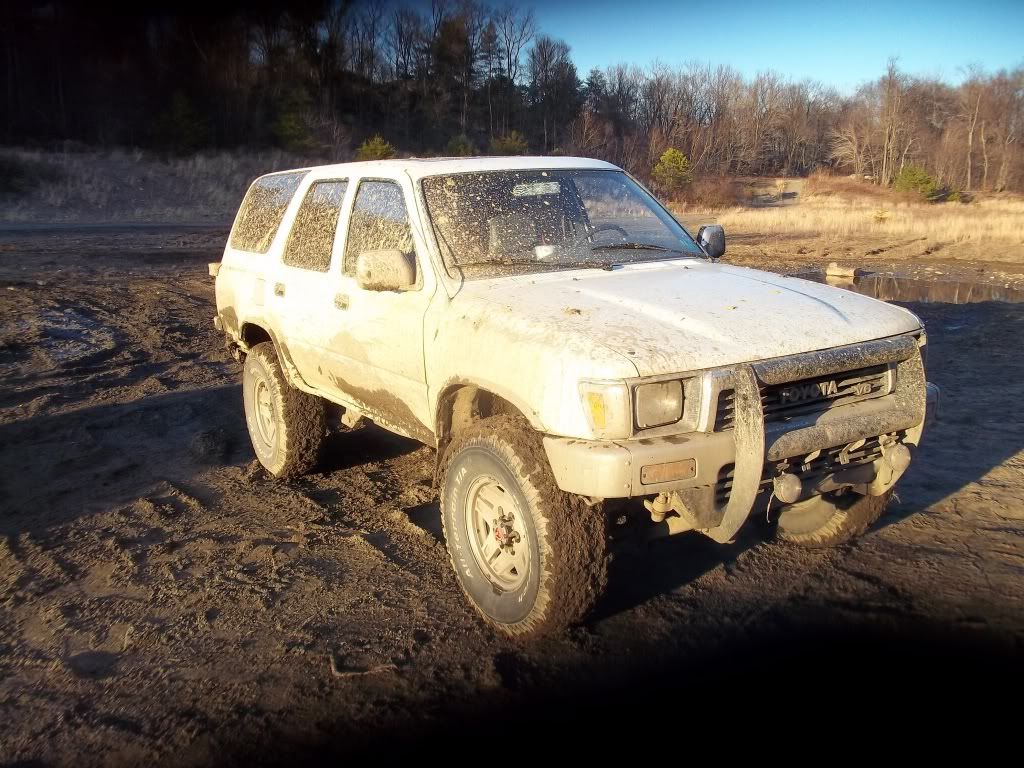
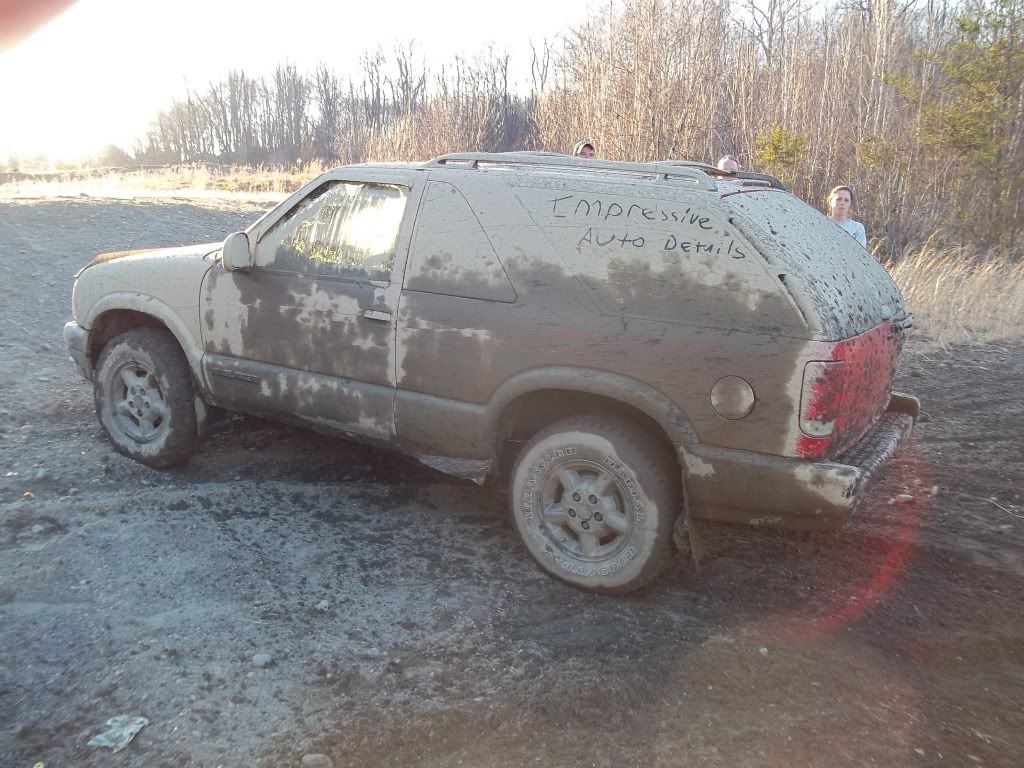
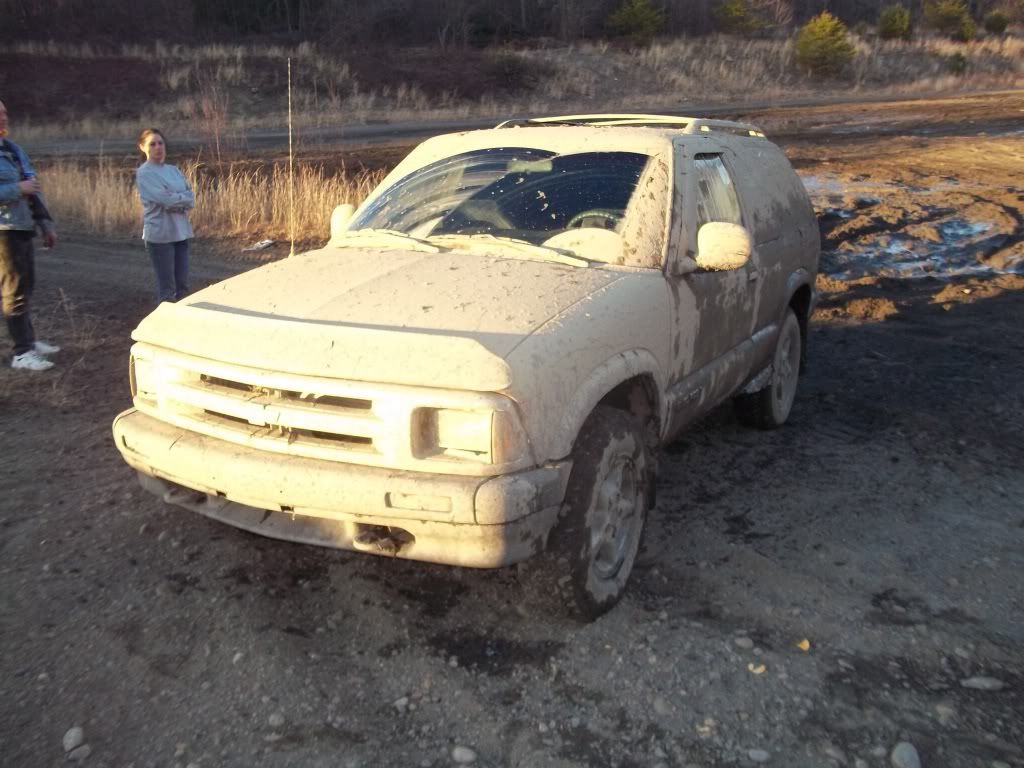
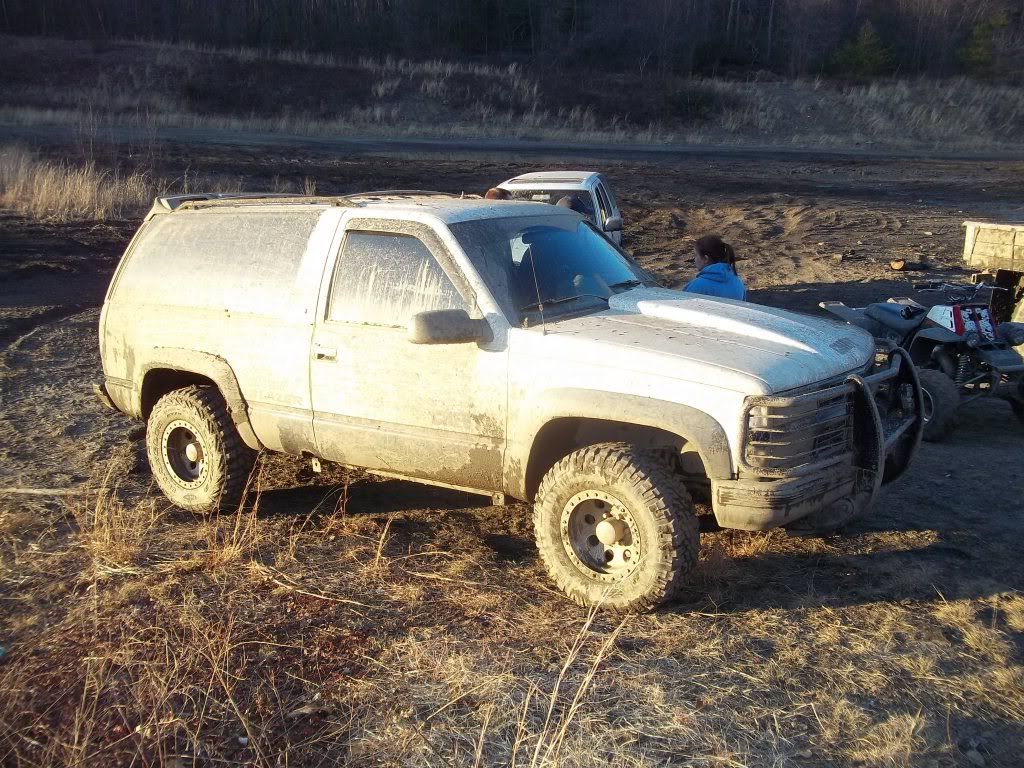
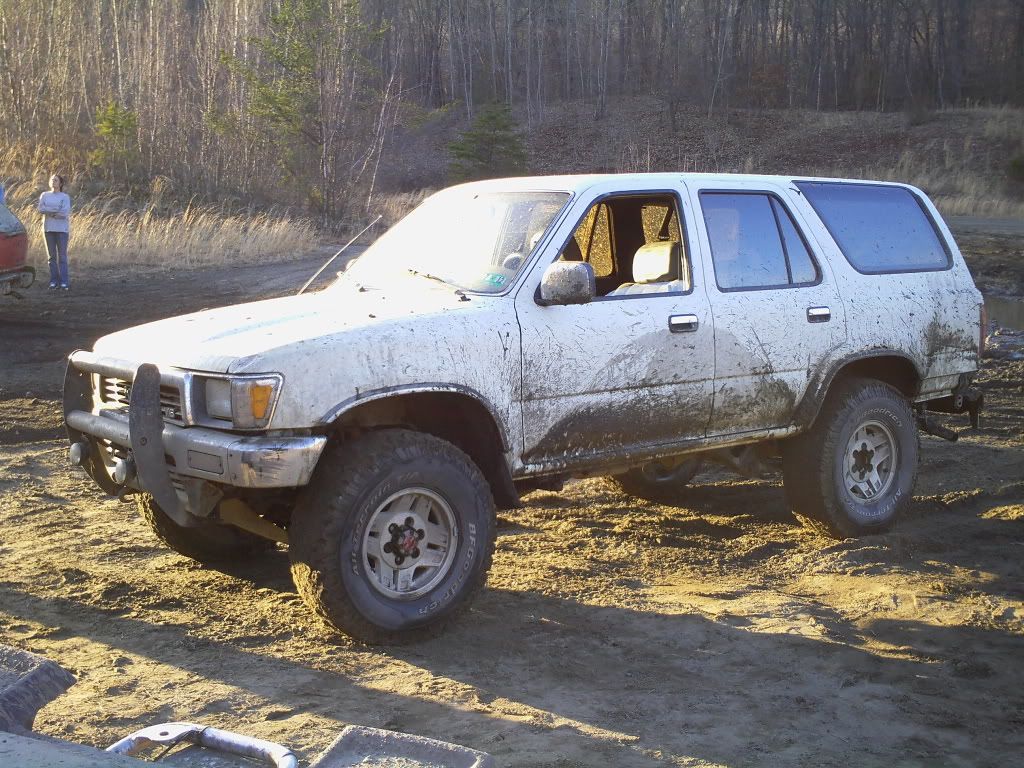
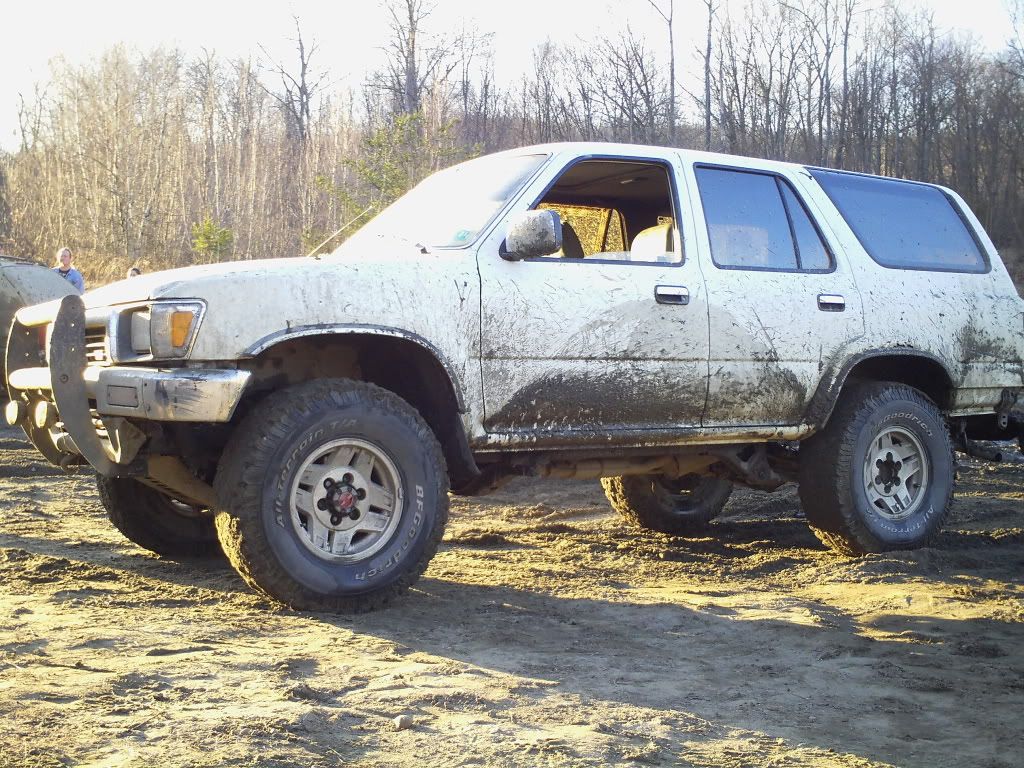
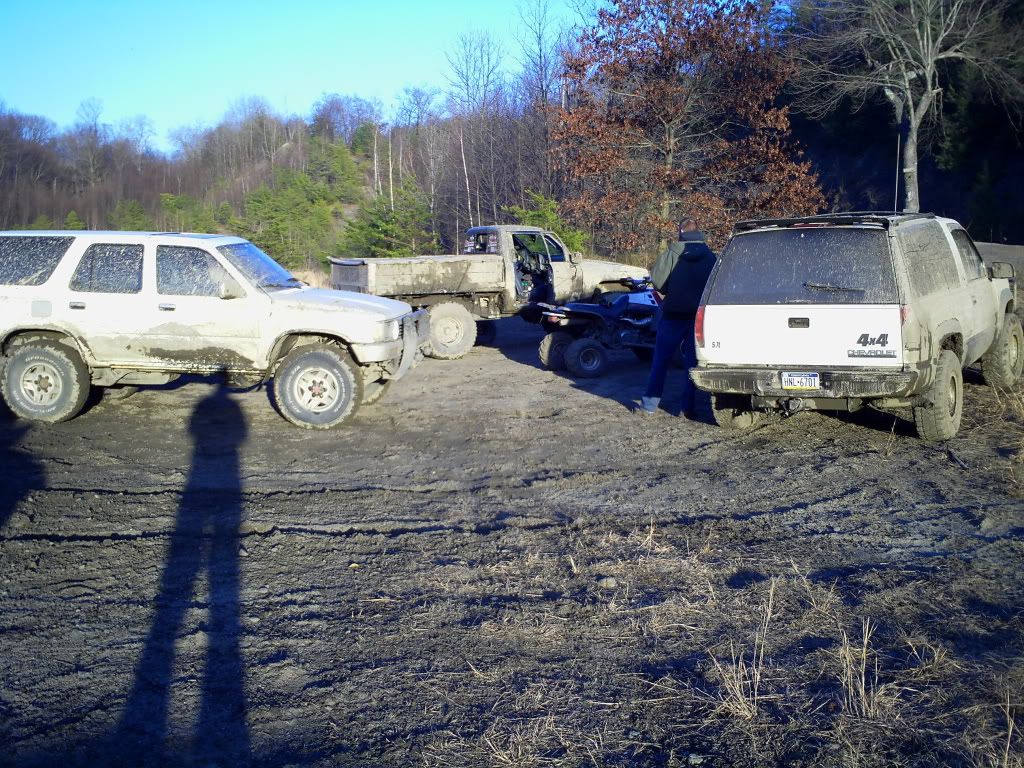
And some wheelin on a buddy of mine's property less then an hour after buttoning everything up.
The s-10 blazer needs a new starter. The Full size 5.7L Blazer needs a new CV, he all but grenaded his, and itsbroke needs to fix that little starter wire. I came out unharmed, but I do think that maybe my alternator might be making grinding noises......again.
Note to self, don't use spotter to hold video camera. lol.
It might look like I'm a puss, but that little section is much taller then it looks on video and coming off of it was a lot more off-camber then it looks. If I had 31's I probably woulda smacked the fuel tank. No tank skid either as I took it off. It was useless in the shape it was in anyway.
http://www.youtube.com/watch?v=L4desPBP6A4
http://www.youtube.com/watch?v=auRdUTKRDUQ
http://www.youtube.com/watch?v=NCnH9IZnyPg
http://www.youtube.com/watch?v=Nji4Enbko0A
http://www.youtube.com/watch?v=UNk0kx56ebM
http://youtu.be/kv8quksMf2U
http://www.youtube.com/watch?v=UztsxGNEFrs
http://www.youtube.com/watch?v=tmP3iSUXxtM
http://www.youtube.com/watch?v=aub1KoE9H44&t=19s
More Vids to come.
Last edited by xxxtreme22r; 03-12-2012 at 07:11 PM.
03-12-2012, 06:42 PM
#1320
Registered User
Thread Starter
Haha, you know I like my mud. This was a quick and dirty (literally) fix. Last minute planning for weekend out on the trails since it was beautiful out.
I'm so glad I decided to remove the bed and fuel tank for this one.
More vids, uploading.
I'm so glad I decided to remove the bed and fuel tank for this one.
More vids, uploading.
Last edited by xxxtreme22r; 03-12-2012 at 06:43 PM.


