
xxxtreme22r's 1987 Pickup Build-Up Thread
 08-24-2011, 05:31 PM
#1121
YotaTech Milestone-Two Millionth Post
basically same directions as to my house except don't make the turn, just keep going on 239 about 4 more miles and hang a left and drive forever and make a right
 08-25-2011, 04:16 AM
#1123
Registered User
Thread Starter
08-25-2011, 04:29 AM
#1124
Registered User
Thread Starter
This is why I ordered from Summit Racing and not Race-Mart.  Ordered later in the day Yesterday. A few hours later it's on the UPS truck. Looks Like it will be here by the end of Friday, enough time for me to put this thing in before the mud bog.

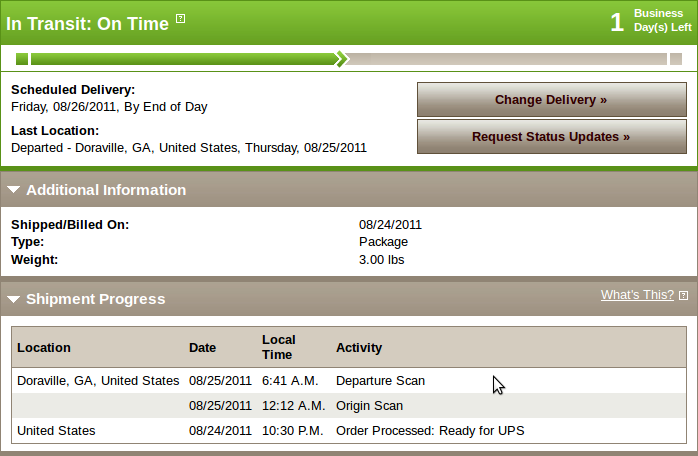
Ordered later in the day Yesterday. A few hours later it's on the UPS truck. Looks Like it will be here by the end of Friday, enough time for me to put this thing in before the mud bog.
 hahahha
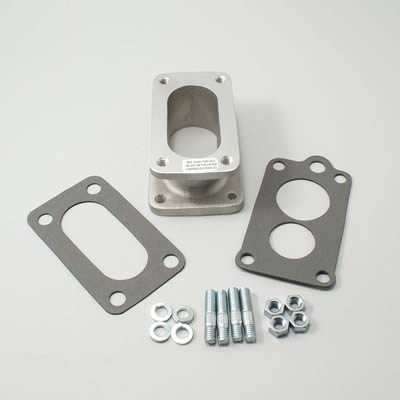


 08-26-2011, 04:01 PM
#1130
Nothin like the smell of new parts to make your day, eh?
Now, ............get'r'done! lol
Curious..... you sure about wheeling events with this weather? You gonna be safe man? I got a lil worried hearing about how PA is subject to flood pretty bad, especially due to 'draining issues'?
Be safe, brother!
Now, ............get'r'done! lol
Curious..... you sure about wheeling events with this weather? You gonna be safe man? I got a lil worried hearing about how PA is subject to flood pretty bad, especially due to 'draining issues'?
Be safe, brother!
08-27-2011, 02:38 AM
#1131
YotaTech Milestone-Two Millionth Post
hey.
what time are you heading down?
don't know of any better way of going other than almost the same directions to my house but don't make that turn down my road. my directions would be to make a right at the light like as if you were coming to my house, go past the turn to go to my house,keep going about another 2 miles or so until you come to the post office and go about another 2/10ths of a mile and hang a left......go straight on that road (Town Hill Road) for about 10 miles or less (changes names as it changes from Luzerne to Columbia County...becomes Zehner's Bridge Road) until you get to the intersection with Route 487, hang a right and it looks to be right in that area on the map (within about 2 miles). it's a beautiful ride on a sunny day, kinda miserable on a miserable day, lotsa ups and downs and sharp turns and 1-lane bridges (i think 2).
can you bring those shocks and the propane torch? I'm having a helluva time with those bolts and I have to salvage a hanger so I can't be real brutal.
I got orders from HQ (aka: the wife who is picking up an OT shift today) as far as what I MUST DO today before any goofing off happens.....including going to a mud bog OR working on my truck.
08-28-2011, 06:31 PM
#1132
Registered User
Thread Starter
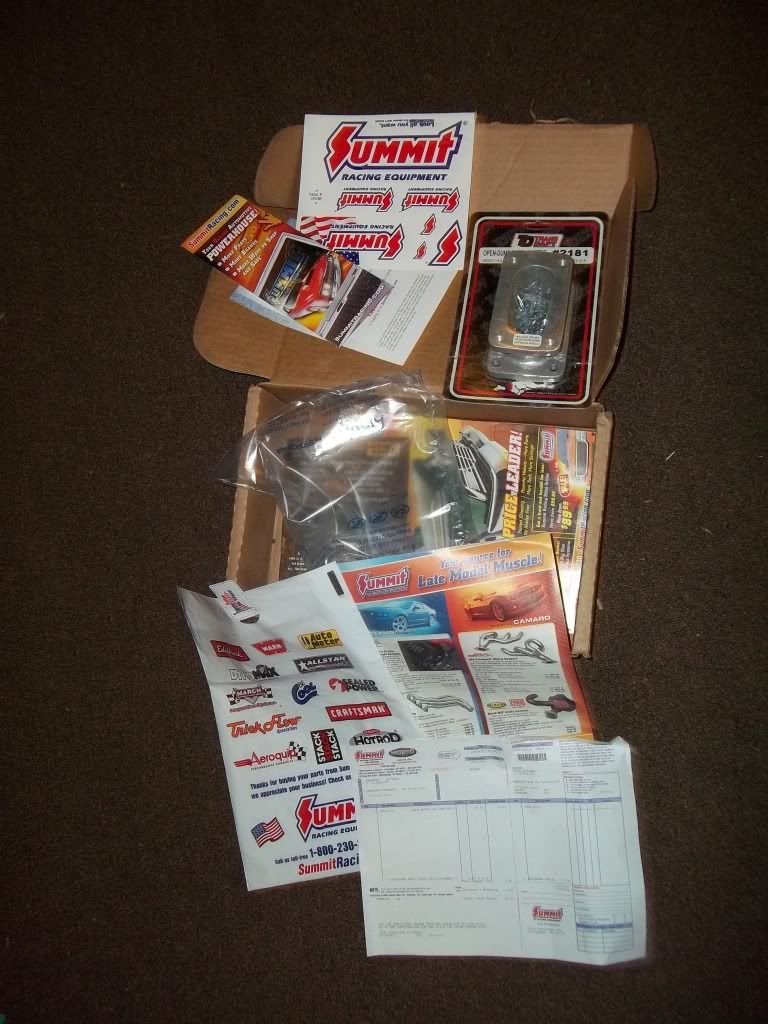
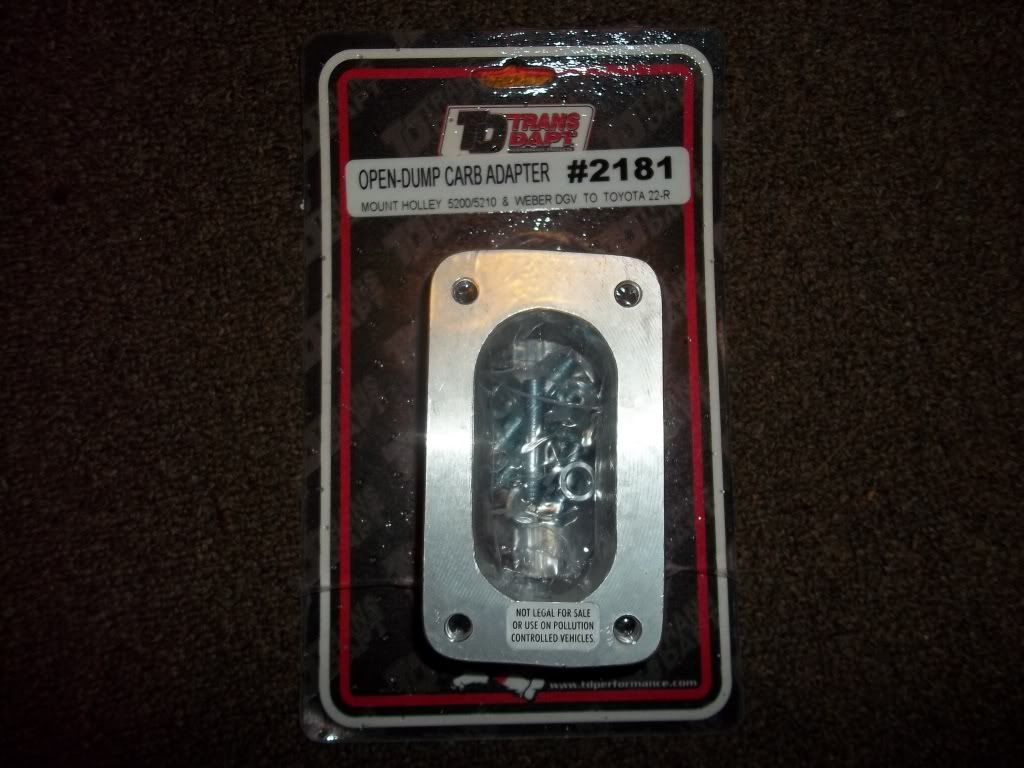
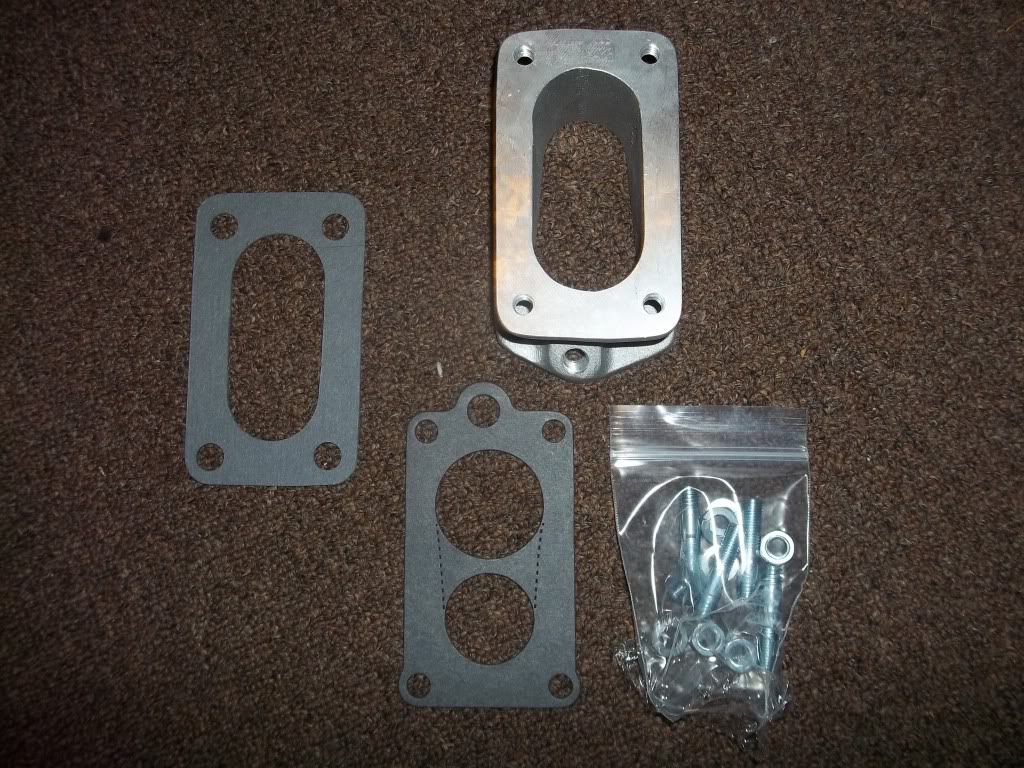
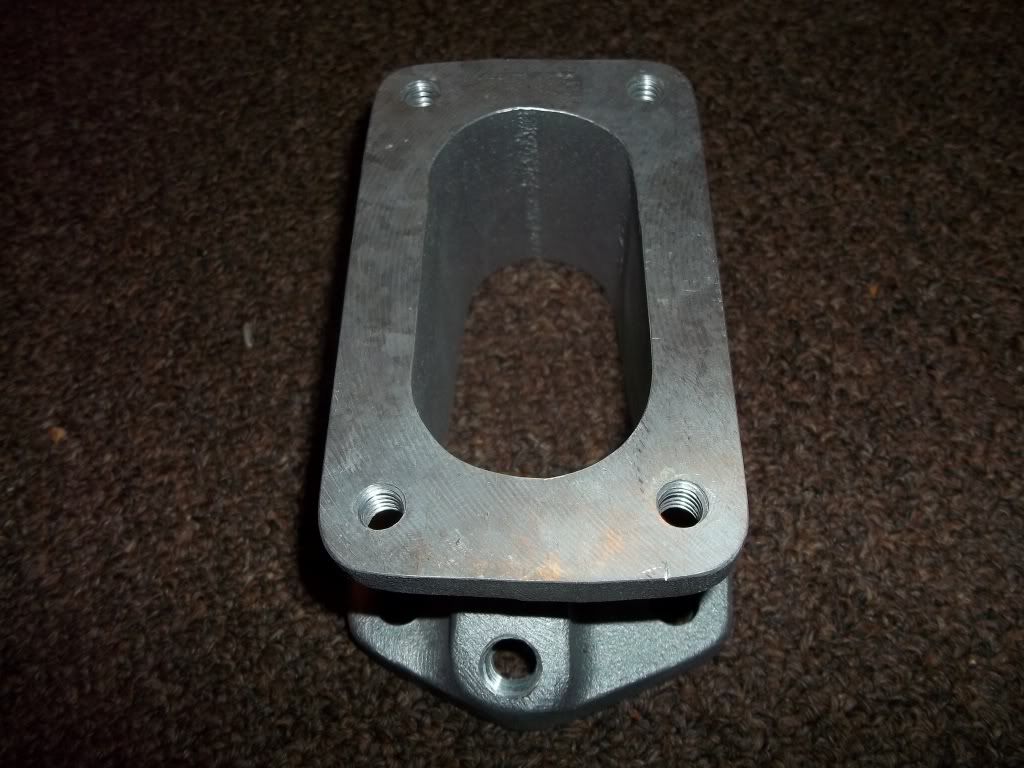
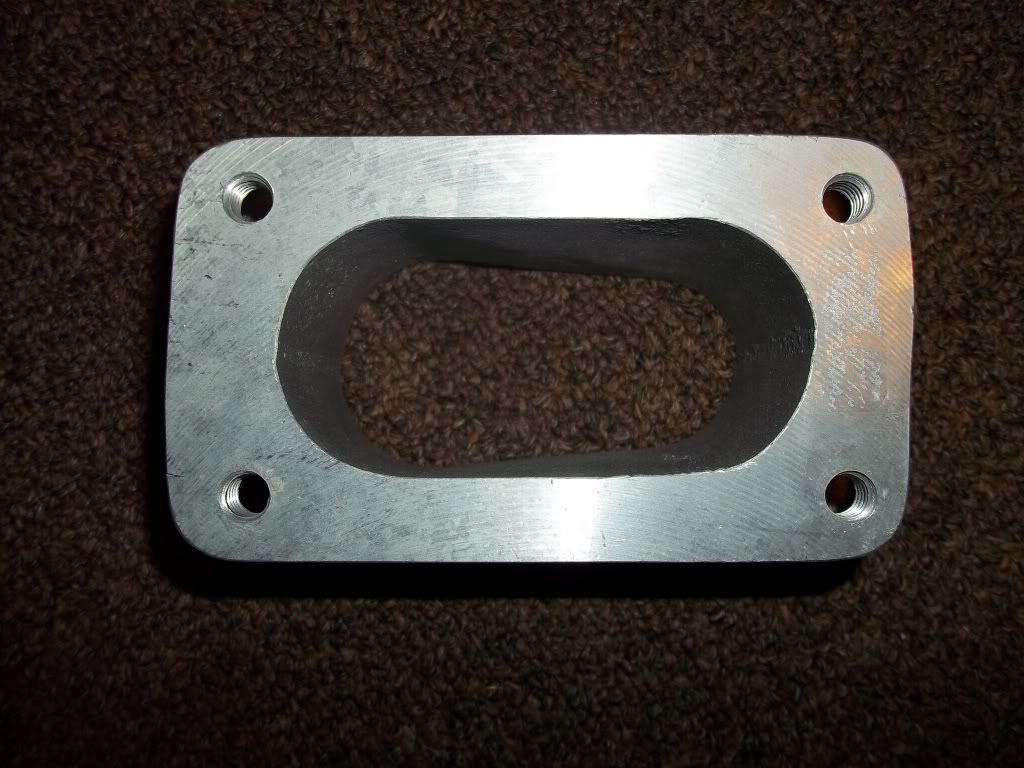
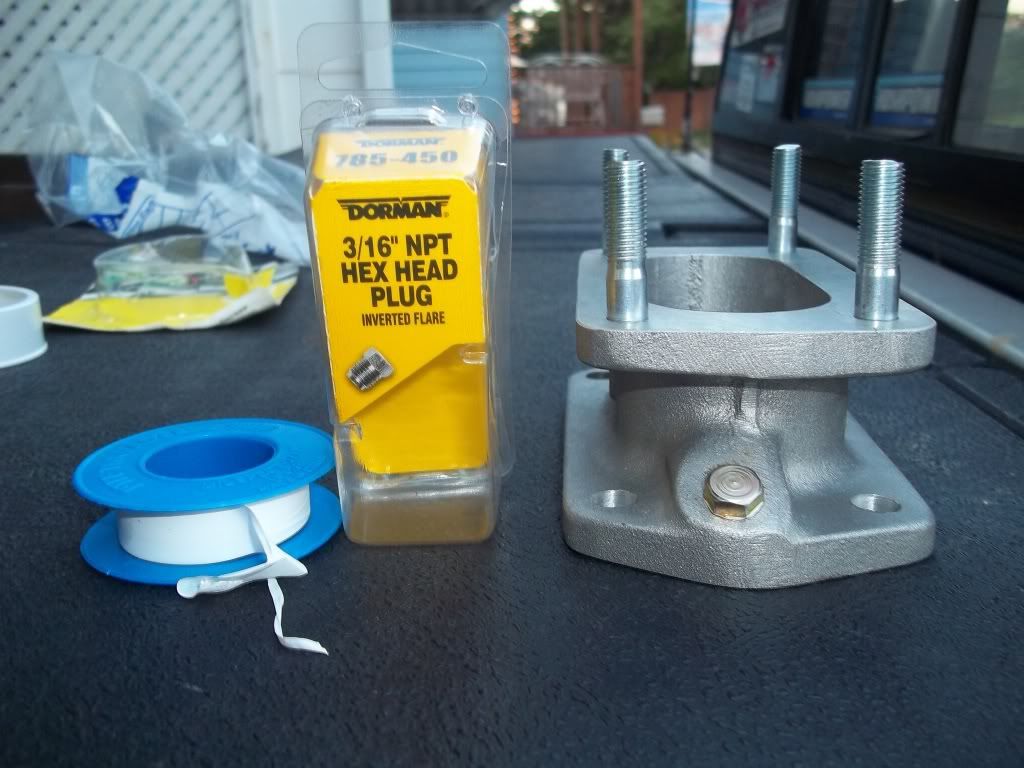
Got the new 1 piece adapter in Friday night.
1st thing I had to do was plug up this hole for the PCV. Didn't really have to since my 87 doesn't have a provision in the intake manifold for the vacuum port, but just to be on the safe side.
With the time constraints I was working with I didn't take many photos of the whole process. The studs themselves were a little off on the adapter making it a little difficult to get the carb onto the top of it, but I managed with a little persuasion.
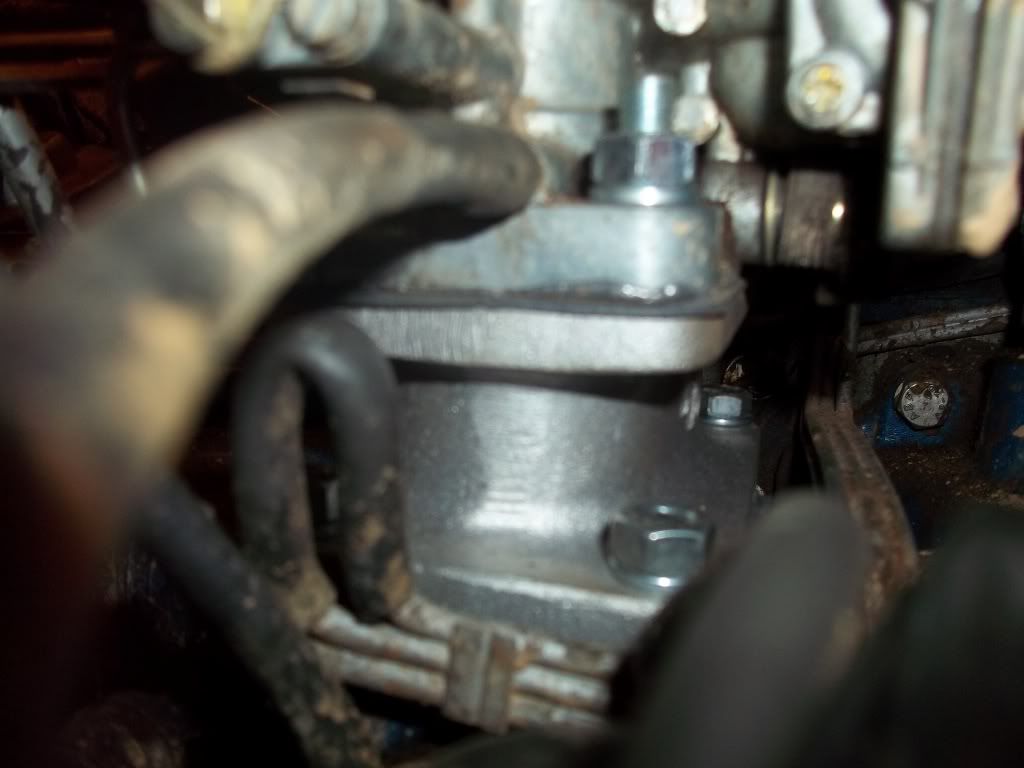

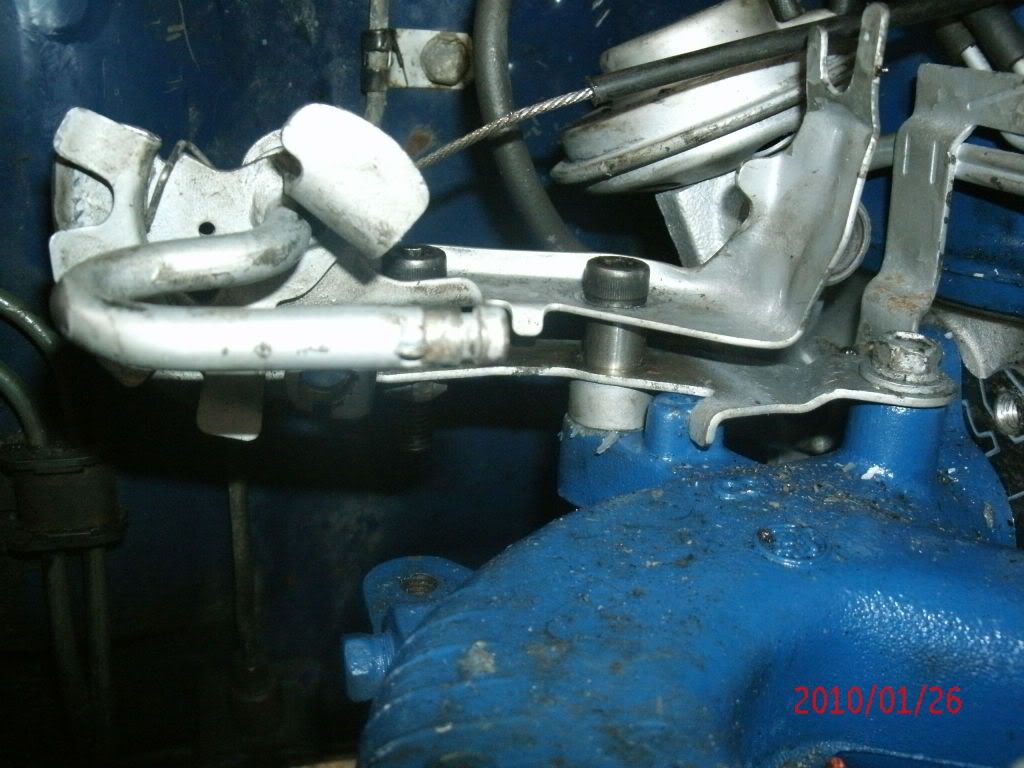
The next thing to do was extend the extensions that were in place from the original weber kit since this adapter is a little taller then the two-piece. Lowes ended up having what I needed as far as the sleeves and longer bolts. NOTE: the linkage bracket came extremely close to the EGR valve that I still have in place making it a little tricky to get one of the bolts in.
Before
After.

No I didn't put more mud on as a part of this process.The before photo was taken when the carb was put on over a year ago.
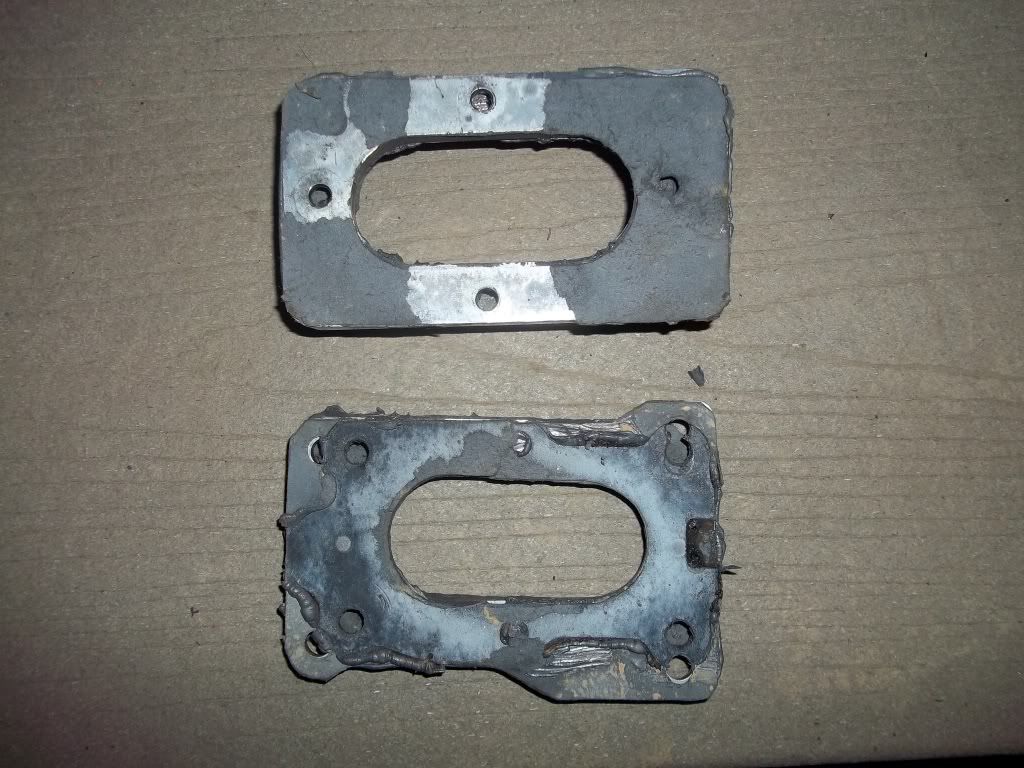
After trying several times to get this two-piece adapter to seal correctly this is what I am left with. I tried using that fuel safe never dry super tacky sealant, didn't work. I tried using thicker gaskets that I cut from material bought from NAPA, didn't work. Last resort was using ultra black RTV with the homemade gaskets, also didn't work. NOTE: using RTV made it extremely hard to get this thing off as you can probably tell in the next few photos.

And lastly, pic taken at approx 11:30 at night. Notice my work light?

Didn't get a final installed pic with the filter on, but I was worried about hood clearance with the taller adapter and the taller type filter. But it clears, but extremely close. After install,
I noticed a great reduction in idle (due to the vacuum leak caused by the two-piece adapter, so I had to screw in the idle speed screw. In addition to that I went from 2 1/2 turns out on the mix screw to approx 2 turns out. Still tweaking on it though. Both the girlfriend and I noticed a change in exhaust tone as well. An improvement in low rpm throttle response is also felt. It's still somewhat of a dog though with the 33's and 4.10's but I can feel it.
1st thing I had to do was plug up this hole for the PCV. Didn't really have to since my 87 doesn't have a provision in the intake manifold for the vacuum port, but just to be on the safe side.
With the time constraints I was working with I didn't take many photos of the whole process. The studs themselves were a little off on the adapter making it a little difficult to get the carb onto the top of it, but I managed with a little persuasion.
The next thing to do was extend the extensions that were in place from the original weber kit since this adapter is a little taller then the two-piece. Lowes ended up having what I needed as far as the sleeves and longer bolts. NOTE: the linkage bracket came extremely close to the EGR valve that I still have in place making it a little tricky to get one of the bolts in.
Before
After.
No I didn't put more mud on as a part of this process.The before photo was taken when the carb was put on over a year ago.
After trying several times to get this two-piece adapter to seal correctly this is what I am left with. I tried using that fuel safe never dry super tacky sealant, didn't work. I tried using thicker gaskets that I cut from material bought from NAPA, didn't work. Last resort was using ultra black RTV with the homemade gaskets, also didn't work. NOTE: using RTV made it extremely hard to get this thing off as you can probably tell in the next few photos.
And lastly, pic taken at approx 11:30 at night. Notice my work light?
Didn't get a final installed pic with the filter on, but I was worried about hood clearance with the taller adapter and the taller type filter. But it clears, but extremely close. After install,
I noticed a great reduction in idle (due to the vacuum leak caused by the two-piece adapter, so I had to screw in the idle speed screw. In addition to that I went from 2 1/2 turns out on the mix screw to approx 2 turns out. Still tweaking on it though. Both the girlfriend and I noticed a change in exhaust tone as well. An improvement in low rpm throttle response is also felt. It's still somewhat of a dog though with the 33's and 4.10's but I can feel it.
08-28-2011, 06:58 PM
#1134
Registered User
Thread Starter
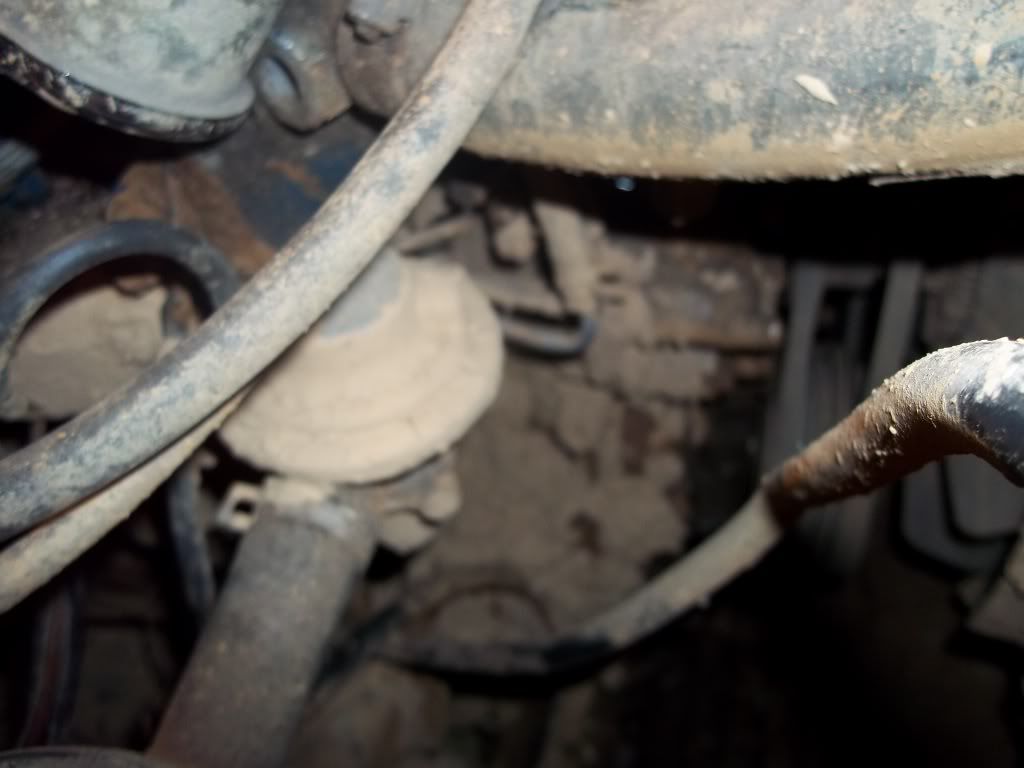
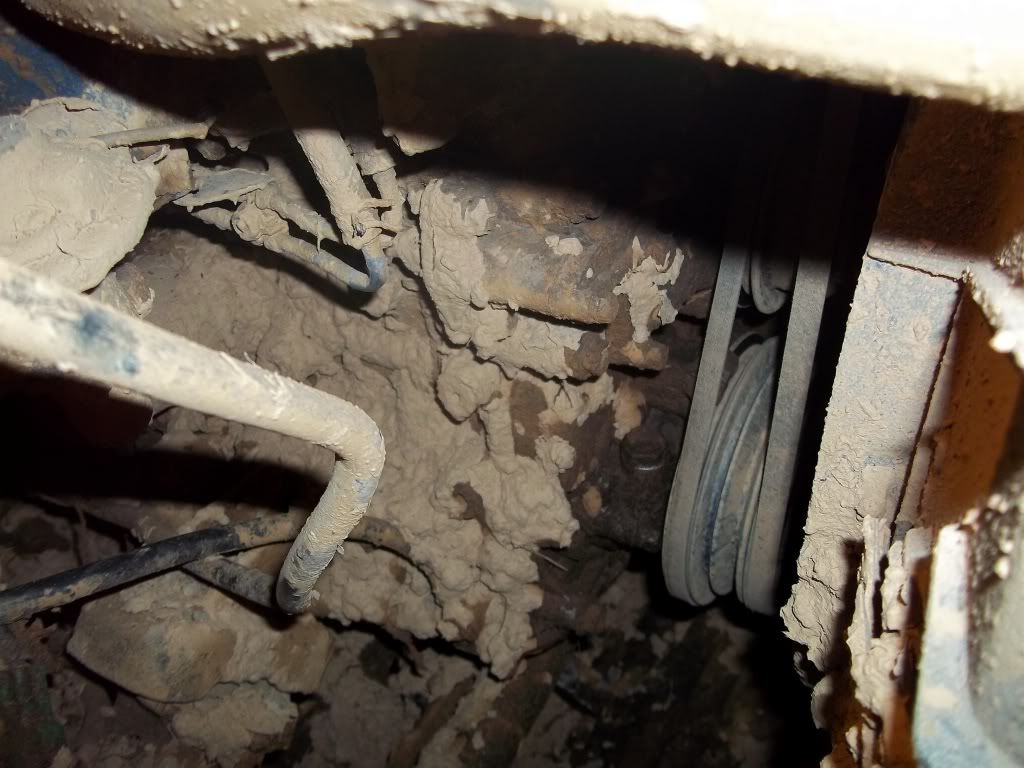
This is what my engine bay looked like BEFORE the mud bog this weekend. Which photos and a few vids will be posted in the near future as well.
08-29-2011, 10:42 AM
#1135
Registered User
Thread Starter
As promised this past weekend adventure. https://www.yotatech.com/forums/f100.../#post51778022
Next up is my high-lift "rebuild".
Next up is my high-lift "rebuild".
09-03-2011, 07:59 AM
#1136
Registered User
Thread Starter
Freebie. Now I got two spares, one A/T and one M/T. The wheel didn't come with it though. Once again, mounted this one by hand. And dang trying to get a 12.50 tire on a 7" wheel is a PITA. The things I do to save $5-$10. lol.
I am this close to going with airsoft bb's in my tires too. || Just not looking forward to taking all the wheels off the truck and braking all these beads by hand. lol.
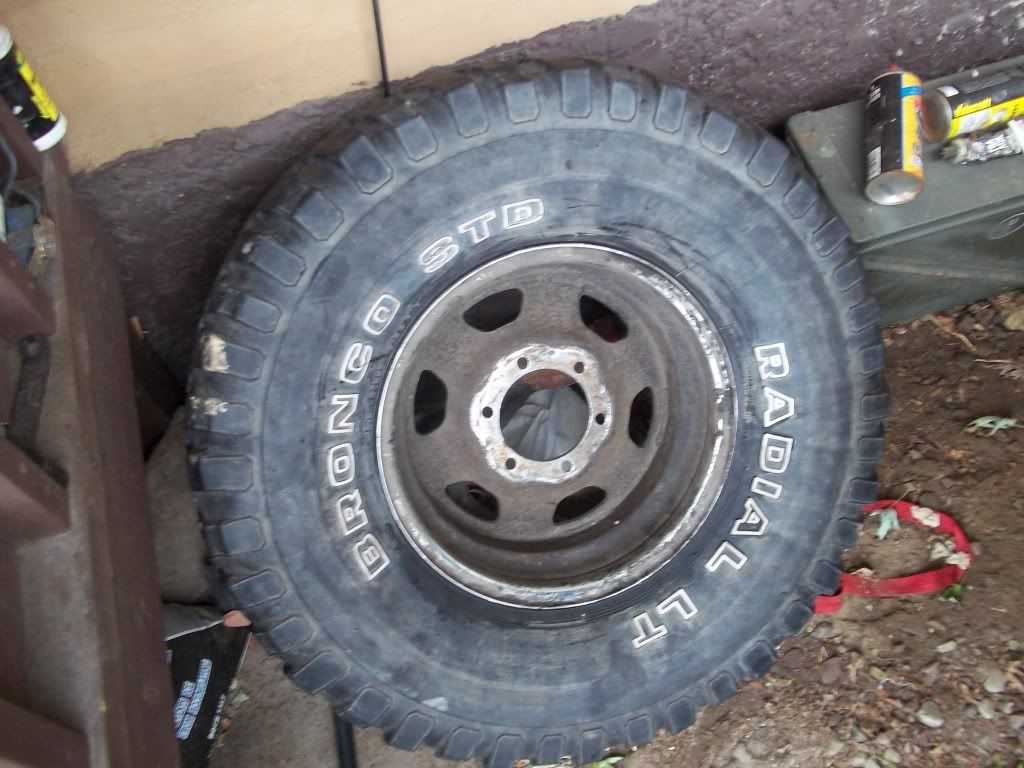
The wheel didn't come with it though. Once again, mounted this one by hand. And dang trying to get a 12.50 tire on a 7" wheel is a PITA. The things I do to save $5-$10. lol. I am this close to going with airsoft bb's in my tires too. || Just not looking forward to taking all the wheels off the truck and braking all these beads by hand. lol.
 10-06-2011, 11:13 AM
#1138
Registered User
Thread Starter
Thanks. It's been a slow process lately. Mud bog season rolls around and things get put on hold because I don't wanna put the truck down for any unforeseen issues.
Same thing will happen in the winter as well as I hate working out in the cold. lol.
Same thing will happen in the winter as well as I hate working out in the cold. lol.
10-10-2011, 04:48 PM
#1139
Video from the last one was great, B! Admire your Blue-Beast! lol.
Out of curiosity, on a tangent.... What's the max shaving on a head before a Adjustable Cam Gear is desirable? I couldn't remember what level you shaved....... I thought it was 10-Thousandths... But that doesn't seem like too much to me...... Fill me in? (trying to help someone decide... 86toyota-something-or-another, lol.
Have a good weekend, all around?
Admire your Blue-Beast! lol. Out of curiosity, on a tangent.... What's the max shaving on a head before a Adjustable Cam Gear is desirable? I couldn't remember what level you shaved....... I thought it was 10-Thousandths... But that doesn't seem like too much to me...... Fill me in? (trying to help someone decide... 86toyota-something-or-another, lol.
Have a good weekend, all around?
10-10-2011, 05:09 PM
#1140
Registered User
Thread Starter
My block was shaved 10 thous and I wish I had that cam gear. But this thing seriously wakes up above 2500-2800 RPM. I've asked before on here if anyone knew what the relationship to shaving head/block and cam timing change and noone really seems to know. Also rememebr my block was also bored 20 over as well, which actually lowers compression too. Another reason why I had my block shaved down 10 and not 5.
Last edited by xxxtreme22r; 10-10-2011 at 05:11 PM.


