Toms 87 4Runner Build
#83
Thread Starter
Joined: Aug 2008
Posts: 11,787
Likes: 25
From: Anderson Missouri
I had some extra time built up and took a week off to get some things done around here. One of them is to get the runner painted. Today and tomorrow will be trying to get some of the final body work done and ready for paint. Tomorrow will be mostly getting the shop cleaned up so as I can paint in it. Cleaning the shop and getting the dust blown out and ready to paint is a big job in itself. It would be so nice to have a dedicated paint booth but that is just the way it goes.
Saturday is when I plan on painting. I will have a friend coming over that used to run his own body shop and is going to show me what I need to do to get clear coat to lay down nice and smooth. Clear coat is the one layer I have problems with. I have never run paint, but I have run clear coat. Another problem I have had with clear coat is that it will either lay down nice and smooth or get orange peel in it and that takes a lot of sanding to get the clear smooth. So much nicer when it goes down smooth.
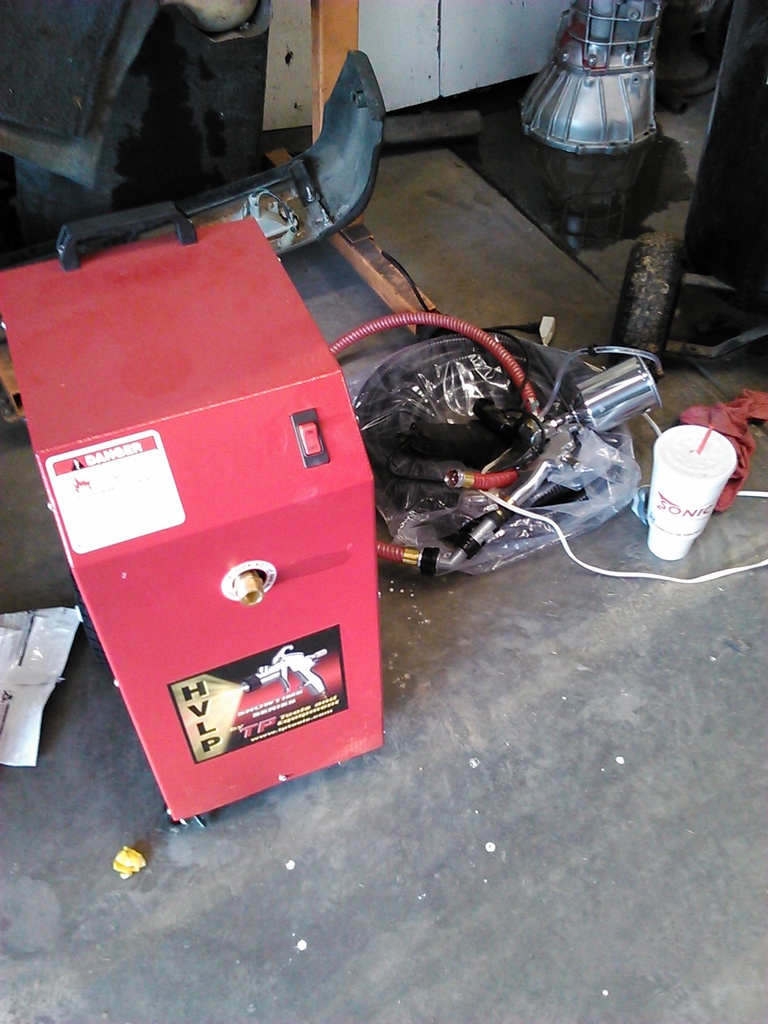
My friend is getting a blower or something new that is supposed to be at his house on Friday. He says it heats or dries the air before getting to the paint gun. He says it makes painting a lot nicer. I will have to wait and see what it is and does and will try and get pictures when we paint.
Saturday will be paint day if all goes as planned and then next week will be getting everything back together and checked out. It wont take long for me to get things together but the little details and checks will take some time.
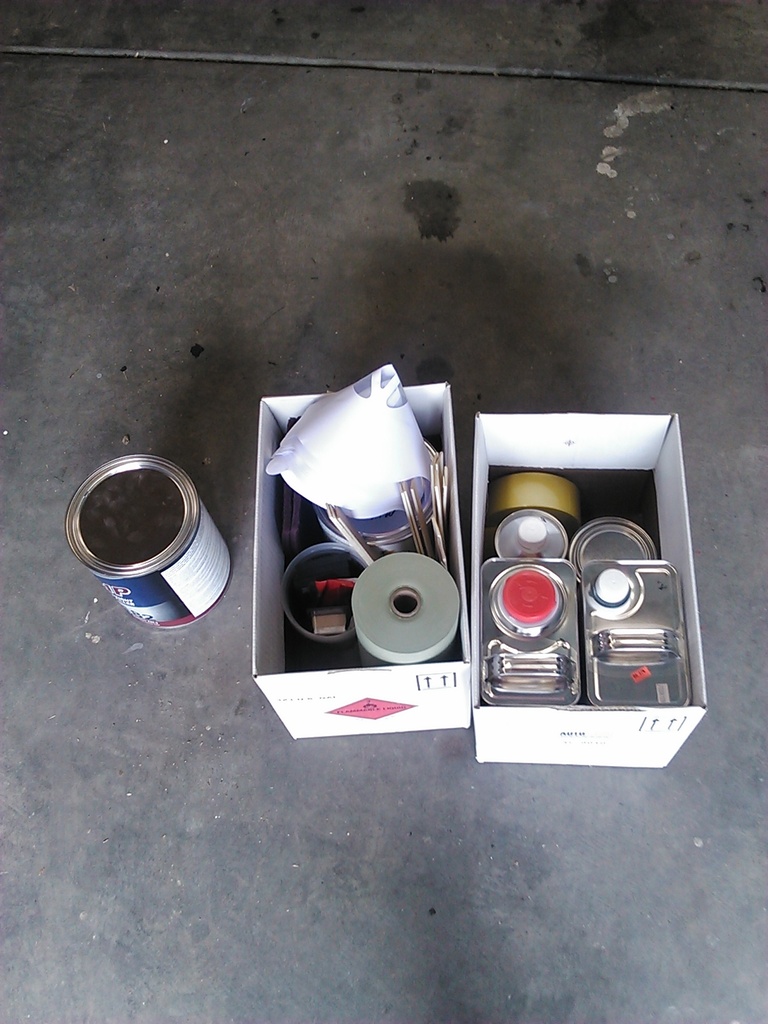
Here is the paint and a few things that will be needed.

#84
Thread Starter
Joined: Aug 2008
Posts: 11,787
Likes: 25
From: Anderson Missouri
I will always have some kind of project to work on. I thought I wanted a mid 70's Celica until I started seeing the prices on them. They are thru the roof or just rusted beyond repair. They are just about as much as some of the muscle cars out there. Once I get this runner done. I think I will pull the red 87 runner in the shop and tear it apart and get it cleaned up. It looks to be in bad shape but is really solid from what I can tell on it. I wont be spending much on it until I get my 85 truck completed to how I want it to be.
The condition of the 87 really just needs to be tore down and cleaned up and will keep me busy for a while. I have pulled plenty of pick up bodies off of frames and have had runners off of the frames but not completely out from underneath them so coming up with a way to get the body off is going to be interesting. I have 90% of the things I need to get the 87 back together. I need to get the motor tore down and cleaned up and come up with a transmission for it. Several of the items I am missing from the main harness, my 85 had so I should be able to get all of the options working on it.
The condition of the 87 really just needs to be tore down and cleaned up and will keep me busy for a while. I have pulled plenty of pick up bodies off of frames and have had runners off of the frames but not completely out from underneath them so coming up with a way to get the body off is going to be interesting. I have 90% of the things I need to get the 87 back together. I need to get the motor tore down and cleaned up and come up with a transmission for it. Several of the items I am missing from the main harness, my 85 had so I should be able to get all of the options working on it.
#85
Thread Starter
Joined: Aug 2008
Posts: 11,787
Likes: 25
From: Anderson Missouri
I had to move all the things I don't want to get overspray on so threw it in the back of the 85 for now. I am sure some might think it is just a bunch of old worthless parts but there is plenty there. SR5 cloth panels. 3 great dash pads, and several other things.
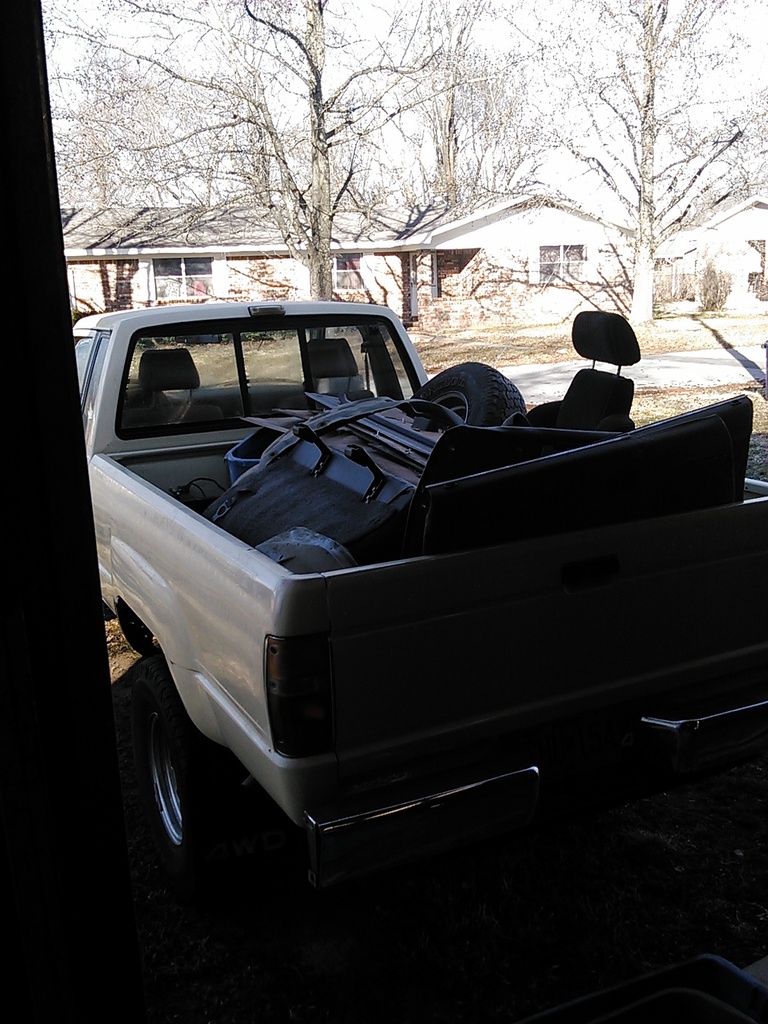
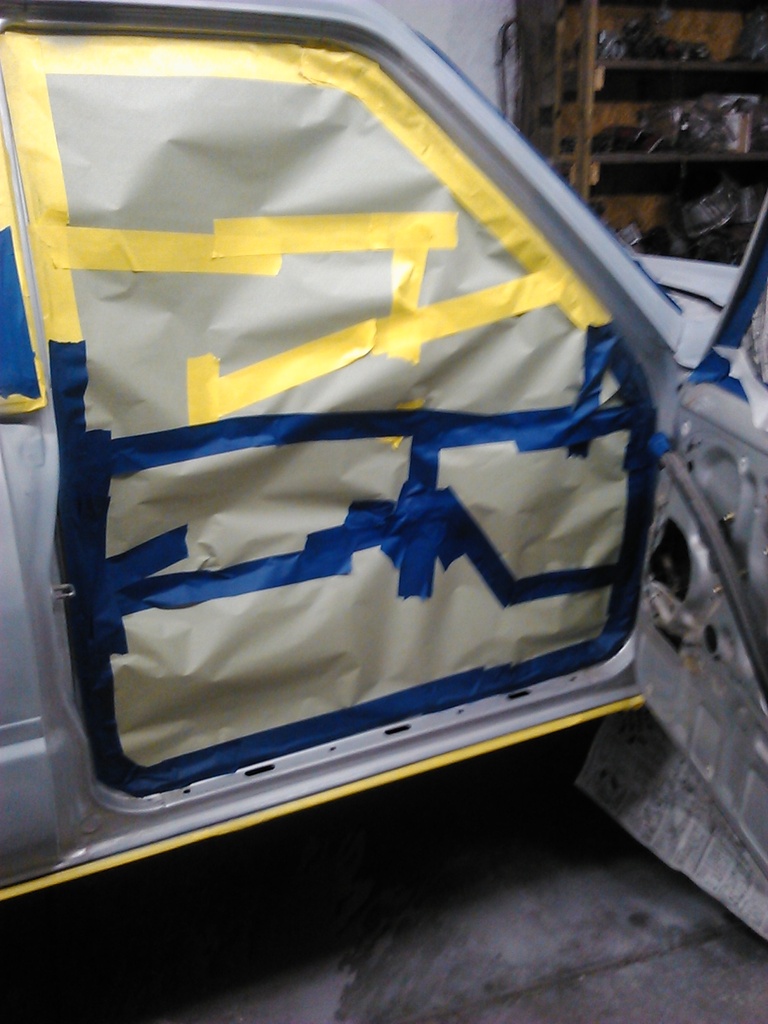
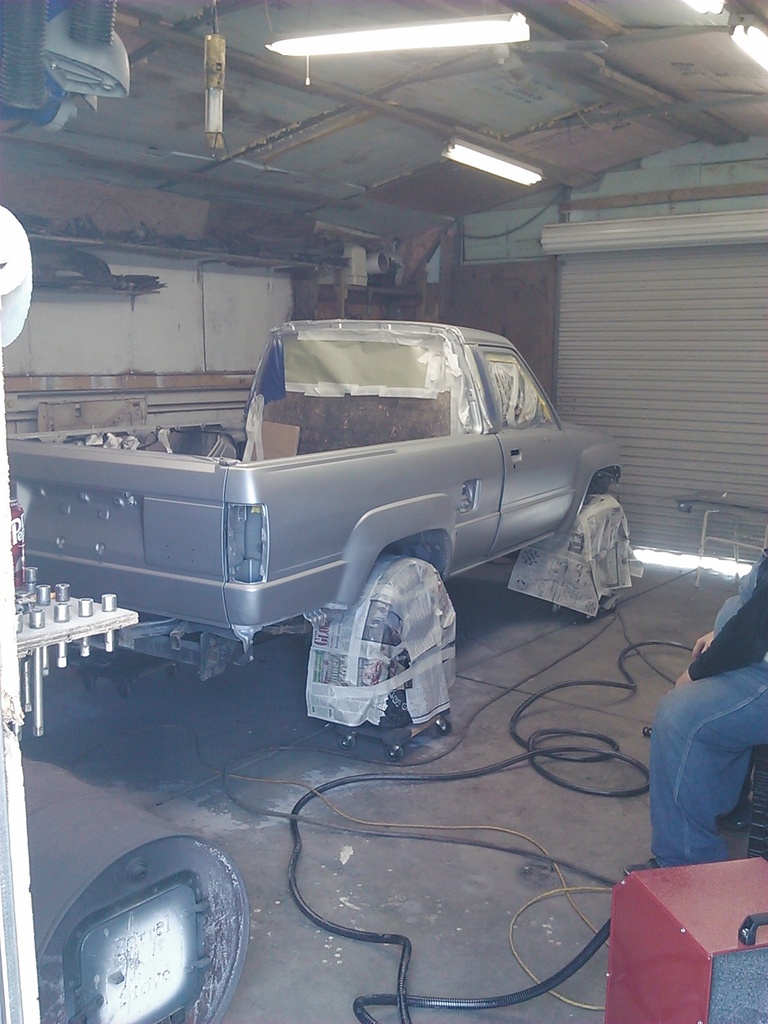
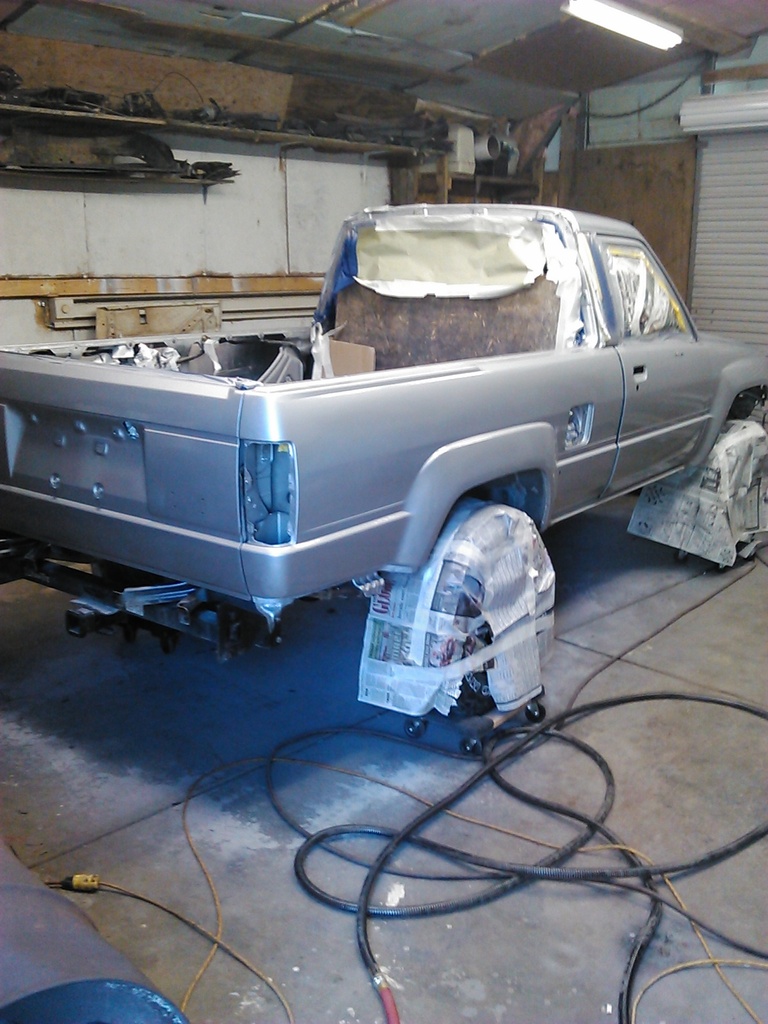
Was wanting to get it painted Saturday and after 12 hours in the shop, we were beat. A guy I work with and his brother came to help get it painted and wanted to test their new spray assembly. Here it is masked off waiting to get it painted on Sunday.
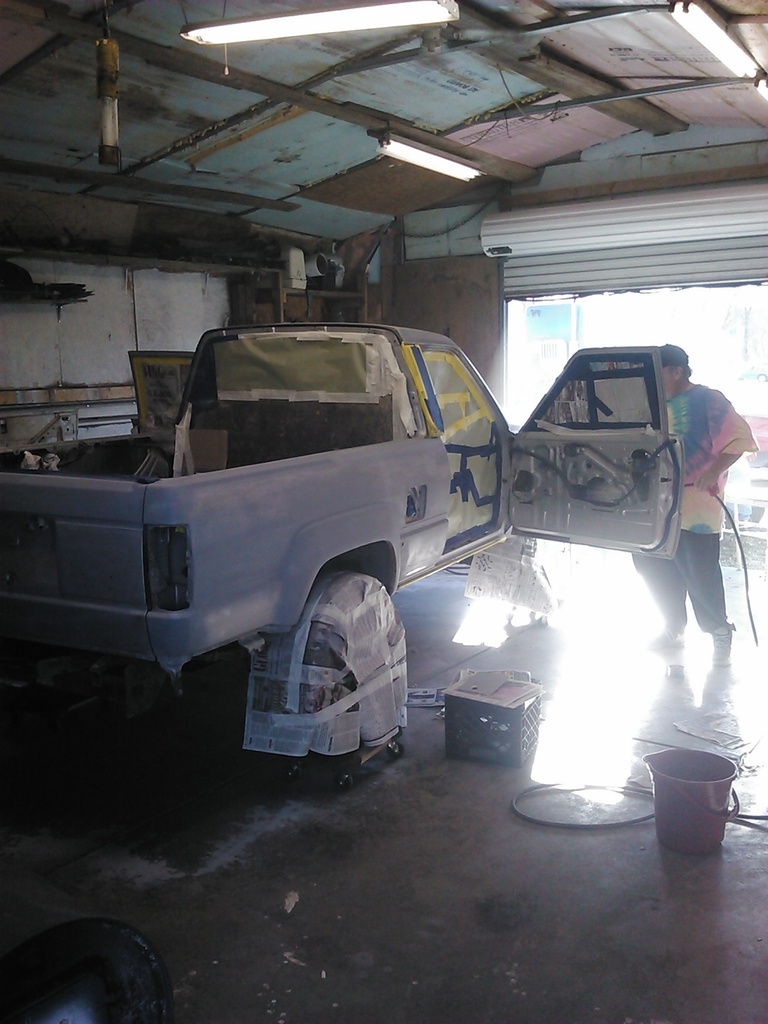
Another picture from Saturday.
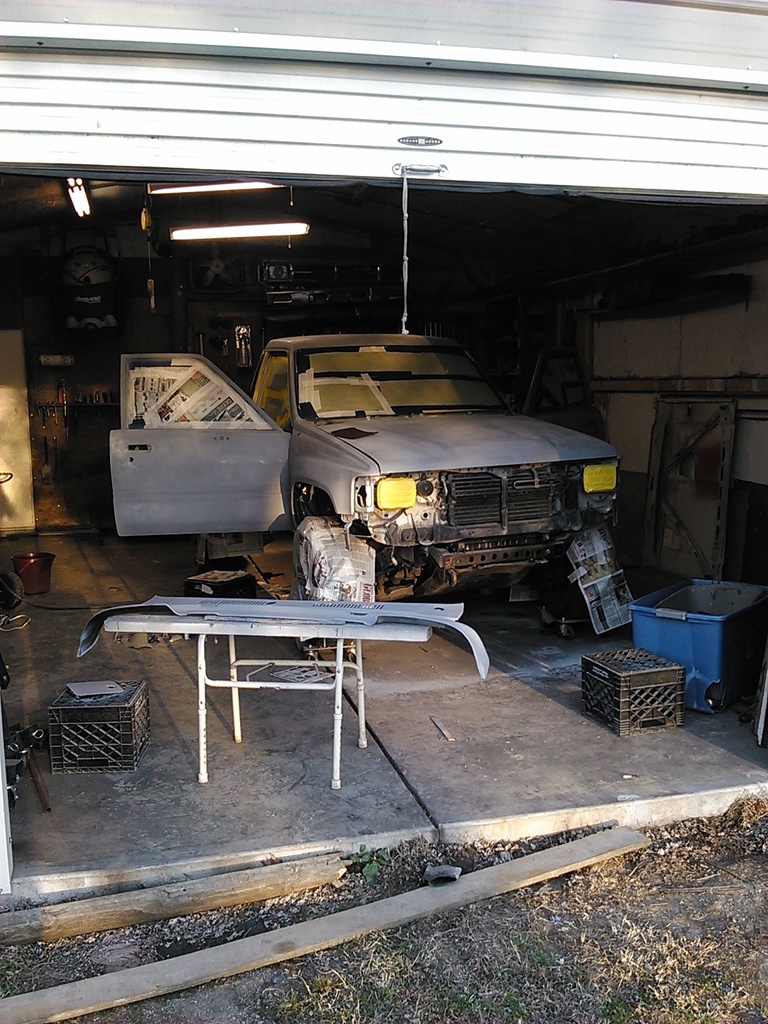
Here is the spray assembly. It is all self contained. It dries and warms the air before going to the spray gun that comes with it. A great little system.
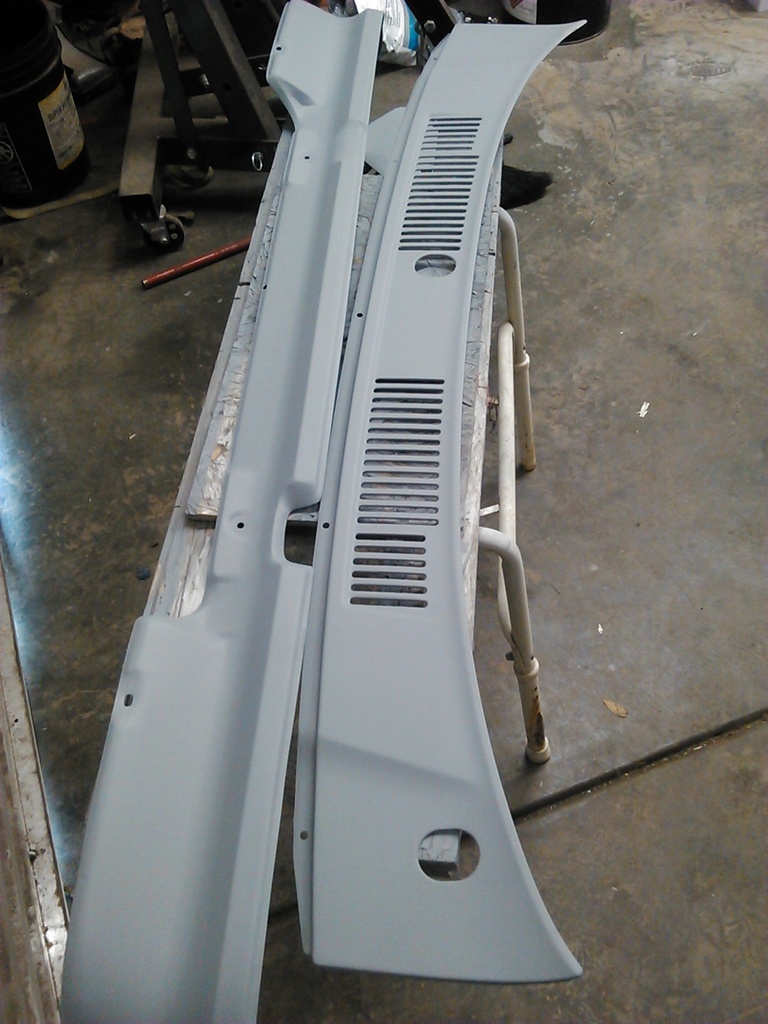
Primered the cowl, gas tank cover and valance.
Painted the jams.
Here it is in base coat.
In clear coat.
Another view.
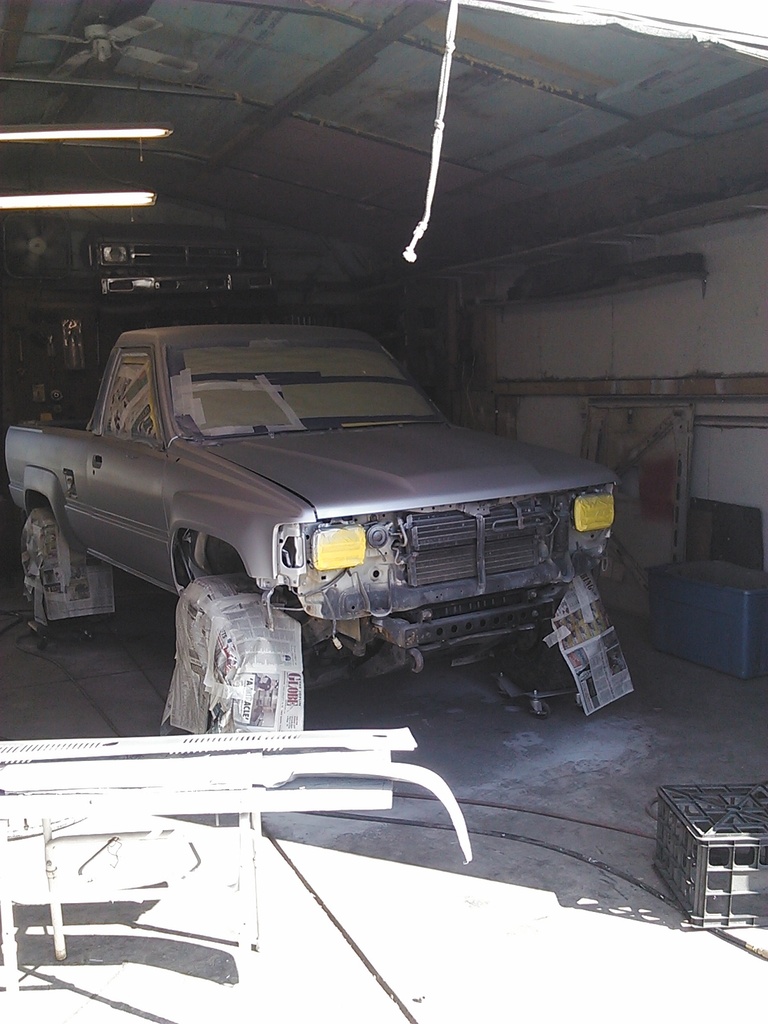

Was wanting to get it painted Saturday and after 12 hours in the shop, we were beat. A guy I work with and his brother came to help get it painted and wanted to test their new spray assembly. Here it is masked off waiting to get it painted on Sunday.

Another picture from Saturday.

Here is the spray assembly. It is all self contained. It dries and warms the air before going to the spray gun that comes with it. A great little system.

Primered the cowl, gas tank cover and valance.

Painted the jams.

Here it is in base coat.

In clear coat.

Another view.

Last edited by Terrys87; 02-28-2016 at 04:10 PM.
#87
Thread Starter
Joined: Aug 2008
Posts: 11,787
Likes: 25
From: Anderson Missouri
Thanks Ed... When everything goes right, paint is rewarding as it makes the biggest improvement. The paint machine we used yesterday was about a $700 paint machine but I think I have gotten similar results with the old style suction paint gun which is about $20. I think on my next project I am going to use a new one and see what results I get with it. That is what I started out with. Clear coat is the one that causes most people the biggest problem. It does take a lot of patience.
#88
Thread Starter
Joined: Aug 2008
Posts: 11,787
Likes: 25
From: Anderson Missouri
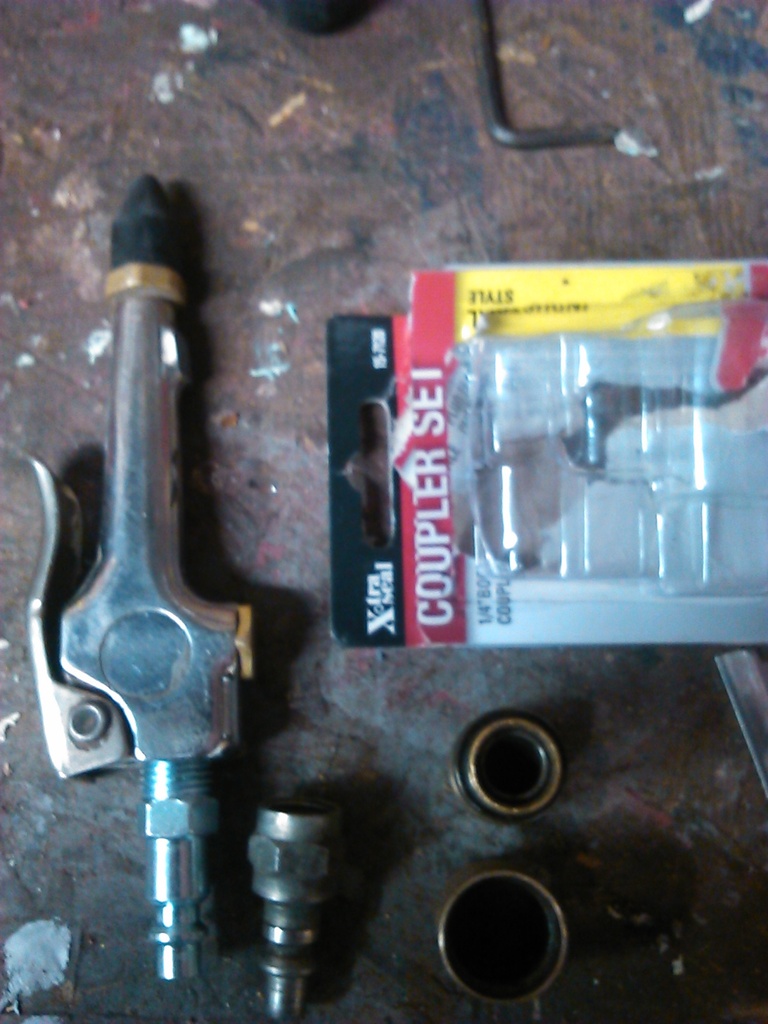
One of the delays I ran into yesterday is one of my coupler broke. I had some spare hoses and they were the other style connectors. I am going to convert all of my hose connections to this set up. Mostly a reminder for me for which one I want to go with.
I did get the shop somewhat cleaned back up and let the runner sit outside and idle for quite a while to get rid of some of the old gas out of it.
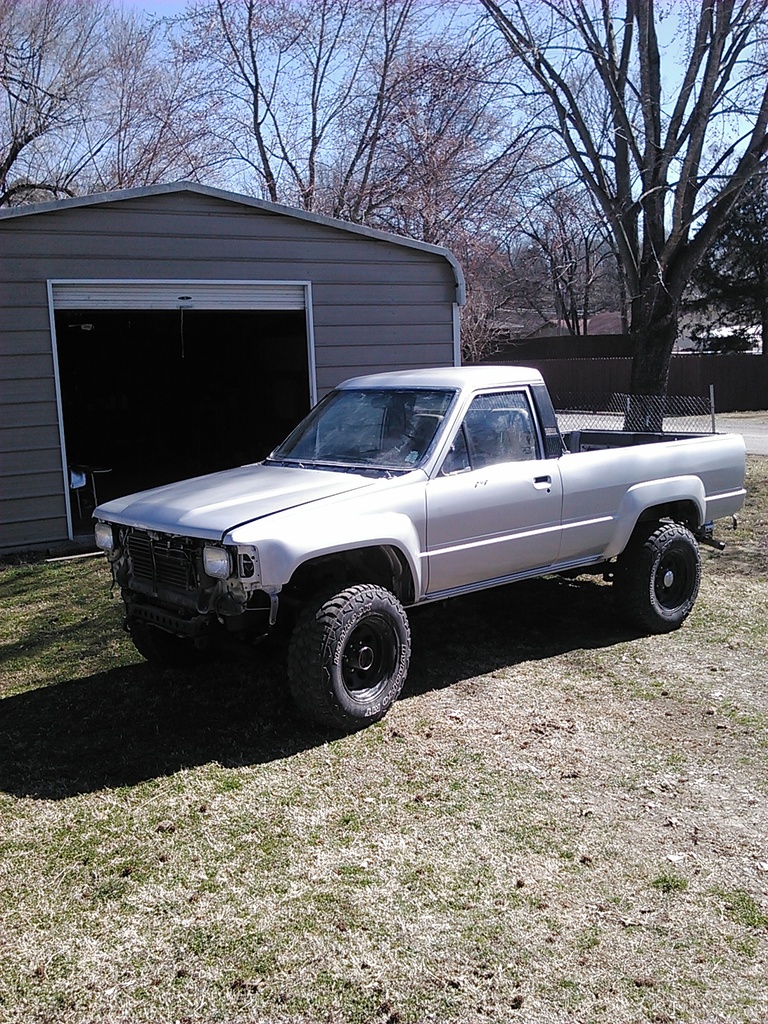
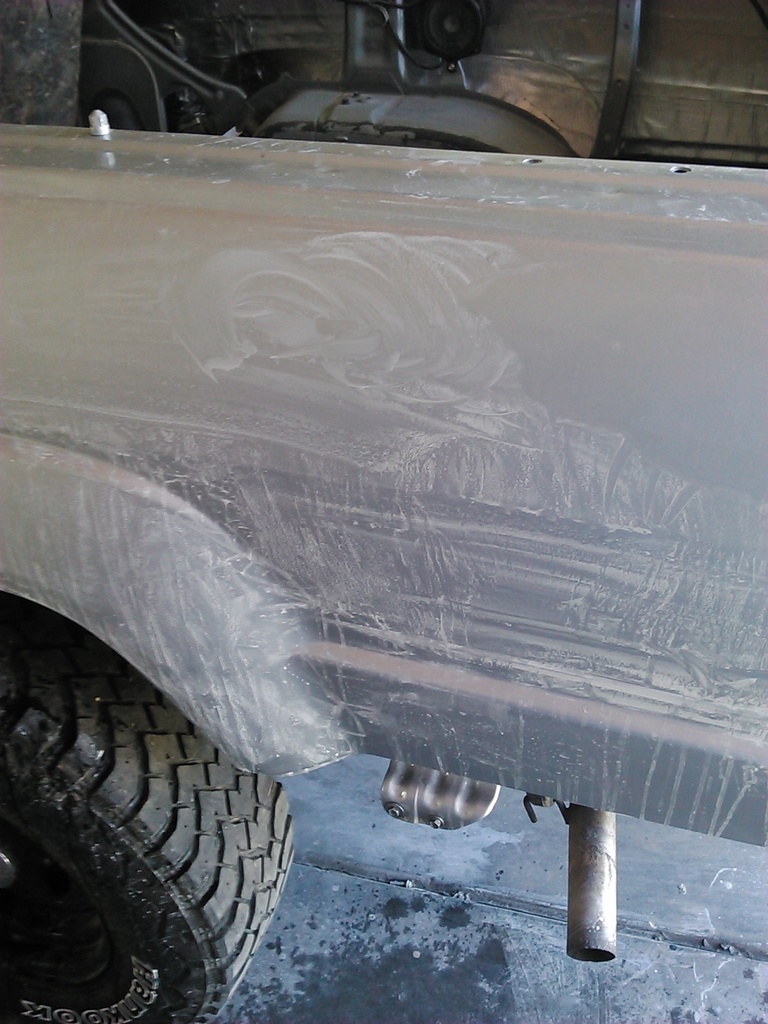
I started color sanding it with 2000 grit sandpaper. Clear tends to orange peel and I like to use 2000 grit and then go over it with it instead of a lower grit just to be on the safe side of not burning thru. I will go ever it with the buffer after I get it all color sanded. Sand paper may sound scary but you will get into more trouble with a buffer the you will with sandpaper. The rubbing compound can have more grit then the sandpaper .
Here is where I have started and the gray/white is actually the clear that is getting sanded off. It takes some of the shine off but the buffer and polish will bring it back when I get to that stage.
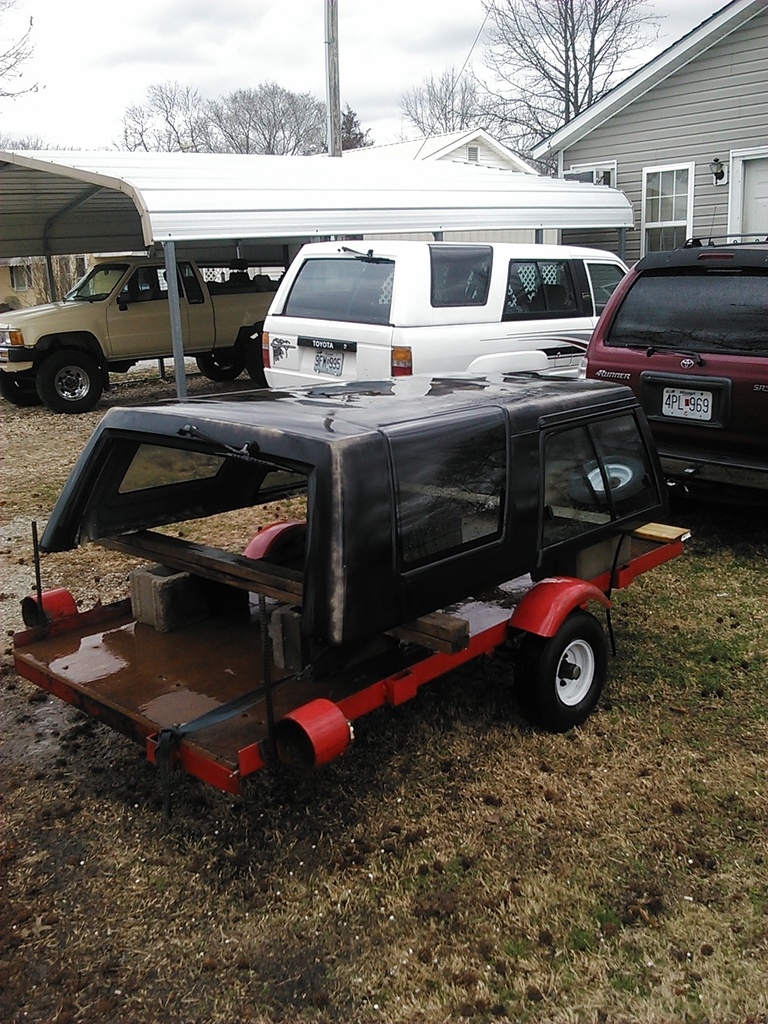
I did get the top all cleaned up and will paint it later on when I get the body polished out and the interior in just to save space in the shop. I am hoping to get in done in a day or two.

I did get the shop somewhat cleaned back up and let the runner sit outside and idle for quite a while to get rid of some of the old gas out of it.

I started color sanding it with 2000 grit sandpaper. Clear tends to orange peel and I like to use 2000 grit and then go over it with it instead of a lower grit just to be on the safe side of not burning thru. I will go ever it with the buffer after I get it all color sanded. Sand paper may sound scary but you will get into more trouble with a buffer the you will with sandpaper. The rubbing compound can have more grit then the sandpaper .
Here is where I have started and the gray/white is actually the clear that is getting sanded off. It takes some of the shine off but the buffer and polish will bring it back when I get to that stage.

I did get the top all cleaned up and will paint it later on when I get the body polished out and the interior in just to save space in the shop. I am hoping to get in done in a day or two.

Last edited by Terrys87; 02-29-2016 at 10:49 AM.
#89
Great work Terry. I need to sit down and get all caught up on all your build threads. I have been so busy at the school, that I have had no time at all to even work on my own let alone check other threads out.
Hope all is well with you. I will get down your way to visit sooner than later..
Hope all is well with you. I will get down your way to visit sooner than later..
#91
Just curious, are you going to paint the top body color, or are you going to paint it black? I think it will look good either way, just wondering. Man Terry, you need to gather up all of your toyota's, both finished and current projects together for a group picture...if you could fit them all in it, lol!
Last edited by rustED; 02-29-2016 at 02:40 PM.
#92
Thread Starter
Joined: Aug 2008
Posts: 11,787
Likes: 25
From: Anderson Missouri
Thanks Mark... I hear you on being busy. Seems like not enough time in the day anymore. I actually took some time off of work to try and get this done and still seems like things keep coming up and slowing me down on this project. I would look forward to seeing you. I may have a Kansas City trip coming up later on this summer and will give you a holler when I get up that way.
Thank Nervo19.. The color looks more gray then silver. It is paint code 147, but where sun has not faded like in the cargo area under the floor mat it is an exact match. First time I have actually seen one in it true color that I can think of. A friend of mine says silver will only hold its color for 4-7 years depending on if it is parked inside or not. It is a big color difference but I like the color so much better then the faded silver you see all of the time.
Hello Ed... I will be painting the top to silver and the rock guards are going to be going black. It is actually opposite then what the factory did. I always like the top to match the body and so does Tom. To me with a black top on them it is easy to think it is a pick up with a camper top on them.
I will try and get them all in one picture eventually. I a while back I used the motor out of my 86 to try and fix Mistys Cherry Manifold. That did not fix it so it is in the electric somewhere. Even Toyota cant seem to find the problem and a friend of mine is stumped as well and he knows these things way better then I do.
I may be losing a Toyota in the near future. An older gentleman is really interested in my 85. I really don't want to let it go but what he is offering I could buy another truck and instead of having to wait on my $25 a week budget, I could just go to the parts sites and push the order button. He is trying to talk his wife into it and it would be going to a good home. That is still in the works. One reason I have kind of stopped working on the 85 and he would have me to finish it up for him.
#93
Thread Starter
Joined: Aug 2008
Posts: 11,787
Likes: 25
From: Anderson Missouri
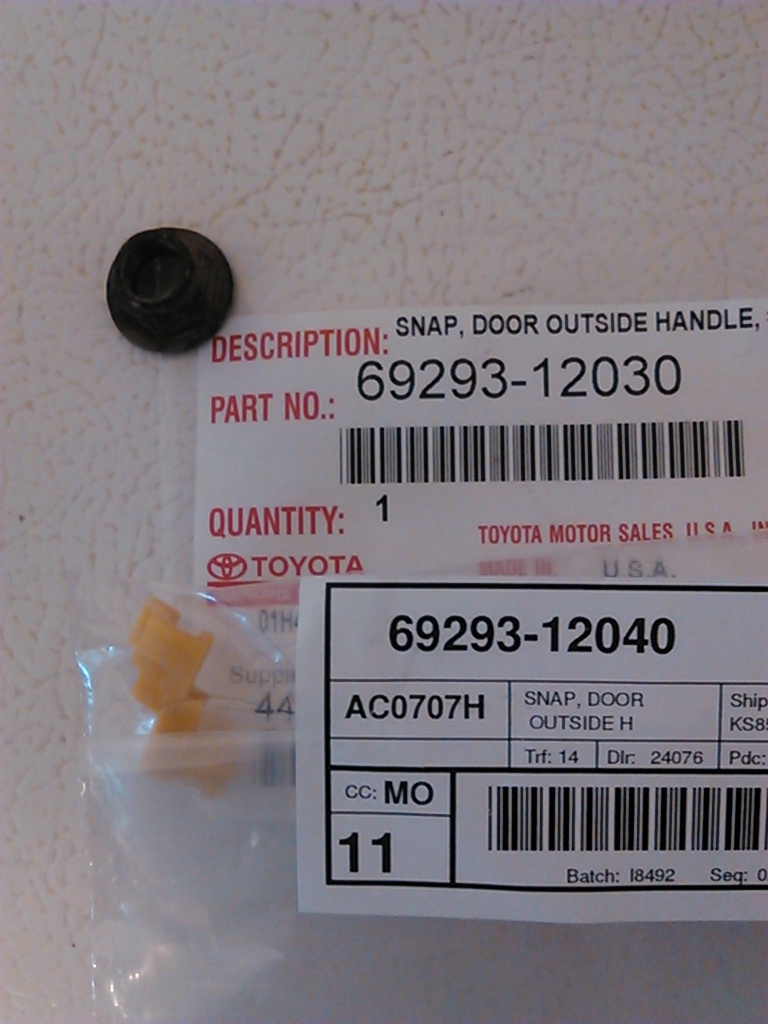
Well Rats!!! Went to put the exterior together so I could start putting some of the interior back together and I don't have any door clips. I got them on order from the Joplin Toyota dealer. They should be in tomorrow and I will take them down to the local auto body parts store and see if they have some in aftermarket. These clips always break on me when I remove a door handle.
Got most of the drivers side color sanded and buffing it out. While waiting for my door clips to come in, I will start getting some of the other parts on and ready and try to keep this project moving. Will be painting trim to black. One of the rock guards has disappeared on me but am sure it will show up when I get some of the other parts out of the back of the 85.
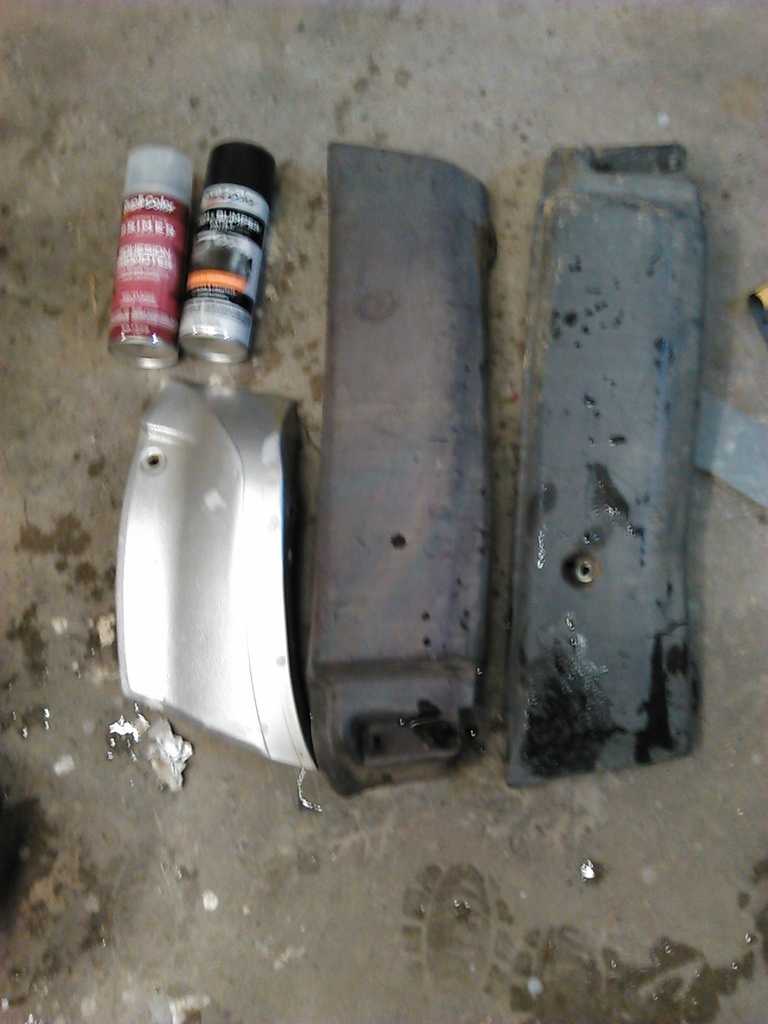
Got some of the trim painted using Trim and Bumper paint.
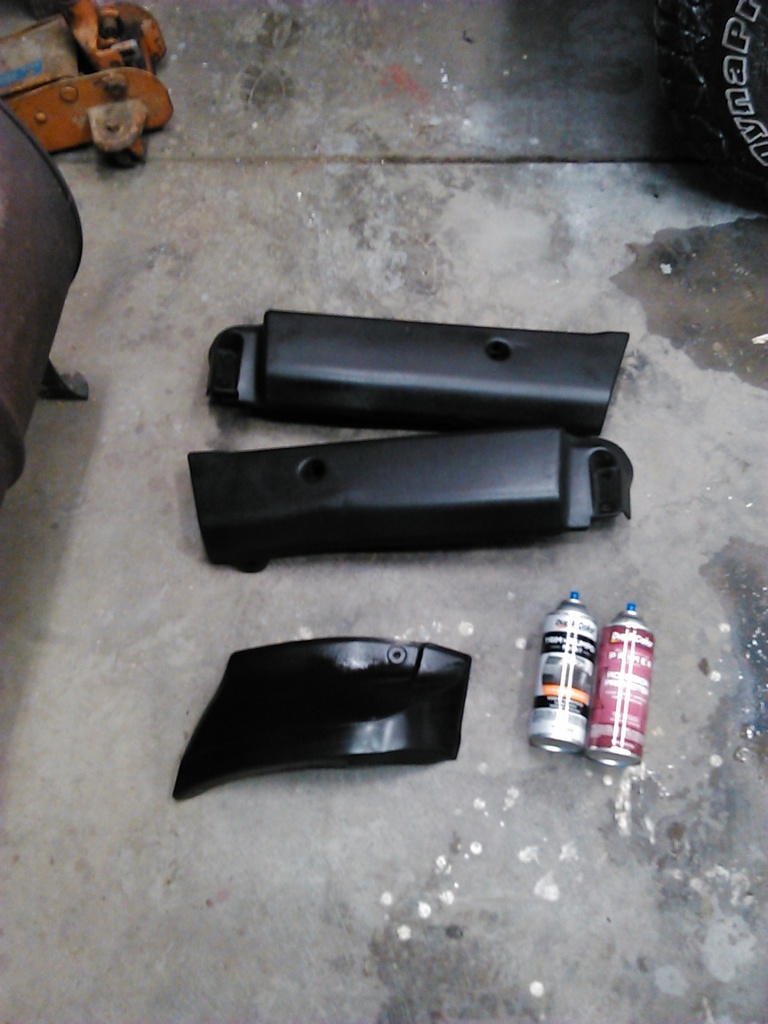
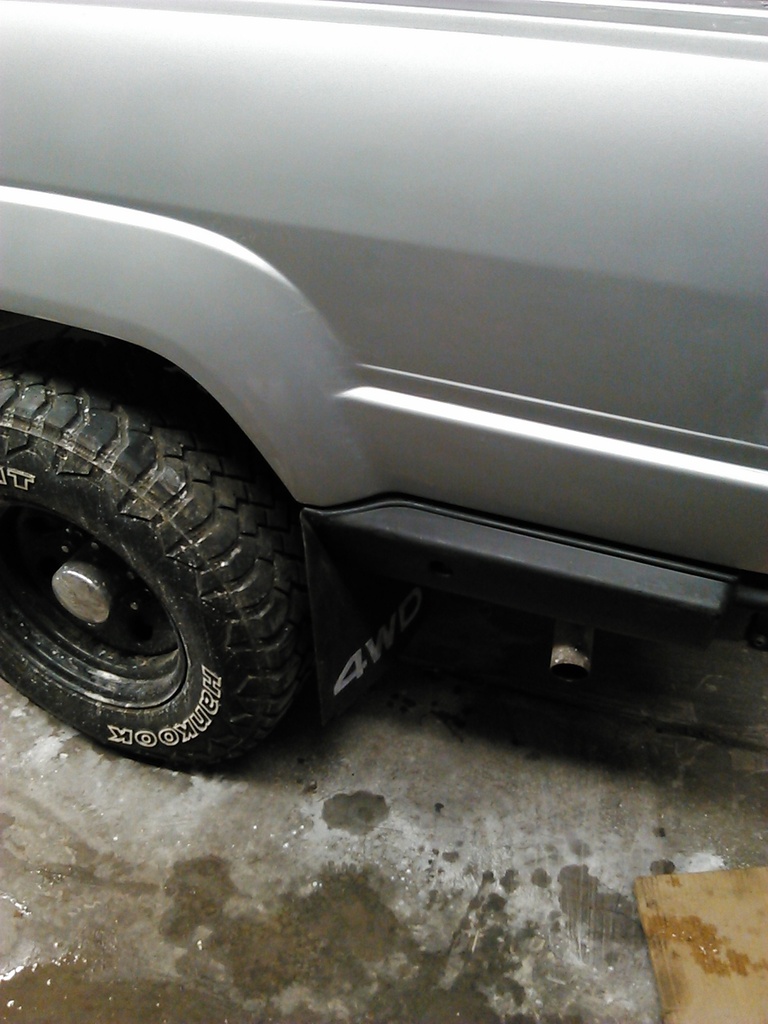
Got it installed and the drivers side inner fender, I have not done the passenger side inner fender as I need to smooth out the clear coat on that side and install the antenna. Earlier in this thread, I show that I leave the bolts in their places when tearing a truck down. You see car shows and they tag and bag all their nuts and bolts. That will leave you with a big mess on your hands when you go to reassemble a truck. This is where it pays off to leave them in. I still have to bag some nuts and bolts but I do that when I am actually working on the piece at the time.
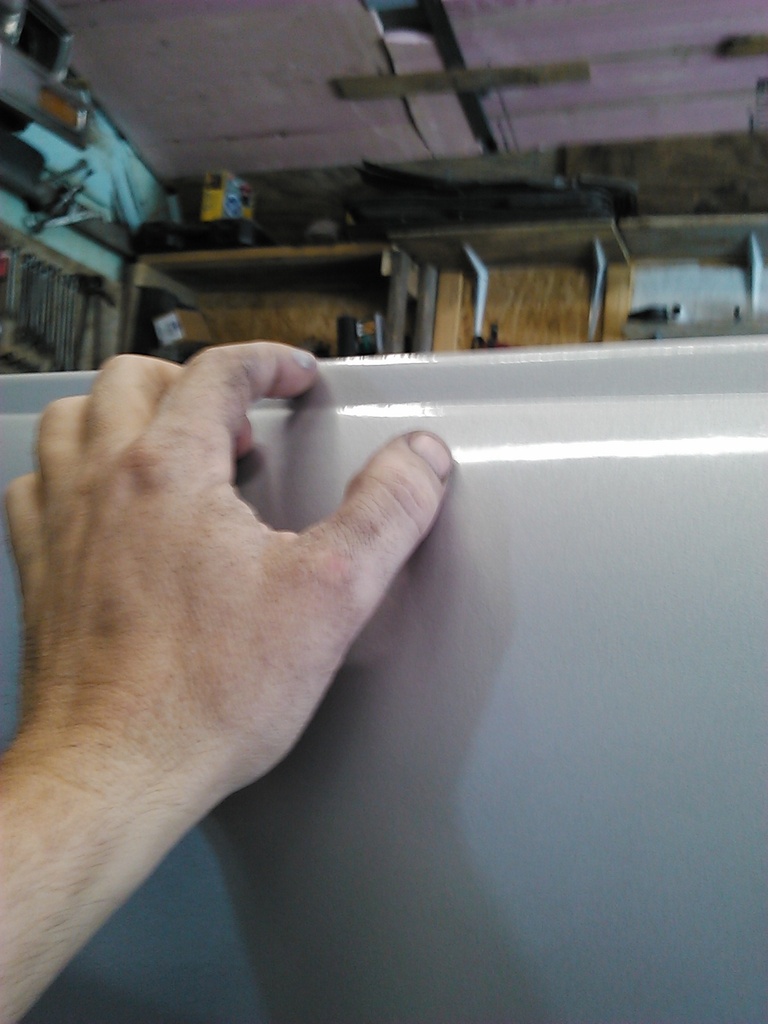
Several people are worried about painting. Getting the paint down is easy from my experience, it is the clear coat that can be the problem which is normal for having orange peel.
What I am trying to show is where my thumb is I have the clear worked down. Where my pointer finger is still some orange peel. It is on edges and that is where if you work it to much, you could burn thru. I will work with it a little more, but I would still rather have some orange peel then burning thru the paint and down to metal.
Getting one perfect like it was the day it left the factory is not easy to do. This is what should cause more concerns then painting. Factories have million dollar shop and paint booths to do their painting in. Just want to show my painting is not perfect and if you do your own truck, it may not be perfect but it will still be a lot better looking then most trucks you will see on the road out there. If it was perfect you would not want to drive it. I still moan and groan when I get a rock chip in mine, but if you are going to drive one every day, it is to be expected. A newly painted truck is also a magnet for shopping carts and is one reason I always park away from every body when out in town.
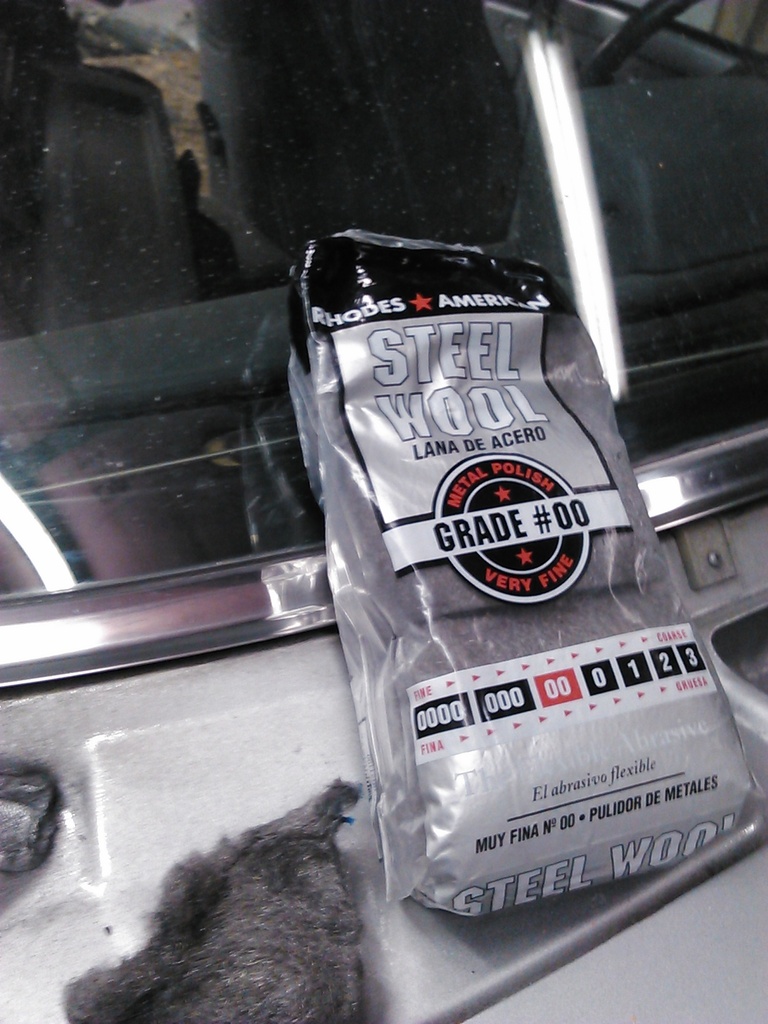
A friend of mine showed me using Grade #00 Steel Wool is great for polishing out chrome trim and used it on a spot on the side glass.

Got most of the drivers side color sanded and buffing it out. While waiting for my door clips to come in, I will start getting some of the other parts on and ready and try to keep this project moving. Will be painting trim to black. One of the rock guards has disappeared on me but am sure it will show up when I get some of the other parts out of the back of the 85.

Got some of the trim painted using Trim and Bumper paint.

Got it installed and the drivers side inner fender, I have not done the passenger side inner fender as I need to smooth out the clear coat on that side and install the antenna. Earlier in this thread, I show that I leave the bolts in their places when tearing a truck down. You see car shows and they tag and bag all their nuts and bolts. That will leave you with a big mess on your hands when you go to reassemble a truck. This is where it pays off to leave them in. I still have to bag some nuts and bolts but I do that when I am actually working on the piece at the time.

Several people are worried about painting. Getting the paint down is easy from my experience, it is the clear coat that can be the problem which is normal for having orange peel.
What I am trying to show is where my thumb is I have the clear worked down. Where my pointer finger is still some orange peel. It is on edges and that is where if you work it to much, you could burn thru. I will work with it a little more, but I would still rather have some orange peel then burning thru the paint and down to metal.
Getting one perfect like it was the day it left the factory is not easy to do. This is what should cause more concerns then painting. Factories have million dollar shop and paint booths to do their painting in. Just want to show my painting is not perfect and if you do your own truck, it may not be perfect but it will still be a lot better looking then most trucks you will see on the road out there. If it was perfect you would not want to drive it. I still moan and groan when I get a rock chip in mine, but if you are going to drive one every day, it is to be expected. A newly painted truck is also a magnet for shopping carts and is one reason I always park away from every body when out in town.

A friend of mine showed me using Grade #00 Steel Wool is great for polishing out chrome trim and used it on a spot on the side glass.

Last edited by Terrys87; 03-02-2016 at 01:47 PM.
#94
Thread Starter
Joined: Aug 2008
Posts: 11,787
Likes: 25
From: Anderson Missouri
I had to run to Joplin to get my door hinge pieces that I pictured above. I checked an auto body parts store and they sell trim clips but not door clips. I will check ebay for some at a later time. The dealer had one package sealed and one not sealed. I left the dealership and got a few miles down the road and could not find it. Luckily I found it in the parking lot.
I store left and right parts in the door and another thing that can make reassembly easier at a later time.
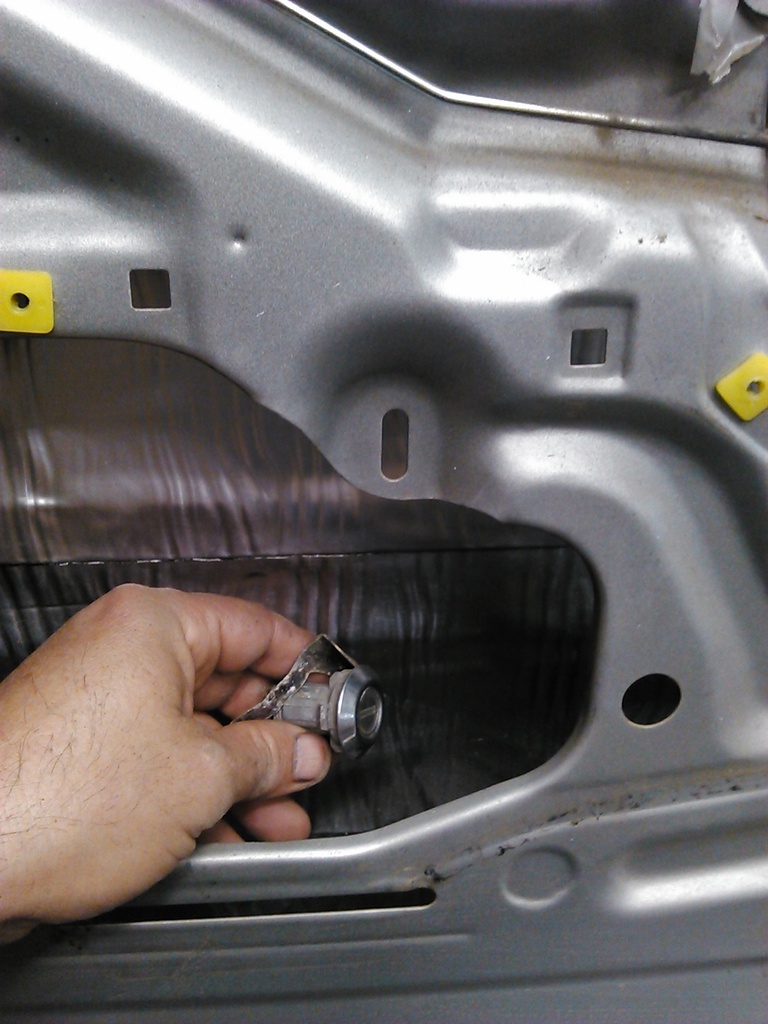
I am using SR5 door panels from a pickup for an upgrade. The only difference is a runner has a door latch release on the passenger side only and has a cut out for the door handle. I wont cut up and possibly ruin a hard to find door panel. I just removed the rear door handle. Only a true Toyota enthusiast is going to know that it is not correct.
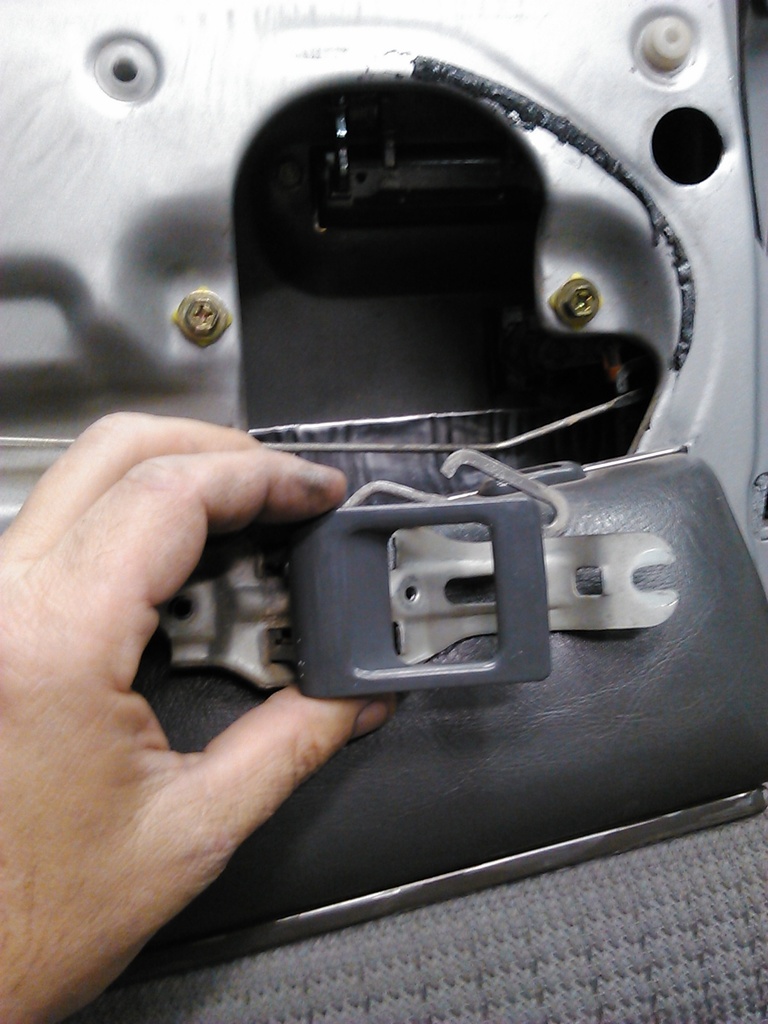
I store left and right parts in the door and another thing that can make reassembly easier at a later time.

I am using SR5 door panels from a pickup for an upgrade. The only difference is a runner has a door latch release on the passenger side only and has a cut out for the door handle. I wont cut up and possibly ruin a hard to find door panel. I just removed the rear door handle. Only a true Toyota enthusiast is going to know that it is not correct.

#95
Thread Starter
Joined: Aug 2008
Posts: 11,787
Likes: 25
From: Anderson Missouri
Here is the door panel on. I will give the panel a cleaning in a little while.
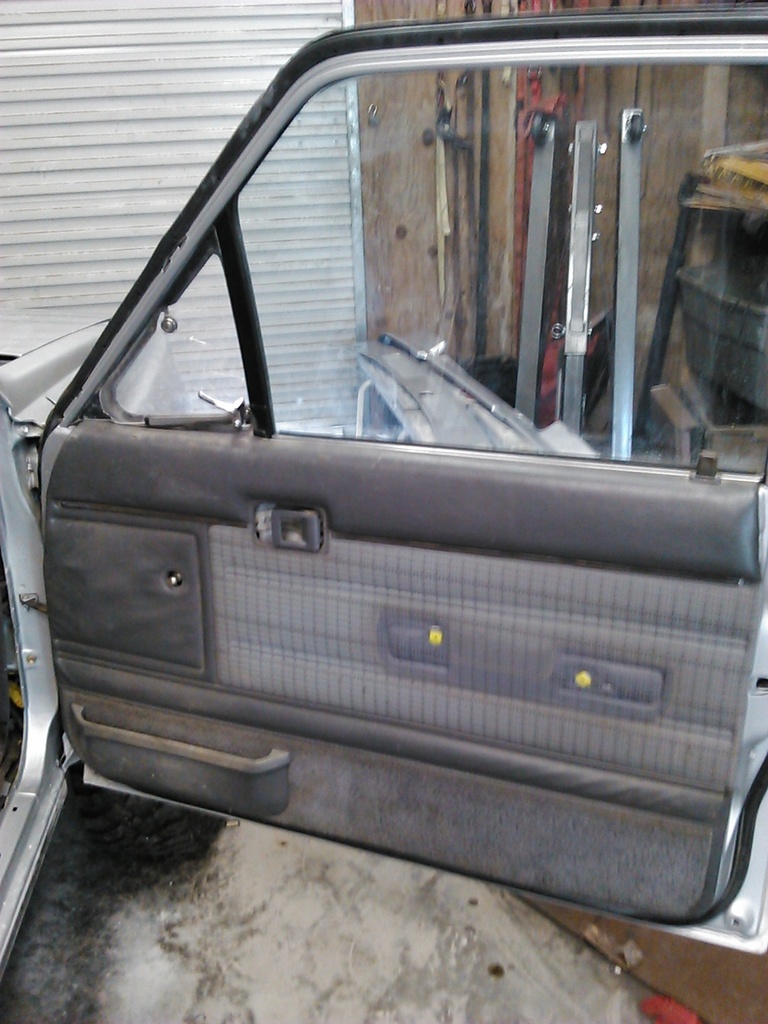
This was a very base model truck. It now has map light, inclineometer, and door panels. I will be adding the tachometer later today or this week. It came with vinyl door panels. Tomorrow is our 14th anniversary and she has the day off so we will be going out of town.
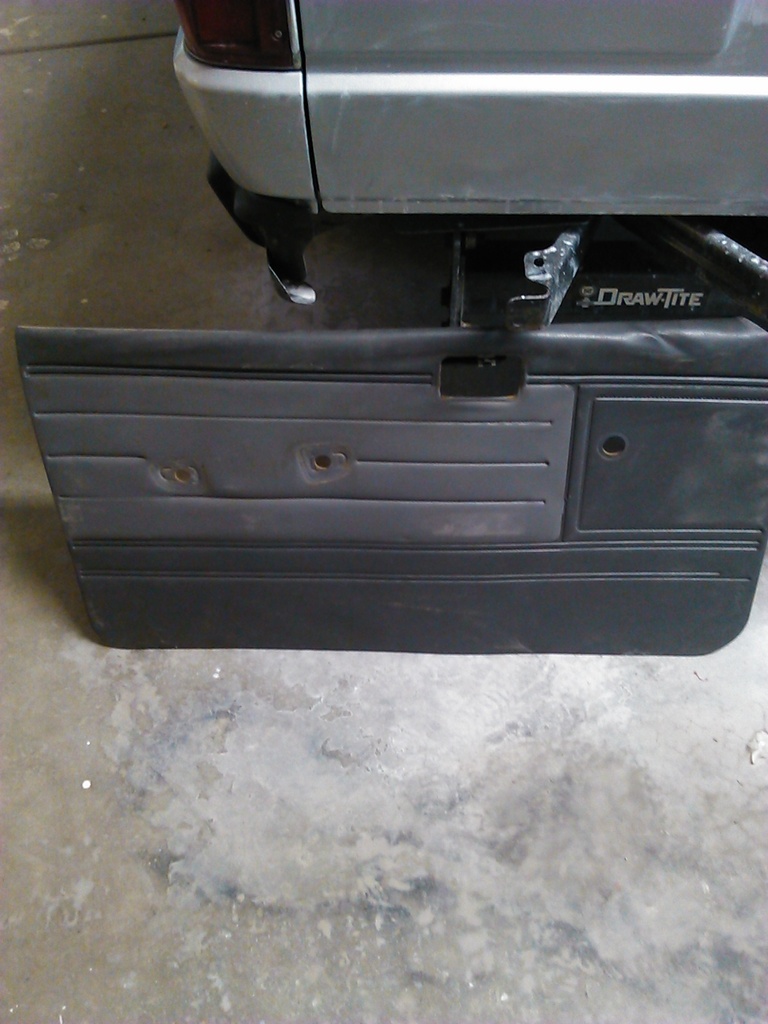
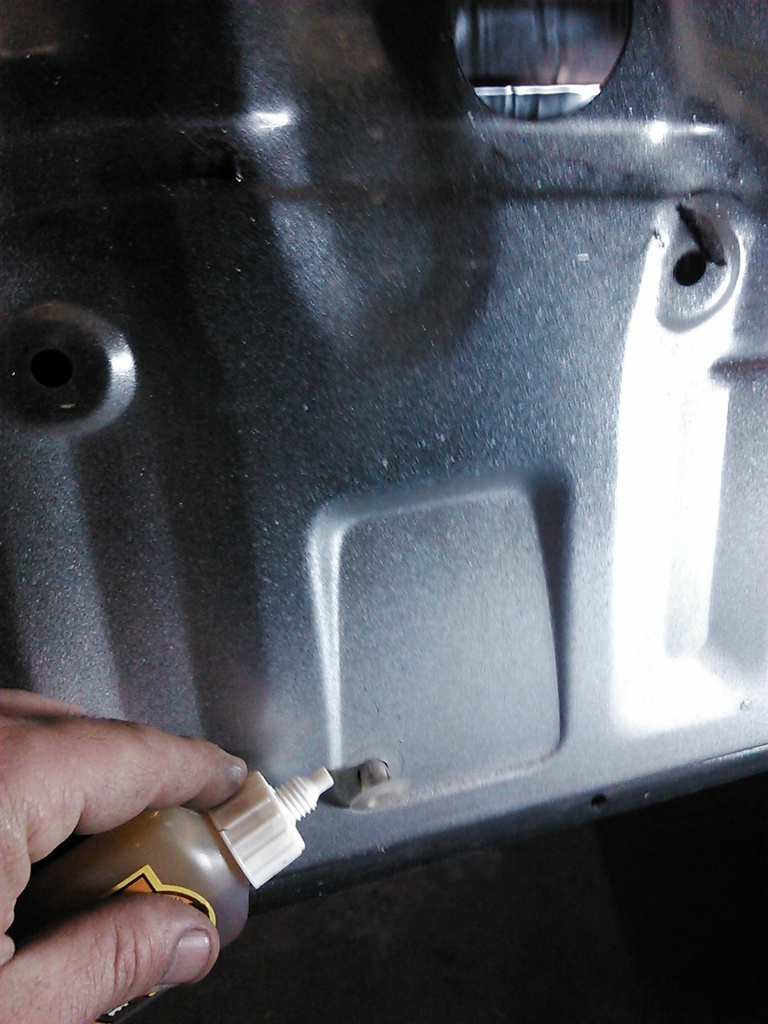
Sometimes the tabs that hold the panels in like to keep coming out, I use a dab of Gorilla Glue to keep them in. Still got a few things to do on the drivers side door before getting it on. I have got two shelves cleared off now.
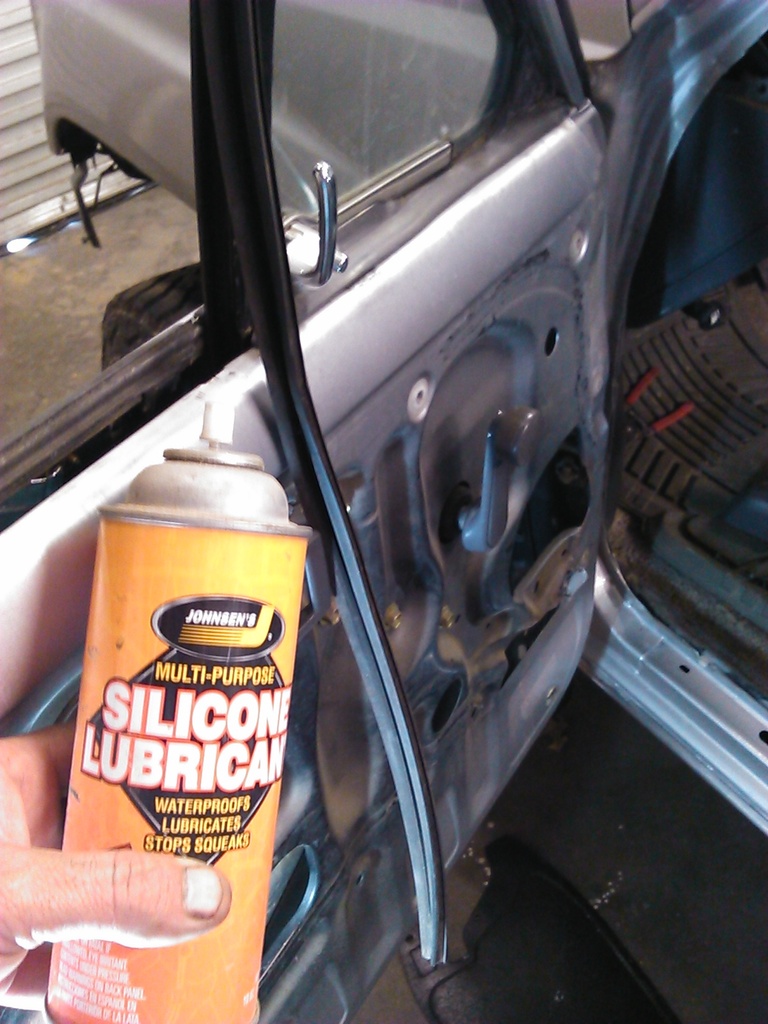
Getting the door panel on and while I was at it, I lubed up the window tracks and makes a big difference on the ease of the window rolling up.
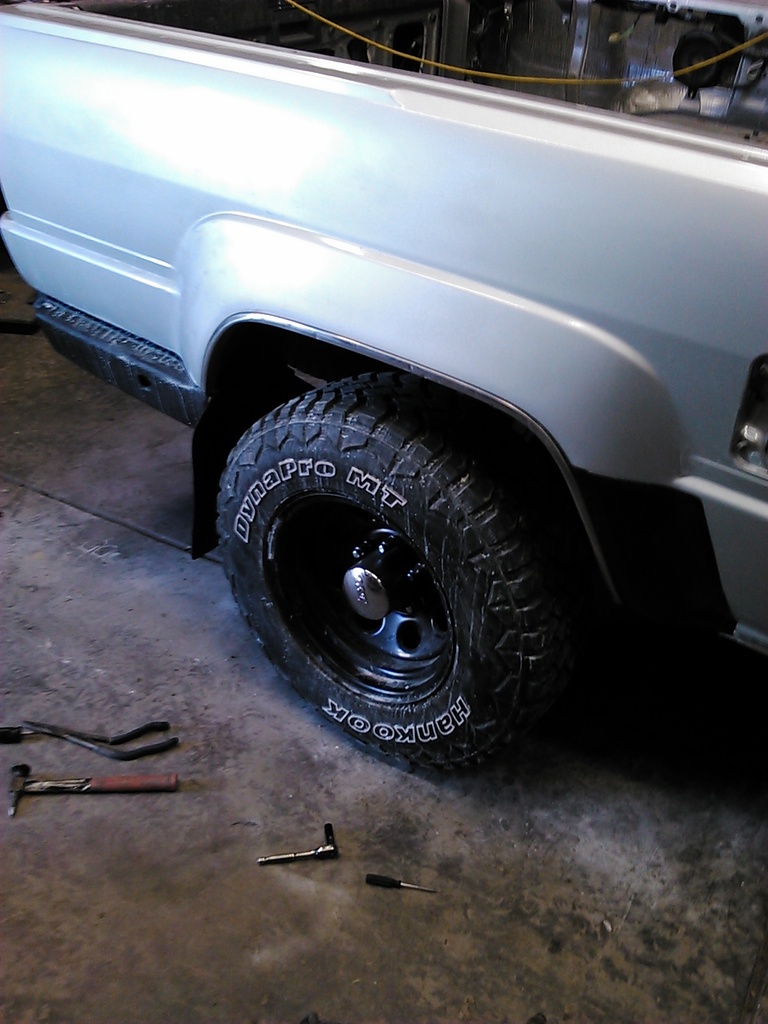
Got the passenger rock guard and trim on. The red 87 has a set of chrome trim on it. I will take the best ones off of it and this one and make use of them. I have tried to work the dents out of chrome trim and not the best at it. Just use what is available until one comes along in better condition. I have done that many times.
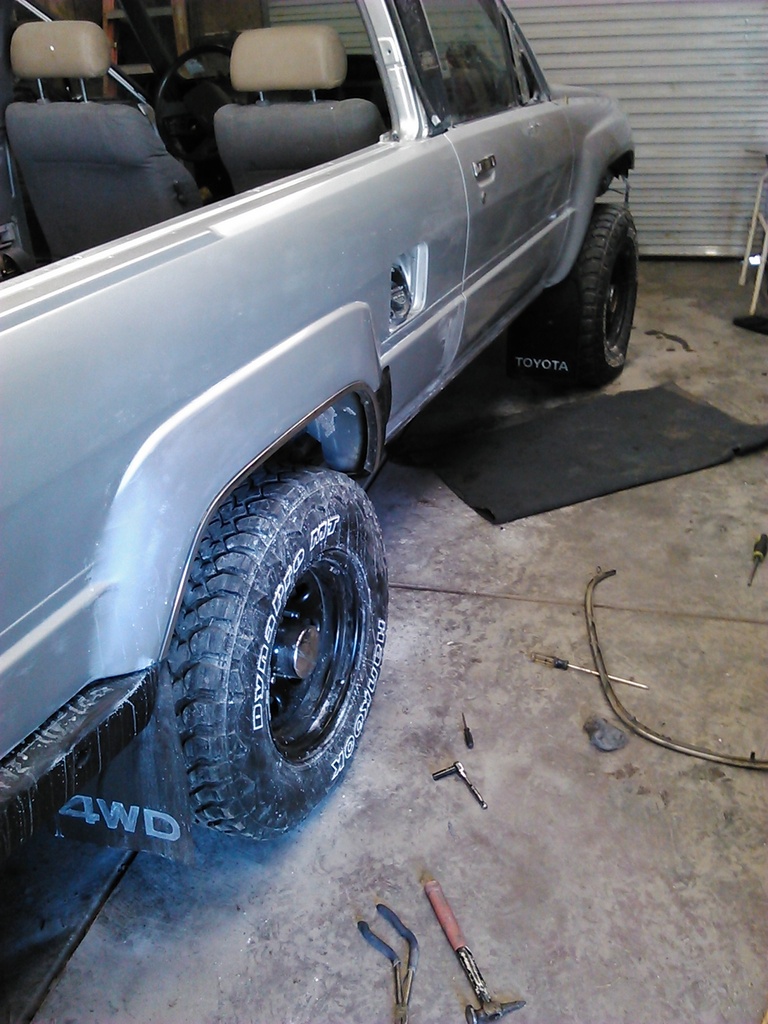
Got the antenna in, the inner fenders installed and all mud flaps on. Got several other small things done just cant recall what all it was. I usually paint the inner fenders when I paint a truck. On my 85, I painted and cleared it when I did it and the paint underneath of it, even though it was painted at the same time as the body looks really light under there. A friend of mine told me to use a silver paint ( cant remember the color he suggested at this time) and rattle can the inner fenders. Something I do notice when I see a fresh painted truck is how the inner fenders look and if it was painted. I will rattle can the underneath at a later time when I do touch up and detailing. To me it makes a big difference.
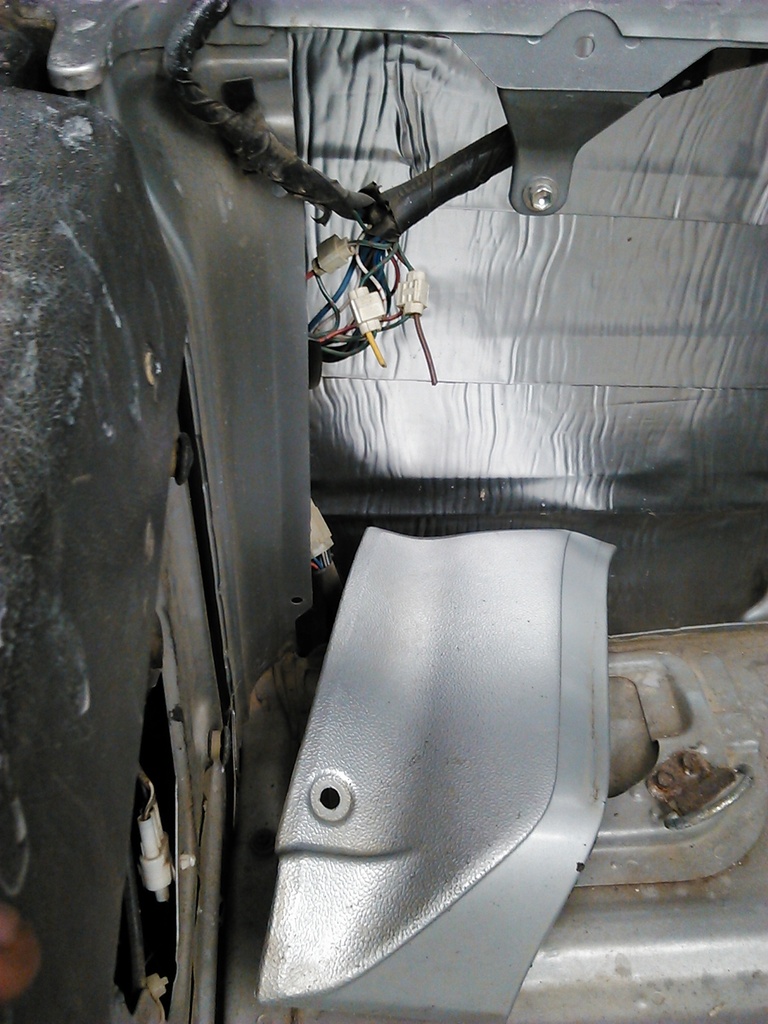
The other rock guard un hid itself. I need to find a clip for the back side as the old one broke. Also removed some wire connectors from a previous owner. Also painted the front mud flaps and tried to get the lettering bright white but did not turn out as well as I would like.

This was a very base model truck. It now has map light, inclineometer, and door panels. I will be adding the tachometer later today or this week. It came with vinyl door panels. Tomorrow is our 14th anniversary and she has the day off so we will be going out of town.

Sometimes the tabs that hold the panels in like to keep coming out, I use a dab of Gorilla Glue to keep them in. Still got a few things to do on the drivers side door before getting it on. I have got two shelves cleared off now.

Getting the door panel on and while I was at it, I lubed up the window tracks and makes a big difference on the ease of the window rolling up.

Got the passenger rock guard and trim on. The red 87 has a set of chrome trim on it. I will take the best ones off of it and this one and make use of them. I have tried to work the dents out of chrome trim and not the best at it. Just use what is available until one comes along in better condition. I have done that many times.

Got the antenna in, the inner fenders installed and all mud flaps on. Got several other small things done just cant recall what all it was. I usually paint the inner fenders when I paint a truck. On my 85, I painted and cleared it when I did it and the paint underneath of it, even though it was painted at the same time as the body looks really light under there. A friend of mine told me to use a silver paint ( cant remember the color he suggested at this time) and rattle can the inner fenders. Something I do notice when I see a fresh painted truck is how the inner fenders look and if it was painted. I will rattle can the underneath at a later time when I do touch up and detailing. To me it makes a big difference.

The other rock guard un hid itself. I need to find a clip for the back side as the old one broke. Also removed some wire connectors from a previous owner. Also painted the front mud flaps and tried to get the lettering bright white but did not turn out as well as I would like.

Last edited by Terrys87; 03-08-2016 at 06:38 AM.
#96
Thread Starter
Joined: Aug 2008
Posts: 11,787
Likes: 25
From: Anderson Missouri
Reminder for me to install.
Hand crank clips
Trim Screws
Goal for today was to get all the exterior pieces on so that I can start installing the interior. I have two passenger door arm rest but not one for the drivers side. I might have a door in the shed that has one but will dig it out later. Getting the rear seats in and a few other things will free up some space and make it start to look like a runner again.
Here is a shot of the drivers side.
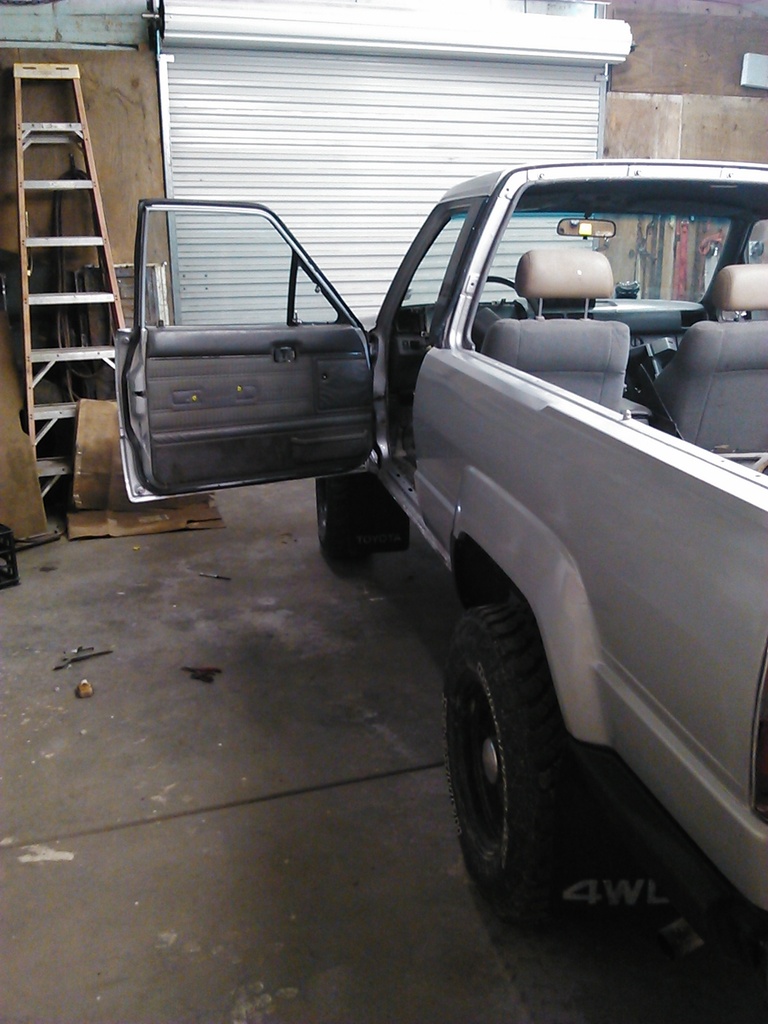
Some outside shots. I have the rear seats just in the back end. I need to get some interior paint for the rear panels.
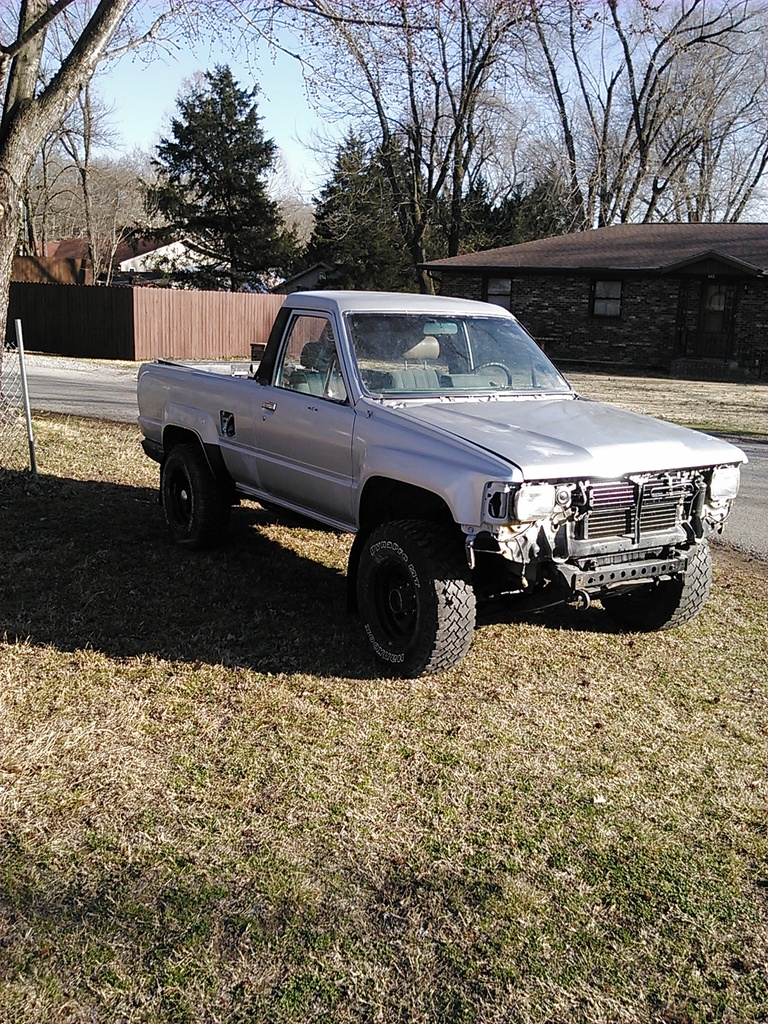
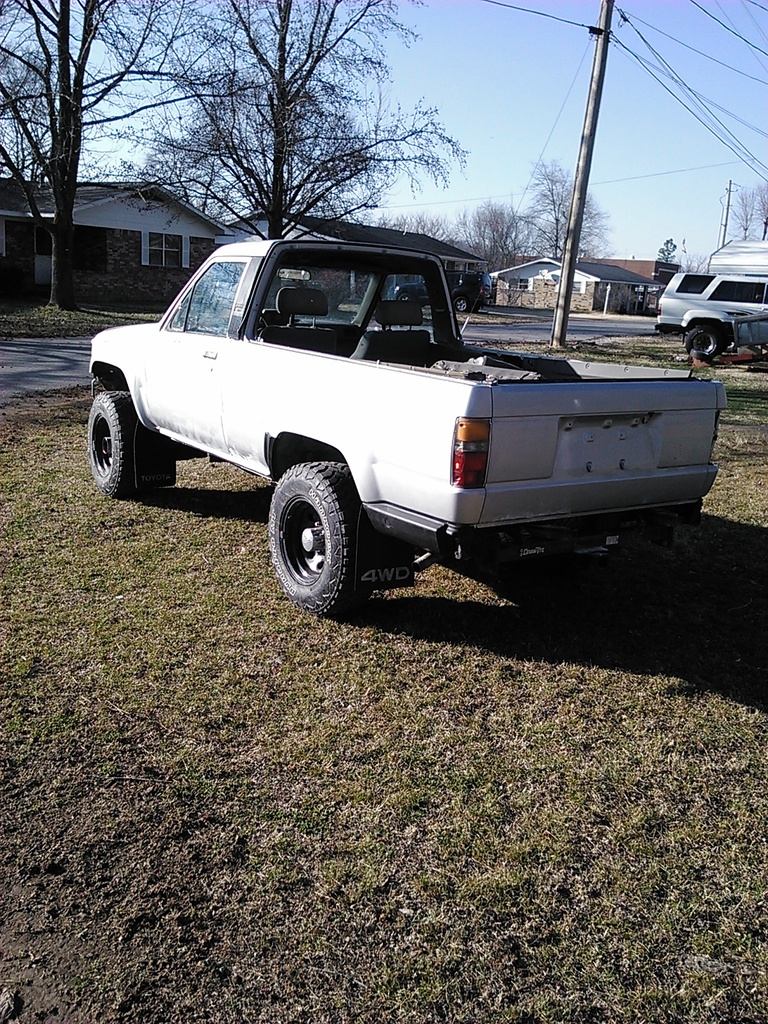
Doenst look like much was done but I stayed busy, running to Joplin took up a lot of time.
Hand crank clips
Trim Screws
Goal for today was to get all the exterior pieces on so that I can start installing the interior. I have two passenger door arm rest but not one for the drivers side. I might have a door in the shed that has one but will dig it out later. Getting the rear seats in and a few other things will free up some space and make it start to look like a runner again.
Here is a shot of the drivers side.

Some outside shots. I have the rear seats just in the back end. I need to get some interior paint for the rear panels.

Doenst look like much was done but I stayed busy, running to Joplin took up a lot of time.

Last edited by Terrys87; 03-03-2016 at 01:34 PM.
#97
The 4runner is really looking good. That's a good idea on the passenger side door panel, I've never had a passenger use that back door handle on either of my 4runner's, lol. Congrats on the anniversary!
#98
Thread Starter
Joined: Aug 2008
Posts: 11,787
Likes: 25
From: Anderson Missouri
Thanks Ed... Seems like when I get a truck halfway thru the build it looks like they are getting stripped down worse then a boneyard truck, but it does start looking better eventually. I don't really like using a truck panel but it would be forever finding a good runner panel to work.
No one is more surprised then me that I got married. I wanted no part of it when I was younger. Seen to many problems with friends and family. I was 34 at the time I did get married and it has been great. Been really fortunate that she lets me do the things I want and it has been a blast. I really think we will be together until one of kicks the can. I have got it pretty good.
No one is more surprised then me that I got married. I wanted no part of it when I was younger. Seen to many problems with friends and family. I was 34 at the time I did get married and it has been great. Been really fortunate that she lets me do the things I want and it has been a blast. I really think we will be together until one of kicks the can. I have got it pretty good.
Last edited by Terrys87; 03-05-2016 at 05:16 PM.
#99
Thread Starter
Joined: Aug 2008
Posts: 11,787
Likes: 25
From: Anderson Missouri
I was fortunate that I was able to travel to 33 different countries when I was younger. One of the things that I am more grateful now that I got to experience a lot of different food when in other countries. Misty has not ever been out of country and is slow to try different flavors.
She never tried Thai food and I found a good restaurant a while back that she really likes Thai now. I got her to try some Cajun foods and that is one of her favorites. We went to Tulsa for the day and I had been wanting to find a good German restaurant. I was able to find a good one. I had some great food. When I first suggested it, she was not to big on the idea of trying German food. It was great. Another great thing about this restaurant is that it had a store that was part of the restaurant and they sold German flavored meats and chocolate.
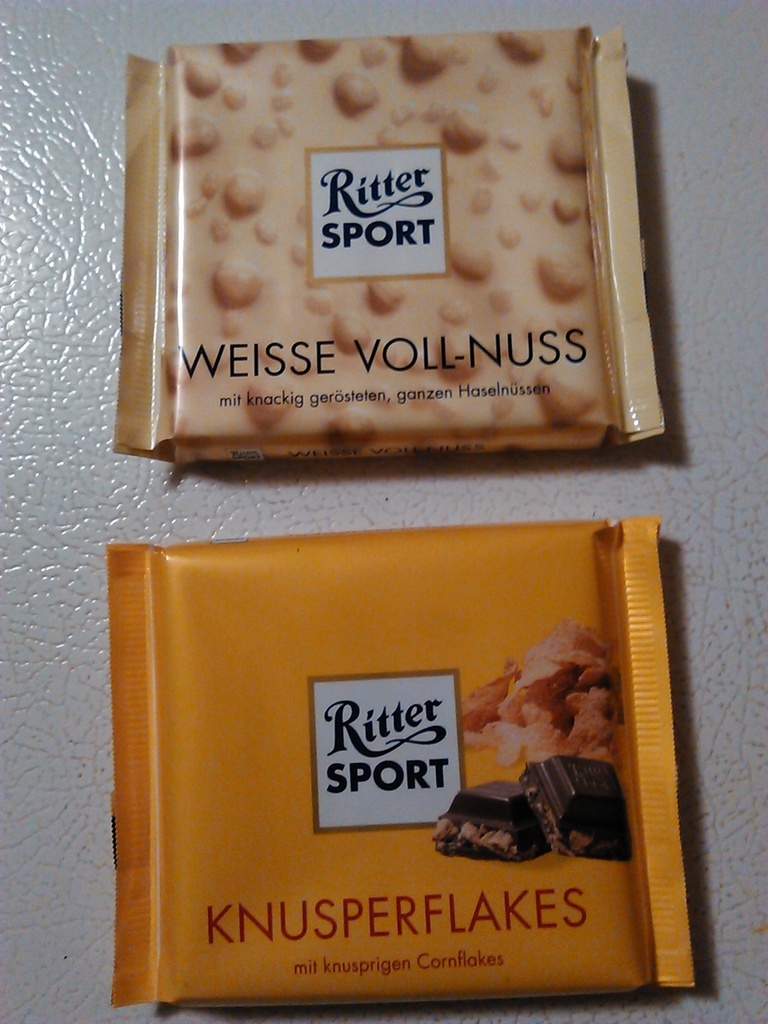
When I was in Germany, Iraq, and Afghanistan, I was always able to get German Chocolate. Ritter-Sport is a brand that is made there and I was always sending some home when I was able to get it. I thought that being home I would never get to find any of it anymore. This restaurant sold several other brands as well and we got a small grocery bag of meats when we left.
Ritter has probably about 20 different flavors and a couple I don't care for but most is fantastic. I got a couple of packages and eventually want to see if I can order it from the producers.
We spent the day in Tulsa where we met and one time lived just shopping around and doing some of the things we did when there. First date I took her to was a comedy club and it was closed this time when we were there. She had never been to a comedy club and those are great. Wish we had a good one around here.
Her parents live outside of Tulsa so when we do go back there we are going to be going to our new favorite German meat and chocolate store to stock up. Had a great time and it was on my last day of vacation. Now I got to get back to grinding stone and already counting down to summer when I can take another week off of work. Vacations fly by and it takes some time to get back into the swing of things. Looking forward to when I can take some time off and do things with the family this summer. It was still nice having some time off.
Here is two different chocolates that we got when at the store and the brats really liked the German flavored meats we had for supper tonight. They already finished off the chocolate, which is ok, I really try to show them different things in life and hope they remember a few of them when they get older.

#100
Thread Starter
Joined: Aug 2008
Posts: 11,787
Likes: 25
From: Anderson Missouri
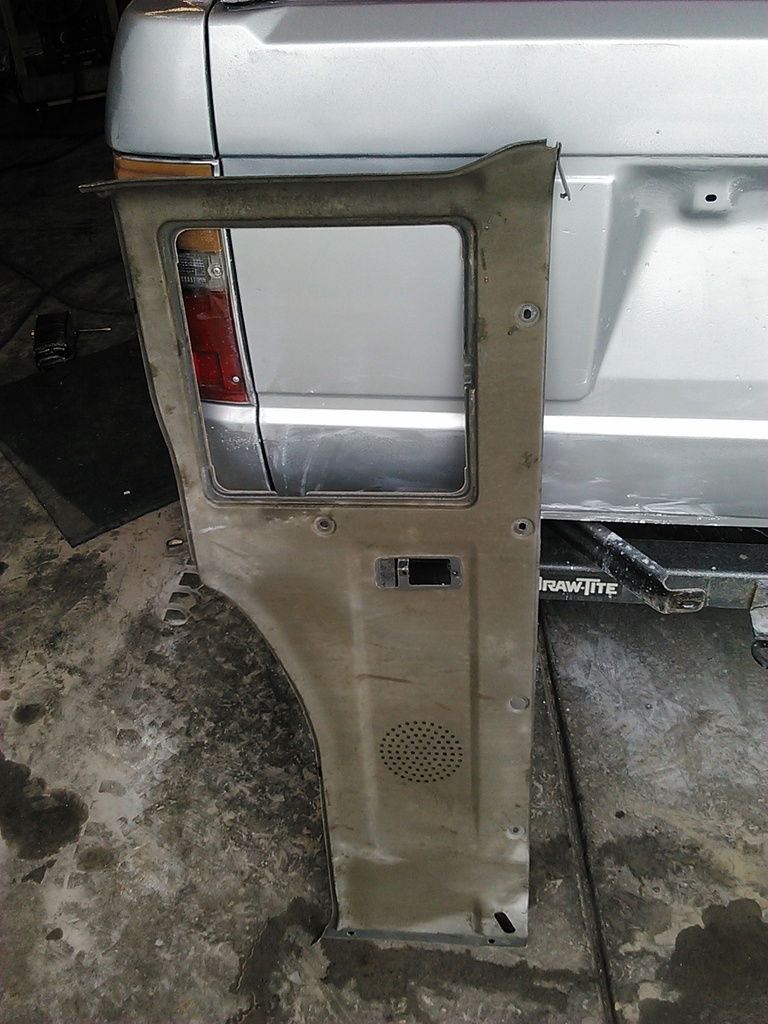
Starting on the interior. The rear panels have turned from gray to green which is what most look like.
Got them painted.
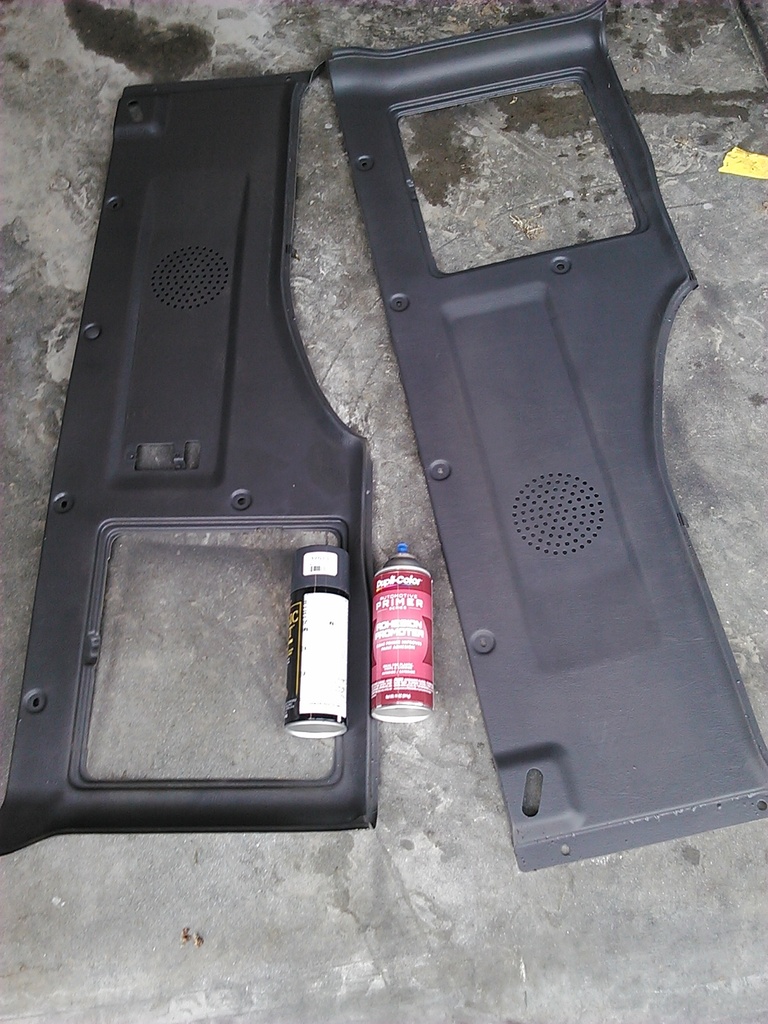
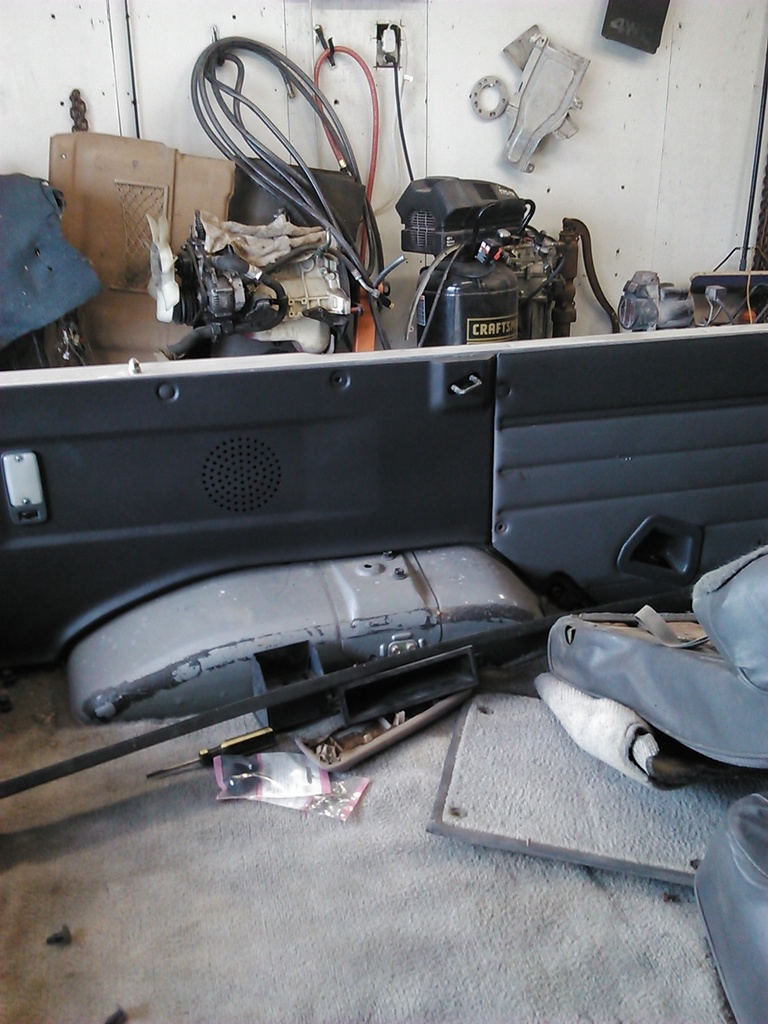
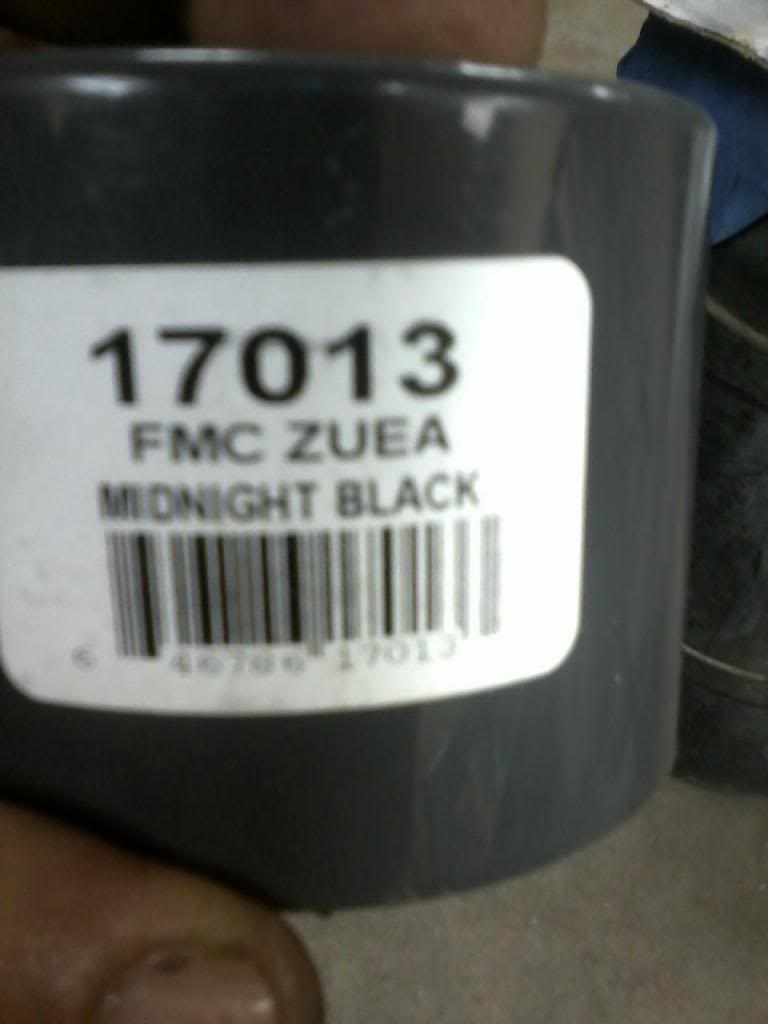
I got them installed. Not a perfect match but far better then what it was. I use a SEM interior paint which is close.
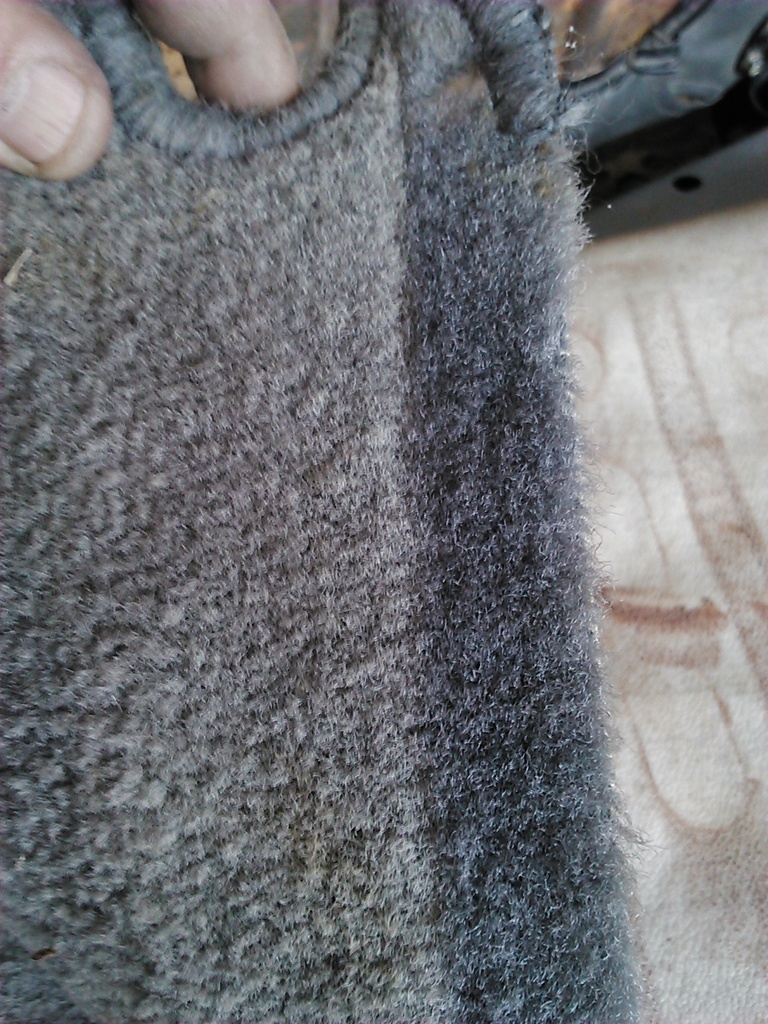
I washed the carpet and it still has a ton of sand in it. I did shrink on me so I will be replacing the carpet with a remnant from a local carpet store. Here you can see how much it faded.

Got them painted.

I got them installed. Not a perfect match but far better then what it was. I use a SEM interior paint which is close.

I washed the carpet and it still has a ton of sand in it. I did shrink on me so I will be replacing the carpet with a remnant from a local carpet store. Here you can see how much it faded.


Last edited by Terrys87; 03-08-2016 at 06:36 AM.


