
Terrys87 88 Truck Build
 08-23-2012, 12:46 PM
#161
Super Moderator
Staff
Thread Starter
iTrader: (1)
Join Date: Aug 2008
Location: Anderson Missouri
Posts: 11,788
Likes: 0
Received 25 Likes
on
22 Posts
Hello Cyberhorn...I have managed to catch some in the past, luckily it was just a little fuel. But that 2 gallon of gas that will be sitting out in the open tomorrow,Hmmmm??That ruining tires is something that would really chap my butt. Just no sense in it.
Hello RMP8080..haha My grandpa was mad that some gas kept coming up missing and warned everyone they better not mess with it. He sugared it and it stopped disappearing. Havent seen you in awhile, hope things are going well. Thanks so far everything is looking great.
Hello RMP8080..haha My grandpa was mad that some gas kept coming up missing and warned everyone they better not mess with it. He sugared it and it stopped disappearing. Havent seen you in awhile, hope things are going well. Thanks so far everything is looking great.
 08-23-2012, 12:52 PM
#162
Super Moderator
Staff
Thread Starter
iTrader: (1)
Join Date: Aug 2008
Location: Anderson Missouri
Posts: 11,788
Likes: 0
Received 25 Likes
on
22 Posts
Took the truck into the windshield shop and they didnt have all of the material they needed yesterday. I asked if they could eliminate the metal clips. So I took it in today and should be getting it back here soon. Hoping it looks like Tinmans when done.
Had some rust. They are going to fix that while there.
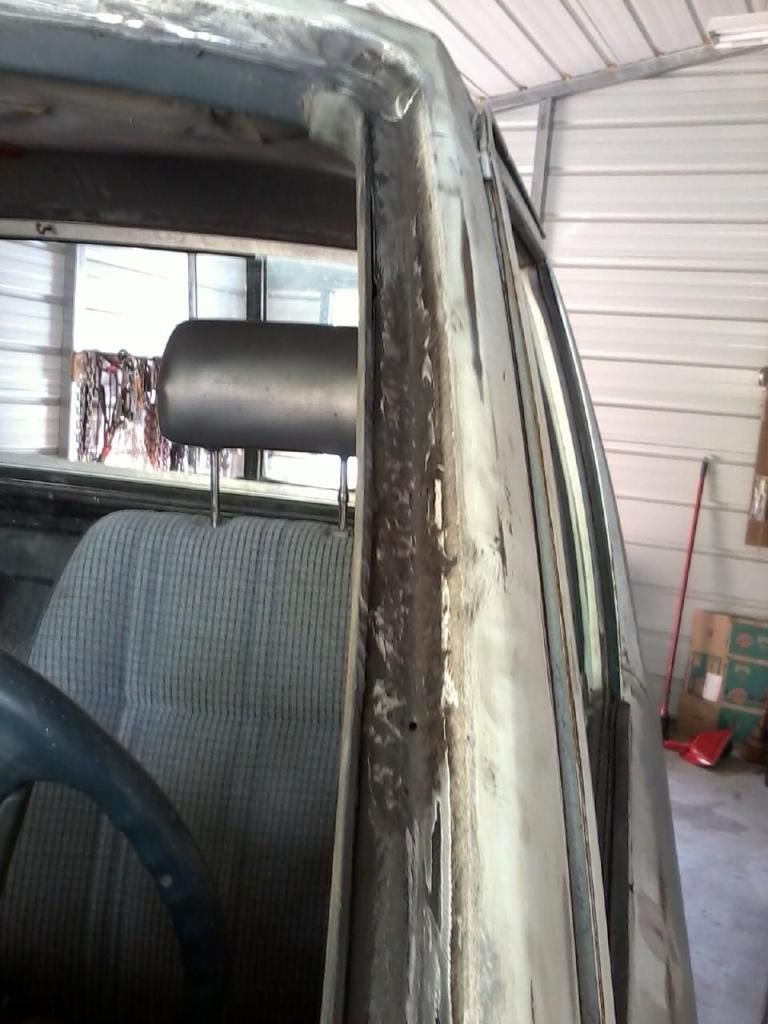
I cleaned it up down to metal so as to cut cost and get all new material in there.
Here is Tinmans and what I am hoping for.
Had some rust. They are going to fix that while there.
I cleaned it up down to metal so as to cut cost and get all new material in there.
Here is Tinmans and what I am hoping for.
Last edited by Terrys87; 08-23-2012 at 12:59 PM.
08-23-2012, 01:33 PM
#163
Super Moderator
Staff
Thread Starter
iTrader: (1)
Join Date: Aug 2008
Location: Anderson Missouri
Posts: 11,788
Likes: 0
Received 25 Likes
on
22 Posts
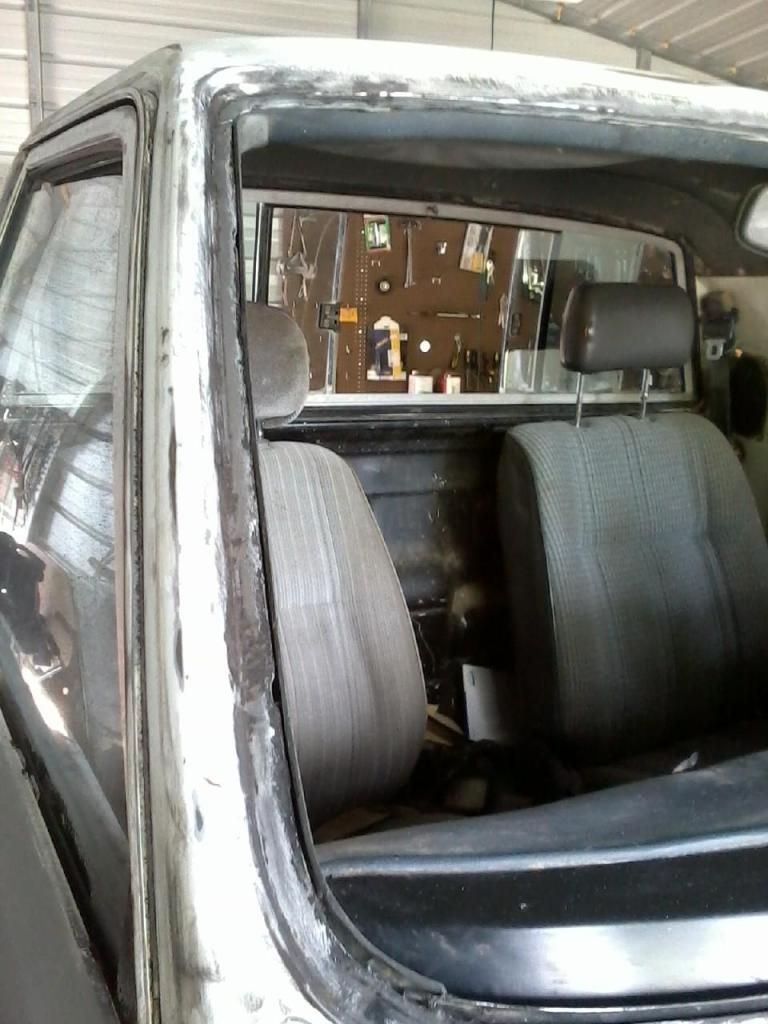
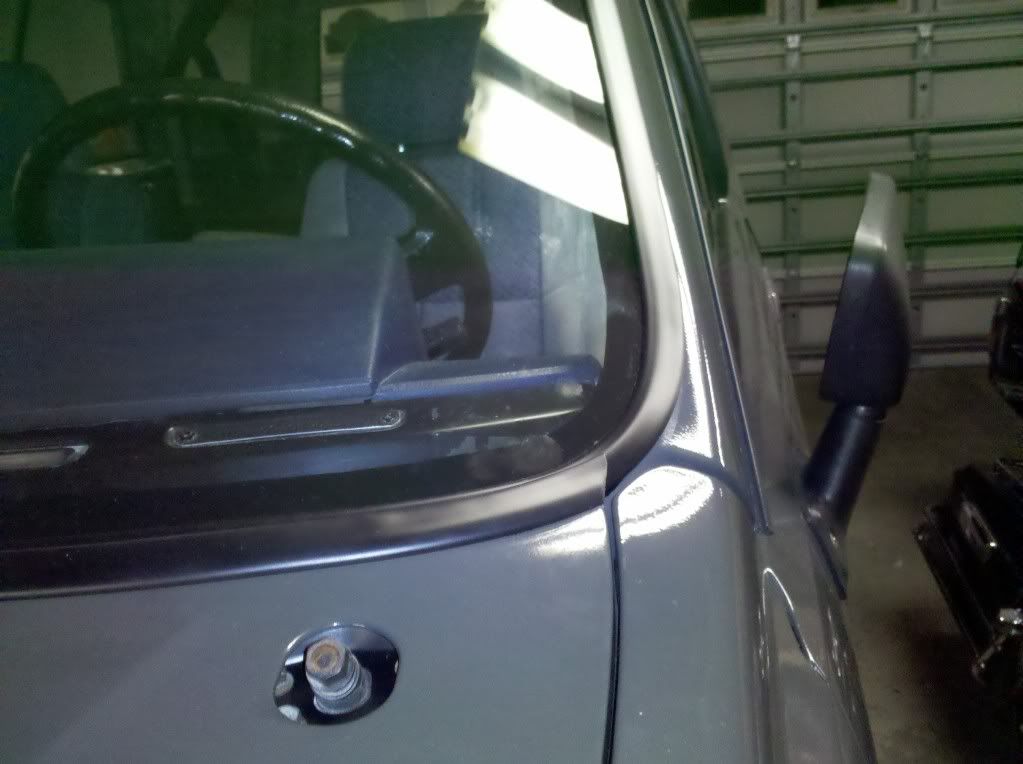
Just went and looked at the windshield. Seems to be looking good. They have some finishing touches to do to it. Wll do this to my 86 Runner.
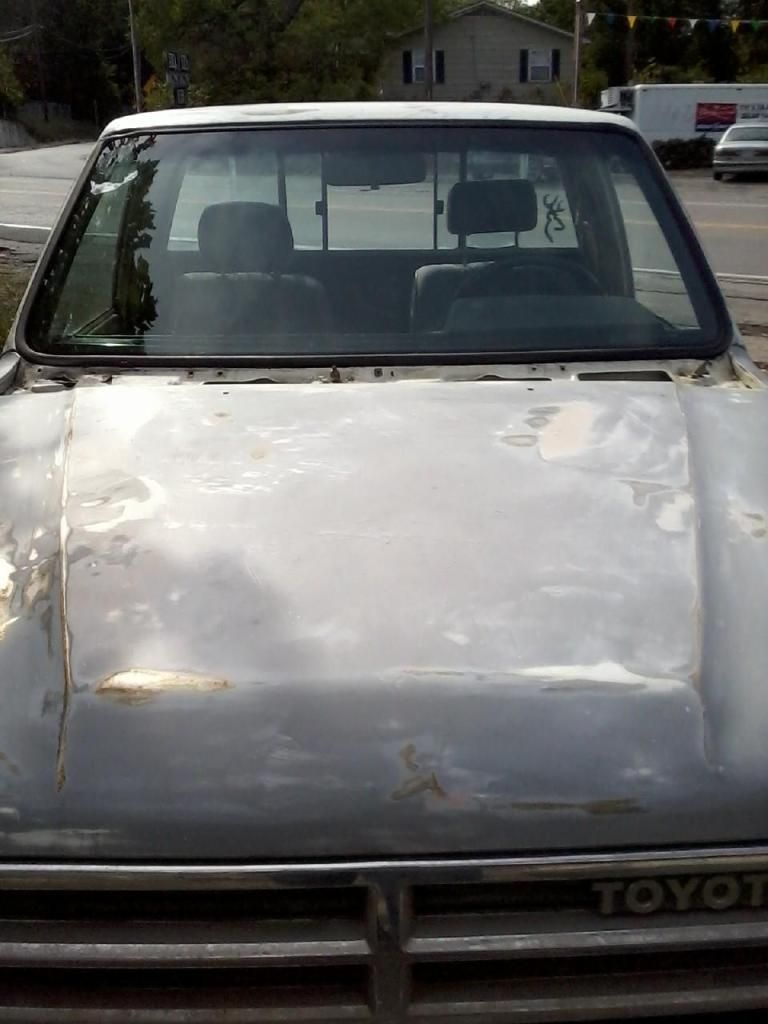
Here is another shot. In the back ground the black van is a smoker that the BBQ place uses for smoking their meats.
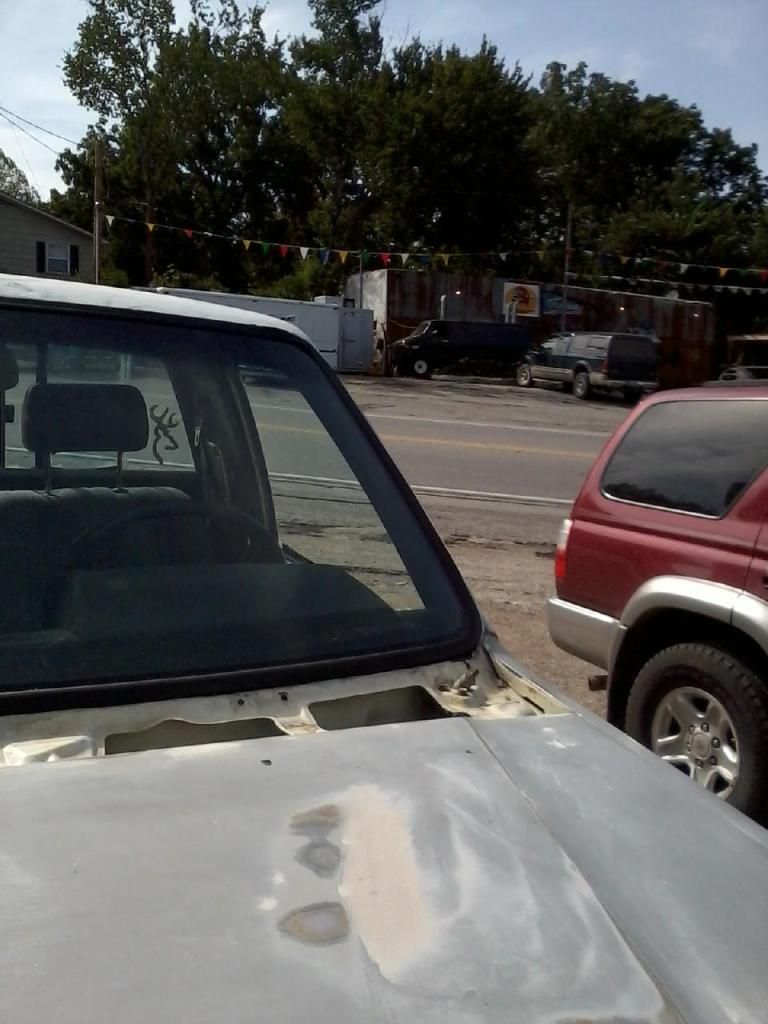
Here is another shot. In the back ground the black van is a smoker that the BBQ place uses for smoking their meats.
08-23-2012, 01:35 PM
#164
Super Moderator
Staff
Thread Starter
iTrader: (1)
Join Date: Aug 2008
Location: Anderson Missouri
Posts: 11,788
Likes: 0
Received 25 Likes
on
22 Posts
Tomorrow it will be going to the inspection staion and will start doing short runs in it to find what kinds of problems may need to be addressed. Got new plugs and wires and will change oil and do a Seafoam treatment on it.
08-23-2012, 05:22 PM
#165
Registered User
Terry that is awesome on the windshield seal I know you've been looking to find someone that would/could do it. Now if your guy will call my guy maybe I can get the same thing done on my runner and chris's truck. Hope the inspection goes well tomorrow.
08-24-2012, 11:59 PM
#170
Super Moderator
Staff
Thread Starter
iTrader: (1)
Join Date: Aug 2008
Location: Anderson Missouri
Posts: 11,788
Likes: 0
Received 25 Likes
on
22 Posts
Hello Mark..Probably not the way you do BBQ. It is actually pretty good eating there. They need a bigger lobby though as it is small.
Hello 1986 yota4x4..I dont mind you asking. One reason I like posting my builds is to show that they can be done reasonably cheap. He charged me $159 for the windshield and $12 for the gasket. The gasket is on a roll, so dont know if he did it by the foot or what. It was $175 when all was said and done. If you have it done, I would suggest cleaning the window channel yourself to save a few bucks. They will charge for the time needed to do that. I will post below what all I did. They also sealed or killed the rust as well.
08-25-2012, 12:10 AM
#171
Super Moderator
Staff
Thread Starter
iTrader: (1)
Join Date: Aug 2008
Location: Anderson Missouri
Posts: 11,788
Likes: 0
Received 25 Likes
on
22 Posts
They didnt get it done in time for me to pick it up from the shop and that also made me miss my alighnment and inspection appointment. I will be picking it up in the morning. I will start doing a tune up and Seafoam treatment on it.
I also will be taking the dash apart to get the ventilation and heater controls done. Been wanting to get that done all week, so am hoping the next few days goes better. Will be trying to repair the dash while out.
I need to fix the heater controls and have 2 more heater controls that I have used several parts off of that were in bad shape. Hoping to take 3 bad controls and hopefully get one good control out of them.
On the windshield, what I did was when it was hot, I used a scraper and razor blade to get as much off as I could. It is messy, when the morning came and it was cooler the gasket was more solid and I used a wire brush on a drill to get the rest off. When the wires on the drill were laying flat or smooth, I would reverse the drill direction and it would get down to metal and paint real quick. It is slings that tar like stuff everywhere. I had some old towels laying on the interior to help keep it clean. When done I took an air hose and blew everthing out.
I would suggest masking off the metal plate that holds the VIN and air ducts. I did get into that plate and will need to wet sand it and buff the 2 areas that I bumped with the wire brush.
08-25-2012, 09:08 AM
#172
Super Moderator
Staff
Thread Starter
iTrader: (1)
Join Date: Aug 2008
Location: Anderson Missouri
Posts: 11,788
Likes: 0
Received 25 Likes
on
22 Posts
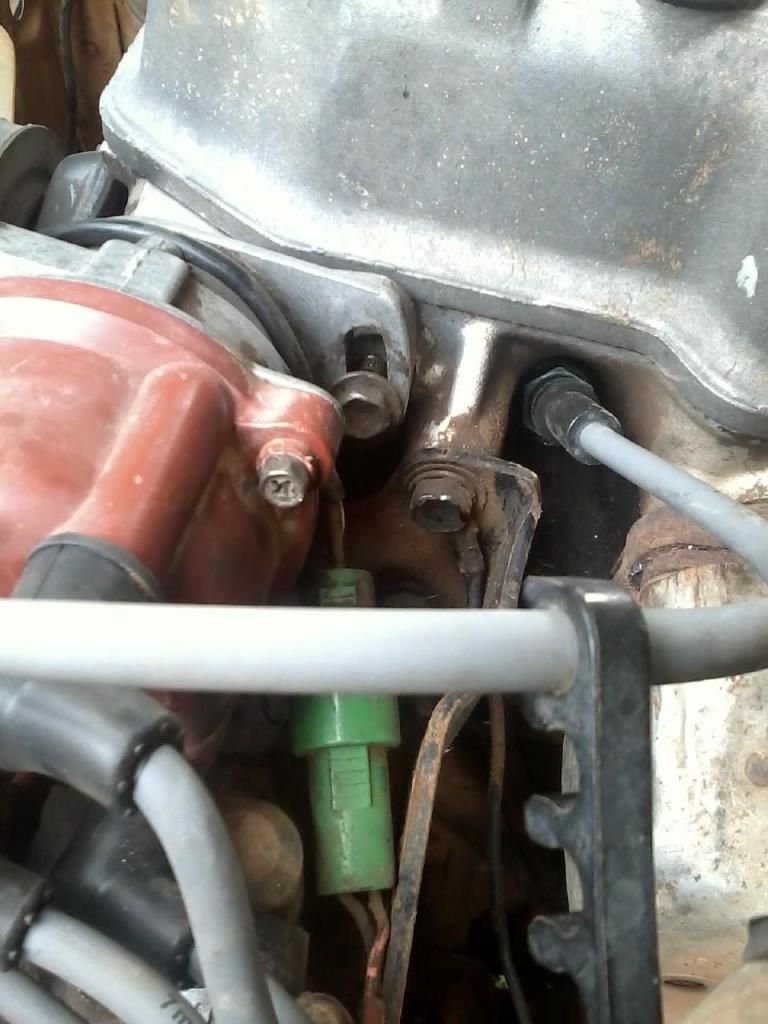
Went and brought the truck home. I found a small leak at the fuel pump so will need to fix it soon. I think it is leaking from the pump assembly so may need a new fuel pump.
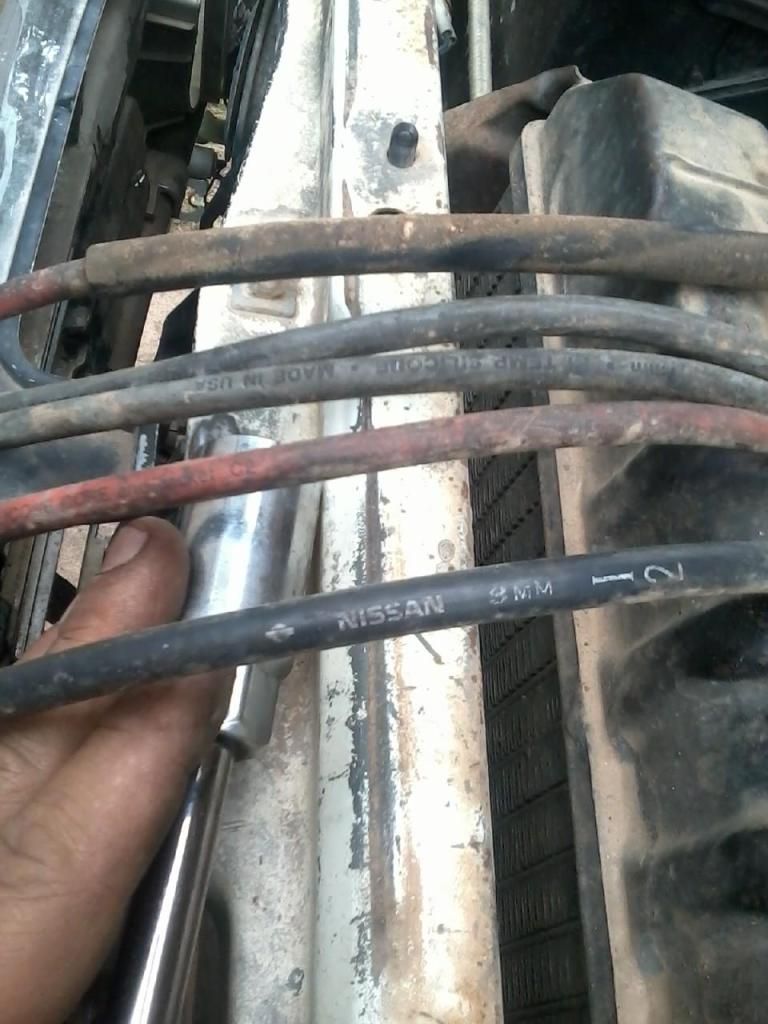
Did get new plugs and wires on it and all the plugs matched and were NGK but only the coil wire and one plug wire matched. One was even a Nissan.
I followed RAD4Runners write up on the starter relay as I have had it to not hit on a first turn of the ignition. I cleaned the contacts like he said, only I used 600 grit sandpaper. It does hit the on the first try and is a more solid, quicker response. Thanks RAD4Runner.
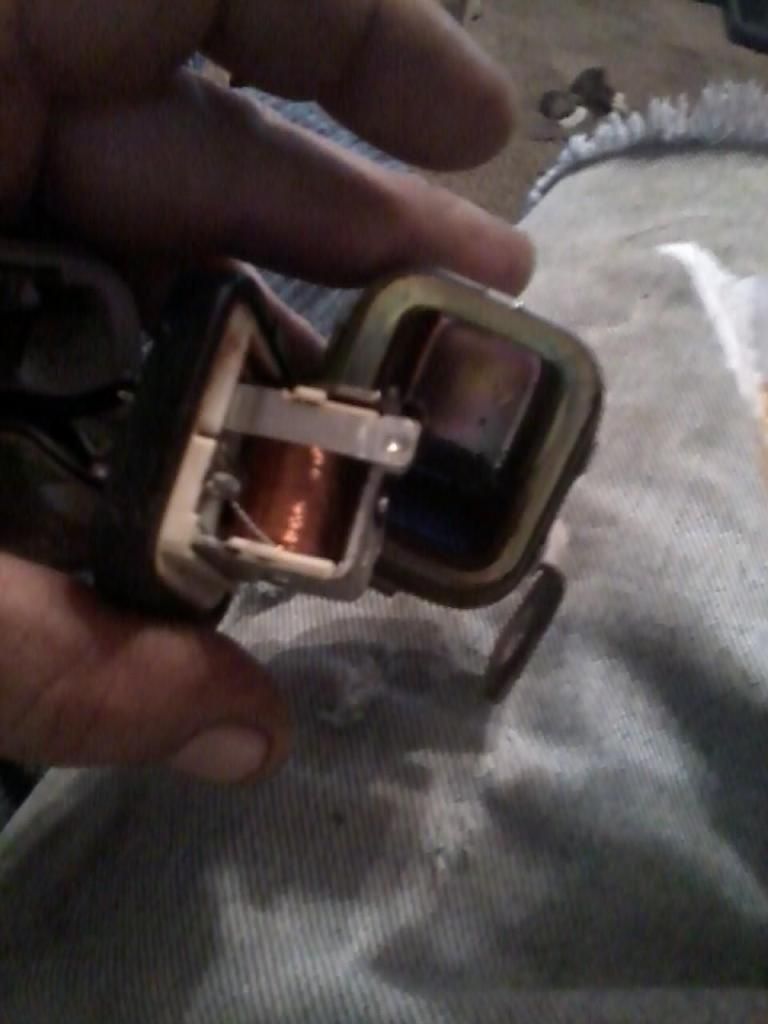
Getting cover off, I used wire cutters to bend the tabs up on the cover. The rubber seal really makes it tough to get off. Luckily the wires are soldered on real well, I used a screw driver to work around the edges of the seal to help free the cover.
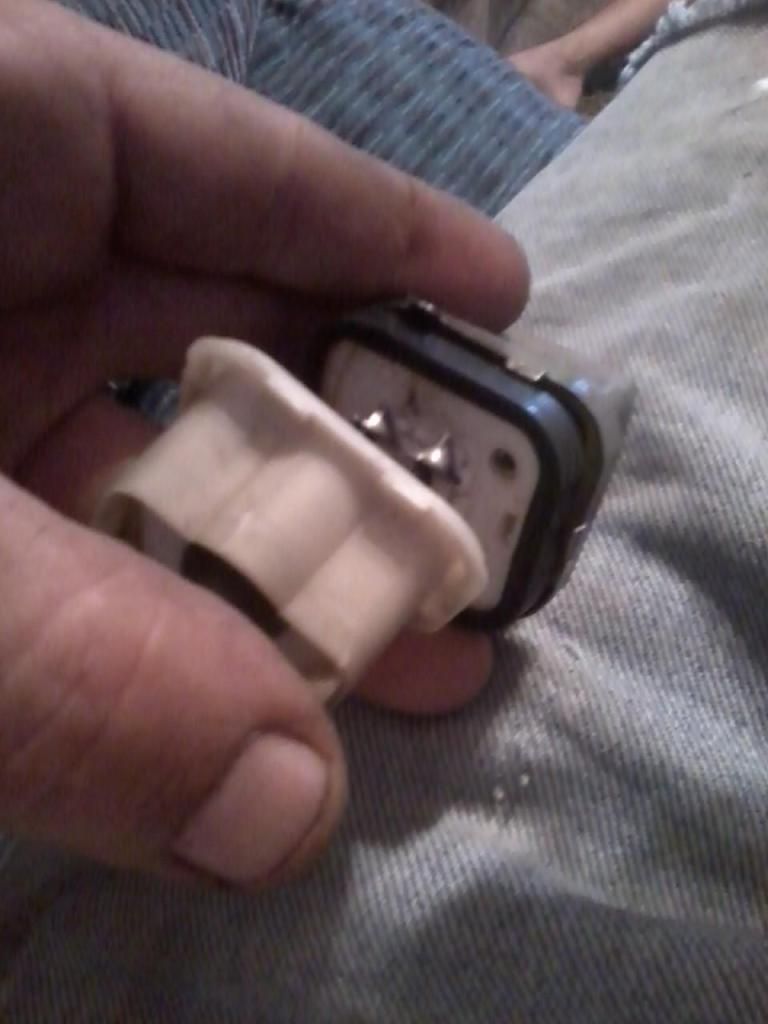
We got rain and I had this spare. Thought while I was at it I would clean it. It had rust in it. It cleaned up well and still works. I will take some electric contact cleaner to it and keep it as a spare.
Mismatched plug wires.
Did get new plugs and wires on it and all the plugs matched and were NGK but only the coil wire and one plug wire matched. One was even a Nissan.
I followed RAD4Runners write up on the starter relay as I have had it to not hit on a first turn of the ignition. I cleaned the contacts like he said, only I used 600 grit sandpaper. It does hit the on the first try and is a more solid, quicker response. Thanks RAD4Runner.
Getting cover off, I used wire cutters to bend the tabs up on the cover. The rubber seal really makes it tough to get off. Luckily the wires are soldered on real well, I used a screw driver to work around the edges of the seal to help free the cover.
We got rain and I had this spare. Thought while I was at it I would clean it. It had rust in it. It cleaned up well and still works. I will take some electric contact cleaner to it and keep it as a spare.
Mismatched plug wires.
Last edited by Terrys87; 11-17-2013 at 12:31 PM.
 08-25-2012, 09:47 AM
#174
Super Moderator
Staff
Thread Starter
iTrader: (1)
Join Date: Aug 2008
Location: Anderson Missouri
Posts: 11,788
Likes: 0
Received 25 Likes
on
22 Posts
Changed the plugs and will replace distrbutor cap as it has a lot of corrosion on the contacts where the rotor makes contacts to the plug wire connection. I will also do the Seafoam treatment at nite so as not to get the neighbrs all fired up.
I noticed this and most cases the PO has installed the distributor in and is off of a tooth. It will run but out will never get the timing set right. I found a Youtube video that makes installing the distributor wrong almost impossible. I need to study up on setting the timing on a 22r. On a 22re, you jump the diagnostic port and I can usually get the timing set right by listening and then put a timing light on correct it if needed. Not sure what is needed on a 22r.
Probably a toothoff as the distributor hold down is bottomed out and there is no more adjustmet left.
**********************************************Yout ube video that might help someone out.********************************************** ********
http://www.youtube.com/watch?v=u6b-vnsk5xA
08-25-2012, 09:49 AM
#175
Super Moderator
Staff
Thread Starter
iTrader: (1)
Join Date: Aug 2008
Location: Anderson Missouri
Posts: 11,788
Likes: 0
Received 25 Likes
on
22 Posts
Thanks jameser84....I wanted to get some more done, but my projects are in the shop and got rained out. I am trying to get it in great condition soon.
08-25-2012, 09:57 AM
#176
OMGOSHHHHHHH, another hodge-podge of, "Hey, let's hit the yards and grab whatever we can find... then PUT it wherever on the rig, k?  " ........ Do you LOOK for messes like this? hahaha... ORRRRRRR, ... are they PARKED AND 'Man Down' Status BECAUSE they hodge-podged em together so much that they finally, well, DIED! lol.
Cool lil tips, buddy. (Might do one, if you're not already, on 'Refresh of the C.O.R.'...... Because, Terry? THOSE THINGS ROT! Especially when you have a leaking windshield at the pass. pillar and windshield end of things! ) My COR was COMPLETELY shorted, eventually, and was getting SO FREAKY HOT when trying to restart..... It NEARLY BURNED ME, Terry.... and, well, it was CLEARLY the problem! haha... BUT, Anyway, can't believe how many people chase their tail and say 'forget it' on that one, Terry.... They bypass the FP with a jumper, but then still don't go to the COR. JUST LIKE ME! hahaha. Something about it's location, buddy.... water leaks almost ANYWHERE on that side of the windshield, ... it seems to drip right over that COR, and OFTEN the ECU, too. (which for some reason doesn't seem to let the water in.
ANYWAYYYYYYYY, ... sorry, just expounding a lil on your already tearing open relays post~! hahaha.
" ........ Do you LOOK for messes like this? hahaha... ORRRRRRR, ... are they PARKED AND 'Man Down' Status BECAUSE they hodge-podged em together so much that they finally, well, DIED! lol. Cool lil tips, buddy. (Might do one, if you're not already, on 'Refresh of the C.O.R.'...... Because, Terry? THOSE THINGS ROT! Especially when you have a leaking windshield at the pass. pillar and windshield end of things!
) My COR was COMPLETELY shorted, eventually, and was getting SO FREAKY HOT when trying to restart..... It NEARLY BURNED ME, Terry.... and, well, it was CLEARLY the problem! haha... BUT, Anyway, can't believe how many people chase their tail and say 'forget it' on that one, Terry.... They bypass the FP with a jumper, but then still don't go to the COR. JUST LIKE ME! hahaha. Something about it's location, buddy.... water leaks almost ANYWHERE on that side of the windshield, ... it seems to drip right over that COR, and OFTEN the ECU, too. (which for some reason doesn't seem to let the water in. ANYWAYYYYYYYY, ... sorry, just expounding a lil on your already tearing open relays post~! hahaha.
08-25-2012, 10:09 AM
#177
BTW, ... ALWAYS look into the Vacuum advance while you test the distributor function/verify all is fantastical! hahaha.
I always slide the dizzy in, make sure the bolt, if mounted in, would be around Center on the adjusting slide, put the rotor at 12oclock ON THE DOT, .... Slide it in and watch it drop back PERFECTLY to Cyl 1 in it's cycle(obviously at TDC on Compression stroke). NEVER wound up with it off a tooth if the Rotor is JUST POSITIVELY at 12 on the Clock.... "How can I be sureeeeeeeeeeeee? AHHHHHHHHHHH?"......>>>>> Have a balance? Use it! lol. The teeth being dealt with are MUCH larger than an axle spline, etc... BUT, sometimes people will go past the TDC mark, while turning the CRANK, and then VERY MISTAKENLY think, "I'll just go back, counterclockwise with the crank".... WRONG! Turning the crank back will not engage the CAM nor force it back, initially upon turning it.... Whatever slack is in it will keep the CAM from turning at first, while you turn it what, 3-5MM? But that small amount might be JUST ENOUGH to where you have the CAM having had come PAST the mark of TDC on Compression.... You bring the Crank backward, ...but the CAM doesn't join, so the tooth is ONE OFF, ................RIGHT? lol. I was told this, then SAW IT for myself with the Cover off, setting the chain right before timing cover install.
hahaha. I always slide the dizzy in, make sure the bolt, if mounted in, would be around Center on the adjusting slide, put the rotor at 12oclock ON THE DOT, .... Slide it in and watch it drop back PERFECTLY to Cyl 1 in it's cycle(obviously at TDC on Compression stroke). NEVER wound up with it off a tooth if the Rotor is JUST POSITIVELY at 12 on the Clock.... "How can I be sureeeeeeeeeeeee? AHHHHHHHHHHH?"......>>>>> Have a balance? Use it! lol. The teeth being dealt with are MUCH larger than an axle spline, etc... BUT, sometimes people will go past the TDC mark, while turning the CRANK, and then VERY MISTAKENLY think, "I'll just go back, counterclockwise with the crank".... WRONG! Turning the crank back will not engage the CAM nor force it back, initially upon turning it.... Whatever slack is in it will keep the CAM from turning at first, while you turn it what, 3-5MM? But that small amount might be JUST ENOUGH to where you have the CAM having had come PAST the mark of TDC on Compression.... You bring the Crank backward, ...but the CAM doesn't join, so the tooth is ONE OFF, ................RIGHT? lol. I was told this, then SAW IT for myself with the Cover off, setting the chain right before timing cover install.
08-26-2012, 07:27 PM
#178
Doing Away With Chrome Trim Around Windshield
Windshield trim looks good, Terry. However, I've always wanted to remove my trim because it just catches and retains moisture and hastens rusting. I wonder is anyone has tried leaving trim off and how it looks and works? We rented a 2012 Jetta without a trim around the windshield. Wondering if leaving it off on the Runner would leave an unsightly gap.
08-26-2012, 08:05 PM
#179
Hey RAD, .... the guys who installed my new windshield are from this company that removes all the inserts.... (the ones in the windshield groove)>....... Then insert the trim back in 'OVERMOLDED' job... They pulled out ALL the old crap and cleaned up any minor rust they saw...(where it was leaking, especially)..then slapped some expensive stop rust POR15 stuff in that spot/even though they're removed any rust I could see/......and GOOPEDEDED IT GOOD! haha. It's like the anchors on the trim stick into the goop and that's how they're held... They taped it down tight so it wouldn't work out of the molding, for 1 hour or so(the stuff dries enough, for that trim not to move, etc., in quick time).... Then told me 'don't drive it in this rain for 24 hours, just to be safe... It wont void anything, just what I would do, fast drying or not"..... So I did. Now the trim kinda sits BARELY over the body and you can't tell.. it also let's everything run off..... So I doubt it'll rust any time soon... We'll see. I like the trim, but I can see it being a HUGE point of concern for many in the rust belt, GWN, PNW or otherwise, for sure!
08-26-2012, 08:22 PM
#180
Ruby Tuesday says, "Hi!" to Ruby Red.


