Terrys87 88 Truck Build
#201
Thread Starter
Joined: Aug 2008
Posts: 11,787
Likes: 25
From: Anderson Missouri
Got the next 2 days off and if all goes well should get alot done. I have a bigger list, but what I want to accomplish. If I accidentlly get all of that done, the 85 truck could get some attention. Trying to get everything done before I get back on body work.
88 Pickup
Paint/Repair dash
Remove and repair last of wires
Change pinion seals
Battery hold down
Fix the horn to how it should be
Oil/filter
Dizzy cap
Bleed brakes
Check all vacuum lines
My runner
Finish putting front end together
Finish exhaust bolts
Repair Fusible link
Battery hold down
Polish windshield (something I found on net, I will be the guinea pig)
Clean my windshield channel.
Last edited by Terrys87; 08-28-2012 at 04:04 PM.
#202
Thread Starter
Joined: Aug 2008
Posts: 11,787
Likes: 25
From: Anderson Missouri
Hello Cyberhorn. I meant to suggest when pushing on the window to use your whole forearm so as to distribute pressure over a bigger area. Once you get one side out, you will have the other side out in 5 minutes. It is just the first one. I looked all over the net for a Youtube video and could not find one.
Mark... I looked up "Youtube 22re" and came across your vsv valve video under a different screen name. It was yours though. I probably coudnt find that one if I was looking for it, I just stumbled into it.
Mark... I looked up "Youtube 22re" and came across your vsv valve video under a different screen name. It was yours though. I probably coudnt find that one if I was looking for it, I just stumbled into it.
#203
Hahahaha... My youtube name is "imachefmang", hahaha. Yes, as in, "I'm a Chef, MANG!" 
Wow, .... did I not name it? Got to my page and you'll see how many videos I have to name and label and edit and AHHHHHHHHHHHH! hhahahaha. I'm still trying to find time to do the editing of the Aisin Hub Install. It's there, I just haven't fixed it or anything yet, so I'm not putting it up here.
Yeah, I wasn't thinking when I made up my name here... But I think I like ChefYota4x4 better anyway, lol... Just too late to start another Youtube Channel I suppose,
I probably have around 50 videos up there. WOW, I lost track!

Wow, .... did I not name it? Got to my page and you'll see how many videos I have to name and label and edit and AHHHHHHHHHHHH! hhahahaha. I'm still trying to find time to do the editing of the Aisin Hub Install. It's there, I just haven't fixed it or anything yet, so I'm not putting it up here.
Yeah, I wasn't thinking when I made up my name here... But I think I like ChefYota4x4 better anyway, lol... Just too late to start another Youtube Channel I suppose,

I probably have around 50 videos up there. WOW, I lost track!

#204
Thread Starter
Joined: Aug 2008
Posts: 11,787
Likes: 25
From: Anderson Missouri
Hello Mark..I made some videos of getting the heater switches out. You dont need to go as far as I went but I will go back and post just the parts needed for the heater switch. Video is not the best but should give idea as I had to move from one area to another. I need tofix my heater switch and will be doing that in a few. Wanted to get some videos up before I got to far ahead of myself and to cool off.
#205
Thread Starter
Joined: Aug 2008
Posts: 11,787
Likes: 25
From: Anderson Missouri
All are videos, jutclick picture.
First step in removing heater switch. (Dash pad video done already)
Second step in removing heater switch.
Removing Dash Support to clean vent pipes. Do not need to do to fix heater switches, but to show what is needed for heater core removal.

Reinstalling vent pipes after cleaning them.
Painting Dash Support

Reinstalling Dash Support
First step in removing heater switch. (Dash pad video done already)

Second step in removing heater switch.

Removing Dash Support to clean vent pipes. Do not need to do to fix heater switches, but to show what is needed for heater core removal.

Reinstalling vent pipes after cleaning them.

Painting Dash Support

Reinstalling Dash Support

Last edited by Terrys87; 03-13-2014 at 10:25 AM.
#206
Thread Starter
Joined: Aug 2008
Posts: 11,787
Likes: 25
From: Anderson Missouri
I think I got the rear axle pinion seal leak fixed. Got the vents cleaned and reinstalled and starting to get the dash back in.
With a carbed motor the coil is a little different. This truck isnt prewired for a tachometer so I am running a wire from the negative to the little "p" on the back. It is hot so will break for now and wait for it to cool.
Here is a picture of some of the dash done and vents cleaned. I am working on my controls now.
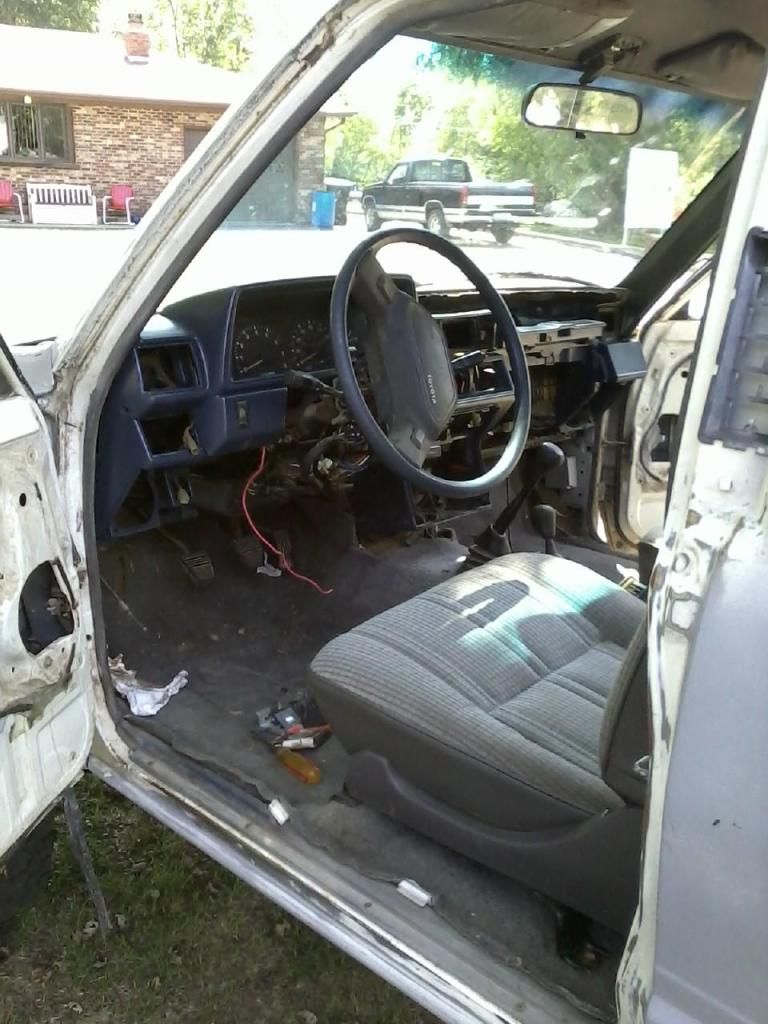
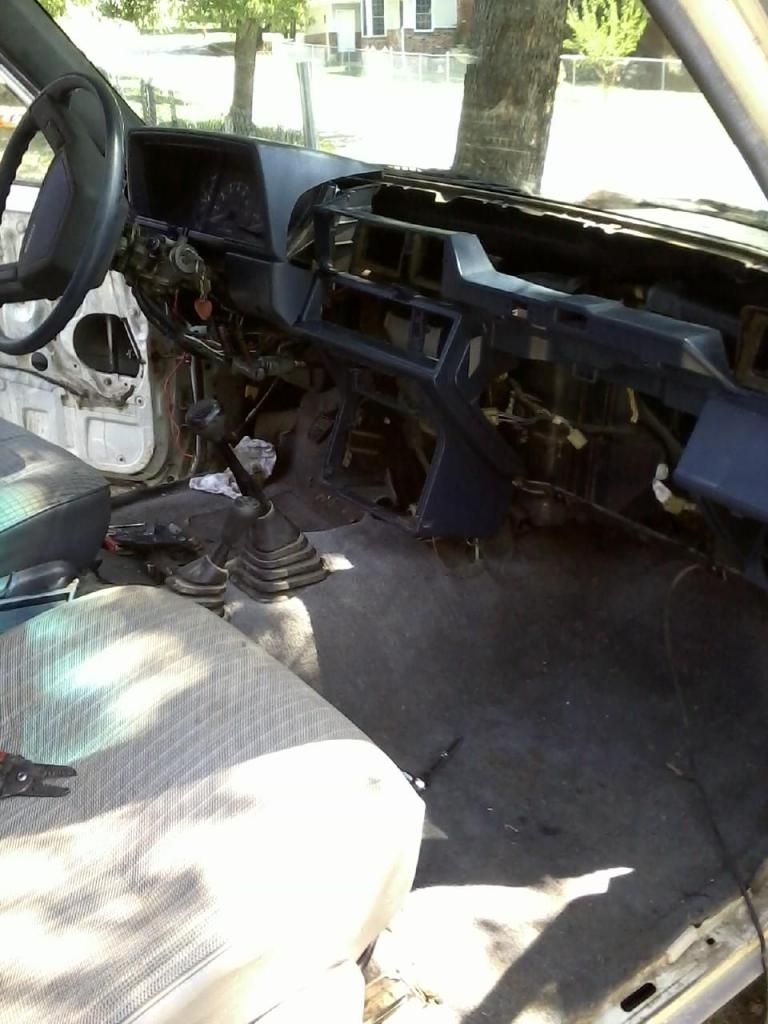


#207
Hey Terry..... Got the mail, thanks alot, man! I'ma try it out as soon as I can find a connector... WHAT A KNOB, whoever just cut that off, right? GAWWWWWWSH that makes me sad! lol.
Hard to find that stuff anymore at the yards... but I'll look. Lemme know if you're in need of it back, ok?
The smaller piece should work fine.... I'll test it to be sure and then start soldering, ya know? LIL nervous about ANY harness wire cutting... but hey, the connector I have is USELESS, ... so it's gotta happen sooner or later, right? lol.
lol.
OK, what I wanted to also say is 'THANKS!' ... makes more sense on the control cables now... WAY more sense! yeah, I guess it would be darn near impossible to remove and replace the COLD/HOT cables-duo without pulling all that crap off. I find them in ok condition at times at the yards.. but USUALLY the wrong year(they are different on newer years.)
I'm REALLY curious if mine is all buggered like you showed. It just seems VERY screwed up in there... BUT I can manually move the gate open and then up under the hood pull the cable out or push it in for heat/cold, ya know? I've TOTALLY avoided this for fear of breaking things... and that fear is still there, to be honest! hahaha. Really wish they'd made this set up a LIL more simple/easier to get to, ya know? Wow, they get all mice-maze-twisted like that, eh?????

Hard to find that stuff anymore at the yards... but I'll look. Lemme know if you're in need of it back, ok?
The smaller piece should work fine.... I'll test it to be sure and then start soldering, ya know? LIL nervous about ANY harness wire cutting... but hey, the connector I have is USELESS, ... so it's gotta happen sooner or later, right?
 lol.
lol. OK, what I wanted to also say is 'THANKS!' ... makes more sense on the control cables now... WAY more sense! yeah, I guess it would be darn near impossible to remove and replace the COLD/HOT cables-duo without pulling all that crap off. I find them in ok condition at times at the yards.. but USUALLY the wrong year(they are different on newer years.)
I'm REALLY curious if mine is all buggered like you showed. It just seems VERY screwed up in there... BUT I can manually move the gate open and then up under the hood pull the cable out or push it in for heat/cold, ya know? I've TOTALLY avoided this for fear of breaking things... and that fear is still there, to be honest! hahaha. Really wish they'd made this set up a LIL more simple/easier to get to, ya know? Wow, they get all mice-maze-twisted like that, eh?????


#208
Thread Starter
Joined: Aug 2008
Posts: 11,787
Likes: 25
From: Anderson Missouri
It is off of the 85 and will be awhile before I get back on it, it will be on the back burner for a while. So in no hurry for it.
I dont like cutting if I dont have to but on the connector there is just no way around it.
I have replaced it without removing the dashpad but this makes it way more easier. I have tried several different things to make bent cables to work but once they loose their straightness, they will bend and not move the cable. It is a poor design, butif you get good cables and are gentle with them, they will work.
#209
Thread Starter
Joined: Aug 2008
Posts: 11,787
Likes: 25
From: Anderson Missouri
Going to start setting me up a cooker for cleaning. Copied from Cyberhorn (the electrolysis is water, washing soda (arm n hammer) a chunk or chunks of sacrificial steel or iron and any dc voltage source
in my case im using a battery charger and an old PC computer power supply using the 12v leg used for fans hard drives ect (yellow wire on the molex plug) in one tank the 'anode' sacrifice (+) is two old lawn mower blades bent an cracked junk steel wired via jumper ive got a smaller one for small brackets an bolts
this is so your getting voltage on both sides of the item being 'cooked' this picture is the one with dual mower blades cooking the radiator pipe loop an the far end was the hood latch (the white is bubbles showing the process is working)
#210
Thread Starter
Joined: Aug 2008
Posts: 11,787
Likes: 25
From: Anderson Missouri
It is legal, now I can take it to dads and get alot of things done quicker now. Took it for a small drive and got my leaks fixed on it. Still have to work on the power steering gear box as it will pour out the fluid. Has a few rattles to work on and one being the license plate in the back glass, that is more annoying then the rest.
Still will probably need a front end alighment and the tires need to be driven for awhile. Just took it to 45mph to see how things would hold up. Couldnt find anything really wrong, but it still isnt as enjoyable to drive as I know that it can be. It just needs a lot of tweaking here and there to get it.
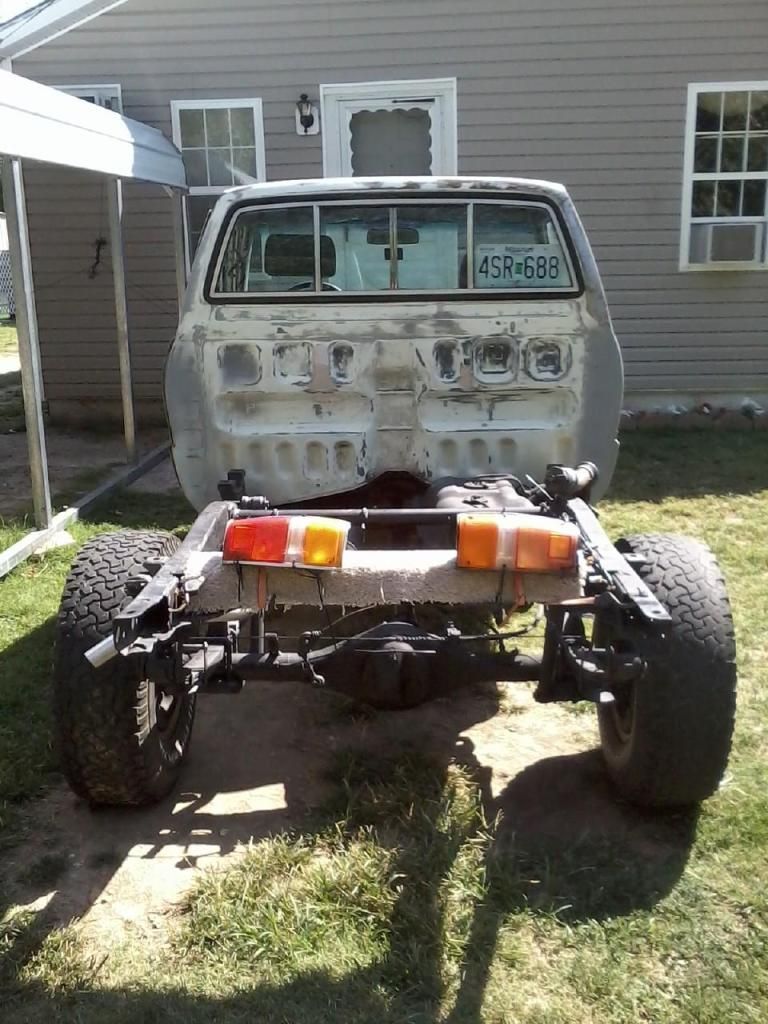
Still will probably need a front end alighment and the tires need to be driven for awhile. Just took it to 45mph to see how things would hold up. Couldnt find anything really wrong, but it still isnt as enjoyable to drive as I know that it can be. It just needs a lot of tweaking here and there to get it.

#212
Terry, you are one of the most resourceful guys I've seen on here... Always impressed. I need to eventually set up a parts SHOCKER like that, too. DANG YOU, DRAGON!  .... making me start yet another 'project'! hahaha. JK, ..thanks, Dragon, great idea you've shared.
Terry.... I agree with Dragon... but, shhhhhhhhh, ...don't say this too loudly, wouldn't want to offend her delicate sensibilities, .... 'she could use a waxing on that hairy rump!'
 .... making me start yet another 'project'! hahaha. JK, ..thanks, Dragon, great idea you've shared.
 Terry.... I agree with Dragon... but, shhhhhhhhh, ...don't say this too loudly, wouldn't want to offend her delicate sensibilities, .... 'she could use a waxing on that hairy rump!'

#213
#214
Thread Starter
Joined: Aug 2008
Posts: 11,787
Likes: 25
From: Anderson Missouri
Terry, you are one of the most resourceful guys I've seen on here... Always impressed. I need to eventually set up a parts SHOCKER like that, too. DANG YOU, DRAGON!  .... making me start yet another 'project'! hahaha. JK, ..thanks, Dragon, great idea you've shared.
Terry.... I agree with Dragon... but, shhhhhhhhh, ...don't say this too loudly, wouldn't want to offend her delicate sensibilities, .... 'she could use a waxing on that hairy rump!'
 .... making me start yet another 'project'! hahaha. JK, ..thanks, Dragon, great idea you've shared.
 Terry.... I agree with Dragon... but, shhhhhhhhh, ...don't say this too loudly, wouldn't want to offend her delicate sensibilities, .... 'she could use a waxing on that hairy rump!'

#215
Thread Starter
Joined: Aug 2008
Posts: 11,787
Likes: 25
From: Anderson Missouri
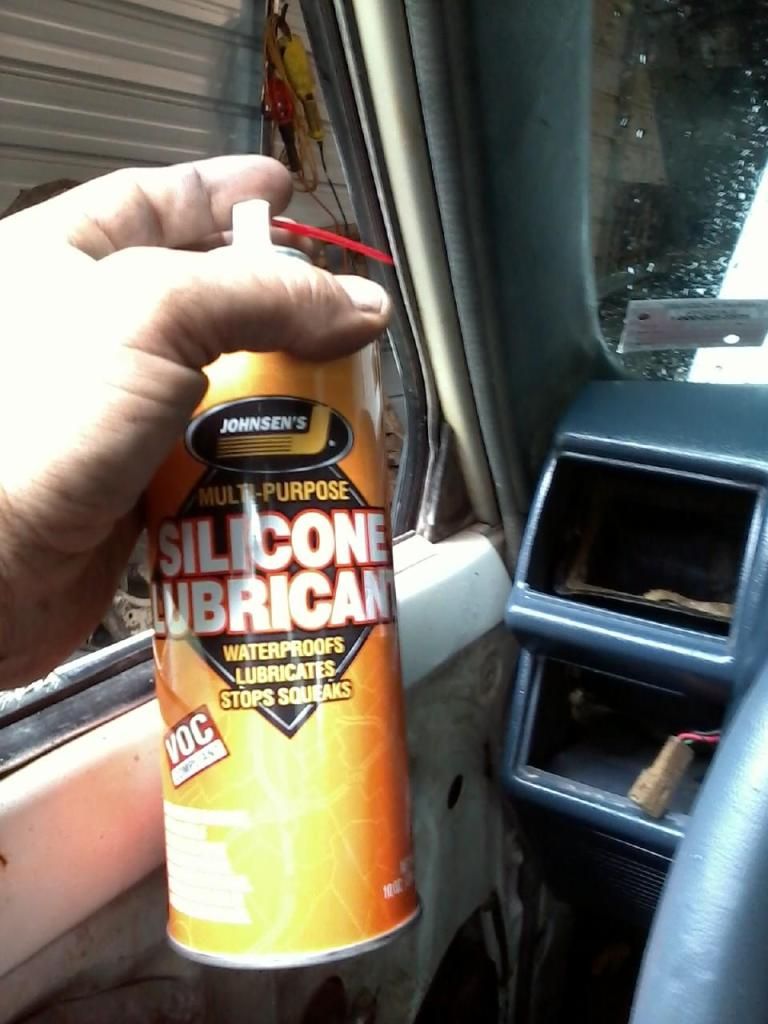
I have posted this on other builds but just in case someone missed it, this stuff works great on window tracks. Makes a big difference.
Got new rotor cap and rotor on today and what a difference that made on the motor running.
Got new rotor cap and rotor on today and what a difference that made on the motor running.
#217
Hahahhaaha! """...... "The Hairy-Bare Rump Fad", originally started by a, 'Terry P.', MO, .... became INTERNATIONALLY known after 'The Swamp Dawgs' 2005 release of "Slang'n Mud with my Hairy Rump"(aka "Hairy Rump Mud Bog")..... For more on this story, tune in at 11!  """ lol.......
SOOOOOOOOOO, I have a question............. Rear window TO tailgate guide-molding. Mine is a BIT buggered... Would like to replace it... Got that part number? lol. (could really use a new rear window too, ...but meh, I can see out of it and don't wanna pay 300$ for one... So it'll do, lol.) Cleans up ok but has a gap in it and the window has a nice scar in one spot.
 """ lol.......
 SOOOOOOOOOO, I have a question............. Rear window TO tailgate guide-molding. Mine is a BIT buggered... Would like to replace it... Got that part number? lol. (could really use a new rear window too, ...but meh, I can see out of it and don't wanna pay 300$ for one... So it'll do, lol.) Cleans up ok but has a gap in it and the window has a nice scar in one spot.

#218
Thread Starter
Joined: Aug 2008
Posts: 11,787
Likes: 25
From: Anderson Missouri
Hello Cyberhorn..I just got done using it on the company truck. What a difference it made on it. The window knob kept coming off . Those tracks can cause alot of resistance.
Hello Mark..My fame will be what not to do.hehehe.. I will see if I can find the part for that. Mine sticks way down and I want it to be right when done with it. It will be awhile before I will get to it but it is on the list. I can only imagine what Toyota wants for it.
As far as the backglass, Mistys needs replaced as well as it has a big blur down the center. I have been looking on the net about getting it clearer and also for mine. Apparently there is a kit you can buy that buffs and polishes it up. I checked the auto stores for it and they dont have it here locally. I am going to check the windshield shops and see what they suggest. What I have found so far on the net, I dont care for and what I tried didnt do any good. I am not giving up just yet.
#219
Thread Starter
Joined: Aug 2008
Posts: 11,787
Likes: 25
From: Anderson Missouri
Some days are slow and some fast. Got the heater controls working but the one that controls the vents,defrost or floor is being a little stubborn. May need to adjust it some more. The control assembly I am using for this truck does have the AC area broken on it but since this truck isnt getting AC, it wont be a problem. I will be adding a clock to it soon as well.
I will be updating this post at a later time when I get the correct wording for the cables and where they go. I did put the first set of cables in on the right hand side first and worked the left hand side in next. With the dashpad and vent out of the way, it is really not as bad as some fear that it is. Mostly because it is their first time and I can see why. I will be moving alot of this to the 88 Runner build so it might make it alot easier.
You will need the larger Oil Sending Unit or otherwise you will ruin the oil guage in your SR5 Cluster.
If your tach does not work, you will need to run a wire from the negative side of the coil to the "p" on the back of the cluster.
Copied.
I then ran a wire to the negative side of the coil, on a carburator coil it is a little different then a standard coil you are most used to seeing. This truck didnt come with the SR5 guage so I added it. If your truck is not Plug and Play like some are, you need to run a wire from the negative side of the coil to the little "p" to make the tach work.
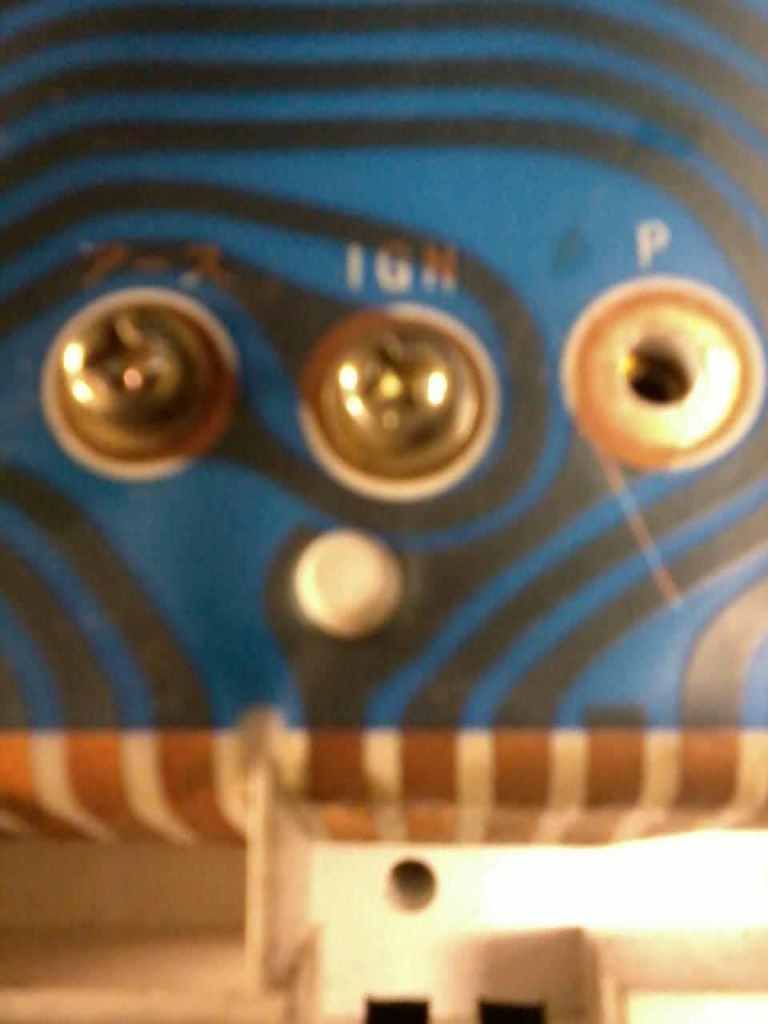
Then what I did so as not to short out the electrical run beside it. I placed a piece of electrical tape over the little "p" and crimped a wire to the smallest connector that I could find.
I used tape for insulation and to make my connection to the "p".
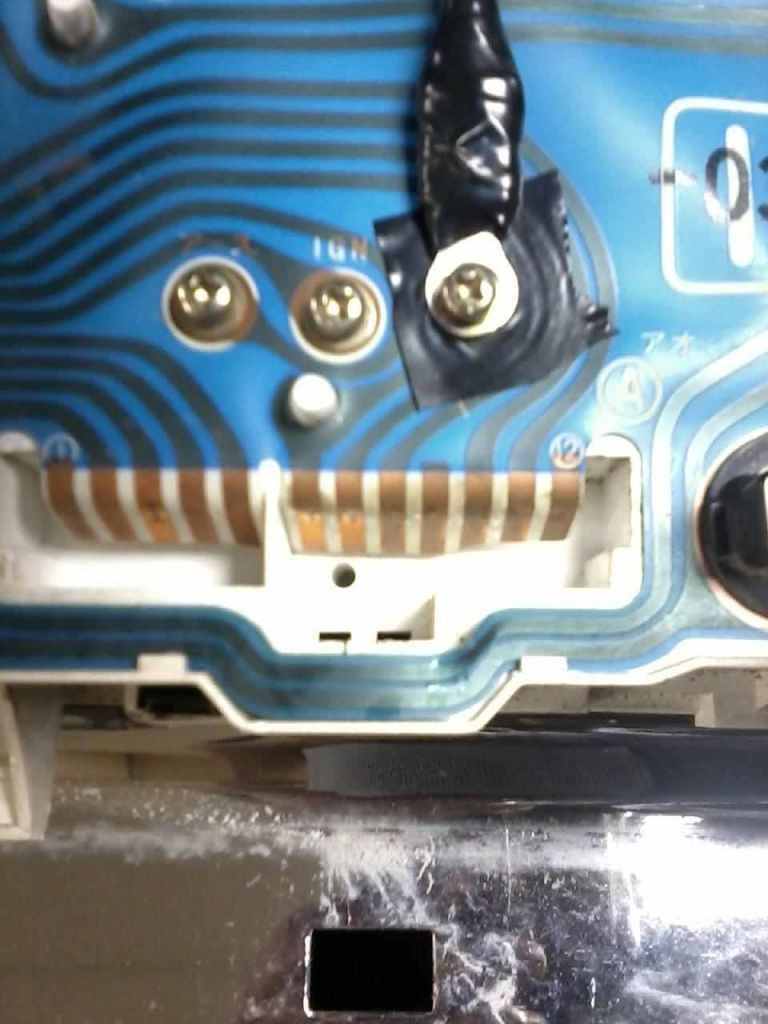
This is a temporary connection and is on a 22r Motor.
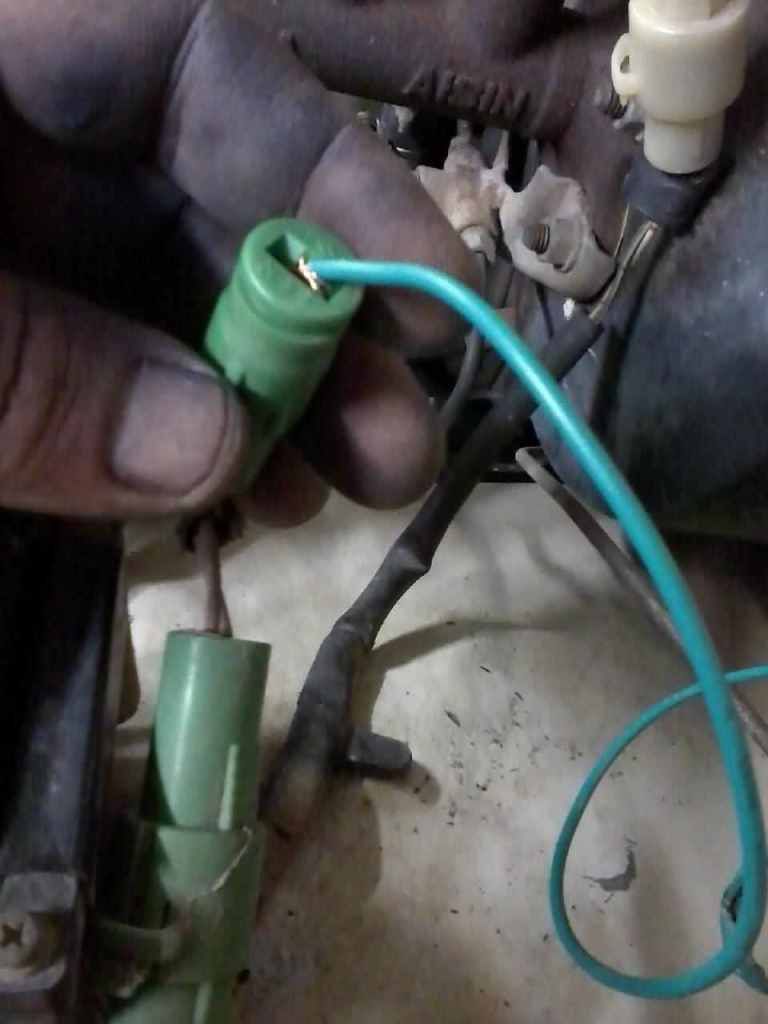
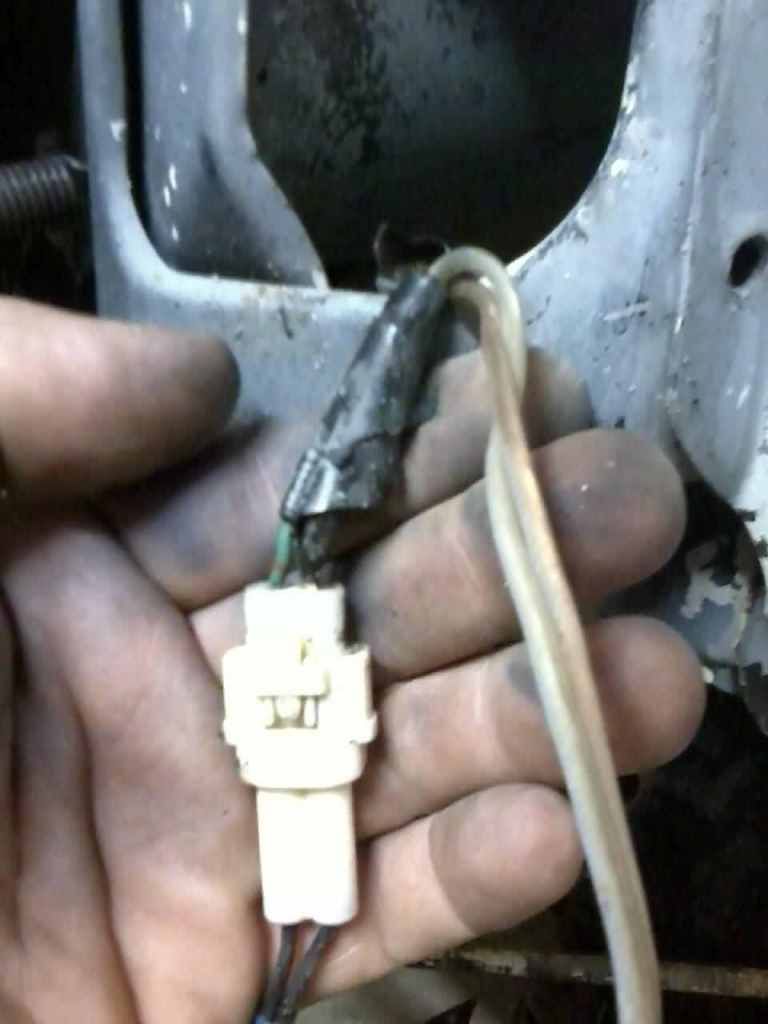
Right front blinker stopped working. So started looking into it and it had some speaker wire going somewhere and still dont know what it was for. I did drive the truck to work today and it ran great. Still needs some tuning and have some noise coming from the front end that I need to look at and see about getting it fixed.
I will be updating this post at a later time when I get the correct wording for the cables and where they go. I did put the first set of cables in on the right hand side first and worked the left hand side in next. With the dashpad and vent out of the way, it is really not as bad as some fear that it is. Mostly because it is their first time and I can see why. I will be moving alot of this to the 88 Runner build so it might make it alot easier.
You will need the larger Oil Sending Unit or otherwise you will ruin the oil guage in your SR5 Cluster.
If your tach does not work, you will need to run a wire from the negative side of the coil to the "p" on the back of the cluster.
Copied.
I then ran a wire to the negative side of the coil, on a carburator coil it is a little different then a standard coil you are most used to seeing. This truck didnt come with the SR5 guage so I added it. If your truck is not Plug and Play like some are, you need to run a wire from the negative side of the coil to the little "p" to make the tach work.

Then what I did so as not to short out the electrical run beside it. I placed a piece of electrical tape over the little "p" and crimped a wire to the smallest connector that I could find.
I used tape for insulation and to make my connection to the "p".

This is a temporary connection and is on a 22r Motor.

Right front blinker stopped working. So started looking into it and it had some speaker wire going somewhere and still dont know what it was for. I did drive the truck to work today and it ran great. Still needs some tuning and have some noise coming from the front end that I need to look at and see about getting it fixed.

Last edited by Terrys87; 11-20-2015 at 10:56 PM.
#220
terry some links on ebay for kits one is fine scratches an the other is deeper ones
minor repairs
heavy damage
minor repairs
heavy damage


