
Terrys87 86 4Runner with a 2nd Chance
 04-03-2014, 02:10 AM
#1901
Super Moderator
Staff
Thread Starter
iTrader: (1)
Join Date: Aug 2008
Location: Anderson Missouri
Posts: 11,788
Likes: 0
Received 25 Likes
on
22 Posts
I had a long day on the conversion and all was going well until I wanted to start basically doing a tune up and installing radiator hoses and the water pump hose under the alternator. The power steering started being difficult and wound up having to take it all apart. What should of been a 15 minute job turned into an hour of getting it apart and now need to put it back togheter. It should start once I get it back togheter and fuel in the system. Still a thousand details to take care of.
Got the Wiper Delay hooked up. There is another wire connection that is way up high. It can be hard to find.
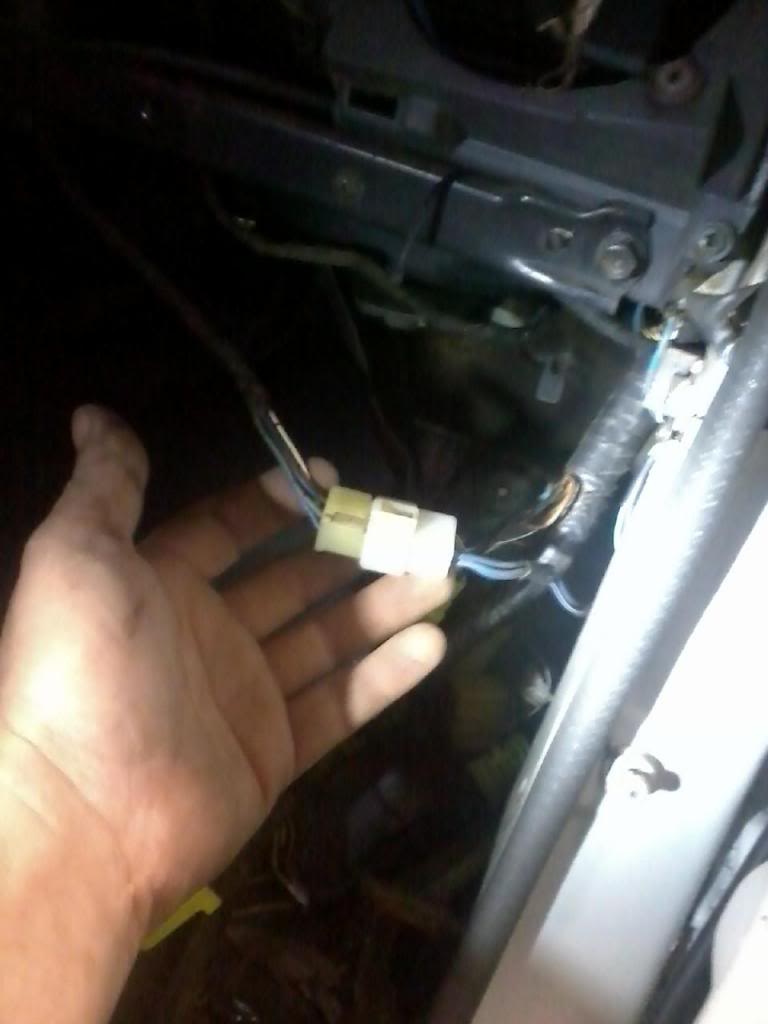
Connected computer first and then the rest of the connections make easier. Had to repair a few wires in this harness as well.
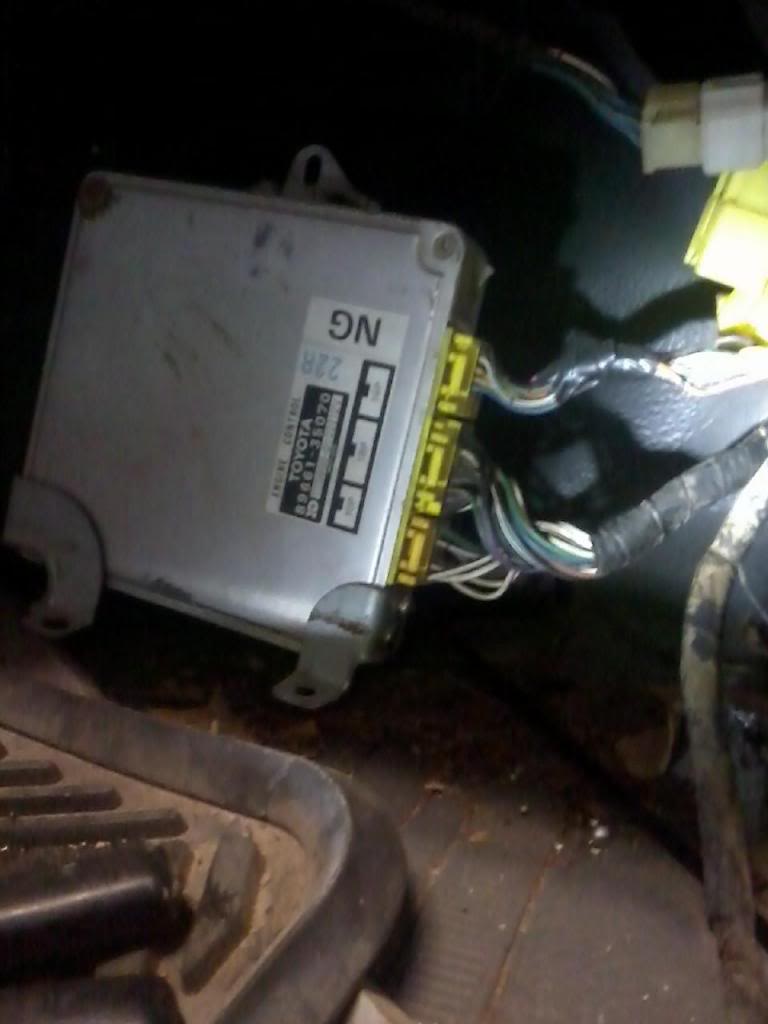
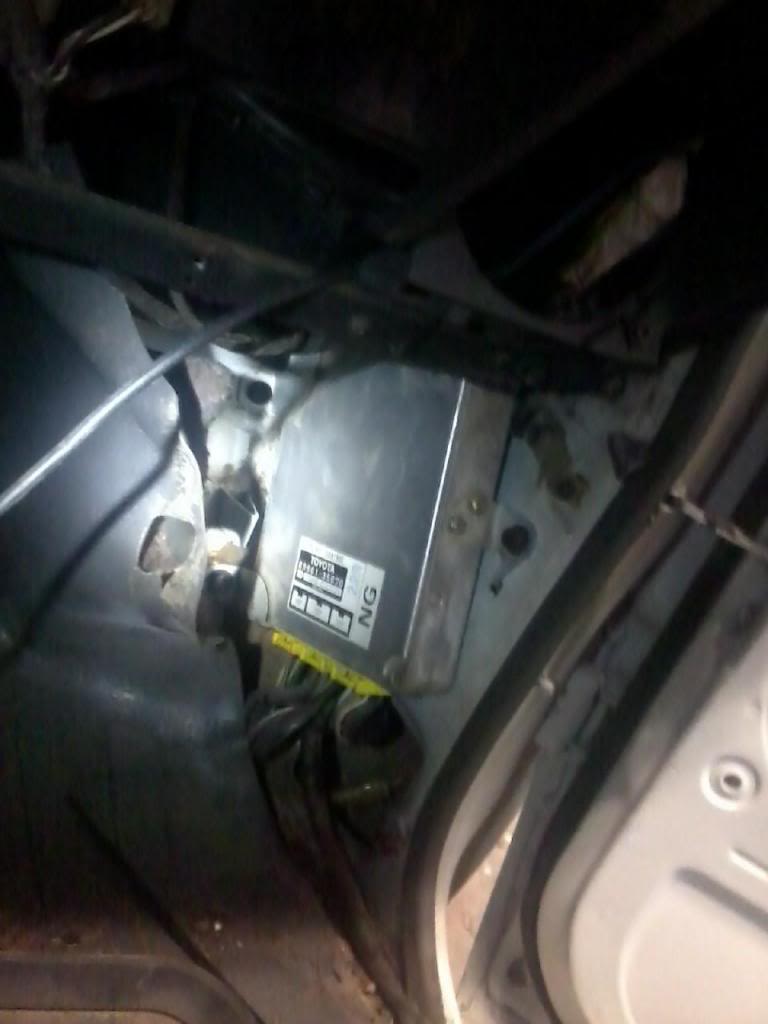
Here it is in. Get all of the wiring tucked in behind the computer. It is tight withe the Wiper Delay box behind it.
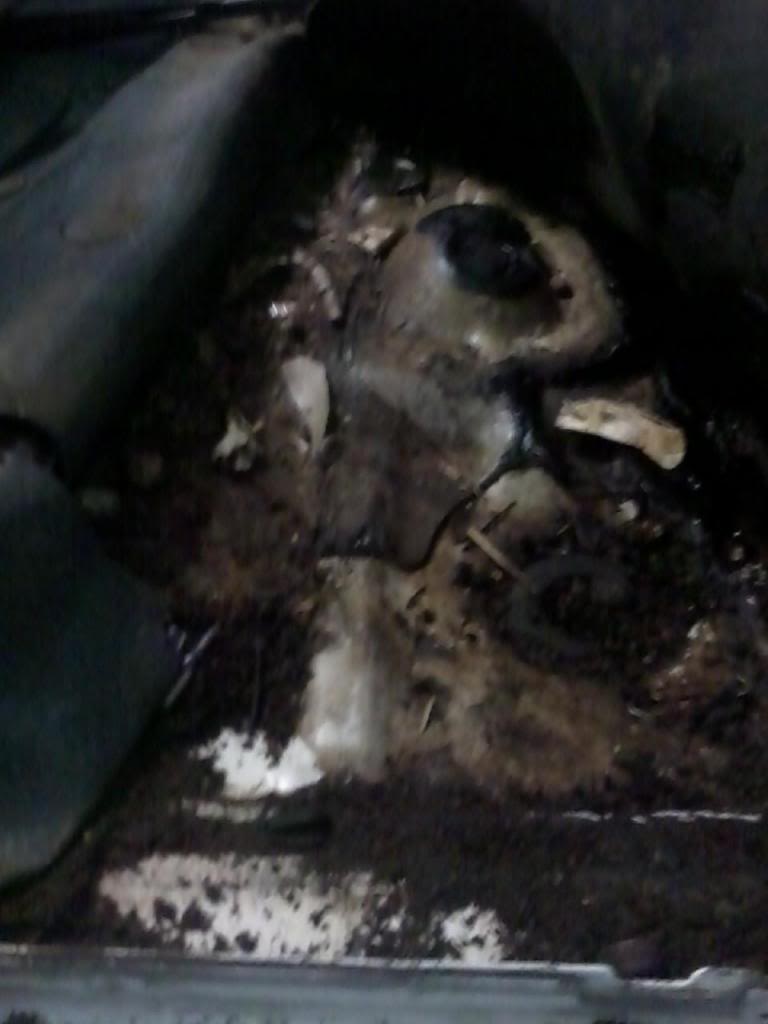
Cleaned under the floor mat. Alot of debris from the cowl was under there as well. Not all of it was from me pulling the blower motor. Even with the vinyl mat alot of grit was under the mat. That surprised me. I see alot of debri work its way thru the carpet.
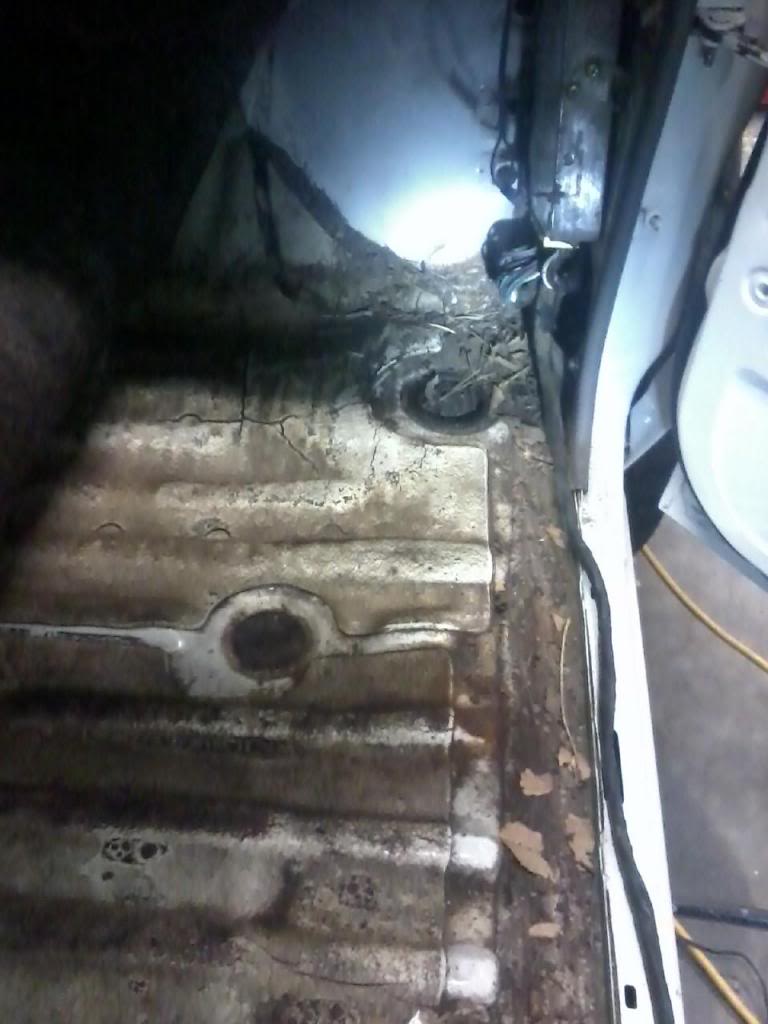
Another view under the mat. I pull my carpets and clean the floor pans on my trucks and wash the carpet at the carwash. Gives a fresher smell in there.
A problem I found. Someone has used a bolt in the exhaust. Will work on it after getting the truck running. There is another bolt stripped and will need to take to my local machine shop guy and he is usually able to get to them without taking off the head.
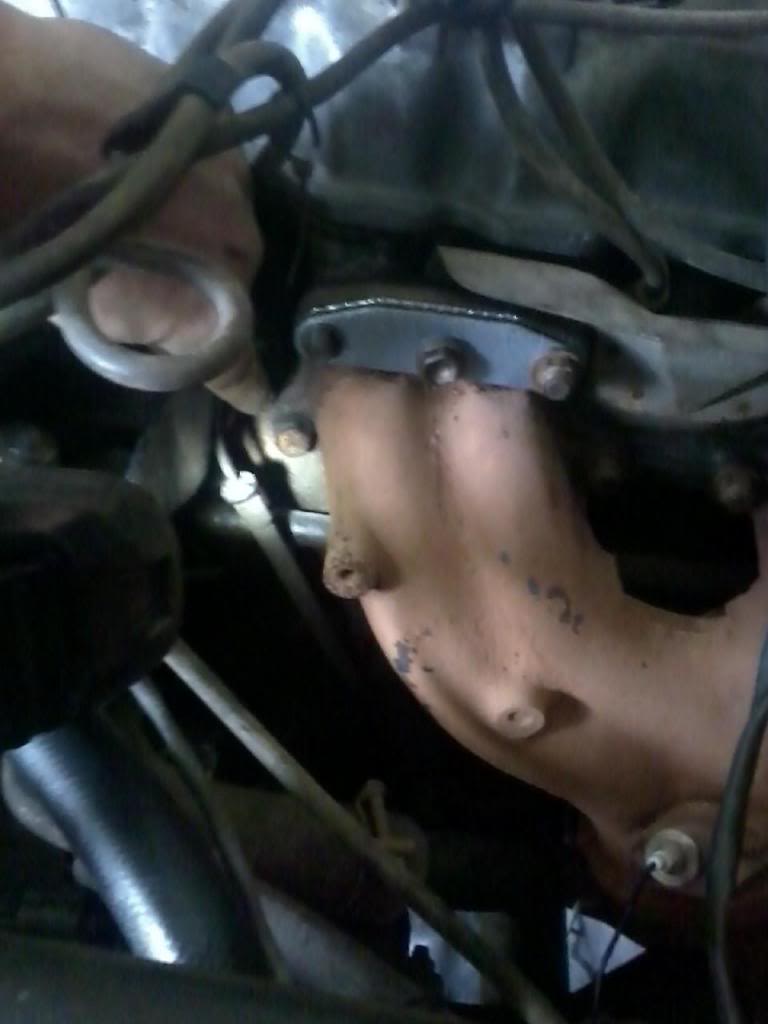
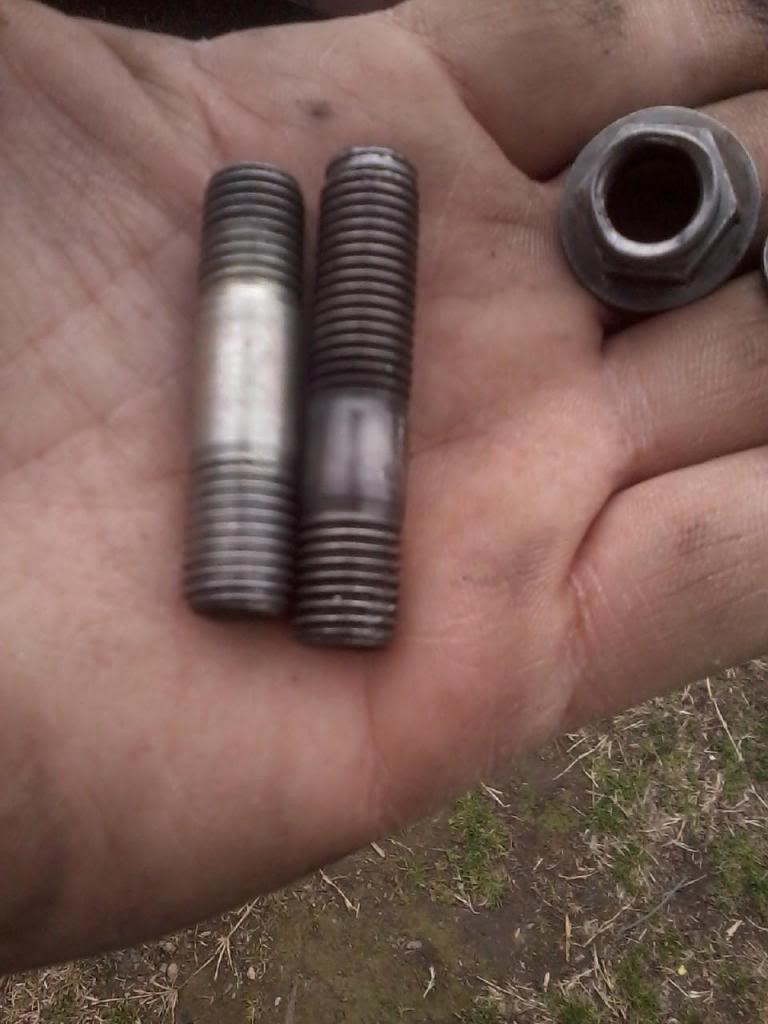
I like the 50/50 bolts. This one had a both styles so got that all corrected. One in the back is stripped. The other problem I found.
You need to swap out the brake booster to plenum hose. Here it is all together.
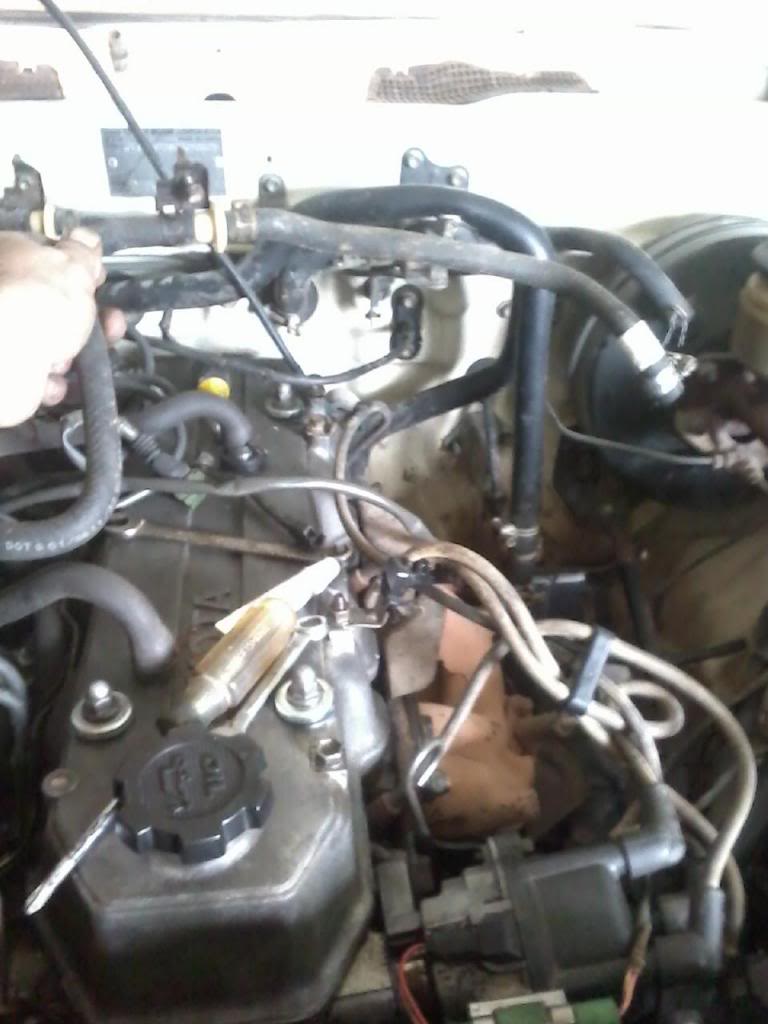
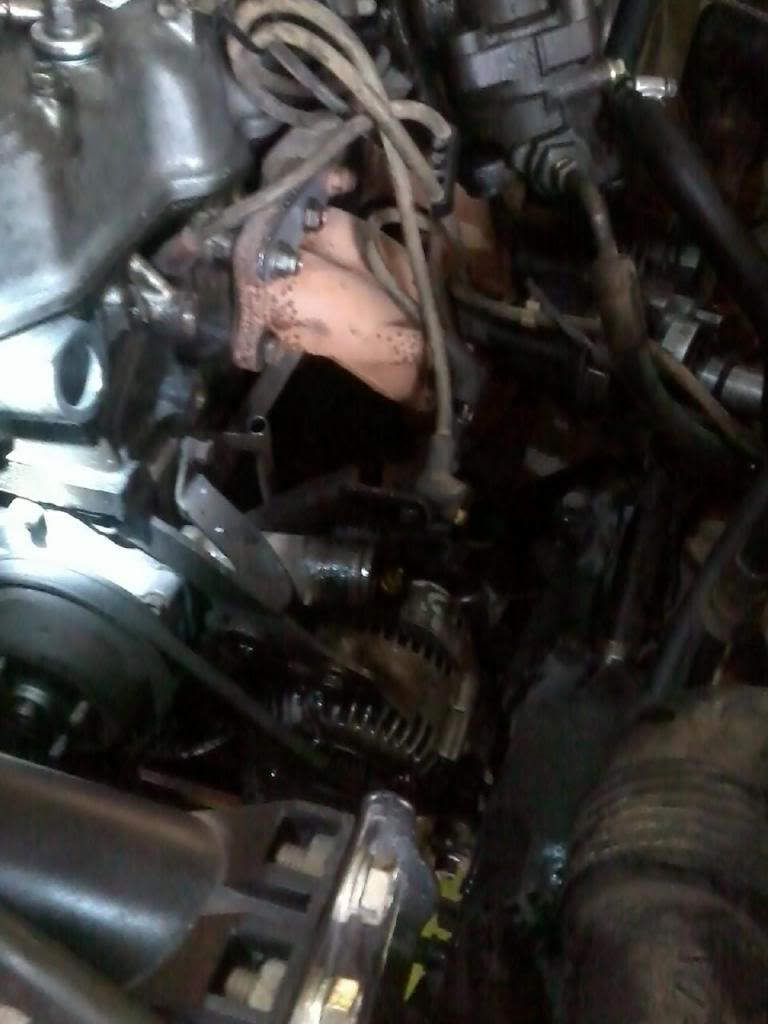
Then I hit a snag. Swapping out the water pump hose turned into a tear down of the entire power steering assembly. The adjuster was frozen and one thing led to another. Should be able to start reassembly from this point.
Got the Wiper Delay hooked up. There is another wire connection that is way up high. It can be hard to find.

Connected computer first and then the rest of the connections make easier. Had to repair a few wires in this harness as well.

Here it is in. Get all of the wiring tucked in behind the computer. It is tight withe the Wiper Delay box behind it.

Cleaned under the floor mat. Alot of debris from the cowl was under there as well. Not all of it was from me pulling the blower motor. Even with the vinyl mat alot of grit was under the mat. That surprised me. I see alot of debri work its way thru the carpet.

Another view under the mat. I pull my carpets and clean the floor pans on my trucks and wash the carpet at the carwash. Gives a fresher smell in there.

A problem I found. Someone has used a bolt in the exhaust. Will work on it after getting the truck running. There is another bolt stripped and will need to take to my local machine shop guy and he is usually able to get to them without taking off the head.

I like the 50/50 bolts. This one had a both styles so got that all corrected. One in the back is stripped. The other problem I found.

You need to swap out the brake booster to plenum hose. Here it is all together.

Then I hit a snag. Swapping out the water pump hose turned into a tear down of the entire power steering assembly. The adjuster was frozen and one thing led to another. Should be able to start reassembly from this point.

Last edited by Terrys87; 01-24-2016 at 01:14 PM.
 04-03-2014, 08:00 AM
#1903
Super Moderator
Staff
Thread Starter
iTrader: (1)
Join Date: Aug 2008
Location: Anderson Missouri
Posts: 11,788
Likes: 0
Received 25 Likes
on
22 Posts
Thanks julsruls...We have cooler weather coming and I am hoping to get quite a bit done. It is the details that slow you down but pays off in the end.
04-03-2014, 08:04 AM
#1904
Super Moderator
Staff
Thread Starter
iTrader: (1)
Join Date: Aug 2008
Location: Anderson Missouri
Posts: 11,788
Likes: 0
Received 25 Likes
on
22 Posts
What started out getting the hose off turned into doing some repair on the alternator and its wiring. Got it fixed, got the hose on and most of the power steering assembly. Taken longer then I had thought but it is going forward.
Here is a good replacement hose instead of getting it from Toytota. Just need to cut it down.
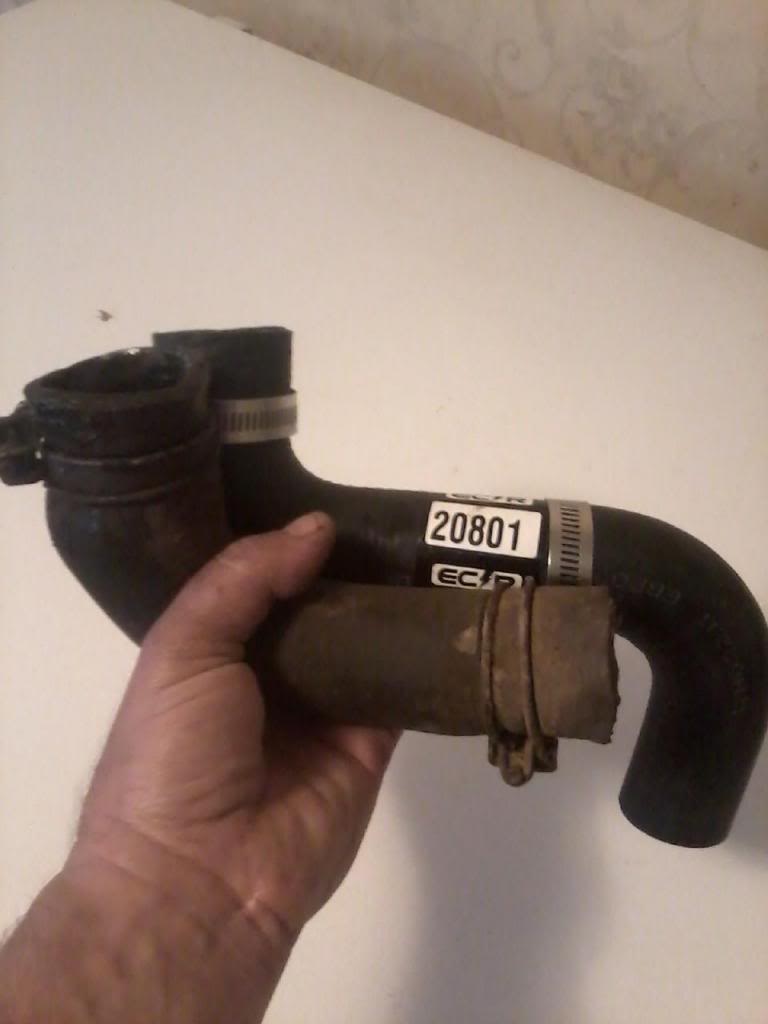
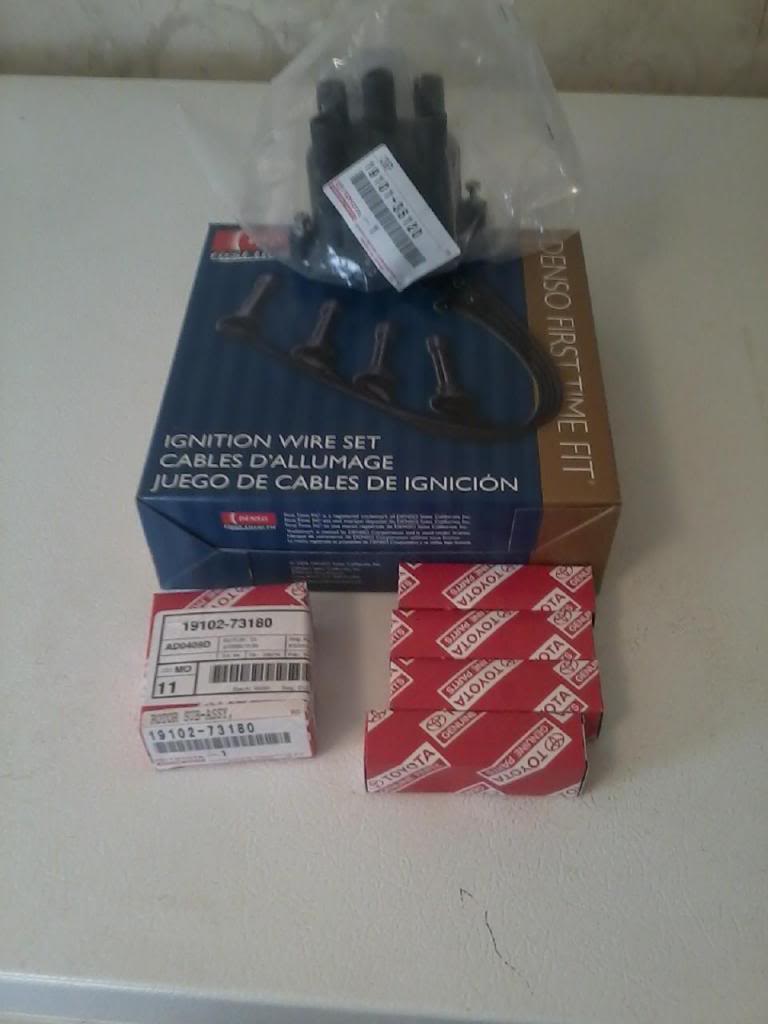
Now I can start on the tune up that was to happen yesterday. I want as much of chance of it firing up as possible. I get my wires off of ebay and the rest from Toyota.
Cap, rotor, plugs, and wires. About same price as parts store but much better quality.
Here is a good replacement hose instead of getting it from Toytota. Just need to cut it down.

Now I can start on the tune up that was to happen yesterday. I want as much of chance of it firing up as possible. I get my wires off of ebay and the rest from Toyota.
Cap, rotor, plugs, and wires. About same price as parts store but much better quality.
 04-03-2014, 09:03 AM
#1905
You aren't kidding about that. I get the Dizzy cap from Toyota for about $15.00 Rotor Cap for about $9.00 and Spark Plugs for about $1.75. Odd how they are better quality and about the same price also the plugs are cheaper than what you can buy at the store.
04-03-2014, 09:55 AM
#1906
Super Moderator
Staff
Thread Starter
iTrader: (1)
Join Date: Aug 2008
Location: Anderson Missouri
Posts: 11,788
Likes: 0
Received 25 Likes
on
22 Posts
Hello junk4u...The wires are $83 at the dealer and I get them off of ebay for $27 shipped to the house. They fit on so much better then the parts store. When this was a 22r *hint,hint* I started the truck up one day and it had a bad miss. Sure enough, one of the wires had worked it way out of the distributor. You will see the hint below. Wahoo!!
04-03-2014, 09:58 AM
#1907
Super Moderator
Staff
Thread Starter
iTrader: (1)
Join Date: Aug 2008
Location: Anderson Missouri
Posts: 11,788
Likes: 0
Received 25 Likes
on
22 Posts
It is on life support but it is ALIVE!!! I just started it with starting fluid and the tank is bone dry but it will run til runs out of starting fluid. I have started it twice on starting fluid and it fires up quick. Still have my Timing Light on loan and a few vac lines arent hooked up so things should only get btter.
The Toyota battery is from the dealer and over the years some one has changed out the battery cables with the incorrect ones and I had to use jumper cables from the battery to the terminals so it was weak cranking but fired up QUICK!!!

The Toyota battery is from the dealer and over the years some one has changed out the battery cables with the incorrect ones and I had to use jumper cables from the battery to the terminals so it was weak cranking but fired up QUICK!!!
 04-03-2014, 02:14 PM
#1909
Super Moderator
Staff
Thread Starter
iTrader: (1)
Join Date: Aug 2008
Location: Anderson Missouri
Posts: 11,788
Likes: 0
Received 25 Likes
on
22 Posts
Thanks Ed... It was a long day and I tried to get a lot done. Seems like it should be further along then what it is but it was alot so am happy with the results.
04-03-2014, 02:18 PM
#1910
Super Moderator
Staff
Thread Starter
iTrader: (1)
Join Date: Aug 2008
Location: Anderson Missouri
Posts: 11,788
Likes: 0
Received 25 Likes
on
22 Posts
Motor basically looks the same but there is not much left motor wise to do. A few vacuum lines that I need to plug. This power steering pump doesnt have two lines attached to it. I have a two more vacuum lines to attach, one to the canister and one to the fuel rail. Need to get two longer battery cables and I think under the hood is done.
Next I will put some fuel in the tank and look for leaks, if that goes well will finish up the interior. Tomorrow is supposed to be cooler and I need to get another tire for the 3rd gen and then an alighnment so that will tie most of the day. Will keep at it a little at a time but should be running for good here shortly.
Adding this to my parts page later.
http://www.ebay.com/itm/Factory-Radio-Stereo-Amplifier-Amp-Interface-Adapter-Wiring-Wire-Harness-Cable-/330821099161?pt=Motors_Car_Truck_Parts_Accessories&fits=Year%3A1986%7CMake%3AToyota%7CModel%3A4Runner&hash=item4d06795e99&vxp=mtr
Last edited by Terrys87; 04-03-2014 at 03:19 PM.
04-04-2014, 05:24 AM
#1912
Super Moderator
Staff
Thread Starter
iTrader: (1)
Join Date: Aug 2008
Location: Anderson Missouri
Posts: 11,788
Likes: 0
Received 25 Likes
on
22 Posts
Thanks cyberhorn..It is always a little un nerving when you dont know for sure that the replacement harness has come off of a non running truck. I am comfortable of swapping them but when you run into problems like on my 85, I makes you a little more hesitant. I will eventually update my Conversion Thread but there are still a thousand things that cant be posted on it, but still far better then what I had to work with the first time.
You still frozen in your part of the country? Haven seen much on your build lately. We got some better weather and then today it is cold, but when it warms up for a week or better, I have tons of things to do and am taking some time off from work.
You still frozen in your part of the country? Haven seen much on your build lately. We got some better weather and then today it is cold, but when it warms up for a week or better, I have tons of things to do and am taking some time off from work.
04-04-2014, 05:30 AM
#1913
Super Moderator
Staff
Thread Starter
iTrader: (1)
Join Date: Aug 2008
Location: Anderson Missouri
Posts: 11,788
Likes: 0
Received 25 Likes
on
22 Posts
All winter long I have been slowly building up parts mostly for my 86 Runner. Been snooping the net for parts and Low Range has some great prices and parts that can be hard to find. http://www.lowrangeoffroad.com/index...e-upgrade.html
I am nearly ready to rebuild my front end. Anything I am missing?
I have
Upper Ball Joints
Lower Ball Joints
Inner Tie Rods
Outer Tie Rods
Bushing for front and back
Front Shocks
Idler Arm
Still need
Rear Shocks
Rag Joint
I am looking for 1.5" Ball Joint Spacers to level the front end with the back end if anybody has some they want to sell. I dont want to crank my Torsion Bars. My old butt likes a smooth ride.
Last edited by Terrys87; 04-04-2014 at 05:44 AM.
04-04-2014, 08:53 AM
#1916
All winter long I have been slowly building up parts mostly for my 86 Runner. Been snooping the net for parts and Low Range has some great prices and parts that can be hard to find. http://www.lowrangeoffroad.com/index...e-upgrade.html
I am nearly ready to rebuild my front end. Anything I am missing?
I have
Upper Ball Joints
Lower Ball Joints
Inner Tie Rods
Outer Tie Rods
Bushing for front and back
Front Shocks
Idler Arm
Still need
Rear Shocks
Rag Joint
I am looking for 1.5" Ball Joint Spacers to level the front end with the back end if anybody has some they want to sell. I dont want to crank my Torsion Bars. My old butt likes a smooth ride.
I am nearly ready to rebuild my front end. Anything I am missing?
I have
Upper Ball Joints
Lower Ball Joints
Inner Tie Rods
Outer Tie Rods
Bushing for front and back
Front Shocks
Idler Arm
Still need
Rear Shocks
Rag Joint
I am looking for 1.5" Ball Joint Spacers to level the front end with the back end if anybody has some they want to sell. I dont want to crank my Torsion Bars. My old butt likes a smooth ride.
04-04-2014, 09:49 AM
#1917
Registered User
its been cold 2 days ago we had snow again or its been raining hard an windy all Blewh weather to be under the truck which is where i need to be derusting the body an frame back there so can put tire hoist in bit worried the exhaust guy put the pipe too close to the spare area
04-08-2014, 05:30 PM
#1918
Hey Terry, this is a little off topic, but I figure you're the dash guru so I'd ask you your opinion, I was just wondering if you've ever used or came across one of these dash caps:
http://www.ebay.com/itm/84-86-Toyota...-/190489283902
I saw someone (can't remember the thread) on the pre-84' forum install one, it looked nice when he was done, it looked like a good fit, just thought I'd ask your opinion, see what you thought....I have enough projects going, don't really want to take my dash pad off right now, just wondering if this might be a good alternative, plus I'm dd the 4 runner at the moment, lol. Thanks Terry!
Last edited by rustED; 04-08-2014 at 05:32 PM.
04-08-2014, 11:33 PM
#1920
Super Moderator
Staff
Thread Starter
iTrader: (1)
Join Date: Aug 2008
Location: Anderson Missouri
Posts: 11,788
Likes: 0
Received 25 Likes
on
22 Posts
Hello Mark...Enjoyed talking to you.
Hello cyberhorn.. We have had rain and cooler days here and not getting done as much as I would like myself. That hoist came off of a truck, and I am fairly sure the bolt holes are the same. I know the exhaust is an issue for you now, but is the hoist fitting correctly otherwise?
Hello Ed... I have actually seen those dash pads before and they looked great on the two trucks I seen. The thing that drew my attention that it was a cover is how it sits around the vent. Normally the vent sits somewhat flush with the pad, maybe a little recessed, and with the cover, the vent sat a little deeper. If it wasn't for the vent getting my attention, I would of never known. Now that I mentioned it to you, it might catch your attention but if you were not aware of it, I don't think you would ever know. It is something I will do if I ever need another one and cant find a good dash or make my own. I think you would like it. I have never installed one though so don't know about that part.
Hello kornhuskerwizard..With the Crankshaft key and the Camshaft Sprocket dot at the 12 o'clock position, I back it to 5 degrees BTDC. Then I put the distributor rotor at the 12 o'clock position and when you stab it in the head, the rotor will turn to the 11 o'clock position, rotating to the number 1 cylinder plug wire.
With the cap off, if the rotor is pointing toward the green connector, that will give you an idea if you are in the ball park position.
If you set it to the 0 degree mark and then when you try and set your timing, you will be a tooth off and will hit your physical stop and still have to pull the dizzy out and rotate it a tooth to get it to the correct position in my experience.
Since I still need to check for fuel leaks, I didn't have any fuel in the tank, but normally I like to see how fast one will start on a normal rebuild. I cycle the key a time or two or jumper the Fuel Pump Bypass and get fuel circulating. Then add a shot of starting fluid and reconnect the air pipe and hit the starter. Usually they fire up quick if all is done right. Occasionally one will stumble until it gets air out of the lines and gets fuel flowing in all cylinders.
Last edited by Terrys87; 04-08-2014 at 11:35 PM.


