
SAS'dToy's 1992 Pickup Build-Up Thread
 04-13-2006, 02:49 PM
#1
Registered User
Thread Starter

Join Date: Dec 2004
Location: Granite Falls, NC
Posts: 329
Likes: 0
Received 0 Likes
on
0 Posts
SAS'dToy's 1992 Pickup Build-Up Thread
This is my first (real) post on here so I figured I would give you guys a heads-up on what is to come, immeadiatly. I am a member of numerous other boards(pirate4x4.com, ttora.com, NCTTORA.com, NC4x4.com, IH8MUD.com). I have been building rigs for the past 9 years(I'm 24) and attempting to destroy everything I build for the same ammount of time. OK,OK, enough about me, time for the project talk.
1992 Model X-cab
Metallic Jade Green
3 check stripe
Drivetrain
Engine: 3.4L Tacoma V-6 (22-RE Factory)
Transmission: R151F '87 Turbo Truck (W-56 D Factory)
T-case: 23-spline Turbo T-case (21-spline factory)
T-case #2: 23-total spline 4.7:1 twin sticked
Heavy Duty Driveshafts: DOM .120
Front Axle: '95 FZJ-80 housing w/ high pinion e-locker (IFS)
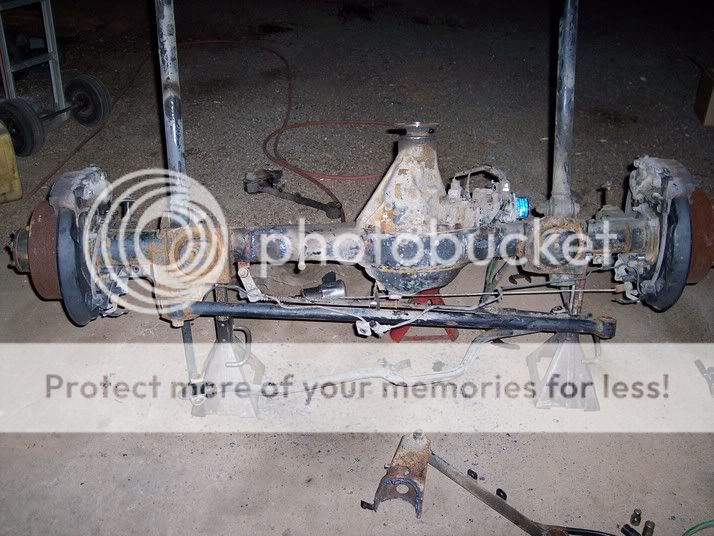
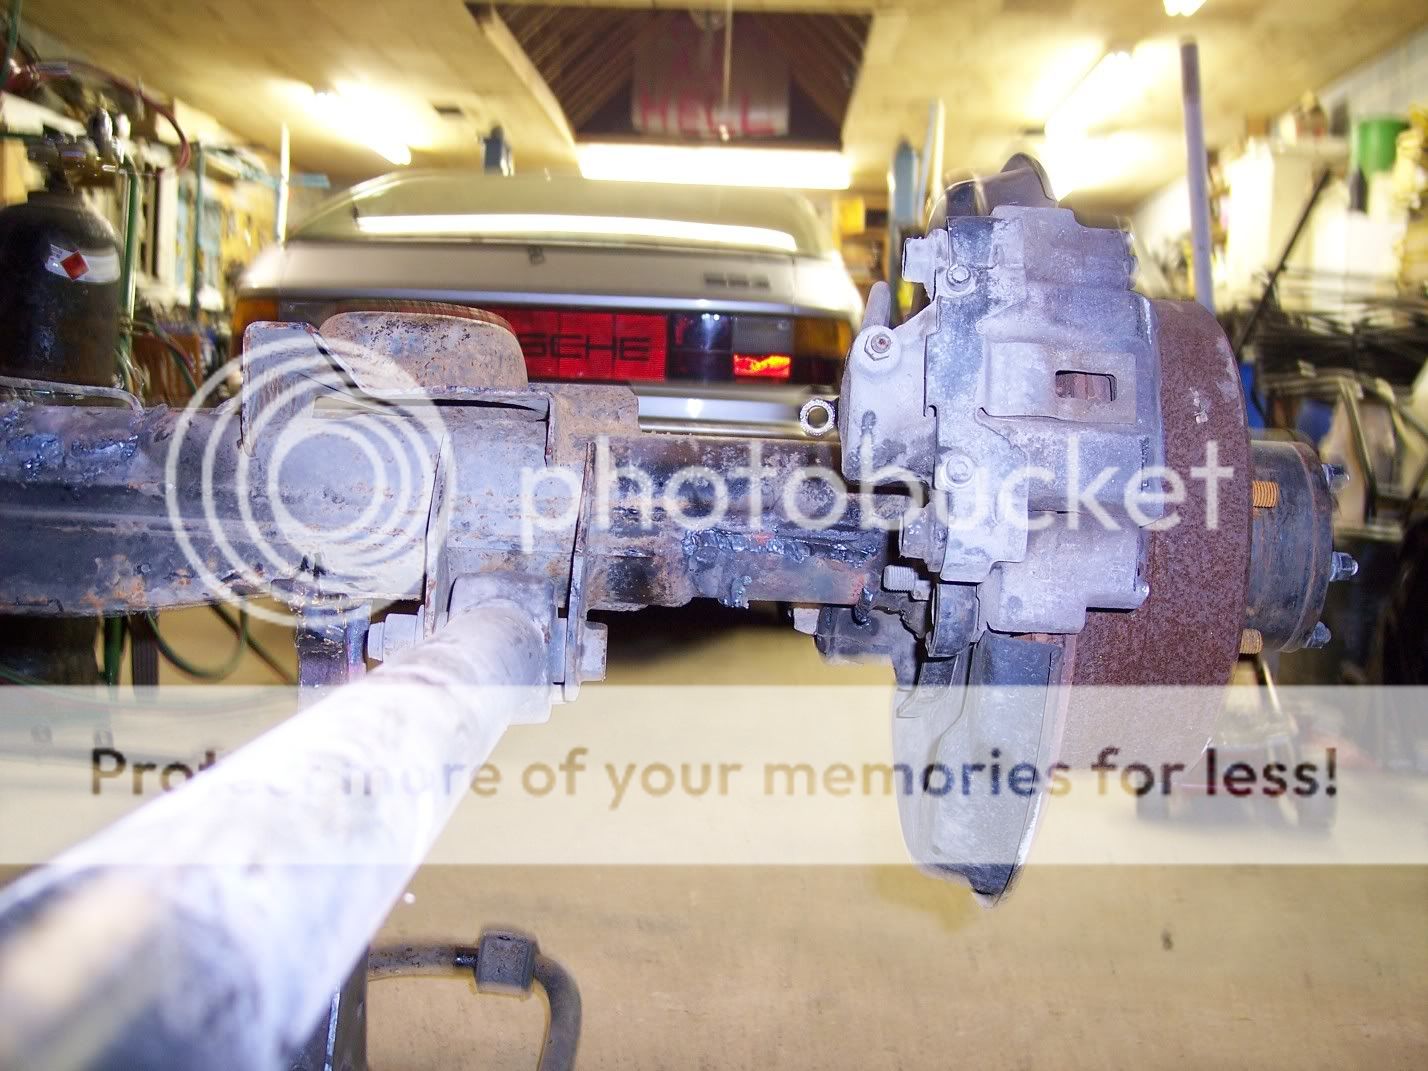
Rear Axle: '95 FZJ-80 housing, e-locker Fullfloat disc brakes
Front Axle Shafts: Longfield FJ-80 Birfields, Polyperformance shafts
Rear Axle Shafts: Polyperformance(as soon as they release them)
Front Suspension: 3-link, Currie joints, HD link tubing, coil-overs
Rear Suspension: 3-link, Currie Joints, HD tubing, airshox, winch'd
Steering: AGR Hydrauilc assist
Tires: 42x15x16.5 TSL's
Wheels: H1 Double Beadlocks, recentered and 6-lug'd
Body
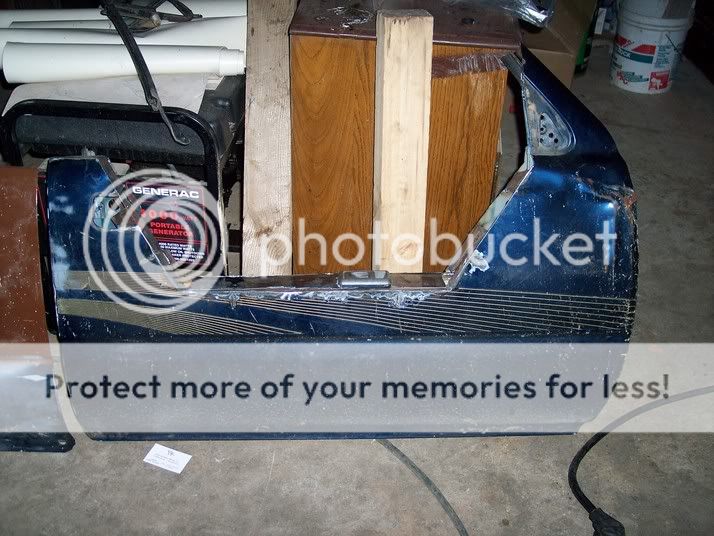
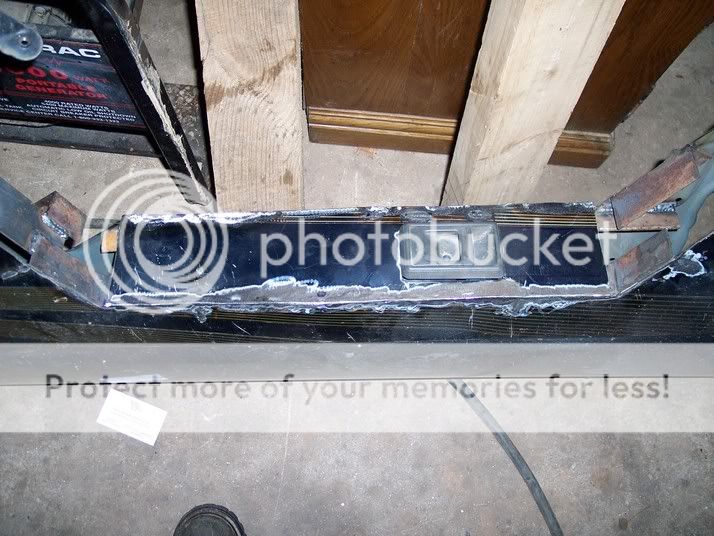
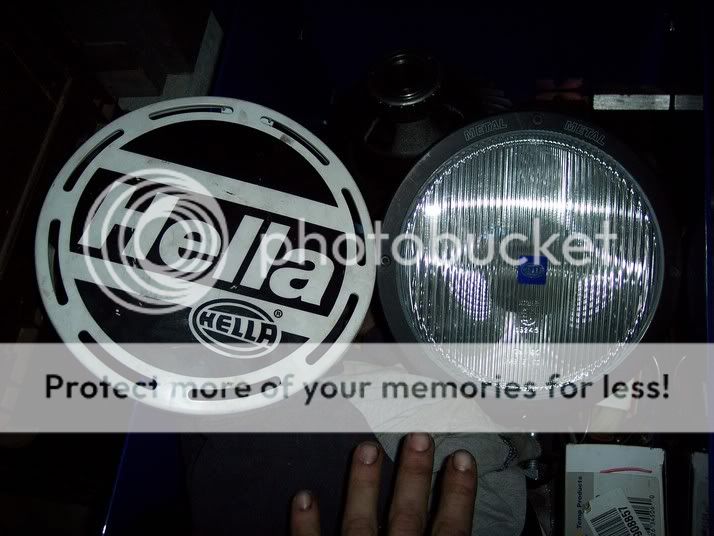
ARB Snorkel, Half-doors, Rear frame removed, Tube bed/frame, Tube bumper, Sliders, Cab guards, Winch(front and rear), Hood scoop, 4runner radiator support with composite headlights, Hella's
Interior
Mastercraft seats, 4-runner locking glove box, rhino-lined flooring, moulded in 4-runner double lid console, SR-5 steering wheel w/ cruise controls, full cage, plenty of switches, 4-point seat belts
Other doodads
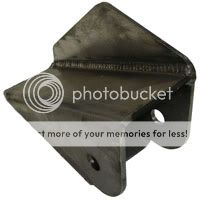
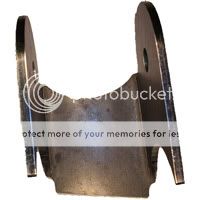
Dual optimas, AGR steering pump, HD alternator, Flat belly, MC-08 R10 clocked dual case adapter, Off-road solutions kit for 3.4L swap, polyperformance link brackets, custom clocked crossmember, HD tierod and drag link
Axles when I went to pick them up
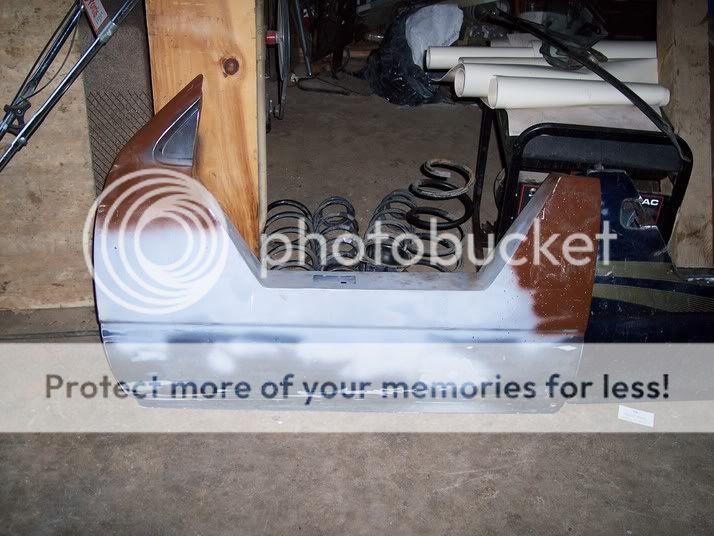
Half-doors(unpainted)
BIG HELLA'S
Polyperformance brackets

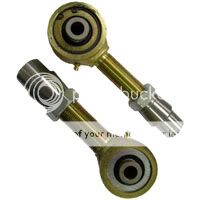
Currie Johnny Joints


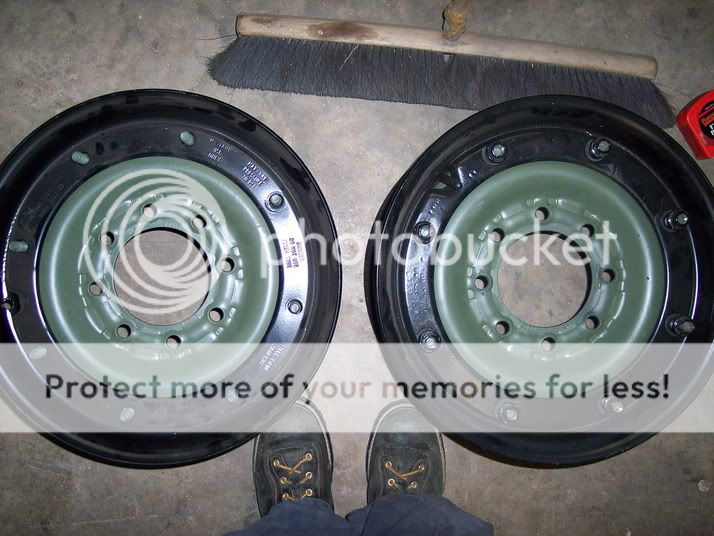
H1's Before and After(waiting on centers now)

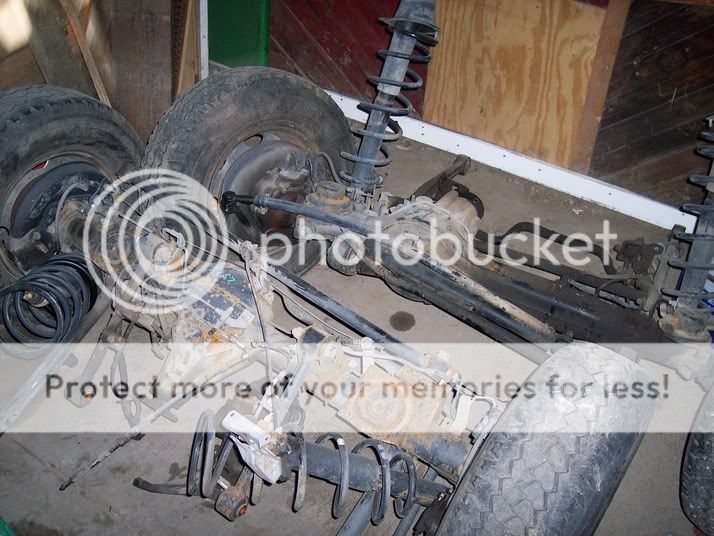
Rear Axle Before and After

[img]https://i36.photobucket.com/albums/e15/ROCKWELLEDTOYOTA/Picture003-1.jp
1992 Model X-cab
Metallic Jade Green
3 check stripe
Drivetrain
Engine: 3.4L Tacoma V-6 (22-RE Factory)
Transmission: R151F '87 Turbo Truck (W-56 D Factory)
T-case: 23-spline Turbo T-case (21-spline factory)
T-case #2: 23-total spline 4.7:1 twin sticked
Heavy Duty Driveshafts: DOM .120
Front Axle: '95 FZJ-80 housing w/ high pinion e-locker (IFS)
Rear Axle: '95 FZJ-80 housing, e-locker Fullfloat disc brakes
Front Axle Shafts: Longfield FJ-80 Birfields, Polyperformance shafts
Rear Axle Shafts: Polyperformance(as soon as they release them)
Front Suspension: 3-link, Currie joints, HD link tubing, coil-overs
Rear Suspension: 3-link, Currie Joints, HD tubing, airshox, winch'd
Steering: AGR Hydrauilc assist
Tires: 42x15x16.5 TSL's
Wheels: H1 Double Beadlocks, recentered and 6-lug'd
Body
ARB Snorkel, Half-doors, Rear frame removed, Tube bed/frame, Tube bumper, Sliders, Cab guards, Winch(front and rear), Hood scoop, 4runner radiator support with composite headlights, Hella's
Interior
Mastercraft seats, 4-runner locking glove box, rhino-lined flooring, moulded in 4-runner double lid console, SR-5 steering wheel w/ cruise controls, full cage, plenty of switches, 4-point seat belts
Other doodads
Dual optimas, AGR steering pump, HD alternator, Flat belly, MC-08 R10 clocked dual case adapter, Off-road solutions kit for 3.4L swap, polyperformance link brackets, custom clocked crossmember, HD tierod and drag link
Axles when I went to pick them up
Half-doors(unpainted)
BIG HELLA'S
Polyperformance brackets
Currie Johnny Joints
H1's Before and After(waiting on centers now)
Rear Axle Before and After
[img]https://i36.photobucket.com/albums/e15/ROCKWELLEDTOYOTA/Picture003-1.jp
Last edited by SAS'dToy; 09-05-2006 at 03:52 PM.
 04-13-2006, 02:49 PM
#2
Registered User
Thread Starter
Join Date: Dec 2004
Location: Granite Falls, NC
Posts: 329
Likes: 0
Received 0 Likes
on
0 Posts
Progress: 4/12/06
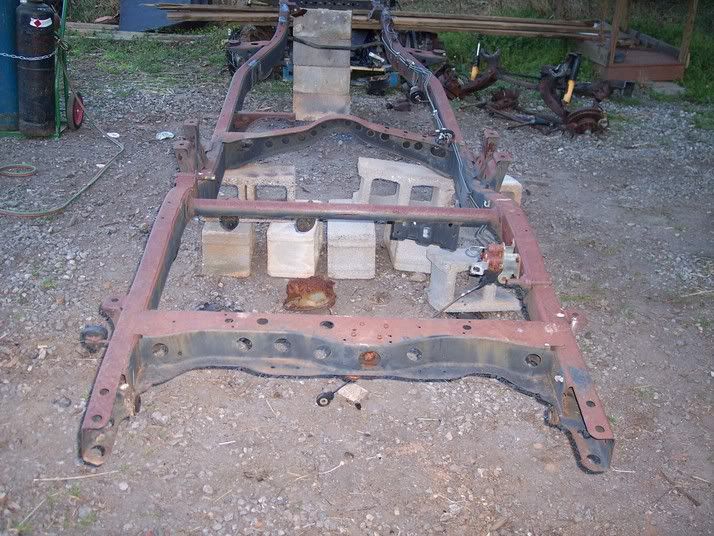
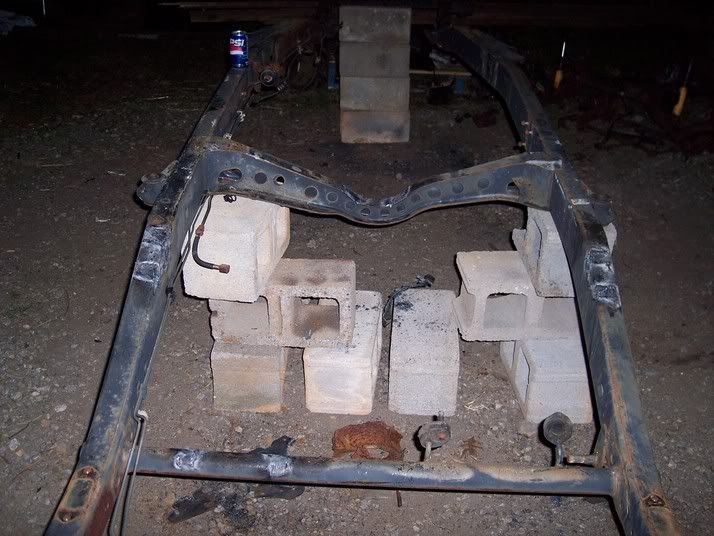
Got the frame off the trailer and set up on blocks so I could cut off all the non-sense parts (i.e. EVERYTHING BUT THE MOTOR MOUNTS AND CAB MOUNTS)
New Frame (2wd 94 model x-cab)
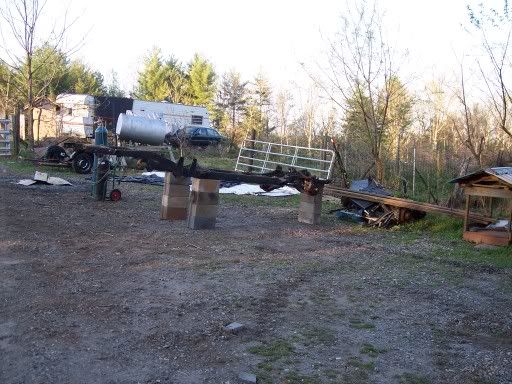
clean and pretty straight(I have to fix the pass side frame horn)
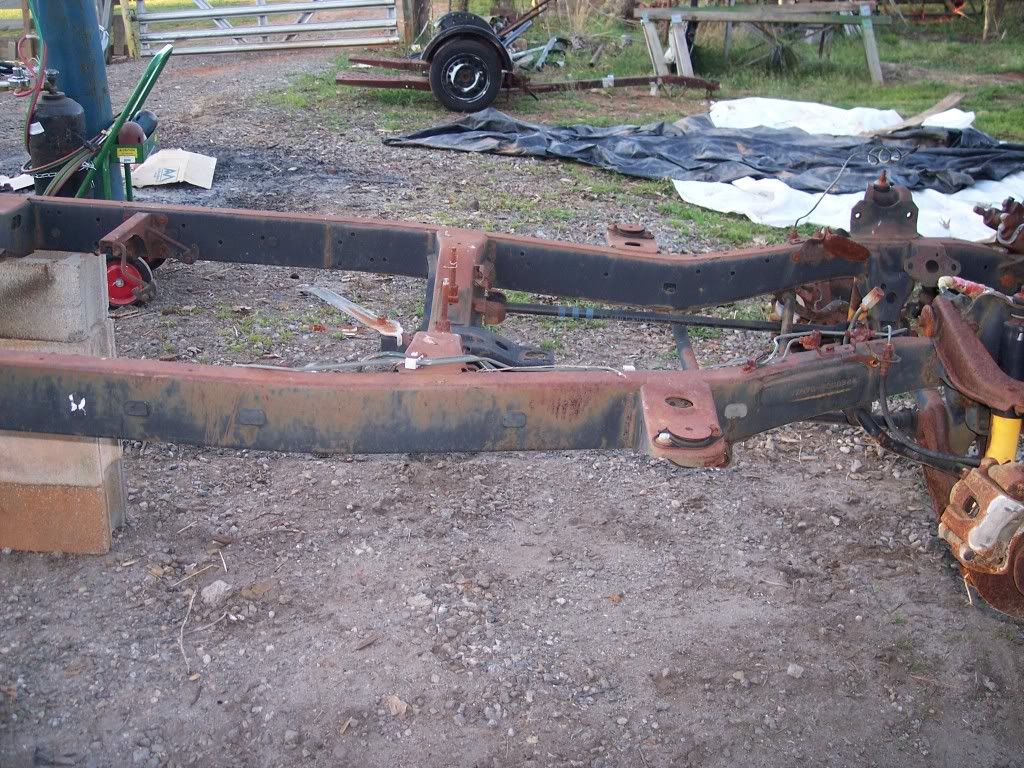
After 30 min(I learned that cinder blocks don't make good jack stands)
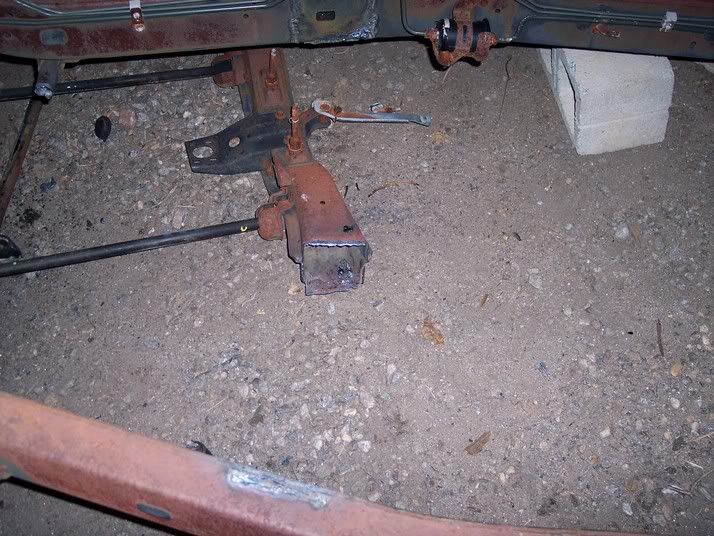

About another hour and I should have all the crap off of it. I hope I can get around to it tomorrow.
Got the frame off the trailer and set up on blocks so I could cut off all the non-sense parts (i.e. EVERYTHING BUT THE MOTOR MOUNTS AND CAB MOUNTS)
New Frame (2wd 94 model x-cab)
clean and pretty straight(I have to fix the pass side frame horn)
After 30 min(I learned that cinder blocks don't make good jack stands)
About another hour and I should have all the crap off of it. I hope I can get around to it tomorrow.
04-13-2006, 04:55 PM
#7
Registered User
Thread Starter
Join Date: Dec 2004
Location: Granite Falls, NC
Posts: 329
Likes: 0
Received 0 Likes
on
0 Posts
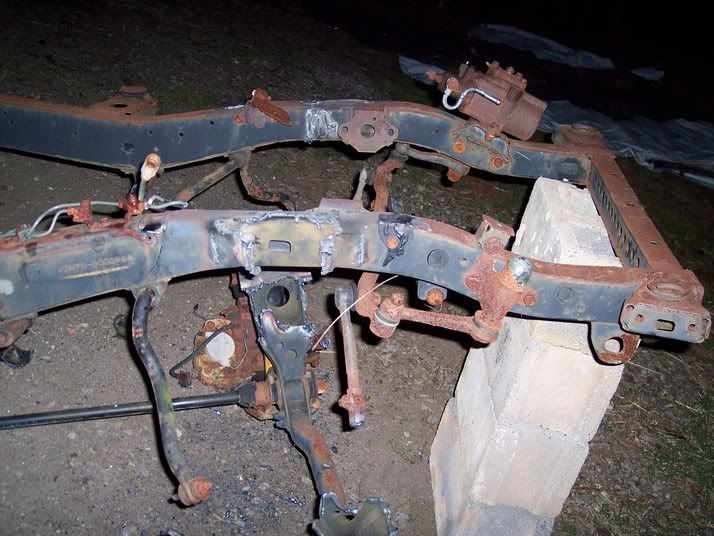
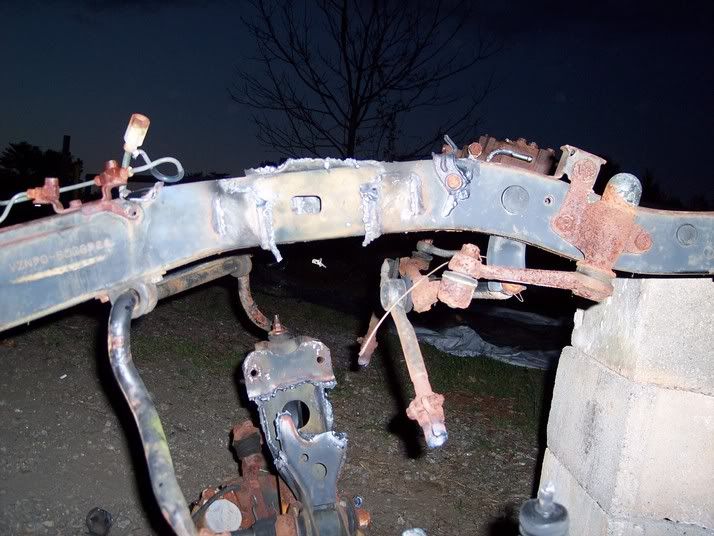
Progress Report: 4/13/06
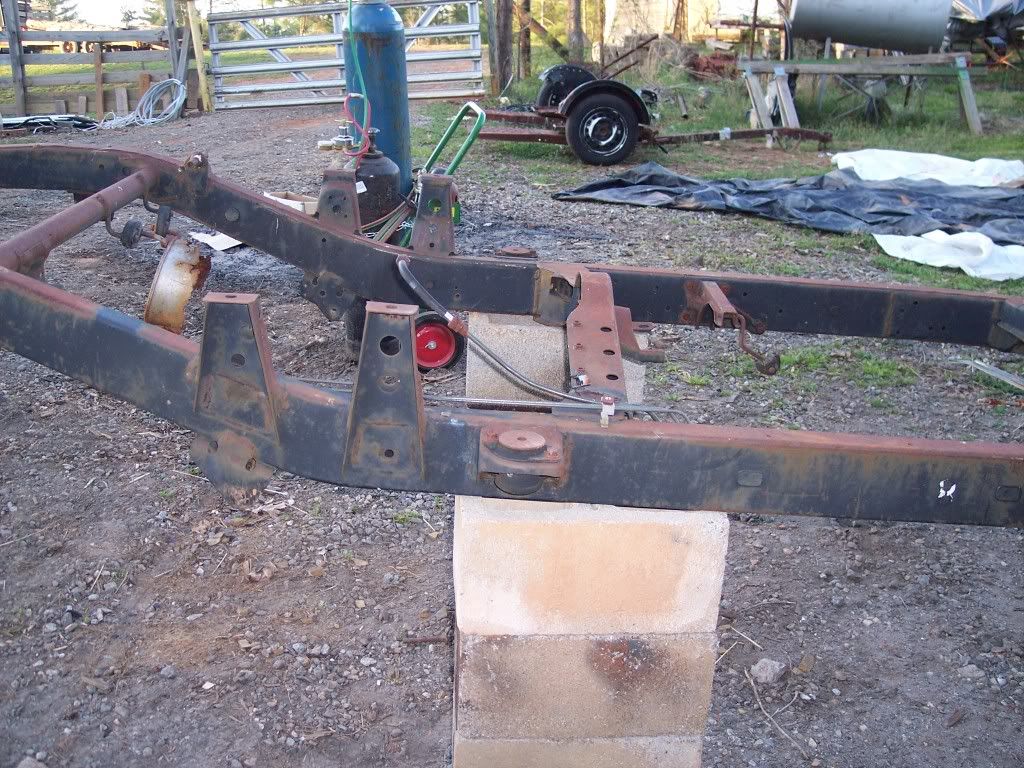
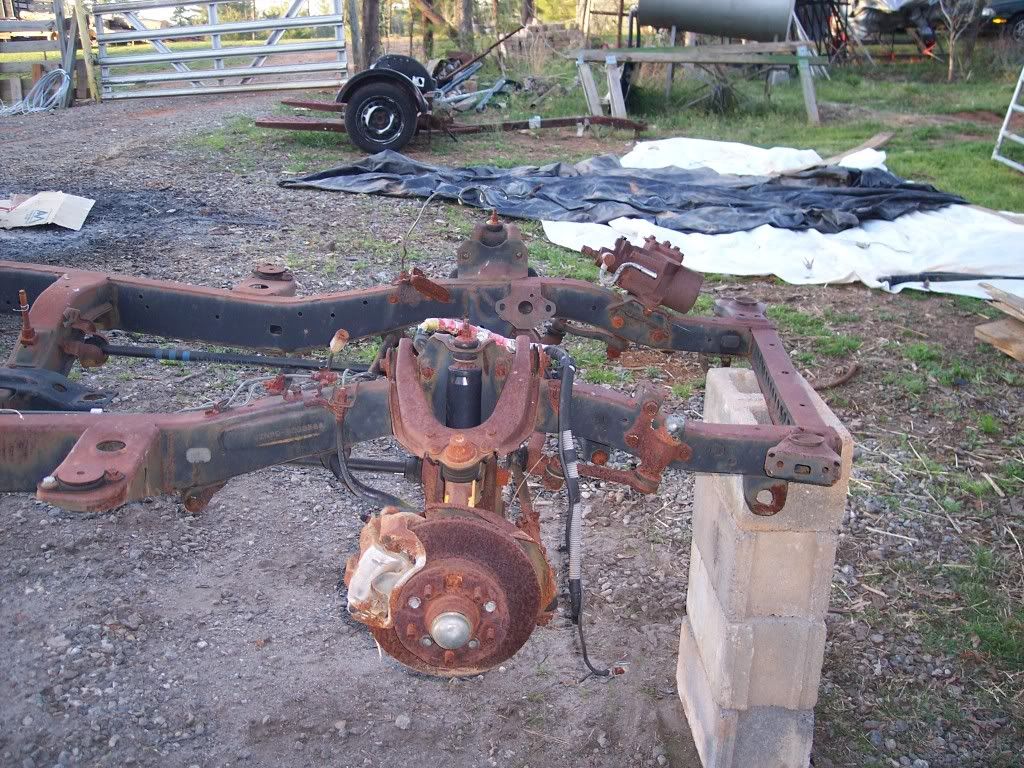
I am getting ready to dump out some BIG $$$ for my suspension ends, I am hoping to start fabbing up my links and mounts next week
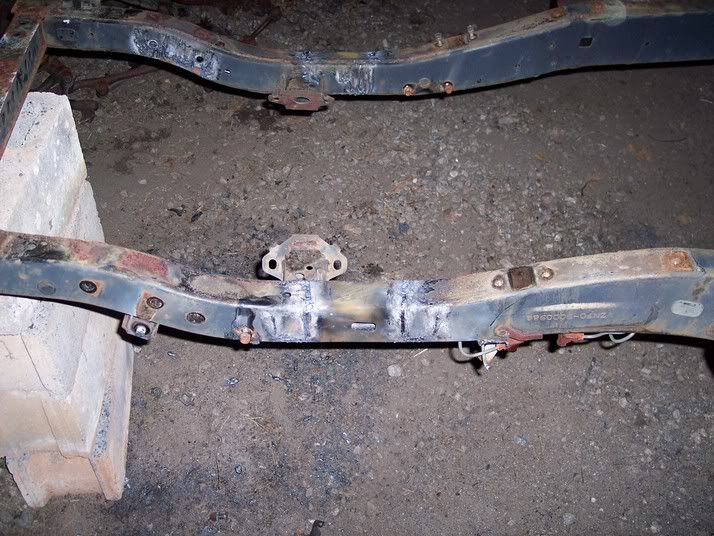
I finished cutting off all the non-sense items, here is the pile of scrap metal I have now...
I know "The pics look the same" but they aren't. Look closely, now all I got to do is break out the grinder I hate grinding
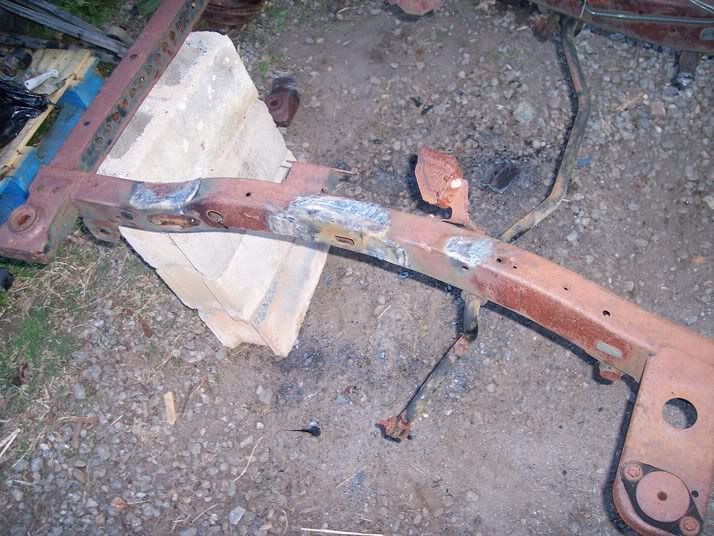


Next up: time for the grinder and start measuring!
Thanks for looking and subscribing...I hope I don't disappoint
I am getting ready to dump out some BIG $$$ for my suspension ends, I am hoping to start fabbing up my links and mounts next week
I finished cutting off all the non-sense items, here is the pile of scrap metal I have now...
I know "The pics look the same" but they aren't. Look closely, now all I got to do is break out the grinder
I hate grinding Next up: time for the grinder and start measuring!
Thanks for looking and subscribing...I hope I don't disappoint
Last edited by SAS'dToy; 04-13-2006 at 05:23 PM.
Trending Topics
04-13-2006, 04:57 PM
#8
Registered User
I know what you mean about those damn cinderblocks man. Had a car collapse one time when my dad was under it. He didn't get hurt, but it scared the crap out of him (not sure if that is a literal statement or not). Good luck
Had to subscribe to this one
Had to subscribe to this one
 04-16-2006, 06:56 PM
#17
Registered User
Thread Starter
Join Date: Dec 2004
Location: Granite Falls, NC
Posts: 329
Likes: 0
Received 0 Likes
on
0 Posts
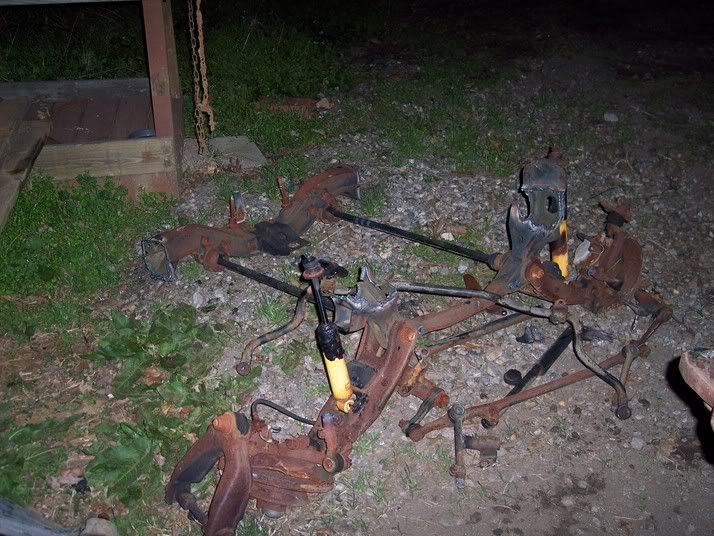
Progress: 4/16/06
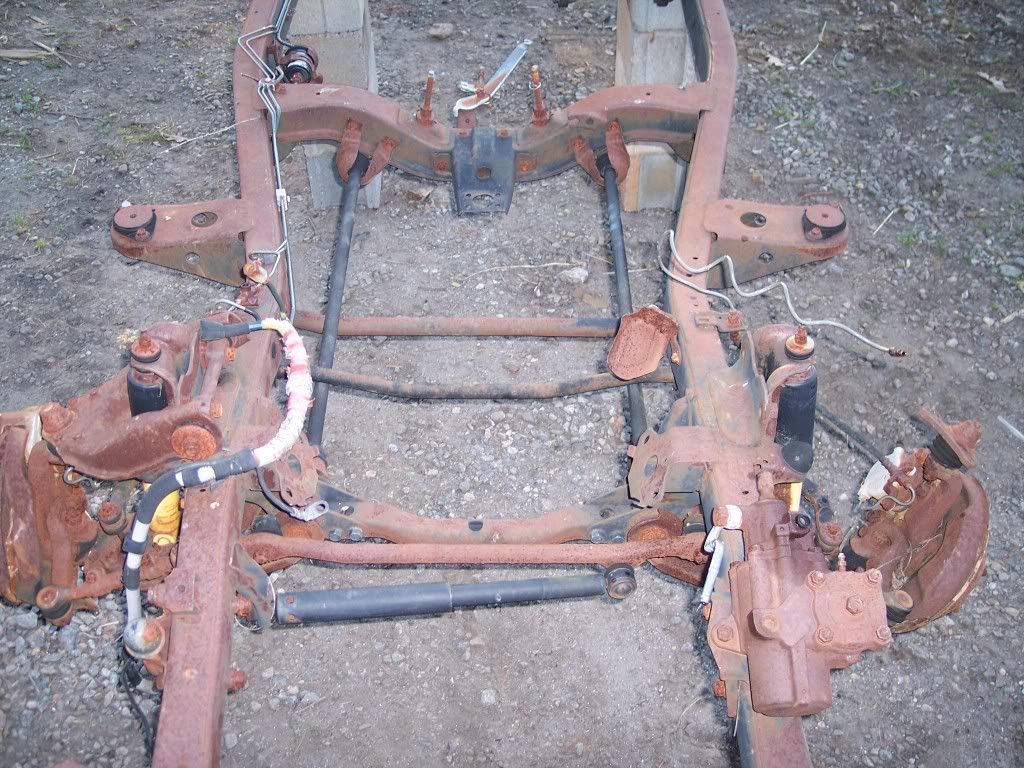
Alright, here we are again. I am back after a weekend out of town. I purchased parts to build the upper half of my rear suspension last Thursday(I am hoping for them to arrive tomorrow or Tuesday). I also did some measuring, I found out that the coil spring pads are in a perfect position for my frame!
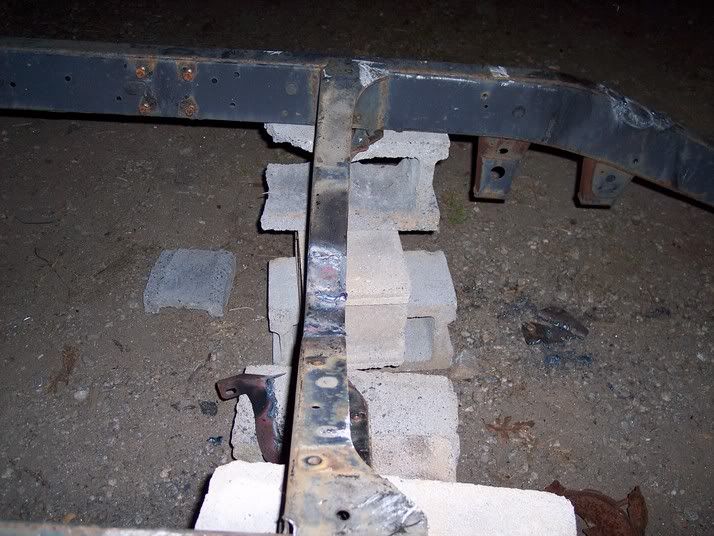
Tonight I moved away from the frame and onto the rear axle(I'm going to try to do all the grinding at one time).
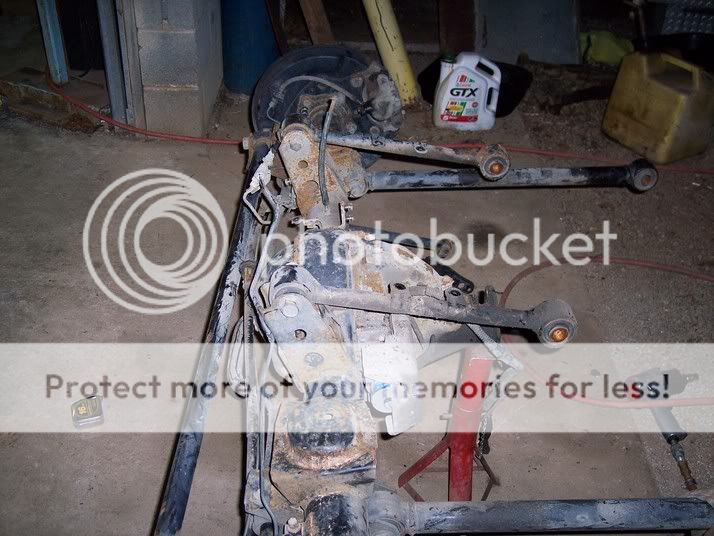
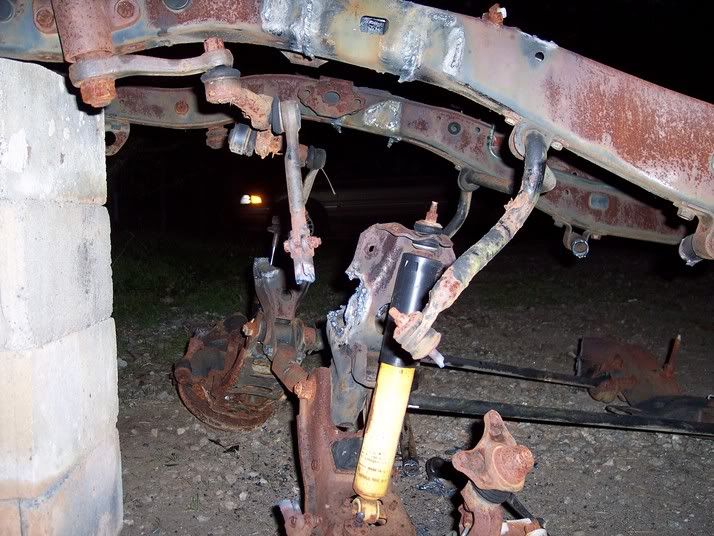
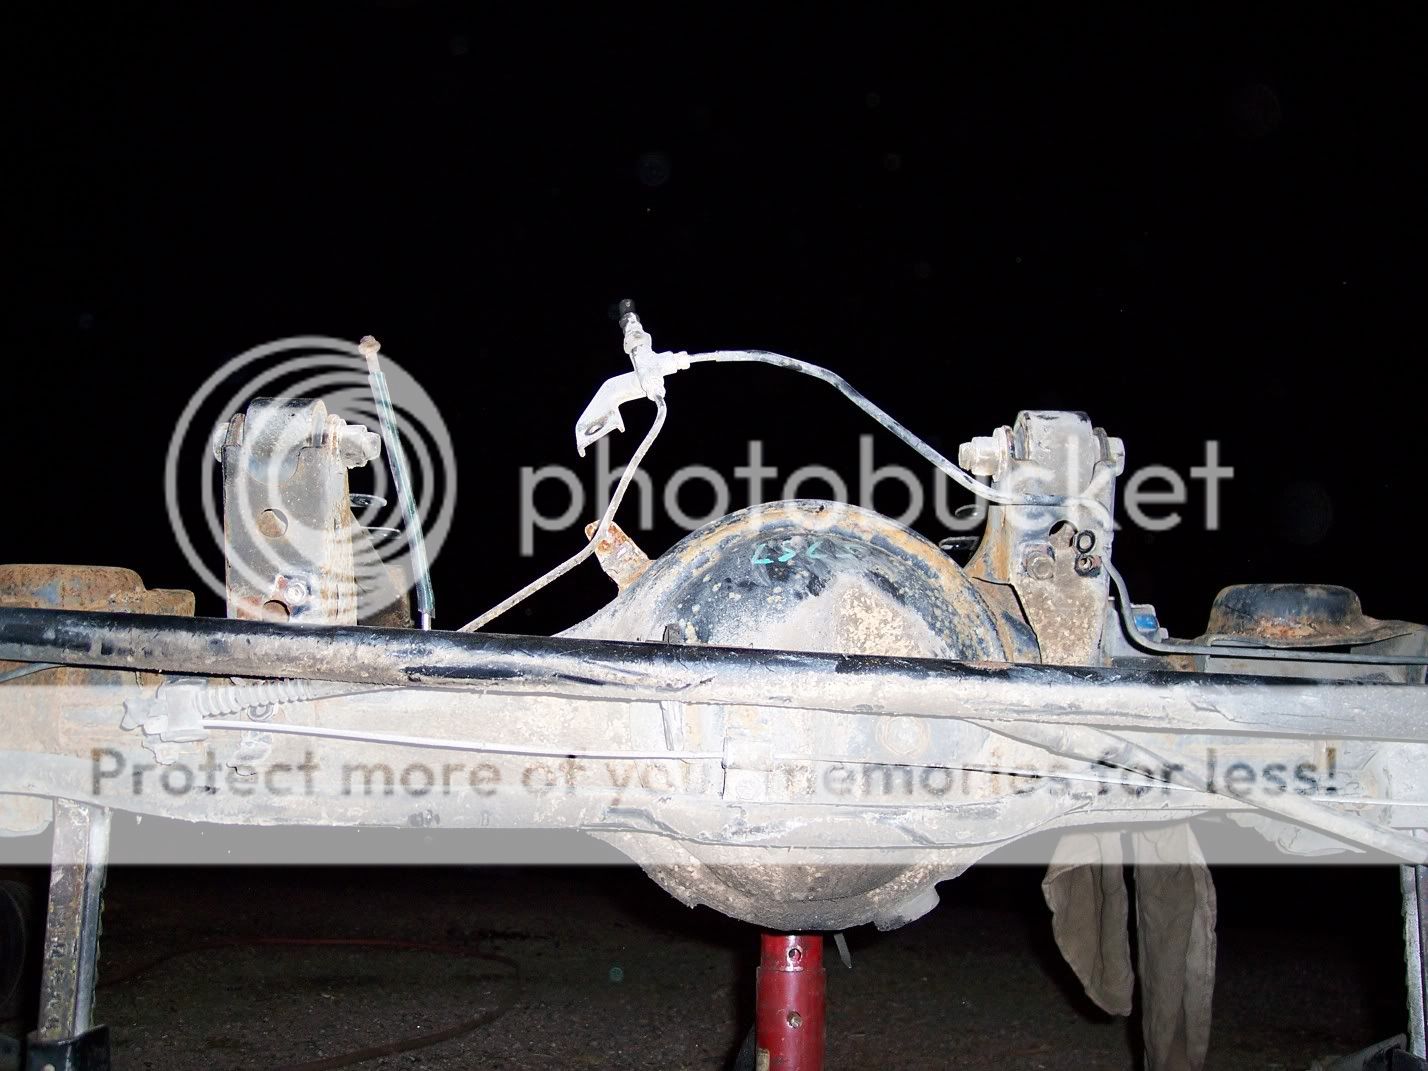
I broke out the torch and started with the driverside upper link bracket. I won't be needing either upper link bracket on my rear suspension. I will have 1 tower in the center of the axle.
Before
After
I am going to have to pull the 3rd to finish cutting and cleaning here
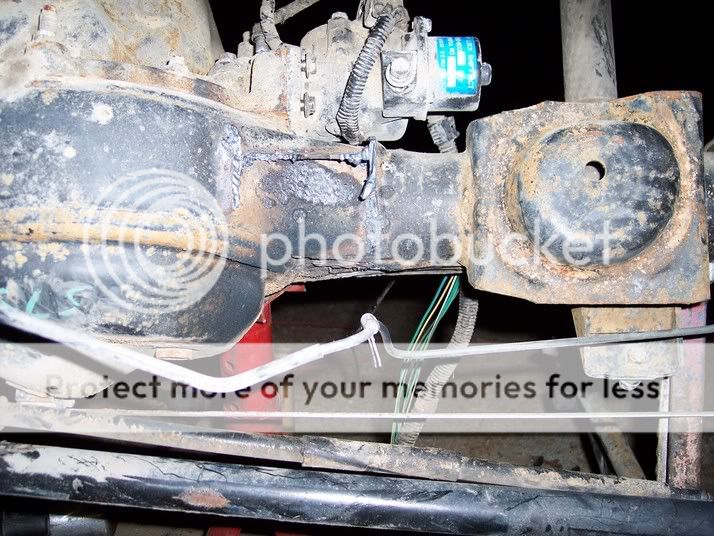
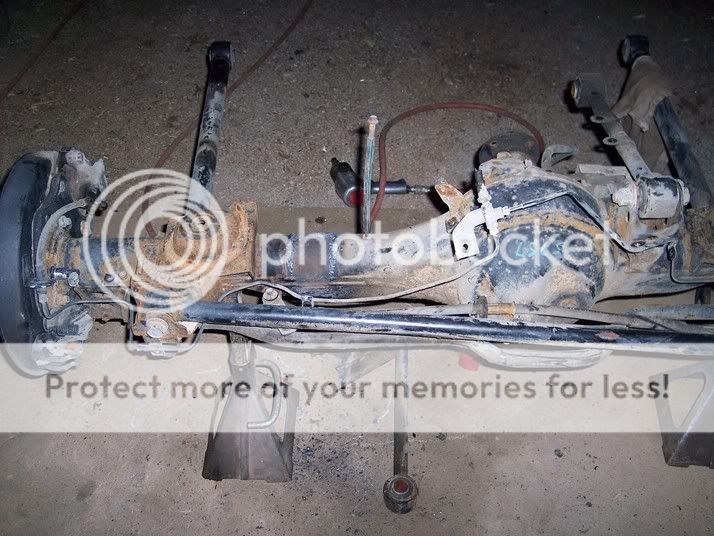
After I finished cutting the upper link brackets off, I had my way with the shock mounts. The factory location is WAY to low for me...I would have destroyed shock after shock if I would have left them in this position.
Before


Final product(at least until I pull the 3rd)


Alright, here we are again. I am back after a weekend out of town. I purchased parts to build the upper half of my rear suspension last Thursday(I am hoping for them to arrive tomorrow or Tuesday). I also did some measuring, I found out that the coil spring pads are in a perfect position for my frame!
Tonight I moved away from the frame and onto the rear axle(I'm going to try to do all the grinding at one time).
I broke out the torch and started with the driverside upper link bracket. I won't be needing either upper link bracket on my rear suspension. I will have 1 tower in the center of the axle.
Before
After
I am going to have to pull the 3rd to finish cutting and cleaning here
After I finished cutting the upper link brackets off, I had my way with the shock mounts. The factory location is WAY to low for me...I would have destroyed shock after shock if I would have left them in this position.
Before
Final product(at least until I pull the 3rd)


