RAD4Runner's 1986 4Runner dlx Build-up
#261
Repainting Inside Rain Gutter
Hi guys,
I hope Terry and the other body restoration experts could chime in on this.
I need to touch-up paint on my front top, including rain gutters
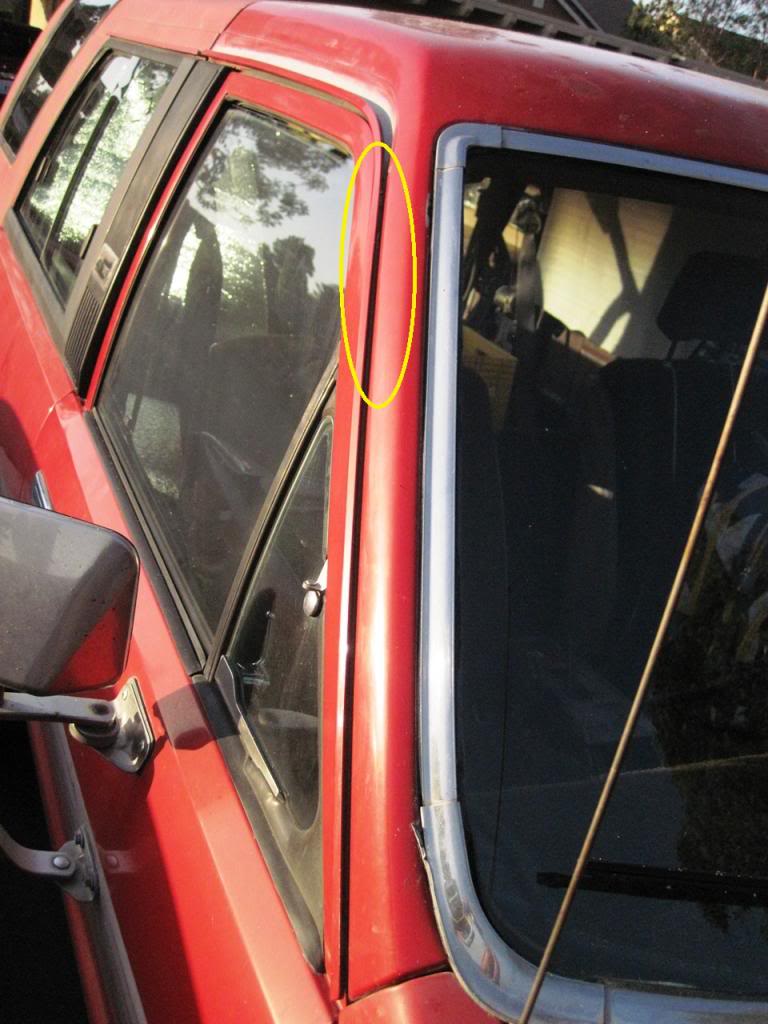
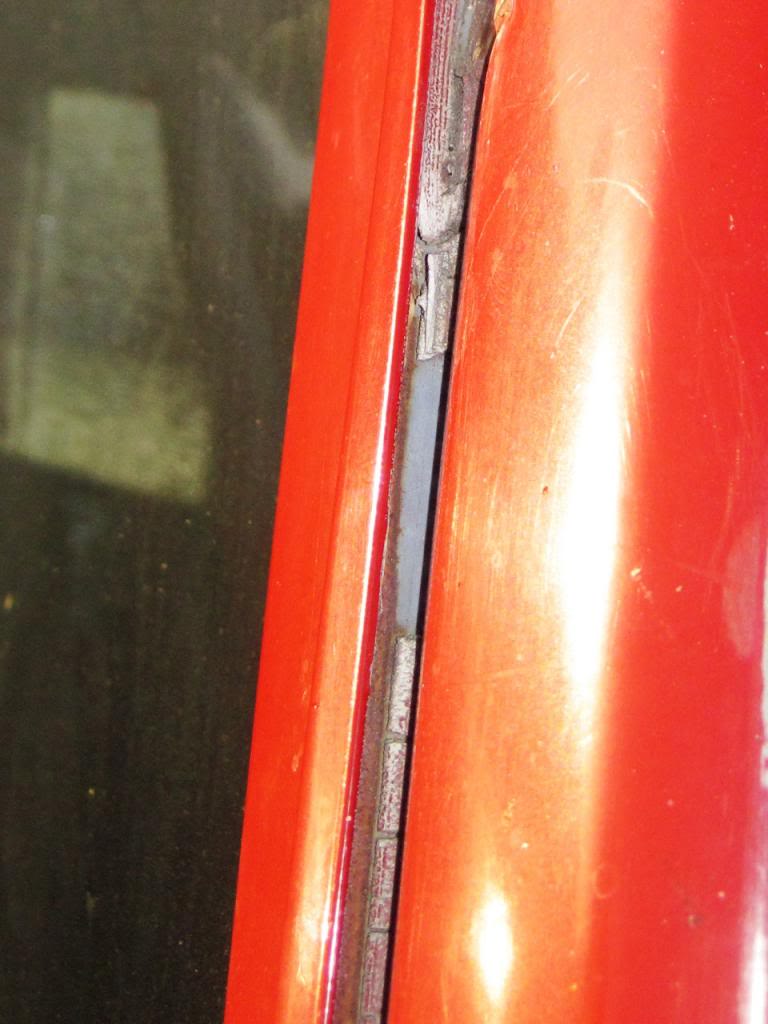
Inside the narrow, vertical portion of rain gutter looks like dried/cracking body filler or caulking.
I hope Terry and the other body restoration experts could chime in on this.
I need to touch-up paint on my front top, including rain gutters

Inside the narrow, vertical portion of rain gutter looks like dried/cracking body filler or caulking.

- Should I use a steel brush wheel to remove the loose parts, and down to metal?
- What would you guys suggest I use to re-finish before priming? Body filler or paintable silicone?
TIA
#263
BTW... On roadtrip to Big Sur this weekend, we followed part of James Dean's last drive on his way to Salinas for a rally; From I-5, west on CA-46 to CA-41/CA-46 junction where he had the fatal crash, west on CA-46 to Paso Robles where he was to meet friends for dinner.
At James Dean Memorial Intersection (CA-41/CA-46)
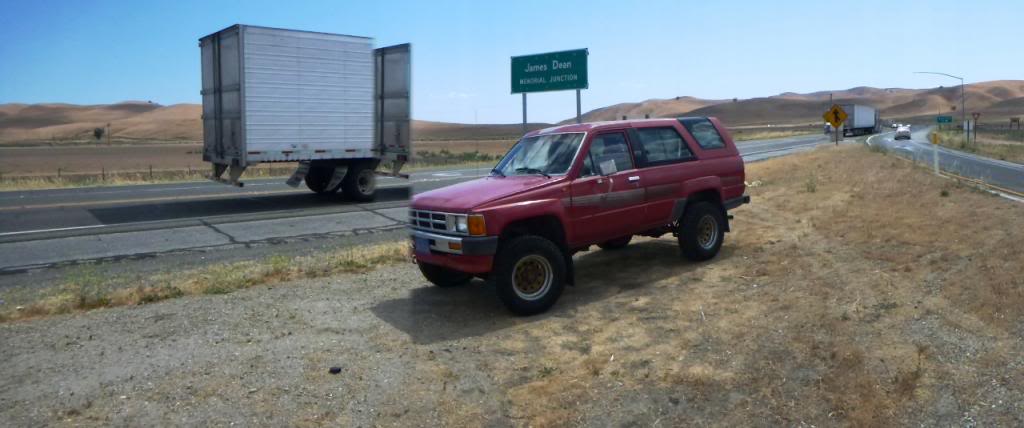
Wrong vehicle? Not really... had James taken a different route that day in 1955, he would have been driving his workhorse 4Runner down this same road in his 50's. In background is phantom of truck he would have ran into.

My babes on Nacimiento road, overlooking HWY 1 / PCH

Can your Cadillac do this? =D
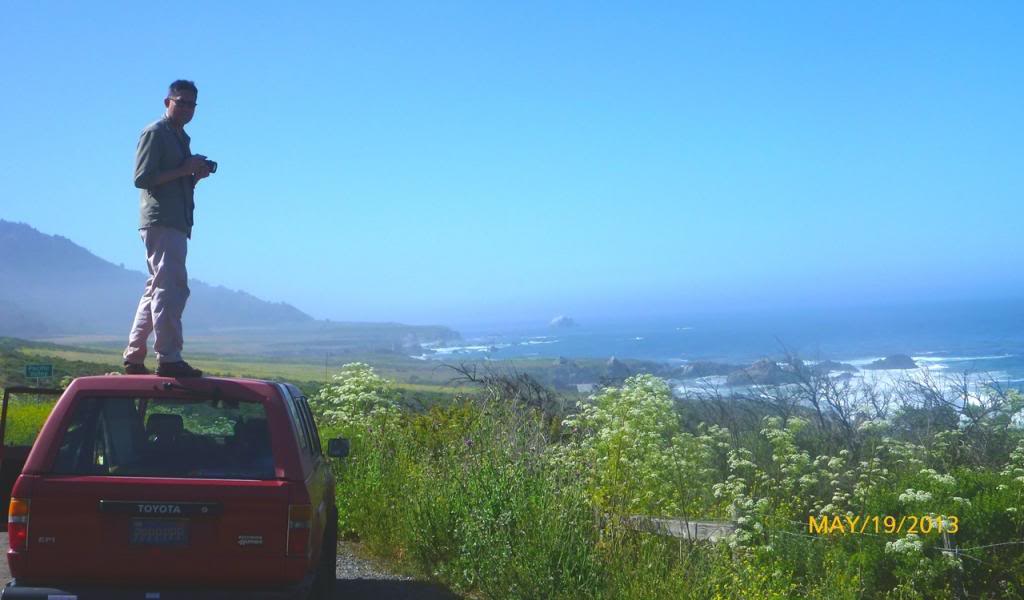
(Whatever it takes to get a good shot)
Last edited by RAD4Runner; 12-08-2015 at 02:34 AM.
#264
Registered User
iTrader: (2)
Joined: Dec 2009
Posts: 2,159
Likes: 7
From: Pleasanton, CA - SF Bay Area
We need more Porsches on this board, or at least references 
Nice shots! If I did that on my roof my truck would never forgive me!
Let me know when you're up here next so we can meet for beers!

Nice shots! If I did that on my roof my truck would never forgive me!
Let me know when you're up here next so we can meet for beers!
#265
#266
That is something I have actually never run into, that the caulking is bad. I would sugest getting it out and priming, sanding and then see what a body shop or parts store suggest to use on it. I am guessing it is just a caulking of some sort and shouldnt be to expensive or hard to find.
On sanding the surface rust, I would just use some 320 or 400 grit sandpaper before priming.
Those are some great pics. I had some friends that were at the very spot you are not to long ago. They were on vacation and just happen to be on that road. I didnt know the national parks?? or whoever marked where he had his accident.
Last edited by Terrys87; 05-26-2013 at 12:28 AM.
#267
Thanks, Terry
Thanks a lot, Terry. Will do that.
Actually there's a James Dean Memorial that seem to have been dedicated by some Japanese artist right outside Jack's Ranch Cafe on CA-41m, just west of the junction.
Actually there's a James Dean Memorial that seem to have been dedicated by some Japanese artist right outside Jack's Ranch Cafe on CA-41m, just west of the junction.
#268
Folks, I'm looking for roof rack solutions for my 1986.
So as not to start a new thread, I replied to mucus' post where he has 2nd gen roof rack on his first gen shell here.
So as not to start a new thread, I replied to mucus' post where he has 2nd gen roof rack on his first gen shell here.
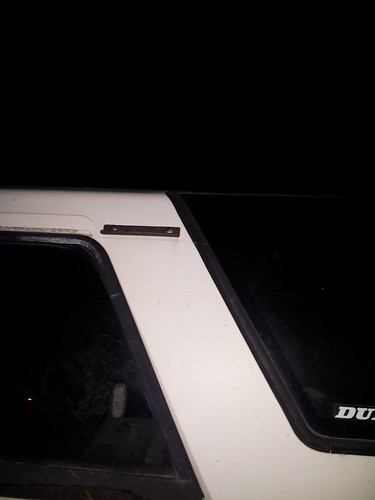
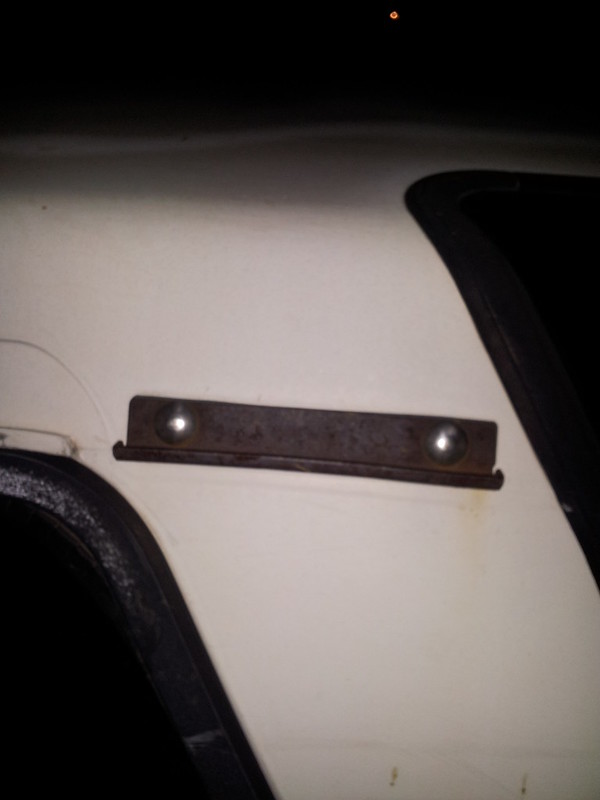
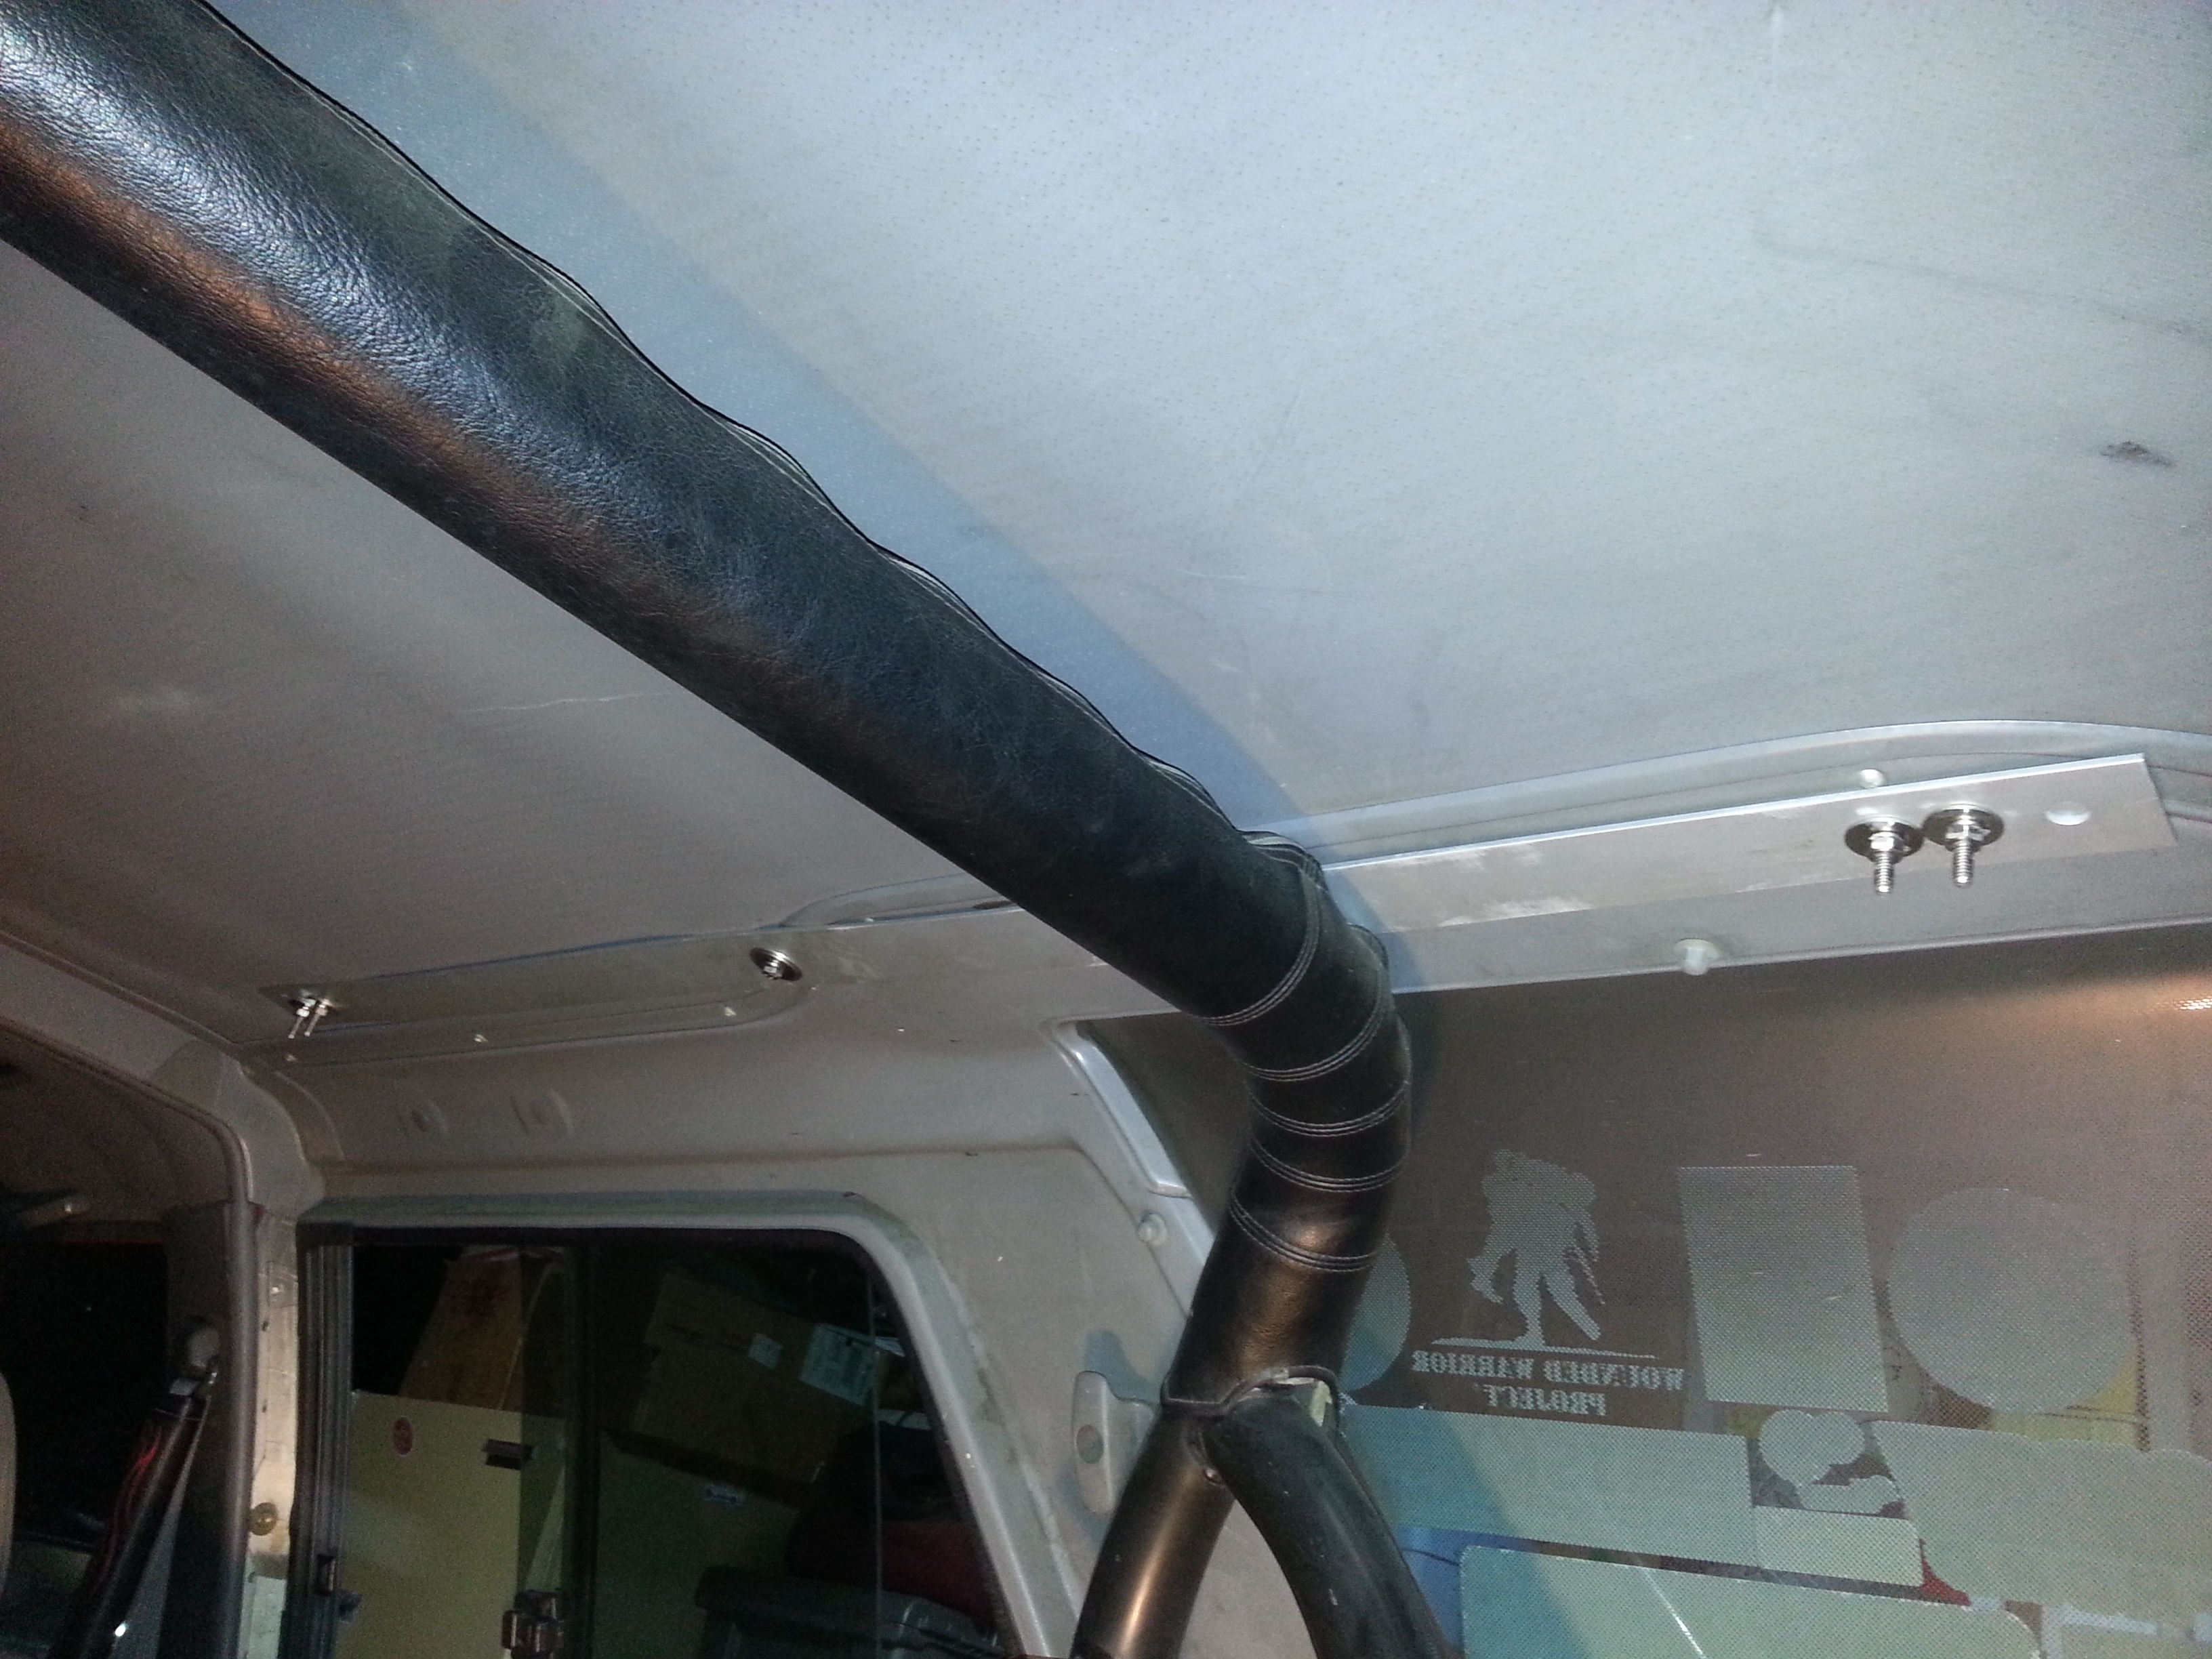
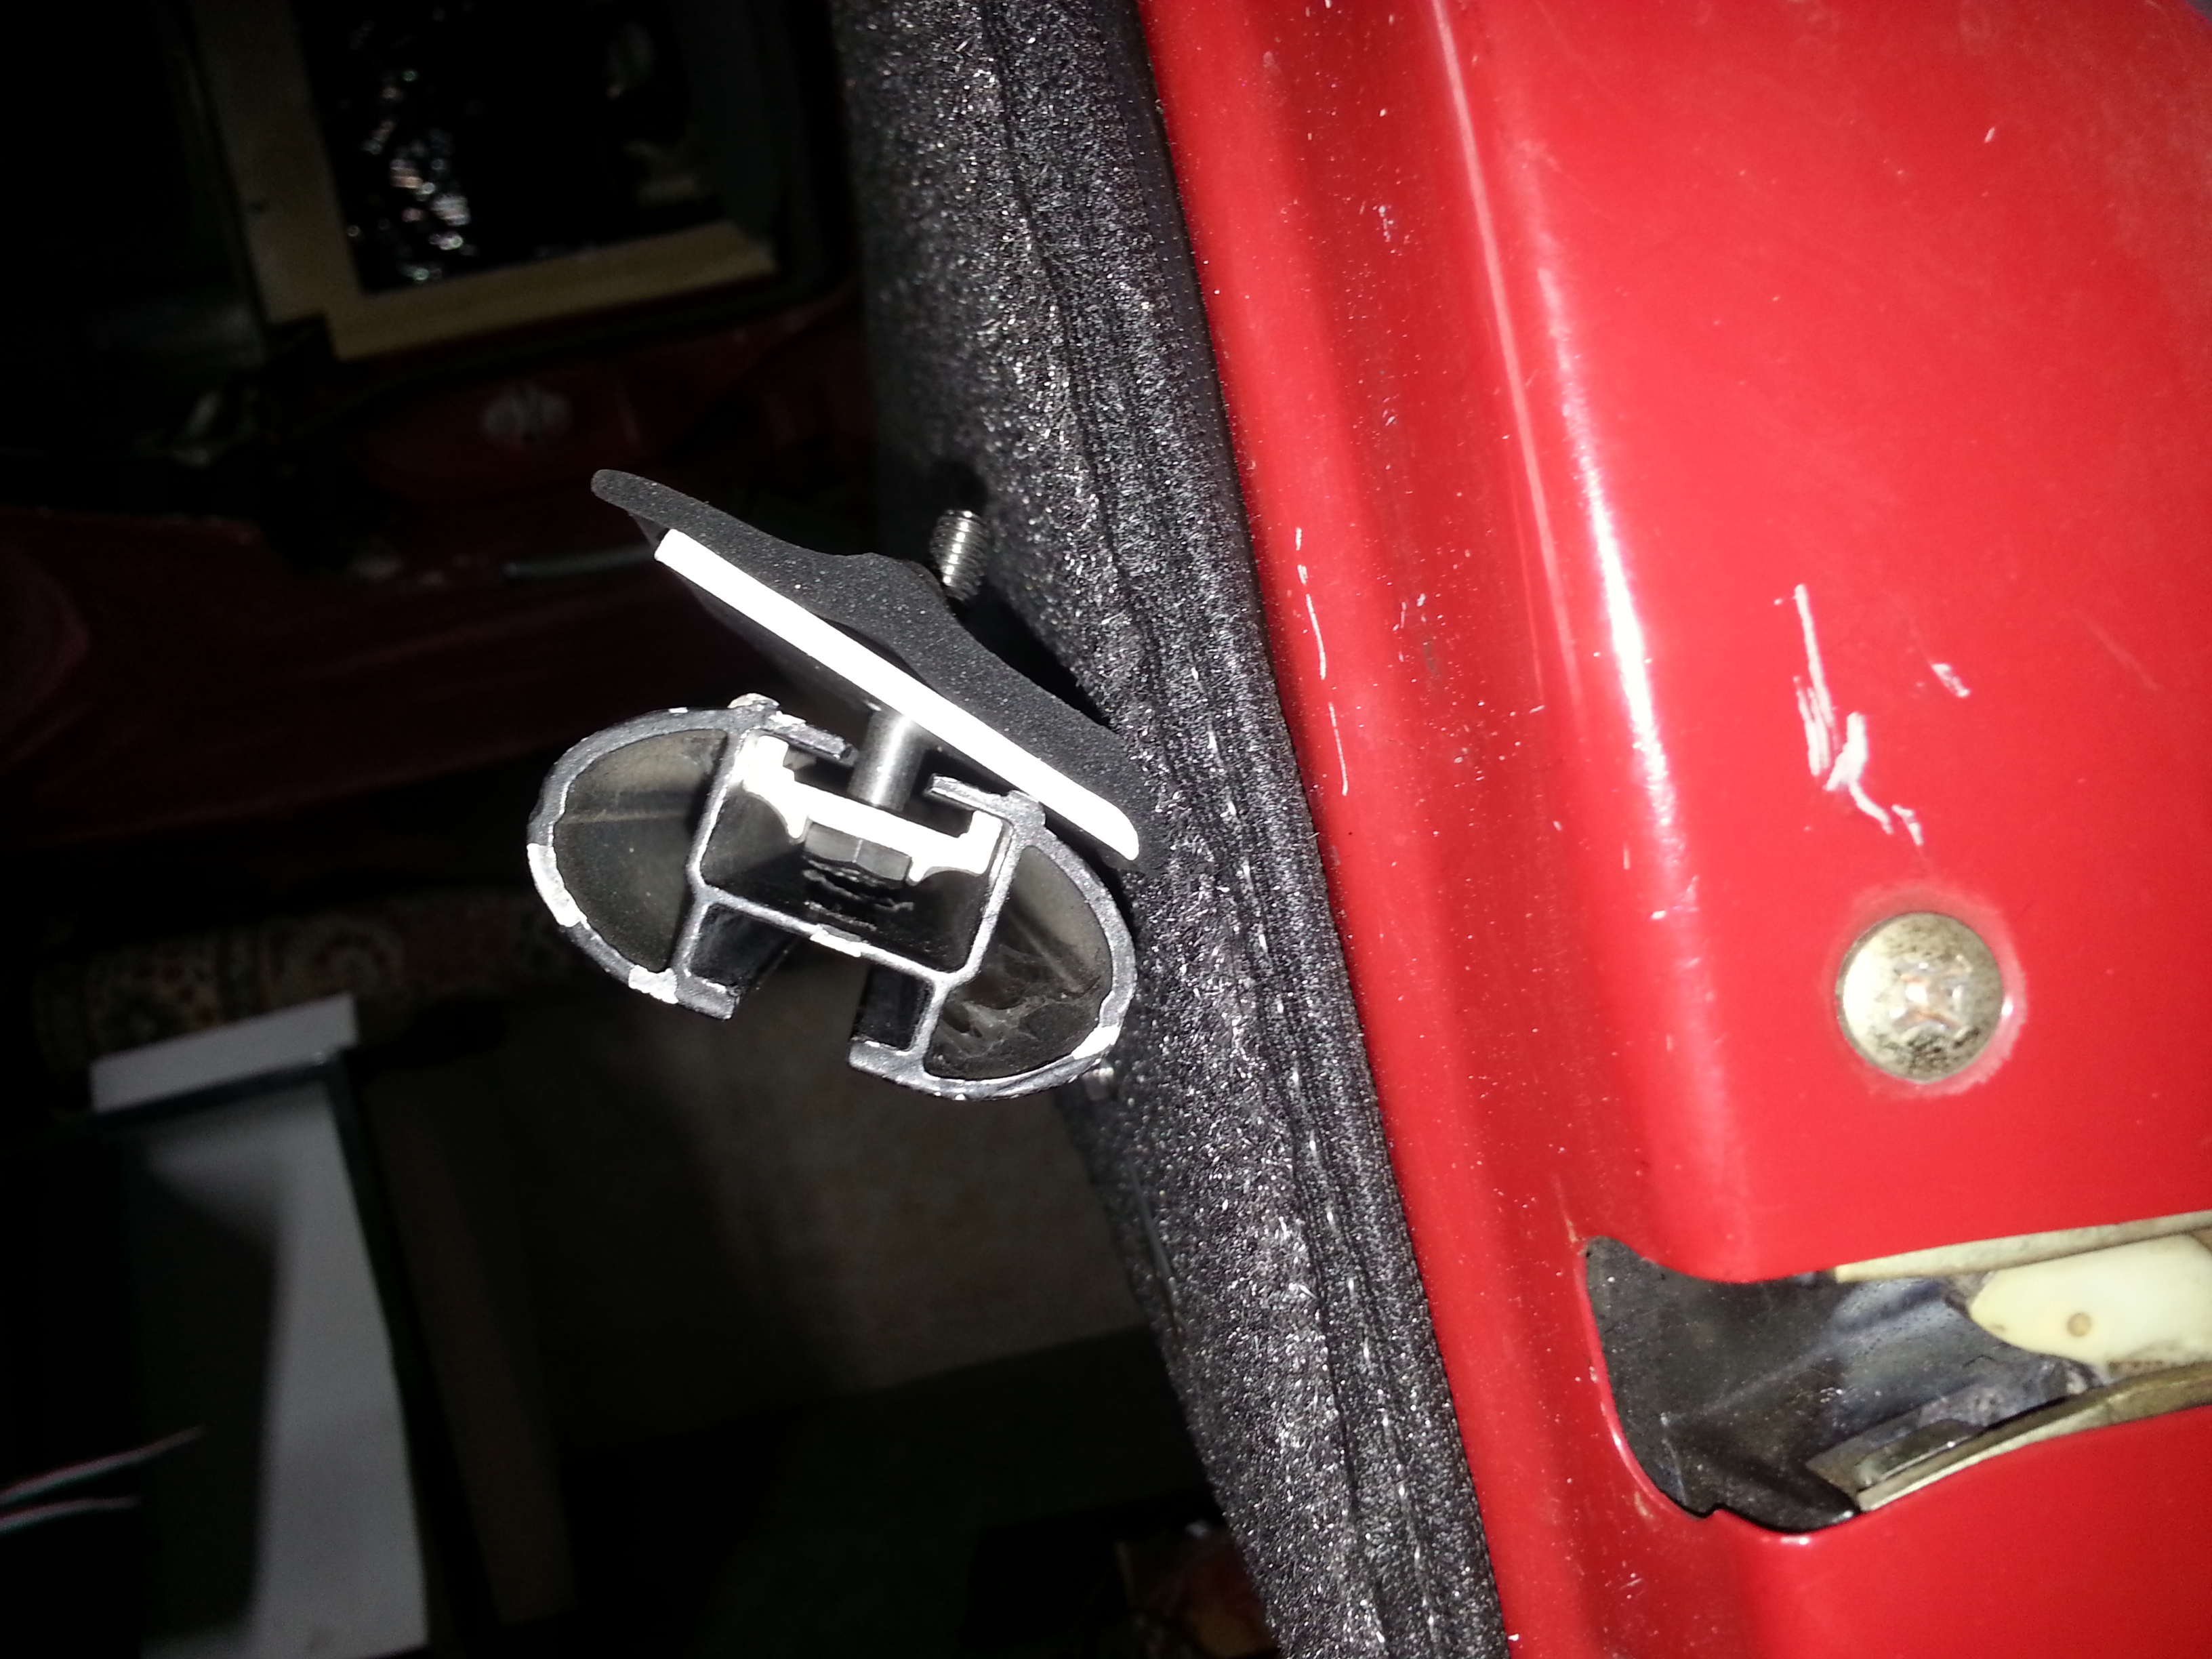
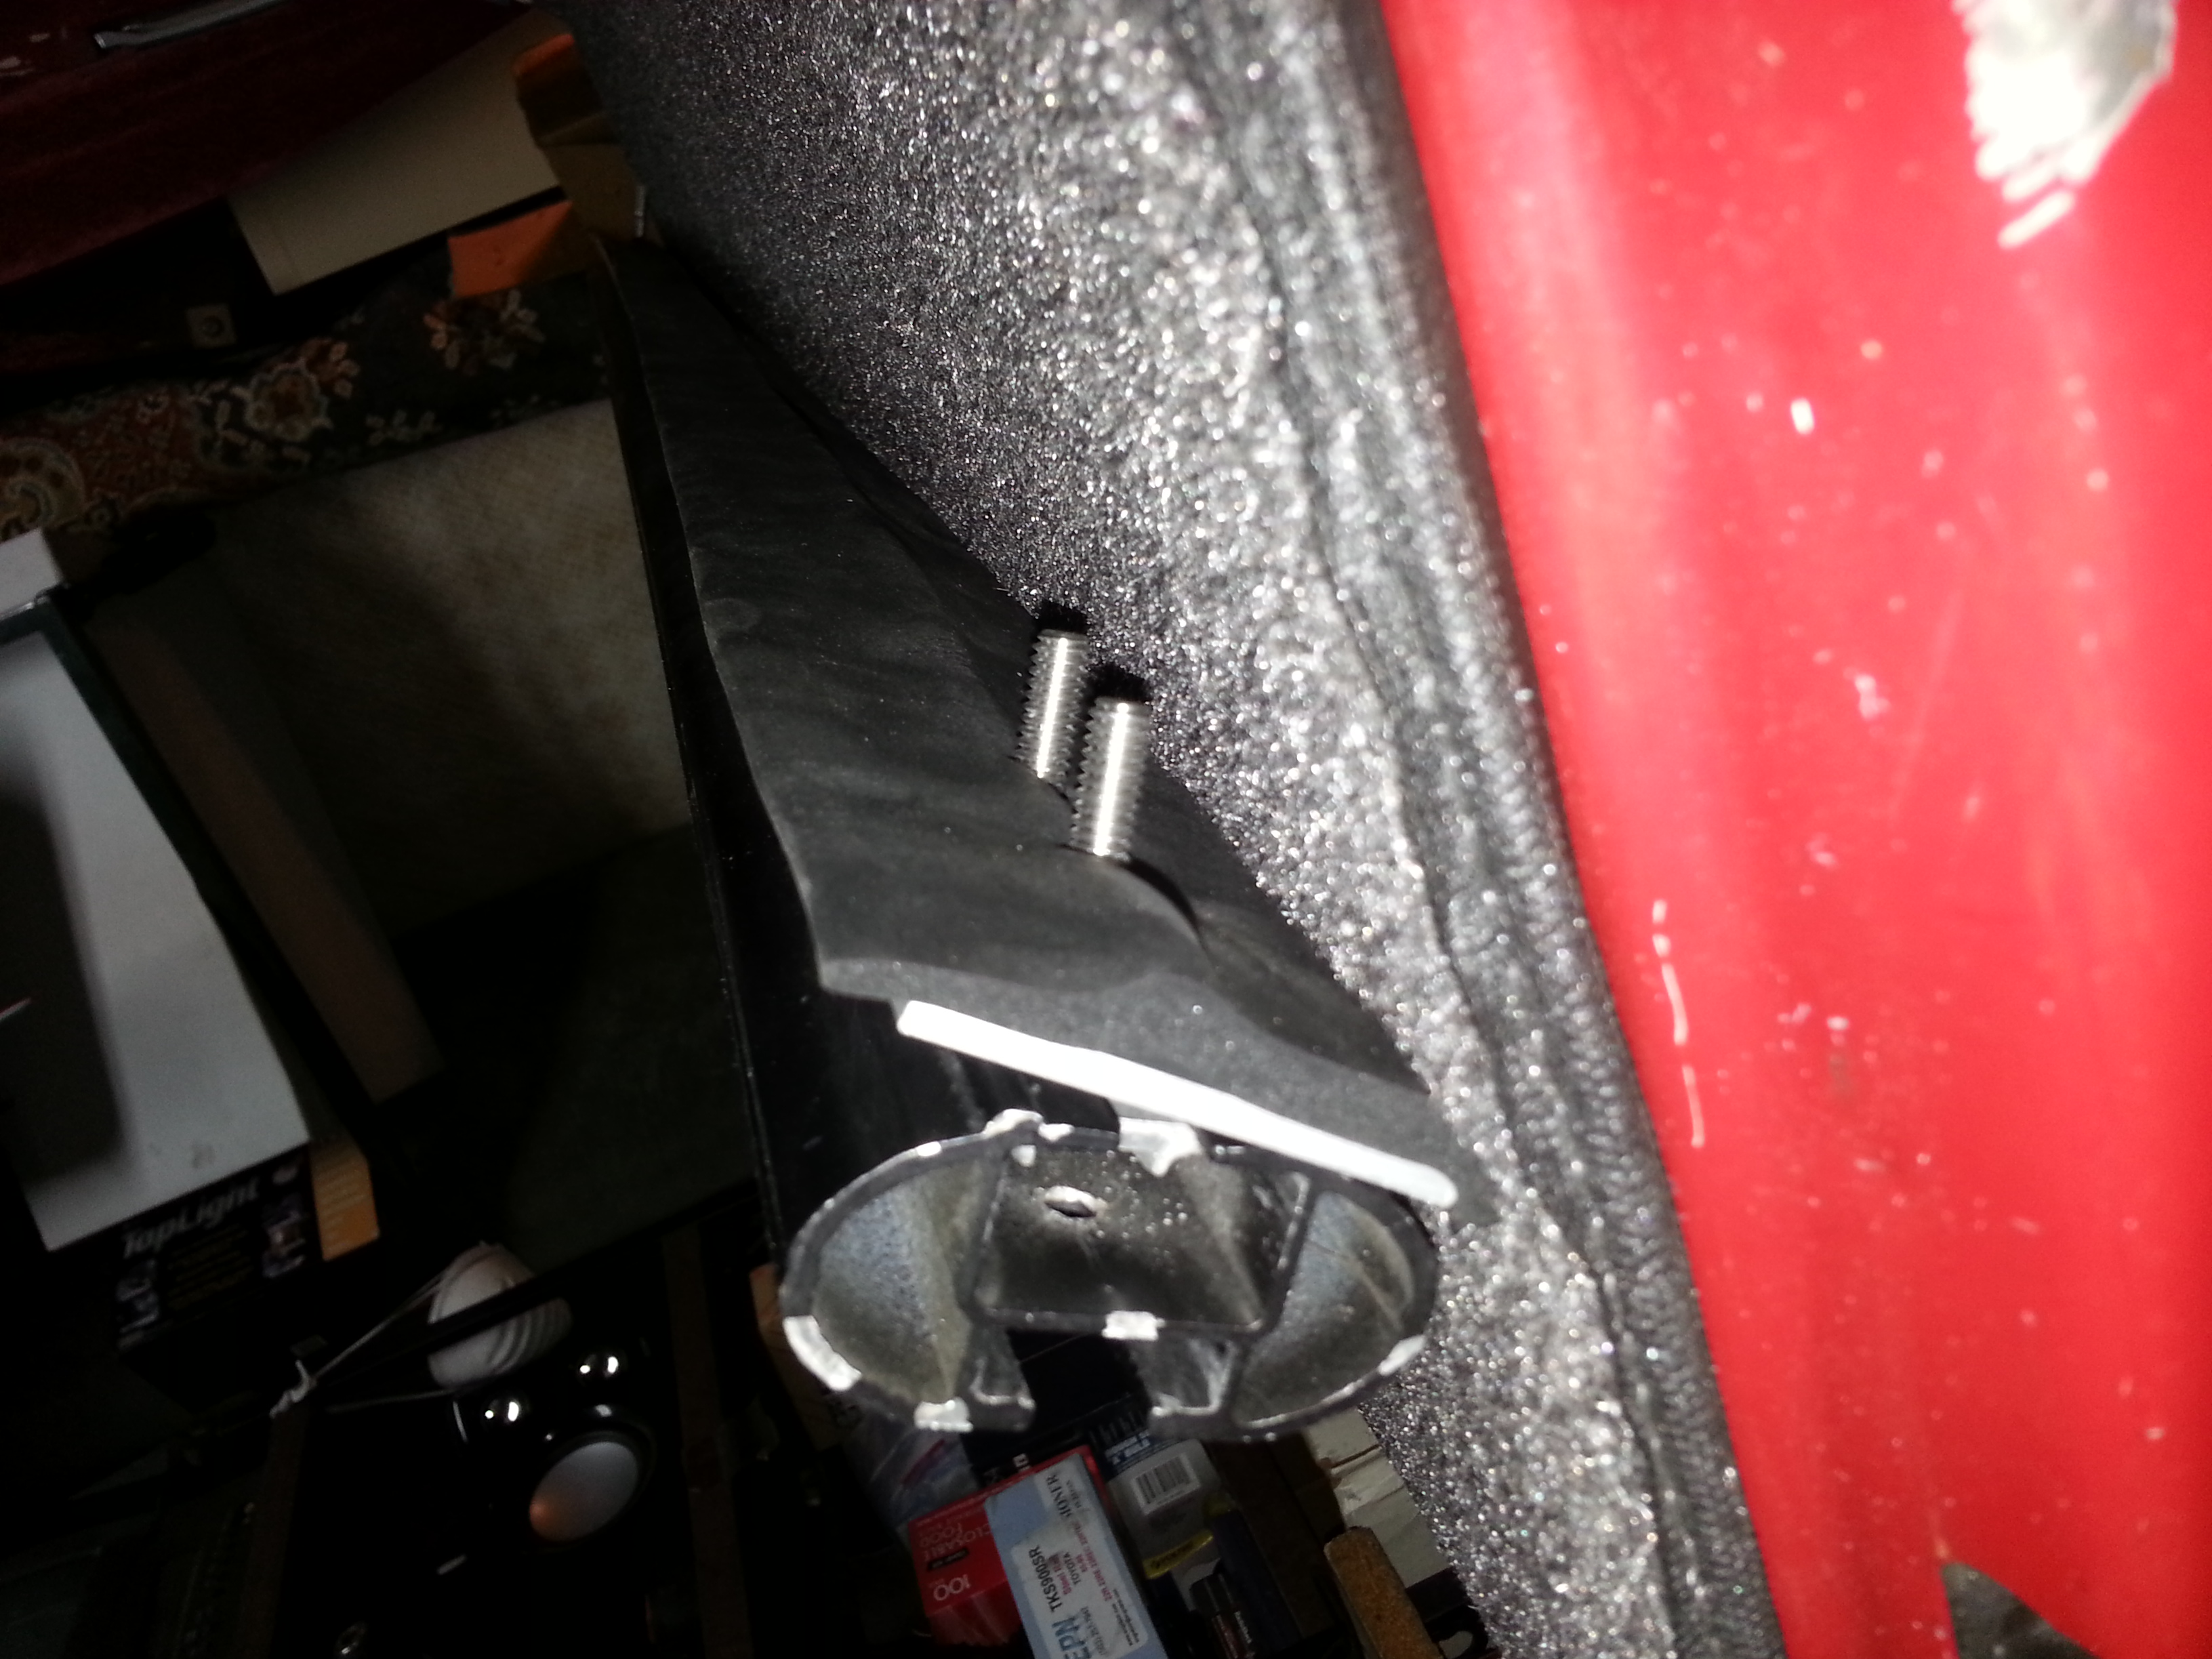
I'm not sure who's roof rack mine used to have, but the front rain gutters are a bit tweaked (and a couple bolt head divots in the roof) from overloading it/running down rough roads, and it has mounts added to the rear shell for rear rain gutter-style mounts. It should be easy enough to fab up (find?) some mounts which simulate a rain gutter. There is an inside plate too, IIRC.
Here are the rear shell mounts.
#269
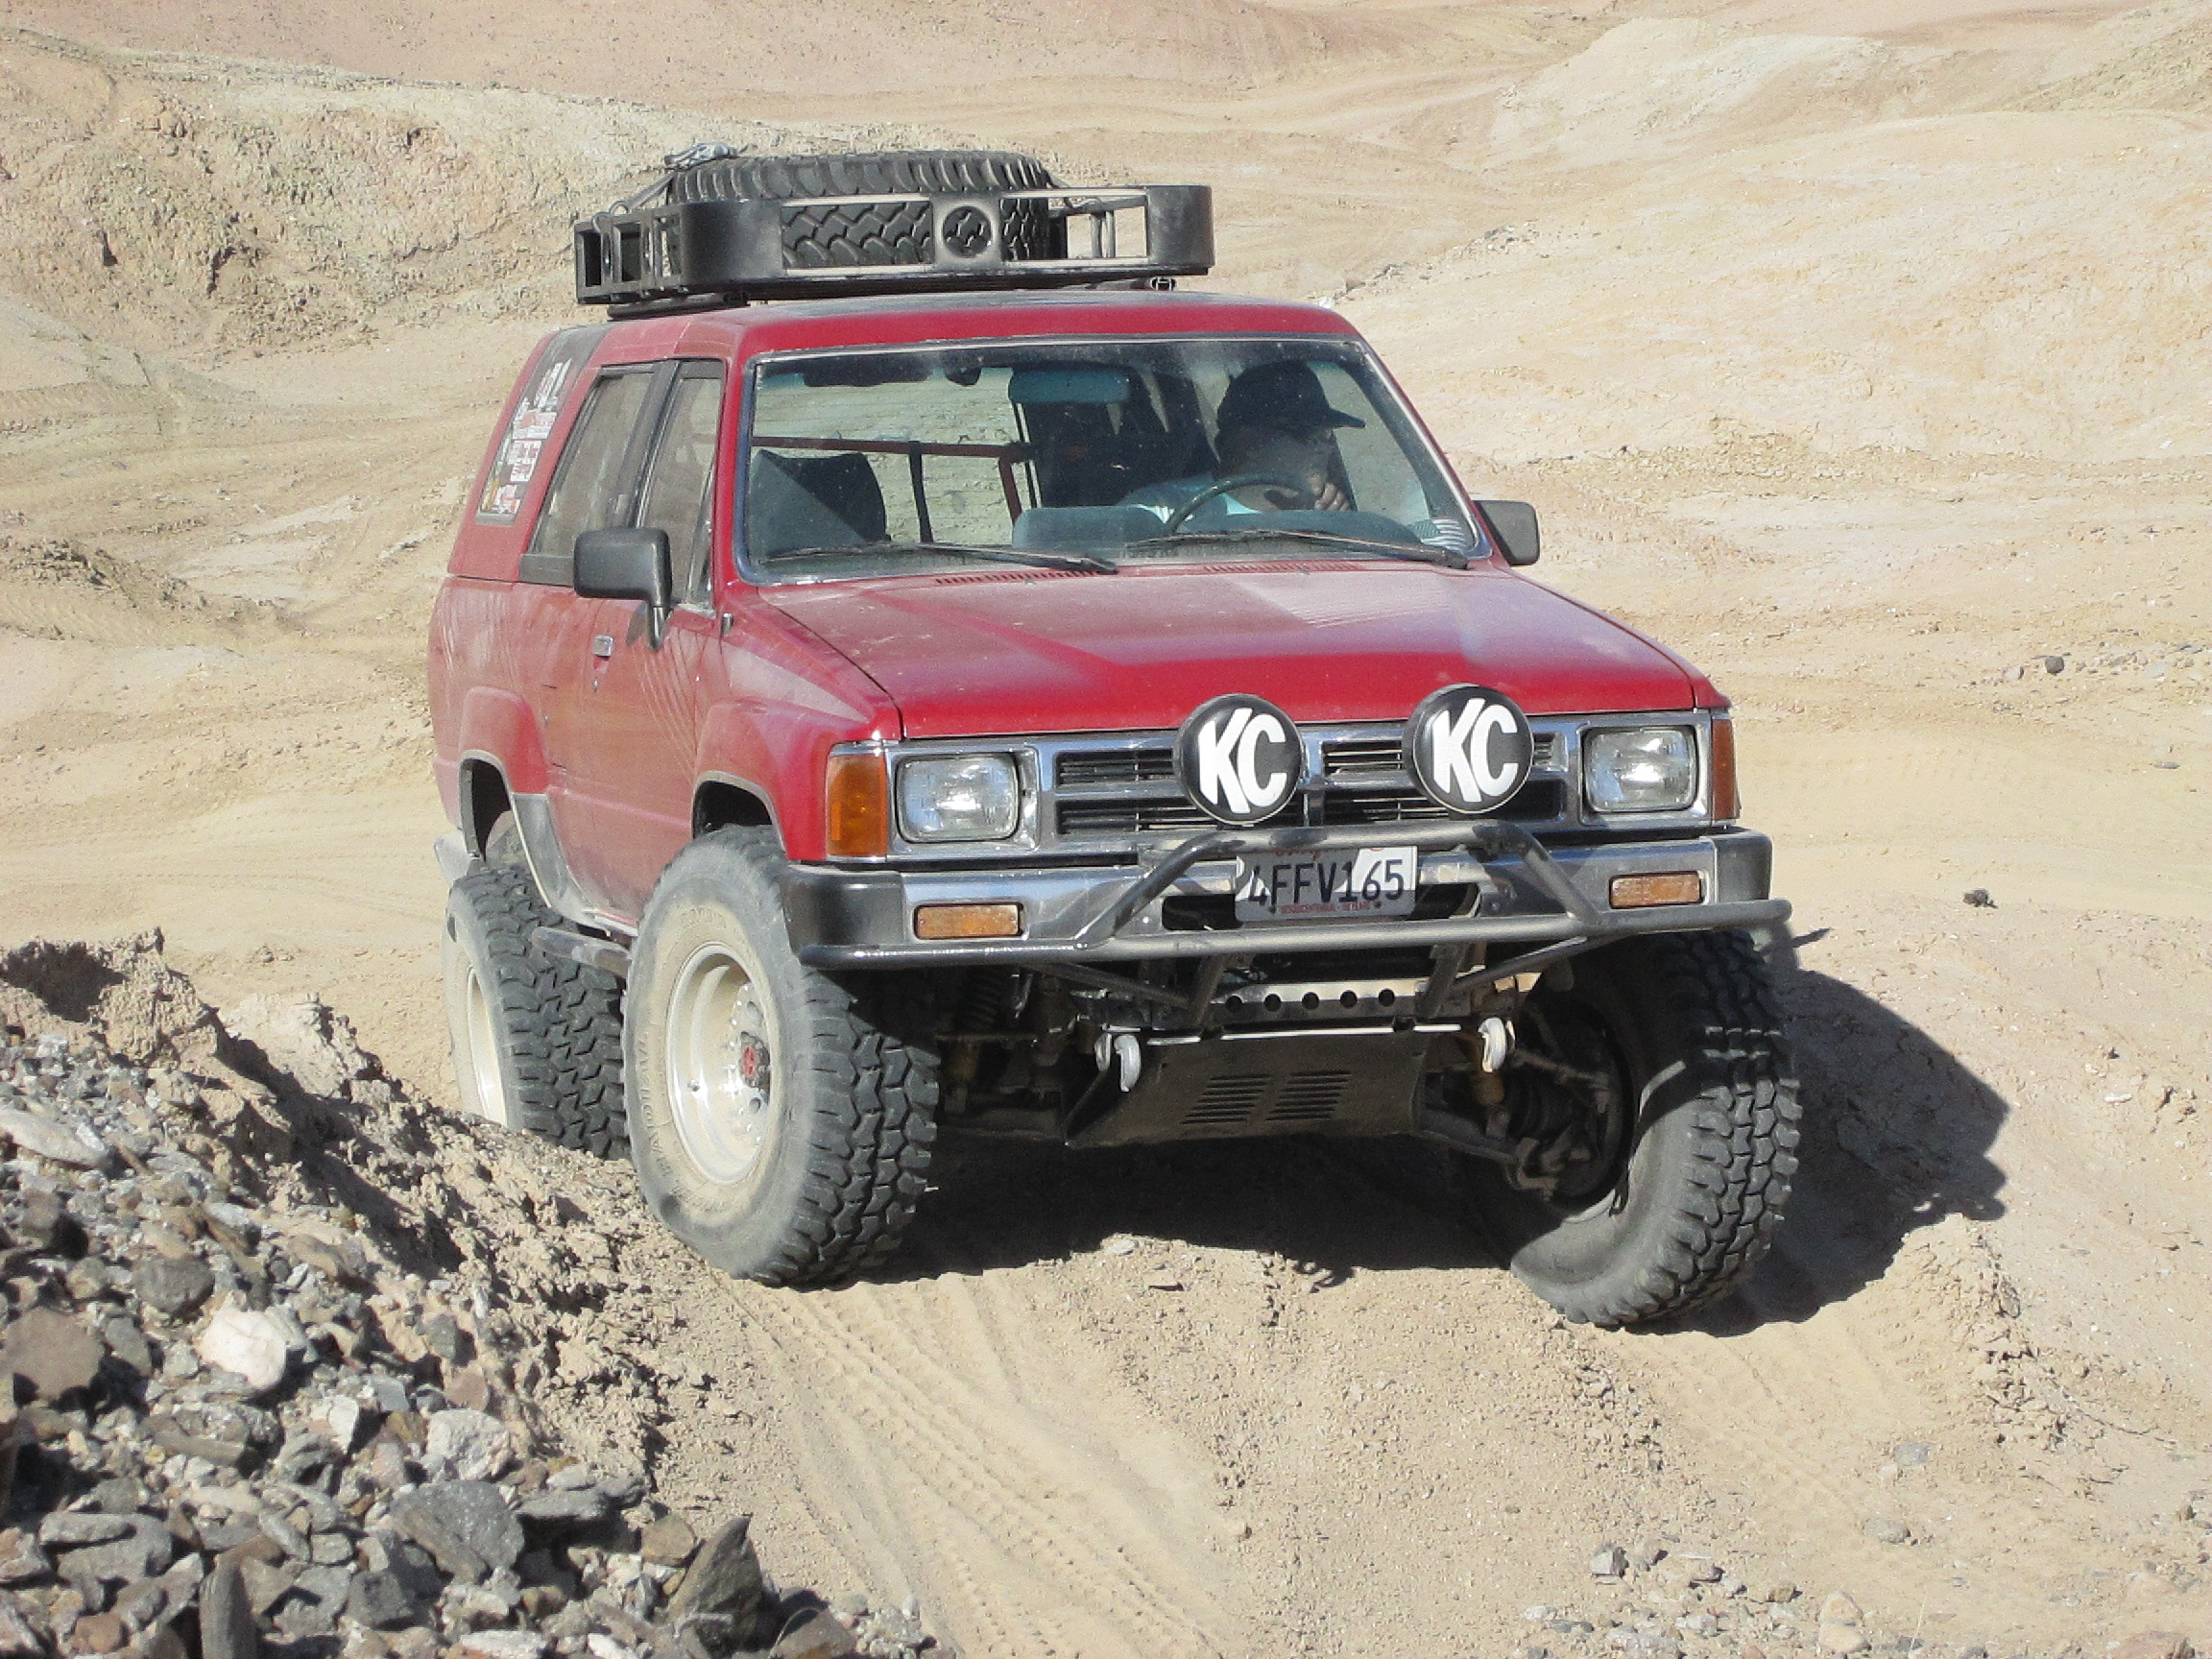
This is what I almost did..... ^^^^ ......, but decided to go with the flush mounted Thules with dual t tract, for strength, Max load capacity if I need it and less chance of sheering...
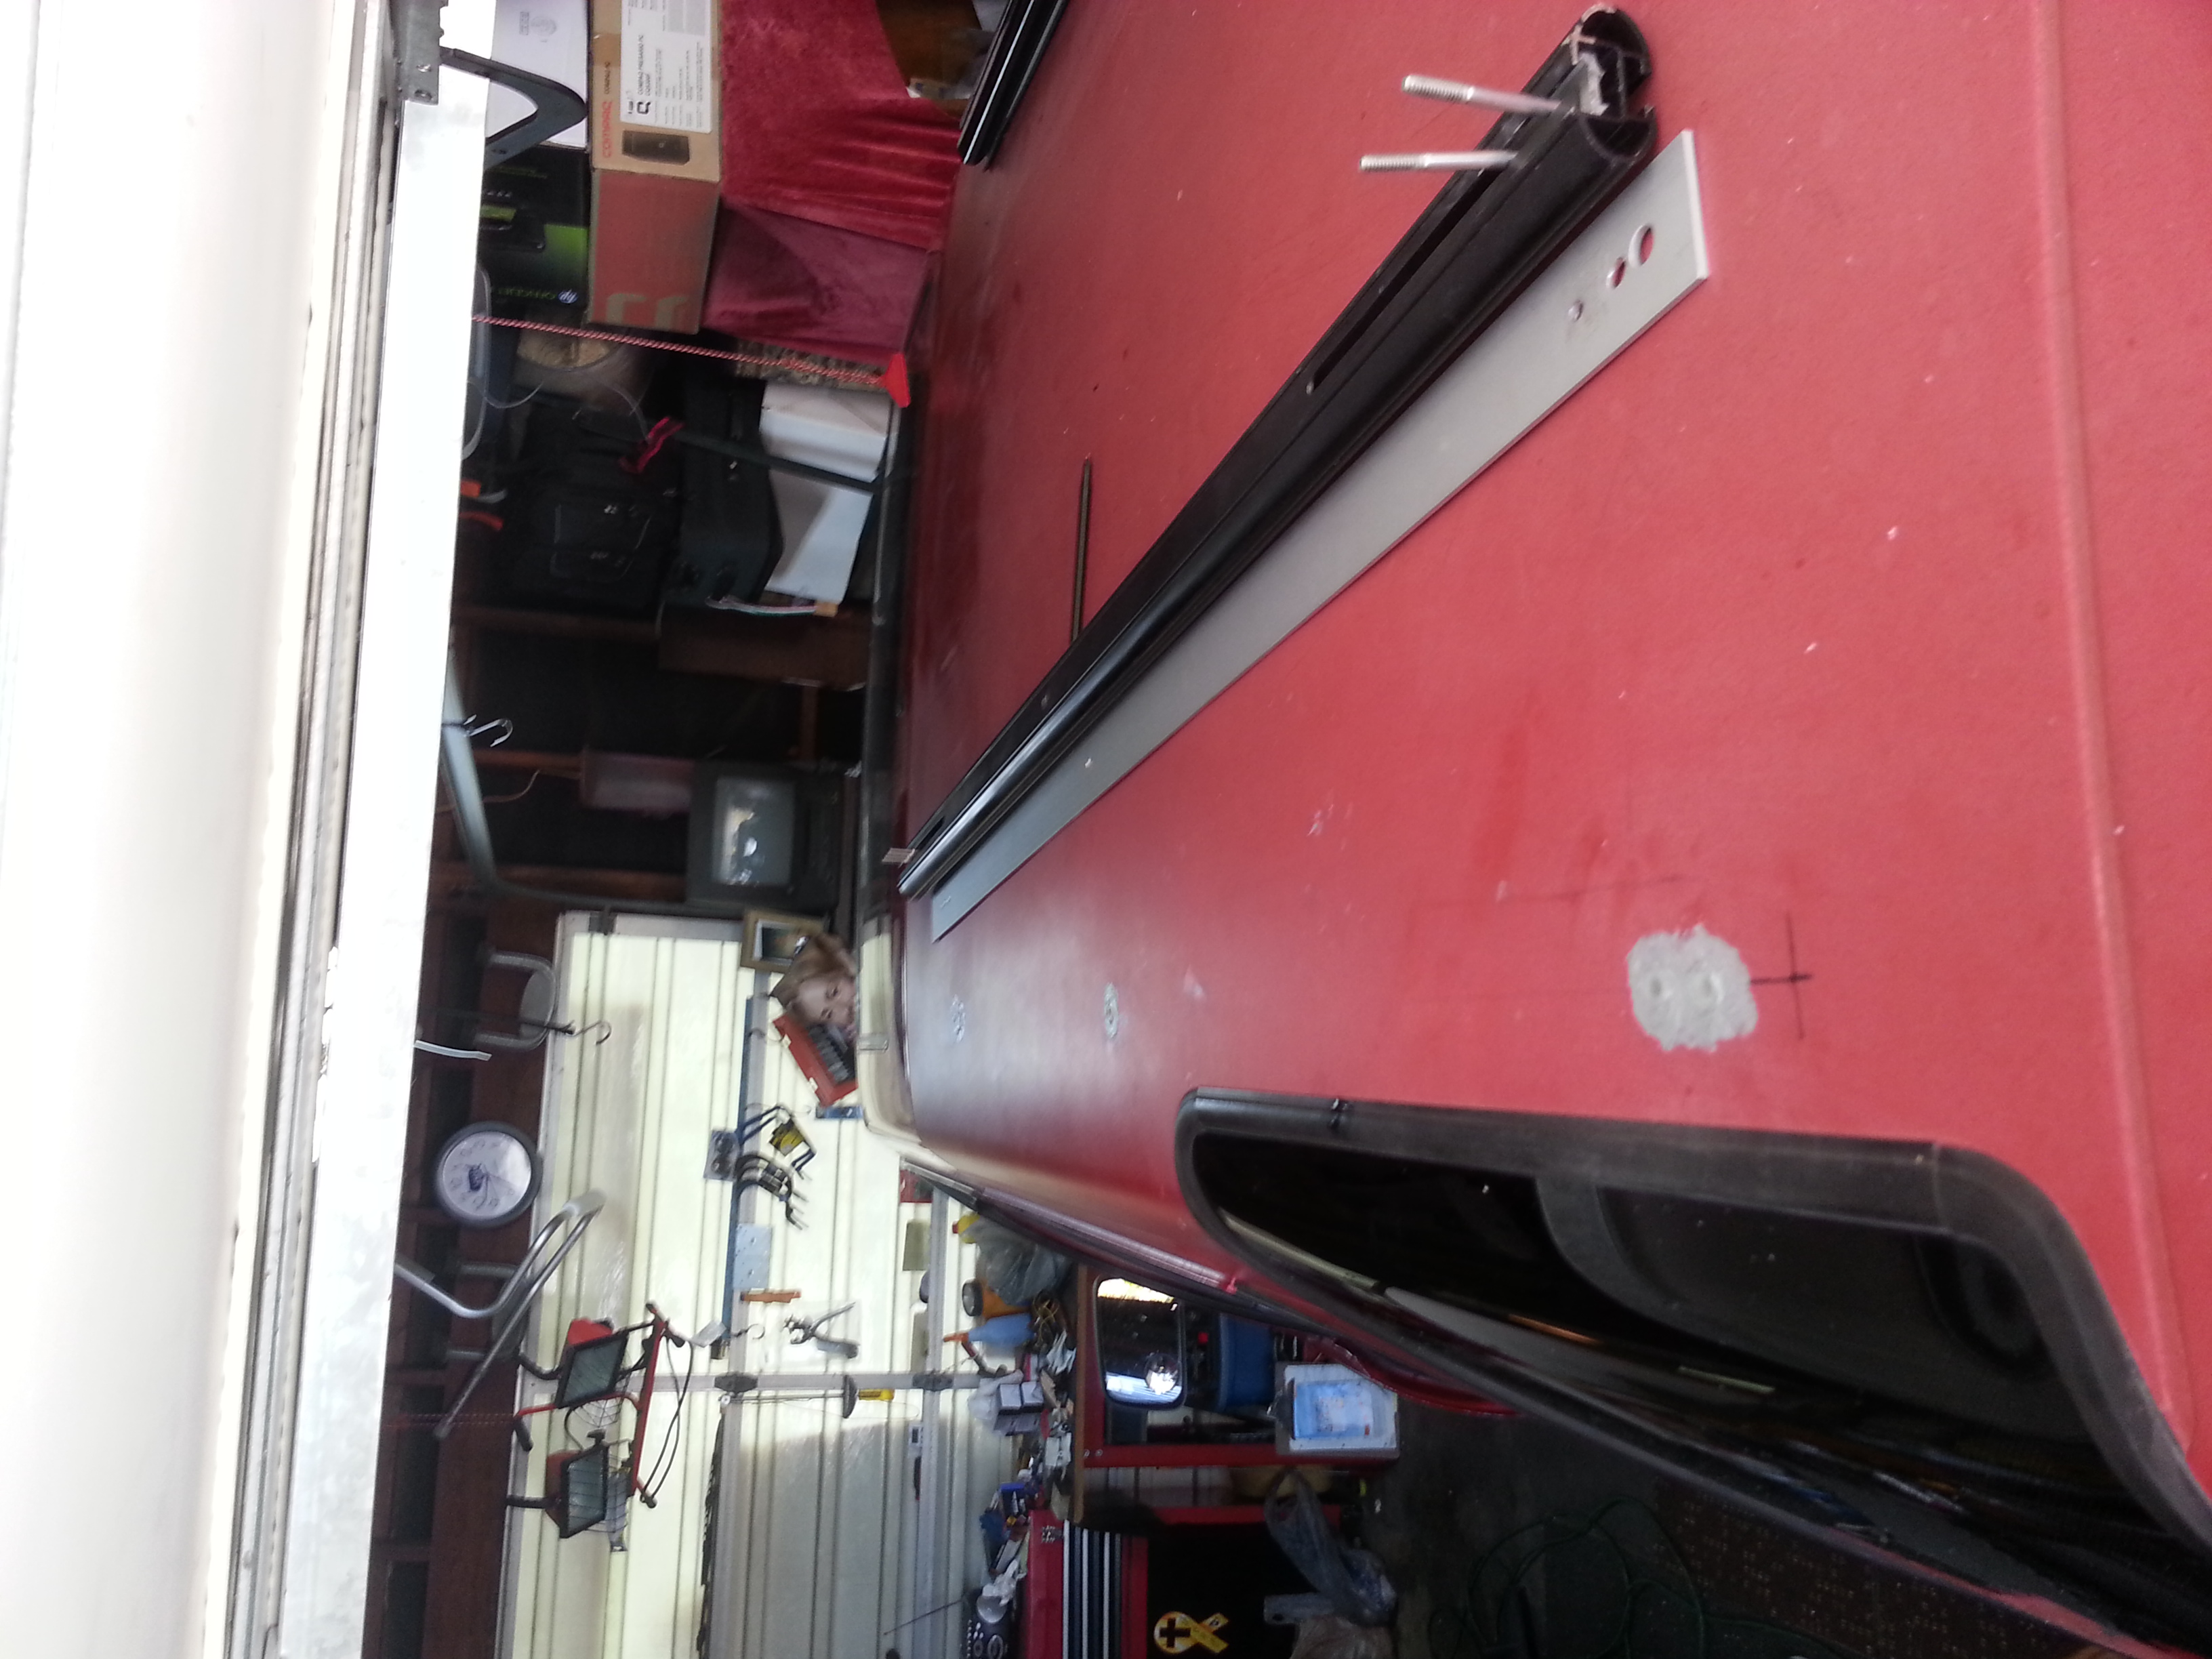
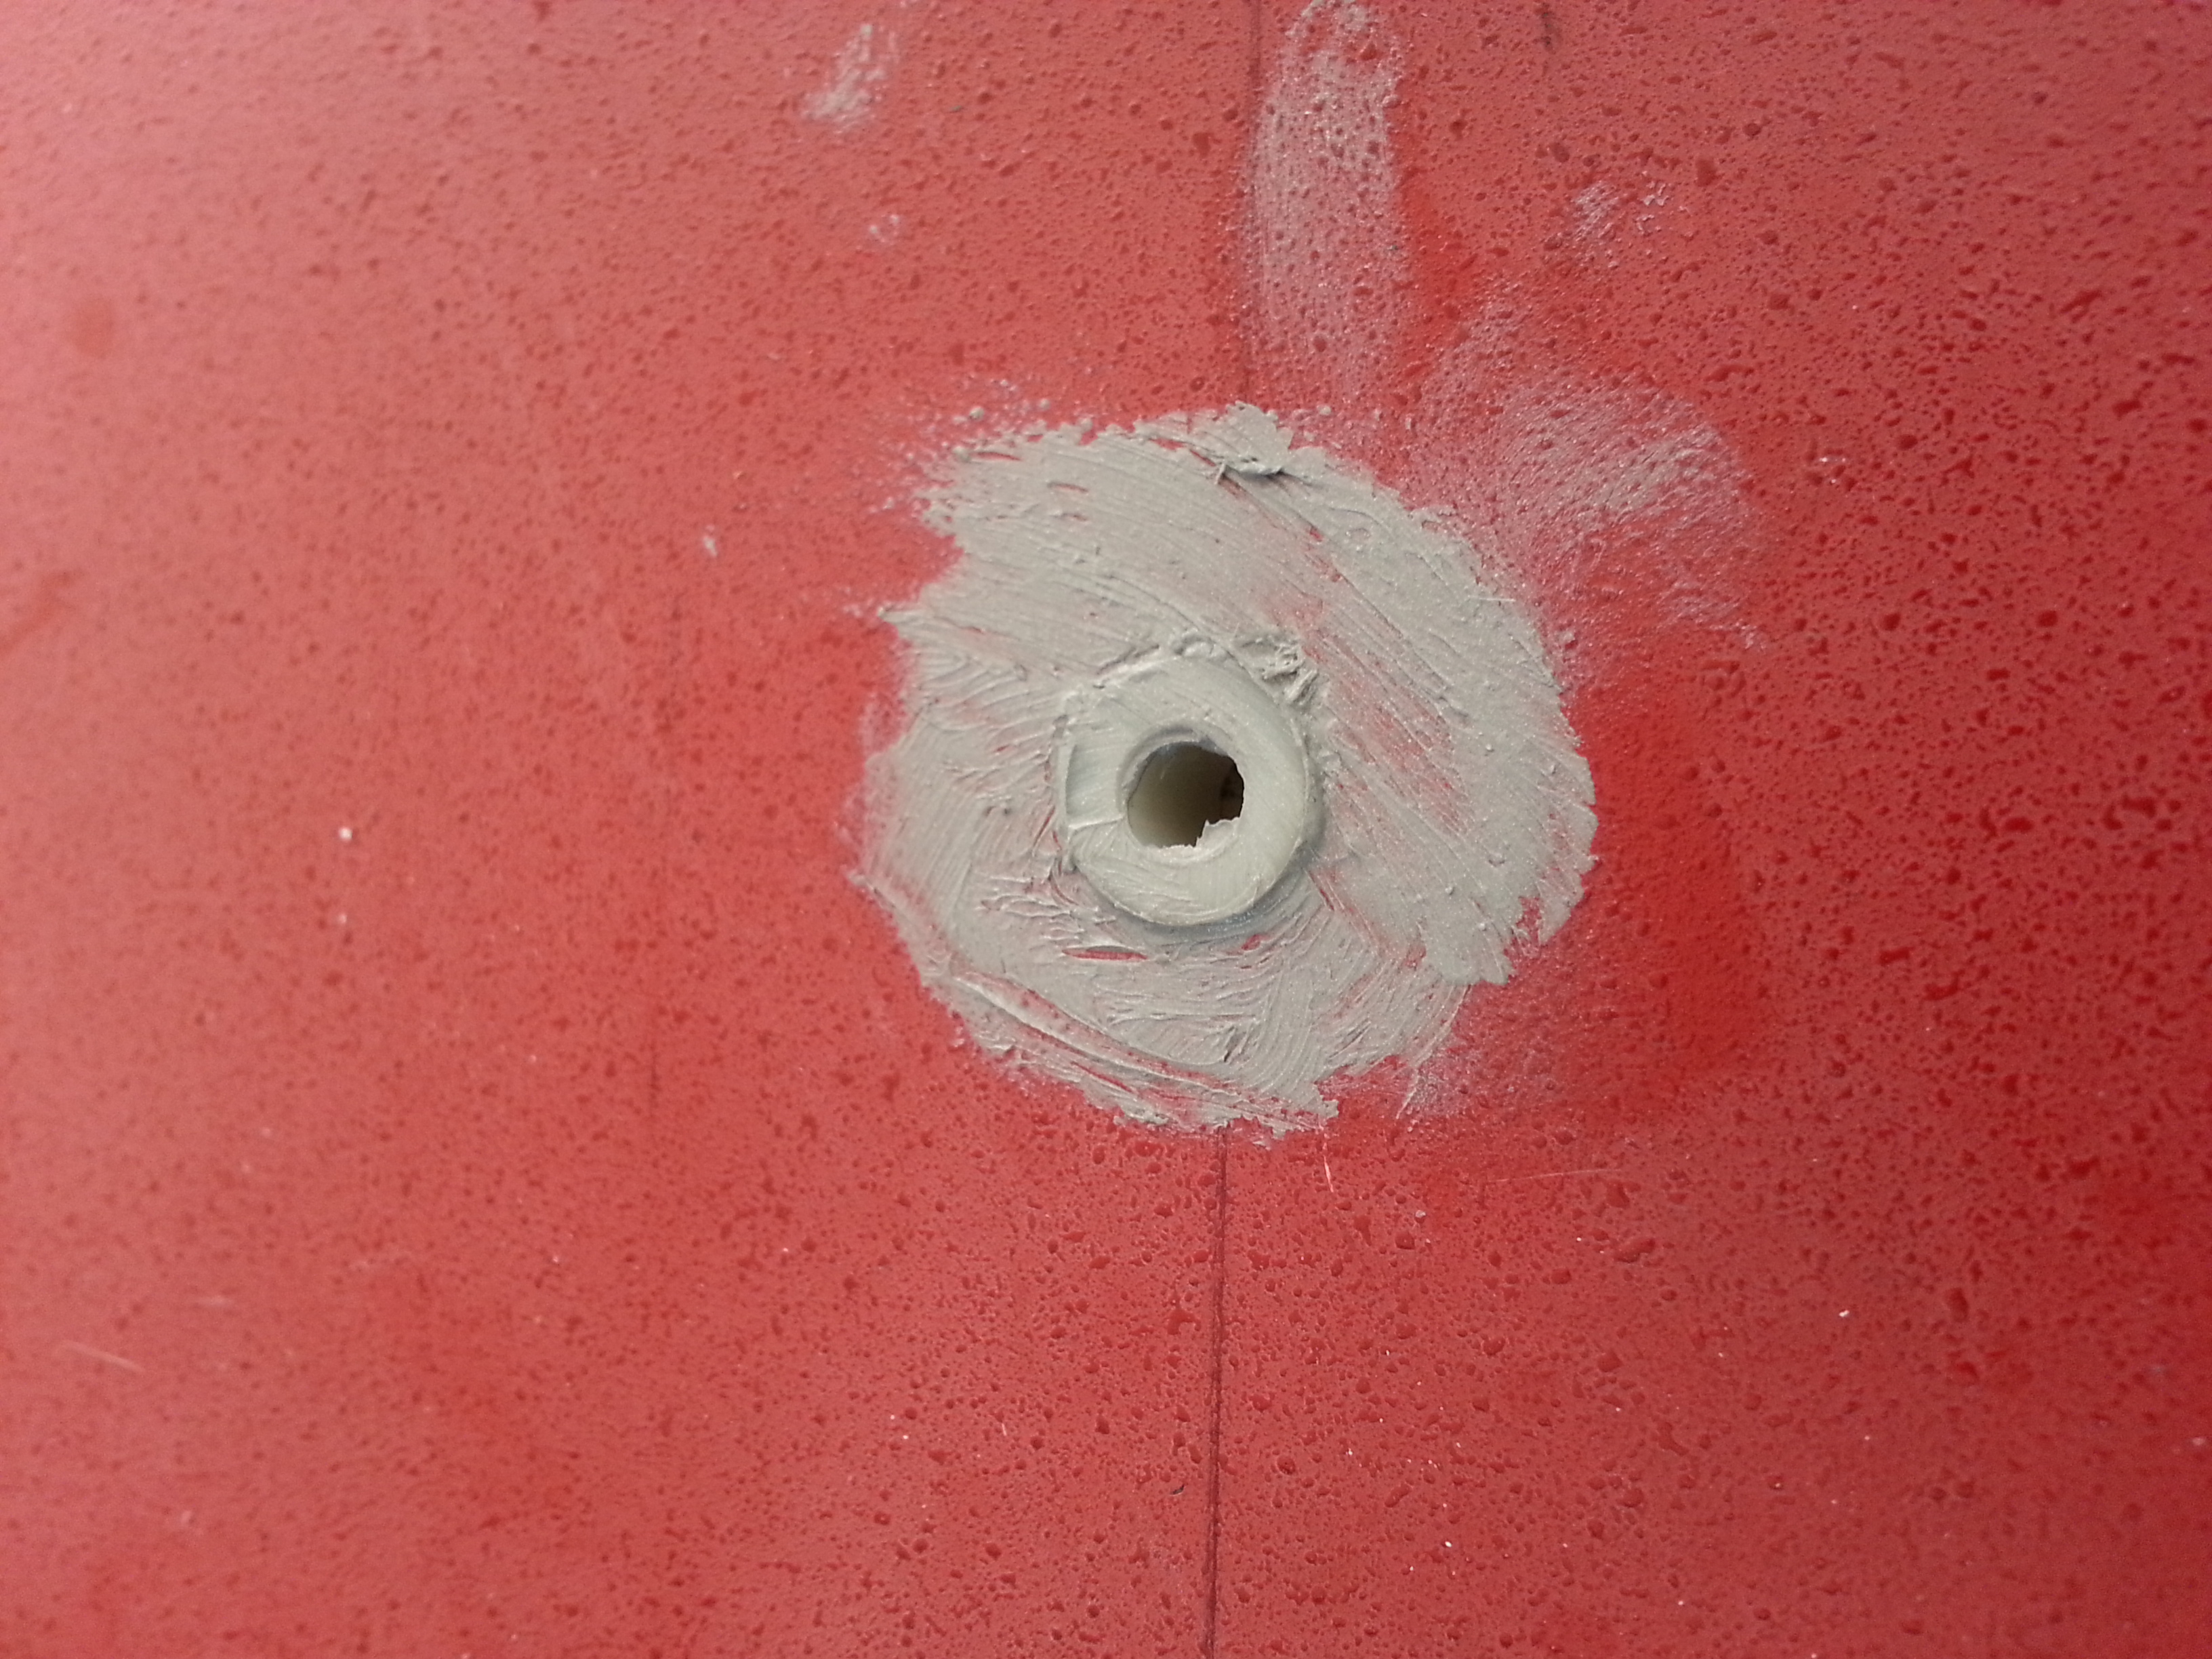
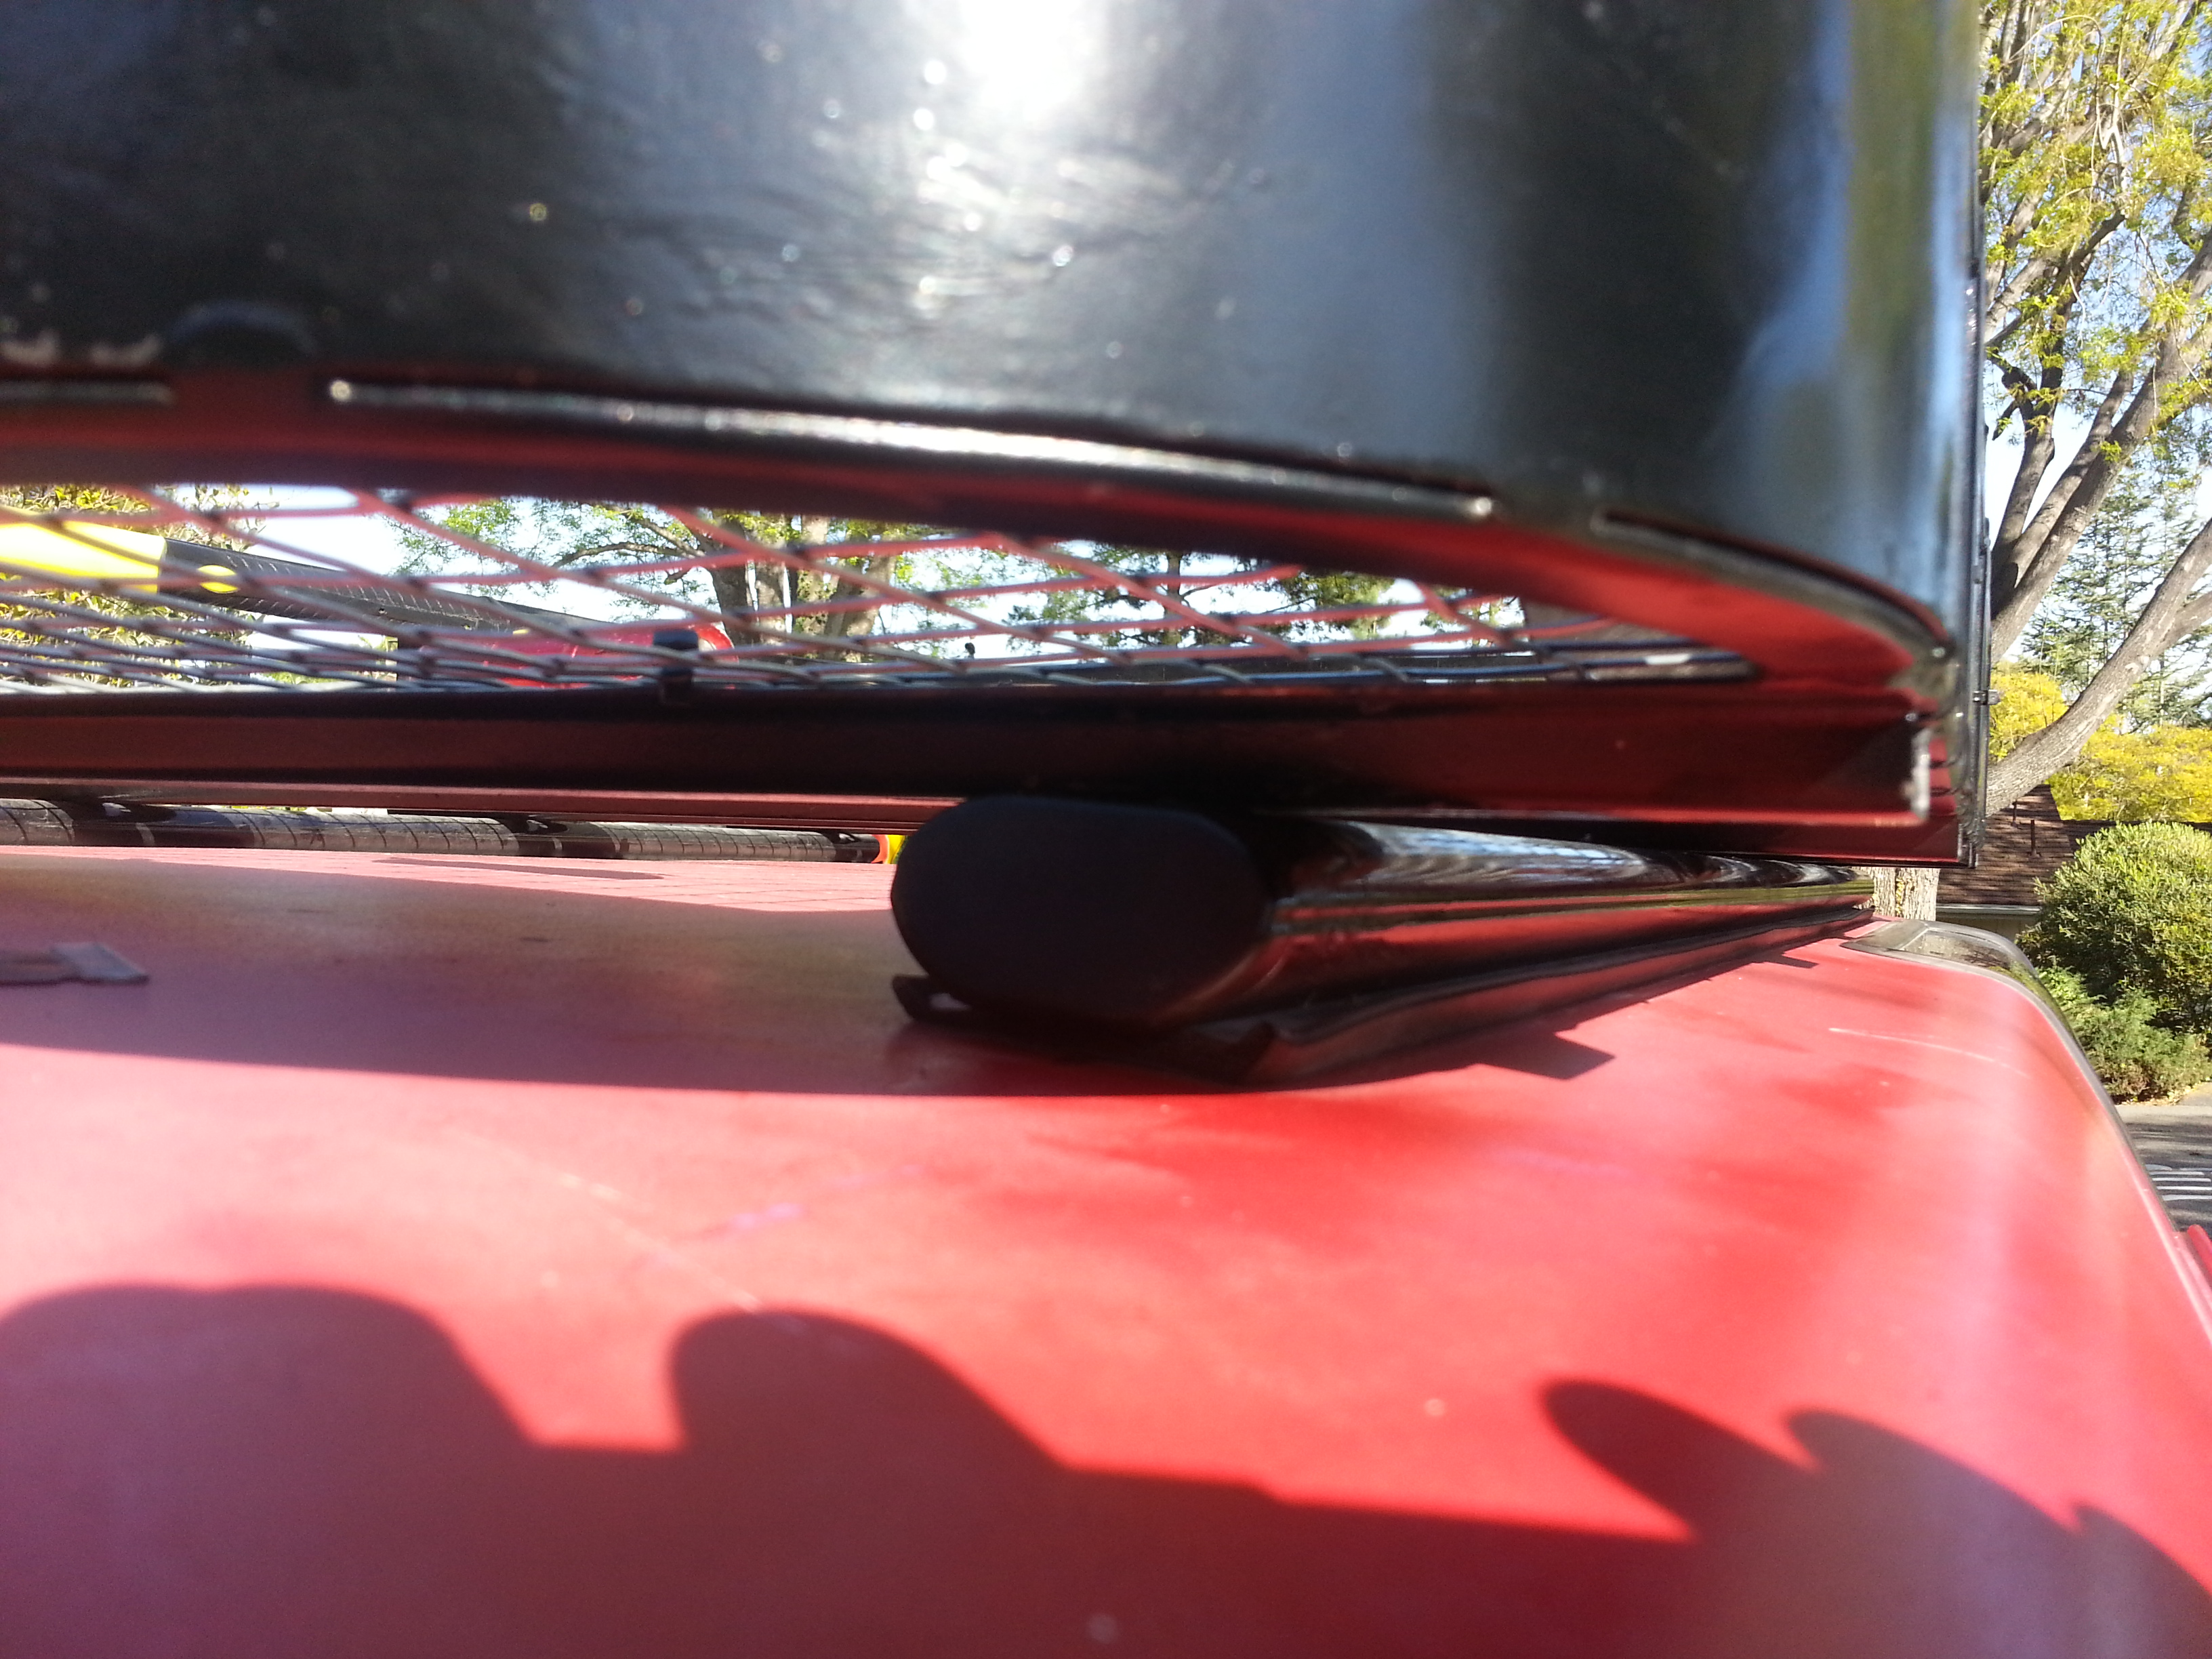
In use. .. And on the way on this trip I had another 80# of gear on top of the spare.....
**********
Just some more ideas for ya


In use. .. And on the way on this trip I had another 80# of gear on top of the spare.....

**********
Just some more ideas for ya

#271
Replaced Grille Fasteners
CAUTION: When you do this make sure screws do not hit anything critical behind the expansion nuts
I detest hidden/snap-in mounting hardware so since, I was replacing my sealed beams with the AutoPal housings, I also modified my grill mounting.
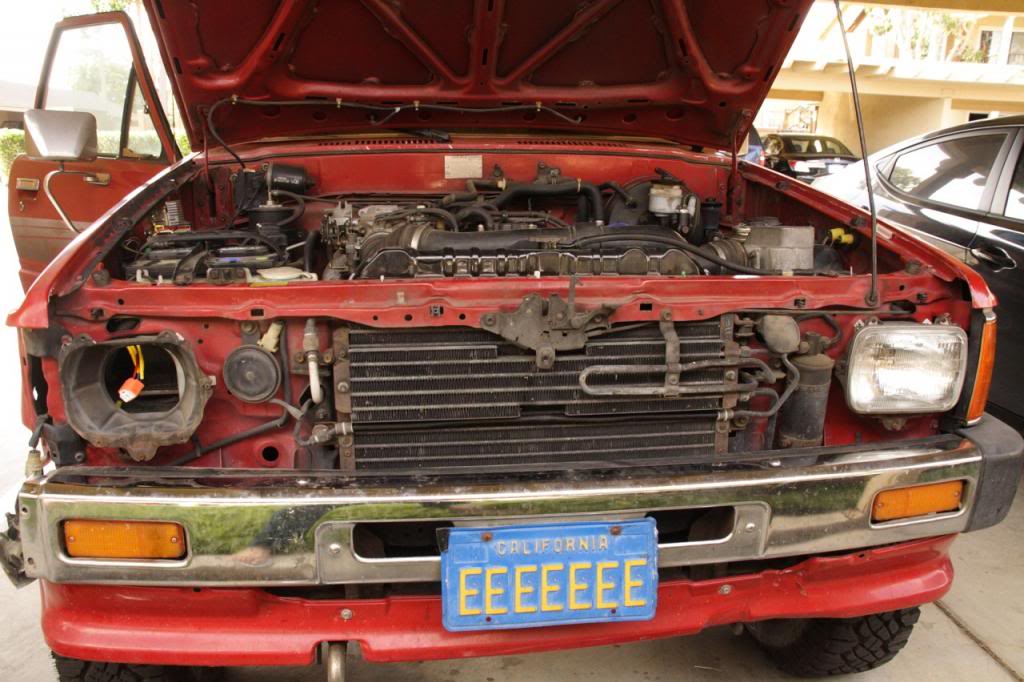
Heat-resistant H4 connector from my headlight retrofit is visible through passenger-side headlight opening.
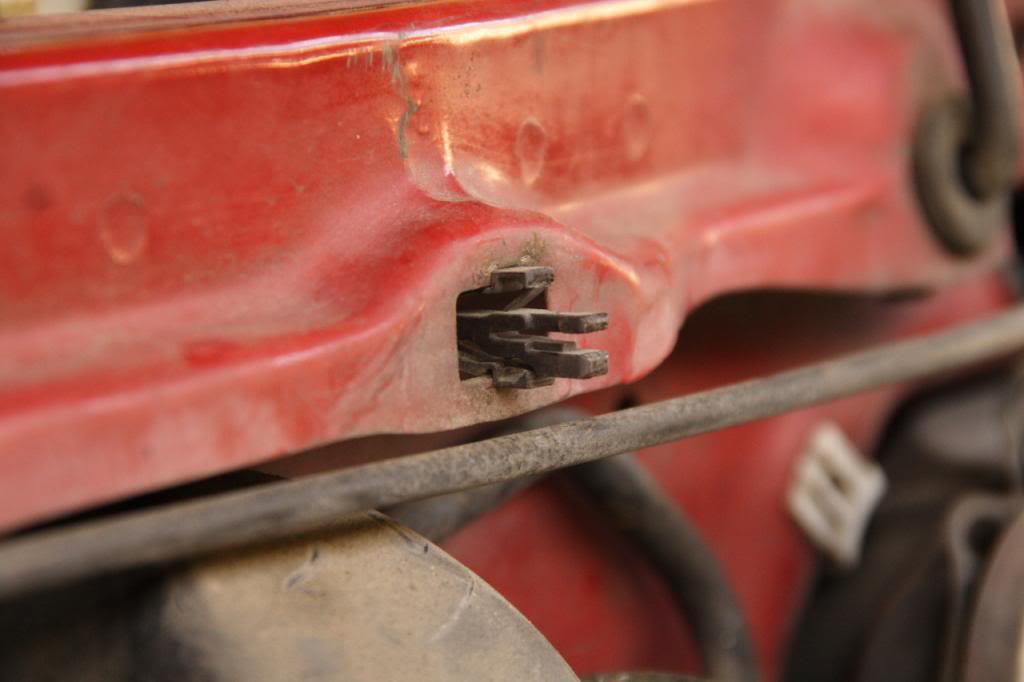
I replaced the snap in clips with expansion nuts from Autozone. Pick ones that fit #12 sheet metal screws.
From this:
... to this:
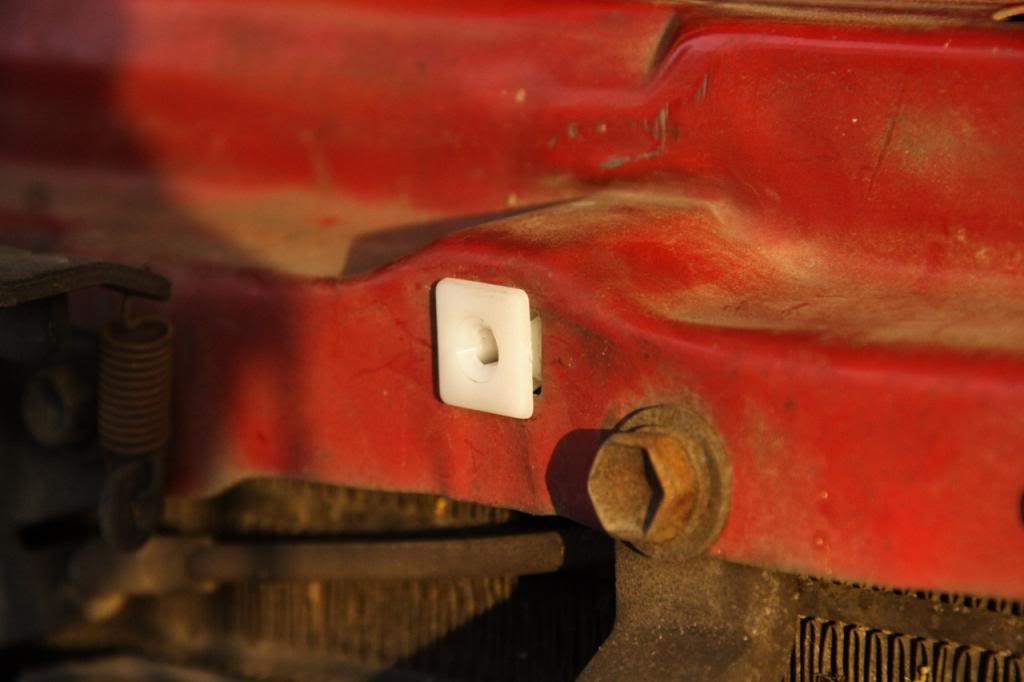
Trimmed posts down to first shoulder.
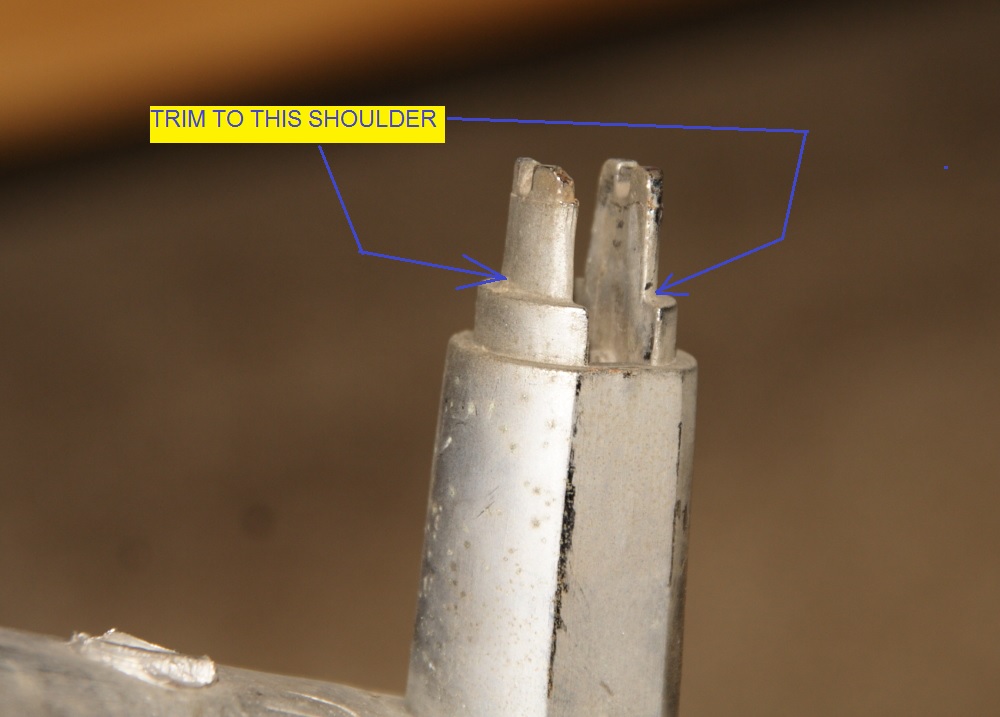
To something like this (pic of a different post)
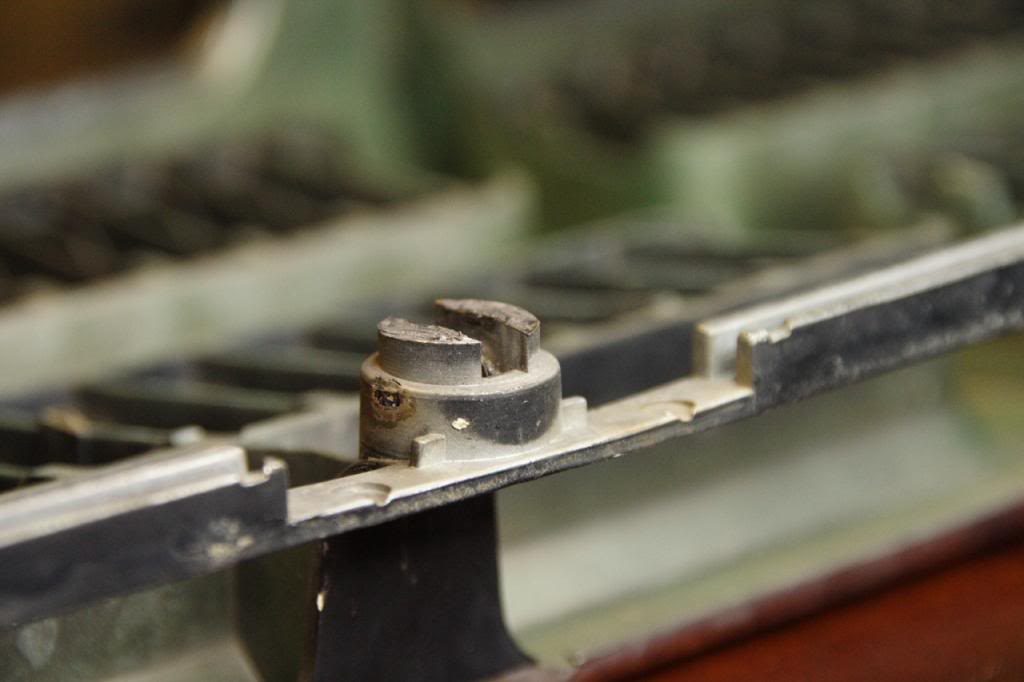
Opened up slot to accommodate #12 sheet metal screws
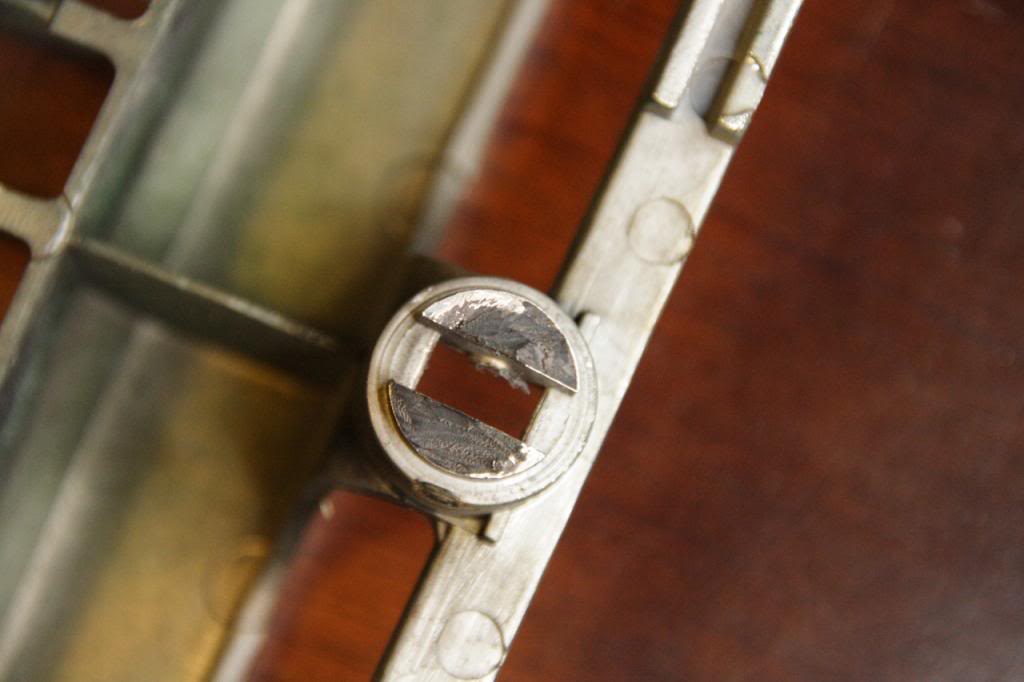
I also cut the tip off so the sheet metal screws were down to around 0.75 inch. This way they will not stick out beyond the back of the expansion nut and hit parts behind it.
Now I would not have to grope for release tabs and/or break brittle clips to remove grille; just use common philips screwdriver.
============
BTW,
Thanks Edeslaur & Mark for roof rack tips! I'll go ahead and install the S1 roof rail I got from Mark, 'cause I want to be able to change distance between my crossbars, and it would not require special foot/towers. So... my setup would be similar to Redeth and RBX's roof rails.
I detest hidden/snap-in mounting hardware so since, I was replacing my sealed beams with the AutoPal housings, I also modified my grill mounting.

Heat-resistant H4 connector from my headlight retrofit is visible through passenger-side headlight opening.
I replaced the snap in clips with expansion nuts from Autozone. Pick ones that fit #12 sheet metal screws.
From this:

... to this:

Trimmed posts down to first shoulder.

To something like this (pic of a different post)

Opened up slot to accommodate #12 sheet metal screws

I also cut the tip off so the sheet metal screws were down to around 0.75 inch. This way they will not stick out beyond the back of the expansion nut and hit parts behind it.
Now I would not have to grope for release tabs and/or break brittle clips to remove grille; just use common philips screwdriver.
============
BTW,
Thanks Edeslaur & Mark for roof rack tips! I'll go ahead and install the S1 roof rail I got from Mark, 'cause I want to be able to change distance between my crossbars, and it would not require special foot/towers. So... my setup would be similar to Redeth and RBX's roof rails.
Last edited by RAD4Runner; 10-19-2014 at 03:12 PM.
#272
Ohhh watch out another roof rack coming. Lol hey that was a good tip on holing the grill. I might have to di that myself because mine is all jacked up. The clips don't even hold it down. On this past off road trip I had to keep popping it back in on the driver side because it would come off with the bumpy ride lol
#275
Click-Only Flaw/Fix
 Outsane. Cool meeting you, too. Yeah, can't wait to have time to mount the emblem.
Verify wiring according to this, AND that your starter relay clicks but solenoid does not thunk or thunks but weakly, you know you'll be fixing a Toyota OOPS common to mid-86's to 89's.
Unfortunately, we haven't had confirmation from owners of other years whether or not their models have this issue.
#276
 Outsane. Cool meeting you, too. Yeah, can't wait to have time to mount the emblem.
Cool. As soon as you
Verify wiring according to this, AND that your starter relay clicks but solenoid does not thunk or thunks but weakly, you know you'll be fixing a Toyota OOPS common to mid-86's to 89's.
Unfortunately, we haven't had confirmation from owners of other years whether or not their models have this issue.
Well mine only does it maybe once a week maybe every 2 weeks. i hear it click in the glove box and the clunk in engine bay and i can hear the power draw in the system too. I should note that the key for my ignition is extremely loose and u can use anything flat and long to start the truck. so that could have something to do with it. usually if i turn the truck back off and let it sit for a few minutes it will start up fine the next time but takes a few extra cranks because of the extra fuel that gets dumped in from trying to start it
#277
After the fix, mine never did it 
Click in glove box is of COR. Does not affect cranking but indicates ignition contacts of ignition switch are OK.
Clunk (not the light click of starter relay) in engine bay means starter relay energizes and solenoid is actuating. "Hearing power draw" like starter is groaning, struggling to turn, may mean:

... I hear it click in the glove box and the clunk in engine bay and i can hear the power draw in the system too.
Clunk (not the light click of starter relay) in engine bay means starter relay energizes and solenoid is actuating. "Hearing power draw" like starter is groaning, struggling to turn, may mean:
- Solenoid actuates but not as manly (spoken in the tone of the Dos Equis Man- LOL!) so contacts do not make good contact,
- Contacts are bad,
- Battery to weak.
#278
After the fix, mine never did it 
Click in glove box is of COR. Does not affect cranking but indicates ignition contacts of ignition switch are OK.
Clunk (not the light click of starter relay) in engine bay means starter relay energizes and solenoid is actuating. "Hearing power draw" like starter is groaning, struggling to turn, may mean:
- Solenoid actuates but not as manly (spoken in the tone of the Dos Equis Man- LOL!) so contacts do not make good contact,
- Contacts are bad,
- Battery to weak.
The starter is fairly new, but that doesn't mean it wasn't cheaply made. Its a Beck Arnley deeply regretting not rebuilding my factory starter. Battery did sit for about 4 months while my truck was down maybe it is weak and needs replacing
Edit: Battery reads 12.5 volts but that doesn't mean the cranking amps are where they need to be, leaning more towards starter being pooched. Thanks for the info
Last edited by bbrideau; 06-21-2013 at 07:07 AM.
#279
How the Charging System Works - UPDATED WITH GOOGLE PHOTOS
Moved to Classics Thread because it applies to most of those trucks...
Last edited by RAD4Runner; 06-26-2018 at 11:22 PM. Reason: UPDATED WITH GOOGLE PHOTOS
#280
Hello Rad... I was wondering when you get a chance if you could tell some more test points for my injector?/no start issue. https://www.yotatech.com/forums/f199...l#post52094962 The problem started on page 63 of my 86 Runner build to get a better idea of what I have done up to this point. I will add more info and try to make it fit into one post. There is no hurry. Thanks.
Last edited by Terrys87; 07-08-2013 at 11:20 PM.


