When you click on links to various merchants on this site and make a purchase, this can result in this site earning a commission. Affiliate programs and affiliations include, but are not limited to, the eBay Partner Network.
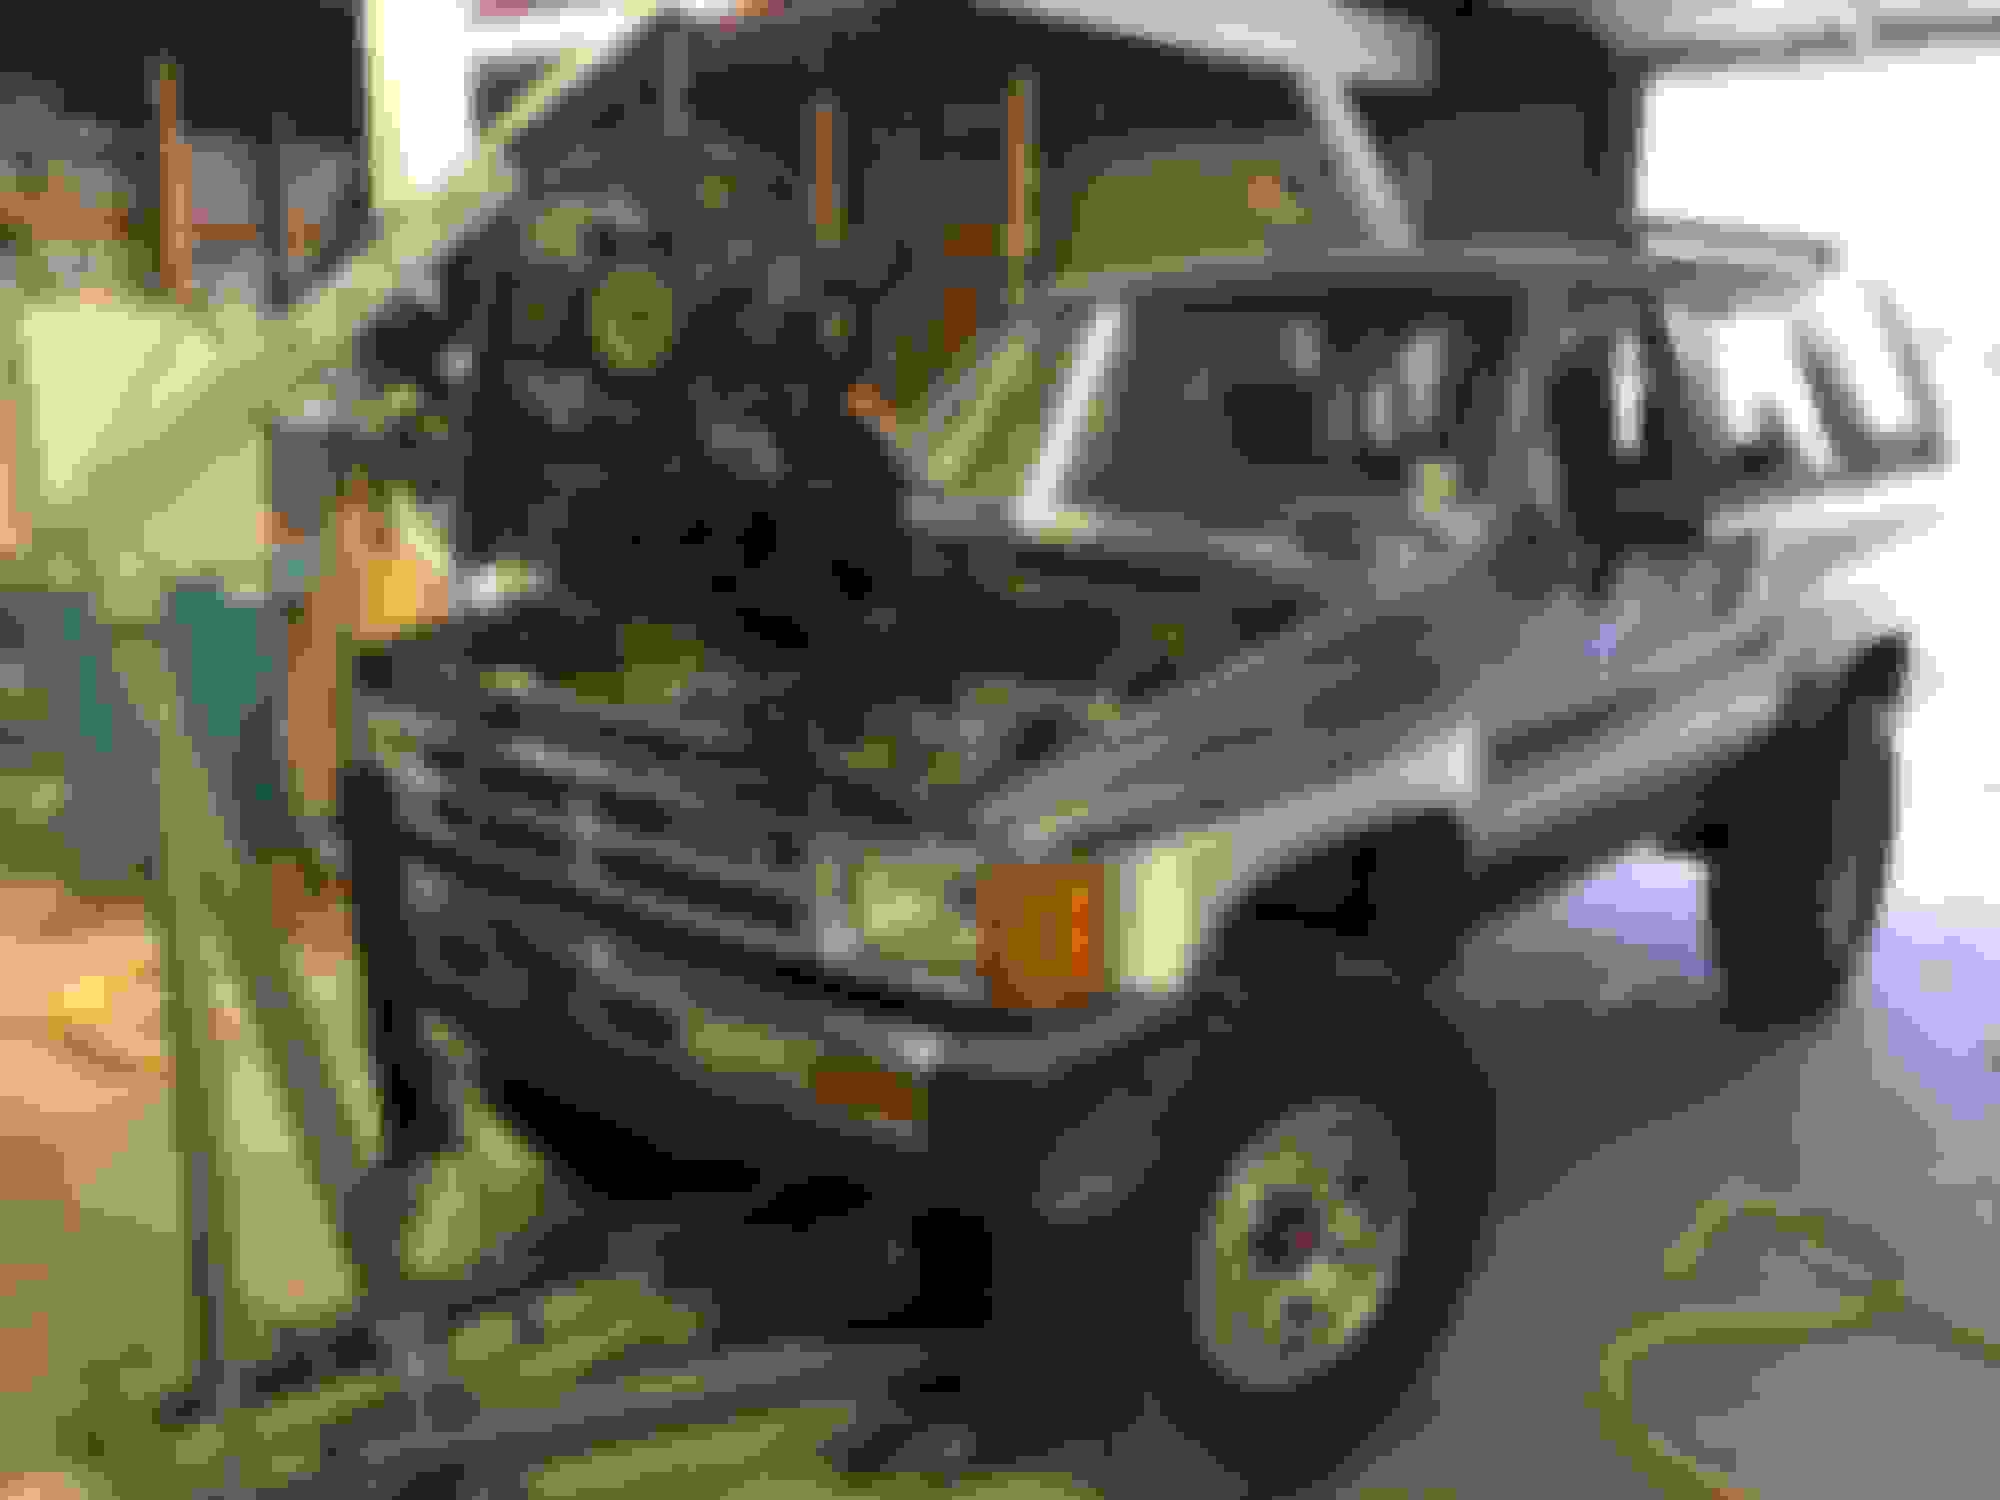
I started prepping to pull the motor. Though not all that sexy, I've got some pics for y'all. Intake cross-over - OUT. El Cheapo radiator - OUT - no dramas, along with the shroud and fan. Upper rad hose looks good, lower one is ˟˟˟t, added to the list to order. Disconnected and labeled the dizzy electrics and spark wire from coil. Disconnected the vacuum line that goes from one of the 37 valves to the charcoal canister, labeled it. Disconnected throttle cable from throttle linkage and also the A/C compressor lines after this photo was taken:
Then I turned my attention to the exhaust. I was not looking forward to this. I've heard horror stories about snapped studs; this all came apart like a dream. Granted, I had been spraying PB on these nuts while the truck was hot back when I was driving it. Still, I was amazed at how smoothly this step went. Likely do to the life this truck had in the desert.
The only "snag" was a stud on the header where it bolts to the downpipe that must have been broken by a PO. It's strange though, it doesn't appear snapped or sheared at all, it's super clean and it looks machined after the threads end. It's the middle one in the picture below. I'm likely not going to worry about it, I'll be replacing this manifold with a performance unit at some point in the future so I'm not going to bother with getting a new stud pressed in.
What I don't have a picture for is the work I started in unbuttoning the bell housing. I took most of the bolts loose from the bottom but have yet to tackle the two infamous bolts at the top but I think I've got a pretty good game plan (thanks Charchee). List of remaining work: Tranny bell housing bolts, engine mounts, wiring loom from computer and pass through firewall & a few random bits and bobs that connect the hunk I'm taking out to the hunk with the tires on it. Please let me know if there's anything I'm forgetting.
I wish I was tackling this tomorrow, I feel like I'm an hour or two from pulling the motor but the MIL is still in town for another couple of days and we're taking her to a plantation tour tomorrow. Looks like this is where she stands for another week. As always, thanks for looking y'all!
I didn't notice this while I was working on it but can see clearly in my second pic, the head is way cleaner than the block. The guy I bought it from said he "did the top end." Given the new water pump and replacement radiator, I'll take that as meaning he did a head gasket on this thing. Well, It's got a blown head gasket now so either something went wrong with the replacement or perhaps I've got a warped mating surface on the block from the previous time the HG blew. I'm so happy I'm doing a full rebuild of this motor. Fingers crossed I'm not also in the market for a block now. Only time will tell.
Well, I finally made the time to yank the engine out of The Striper. No one else was in the shop today so I had old Metallica banging on the stereo on 11, starting with Kill Them All and ending with And Justice For All.
It was easier than I anticipated. The hardest thing to detach was the bloody fuel line. After a failed attempt, I waited, then tried again after the engine was hoisted up a few inches so I could squeeze my friggin arm in there and get a wrench on it. After the motor was out, I got it mounted to the engine stand and walked over to NOLA Brewery to meet the wife for a beer and dinner. I had the Irish Channel Stout and a pulled pork sandwich with a side of mac n cheese.
With a full belly, I moved on to hoiking the engine (on its stand) up to the mezzanine where I'll be doing the rebuild. Pictured below is my first non-attempt. I was going to strap the engine stand to the tines but buggered that idea off, then went for a pallet before I remembered the tines are two inches short of a standard pallet and don't support the last stretcher in the pallet and make for an unstable load. How the stinky corn hole there ever was made, a pair of forklift tines that won't pick up a standard pallet, I'll be left scratching my head about until I die. Fat and confused.
But alas!
I didn't have a spotter, so there were a few backs and forth to make sure I didn't dump the thing or smash into anything. Here she shall live, be torn apart and be reborn from the ashes. This warehouse is in New Orleans, mind you. For anyone that's never enjoyed our fair city in summertime, it's hot. Like, swamp ass at 6:45 in the morning hot. This mezzanine resides in a big timber-frame and sheet metal warehouse with zero insulation and not a ton of ventilation. There's going to be a lot of fans and little or no clothing during this rebuild. Lot's of sweat, many beers.
PO put a new rear main when he did the clutch, like a GD champion
Lots of oil in the bell housing. If PO did the rear main, this is likely coming from the tranny, no?
Stupid power steering gear box. It's made such a huge mess, dumping fluid everywhere. I need a rebuilt unit, if anyone knows where I can find one.
I will definitely be doing the front suspension work while the engine is out. Look how easy the UCA's are going to be to get at! Blazeland kit is here collecting dust. Also, rancho steering stabilizer, new bilstein shocks, 4crawler idler arm, moog ball joints and a few other bits and bobs. I just got a big ol' IFS chubby.
FUBAR control arm bushing
Hmm....Something missing here.
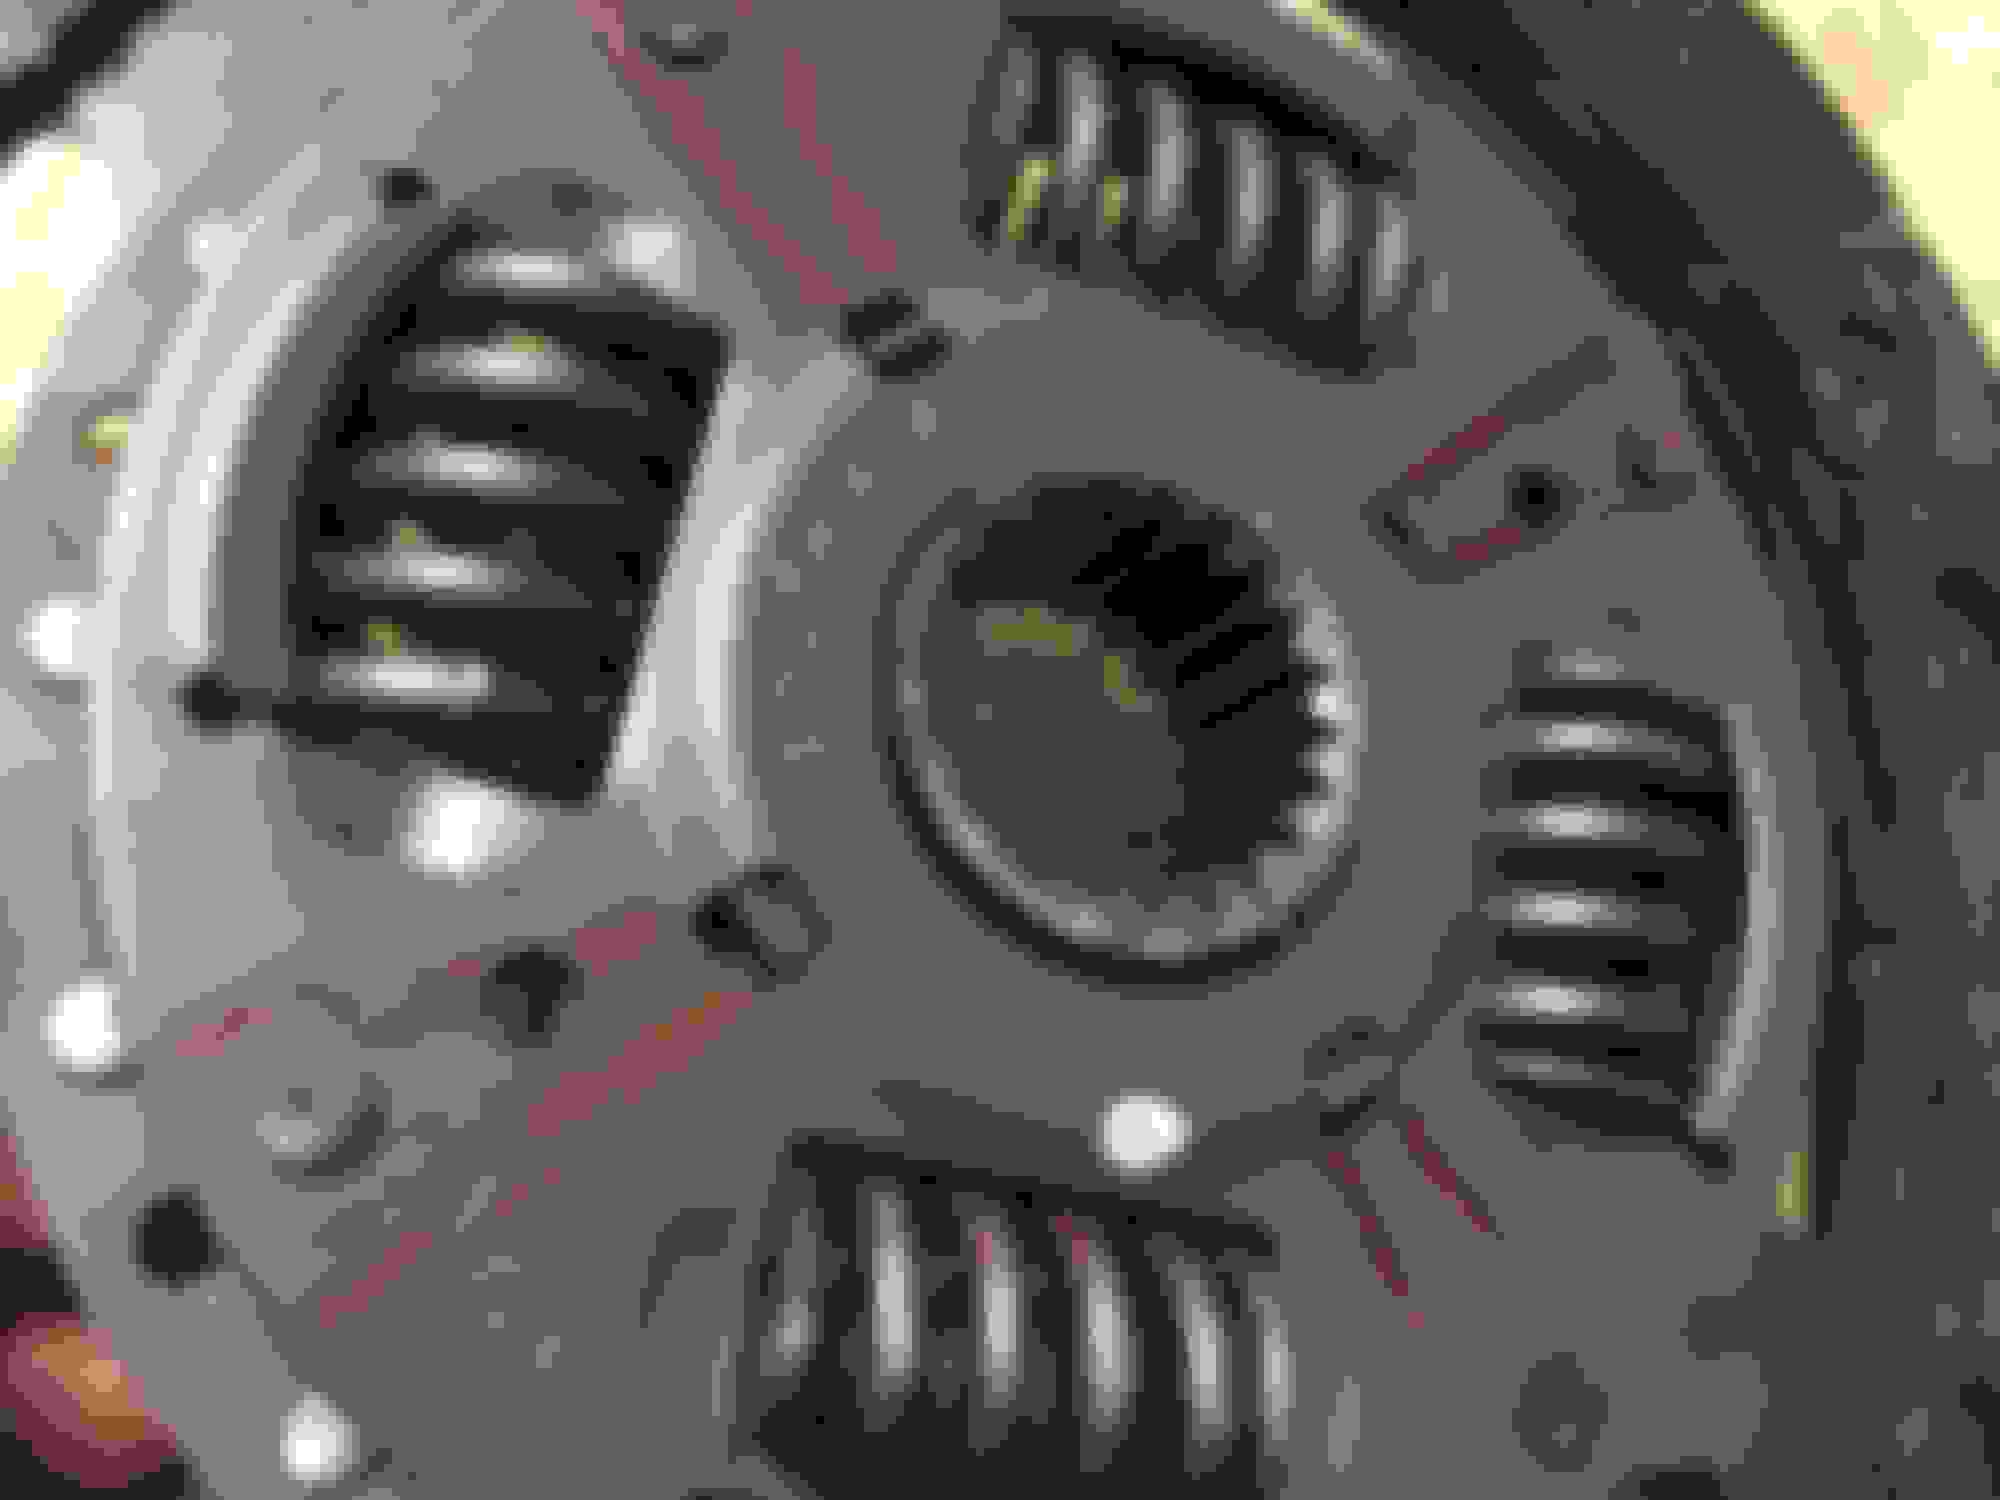
New LUK clutch PO put in. Not sure if I'm going to keep or replace.
Are these veins in the fly wheel okay? Never seen it before.That is it! For now, anyway. As always, thanks for stopping by.
Last edited by Heironymous Josch; 06-18-2017 at 10:55 AM.
Reason: Didn't spell real good first time.
I took a break from the motor to pressure wash the under side of the truck, paying close attention to the front suspension components as I'll be pulling it apart very soon. It is so satisfying to blast away all of that grime and it's going to make working on the truck so much more enjoyable. I've found some areas where surface rust needs to be addressed. Any part I touch on this truck is going to get the VIP treatment - cleaned, polished and/or coated, re-greased and sealed. I plan to get it showroom clean and do my best to keep it that way. Since I'm this far, I'm considering pulling the transmission, resealing and painting it. There was crap tons of fluid all over the transmission case and I don't know where it was coming from. I really need to get this thing on a lift to properly clean all the nooks and crannies and paint the frame. Nonetheless, the pressure washing I did today made a pretty solid dent in the built up grime. You can see a before shot of the engine bay in my previous post.
That's all I've got for today. Man, it felt good having a weekend in the shop. I'll likely start breaking down the motor after work throughout the week. I need to have a look inside before I confirm my order with Ted at Engnbldr. As always, thanks for looking. If you've got any input, I'm all ears! Happy wheeling!
Anyone have any experience with KBS RustSeal? I've used POR-15 in the past for motorcycle fuel tanks and I've heard of guys using it for suspension and chassis parts but it's bloody expensive. I've been reading around and have heard some good things about this KBS product, just curious what you guys think.
I've used it and like it a lot. From what I understand, kbs rust seal is an updated chemical composition that is supposed to be more UV resistant, lays down and adheres better than earlier versions of moisture-curing urethane paints. That's only hear-say though cause I haven't used any other brands. Also, even though it costs more I think it's worth it to buy their brand of thinner, degreaser and acid prep. Like por-15, prep is crucial and the first time I brushed it on I did a poor job. Most of it held up ok, but why not do it right and get the best paint job possible?
I've used it and like it a lot. From what I understand, kbs rust seal is an updated chemical composition that is supposed to be more UV resistant, lays down and adheres better than earlier versions of moisture-curing urethane paints. That's only hear-say though cause I haven't used any other brands. Also, even though it costs more I think it's worth it to buy their brand of thinner, degreaser and acid prep. Like por-15, prep is crucial and the first time I brushed it on I did a poor job. Most of it held up ok, but why not do it right and get the best paint job possible?
My dad always told me, you should spend at least twice as much time prepping as you do actually painting. Luckily the KBS Klean and RustBlast are cheap compared to the finish, so there's no good reason not to prep it right. I'm going to have a mix of painting parts off of the truck, where I can wire wire and scuff to perfection, and in situ, where the prep will inherently not be 100%. That's unavoidable though.
Nice work, glad to see it getting the VIP treatment!
You can probably use that forklift to lift the body off the frame to make painting a lot easier too. I have plans to do that to my truck someday in the not too distant future...
Looks like you're settling in for the restoration long-haul, good luck!
This right here is why I love yotatech. What a wonderful idea and the thought never crossed my mind. Magnet, I'm going to do just that and I'll take lots of pictures when I do.
Whoda thunk an impending tropical cyclone would bring such good fortune? I'm embedded in a heavy civil construction company as part of a thing for work and the second half of my shadowing day got called off due to weather. Also, it was 75 degrees, which is almost unheard of this time of year. That cool air combined with the constant rain made conditions in the mezzanine better than I can expect for the rest of the summer. I took full advantage and started breaking down the motor. I've got a few pics here I'd love some feedback on, if anyone has any.
First up, pictured below are two busted vacuum valves. I found a random disconnected vacuum line when I pulled the motor; It very well could have been connected to one of these skuzzy-bums. I have decided to delete any emissions control garbage I can when this thing goes back together. I've seen some write-ups here on YT, so I plan to do some reading. I knew one of those valves was fracked before the teardown and came to find out it couldn't be replaced new. I'm over chasing a rough idle and vacuum leaks. Ces't la vie.
Before I move on, I've been meaning to ask - Some guys have a plate on top of the valve cover that all the vacuum valves clip to and it cleans up the top end of the motor heaps. Is this an addition to later 22re's? I'm not sure what I'll still have after the EGR and emissions deletion but I'd love to tidy up any remaining vacuum lines. If it's a part from a later model year, I'll try to find one.
Next up - Injectors. I don't know how to tell if they're dirty or restricted by eye but I do know that some of the rubbers on these are FUBAR. I remember reading here on YT about a company, Mad Dog or something, that will recondition our injectors for about $100. These are going to get that treatment.
I'm an idiot. I couldn't for the life of me get the intake manifold off after removing all of the bolts and nuts. I knew that a paper gasket shouldn't stick so hard that a couple of soft whacks with a dead-blow wouldn't break it loose, so I searched and searched for the bolt I must have missed. Didn't find it. Sprayed PB on the joint for turds and glitter, let it soak then gave it another couple of whacks. No go. Here's where I put me stupid hat on. I took one of my knock-about woodworking chisels and positioned it flat side down on the plate of the head just behind the intake and softly drove it into the gap. I hated this the whole time, I knew the bevel of the chisel would easily deform the aluminum intake manifold. I did it anyway because I'm an imbecile. I drove the chisel in until I got about 1/16" of separation between the head and the manifold but the thing still didn't break loose. Then I knew most certainly that I'd missed a bolt or nut somewhere. I took a step back and zenned out. That's when I noticed the allen bolt just below the thermostat housing. Once removed, the manifold came right off and I, indeed, did damage the very edge of the intake manifold a little bit. I guess I'll have to add that to the list for the machine shop. I just hope I didn't introduce a hairline crack anywhere. Anyone has a spare intake manifold laying around that's in good shape, please let me know.
Lot's of oil in the intake manifold. That's not supposed to be there!
Anyone have any idea what this gunk is in the water pump? Also, in the background, the aforementioned manifold mangler.
This was just before I took the head off.
Some minor signs of "milk shake" on one of the head bolts. Speaking of which, head bolts 5 & 8 where absolute C yoU Next Thursday's to remove. I thought 8 was going to snap. Luckily, it didn't and I'll be ordering a new set from ENGNBLDR. I will pay special attention in making sure the threads are cleaned out properly on the block so there's no issue upon reassembly.
Another weird thing. I thought the knock I heard before taking the truck out of service was chain slap and maybe it is but I can't see any damage to the timing cover. In the picture below, you can see "tracks" in the head but not on the timing cover. Which means the timing cover and presumably the guides were replaced at some point. Whoever did the work replaced the crappy OE plastic guides with new crappy plastic guides. Some people's children. I'll be getting the timing kit with a steel passenger side guide from Ted at ENGNBLDR.
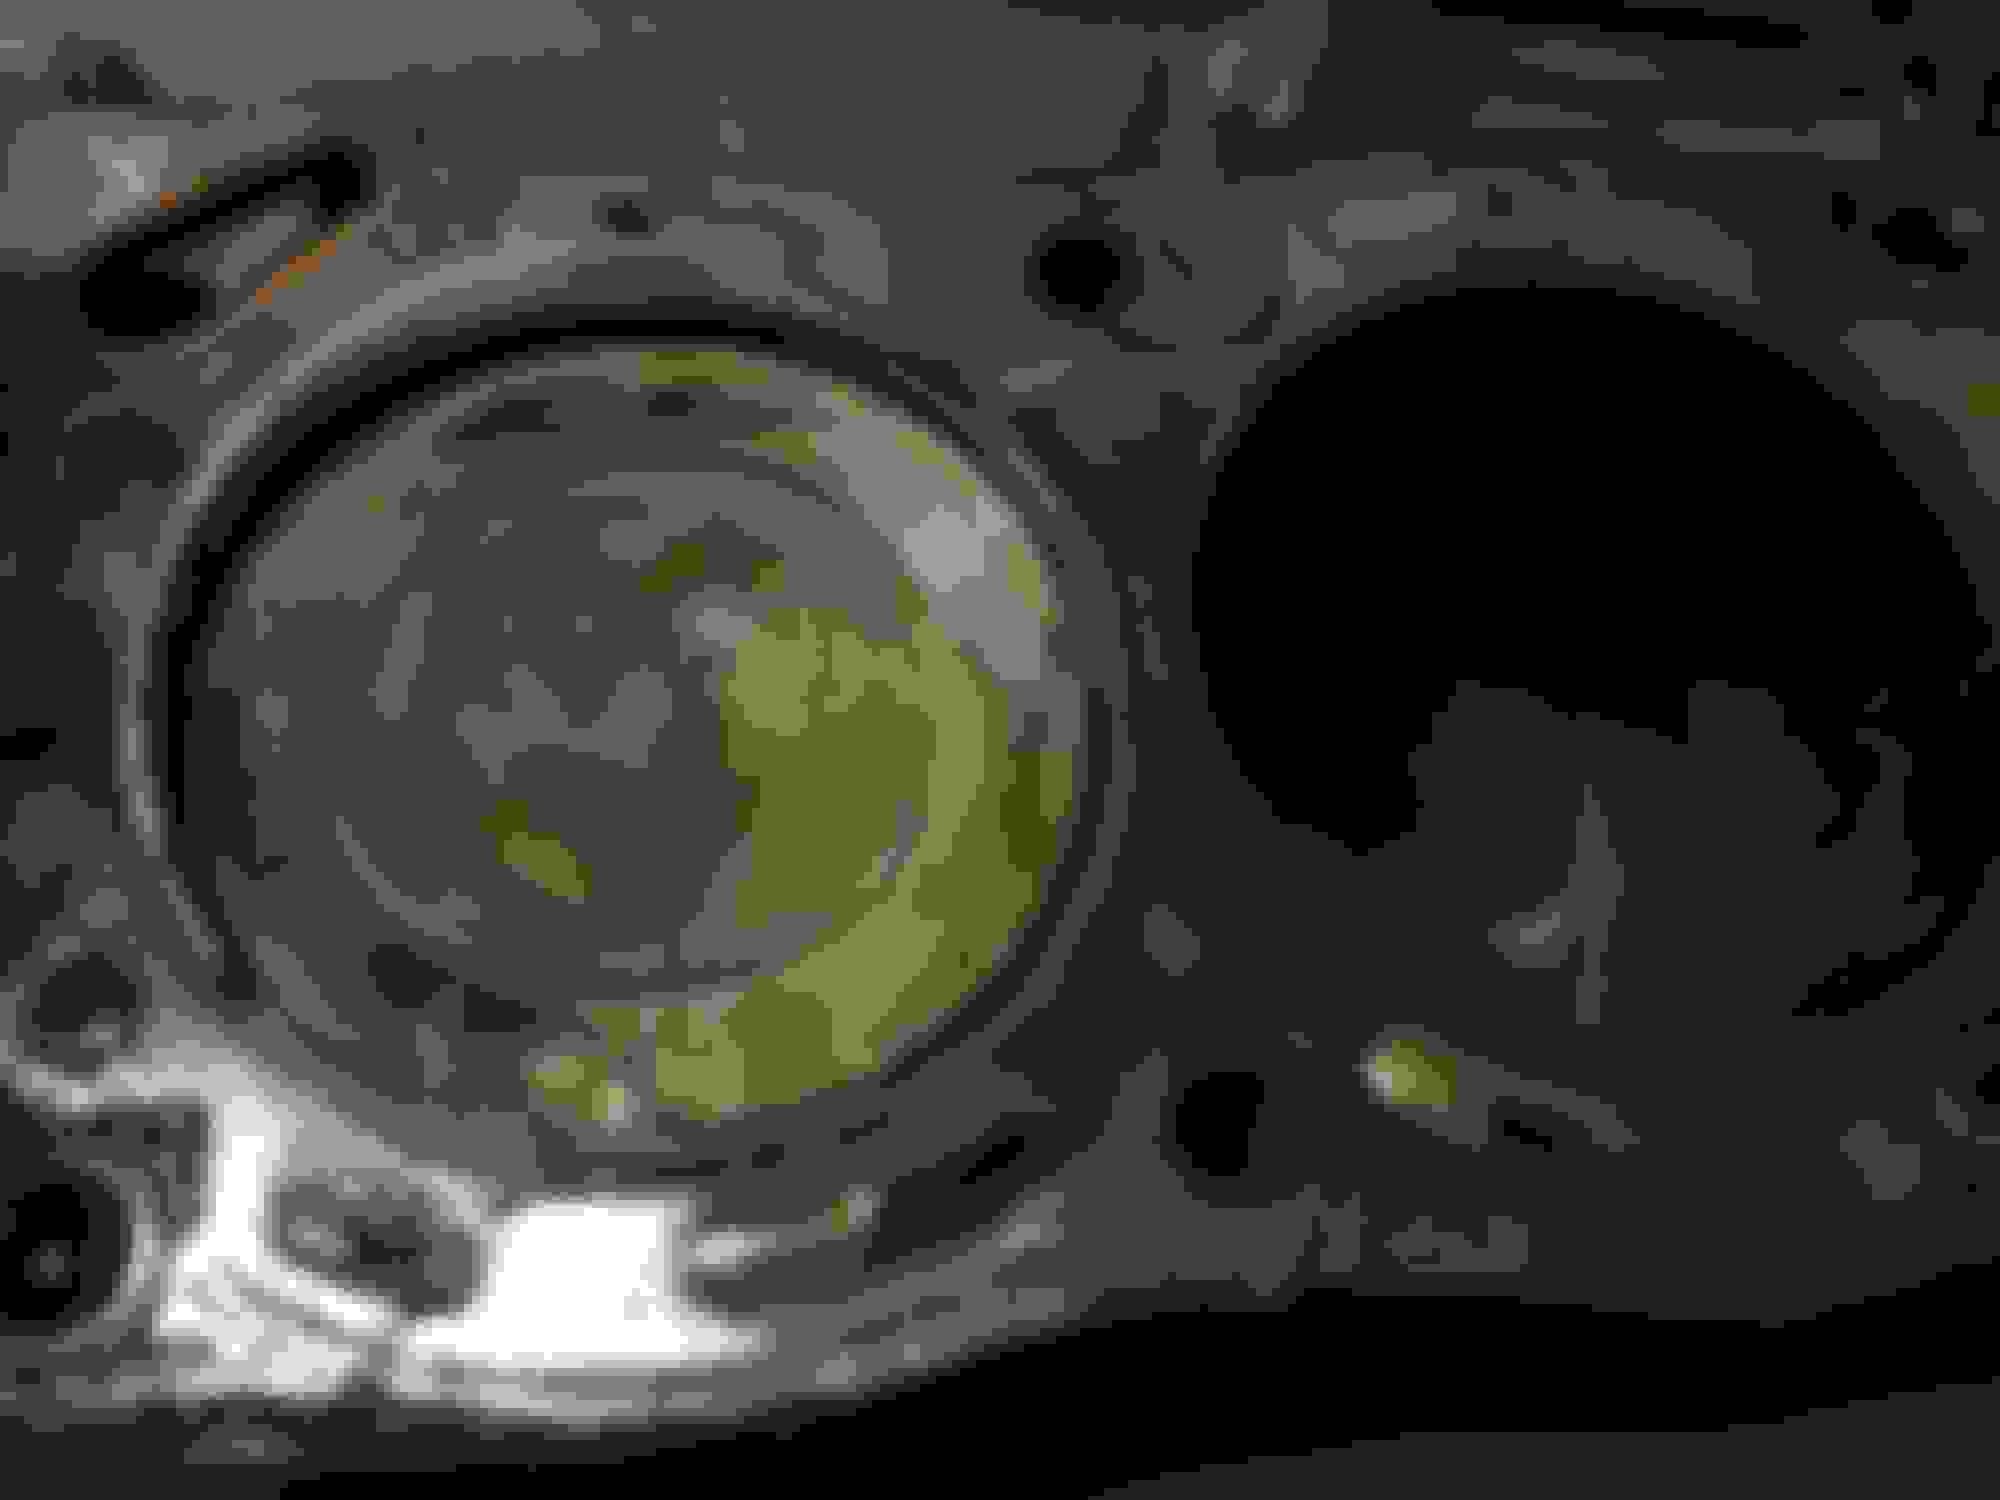
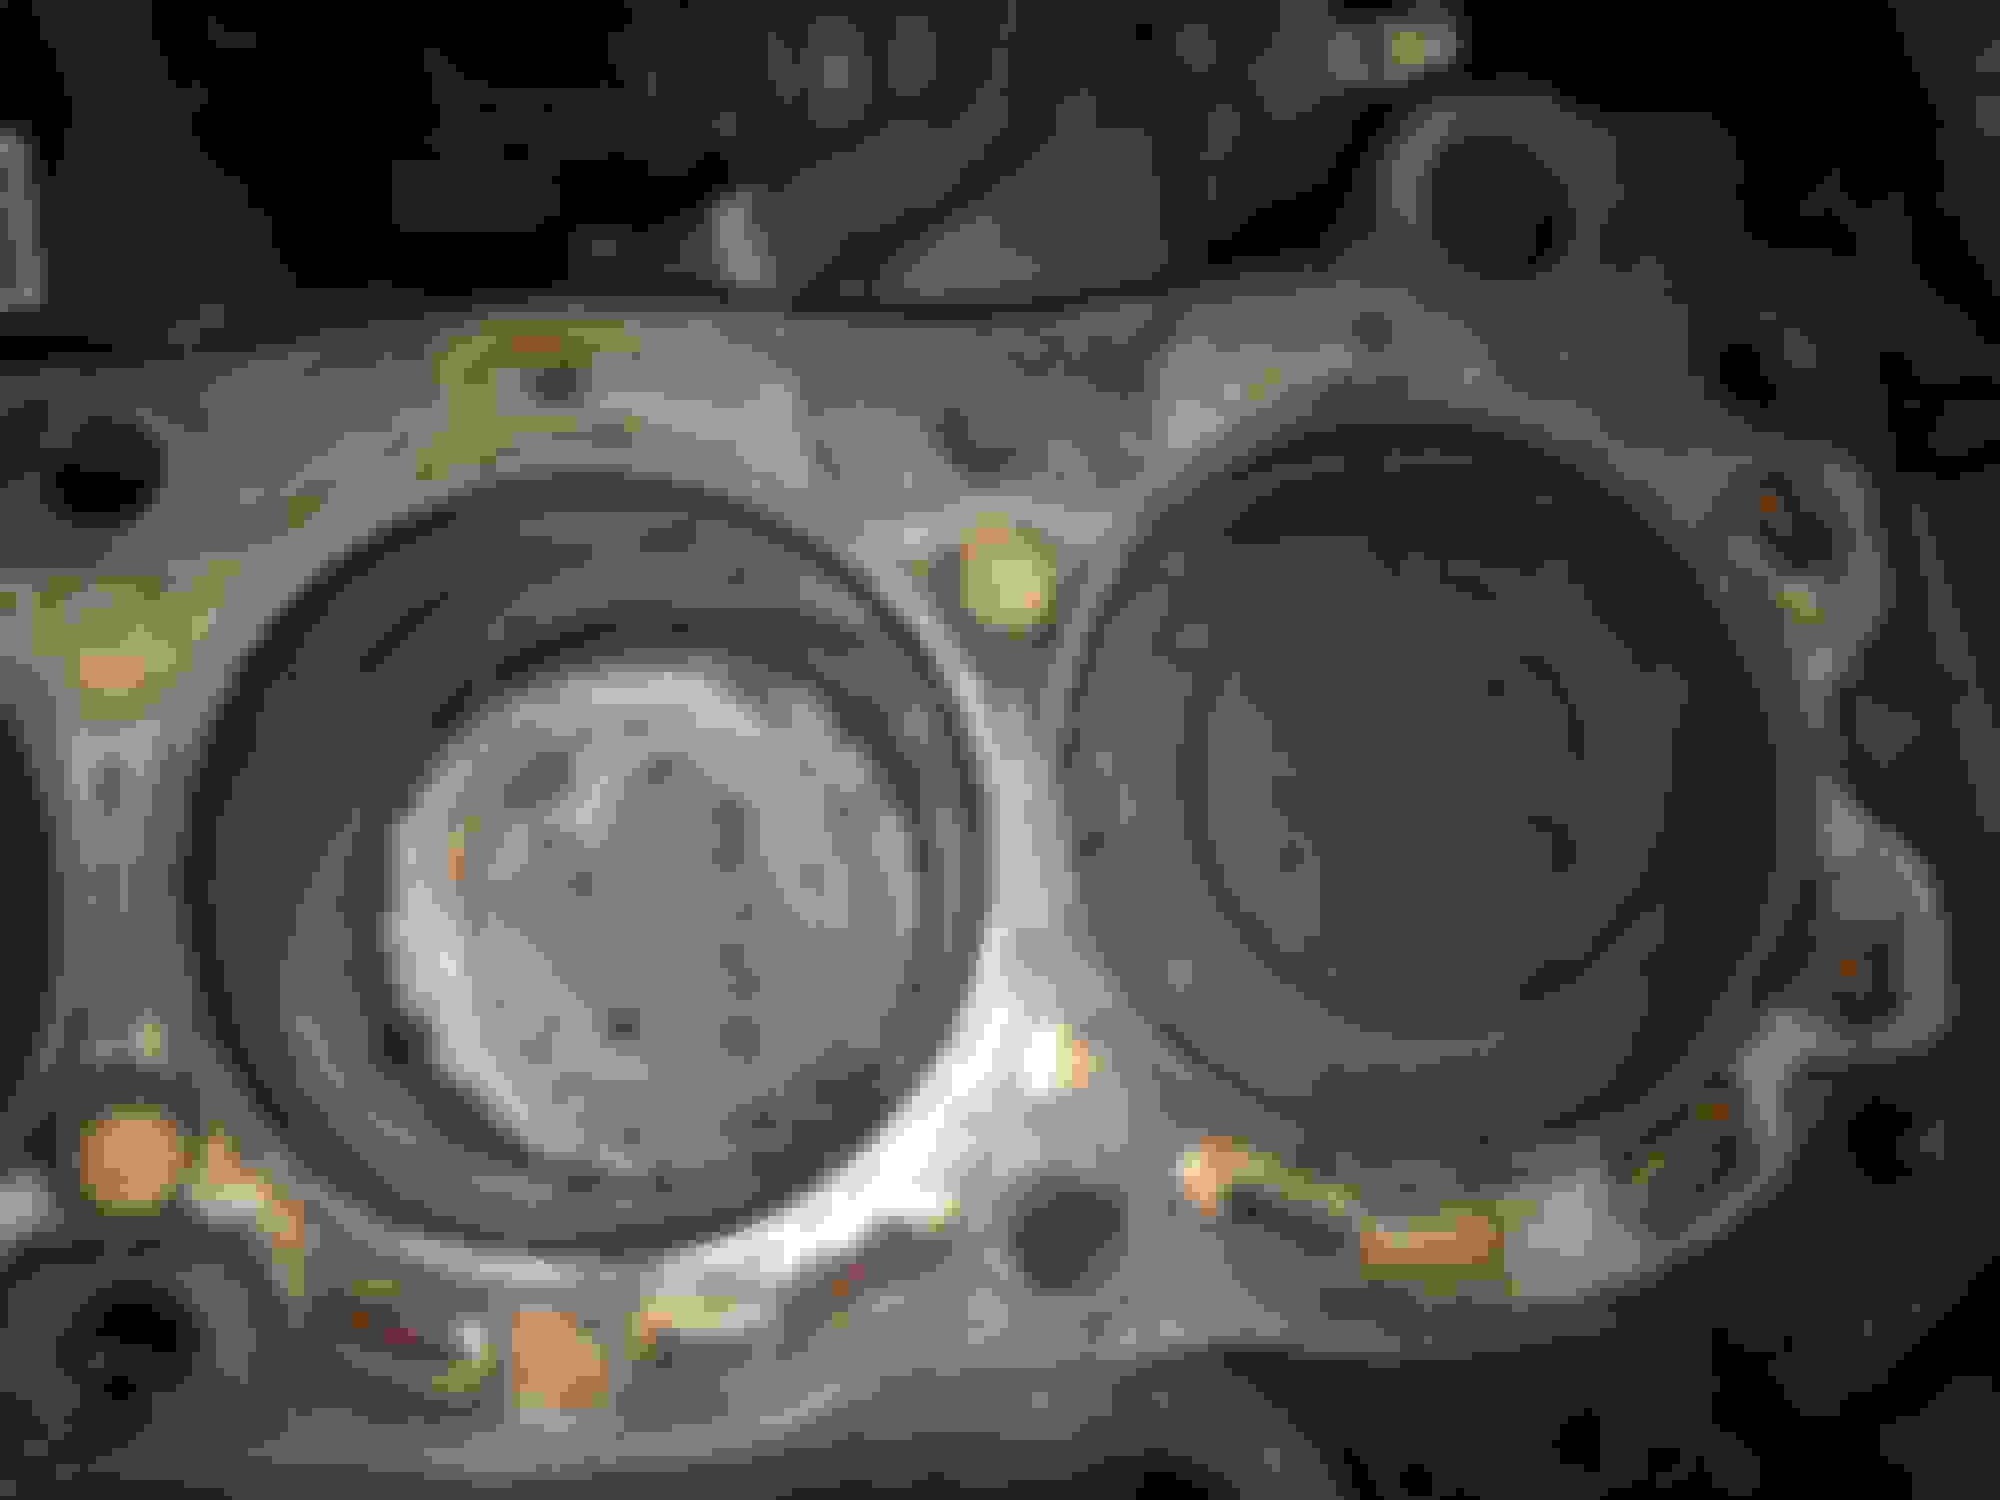
I wasn't totally sure where the failure was in the head gasket, however there were two spots right next to cylinders 1 & 4 where the gasket had delaminated and was coming apart. I'm going to go ahead and say, that's not a good thing. Also, What's with the small punched holes in the gasket where there's oil and water passages? Is this normal or is this an El Cheapo HG?
That's it for now. Next time, I'll finish breaking down the motor. I still haven't found the smoking gun for my loud knock so I'm expecting carnage either in the sump or behind the timing cover. Till next time!
Josch
Last edited by Heironymous Josch; 06-20-2017 at 07:03 PM.
Getting rid of emissions should minimize vacuum leaks, as long as the hoses you keep are in good shape. IACV air hoses are suspect if original as is the accordion intake hose.
My 85 didn't have that vc top plate, and I've only seen it in photos of 2nd gen runners and same-year pickups, so it's likely a '90-up addition. Judging from the Haynes manual, Toyota kept adding emissions lines after '86 and didn't stop till they made the "cleaner" rz series engines.
Good idea to have the injectors clean, rebuilt and balanced while you're this far in.
That Allen head intake bolt really gets people. I'm surprised you were able to remove it without drilling it out at that point. Usually it gets pulled first while the other bolts take tension off it. After what it went through, replace the plenum, it would be sad to have it leak coolant on first start-up. Hopefully the lower manifold is ok?
That gunk in the water pump is the same milkshake as in the head. Head gasket was done for. Also, the coolant holes are punched out like that on that side, not sure why, but Toyota OEM is the same. Those rings that are falling apart seal the combustion chamber so once they fail, you've got problems. Looks like the engine overheated badly at some point, with that hg failure and milkshake. I bet the head is warped.
Hopefully you have a good machine shop in line. When you get a quote for the work, get it in writing and use it as leverage later on. The shops around me quoted low to get my engine. I chose the one that said they've done 22re's but after the work was done they acted like my engine was so foreign that of course they had to charge much more. I was too shocked to protest and had nothing in writing so my wallet got executed right there on the spot.
Getting rid of emissions should minimize vacuum leaks, as long as the hoses you keep are in good shape. IACV air hoses are suspect if original as is the accordion intake hose.
Most of the vacuum hoses were in pretty bad shape, truthfully. Those that do remain after the emissions deletion will have to be replaced with new. Good tip on the intake hose, I may look into removing it and the airbox completely and going with a K&N cone element.
My 85 didn't have that vc top plate, and I've only seen it in photos of 2nd gen runners and same-year pickups, so it's likely a '90-up addition. Judging from the Haynes manual, Toyota kept adding emissions lines after '86 and didn't stop till they made the "cleaner" rz series engines.
Depending on how many vacuum lines and valves I've got left on the top of the engine, I may look at trying to get one of these from a junkyard.
Good idea to have the injectors clean, rebuilt and balanced while you're this far in.
That Allen head intake bolt really gets people. I'm surprised you were able to remove it without drilling it out at that point. Usually it gets pulled first while the other bolts take tension off it. After what it went through, replace the plenum, it would be sad to have it leak coolant on first start-up. Hopefully the lower manifold is ok?
Yeah, it's a shame. It's a mistake I knew not to make and did anyway. When you say replace the plenum, are you referring to the lower intake manifold assembly? If I can't find a replacement, is it unlikely flattening from the machine shop will remedy any issue at the connecting plate? You ask if the lower manifold is ok, that is the only part I pried on, well between it and the head. I also suspect that with where I was prying on it, the only leak I may have would be intake vacuum between the head and the intake manifold, maybe I'm wrong.
That gunk in the water pump is the same milkshake as in the head. Head gasket was done for. Also, the coolant holes are punched out like that on that side, not sure why, but Toyota OEM is the same. Those rings that are falling apart seal the combustion chamber so once they fail, you've got problems. Looks like the engine overheated badly at some point, with that hg failure and milkshake. I bet the head is warped.
Good to have confirmation. This was my suspicion about the rings at the cylinders. I've just never seen an HG failure of this type. Also, I'm not worried about the head as it's being replaced with a new Street RV unit from ENGNBLDR. I'm more worried about the block.
Hopefully you have a good machine shop in line. When you get a quote for the work, get it in writing and use it as leverage later on. The shops around me quoted low to get my engine. I chose the one that said they've done 22re's but after the work was done they acted like my engine was so foreign that of course they had to charge much more. I was too shocked to protest and had nothing in writing so my wallet got executed right there on the spot.
I've got a good shop lined up but getting the quote in writing is a great idea. Good craftspeople in New Orleans are few and far between, I hope they don't bend me over a barrel because it is likely they're the only ones within 100 miles that can reliably do the work.
Oops, don't know why I brought up the upper intake (called the "plenum") it wasn't even in the equation so wasn't damaged at all. Brain-fart plain and simple. I suspect as I age I'll have more rather than fewer of them...
IIRC, there are 3 fairly large coolant passages at the intake-to-head interface and that is what I would worry about more than a vacuum leak, which would also be a very bad thing. You can have the shop measure it for flatness and check it for leaks (they can weld it and resurface if need be), but I'd look for a replacement if I were in your shoes, depending on cost and availability.
You don't have to explain brain farts to me! I started teaching last year and sometimes I forget what I'm saying mid-sentence, with 20 impatient and unforgiving teenagers in front of me. I'm only in my mid-thirties, so I'm terrified of what the future holds for me.
I will be looking for a replacement manifold and also have the machine shop look at the part. I want to control any known variables as the unknowns are sure to crop up as I rebuild and re-install.
Also, I've done a bit more research on EGR and vacuum deletion and the general consensus is that these EFI motors run better with the EGR system and various vacuum-driven emissions doo-hickies so I think I've talked myself back into keeping and straightening out these systems. This also does ensure that I can sell the truck in any region, regardless of emissions standards.
Last edited by Heironymous Josch; 06-21-2017 at 05:53 PM.
Previously, I've run EGR block-off plates, removed both vsv's and capped the p/s vac lines and I prefer how it runs with it all hooked up once I learned how to get everything functioning. If the EGR valve seems stuck, hit the pintle (valve inside the flying-saucer shaped thing) with penetrating oil and press on it through the holes with a screwdriver to free it up. Don't tear the rubber surround! New OEM vacuum lines can be ordered through 22reperformance.com.
Previously, I've run EGR block-off plates, removed both vsv's and capped the p/s vac lines and I prefer how it runs with it all hooked up once I learned how to get everything functioning. If the EGR valve seems stuck, hit the pintle (valve inside the flying-saucer shaped thing) with penetrating oil and press on it through the holes with a screwdriver to free it up. Don't tear the rubber surround! New OEM vacuum lines can be ordered through 22reperformance.com.
Yeah, I'm sold. I'm going to refurb the EGR system and replace the vacuum lines. I've also got to replace these two valves as they've both got busted nipples:
They're no longer available new as OE replacement parts, I checked with the stealership. I'm going to have to find used replacements. Thanks for your help, gsp.
I finished stripping the block today. I was really hoping to get the control arms out of the truck so that my fabricator could start doing the long travel this week but it'll have to wait a little while. The block is ready to go to the machine shop and I'll be placing my order with Engnbldr this week. Very bloody exciting.
Given that I hadn't found a smoking gun, I expected to find carnage in the bottom end. I was disappointed when I got the oil pan off. You can just barely see a cylindrical plastic bit on the strainer. That's all there was there but there was a fair amount of fine metallic grit in the bottom of the oil pan.
Behind the timing cover, everything looked normal. Still a bit perplexed why there was so much slack in the timing chain. I thought maybe a faulty tensioner but it seems to be working as it should.
I was starting to get nervous. Did I opt for a full rebuild when it wasn't necessary. I'm not crazy, I was getting a helluva knock. This was the rod bearing from cylinder 1, 4 looked just like this - only very minor pitting. No smoking gun, that's for sure.
Cylinder 2 rod journal and everything around it was coated with HEAPS of carbon. All the others looked pretty normal. Definitely a little suspect.
Then, finally, the smoking gun!!! Completely buggered rod bearing on Cylinder 2. Likely no coincidence that it's the one cylinder with tons of carbon build up, though I'm still a little perplexed as the piston rings appeared okay. Granted, I'm no expert at inspecting rings but they weren't visibly damaged or worn though I suspect there was some combustion blow-by on 2 that led to the failure of the rod bearing. This thing wasn't even sitting where it was supposed to in the journal when I took the rod loose. At first I thought one part of the bearing had broken in half because the joint between the two parts of the bearing was up. It's completely shot. The mid-section of both halves is worn away about 2 mils on either side. I let out an audible, "YES!!" feeling vindicated that the knock wasn't in my head.
I checked oil clearances for everything and thrust clearance on my way out - all checked out in ideal range. Visible wearing with copper showing through in spots on the thrust bearings but thrust clearance still well within spec. All main bearings visually checked out and had good oil clearance readings with the ol' plastigage, should I be replacing these anyhow? Also, I'm assuming with the bad rod bearing, I'll replace all 4 and check oil clearance again on reassembly?
Time to put my order together with Ted. Can't wait to get this thing put back together. Speaking of which, I need to research which gasket seals I'm going to need. Thanks for stopping by, y'all!

 06-03-2017, 07:16 PM