When you click on links to various merchants on this site and make a purchase, this can result in this site earning a commission. Affiliate programs and affiliations include, but are not limited to, the eBay Partner Network.
Trying to catch up on some of the other things I did along the way. In no particular order, here goes:
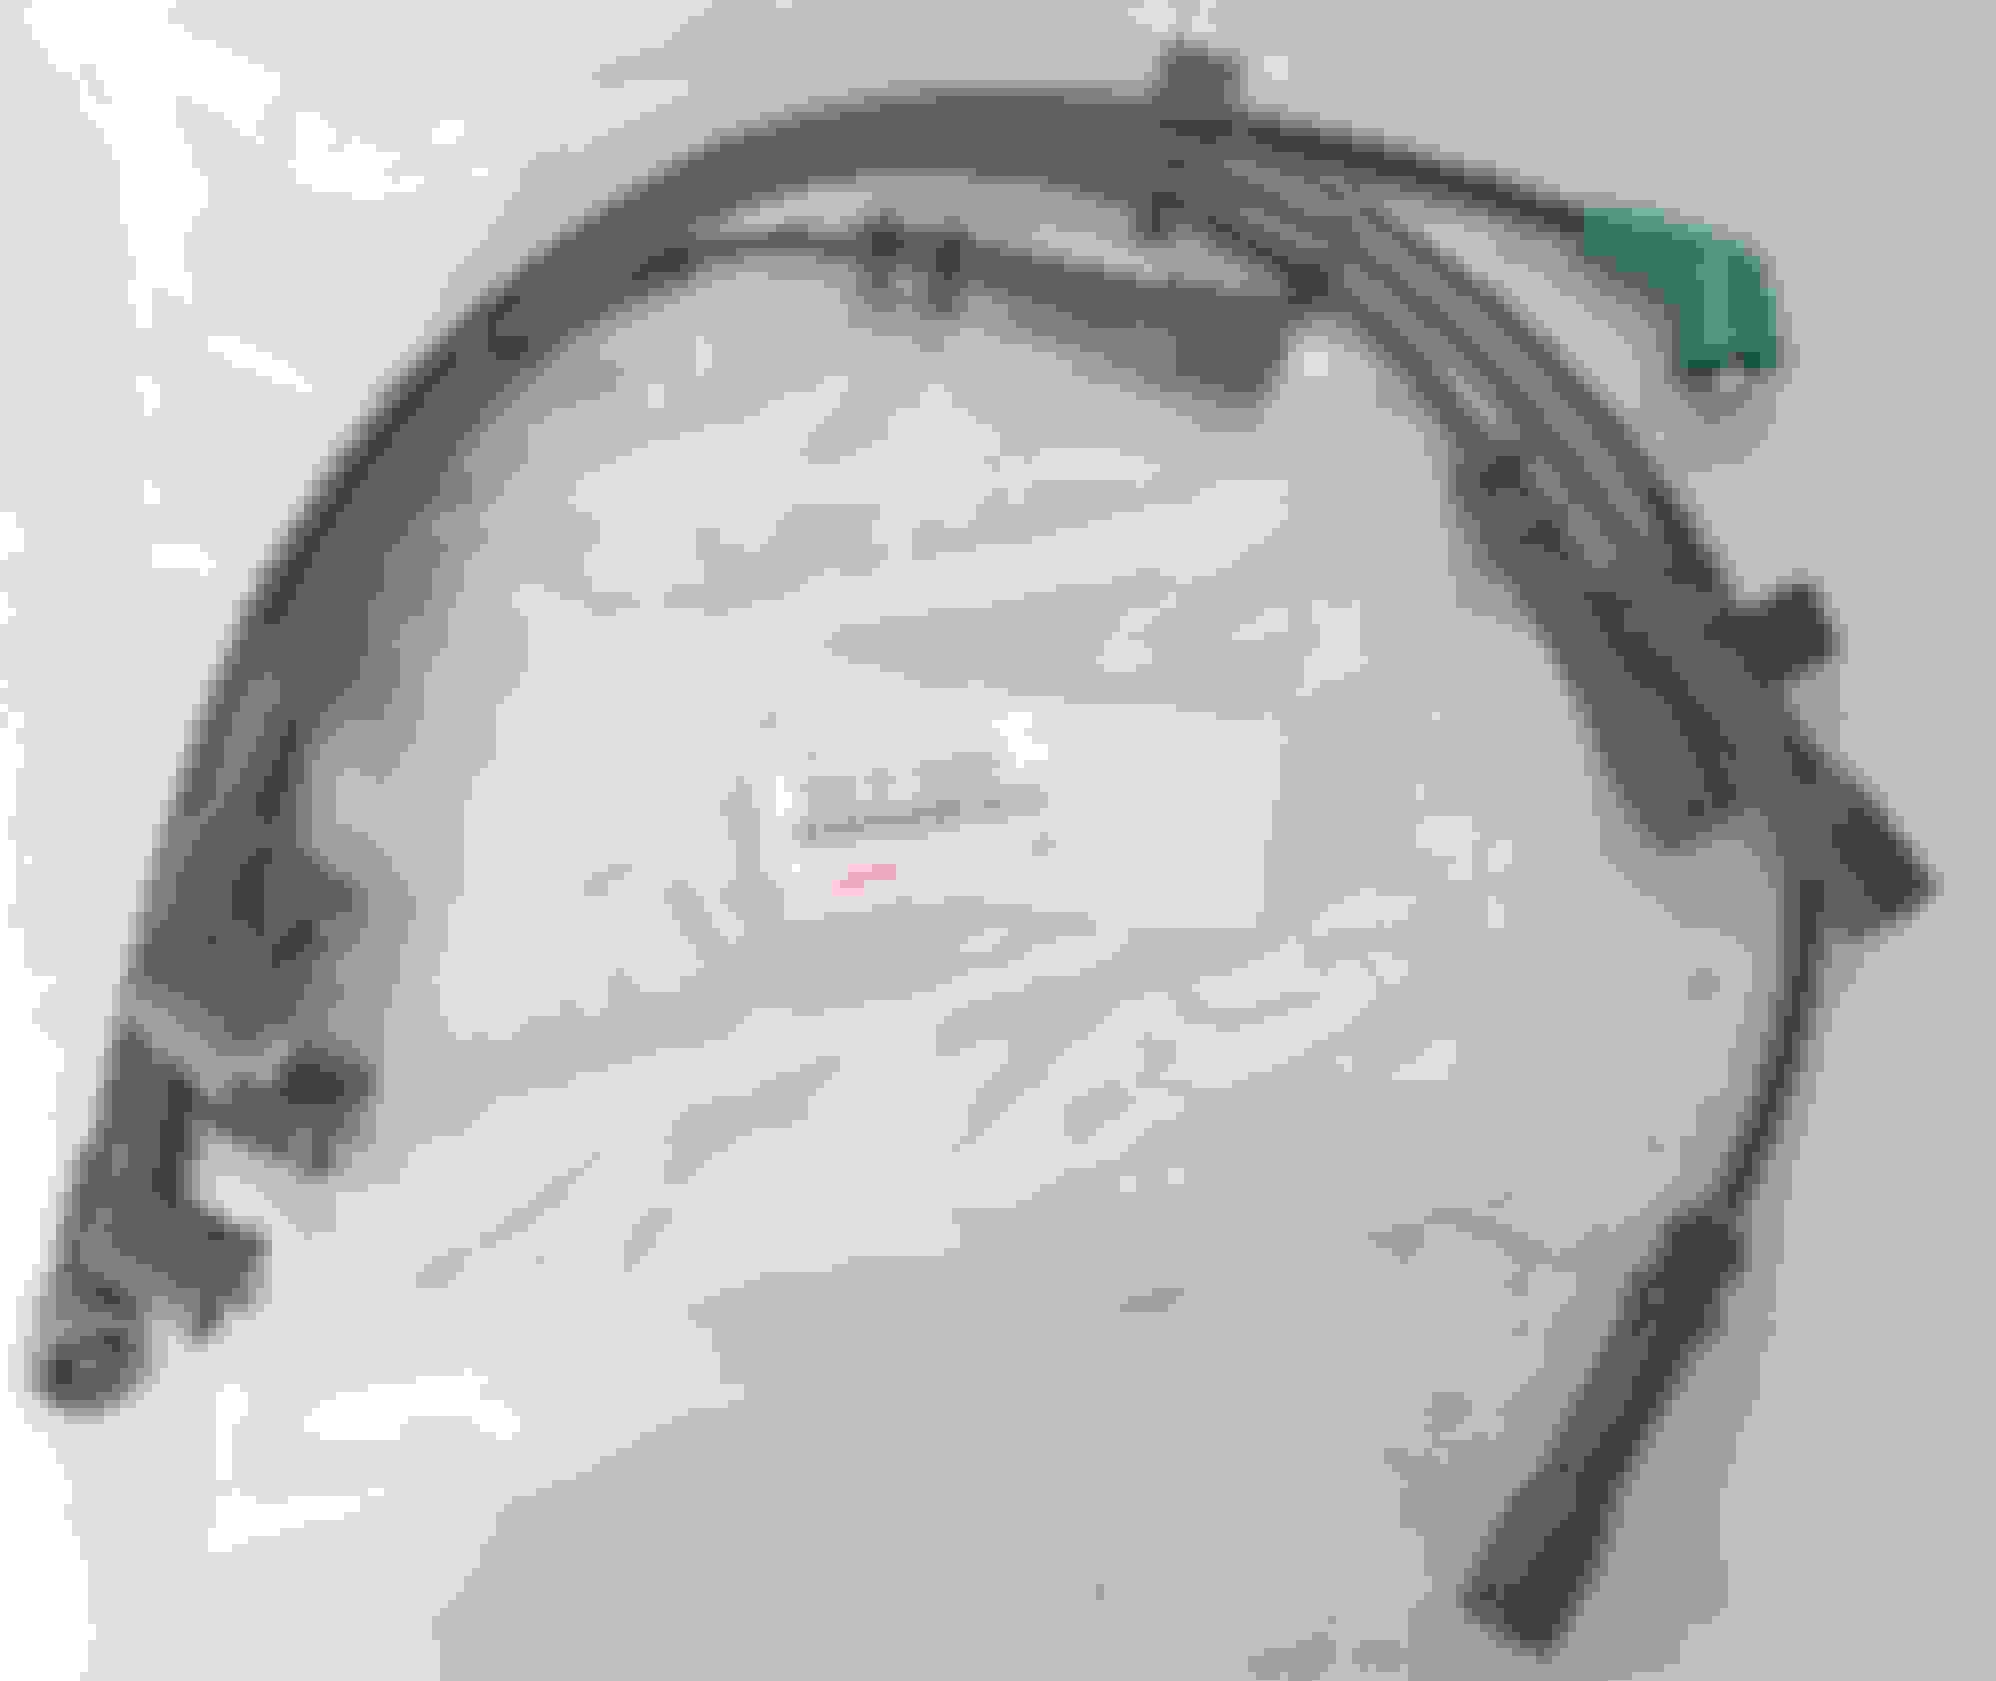
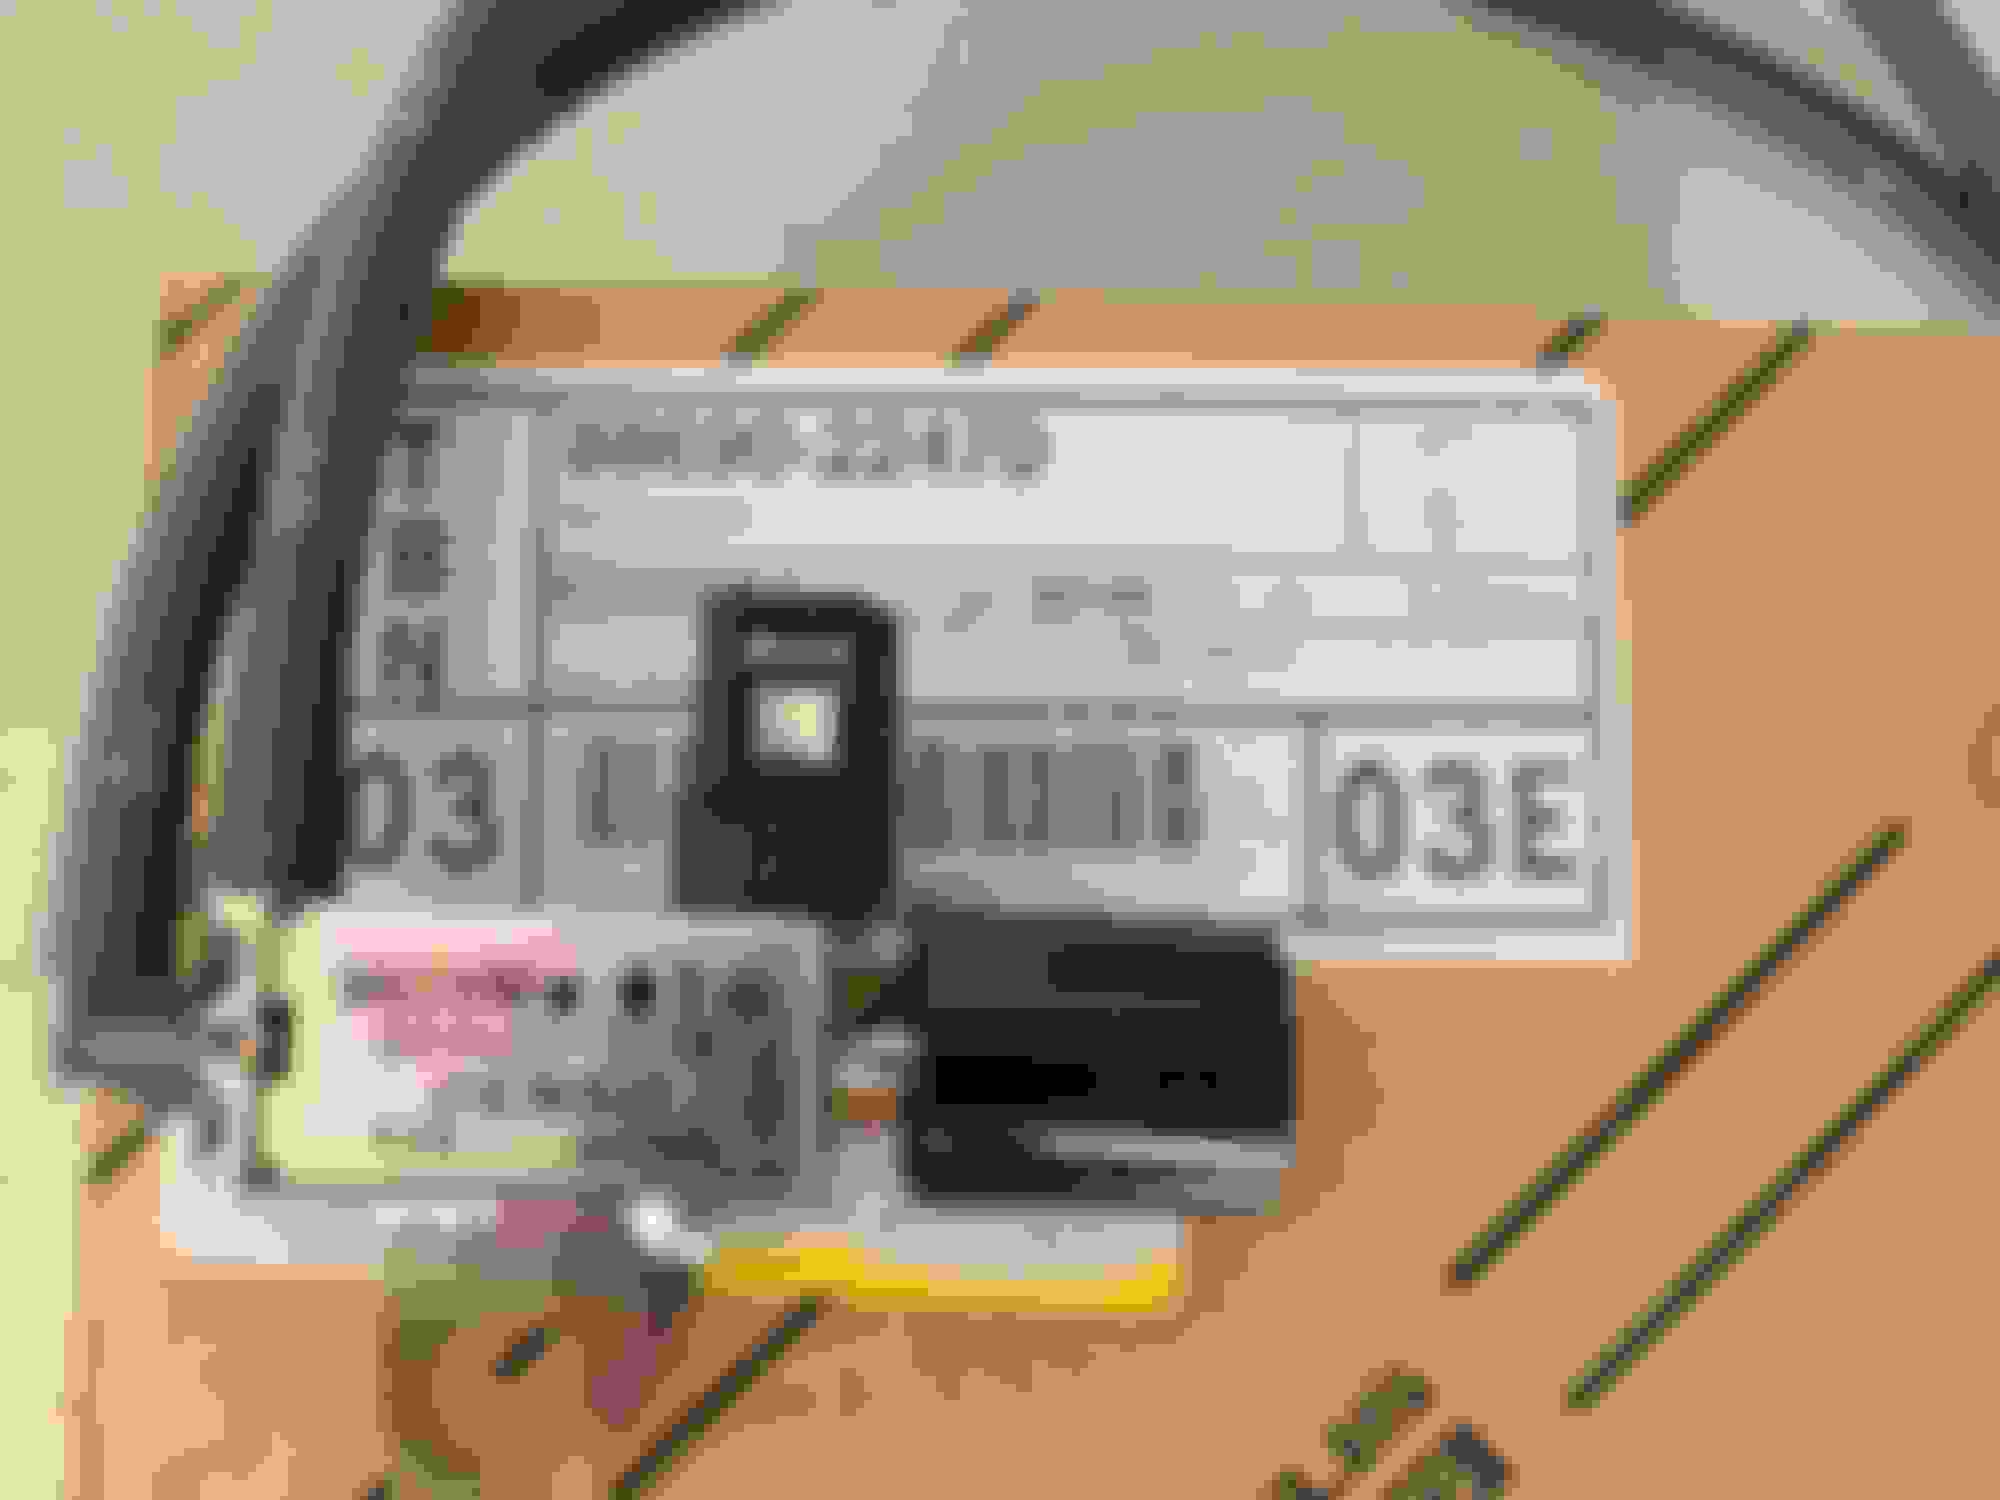
Alternator wiring loom repaired:
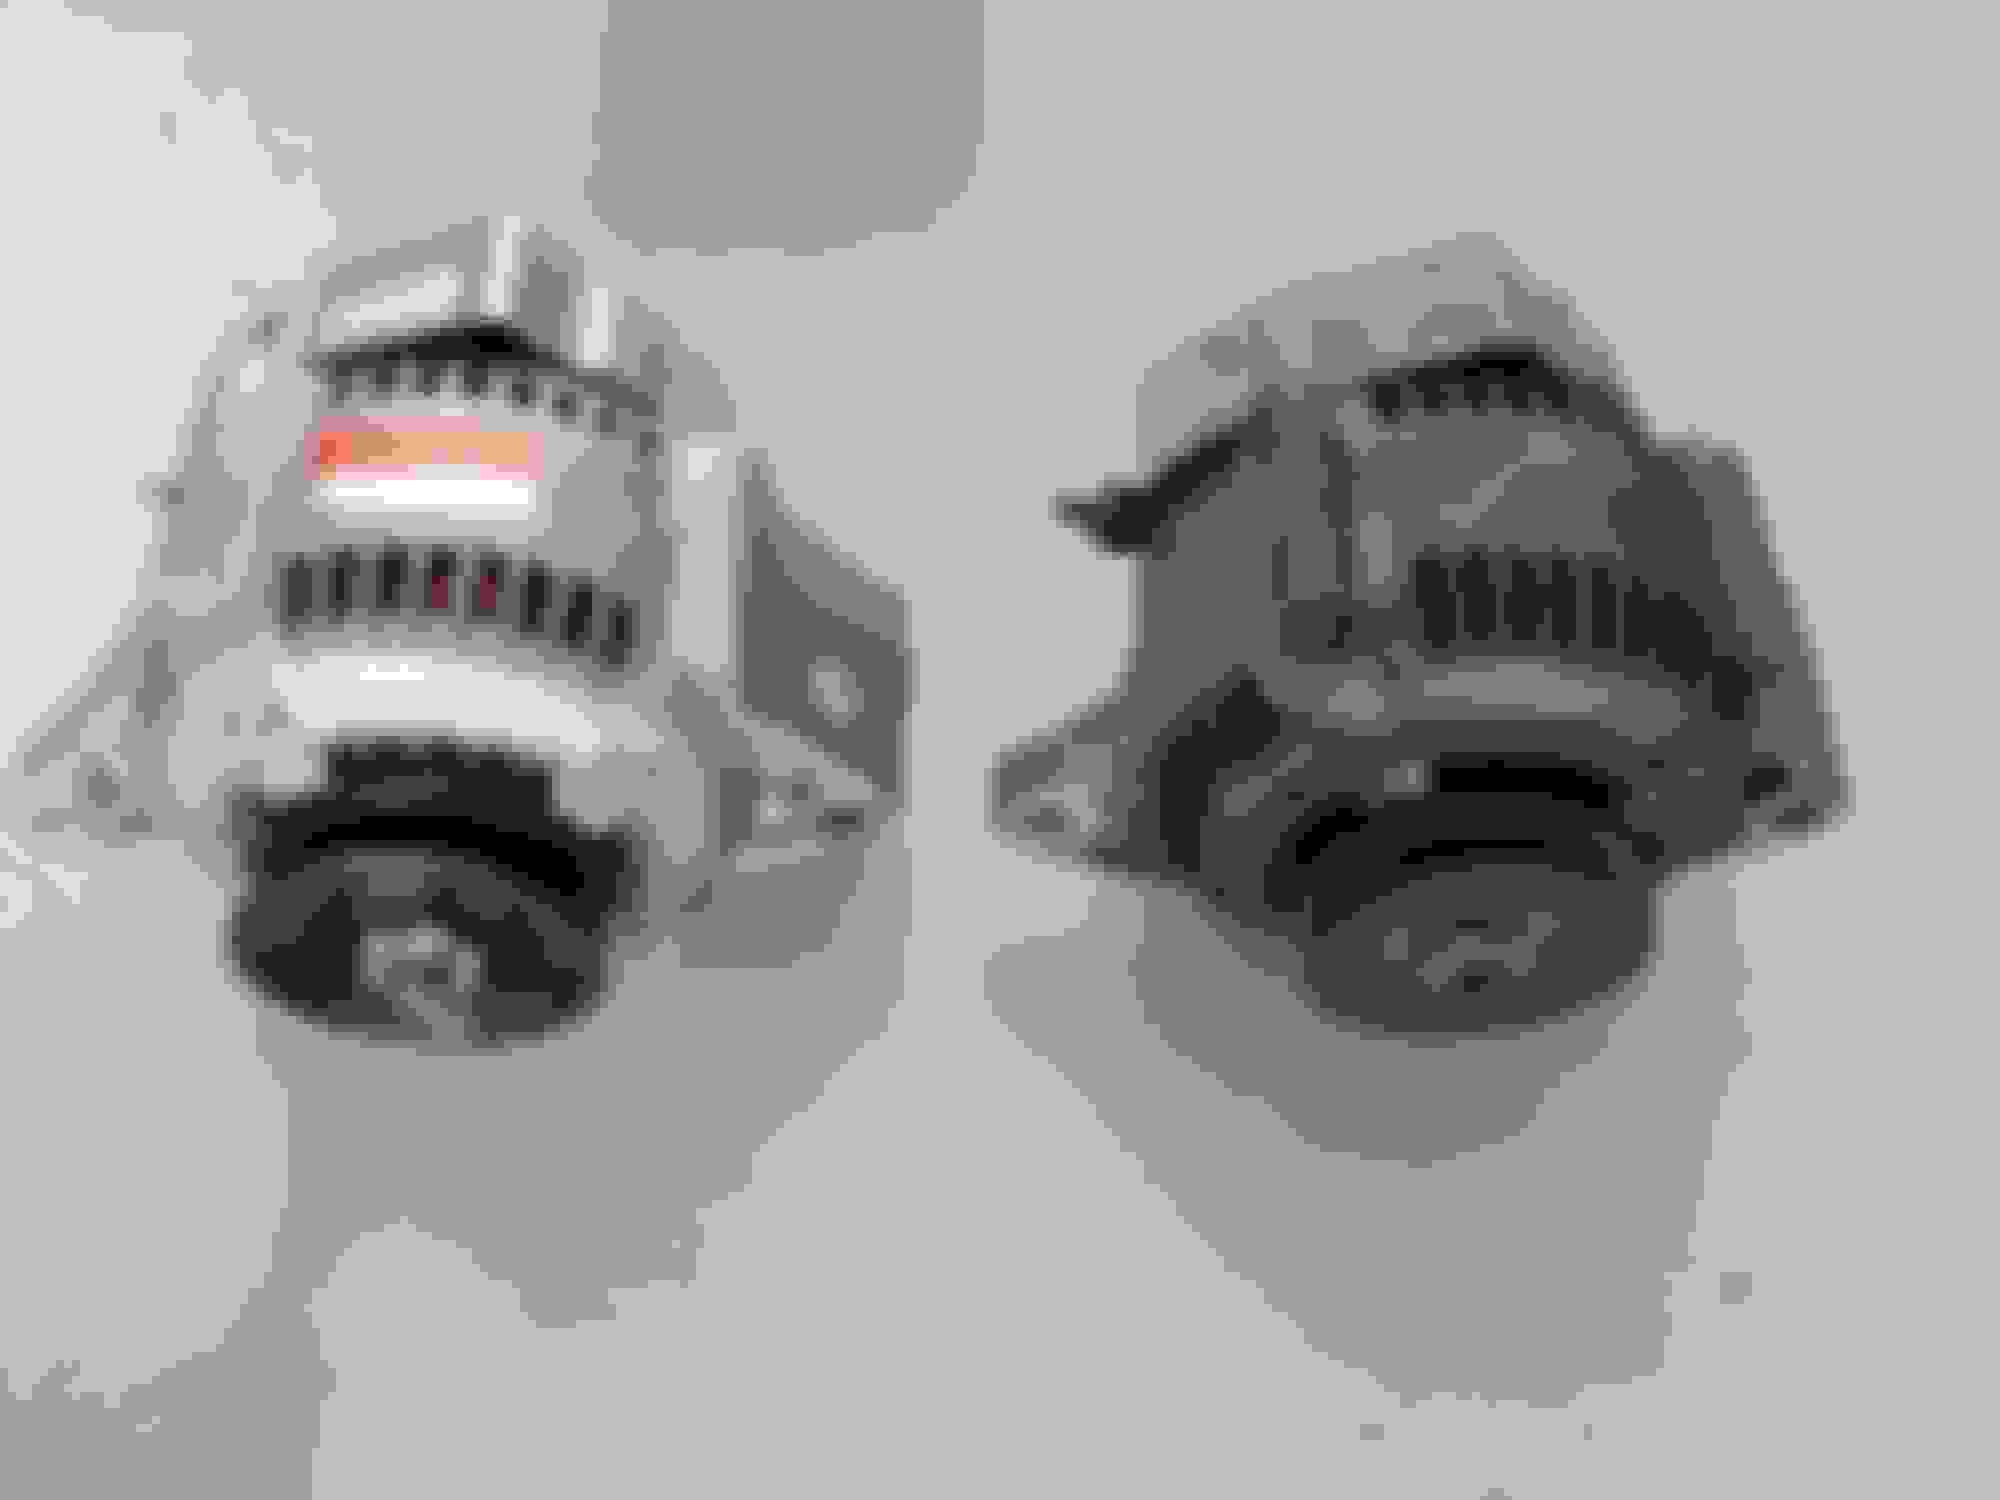
New alternator (reman Denso):
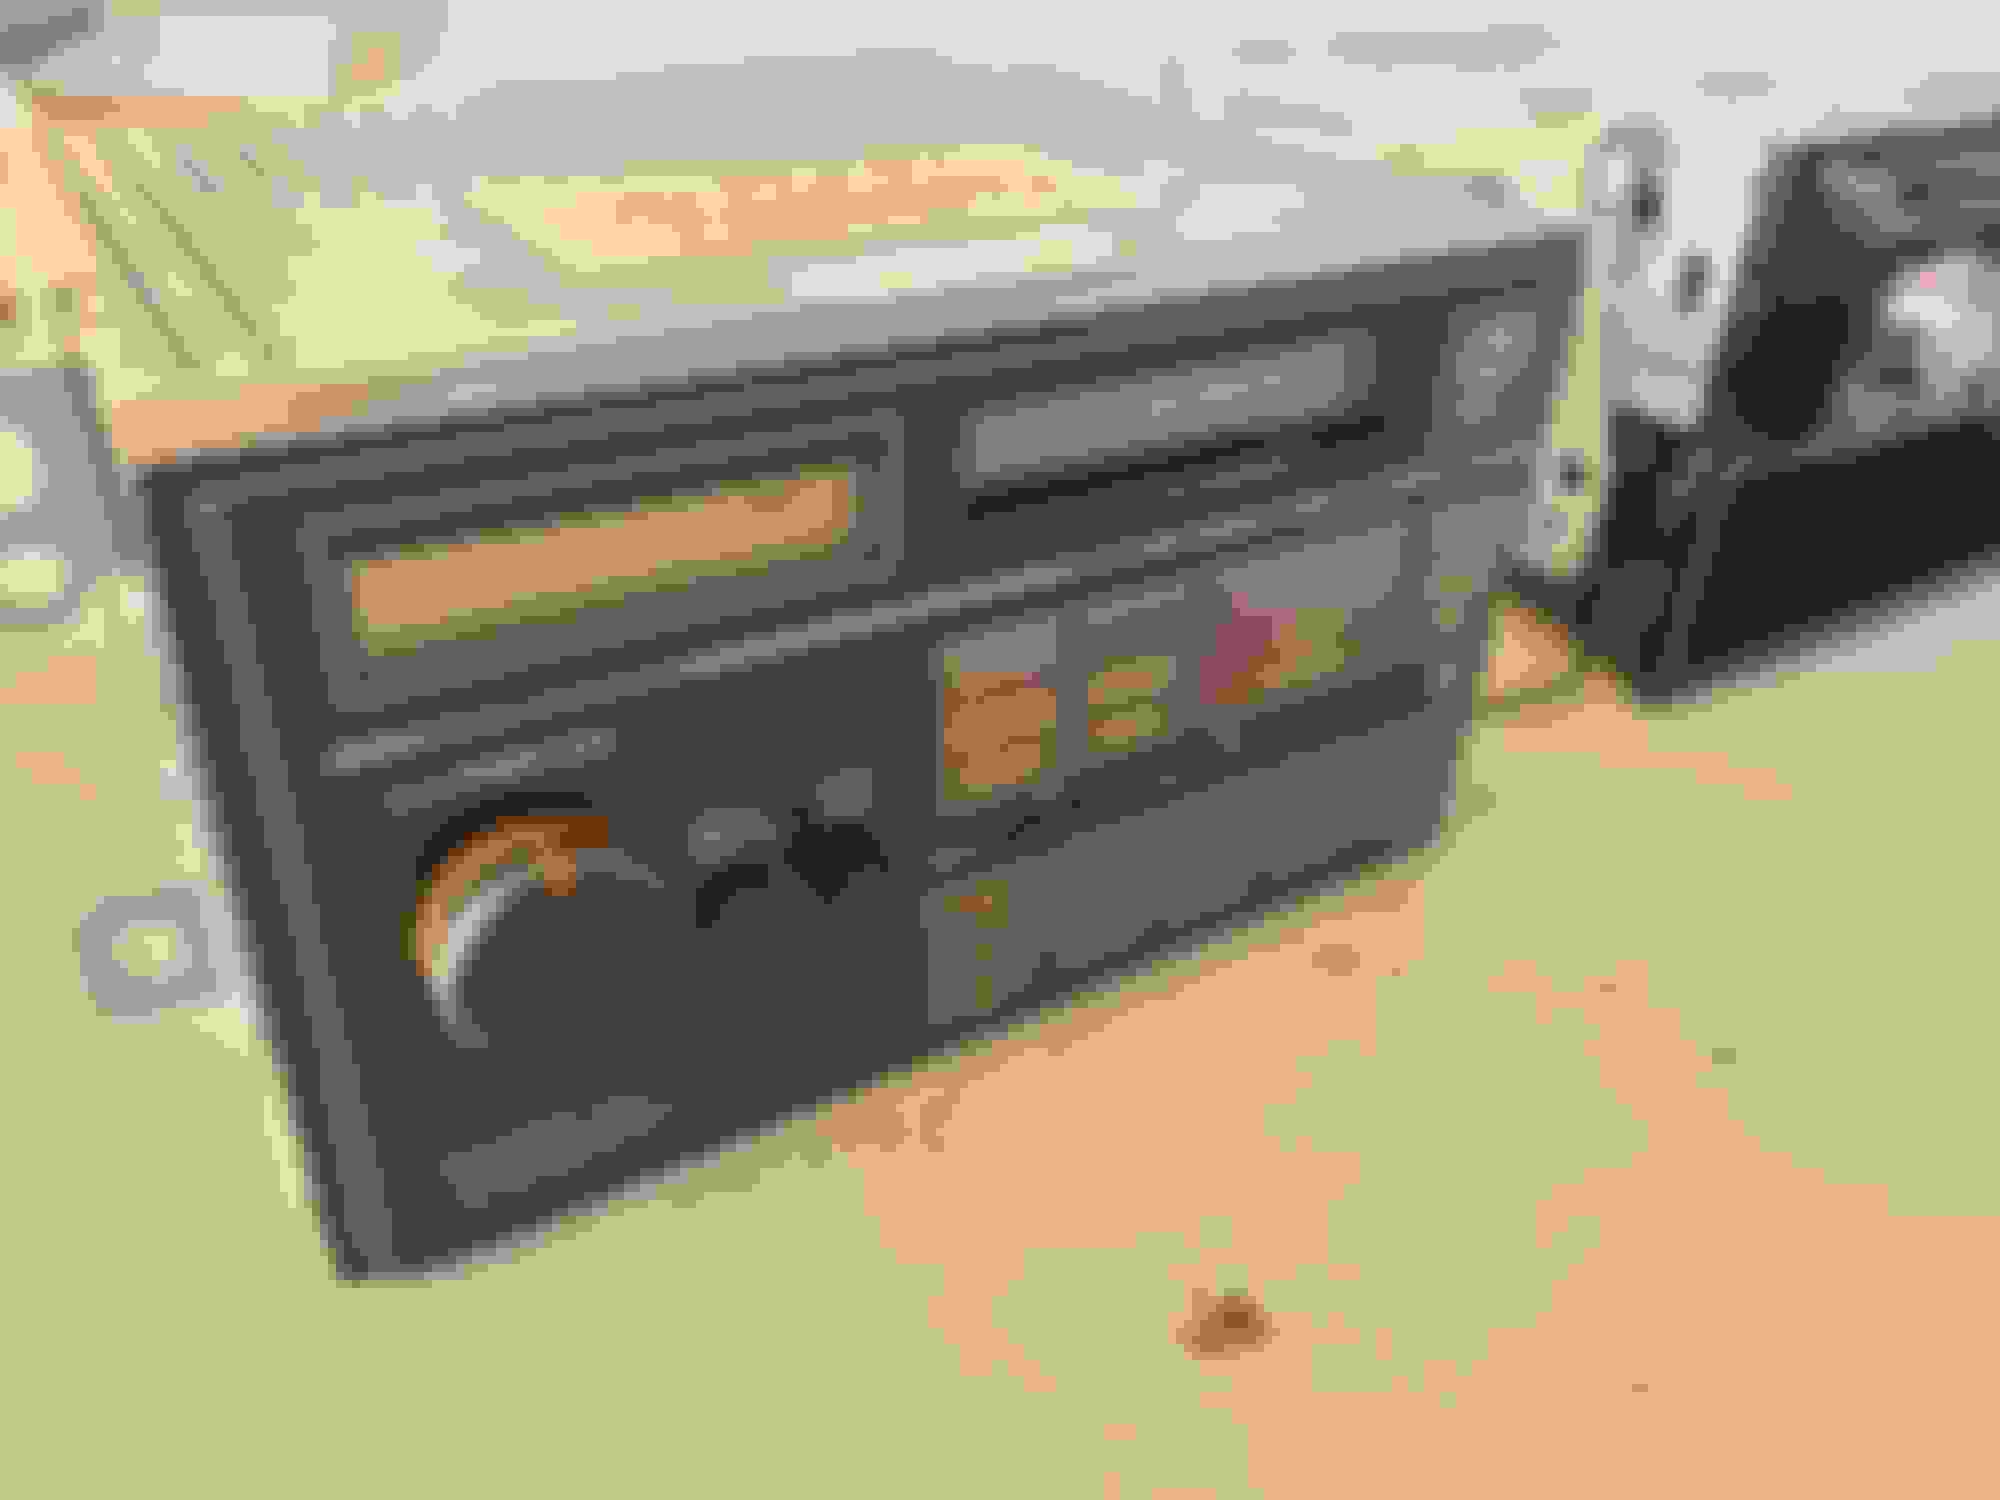
I hated look of the aftermarket radio in the truck, so I bought a couple of Toyota/Technics radios which I believe were correct for the truck. I'm having a really hard time figuring which of these two is correct, so I put in the Technics one for now.
Aftermarket radio:
Toyota 5635 radio:
Technics 5636 radio:
Last edited by 4Runner4Leon; 08-20-2023 at 05:05 PM.
My buddy @RustBucket rebuilt my door checks, and send me some other goodies for the truck, including a power antenna, to replace the fixed antenna that the PO put in.
I installed the door checks, what an improvement!
I disassembled and cleaned the antenna, and bought a replacement mast assembly from The Antenna Source on ebay.
Replacement mast assembly:
Out with the old:
Drove out the broken mast segment:
In with the new:
Before:
After:
I still need to splice an extension and a plug onto the cut antenna cable.
I hated look of the aftermarket radio in the truck, so I bought a couple of Toyota/Technics radios which I believe were correct for the truck. I'm having a really hard time figuring which of these two is correct, so I put in the Technics one for now.
Toyota 5635 radio:
Technics 5636 radio:
i believe both were available.
this is the one i removed from '87 #1
this is what i installed in place of the original. not original, but fit perfect, and a toyota to boot. nice to have the addition of a cd player (yes, i still use those).
@SomedayJ If you don't buy Wally's, I'm willing to sell the Toyota unit shown in my photos. You can see that it's in almost pristine shape, all writing on it is intact. PM me if interested.
i believe it was from a '93 or '95 pickup/4x4. i actually have another one in there now (looks exactly the same) because the "backlights" were red vs green in the one i showed.
it really fit the double din spot perfect, and the factory plugs worked with no modifications.
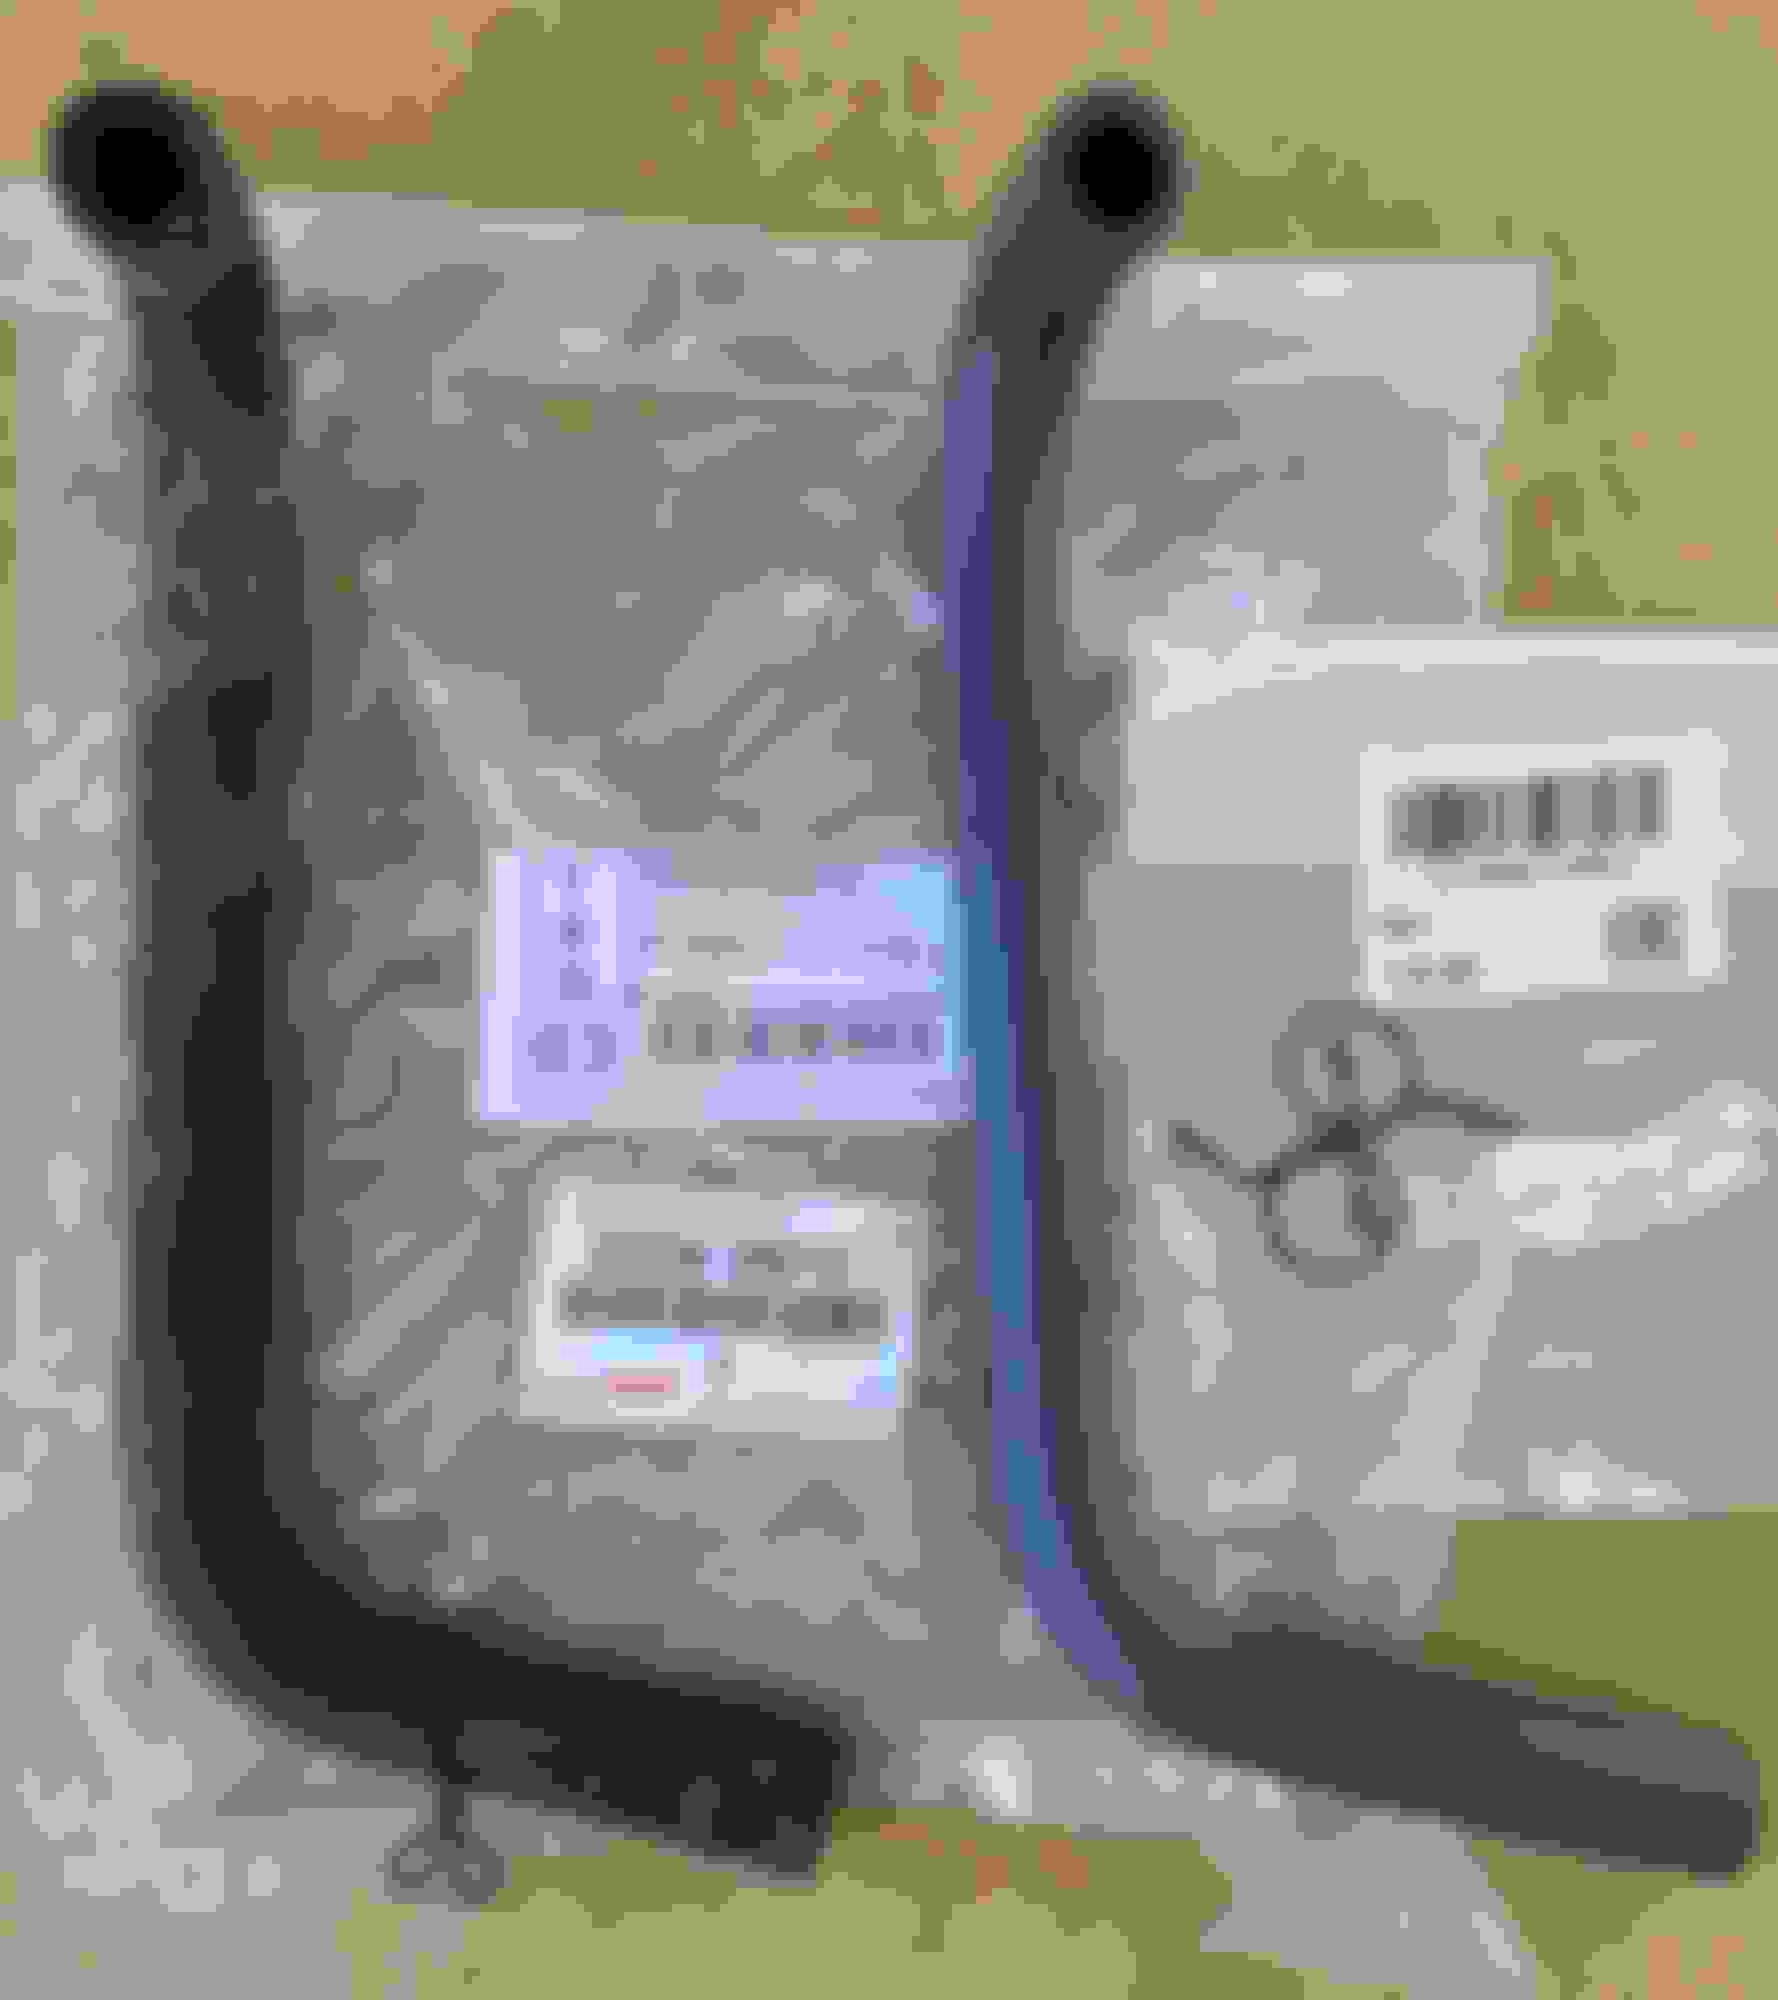
I've been diligently working on replacing all the hoses in the truck that I can still get my hands on - coolant, air/ventilation/vacuum, and fuel/vapor. From what I've seen in the past (on my 3rd Gen), the hoses that become the most brittle are the air and vacuum hoses, rather than coolant hoses; I' guess the coolant helps keep the coolant hoses more pliable. I also replace the spring clamps when replacing hoses, just in case they lose some "spring" over time..
I replaced the following air hoses replaced so far -
Auxiliary air valve No. 1 hose:
Auxiliary air valve No. 2 hose:
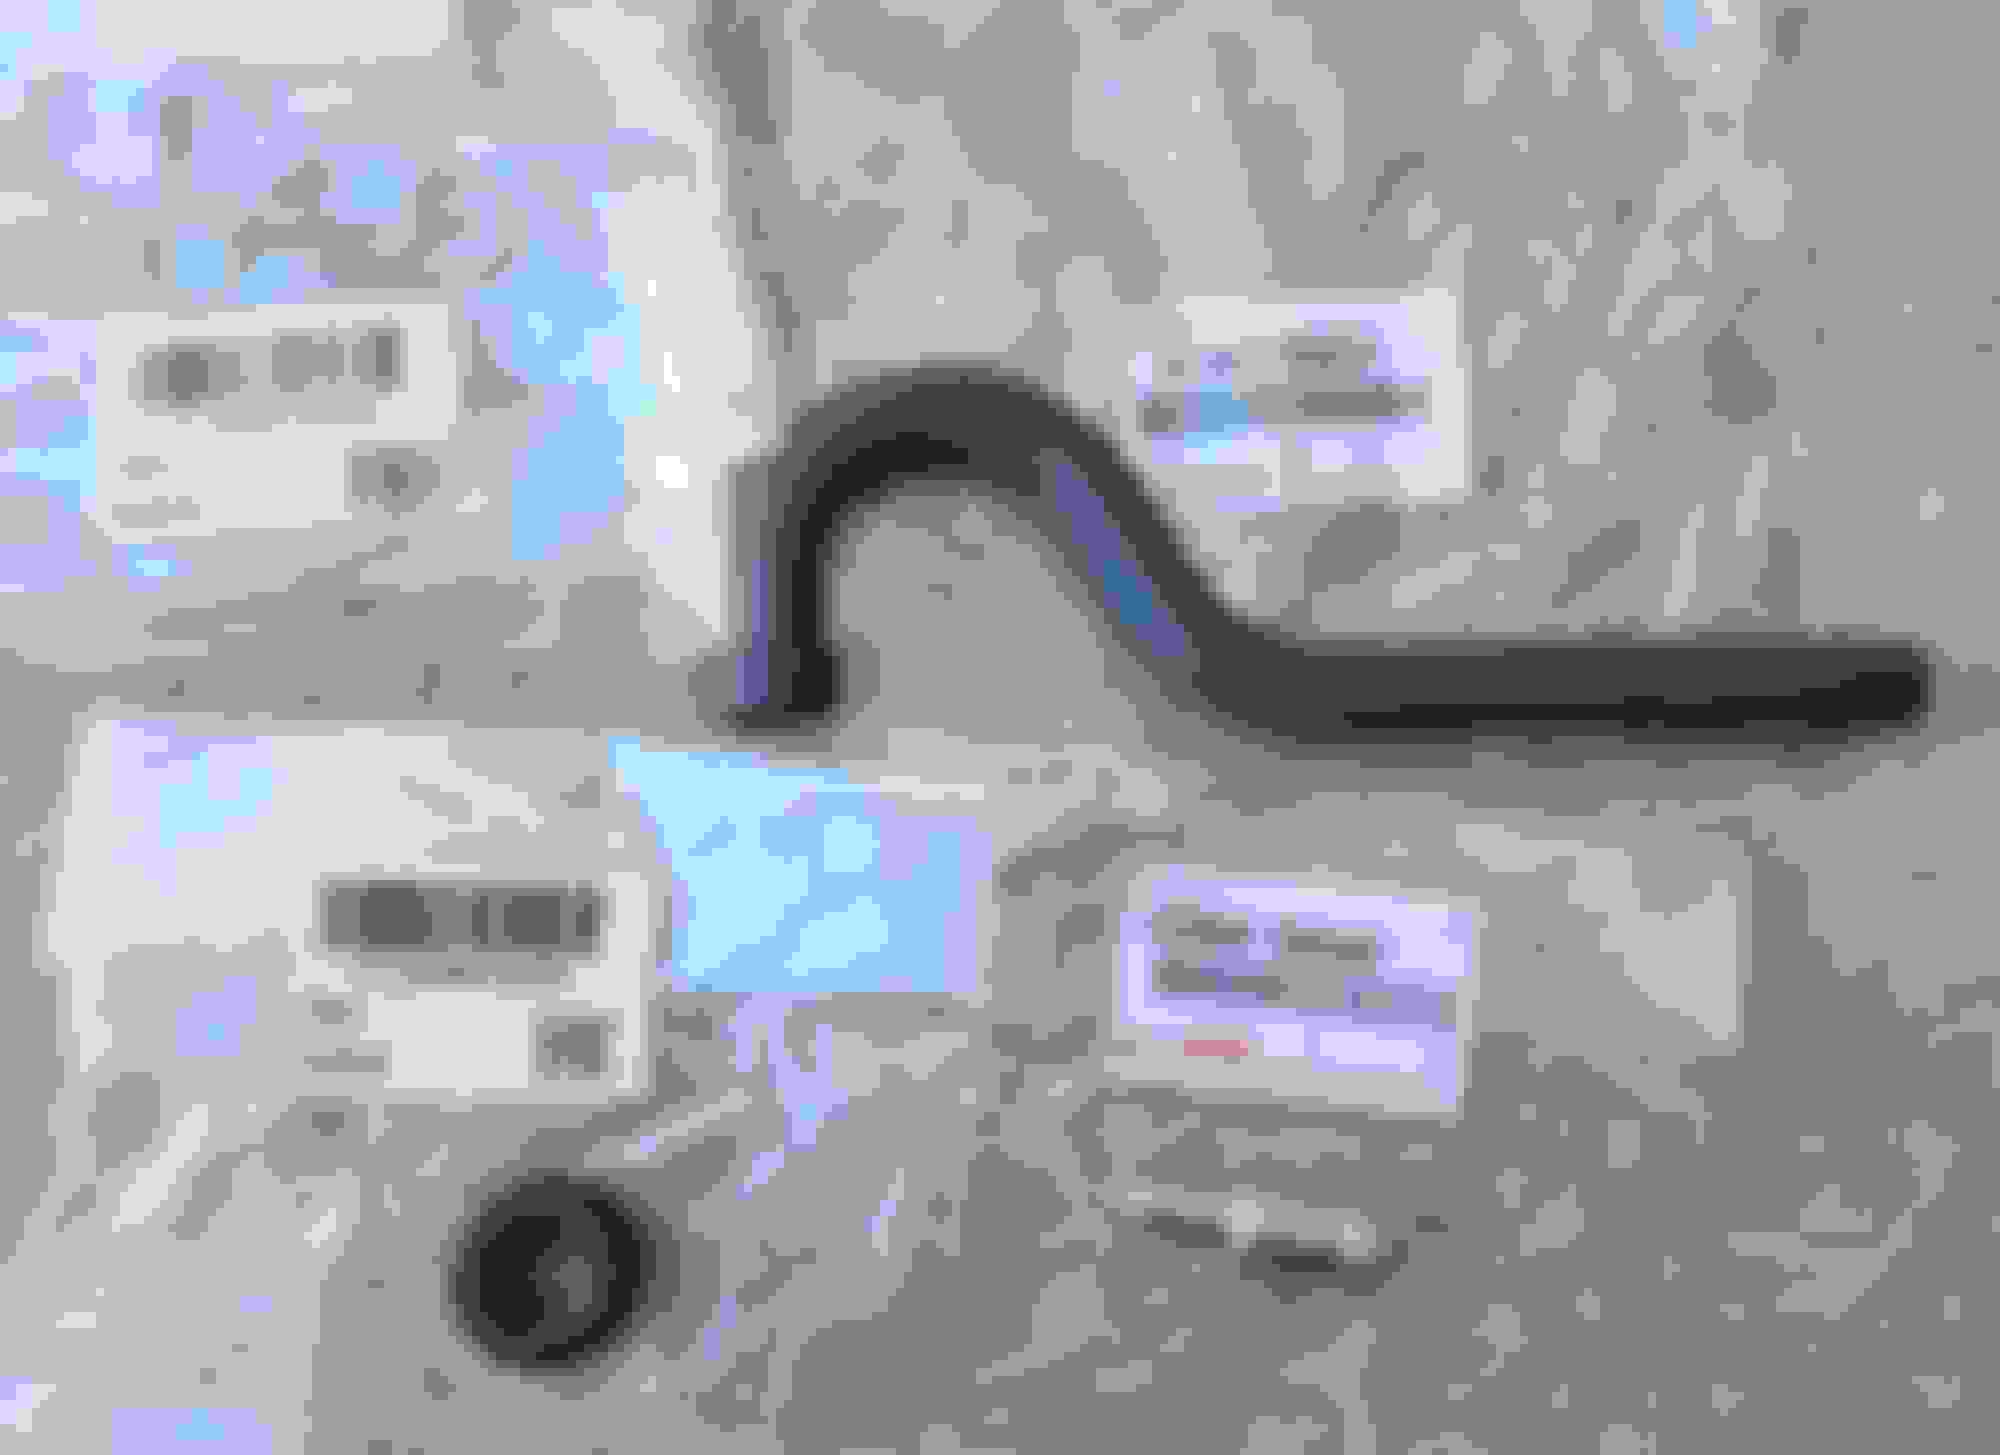
I also took out the crappy generic ventilation hoses, clamps, PCV valve, and grommet that the PO installed, and put in Toyota parts:
I can't find a part number for this hose, does anyone know what it might be? The one going from throttle body to the gold actuator?
Last edited by 4Runner4Leon; 08-24-2023 at 05:24 AM.
I also replaced the generic hose from the idle up actuator to the PS air valve, and replaced them with OEM hose and clamps.
Before:
Generic vs OEM hose:
OEM hose and clams:
After:
My truck is missing the bracket and hose separator that are supposed to hold these hoses in place (circled in red below), and they are discontinued. If anyone has one they would be willing to sell me, please PM me:
I've replaced most of the small diameter vacuum hoses, PN 90999-9200X, cut to length. I got a few of the 90999-92002 rolls, and a couple of 90999-92004 rolls for the longer runs (like the cruise control module).
I routed them similarly to how the PO had them, though I suspect some if it is wrong. I don't mean what the hoses are plugged into, I think I have that part figured out; I mean literally how the hoses are snaked along the way from Point A to Point B. I'd love to see some photos of the correct routing of these hoses.
I do love the look of OEM hoses and hose separators:
On to the miscellaneous brackets and pulleys. The A/C idler pulley bearing was shot, and I didn't want to mess with the deformed metal holding the bearing in place, so I just bought a new one, it was reasonably priced. The new pulley even comes with new hardware, so that's a nice bonus:
New pulley in place:
The power steering idler pulley bearing was also shot, but those bearings are easily replaced, so I bought a new Nachi bearing for < $10, and installed it into the freshly powder coated pulley, with the newly plated zinc retainer:
After installing all the other pulleys, brackets, and components, it started looking like a real motor again:
Crankshaft pulley:
Alternator:
PS idler pulley and brackets:
AC compressor pulley (I just painted that one in place):
Replaced old fan clutch with a new Aisin unit:
I also reinstalled the powder coated engine strut using new OEM bolts:
Last edited by 4Runner4Leon; 08-26-2023 at 06:34 AM.
The PO had the air cleaner box bolted directly to the body. So I found the correct rubber bushings and steel sleeves, to give the box proper compliance.
The PO took the time to paint the AC idle-up VSV with that gold color, but apparently didn't care that the VSV didn't actually work, so the truck's idle dropped like a rock whenever the AC was on. And I wasn't crazy about the horrible wiring job at the connector:
So I managed to find a replacement VSV, PN 88690-22470:
I also got a new connector housing, and wired it in place:
Finished install:
Last edited by 4Runner4Leon; 08-27-2023 at 06:38 AM.


 08-20-2023, 04:49 PM


 .
.