Monochrome's 1990 Pickup Build-Up Thread
#22
#23
That's definitely a clean truck. 3k was a good deal considering all the work that was done.
I'm kind of going through the same situation, I just bought a 1990 with 95k miles with minimal maintenance done to it for $2250.
I've since replaced the clutch, motor mounts, tranny mounts 4 new bilsteins, a parking brake cable cuz the old one was snapped, and I'm about to get a new exhaust next week.
It's rust free though which is huge out here on the east coast
#24
#25
#27
I didn't go with SR5s because I looked at a bunch and most were in horrible condition, and those that were in decent condition were $300+. The market here in Seattle is sparse for those seats in my experience, especially good ones for a reasonable price. I had a budget of about $100 max.
#29
So, I feel like I should say one of my goals with this build is to make the truck more or less appear to be stock. That's why I chose the old Corolla seats. I could have chosen some nice new seats out of a modern car, but that wouldn't look quite right, would it? And the SR5 seats were too expensive and rare in the Seattle area at the time after looking for about 3 weeks, so the Corolla seats seemed like the best option.
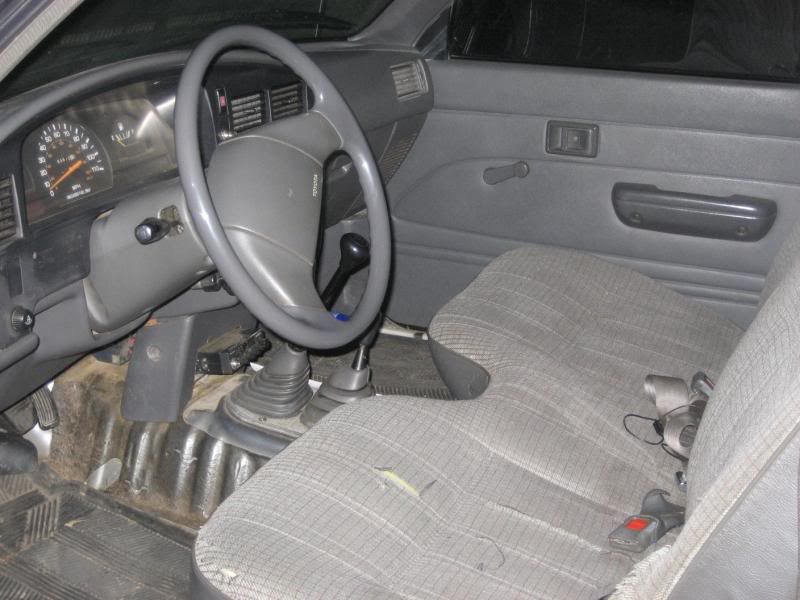
Also, I think it's important to show what the interior looked like before the seats and stuff:
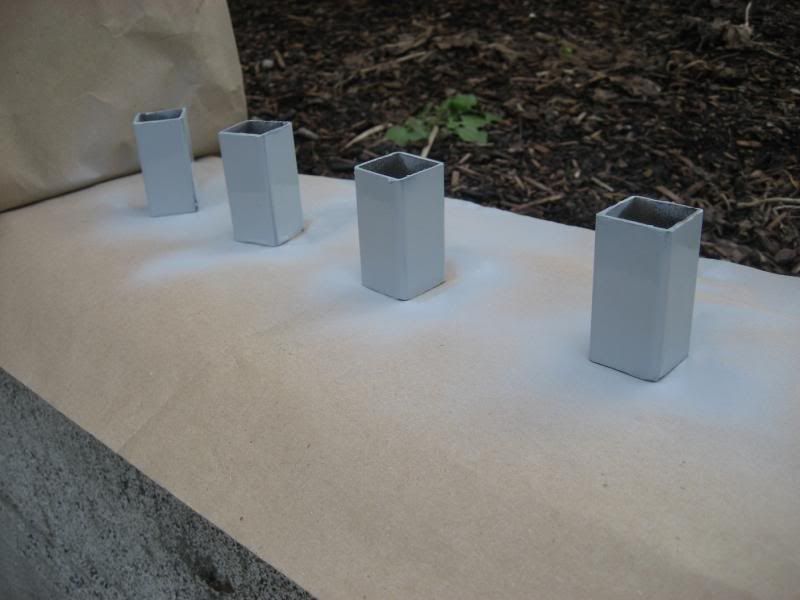
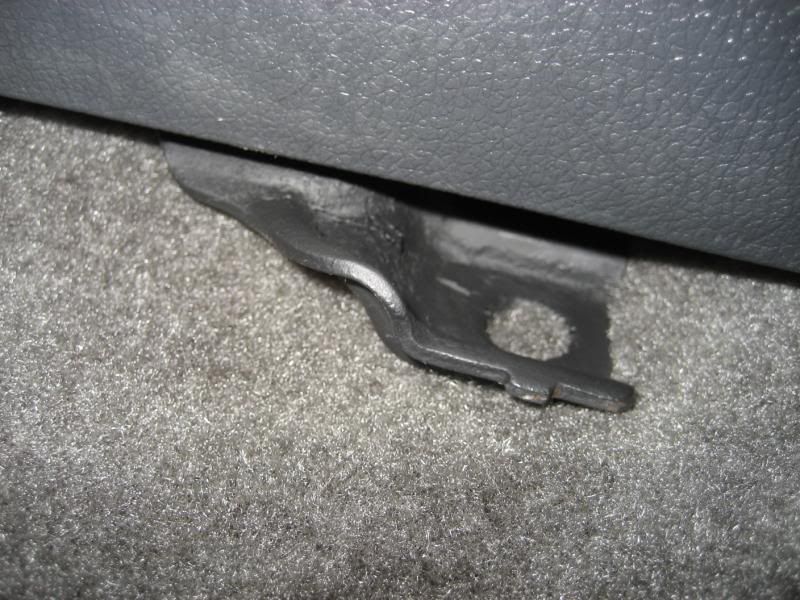
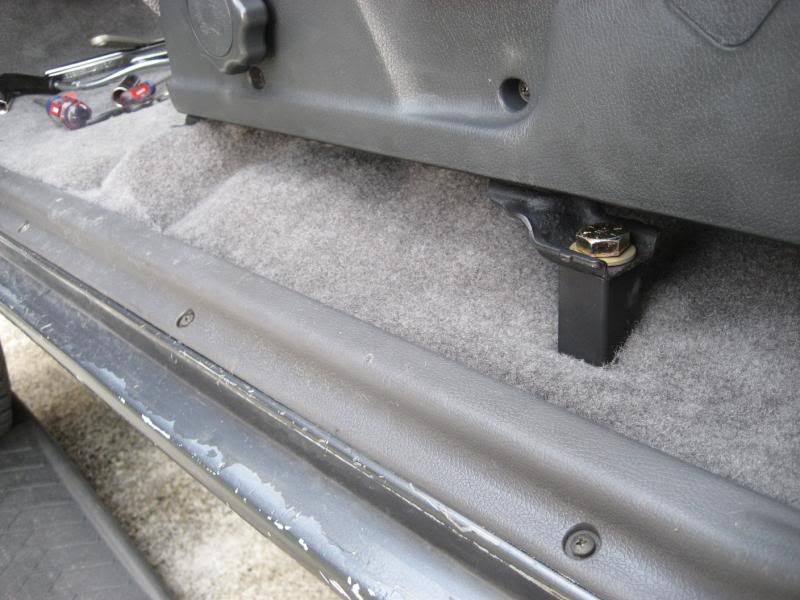
Now that I had figured out how to mount the seats, by using one stock hole in the front, drilling three new ones, and threading 4" long by 1/2" thick grade 8 bolts through the square metal support, I cut all the metal supports, primed, and painted them. I also decided to sand down some of the rust on the seats, then prime and paint those as well.
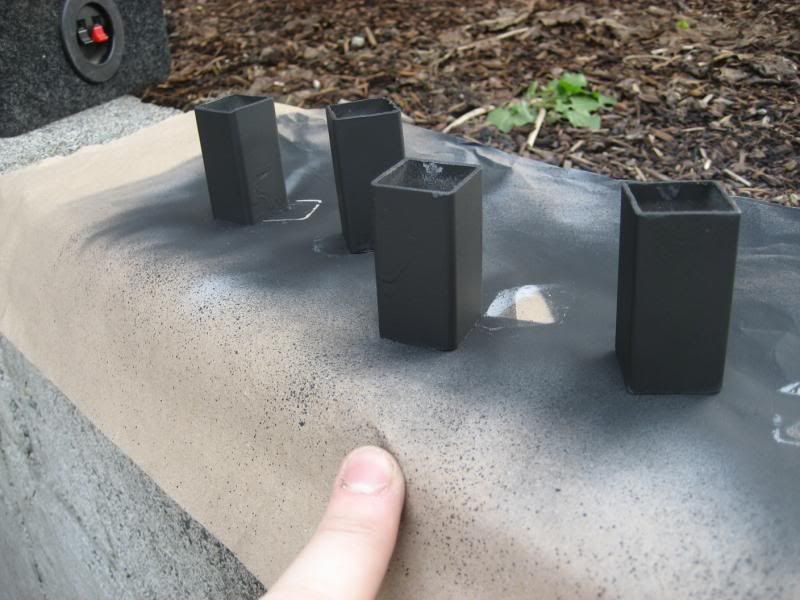
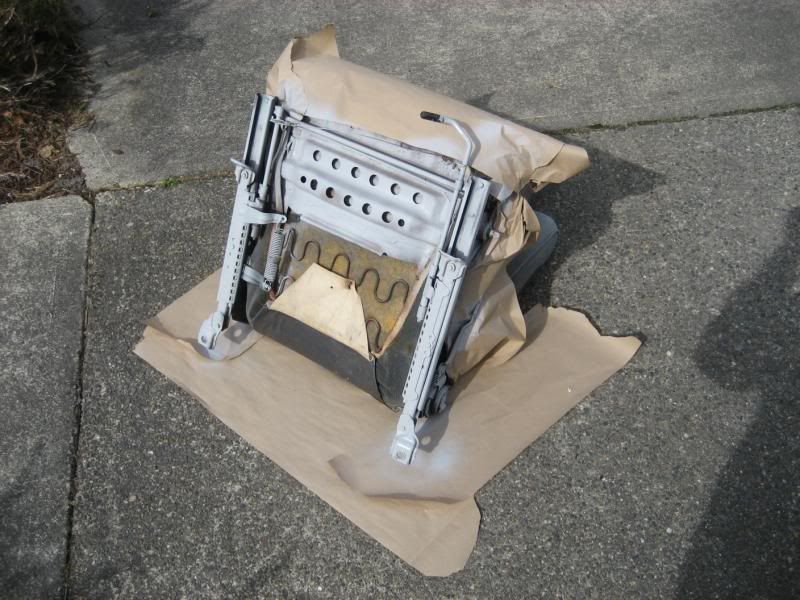
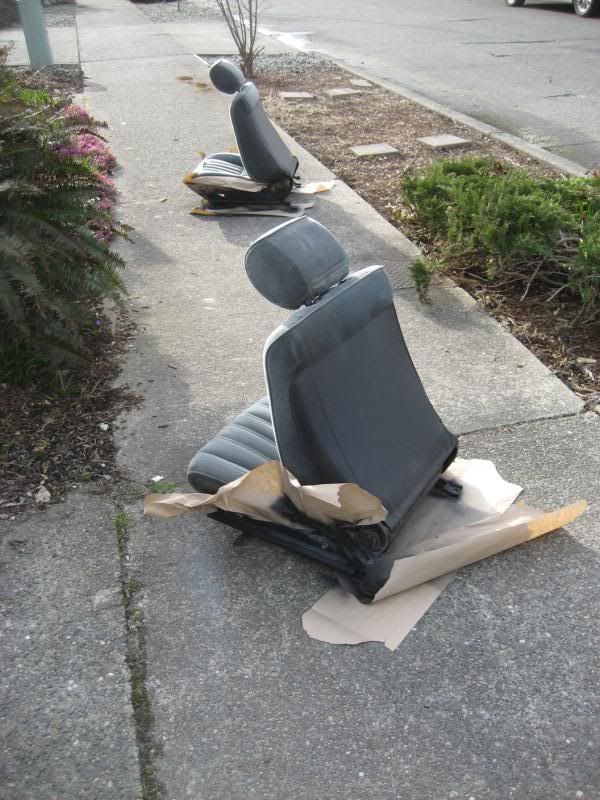
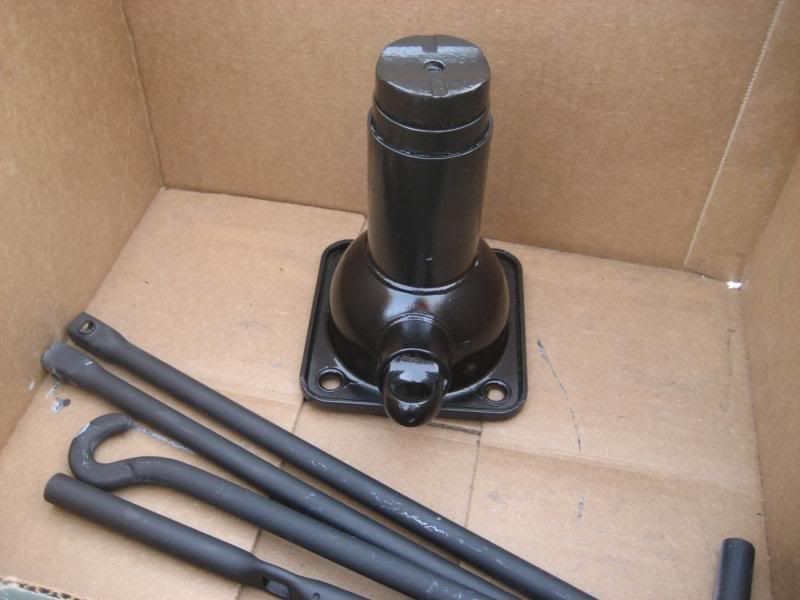
I had some leftover paint, so I got out the factory jack that had so beautifully stained my carpet with rust previously. I sanded it down, primed it, and painted it gloss black:
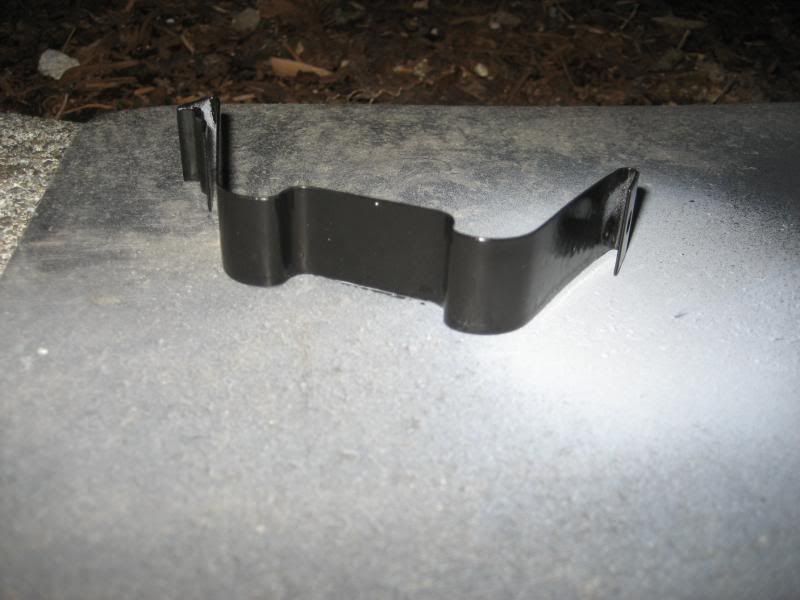
I also painted the metal clip that held the jack in, since it was completely rusted over as well:
The carpet came in, so I inspected it and cut it to fit. By this point I was so excited that I forgot the next step: to install sound/heat insulation along the floorboards! I bought a roll of Reflectix home bubble/foil insulation from Home Depot for $15. I cut it to fit, then held it in place with a small amount of spray adhesive (3M Super 77 I think?). It ended up being enough to cover the whole cab, even doubling up the thickness in a few places.
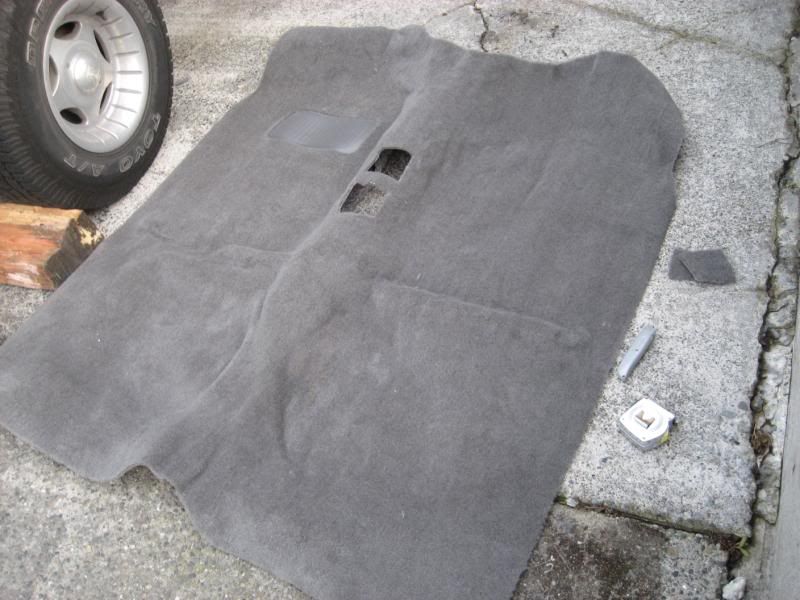
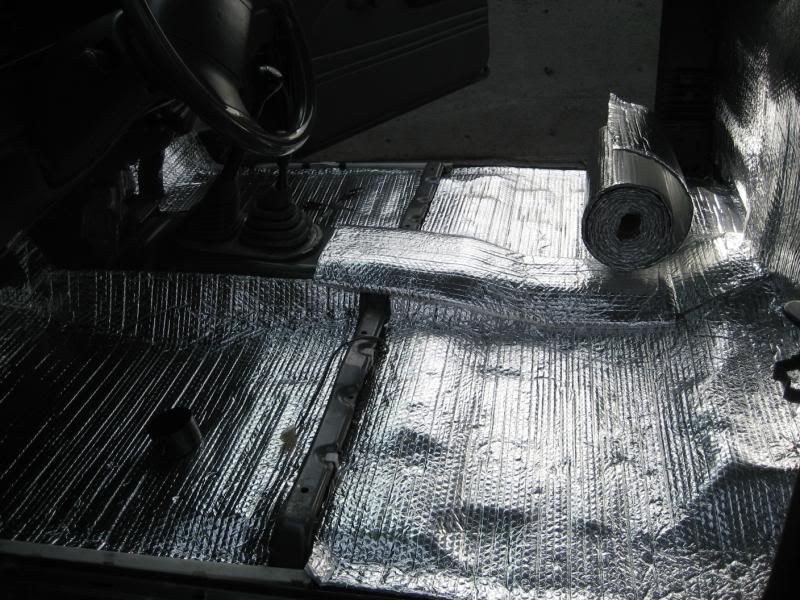

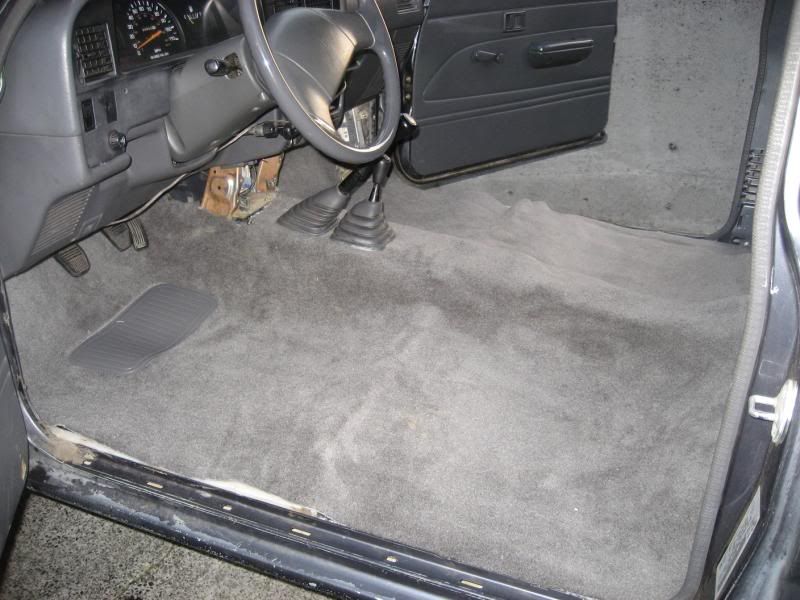
Finally, it's starting to look decent!
Next, I drilled the final holes and figure out where to place my seats.
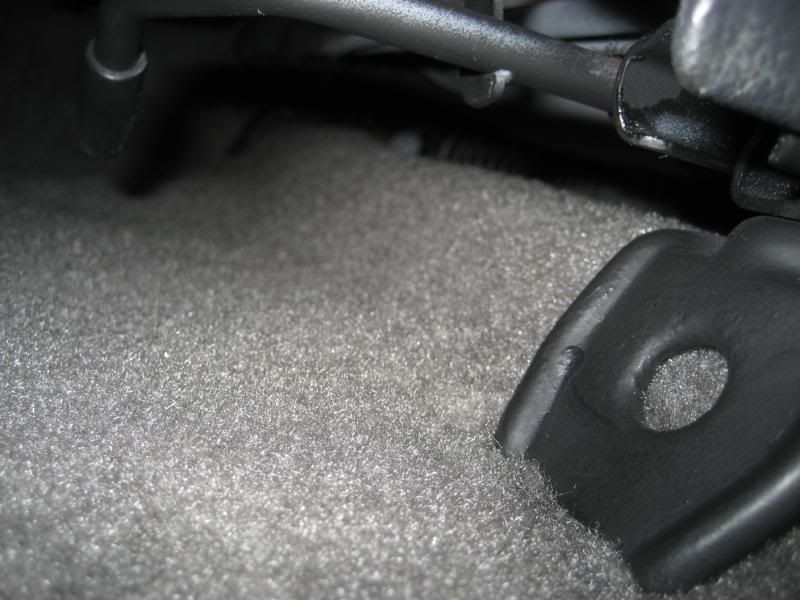
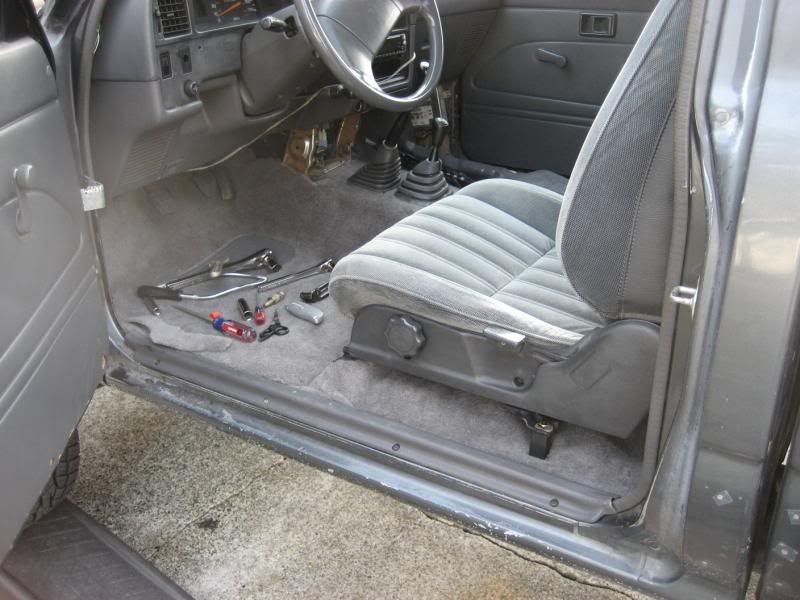
And here is the final result, with the driver side installed:
Also, I think it's important to show what the interior looked like before the seats and stuff:

Now that I had figured out how to mount the seats, by using one stock hole in the front, drilling three new ones, and threading 4" long by 1/2" thick grade 8 bolts through the square metal support, I cut all the metal supports, primed, and painted them. I also decided to sand down some of the rust on the seats, then prime and paint those as well.


I had some leftover paint, so I got out the factory jack that had so beautifully stained my carpet with rust previously. I sanded it down, primed it, and painted it gloss black:

I also painted the metal clip that held the jack in, since it was completely rusted over as well:

The carpet came in, so I inspected it and cut it to fit. By this point I was so excited that I forgot the next step: to install sound/heat insulation along the floorboards! I bought a roll of Reflectix home bubble/foil insulation from Home Depot for $15. I cut it to fit, then held it in place with a small amount of spray adhesive (3M Super 77 I think?). It ended up being enough to cover the whole cab, even doubling up the thickness in a few places.


Finally, it's starting to look decent!
Next, I drilled the final holes and figure out where to place my seats.


And here is the final result, with the driver side installed:


#31
I will hopefully be taking a few pictures of that truss tonight...
#36
I'm going to go ahead and suggest two things you should consider. These are experience speaking, and just to augment a good thread so far.
Remove the bubble pack deadener, it will begin to melt as the plastic is thinner than even the factory carpet backing. Pick up some dynamat and do it right.
Remove your square tube seat rail spacers and cap off both ends asap. You'll likely be OK for a little bit, but after a bit they'll cut into that new carpet, and begin cutting into your floor pan, or worse, buckle if you put any odd stresses on them, either way, your seat positioning is compromised.
As for that IFS truss, looks like an old school Downey dog-legged pipe version. If you're gonna wheel it, or just want to keep that frame aligned good go with a Sonoran Steel truss IMHO.
Last edited by KelleyC; 10-14-2009 at 10:54 PM.
#37
So, how did the insulation work out?? I want to do my truck!!
How about a review of the insulation. Did it make a big difference?
x3 on the insulation.
How is it?
How is it?
The consensus is that it has made a pretty big difference. My friends say it made a huge difference, but that's a little hard to say. I would estimate it's at least 2x as quiet. I used to be able to hear the exhaust and some tinny noise in the cab, even with the carpet installed. Now, with the padding two layers thick on the ridge and along the firewall, I can only hear the engine, and even then it's not very loud. Road noise has been significantly cut down. I haven't installed it yet in my doors because I haven't wanted to take them apart again (I broke a few clips last time). I know that if I installed it in my doors it would be even better.
So, all in all, for $20 ($15 for the Reflectix insulation and $5 for a can of spray adhesive), I don't think anyone can complain. I'm going to address KellyC's points below.
#38
For reference, the matching color you want from Stock Interiors is 8078-Dark Grey Plush Cut Pile.
I haven't checked out any yards in Issaquah. Two days ago I called the Pull-A-Part in Lynnwood and Arlington, but they have a really meager supply of pickups right now. What's this junk yard you speak of?
#39
My search led me to some dude's house way out in Snohomish, where he sold me some '89 Corolla seats for $50 in awesome condition that are a 99% color match. I presumed they might bolt in directly, but I was definitely wrong. At any rate, I started figuring out ways of mounting the seats. 


