When you click on links to various merchants on this site and make a purchase, this can result in this site earning a commission. Affiliate programs and affiliations include, but are not limited to, the eBay Partner Network.
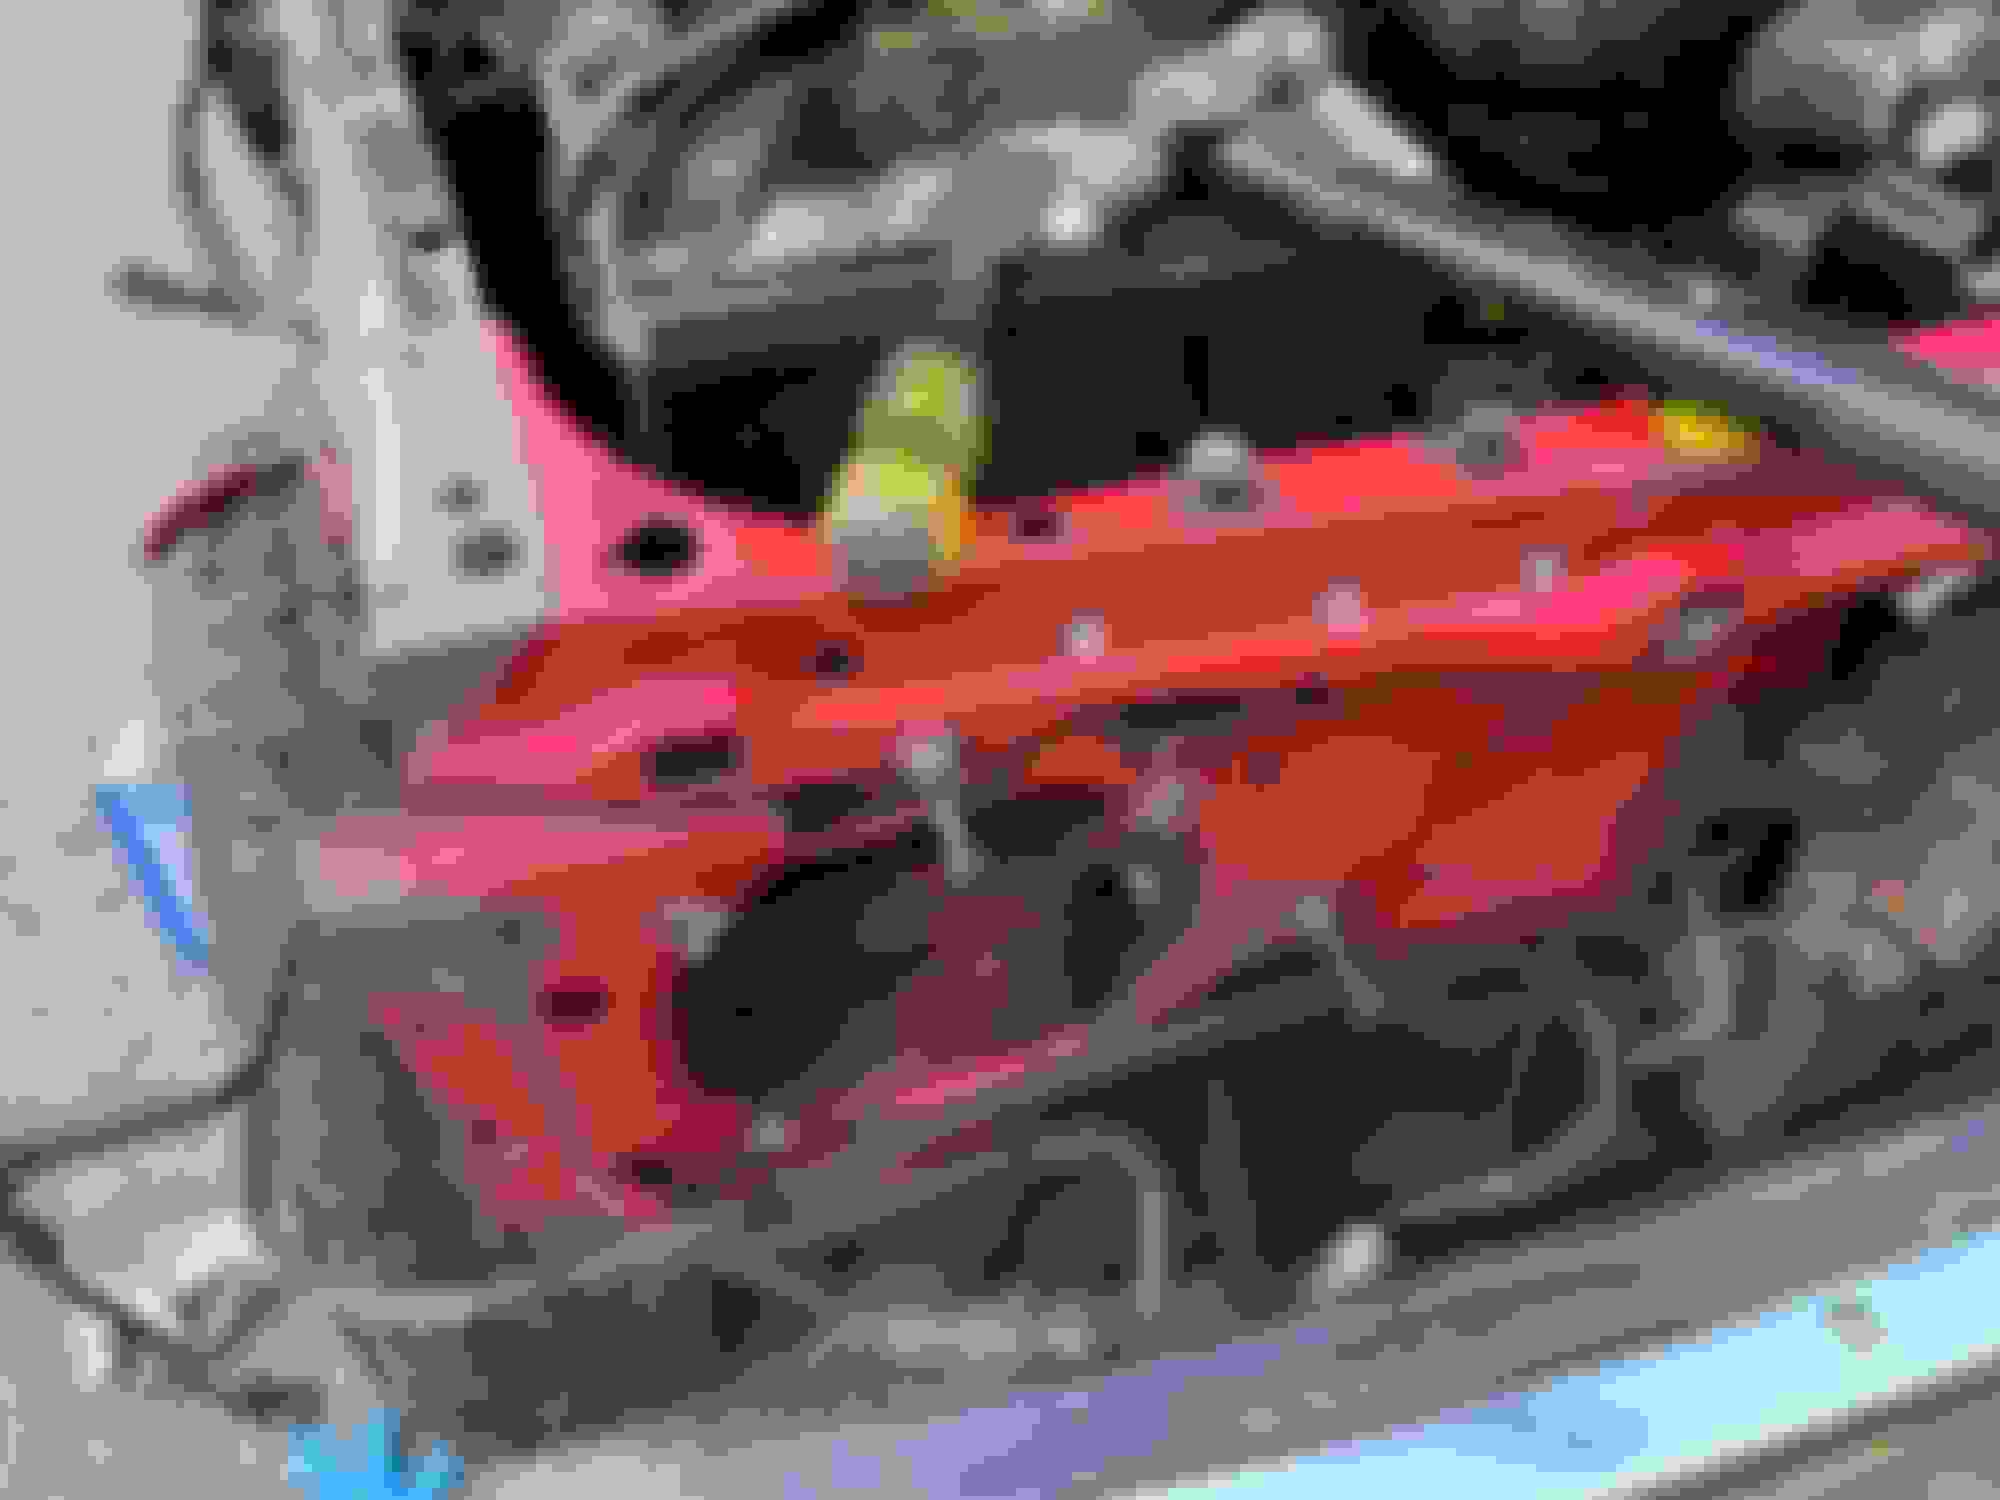
The engine swap was a success. Only thing i forgot was to reinstall the large hose from the Idle air control valve up to the throttle body, resulting in a huge vacuum leak. But once i installed it, the engine fired right up and ran great. I have a lot of the vacuum lines disconnected right now, plugged with wooden dowels. No first start video, no drama. Boring picture.
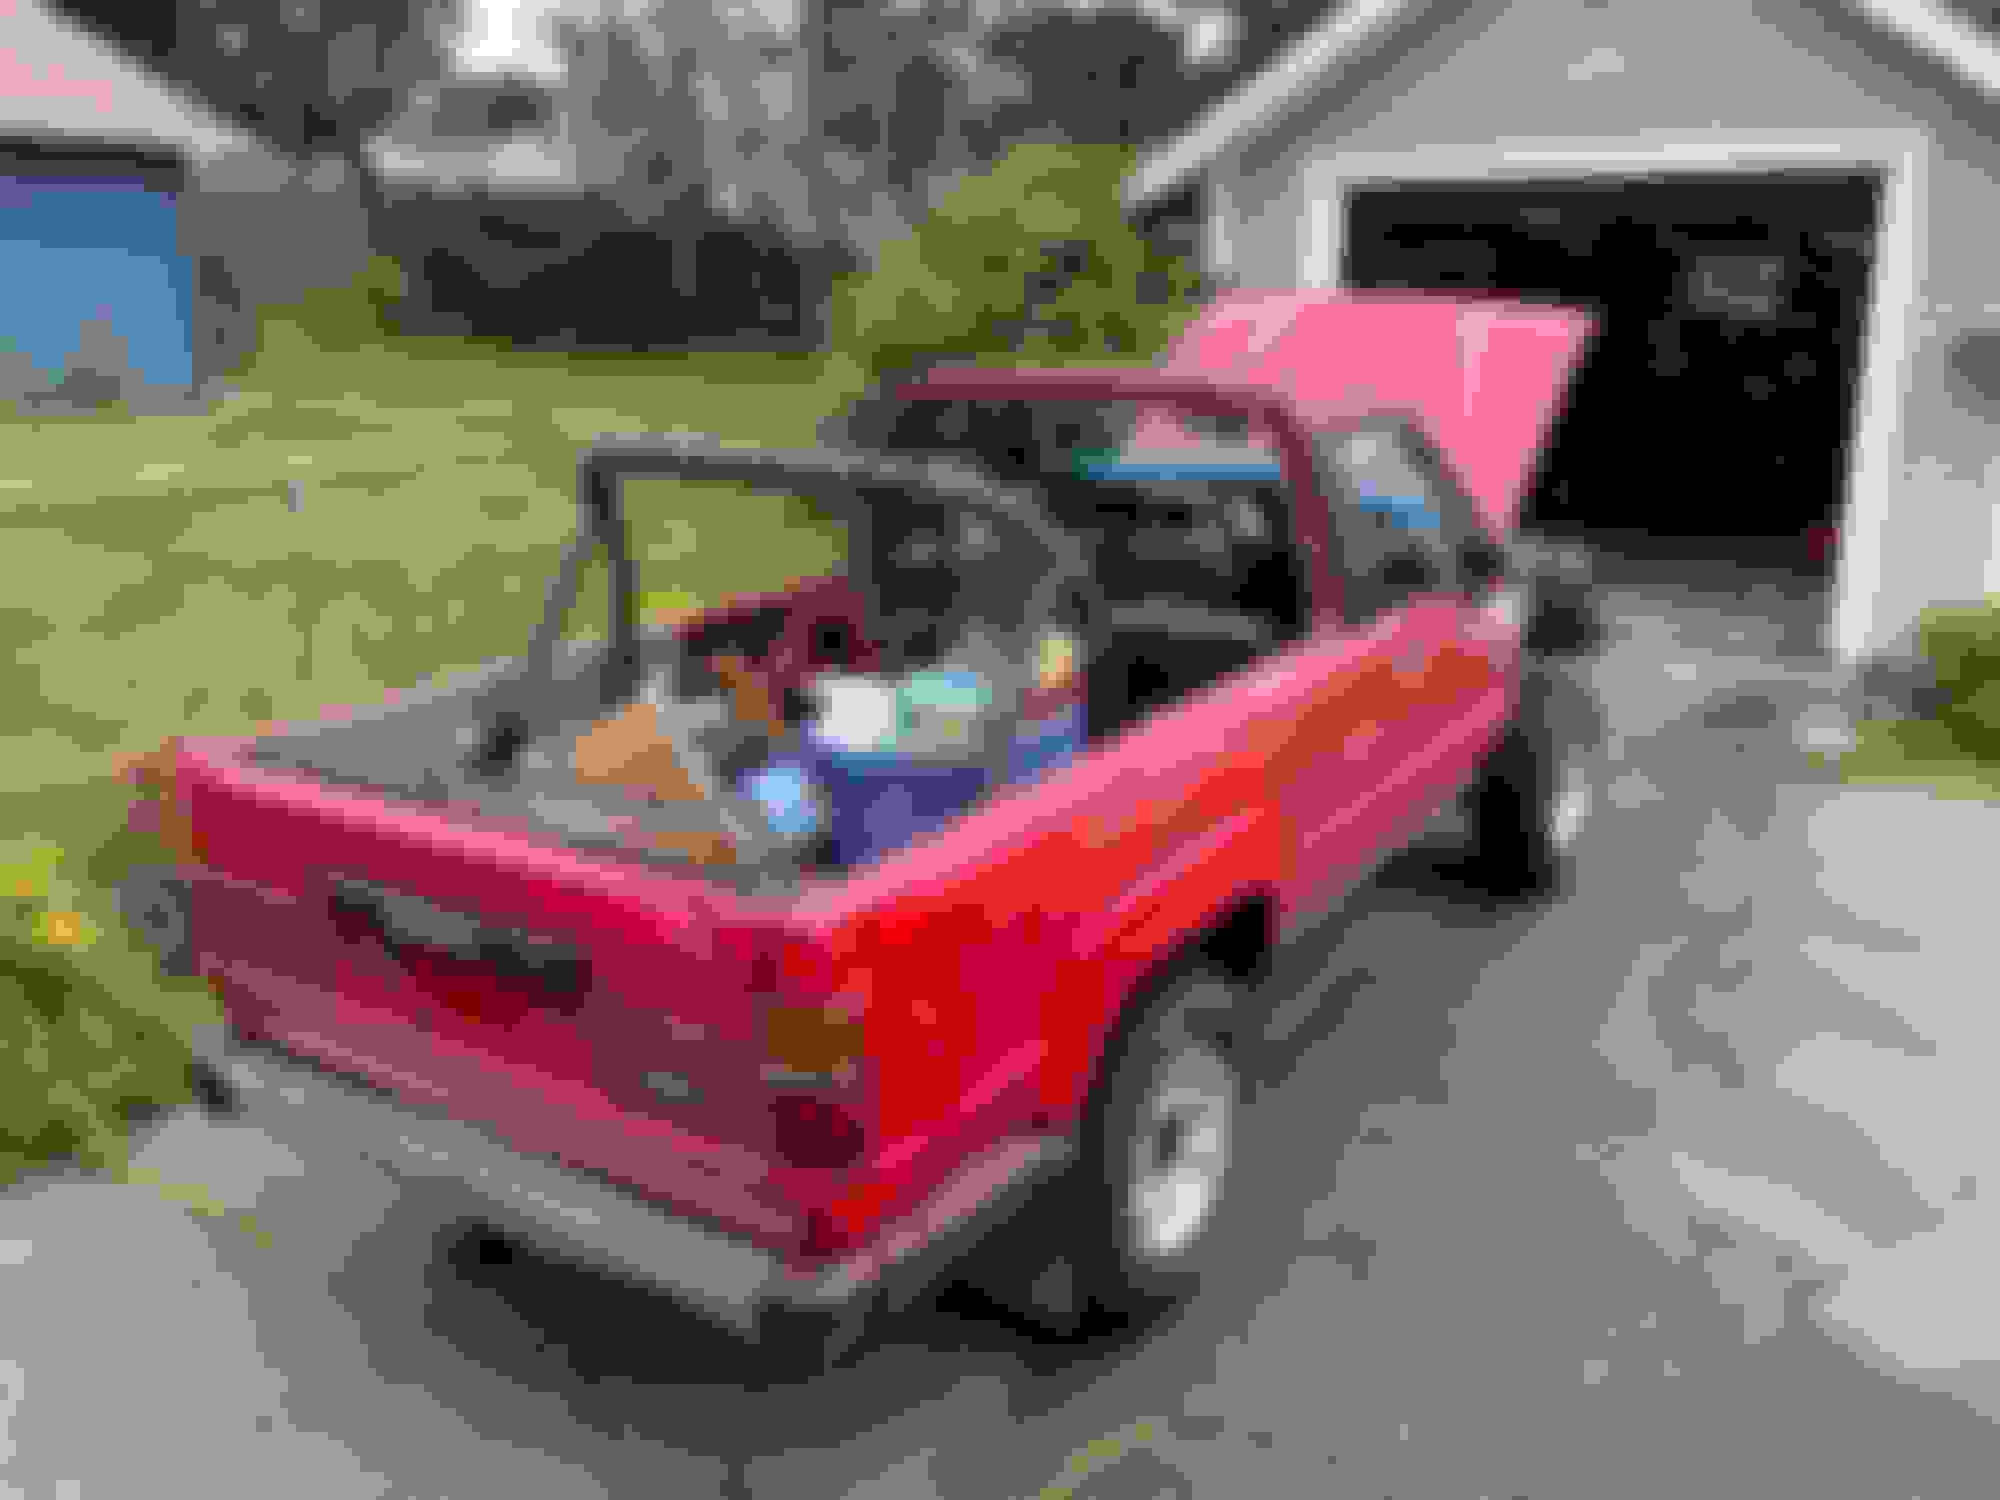
Time for an update on the GooRunner.
First, it hasn’t left the yard, but starts and runs great and doesn’t leak fuel(though i used Harbor Freight crush washers some places and reused other ones), coolant, oil, or trans fluid. Temp gauge reads correctly at idle. Should probably make sure i have all the air out of the cooling system.
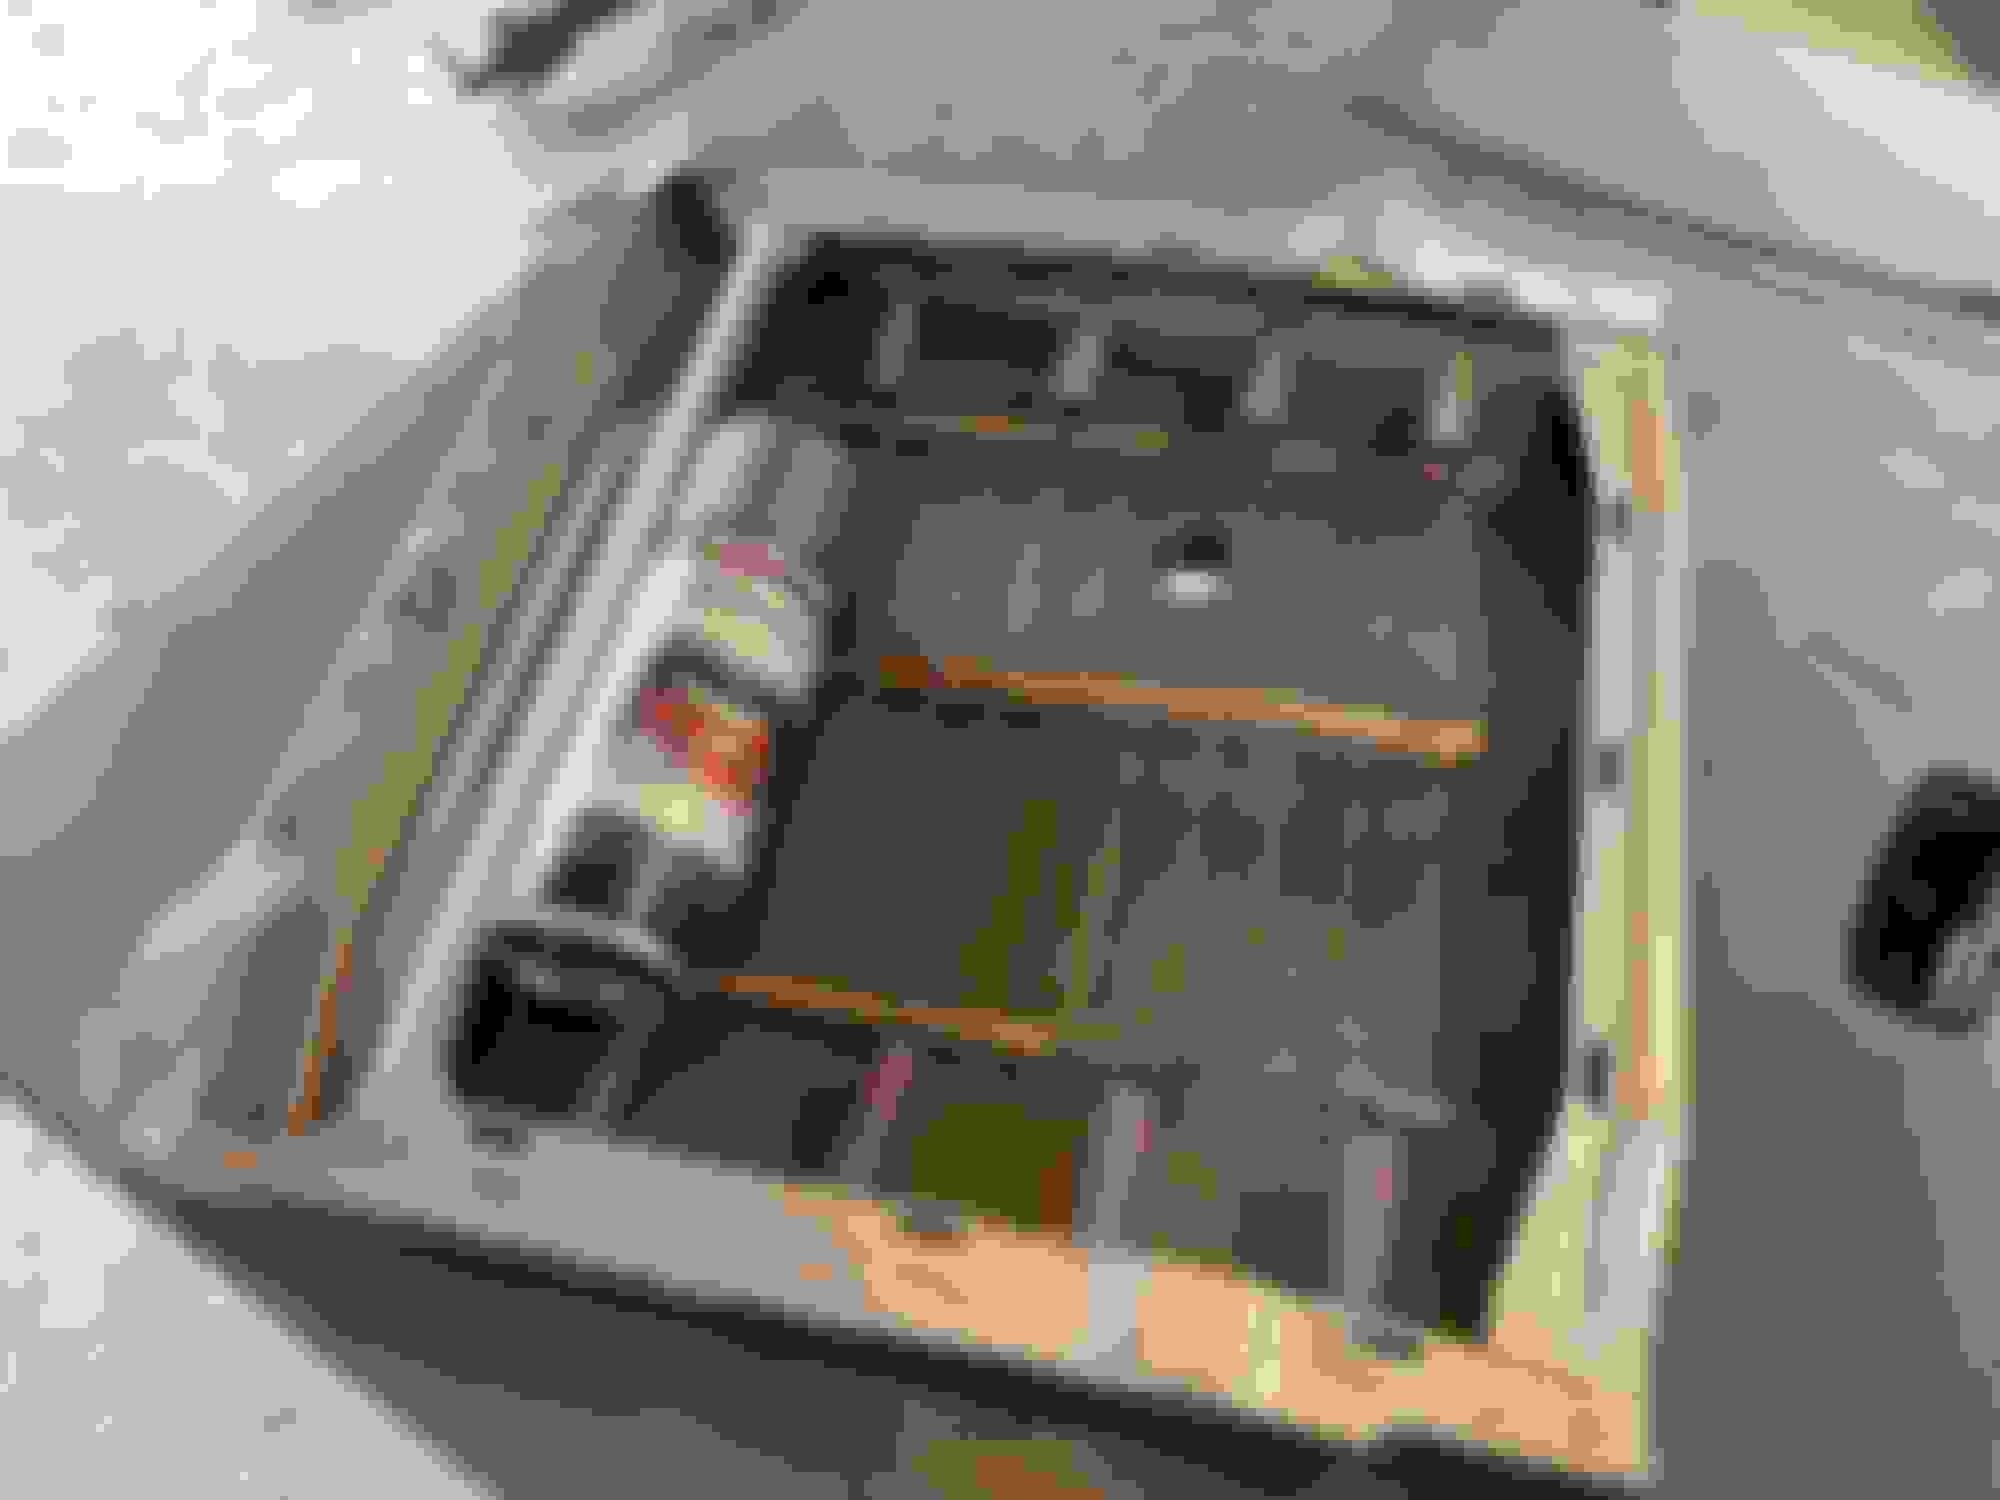
Decided to pull the roof off to make it easier to work in the interior. Discovered some rust on top of the fenders(no surprise there!)
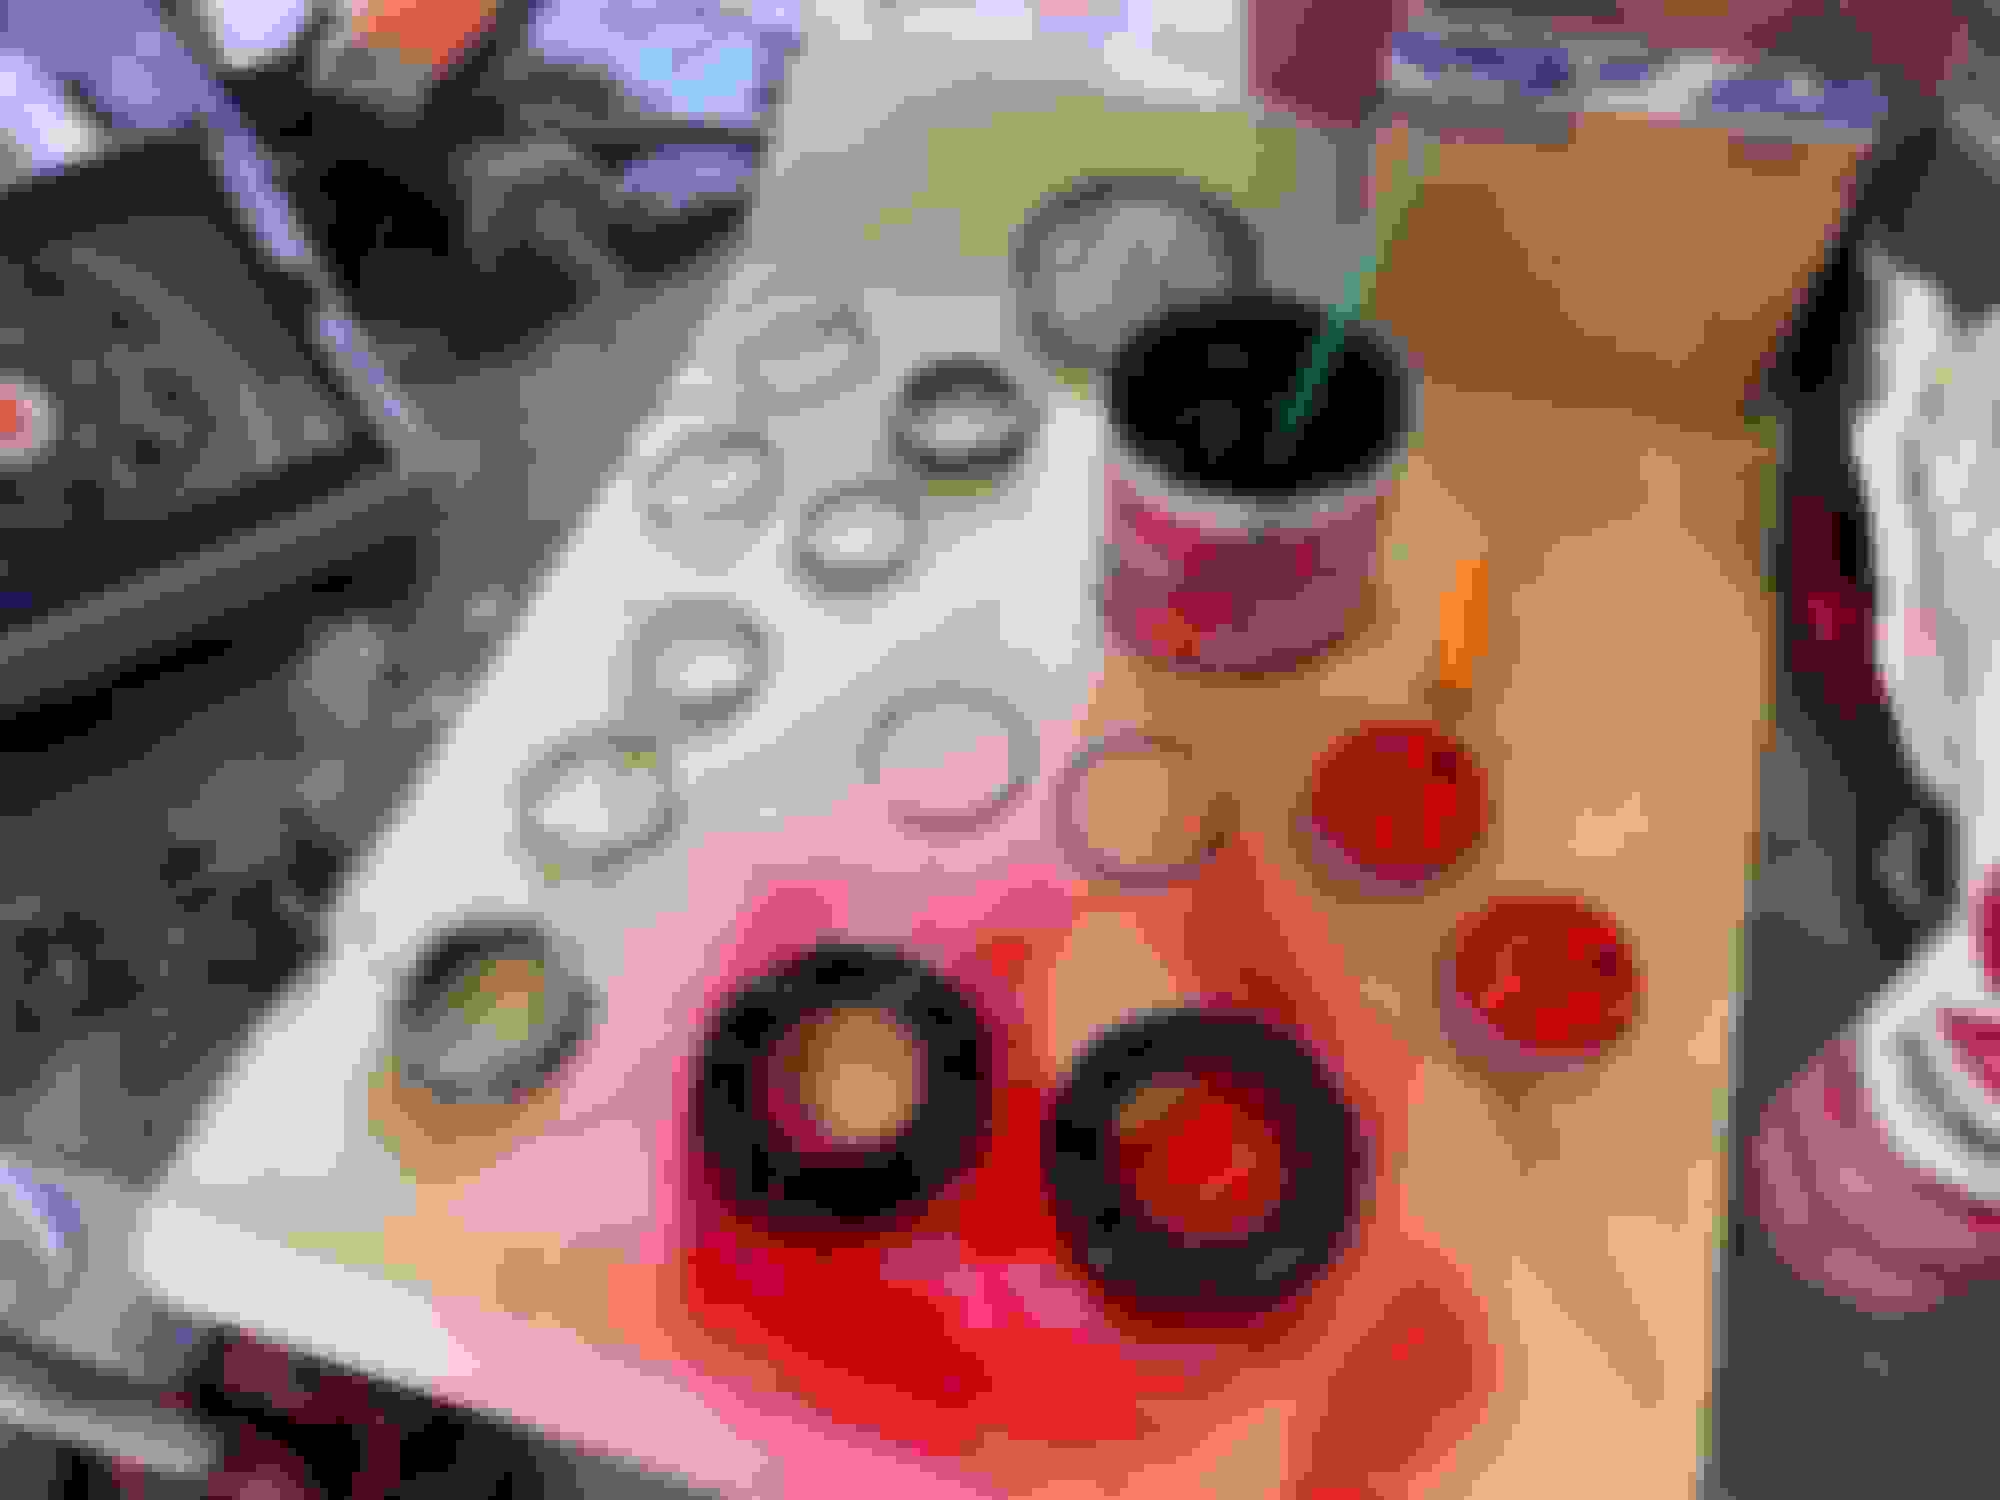
I discovered the hubs wouldn’t unlock. Who knows how long the previous owner or owners were driving it like this. So I decided to rebuild them but stopped in the middle of the operation to order parts. Still waiting for the rebuild kits to appear in the mailbox.
At some point, a previous owner jammed the truck under a tree, bending the passenger inner fender. It is very crumpled. This makes the front corner lower on the passenger side and the hood and fender don’t align and the grille droops. I said this wasn’t going to be a show quality resto but can’t leave it alone.
So i started drilling out the spot welds to either A) completely replace it with a straight one, or B) hammer it back into shape a weld it back in.
I’ve been looking for someone parting a truck out locally but haven’t found anyone yet.
Help.
A guy in western Mass is trying to sell me a bare truck cab, but I don’t want that in my yard so we’ll see if he changes his mind. The goal, i think is to have this rig legal and rolling on the streets by mid July.
Last edited by Melrose 4r; 07-03-2023 at 04:04 AM.
I swear our rigs are related, same color code and I got the same droop on front right side. I also just rebuilt my hubs, think the gaskets and o-ring kits came from the Netherlands? Oh and I love it with the top off!! thinking about making it my 'yard truck' so easy to throw stuff in there!
I swear our rigs are related, same color code and I got the same droop on front right side. I also just rebuilt my hubs, think the gaskets and o-ring kits came from the Netherlands? Oh and I love it with the top off!! thinking about making it my 'yard truck' so easy to throw stuff in there!
Yes! Bought my hub rebuild kit from the guy in Netherlands. Int’l mail has to clear customs but typically arrives in under two weeks.
I don’t think I will spend for a new Soft topper for this rig(or maybe i will) so maybe just a bikini top. It’s parking under an easy-up for summer so no concerns about rain yet.
Last edited by Melrose 4r; 07-03-2023 at 12:51 PM.
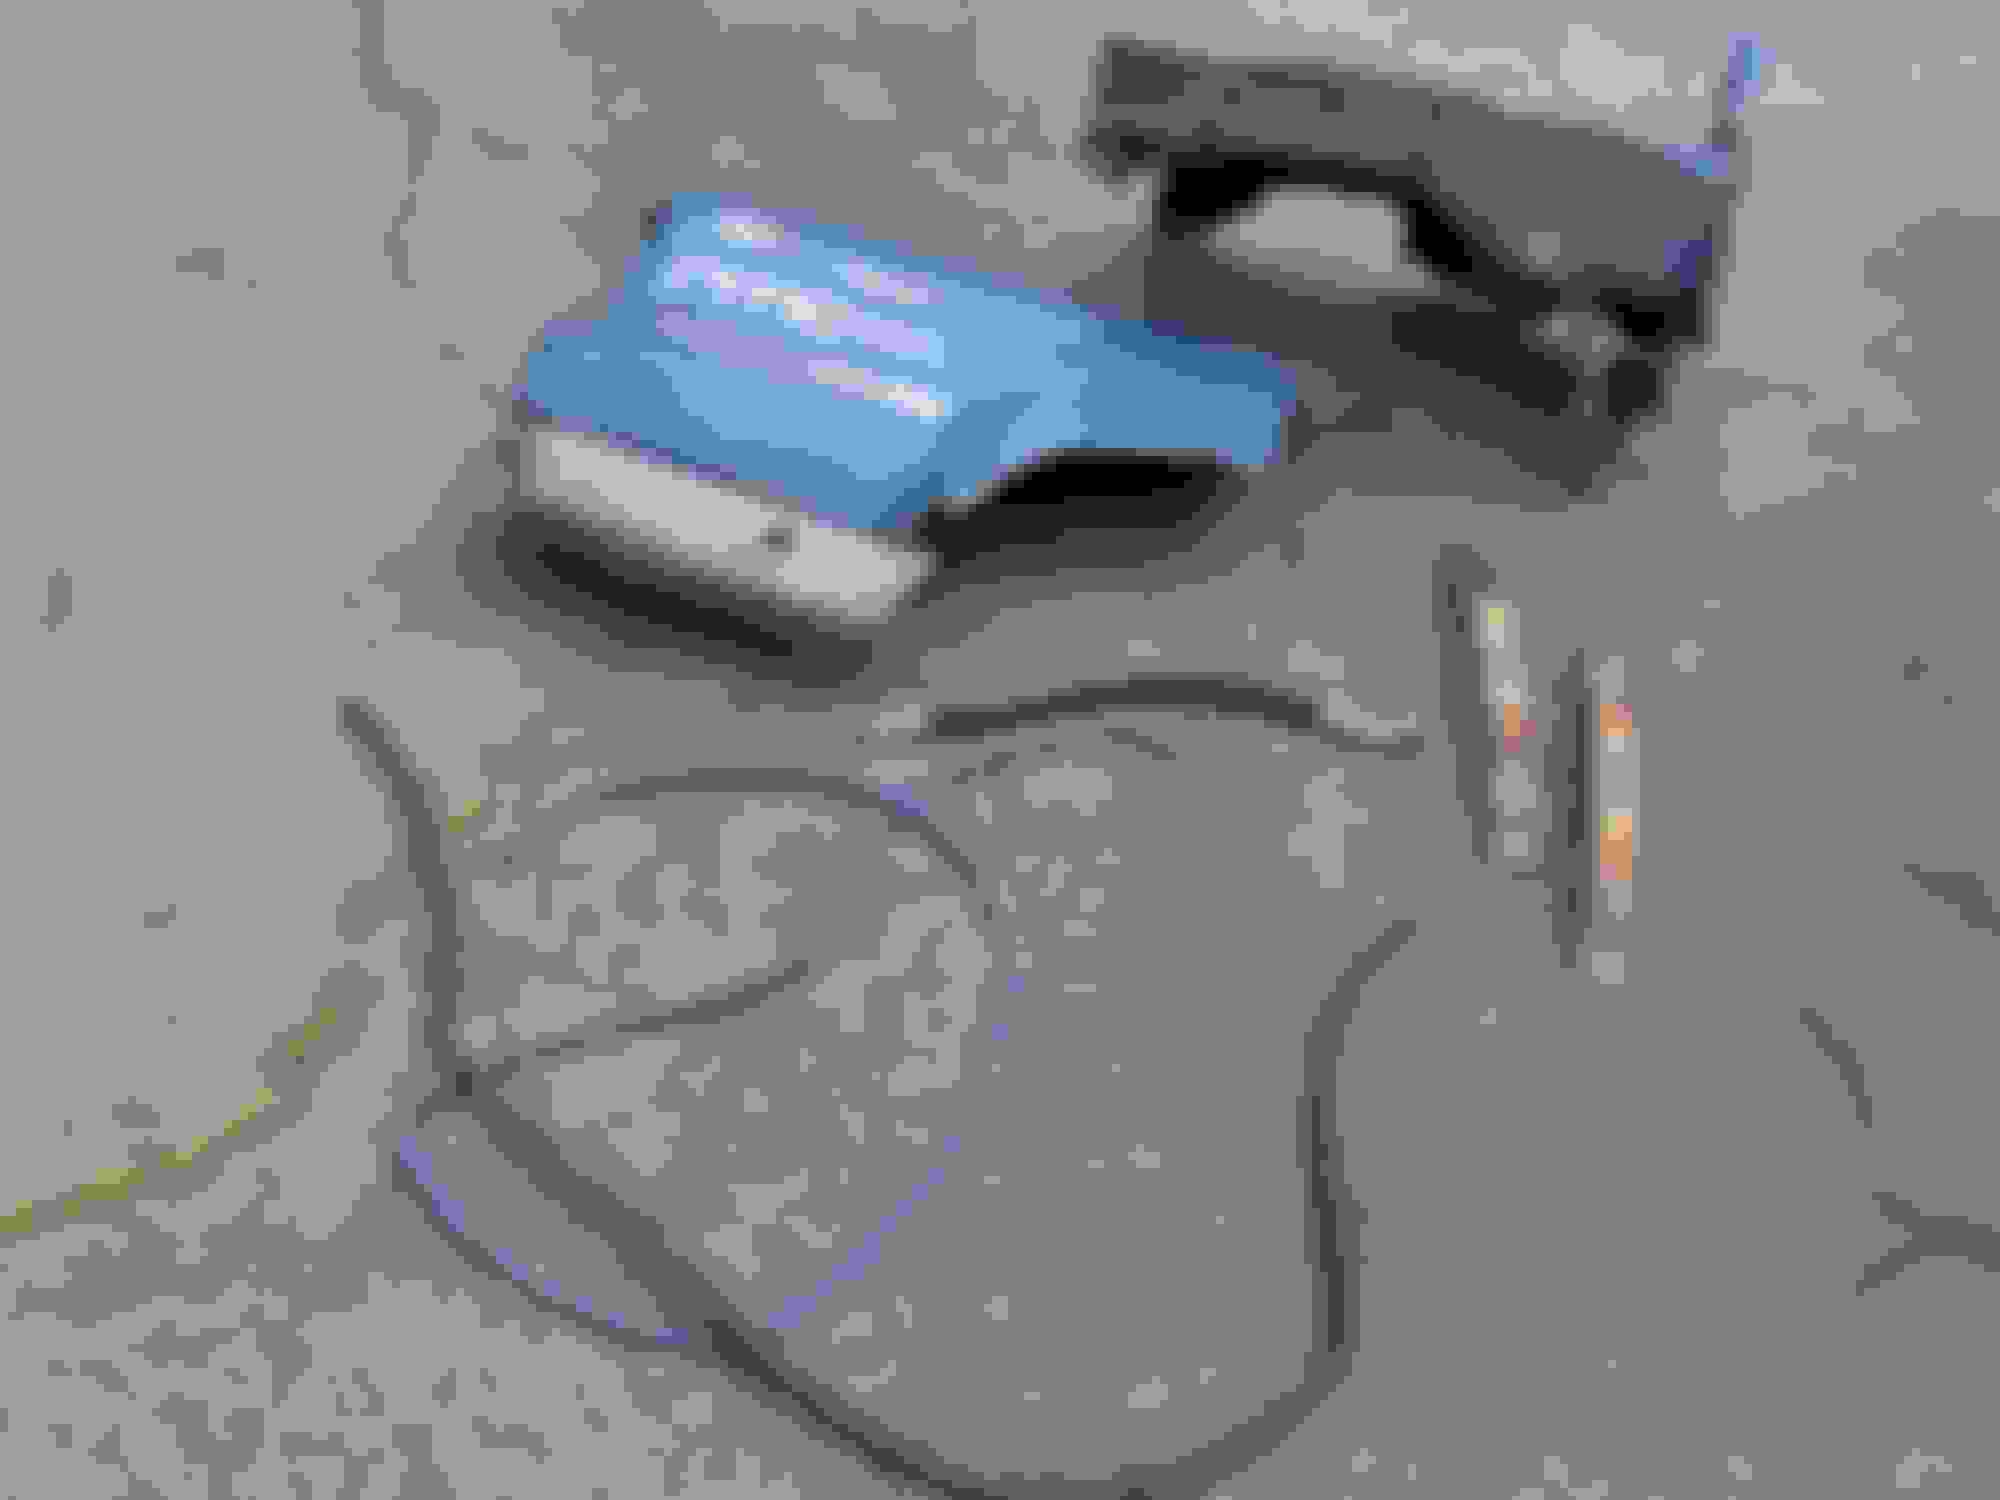
Recently found a guy with a parts truck and made a deal. I cut off the passenger inner fender and rear fender section to replace the crumpled ones on the GooRunner. If you haven’t joined the FB group “1st Generation 4runner classifieds” you are missing out!
Also scored this NEW IN THE BOX Kayline soft top. It must be 20 years old. I may hand the white one from the beach truck down to the GooRunner and dye this black one navy blue for the beach truck.
Last edited by Melrose 4r; 07-10-2023 at 06:16 PM.
Finally the Red headed step truck gets some love. I was happy to have my son’s help both days and got a lot accomplished.
what started out as a plan to just swap the bottom cushion of the passenger seat over to the driver’s side turned into disassembling and cleaning both seats, rejuvenating the foam with a steamer and washing the fabric. I soaked it down with Purple power and left it for about a half hour, then hand washed with hot water and dawn dish soap. I couldn’t believe how clean this came out. Before After
And my son learned a little about hog rings and upholstery helping put the cover back on.
Last edited by Melrose 4r; 09-24-2023 at 05:54 PM.
We also spent time beating the badly deformed inner fender back into shape. I had bought a used replacement piece and was planning to cut off the original and replace it, but i decided to try to straighten it out first and it worked well enough. We’ll still need to shim the fender bolts a bit but that is fair in the relm of hack bodywork. The boy replaced one signal light and new bumper ends and spray pained the bumper filler piece black. Much better! The grill doesn’t droop on the pass side anymore. We also replaced the clips and hardware holding the inner fender with new hardware store stuff and he learned how headlight adjusters work. Lots of pounding with small hammers. No longer droopy How it sits now.
Now all i have to do is put the backseat in, troubleshoot the doorbell button horn, reassemble the pass seat, and find time to get to the registry for plates. We should be on the road soon.
Last edited by Melrose 4r; 09-26-2023 at 05:06 PM.
Finally the Red headed step truck gets some love. I was happy to have my son’s help both days and got a lot accomplished.
what started out as a plan to just swap the bottom cushion of the passenger seat over to the driver’s side turned into disassembling and cleaning both seats, rejuvenating the foam with a steamer and washing the fabric. I soaked it down with Purple power and left it for about a half hour, then hand washed with hot water and dawn dish soap. I couldn’t believe how clean this came out. Before After
And my son learned a little about hog rings and upholstery helping put the cover back on.
wow tha did come out clean! Dawn is great upholstery cleaner , degreaser oh and Allright for dishes too, I guess.
Your 4runner is looking good! Nice find on the Kayline and those seats cleaned up great. Thanks for the video on the hub rebuild…I’d like to get to that one day as well 👍
More attention to the seats today. The bottom cushion looked like a tiger had been using it when i removed all the gorilla tape from it. So we had a local shop make up a new one. Not the exact pattern, but close enough for jazz. And it went back together really well.
Here’s what it looked like when i was cleaning the covers in our basement utility sink. “Just add water. Makes its own sauce!”
Love that dirty water… I dusted the rusty seatframe with some engine paint. Covers the surface rust well. Had 1 broken spring in the upper seat back. I was able to stretch and remount it easily. The boy learning stuff Now you can touch the seats without feeling gross. Ready to go back in. Just a little damp still. All the stains came out.
Last edited by Melrose 4r; 09-30-2023 at 04:31 PM.
Embracing my inner hack today. I could have probably repaired the plastic mounts on the grille somehow and used the proper clips to secure it, but it was easier to drill a few holes and use zip ties. Until recently, i had no idea how many things on airplanes are secured with zip ties. If it’s good enough for them, it’s good enough for me.
New parking lights Back seat in. Interior is just about inhabitable now. Seats are ready for action now.
We recently rebuilt the automatic shifter with new bushings and rubber grommets. It was so sloppy, i thought it was destroyed. The new bushings and grommets made it feel like brand new. So good i couldn’t believe it. You have to peel back the rubber boot to access the pivot bolt. Now ready for plates and the road test next weekend if all goes to plan.
Last edited by Melrose 4r; 10-21-2023 at 06:23 AM.
As we are working on our build - I'm skimming through your stuff and MAN you have a bunch of great content. This all will be very helpful to us. Thanks for posting brudda!

 06-03-2023, 01:07 PM