When you click on links to various merchants on this site and make a purchase, this can result in this site earning a commission. Affiliate programs and affiliations include, but are not limited to, the eBay Partner Network.
Fought with the front valence and bumper ends. I’ll replace the ends but I think the valence can stay off. I have no idea why previous owners made these modifications.
Last edited by Melrose 4r; 02-12-2023 at 05:45 PM.
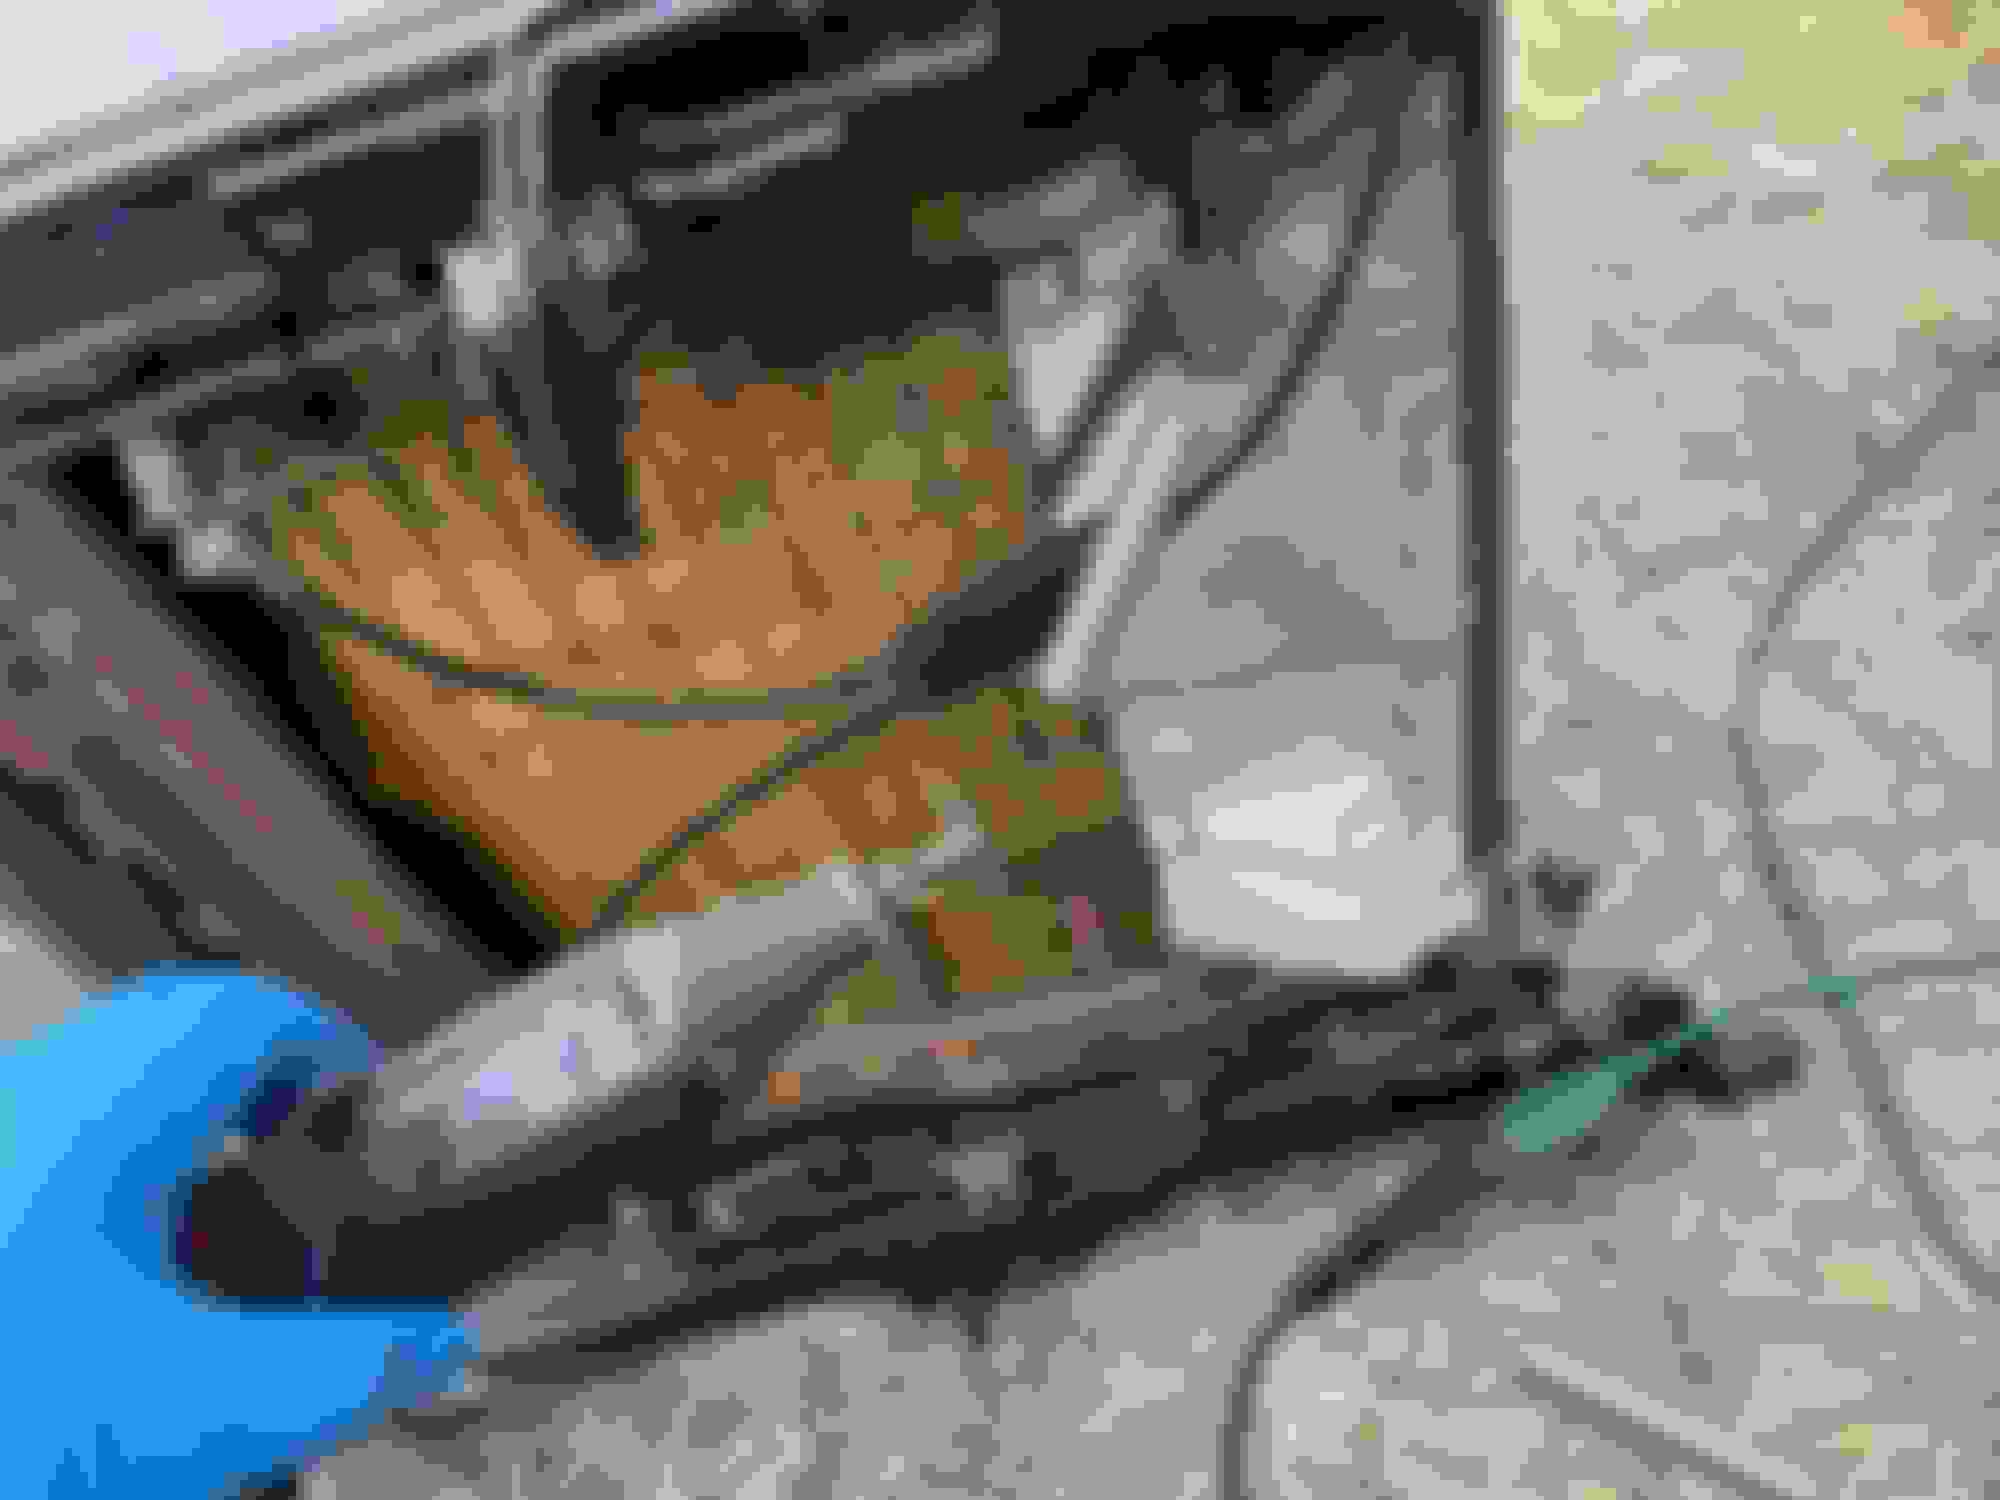
Beach Truck is not pleased with me. I went to move it out of the garage and the battery was dead. Then while charging in the driveway, the radiator started leaking…a literal “hissy fit”.
Last edited by Melrose 4r; 02-22-2023 at 06:21 PM.
Beach truck is not pleased with me. I went to move it out of the garage and the battery was dead. Then while charging in the driveway, the radiator started leaking.
check them radiator hoses, my 85 sprung a leak on the upper hose attached to the thermostat housing after our little Arctic blast and the Commando started leaking from a hose too. All I did was tighten it up and it it seems to be holding now.
check them radiator hoses, my 85 sprung a leak on the upper hose attached to the thermostat housing after our little Arctic blast and the Commando started leaking from a hose too. All I did was tighten it up and it it seems to be holding now.
It leaks at the filler cap/tank juction and also seeps at the crimps on the plastic tank. Will definitely be replacing it with a metal tank radiator. And the lower hose may need to be tightened but I restored and replaced the front pan and that just makes it harder to get to the front of the engine from beneath so that will be going back in the shed!
Are you going to go with one of them aluminum radiators? I did that for the Commando because I destroyed the old one not realizing I had something in a way when I turned the key. Wrecking a perfectly good original radiator apart. So far I like the way it works but it looks too new looking through the grill with the rest of the thing LOL
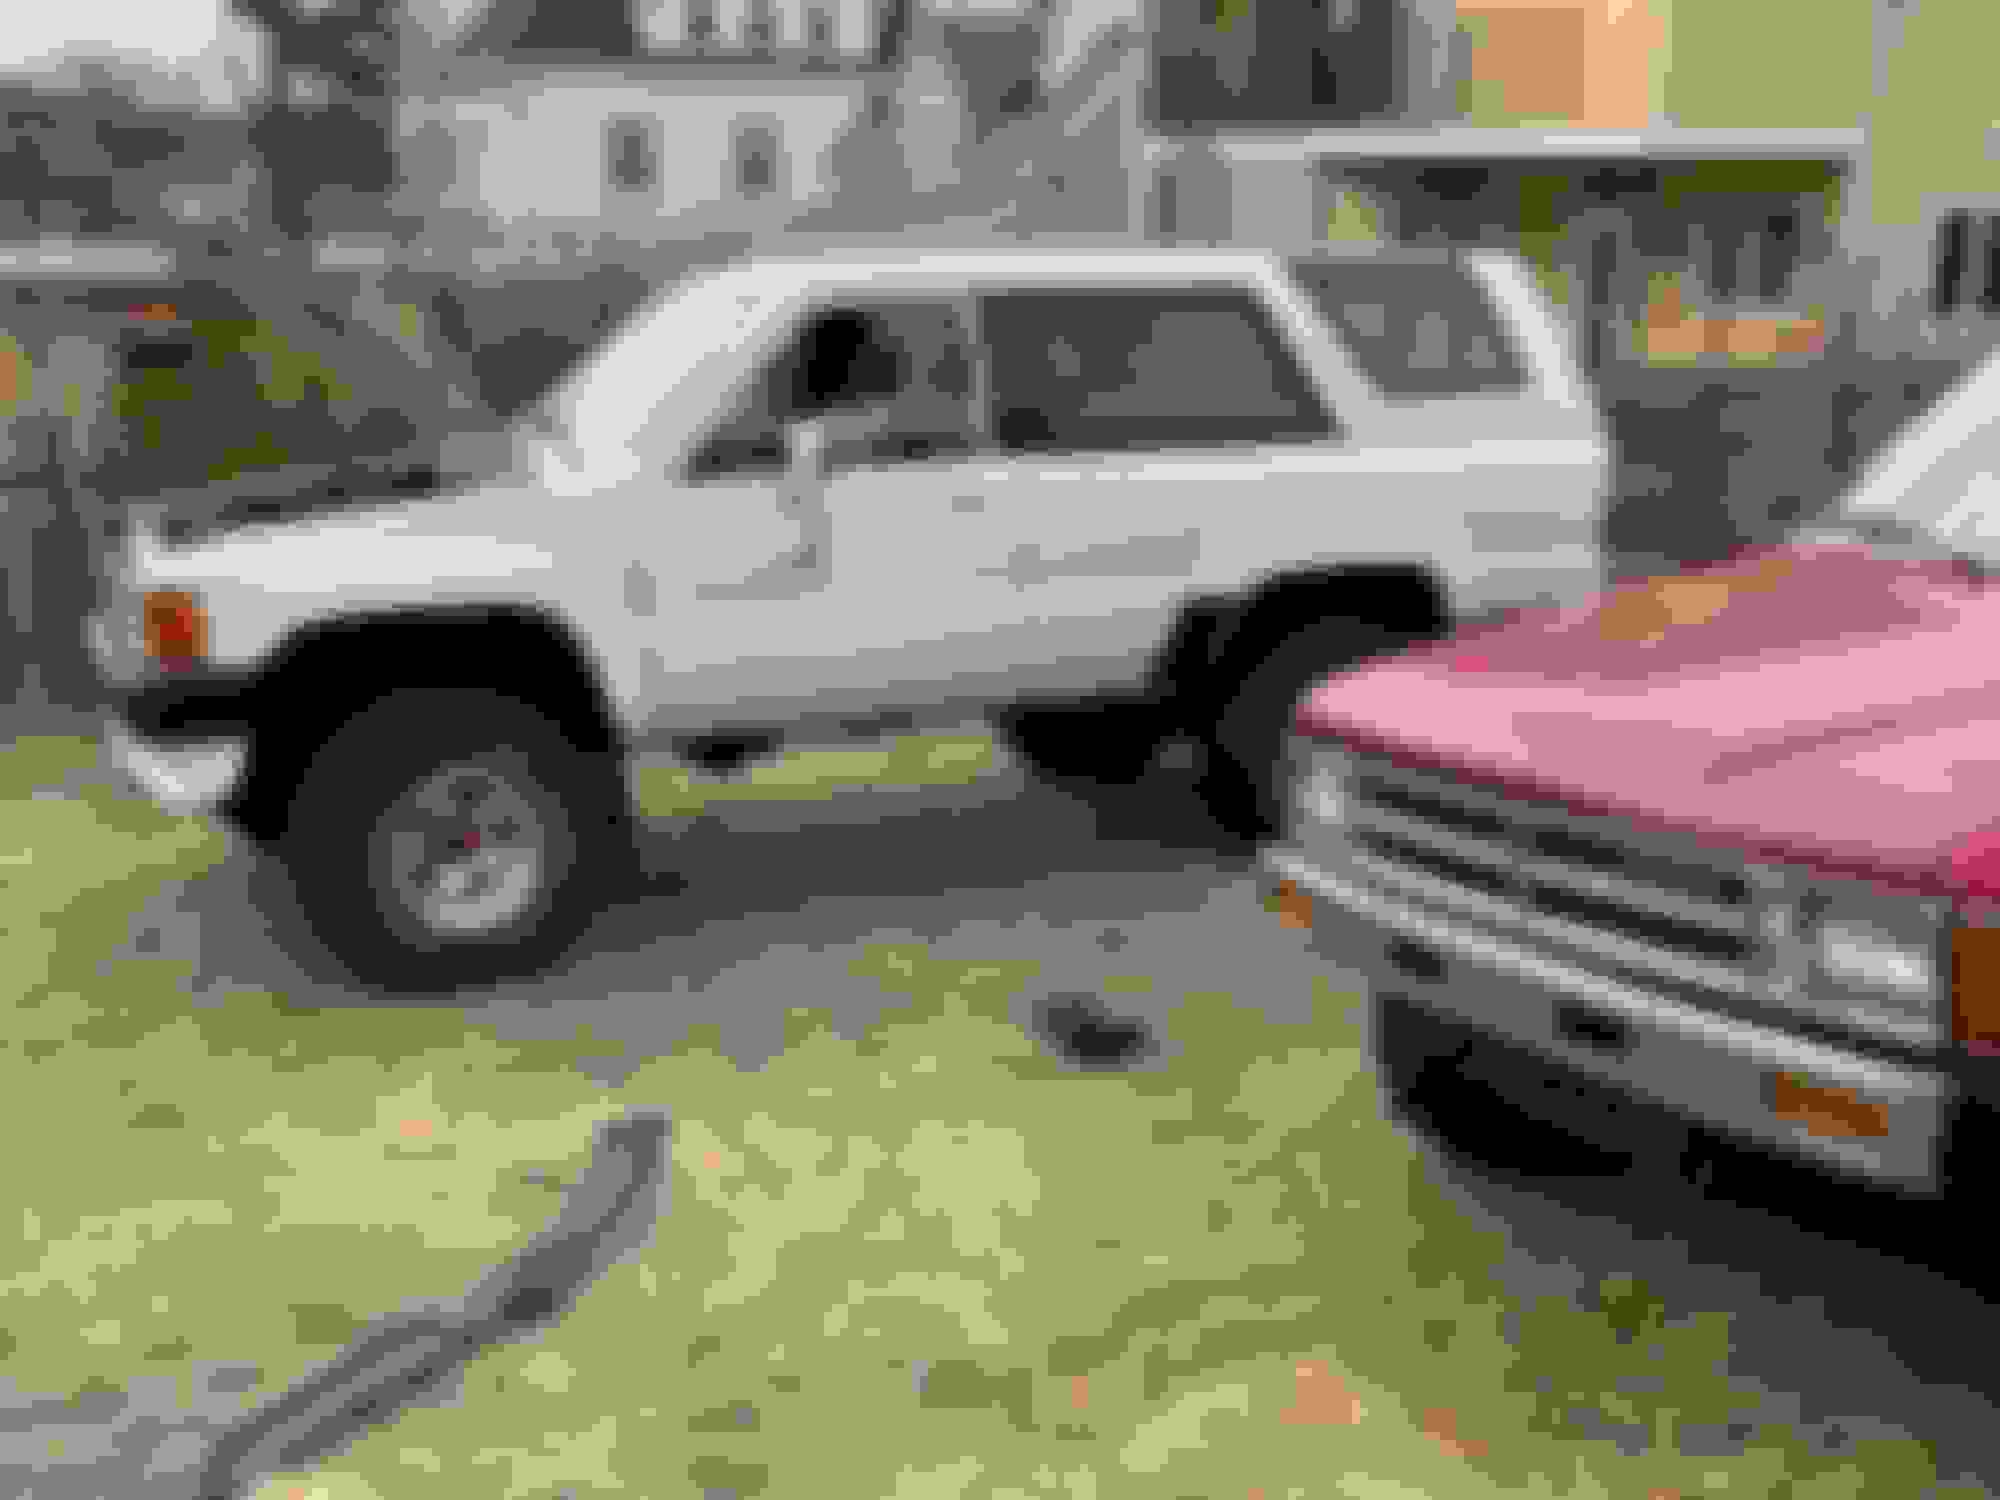
Looks like you’re chipping away, nice work! Great pic of the 2 runners side by side. Hope you get the radiator leak squared away on your white one. I’ve heard the CSF radiators are pretty good on these Toyota’s if you don’t have the original one to re-core.
Looks like you’re chipping away, nice work! Great pic of the 2 runners side by side. Hope you get the radiator leak squared away on your white one. I’ve heard the CSF radiators are pretty good on these Toyota’s if you don’t have the original one to re-core.
Thanks, yes it will definitely be a CSF. Just have to take a measurement and review part numbers before I order it.
Got a few hours last evening and most of the day today under the Goo Runner. New levels of hackery were discovered.
For everything good about this truck, there is also a negative. Example: Previous owner told me the transmission lines had been replaced. Good, right? Except replaced with rubber hose, and zip-tied to the cutoff old lines, which, are still dripping tranny fluid. 🤬
Nice, stylish yellow with blue boot Bilstein shocks - black because they are covered with used motor oil 🤬
The other day, I made a decision about the engine. I decided I would not pull it, not yet anyway, for several reasons.
*Technically, it’s still winter and I don’t have the room to pull the engine with the garage door shut
*Maybe I can roll in a set of bearings and I won’t have to pull it
*i was going to pull the head off, but decided to pull the oil pan first. That way if i found a cracked piston, I would just pull it and replace it.
*Prefer to save the other 22re engine i have for the beach truck
So i struggled through the goo to pull the oil pan. I could not reach some of the bolts until i unbolted the front diff and cross mount, and the pan would not come out till i rolled the diff and unbolted the steering stabilizer and idler arm. If you’ve got a gooier truck than this, i want to see it.
Last edited by Melrose 4r; 02-20-2023 at 03:23 PM.
When I finally did reach the rod bearings, i felt like I had been swimming near the Exxon Valdez.
Here’s what I found. No metal parts in the pan, but the oil had a graphite color to it. And I had changed it and filter earlier last week because it smelled like gas and was pretty thin. Now after running maybe 20 minutes, looked the same.
Very short video.
#1 and #2 look better than this. So i have a .75mm Mahle Clevite set on order. Next weekend, i’ll polish the journals, put them in and see if the fix works.
Can’t be any worse off. Moving the pistons from beneath, it seems like the wrist pins move consistently and don’t wobble so I am thinking they are likely ok enough to proceed. This was a rebuilt ebay motor with 70k miles on it.
The head and head gasket were new in 2021.
Last edited by Melrose 4r; 02-24-2023 at 12:06 PM.
My new rod bearings arrived from Rock Auto mid-week and we had a miserable cold snow storm late in the week so I wasn’t too motivated to get in the garage till today. After watching some videos for pointers on polishing rod journals in the car, I went out armed with 600, 800, and 1000 grit paper and a band cut from the bottom of a t-shirt.
There is a learning curve to this(like everything else) and I learned that the more accurately you can cut your sandpaper strips to width, the better. And also better if they don’t overlap as you wrap around the rod journal. My view for much of the day.
I started with 800 grit and it didn’t do much. The #3 journal is a rough to the fingernail and I’m trying to get it similar to the #2 thar’t visible at the same time. So then I decided to drop back and use some 380 I had but it was the adhesive backed kind left over from my bodywork and that didn’t turn at all. So I decided to go buy some more sandpaper, but once I emerged from the garage, the wife wanted me to go to the grocery store with her and other stuff. So I got back on it later with the 400, then made progress, tried the 800, dropped back to the 600 then got some results. Next i think it will be more 600 then 800, 1000 and maybe higher. It takes quite a while to get results. I know these are forged steel cranks so maybe they are harder to polish than cast cranks.
Here’s a photo of what this truck COULD look like someday. I will spray paint the graphics because vinyl requires good bodywork. And thinking about adding a snorkle from this company. Price seems fair.
did all consoles have padded cover or was that an option? since one of my hinges is broken it's more of a lid than a cover lol but it has no padding or wrap or signs of old adhesive

 02-12-2023, 05:40 PM