86-95 Trucks & 4Runners (Build-Up Section) Post your build-ups here

Melrose’s new project: “Half Full”

Thread Tools
 
Search this Thread
 
Old 02-05-2023, 03:45 PM
  #61  
Registered User
Thread Starter
 
Melrose 4r's Avatar
 
Join Date: Jun 2017
Location: 02176
Posts: 2,335
Received 901 Likes on 598 Posts
Good progress this weekend.

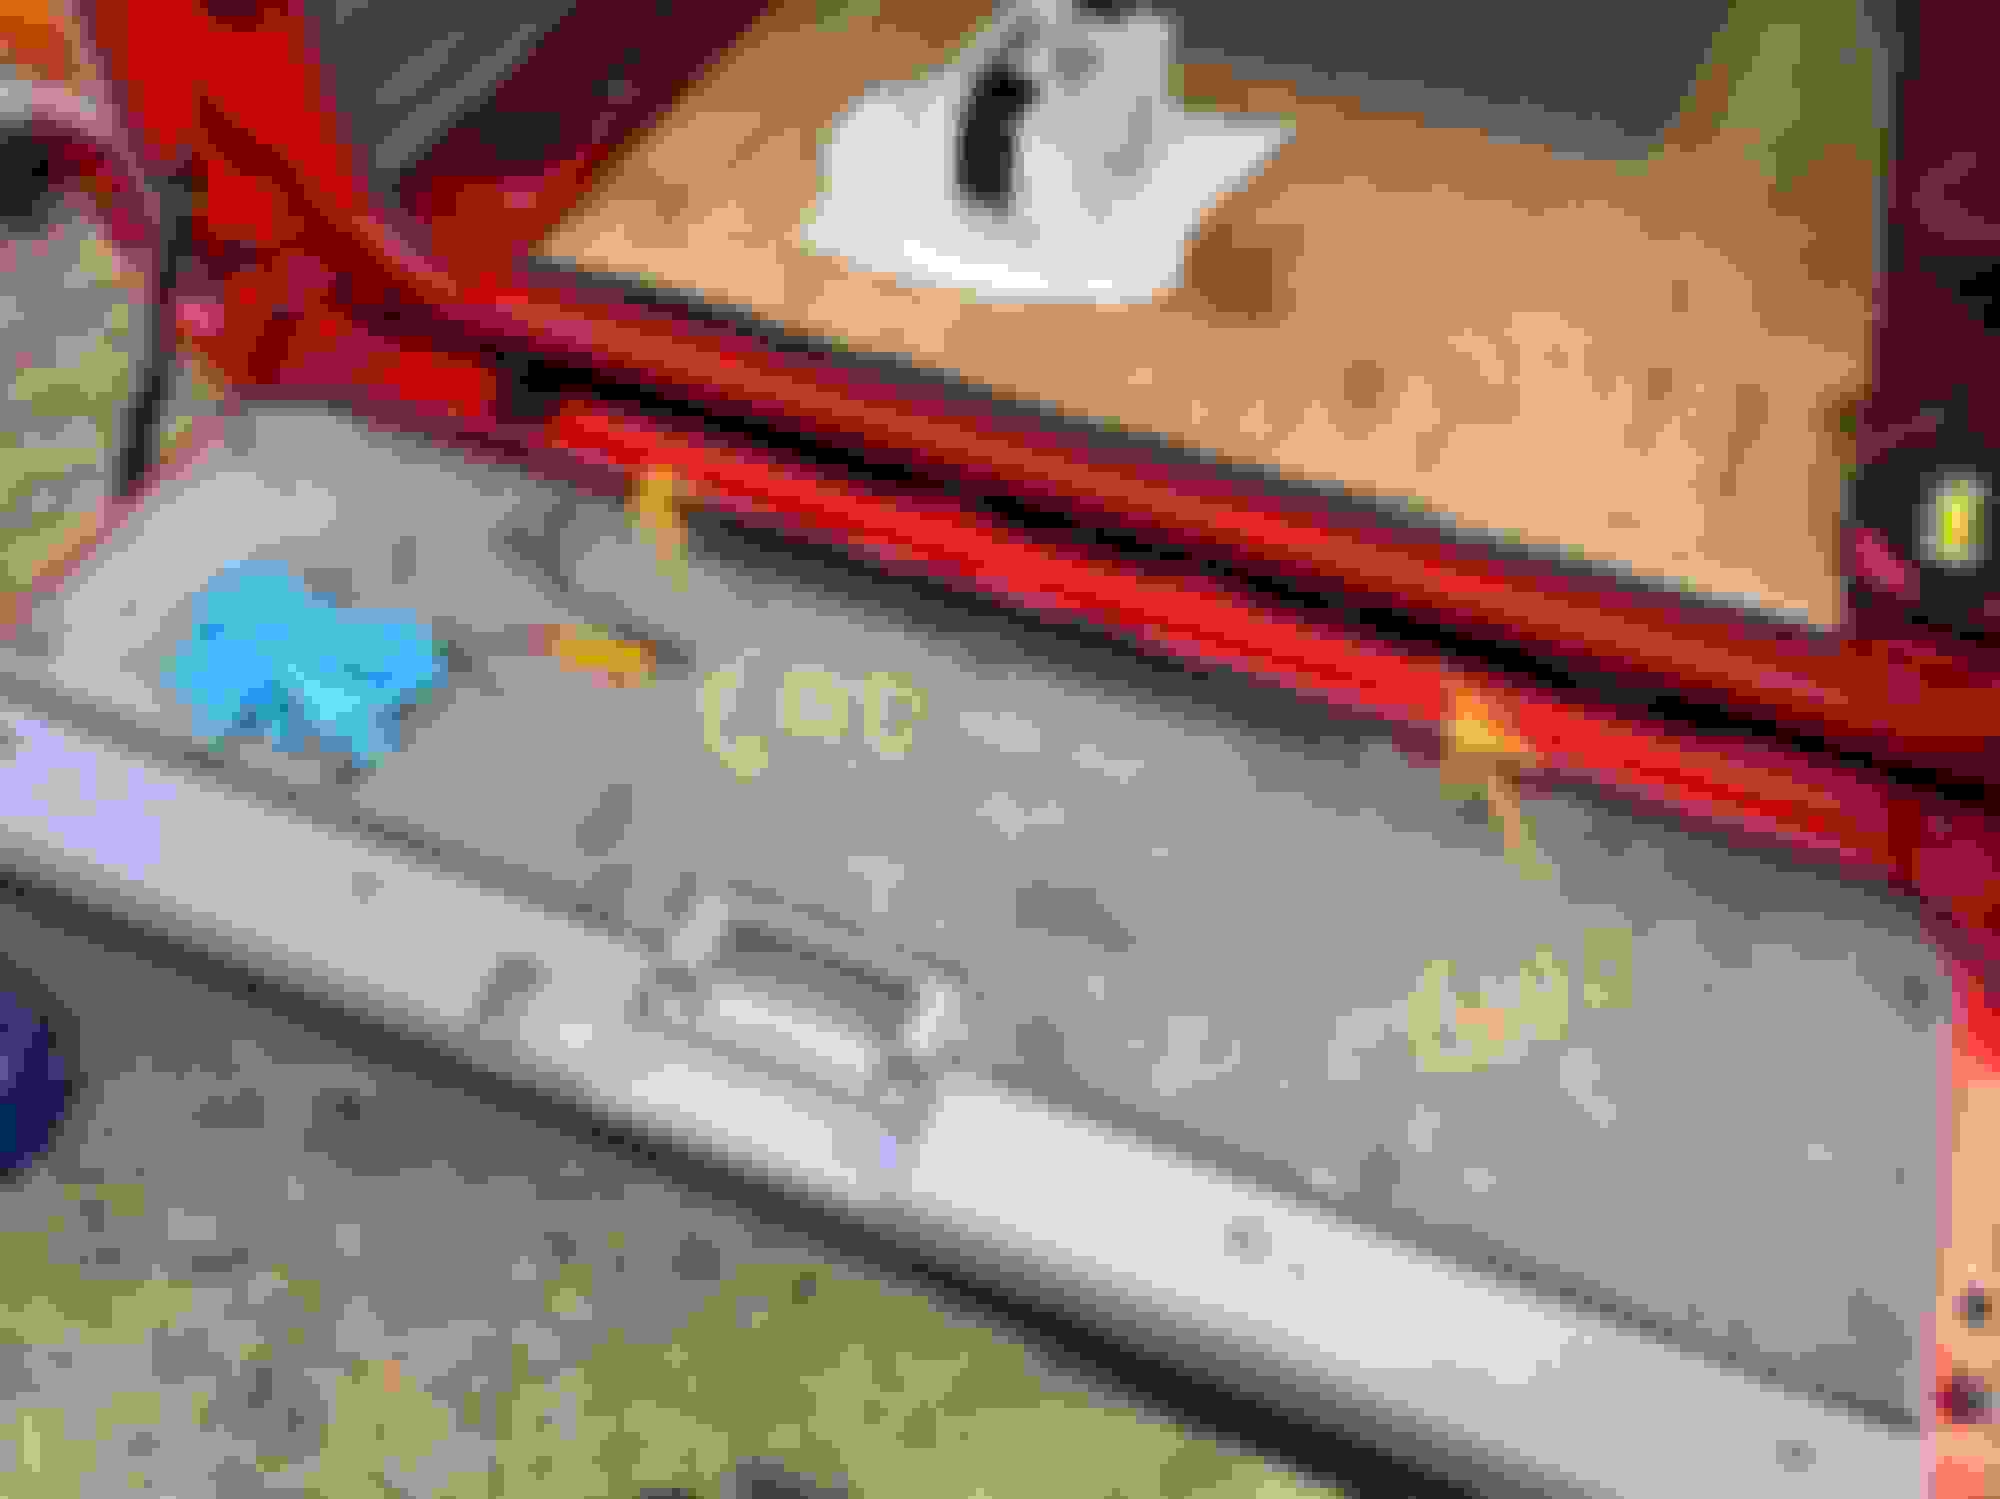
First, further investigation into the rusted driver’s floor. This happened because the salt and melted snow ran down from the dead pedal along the edge of the floor under the wire bundle.

This is a simple fix. I’ll just split the factory spot welds and put in a new 90 degree piece from rocker to floor. You can see the good metal underneath the seam sealer, so we’ll weld there.

Also took a whiz wheel to expose the body mount. No problem there, and we know what the underside looks like…dripping goo.


Old 02-05-2023, 03:50 PM
  #62  
Registered User
Thread Starter
 
Melrose 4r's Avatar
 
Join Date: Jun 2017
Location: 02176
Posts: 2,335
Received 901 Likes on 598 Posts
Then I focused on degooing and reconstructing one of the interior panels and the console. Think I can restore this? Don’t believe me, just watch.


The following users liked this post:
SomedayJ (02-09-2023)
Old 02-05-2023, 03:52 PM
  #63  
Registered User
Thread Starter
 
Melrose 4r's Avatar
 
Join Date: Jun 2017
Location: 02176
Posts: 2,335
Received 901 Likes on 598 Posts

Broken corner and super gooey.
Old 02-05-2023, 03:57 PM
  #64  
Registered User
Thread Starter
 
Melrose 4r's Avatar
 
Join Date: Jun 2017
Location: 02176
Posts: 2,335
Received 901 Likes on 598 Posts

Old 02-05-2023, 04:05 PM
  #65  
Registered User
Thread Starter
 
Melrose 4r's Avatar
 
Join Date: Jun 2017
Location: 02176
Posts: 2,335
Received 901 Likes on 598 Posts

This was in two pieces. First, pick off all the old gorilla glue that didn’t hold it together

This is where the breaks were.

Gorilla Super Glue Gel is perfect for the old ABS plastic.
Old 02-05-2023, 04:16 PM
  #66  
Registered User
Thread Starter
 
Melrose 4r's Avatar
 
Join Date: Jun 2017
Location: 02176
Posts: 2,335
Received 901 Likes on 598 Posts
By some miracle, this part of the console isn’t broken. Just gross.

Old 02-05-2023, 04:19 PM
  #67  
Registered User
Thread Starter
 
Melrose 4r's Avatar
 
Join Date: Jun 2017
Location: 02176
Posts: 2,335
Received 901 Likes on 598 Posts
More Gorilla tape.


Peeling the onion.

Down to the original pad.
Old 02-05-2023, 04:21 PM
  #68  
Registered User
Thread Starter
 
Melrose 4r's Avatar
 
Join Date: Jun 2017
Location: 02176
Posts: 2,335
Received 901 Likes on 598 Posts

Starting to look like a console again.
The following users liked this post:
SomedayJ (02-09-2023)
Old 02-05-2023, 04:23 PM
  #69  
Registered User
Thread Starter
 
Melrose 4r's Avatar
 
Join Date: Jun 2017
Location: 02176
Posts: 2,335
Received 901 Likes on 598 Posts

If you don’t have some clamps like this, you don’t know what you are missing. My new favorite tools.
Old 02-05-2023, 04:34 PM
  #70  
Registered User
Thread Starter
 
Melrose 4r's Avatar
 
Join Date: Jun 2017
Location: 02176
Posts: 2,335
Received 901 Likes on 598 Posts
Now some interior panel work.
More dirt and tape goo. My recipe is really hot water to soften the tape residue, Dawn dish soap to remove the dirt, then Goo Gone on the tape residue, then Dawn again to prep for painting.

On this panel, I actually tried gasoline to remove the goo. Yes, it works better than GooGone, but have to do it outdoors and I don’t know how the plastic will stand up to it if you leave it for a long time.


After spraying with SEM Granite
The following 2 users liked this post by Melrose 4r:
hurricanes (02-06-2023), SomedayJ (02-09-2023)
Old 02-05-2023, 04:59 PM
  #71  
Registered User
Thread Starter
 
Melrose 4r's Avatar
 
Join Date: Jun 2017
Location: 02176
Posts: 2,335
Received 901 Likes on 598 Posts
Now onto the interior panel


First, I glued this broken part of the cowl board back together.
Old 02-05-2023, 05:09 PM
  #72  
Registered User
Thread Starter
 
Melrose 4r's Avatar
 
Join Date: Jun 2017
Location: 02176
Posts: 2,335
Received 901 Likes on 598 Posts
Then I needed another patch piece and looked around the house and eventually found the backing in an LP record picture frame was just about identical material.


This is the patch piece.

Creative clamping with a cutting board.
Old 02-05-2023, 05:12 PM
  #73  
Registered User
Thread Starter
 
Melrose 4r's Avatar
 
Join Date: Jun 2017
Location: 02176
Posts: 2,335
Received 901 Likes on 598 Posts
I cleaned the tape goo and dirt off but will do the fabric later with the seats when i rent a carpet steamer. I’ll straighten the wrinkles in the vinyl with a heat gun and paint the frame of the box.


Last edited by Melrose 4r; 02-05-2023 at 05:13 PM.
Old 02-05-2023, 05:18 PM
  #74  
Registered User
Thread Starter
 
Melrose 4r's Avatar
 
Join Date: Jun 2017
Location: 02176
Posts: 2,335
Received 901 Likes on 598 Posts
I started taking a good look inside the quarter panel to see how they did the body work. They used front fender edges to repair the rears. Good concept, poor execution.


What is this, covered in bubble wrap and tape??

It’s a relay.

Last edited by Melrose 4r; 02-06-2023 at 08:36 AM.
Old 02-05-2023, 05:28 PM
  #75  
Registered User
Thread Starter
 
Melrose 4r's Avatar
 
Join Date: Jun 2017
Location: 02176
Posts: 2,335
Received 901 Likes on 598 Posts
This need a patch. Passenger side, too.


this console mount broke at the spotwelds.


Old 02-08-2023, 10:14 PM
  #76  
Registered User
 
86 TOY's Avatar
 
Join Date: Nov 2009
Location: SW Indiana
Posts: 294
Received 17 Likes on 12 Posts
Nice find on your 4Runner…and GREAT progress in a short amount of time! That console was in pretty rough shape. You really worked some magic on it and that SEM paint makes it looks brand new. Look forward to following the rest of your build!!
Old 02-09-2023, 02:25 AM
  #77  
Registered User
Thread Starter
 
Melrose 4r's Avatar
 
Join Date: Jun 2017
Location: 02176
Posts: 2,335
Received 901 Likes on 598 Posts
Originally Posted by 86 TOY
Nice find on your 4Runner…and GREAT progress in a short amount of time! That console was in pretty rough shape. You really worked some magic on it and that SEM paint makes it looks brand new. Look forward to following the rest of your build!!
Thanks very much. I’m planning for more progress this weekend. Stay tuned.
Old 02-09-2023, 07:31 AM
  #78  
Registered User
 
SomedayJ's Avatar
 
Join Date: Jan 2017
Posts: 1,271
Received 333 Likes on 248 Posts
Starting to look better!
Old 02-10-2023, 07:35 PM
  #79  
Registered User
Thread Starter
 
Melrose 4r's Avatar
 
Join Date: Jun 2017
Location: 02176
Posts: 2,335
Received 901 Likes on 598 Posts
This week I got two new sets of door hinges - the ones made in Thailand, a Carfax, and a receiver hitch.
The Carfax goes back to 1994 when the truck was in Trenton NJ with 71k miles on it. It was in NJ and PA until 2005 when it arrived in Vt with 130k. Good to know it’s not reported stolen and never had an accident reported. You can’t tell by looking at it.
The hinges I will attempt to put on tomorrow. I think I am going to put a 2” receiver on the front, but still needed one for the rear.

Last edited by Melrose 4r; 02-17-2023 at 03:22 AM.
Old 02-12-2023, 05:36 PM
  #80  
Registered User
Thread Starter
 
Melrose 4r's Avatar
 
Join Date: Jun 2017
Location: 02176
Posts: 2,335
Received 901 Likes on 598 Posts
Good progress this weekend.

My son pulled and cleaned and painted the interior panels. May have to go darker on the gray.

Spent an hour cleaning goo off the tailgate and hinge areas so that you can now touch it without getting dirty.

Got the console mount welded back to the floor


Quick Reply: Melrose’s new project: “Half Full”


All times are GMT -8. The time now is 10:53 PM.