malteserunner's 1987 4Runner Build-Up Thread
#463
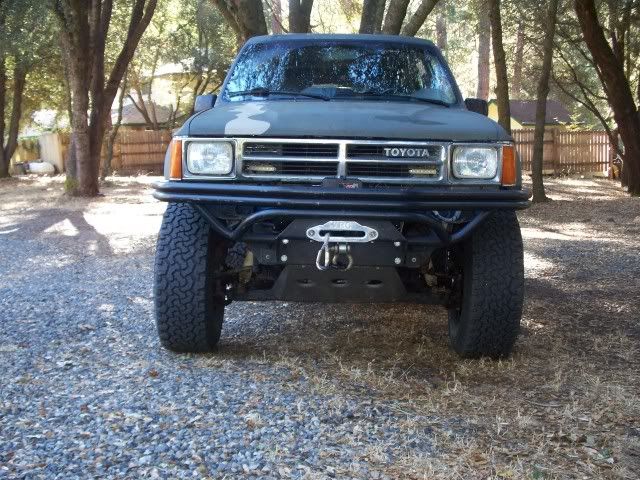
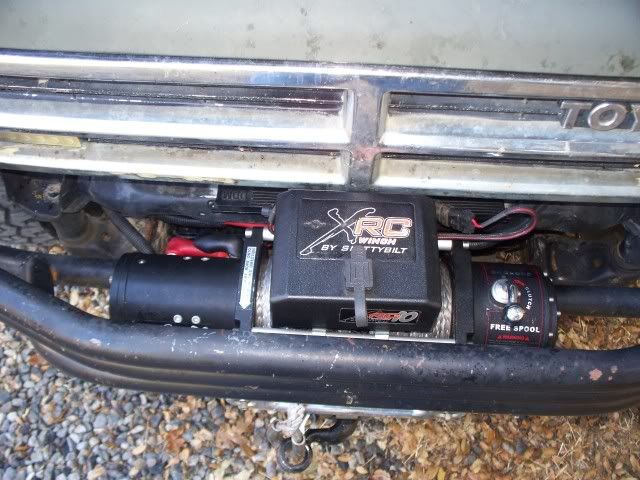
the rig looks GRRRRRRRRRRREAT! lol. Love the top on and winch looks great. My buddy has one, loves it.... he also has a HFreight 12000# one he paid 350$ for on sale and it's not given him issues for 10 years! lol... (He keeps it well maintained and covered, hehe)
#465
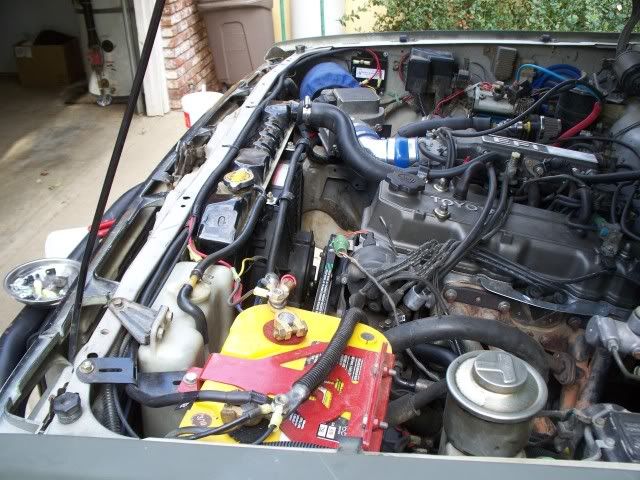
I got the DC Controls FK35 electric fan controller installed today. Thanks Brian! The install was simple. One ground and one positive from the battery to the controller, then a ground and positive to the fan. I wired the aux. lead to constant hot, rather than switched power, just to see how long the fan would run after the engine was turned off. I think I'll leave it set up that way, unless it runs too long in the summer. I really like the way the fan comes on slowly, then speeds up as necessary. This should make the engine much happier, without the heat cycling so drastically. Also, the charging system doesn't have the initial heavy load when the fan comes on. The controller is set at the factory to work with vehicles that use a 180 degree thermostat, so I shouldn't need to make any adjustments. So far I am very impressed with this product.
Parts...
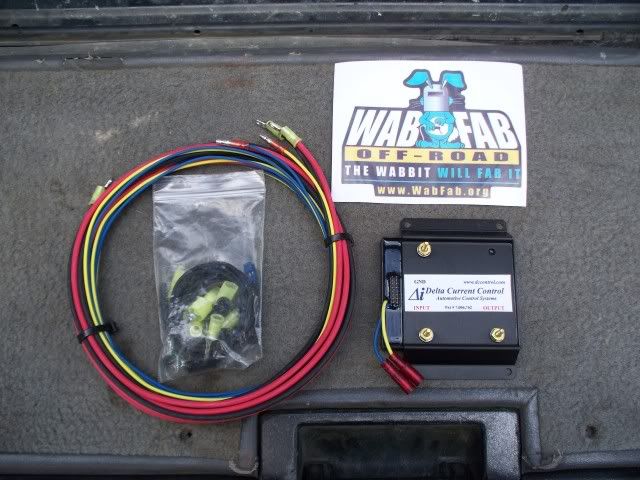
Mounted on the passenger side...

Running the wiring...
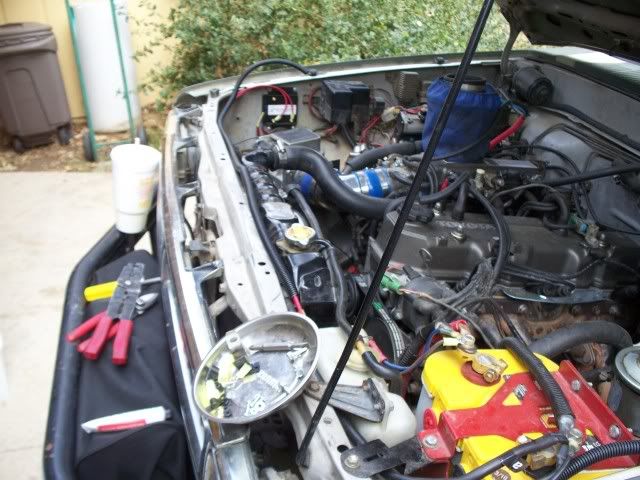
The temp sensor goes on the cool side of the radiator...

All buttoned up...
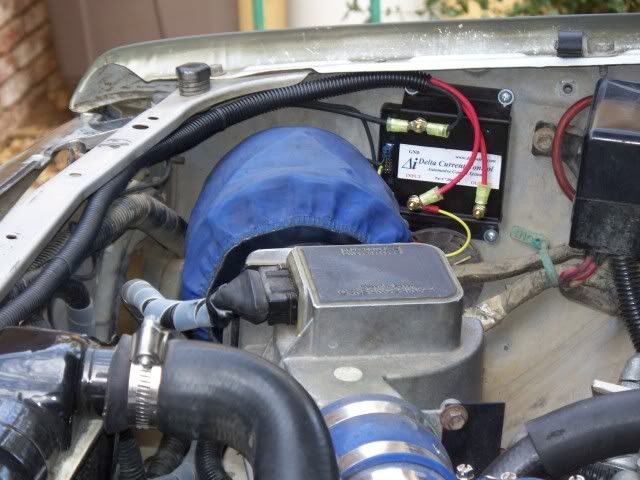
Parts...

Mounted on the passenger side...

Running the wiring...


The temp sensor goes on the cool side of the radiator...

All buttoned up...

#470
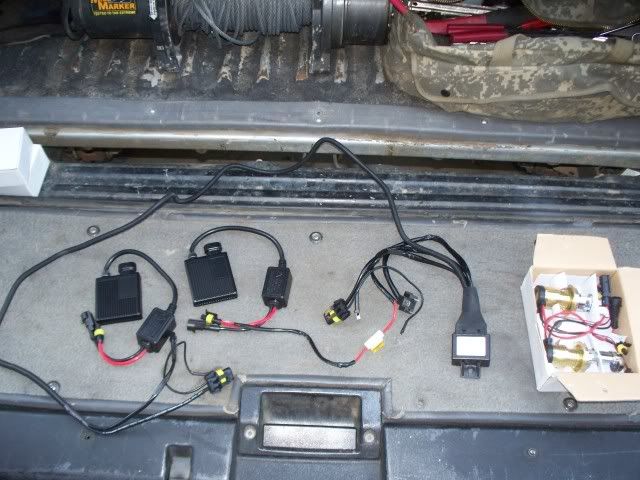
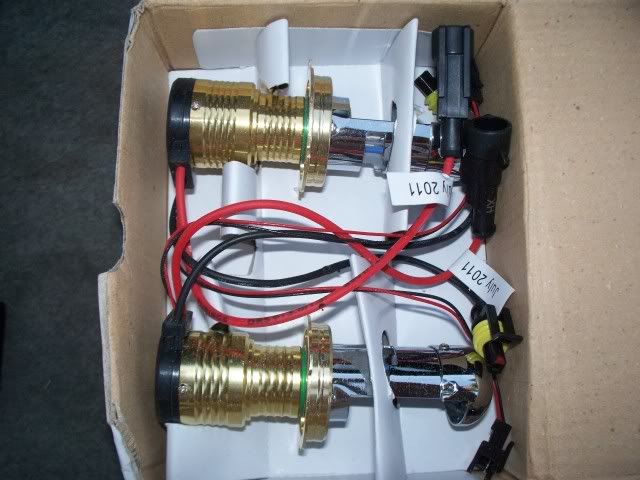
Tonight, I got the DDM HID's installed. I opted for the H4 Hi/Low beam 35w bulbs in the 5000k color, for my Hella H4 housings. The kit is nice, but not quite as complete as the H3 kit I got for the Hella 500's. The ballasts don't have any mounting holes, so I guess I'll have to stick them somewhere with 2 sided tape. My H3 kit came with 2 sided tape, but since the ballasts had mounting holes, I used screws to mount them. The new kit didn't even come with the tape, so I'll pick some up tomorrow. Otherwise, the connectors were all nice, just like the other kit. Now, when the install was complete, I fired them up...or not. The low beams didn't come on, but the high beams worked fine, that is, except the high beam indicator didn't work. I drove around tonight, with the high beams on, and I love the light output. When I got back home, I went to turn off the lights, and with the switch set to the parking light setting, the low beams came on. Then I turned the switch to off, then back to parking lights, and just the parking lights came on. The wiring was pretty straight forward. One hot lead to the battery, a pre-wired relay, two body grounds near the bulbs, one plug that fits the old H4 end, and the rest of the plugs only fit one way. I'm going to do some reading on the DDM website, and if I have no luck, I'll give them a call in the morning. If anyone has any suggestions, I'm all ears.
The kit...
Bulbs...
Passenger side. Now I'll have to start building my air box...

Driver side. I'll need to clean up the rats nest tomorrow, when I mount the ballasts...

The kit...

Bulbs...

Passenger side. Now I'll have to start building my air box...

Driver side. I'll need to clean up the rats nest tomorrow, when I mount the ballasts...

#471
Problem solved. I read a bunch of different troubleshooting articles on HID's, and came up with a few possibilities. Reverse polarity was a common problem, but not mine. Someone had an issue with the plug into the relay, not making contact. Again, not my issue. Also, I found that sometimes the headlight circuit isn't powerful enough to fire the ballasts, but since I had high beams, I figured that was not it. First, I disconnected the plug into the trucks' headlight socket, to see how it looked. I then used some jumpers to see if the HID's worked properly if connected directly to the battery. Both high and low worked just fine. I cleaned the socket and put some new dielectric grease in, then put everything back together. Now the lights work great. I took the 4Runner for a ride, and adjusted the headlights to my liking. I love the way they light up the road, and I didn't have any oncoming traffic flash their lights at me. During my research, I found a lot of write ups on projector retrofitting, and I may do the same down the road. For now, I am happy with the upgrade.
#472
I HAVE A SUGGESTION! ................... get your arse down here and do mine.... I have a boo-boo on my finga and I can't do it.............hahahaha..........OK, I don't wanna, so ........PLEASE? HAHAHAH. I might just upgrade to those "50% brighter" bulbs at the auto parts store for now. I think I'm mod'd out right now! hahaha.
#473
ok, so im thinking i can bring the money for the raaaaaammmmsss down to pismo for Surf n Turf (if youre going)... hopefully ill have my winch installed, lights hooked up, lift installed, steering rack rebuilt, aaaaaaaannnnndddd, now my head is spinning...
anyways, point is, if you go, i look forward to meetin you in person...
anyways, point is, if you go, i look forward to meetin you in person...

#474
Today, I cleaned up the wiring mess a bit. With all these little mods here and there, I've got a lot more wiring to organize in the engine bay. I also changed the elbow on my intake from a 45 degree to a 90 degree, to get the filter away from the HID bulb. Those things get smokin' hot. I'm glad I moved the intake, since now I have a better idea how the air box is going to fit. I'll order a 90 degree silicone elbow from siliconeintakes.com when the time comes.
The ballasts are stuck in place with 3M two sided tape. So much more room now, around the light...
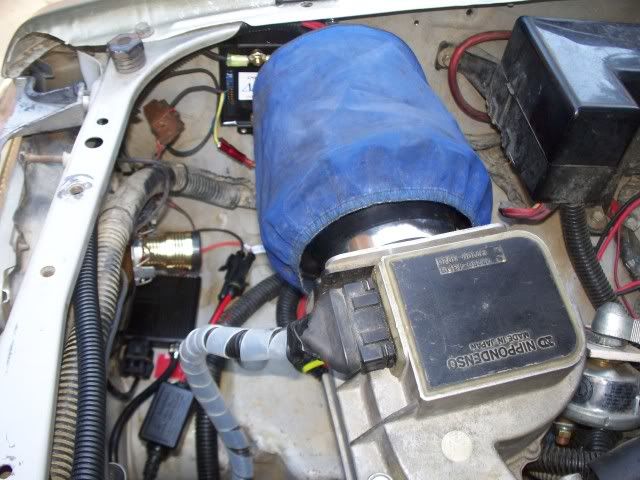
This is where the intake sits now...

A little less clutter on the driver side...
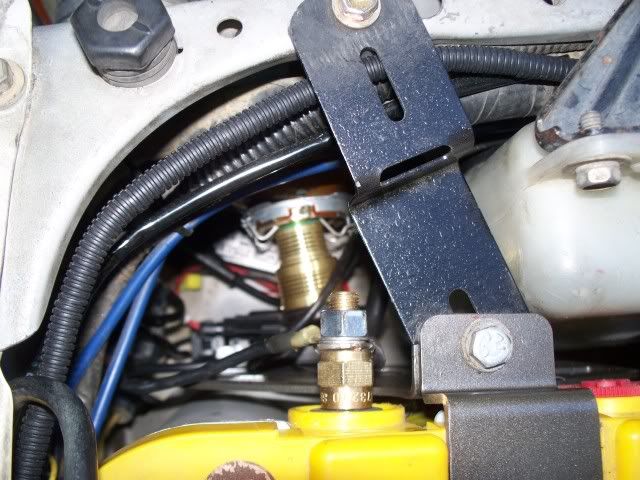
Since the battery box was out, I painted it to match the engine...

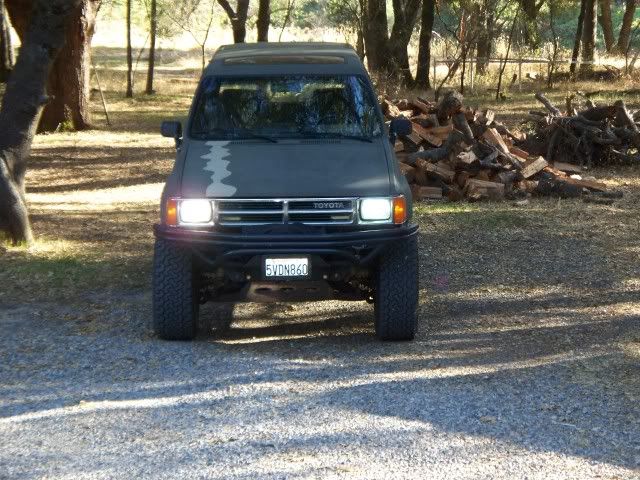
And one pic with the lights on. They are just slightly blue, but the pic doesn't show it very well. I'll get a pic at night, too...
The ballasts are stuck in place with 3M two sided tape. So much more room now, around the light...

This is where the intake sits now...

A little less clutter on the driver side...

Since the battery box was out, I painted it to match the engine...

And one pic with the lights on. They are just slightly blue, but the pic doesn't show it very well. I'll get a pic at night, too...

#475
I HAVE A SUGGESTION! ................... get your arse down here and do mine.... I have a boo-boo on my finga and I can't do it.............hahahaha..........OK, I don't wanna, so ........PLEASE? HAHAHAH. I might just upgrade to those "50% brighter" bulbs at the auto parts store for now. I think I'm mod'd out right now! hahaha.
ok, so im thinking i can bring the money for the raaaaaammmmsss down to pismo for Surf n Turf (if youre going)... hopefully ill have my winch installed, lights hooked up, lift installed, steering rack rebuilt, aaaaaaaannnnndddd, now my head is spinning...
anyways, point is, if you go, i look forward to meetin you in person...
anyways, point is, if you go, i look forward to meetin you in person...

#477
After a couple days of driving home at night, from work, I am pleased to say the lights are working very well. I don't get flashed from oncoming traffic, which is cool, because I don't want to be 'that' guy. I had a friend pass me, who said they didn't bother him at all, and I've passed by a dozen highway patrolmen, without any issues. Hooray.
I sent my new rotors out today, to be drilled/dimpled and slotted. They should be back early next week. I gave the company the okay to do whatever pattern they want. It'll be interesting to see how they turn out.
I sent my new rotors out today, to be drilled/dimpled and slotted. They should be back early next week. I gave the company the okay to do whatever pattern they want. It'll be interesting to see how they turn out.
#480
The are called The Drum Garden. They specialize in hard to find parts for classic vehicles, but also drill and slot their own rotors, in house. The daughter of the owner lives near me, and she offered to take them down to SoCal this week to have them done. They are also setting my coworker up with new front brakes for his 69 Firebird. I'll post some pics when I get them back next week.


