malteserunner's 1987 4Runner Build-Up Thread
#181
I picked up the third this morning and I'll be starting on it Monday morning. I'm working this weekend, and trying to spend some time with the wife and kids in my free time. I'll be off Tuesday, so it will be finished then. Pics to come, including the installed cross member.

Thanks guys, for the compliments. The 4Runner has definitely come a long way, and I'm really liking the results of all the mods.

Last edited by malteserunner; 05-01-2010 at 10:14 AM.
#183
I got the third installed this morning. It went very smoothly. After talking with the guy who set it up, turns out the preload was set too tight, which wore out the front pinion bearing prematurely. He explained, the front bearing gets less oil, and is smaller, therefore prone to failure first. Also, one of the shims was broken, causing the preload to get even tighter. Fortunately the gears are okay.

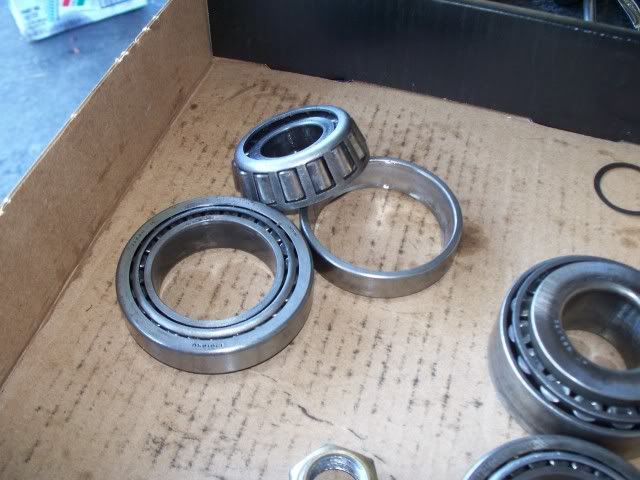
See the scars on the ARB housing...


I set the third in the housing, and connected the air line. I wanted to make sure the locker was functioning properly, before I got too far ahead of myself.

Locker is working fine. No leaks.
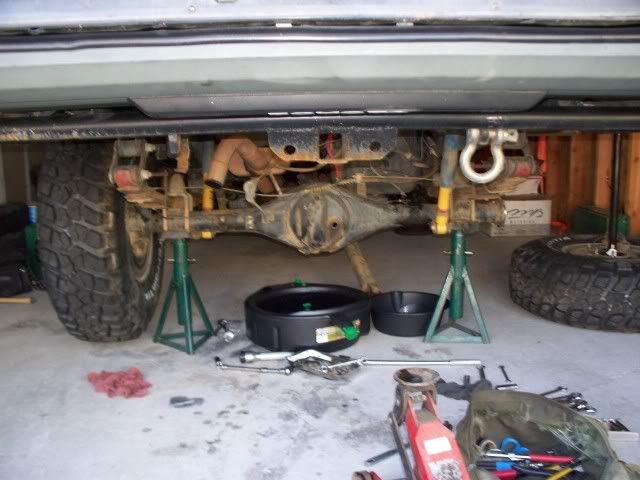

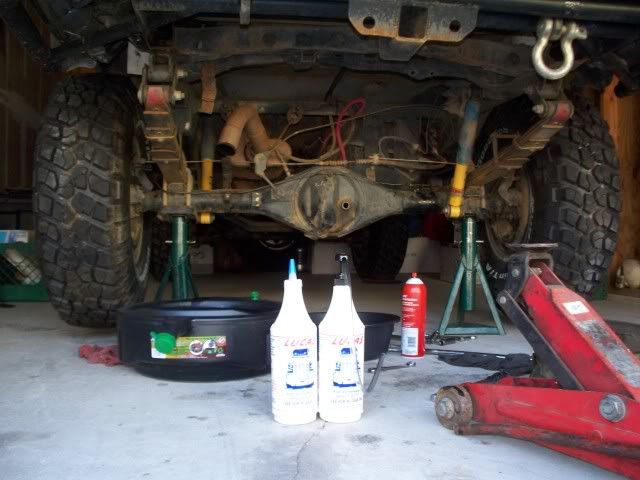
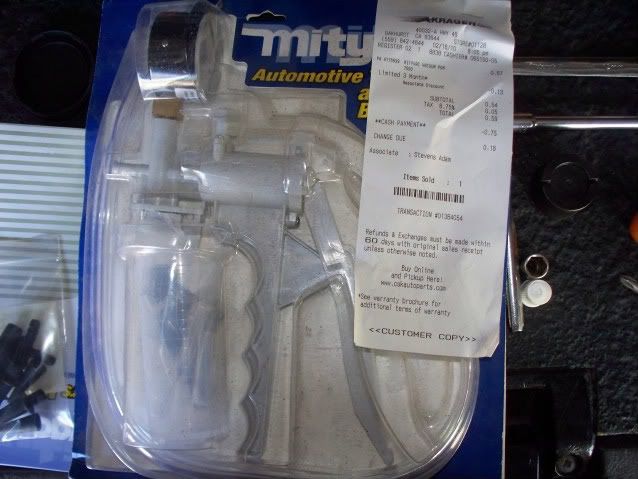
Then I filled it with 2 qts of Lucas gear oil. Ready to bleed the brakes. I was alone, so I used my Mityvac pump for the job. I've never done the one man bleeding before, so I was interested in giving it a shot. I picked up this vacuum pump on clearance for $0.59 after tax (regular price $37.99). The receipt is even attached. Anyway, it worked like a charm.
I went for a test drive, and wow, what a difference. I'm amazed at how much noise that bearing was making. It's so quiet now, I can even hear myself think. Also, the brakes are MUCH more responsive with the new booster/master cylinder. Tomorrow, I should be able to get the BudBuilt painted and installed.


See the scars on the ARB housing...


I set the third in the housing, and connected the air line. I wanted to make sure the locker was functioning properly, before I got too far ahead of myself.

Locker is working fine. No leaks.


Then I filled it with 2 qts of Lucas gear oil. Ready to bleed the brakes. I was alone, so I used my Mityvac pump for the job. I've never done the one man bleeding before, so I was interested in giving it a shot. I picked up this vacuum pump on clearance for $0.59 after tax (regular price $37.99). The receipt is even attached. Anyway, it worked like a charm.

I went for a test drive, and wow, what a difference. I'm amazed at how much noise that bearing was making. It's so quiet now, I can even hear myself think. Also, the brakes are MUCH more responsive with the new booster/master cylinder. Tomorrow, I should be able to get the BudBuilt painted and installed.

#185
Yeah, I know. Apparently it's, uh, normal... 
I knew beforehand the marks would likely be there, from reading other threads on the topic. Apparently, there's nothing to worry about. I'll just keep the gear oil changed regularly, and watch for signs of destruction.

I knew beforehand the marks would likely be there, from reading other threads on the topic. Apparently, there's nothing to worry about. I'll just keep the gear oil changed regularly, and watch for signs of destruction.

#186
Out with the old, in with the new. The cross member was a breeze to install. Whenever I buy aftermarket accessories, I plan on having the time and tools to modify the product to fit. The BudBuilt cross member is a well thought out piece. There were no modifications, no clearance issues, just a perfect bolt on product. I am very impressed.
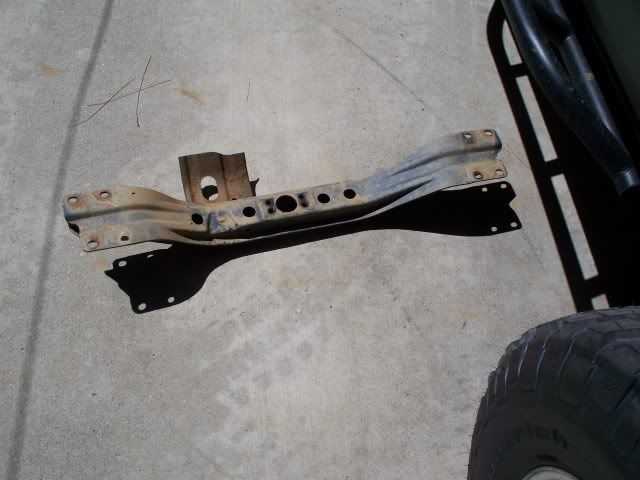
Scrap metal...
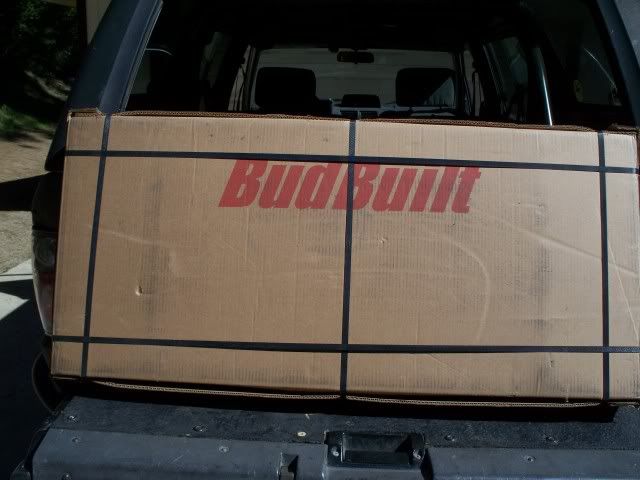
Excellent packaging (not that this thing could be hurt during shipping)...
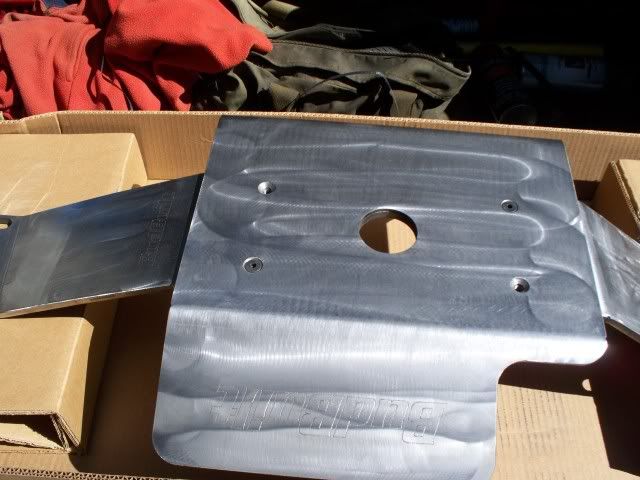
This thing looks so good in bare metal, I thought about just clear coating it...
But, since I plan on actually using it, I thought I'd better protect it a bit. In Duplicolor self etching primer...
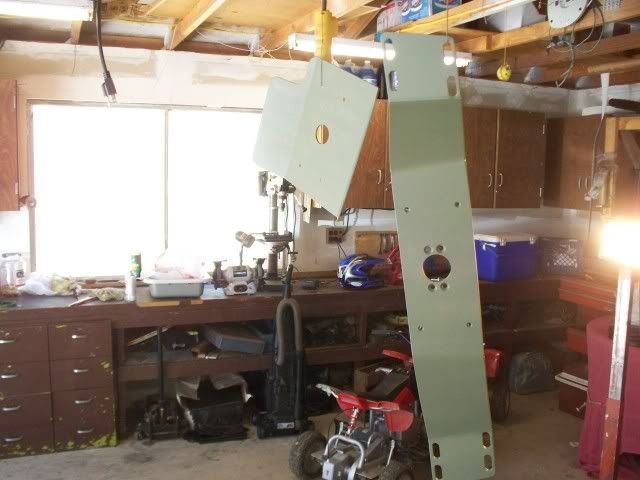
And painted. I used Duplicolor caliper paint. I'm curious to see how well it will hold up...

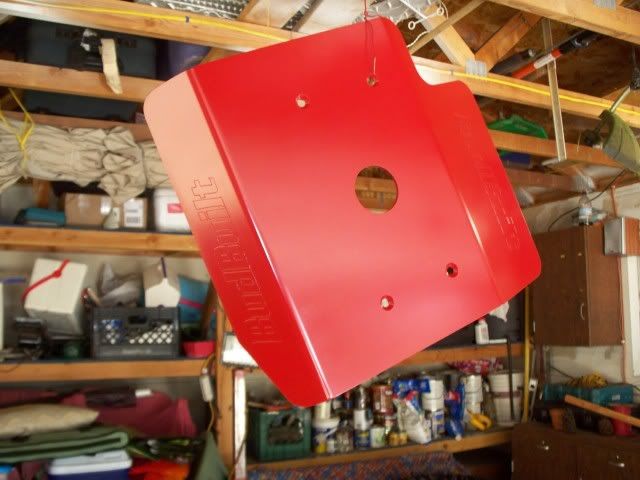
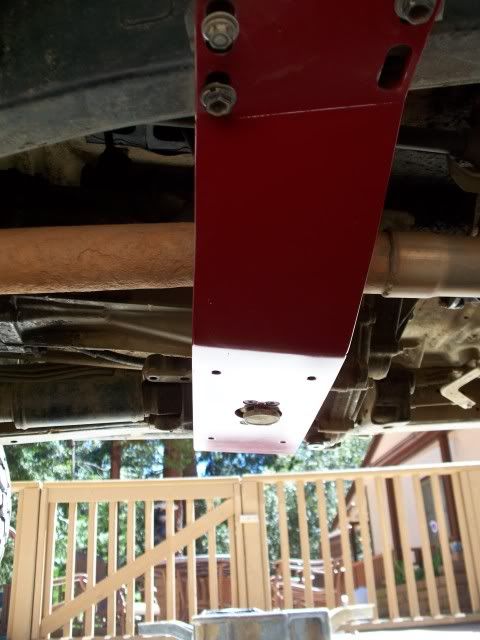
Cross member and low profile drain plug installed...
And finished...
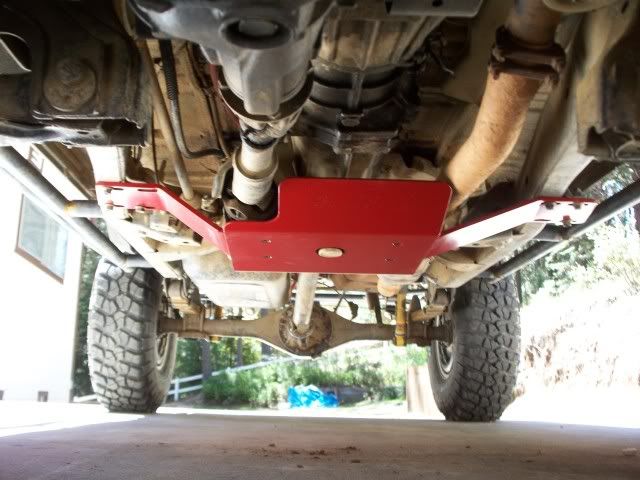
I love that the cross member and skid plate have BudBuilt laser etched into them. Very nice touch. Also, it fits just right. There is just enough clearance for everything, without any wasted space. Thanks Bud, I can't wait to go scratch it up!

(Don't mind the two missing bolts. I have to chase the threads in one hole, and I'll need a new bolt for the other. I'll get it handled.)
Scrap metal...

Excellent packaging (not that this thing could be hurt during shipping)...

This thing looks so good in bare metal, I thought about just clear coating it...

But, since I plan on actually using it, I thought I'd better protect it a bit. In Duplicolor self etching primer...

And painted. I used Duplicolor caliper paint. I'm curious to see how well it will hold up...


Cross member and low profile drain plug installed...

And finished...

I love that the cross member and skid plate have BudBuilt laser etched into them. Very nice touch. Also, it fits just right. There is just enough clearance for everything, without any wasted space. Thanks Bud, I can't wait to go scratch it up!

(Don't mind the two missing bolts. I have to chase the threads in one hole, and I'll need a new bolt for the other. I'll get it handled.)
Last edited by malteserunner; 05-04-2010 at 11:34 AM.
#189
Well, I was going to get the battery/intake swap done today, but after opening the hood, I decided it was time for some spring cleaning. I got out the Simple Green and went to work.


Now, that's better. Next, I will be getting the swap done.


Now, that's better. Next, I will be getting the swap done.

Last edited by malteserunner; 05-04-2010 at 10:43 PM.
#191
so the marks on the housing.... is that just with 4.88 rp? cuz i have a 5.29 hp arb 3rd and those marks do not exist... is that cuz its in the front and hardly used. or because it is a hp 3rd?
#192
The HP may or may not have something to do with it. I'd think with the 5.29's you'd have a little more clearance, since the ring gear is larger and the pinion is smaller. Probably a good question for ZUK or 4Crawler.
#193
This morning I adjusted the valves. They were a little tight. Also, ordered a new cap and rotor from Toyota. I figure it's due for a little tune up, and the cap and rotor look pretty bad for only being a year old. I'll be doing a compression check and having a look at the spark plugs. I'm interested in the compression numbers after 20k on the rebuild. I'll post up the results.
Last edited by malteserunner; 05-06-2010 at 11:55 AM.
#194
sounds awesome man... and ya i was thinking a little more clearance bc the 529 pinion is slightly smaller hence more room.. but ill ask them one of these days... cuz its not a big deal was jus curious
#195
The 4Runner developed an intermittent miss, the day after I washed the engine. Naturally, I thought it was moisture somewhere it didn't belong. I started to looking into things, and blowing out various plugs in the wiring harness. After ruling out the basics, I came up empty handed. I checked the compression, 165 psi in all cylinders. I pulled a plug wire at a time, and found the #1 cylinder was not firing. I was getting spark, but no fuel. A simple noid test showed I had no signal to the injector. After wiggling the wiring harness around a bit, I narrowed it down. I had to pull the upper intake to get to the problem area.
While I was in there, I found another issue. I noticed a small coolant leak at a hose fitting by the thermostat housing. The hose looked worn, and the fitting was corroded. I removed the hose and found this mess.
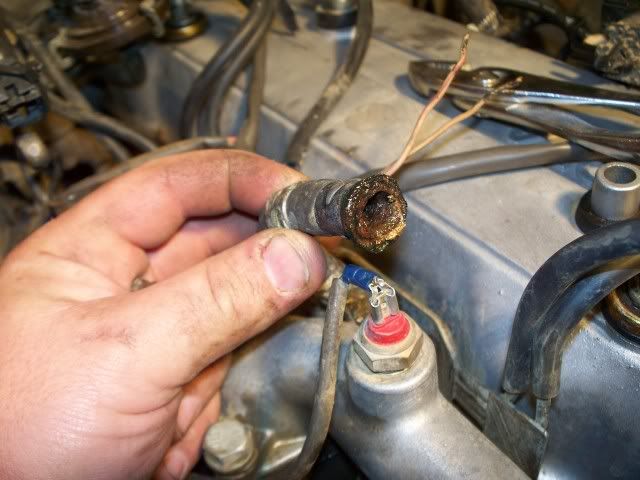
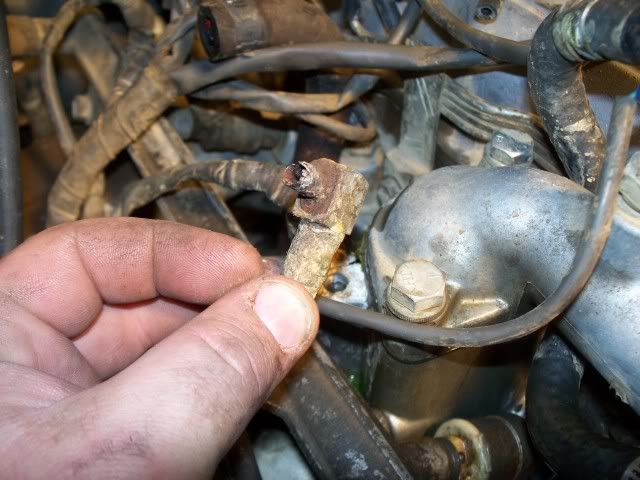
The barb fitting was almost completely corroded away. So, I went to the store, and got some brass fittings to replace the part.
Then I started tearing into the wiring. I found some moisture in the loom. Then I saw a likely candidate for the problem. The factory splice for the injector signal wires was covered in residue from mud. I removed the tape from the splice and found a broken wire, and a corroded connection.
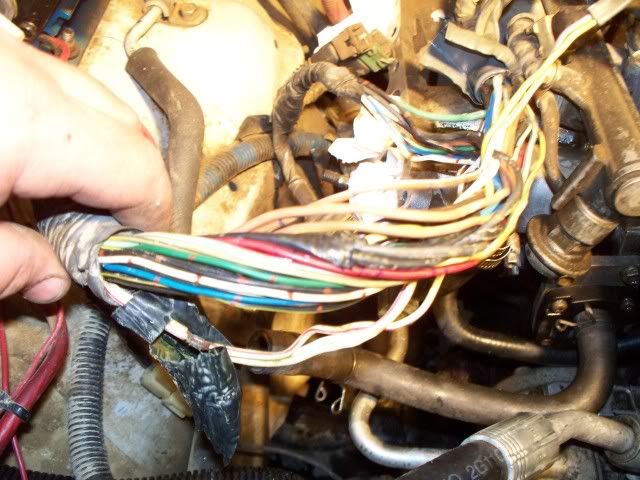
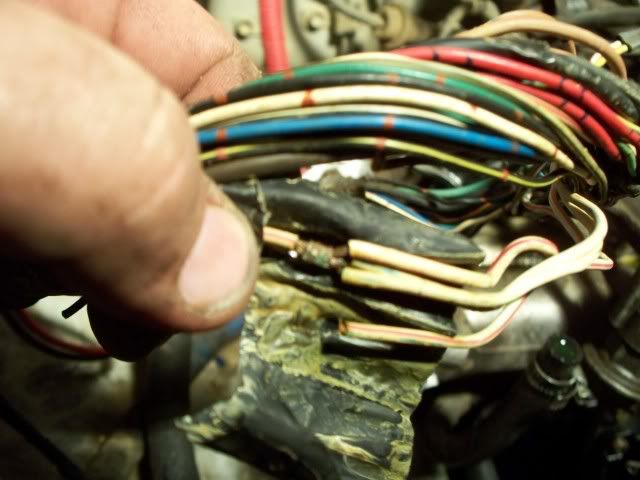
I got it all back together, and fired it up. It idled smooth as butter. After it was buttoned up I took it for a road test. What a difference. The throttle is more responsive, and it pulls evenly through the RPM's on acceleration. It even gets up the hills a little better. I'm ecstatic.
While I was in there, I found another issue. I noticed a small coolant leak at a hose fitting by the thermostat housing. The hose looked worn, and the fitting was corroded. I removed the hose and found this mess.


The barb fitting was almost completely corroded away. So, I went to the store, and got some brass fittings to replace the part.
Then I started tearing into the wiring. I found some moisture in the loom. Then I saw a likely candidate for the problem. The factory splice for the injector signal wires was covered in residue from mud. I removed the tape from the splice and found a broken wire, and a corroded connection.


I got it all back together, and fired it up. It idled smooth as butter. After it was buttoned up I took it for a road test. What a difference. The throttle is more responsive, and it pulls evenly through the RPM's on acceleration. It even gets up the hills a little better. I'm ecstatic.
#198
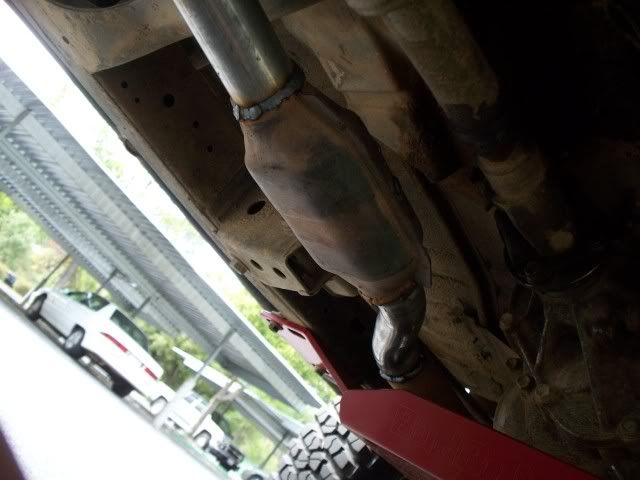
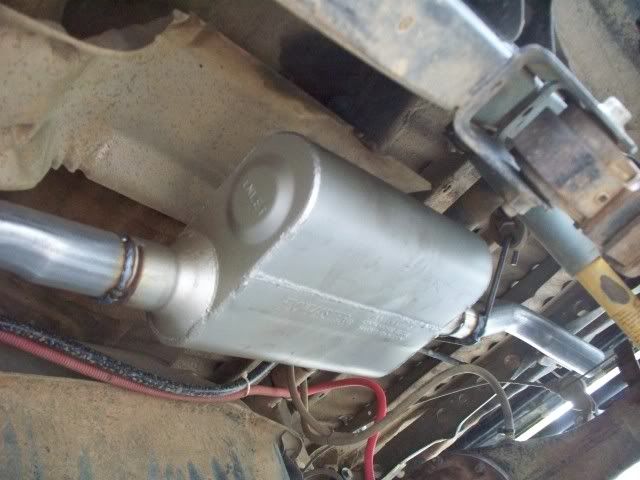
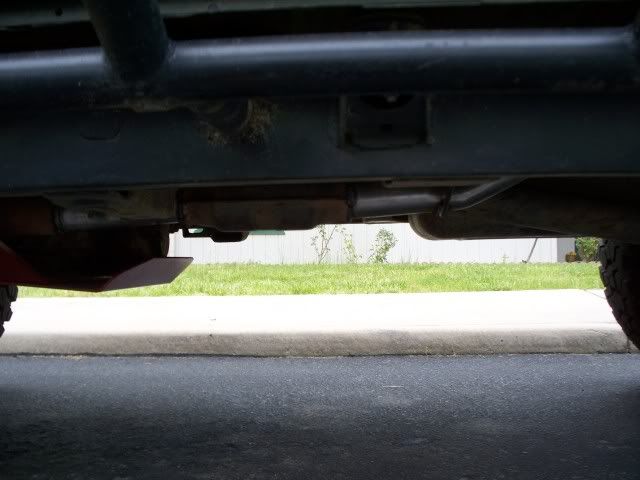
I had the exhaust redone today. I have had this on the to-do list for a while. When I got the 4Runner it had a Flowmaster and 2.5" tubing, which is much too big, plus it had a bunch of small exhaust leaks. I also didn't like the cat hanging down like it did. I had it raised, and a new Flowmaster with 2.25" tubing installed. It's now quieter inside and out. The performance feels about the same at higher RPM's, but it has a little more pull at the lower RPM's. I'm happy with it.



#199
Hey, so it's been a while since I originally posted...
Thanks again for the compliments guys and gal! I am very happy with the way this build is coming along.
I got the AFM yesterday. It appears to be in good shape.
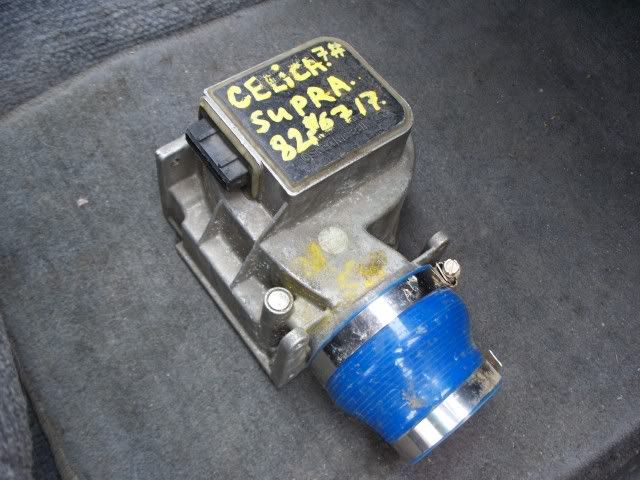
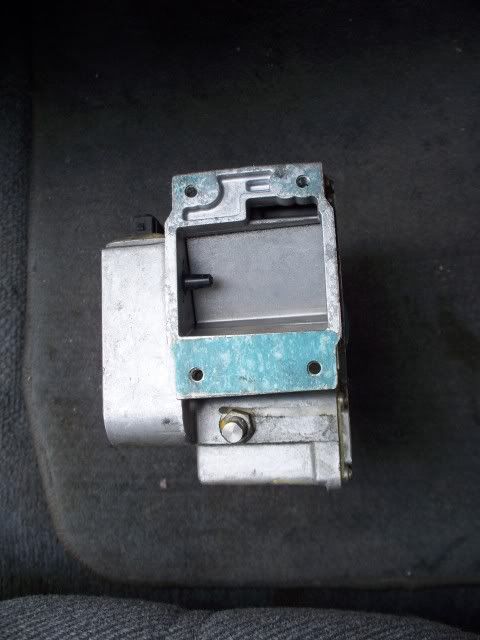
I'm shopping around for a filter right now, trying to decide on a True Flow, or a K&N Apollo. I like the Apollo because it would be simple to attach to a snorkel, if I decide to do that down the road. However, I think the True Flow foam filters are far superior to the K&N. I can always build my own air box too... I also need to decide if now's the time for a battery/intake swap. Hmmm, probably.
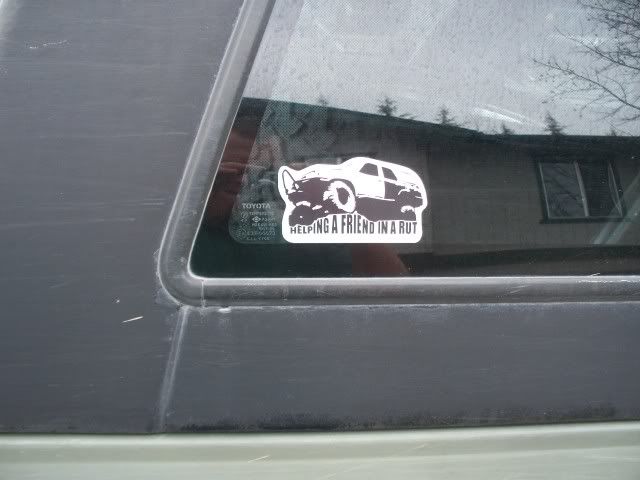
On another note, I added a new sticker to the collection. Proceeds go to Molly (Lysmachia) to help in her time of need.... click for info
I got the AFM yesterday. It appears to be in good shape.


I'm shopping around for a filter right now, trying to decide on a True Flow, or a K&N Apollo. I like the Apollo because it would be simple to attach to a snorkel, if I decide to do that down the road. However, I think the True Flow foam filters are far superior to the K&N. I can always build my own air box too... I also need to decide if now's the time for a battery/intake swap. Hmmm, probably.
On another note, I added a new sticker to the collection. Proceeds go to Molly (Lysmachia) to help in her time of need.... click for info

was just looking at the photo of the AFM you used and it looks identical to mine.
So, I have another question for you. On the AFM there is a plunger switch drilled in through the side that seems to be there to limit the door from opening all the way. Do you have any clue why? What is it really there for? I asked the Toyota dealer and they couldn't figure it out and said I could just remove it and replace it with a bolt so that the door opens all the way up.
I don't f*@! it up though so I'm trying to make sure I know what it is and if it's okay to remove before I do it.
~thanks
#200
So far I've been very happy with the performance gain with the AFM. I think it flows plenty of air for the 22RE, so I probably wouldn't mess with it. I'm not quite sure about the plunger, but it seems the door opens enough to get the most out of the AFM already. Out of curiosity, I'll take another look next time I have it off.


 good job, I hate electrical problems.


