
Mak92-4RnR's 1988 4Runner Build

 08-28-2014, 11:24 AM
#122
Registered User
Thread Starter
http://i173.photobucket.com/albums/w...eniusA/PPS.jpg
09-15-2014, 07:00 AM
#123
Registered User
Thread Starter
So, the Pismo Jamboree is on Thursday this week and being that this was my last weekend to really get anything done. Here's what I got done:
Blue sea fuse block:
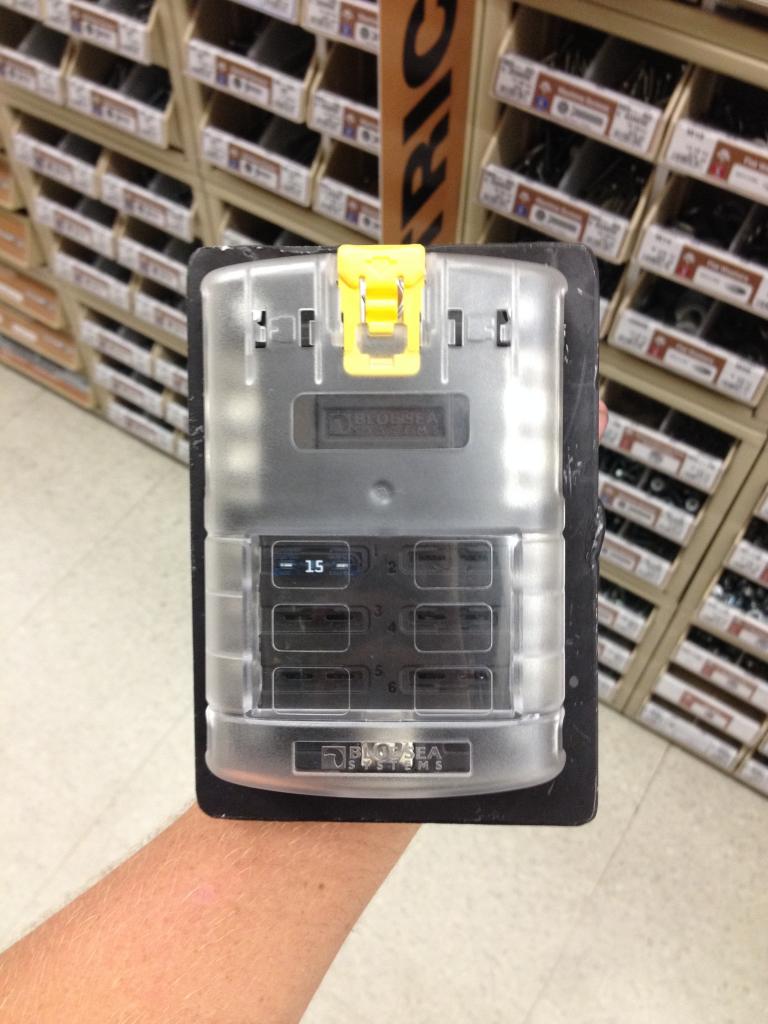
Before:

After:
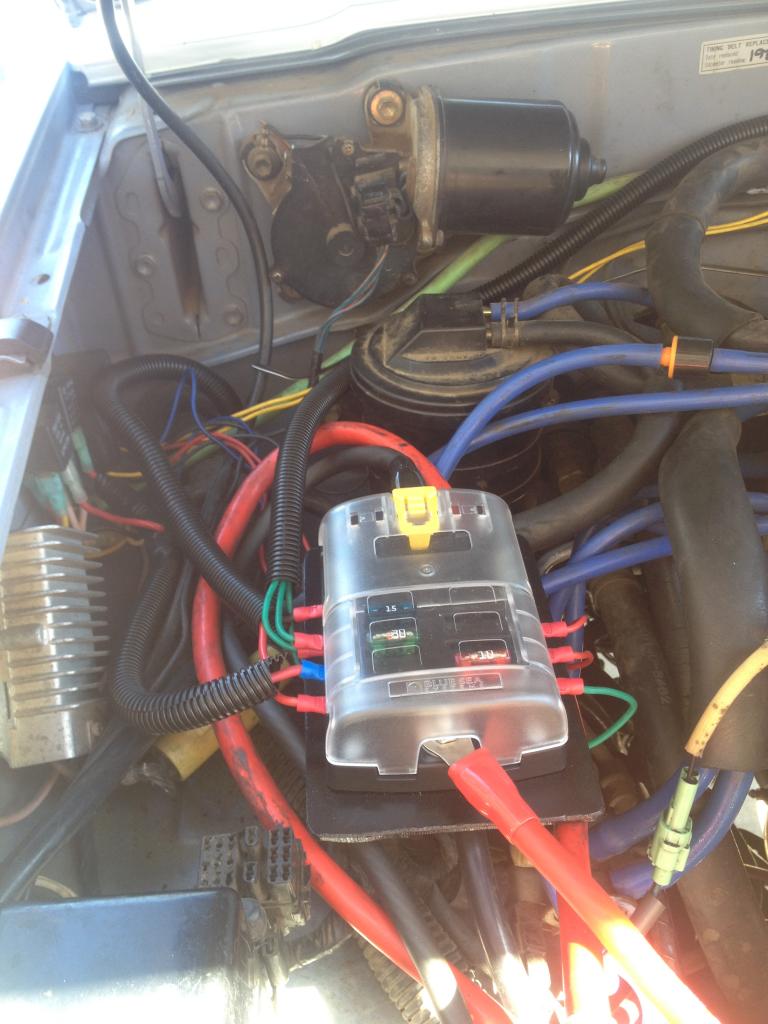
Still have a bit of wiring to wrap up, but basically all of my accessories is going to the blue sea now.
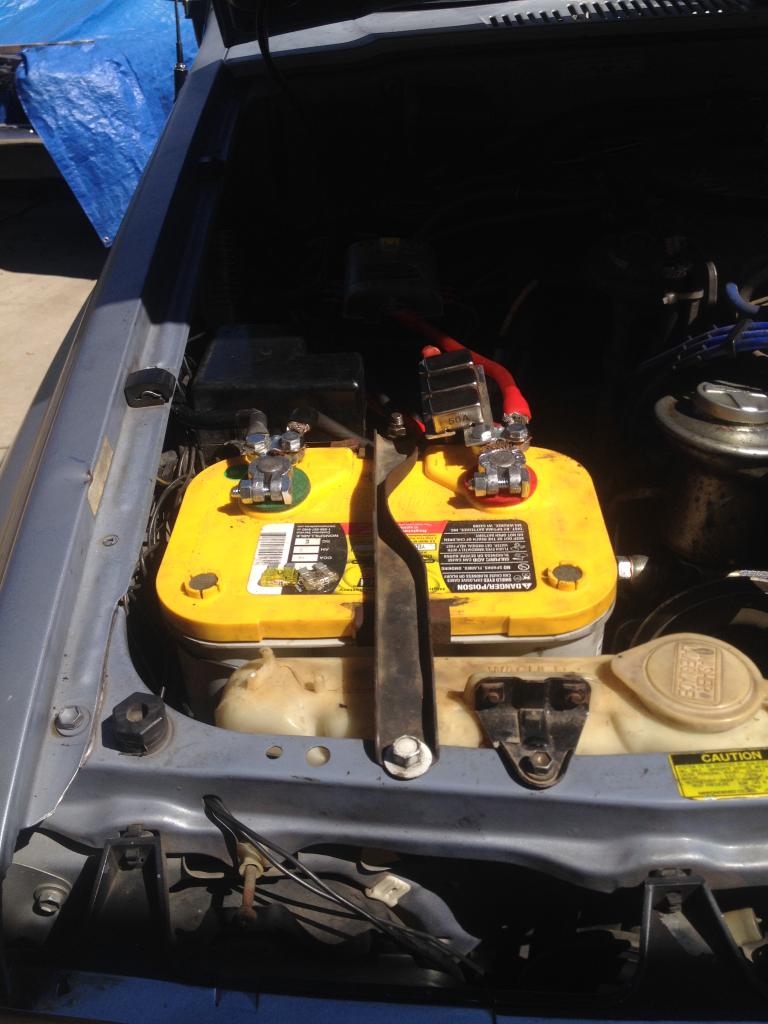
Also put new terminals on too:
Blue sea fuse block:

Before:

After:

Still have a bit of wiring to wrap up, but basically all of my accessories is going to the blue sea now.
Also put new terminals on too:


 09-15-2014, 07:56 AM
#126
Registered User
Thread Starter
thanks man. It was a pain in the butt to figure out the bracket to hold the fuse block. initially I designed it to have 3 legs and bolt directly to bolts on my fender well. but the thickness of steel I used was beefy, so it only has one leg and its completely solid. Not bad for my first welding project, right?  haha the bracket to hold that fuseblock was fabbed by yours truly hahahaha
Dude, if you ever need help with your truck, lemme know. I basically a stones throw away from you. I don't mind helping at all. Lets get that thing on the road
haha the bracket to hold that fuseblock was fabbed by yours truly hahahahaDude, if you ever need help with your truck, lemme know. I basically a stones throw away from you. I don't mind helping at all. Lets get that thing on the road
09-15-2014, 10:12 AM
#127
Registered User
Join Date: Oct 2008
Location: Sacramento, Crawlifonia
Posts: 1,621
Likes: 0
Received 7 Likes
on
4 Posts
My rig is very close now. I can not drive it at the moment, as I need insurance, SMOG, and my brother has my battery, spark plug wires, cap/ rotor, drive shaft bolt, starter. Hence, missing those items, my rig is dead in the water, as his truck needs my parts, and I do not have the extra money to replace those items, as I am the sole income currently, and I have burned through the extra money I built up, on my brothers insurance, and engine troubles. I will get there, it is just slow going.
I need to clear out my garage of all my Grandmothers junk, so I can setup the garage in a fashion that I can start swapping gear, welding bumpers and sliders. I might even be able to make some cash welding; I need welding gas still.
Show the pics. of your welded bracket? What kind of welder to you have?
09-15-2014, 10:19 AM
#128
Registered User
Thread Starter
My rig is very close now. I can not drive it at the moment, as I need insurance, SMOG, and my brother has my battery, spark plug wires, cap/ rotor, drive shaft bolt, starter. Hence, missing those items, my rig is dead in the water, as his truck needs my parts, and I do not have the extra money to replace those items, as I am the sole income currently, and I have burned through the extra money I built up, on my brothers insurance, and engine troubles. I will get there, it is just slow going.
I need to clear out my garage of all my Grandmothers junk, so I can setup the garage in a fashion that I can start swapping gear, welding bumpers and sliders. I might even be able to make some cash welding; I need welding gas still.
Show the pics. of your welded bracket? What kind of welder to you have?
I need to clear out my garage of all my Grandmothers junk, so I can setup the garage in a fashion that I can start swapping gear, welding bumpers and sliders. I might even be able to make some cash welding; I need welding gas still.
Show the pics. of your welded bracket? What kind of welder to you have?
Here's the only picture I really have of the bracket. its nothing fancy... just works.

I used my uncle's lincoln 140. the bead is only 3/4-1" long... nothing special, but it came out nice.
09-15-2014, 11:57 AM
#130
Registered User
Thread Starter
09-17-2014, 01:29 PM
#131
Registered User
Thread Starter
Got a few more things done on the truck.
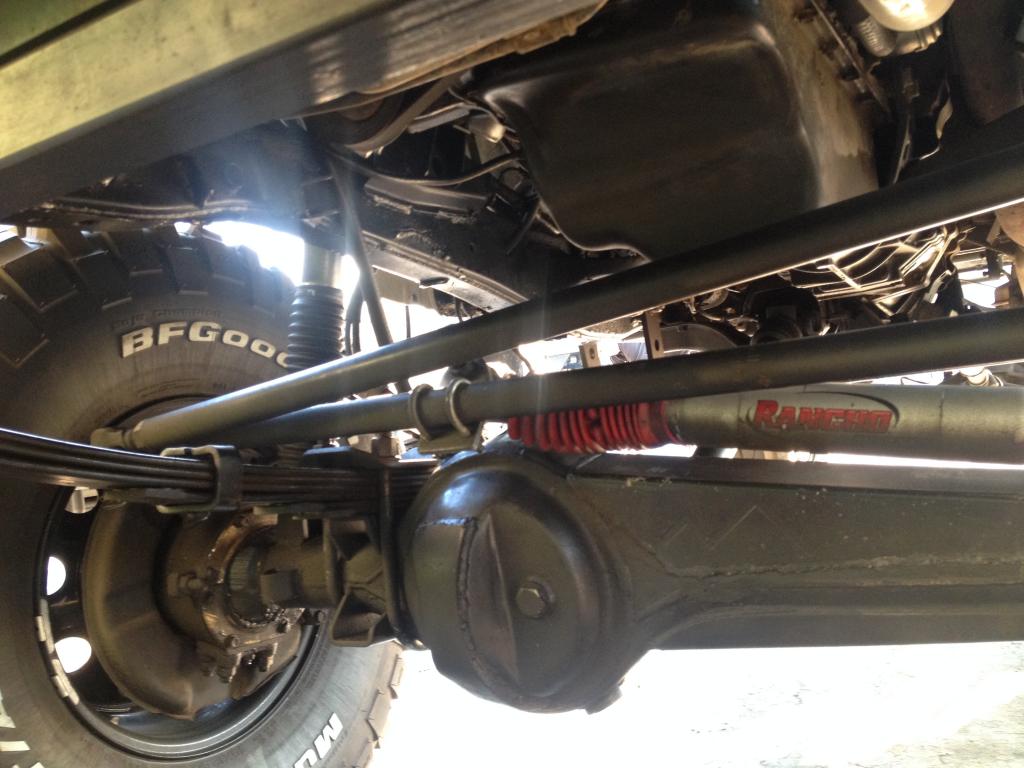
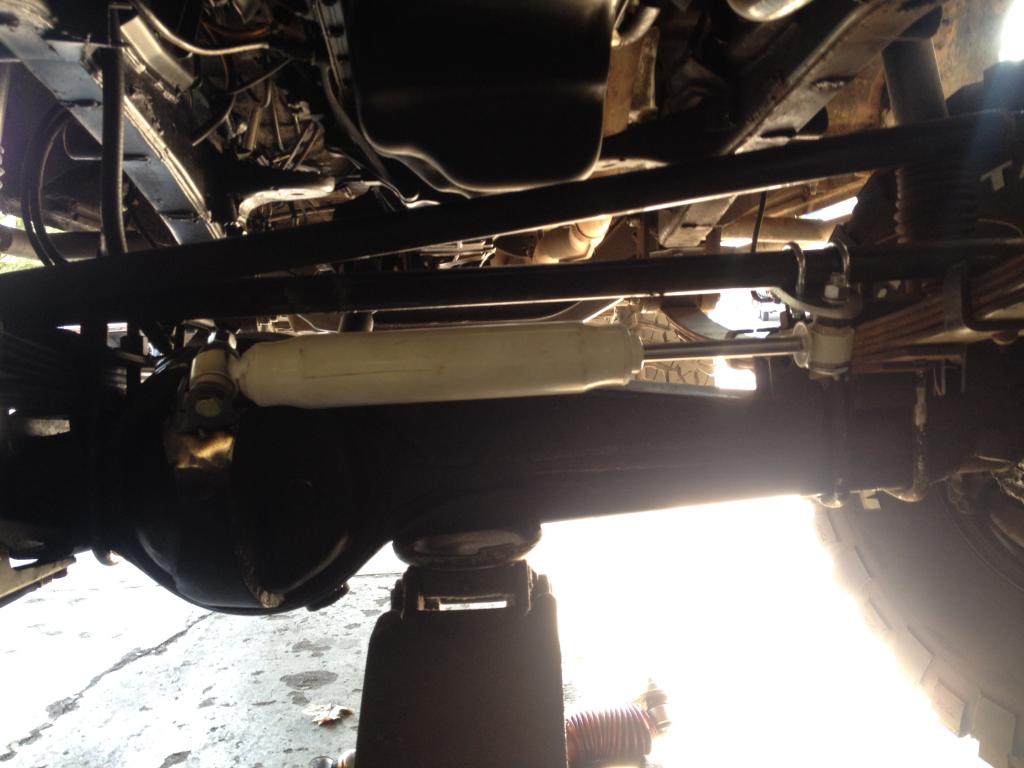
Steering stabilizer has been relocated. All I did was move it back around to the front of the axle. Sure its lower, but shouldn't be a problem getting hit.
Before:
After:
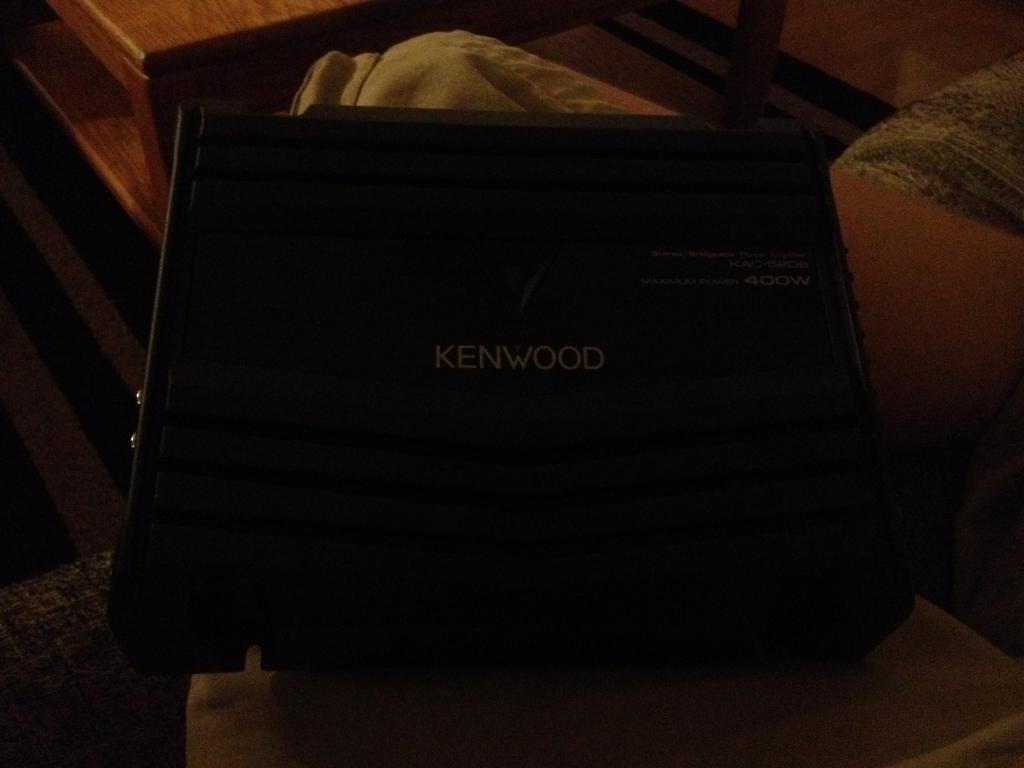
Also got a few things to add a subwoofer into my truck for a little thump while on the trail. Friend of mine traded his car in and had this subwoofer sitting around in the garage. picked it up for 20 bucks. bought a kenwood 400w amp for 65 bucks, and a 4 gauge wiring kit for 25.; should be golden!
amp:
Sub:
Steering stabilizer has been relocated. All I did was move it back around to the front of the axle. Sure its lower, but shouldn't be a problem getting hit.
Before:

After:

Also got a few things to add a subwoofer into my truck for a little thump while on the trail. Friend of mine traded his car in and had this subwoofer sitting around in the garage. picked it up for 20 bucks. bought a kenwood 400w amp for 65 bucks, and a 4 gauge wiring kit for 25.; should be golden!
amp:

Sub:
 09-17-2014, 10:25 PM
#132
Registered User
Join Date: Oct 2008
Location: Sacramento, Crawlifonia
Posts: 1,621
Likes: 0
Received 7 Likes
on
4 Posts
Mike, did you make sure that the stabilizer does not contact the the leaf spring, and the you can turn the wheels to full lock. From the pic, the space looks really narrow. Was there now way that the stabilizer would fit from behind, like if the stabilizer sat more over the tail end of the Diff.?
I also do not see any bumpstops?
Looks like you have a leaky passenger side axle seal.
I also do not see any bumpstops?
Looks like you have a leaky passenger side axle seal.
Last edited by dark_fairytales; 09-17-2014 at 10:28 PM.
09-18-2014, 07:53 AM
#133
Registered User
Thread Starter
Mike, did you make sure that the stabilizer does not contact the the leaf spring, and the you can turn the wheels to full lock. From the pic, the space looks really narrow. Was there now way that the stabilizer would fit from behind, like if the stabilizer sat more over the tail end of the Diff.?
I also do not see any bumpstops?
Looks like you have a leaky passenger side axle seal.
I also do not see any bumpstops?
Looks like you have a leaky passenger side axle seal.
no bump stops on the front, yet.
it might be a little leaky. its got about 35k miles on it. I'm getting rid of the stangs to garage the 4runner
09-22-2014, 08:44 AM
#136
Registered User
Thread Starter
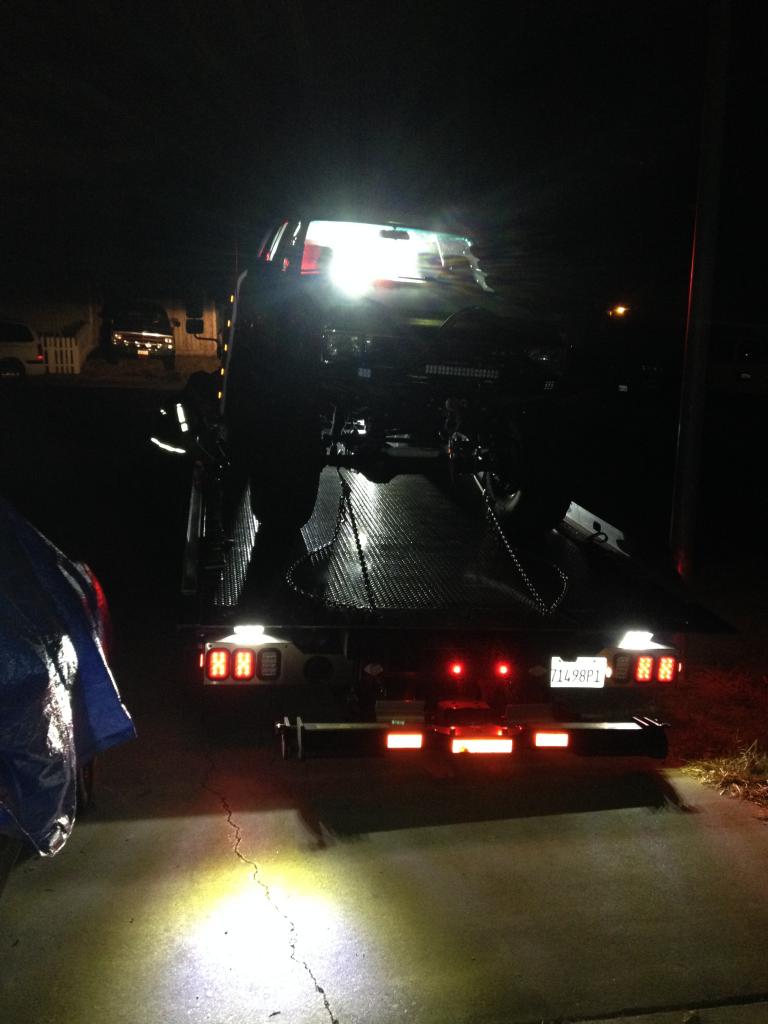
Pismo jamboree was this weekend, and it was not only an adventure while I was there, but it was definitely an adventure GETTING there...
The truck was running great, I was on my way home from school late on Wednesday night. get off the freeway, roll through the next intersection and the truck decided it didn't need its False water pump / cooling fan bracket anymore. So after some serious cussing, and getting home at 2:40 in the morning on Thursday. I got about 4 hours of sleep, took the day off work, made an abundance of coffee and got crackin' on repairing the truck HOURS before I leave for Pismo.
Pictures of the night:
Here's the fan bracket in the morning:
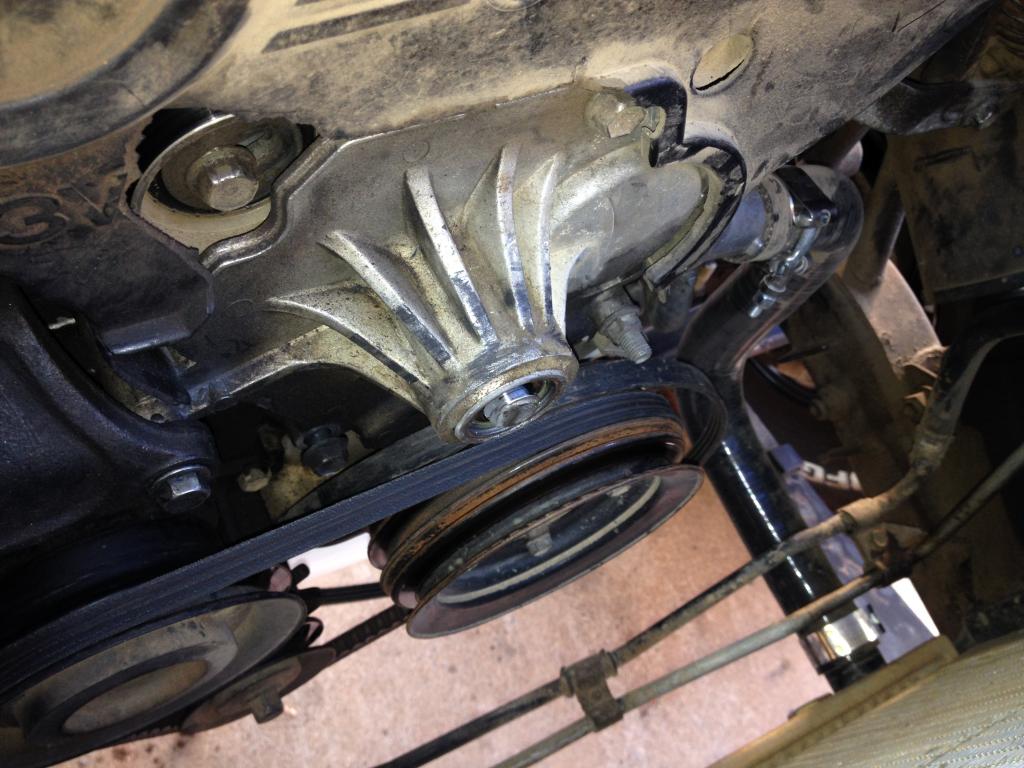
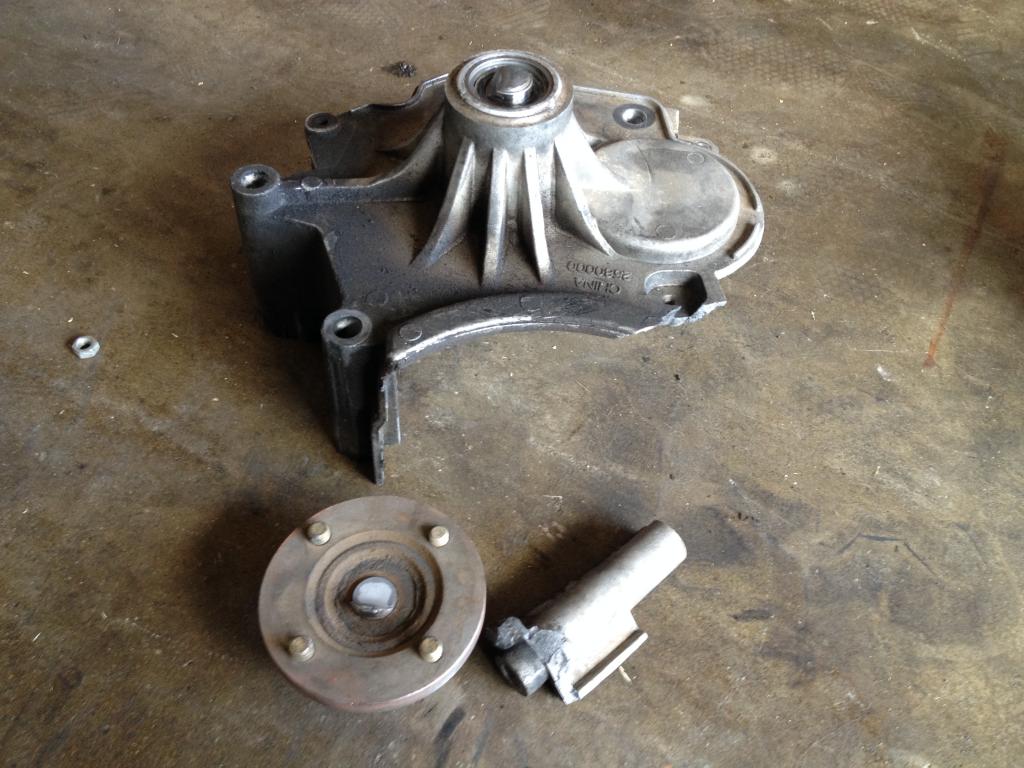
Here's the fan bracket after it was removed ( autozone/oreilly China POS )
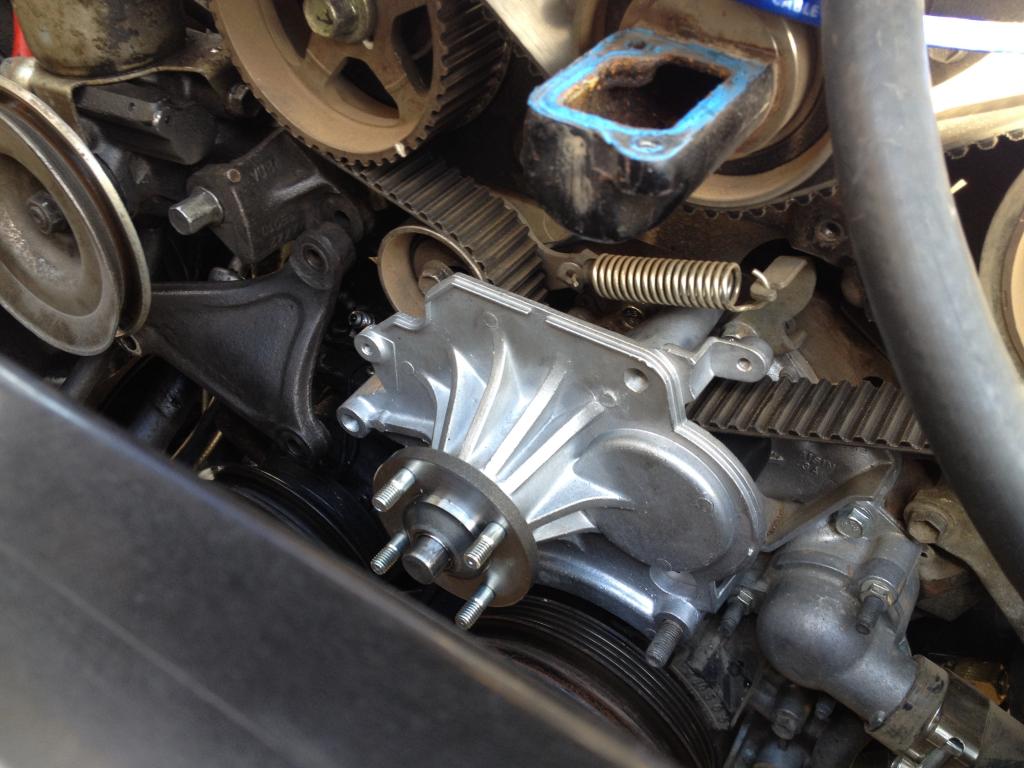
Toyota AISIN fan bracket installed ( $233 dollars ):
I'd also like to take the time to mention the difference between the autozone and factory Toyota ones. Seriously, get the Toyota one. I know its 150 dollars more expensive, but honestly? its a weak point in the 3vz. it holds all of your pullies on. ( power steering, alternator ) and mounts your fan.
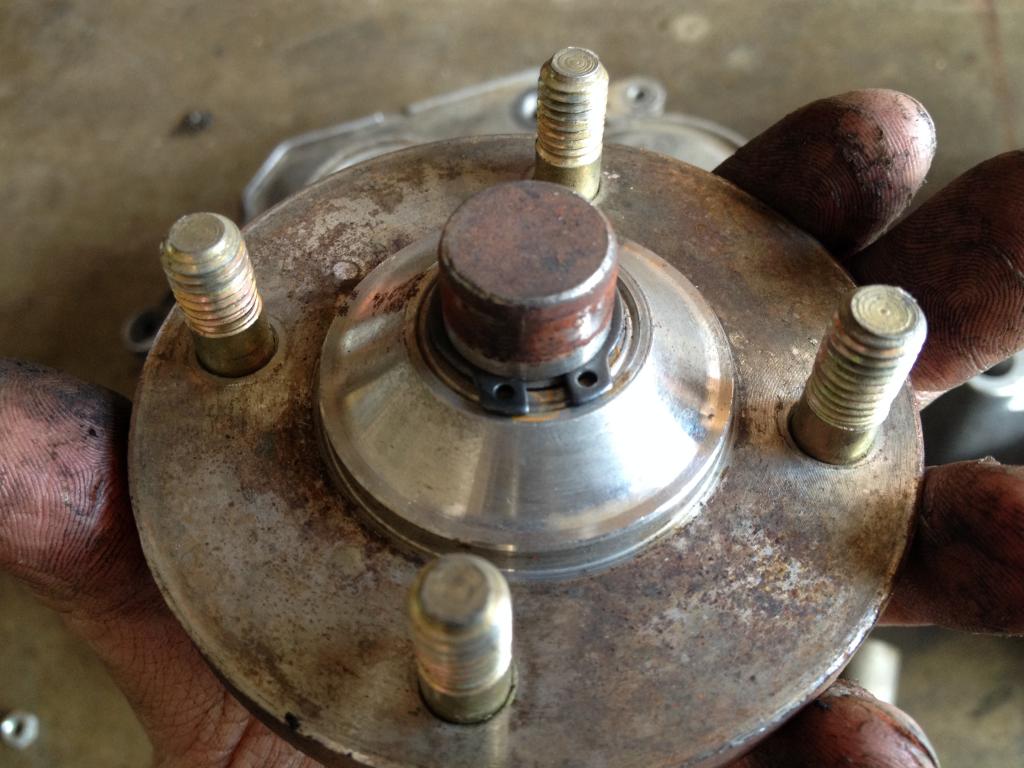
This is the autozone one. It had this C clip in it to hold the shaft on. this was on both sides of the fan bracket. The autozone one also had casting markings in it, and was very cheaply built ( even though it highly resembles the AISIN one )
Here's the Toyota one. No clips holding the shaft

Anywho, got the truck back together kinda later than expected. It took a bit for Toyota to get it delivered from another store. So I worked on the stereo while waiting for the bracket to come in.
Here's the stereo all wired up:
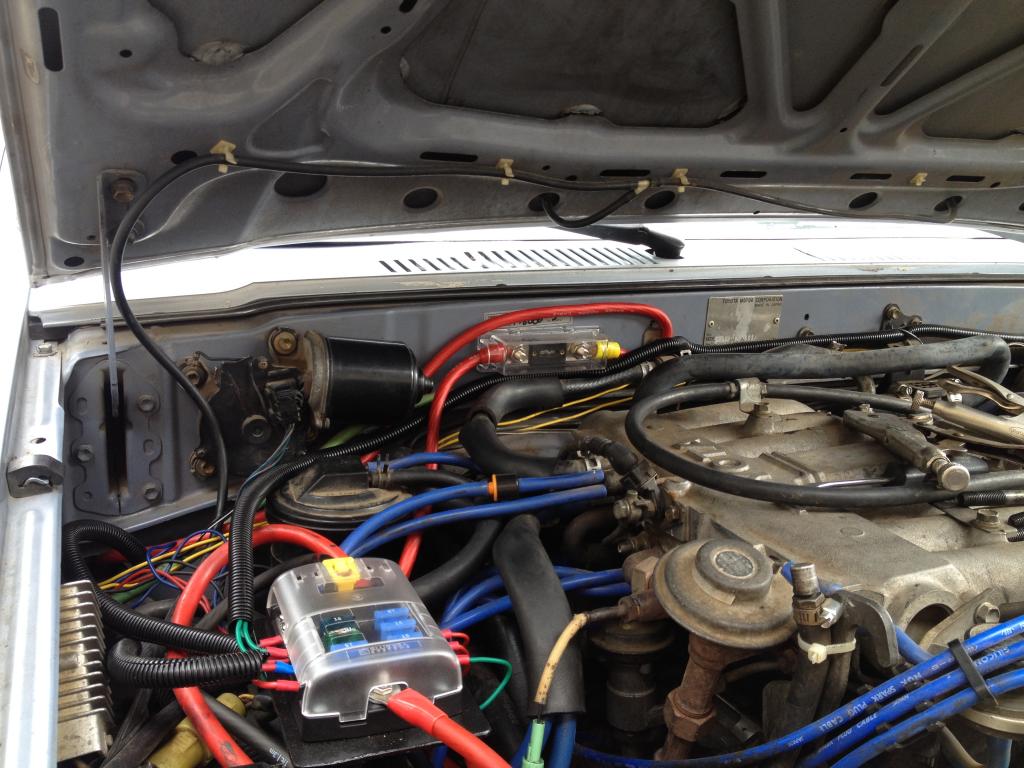
I'm not really happy with how its wired in the engine bay. I planned on running it on my driver side, but the firewall hole is full from gauge wiring, and the e locker. so I looped it back around.
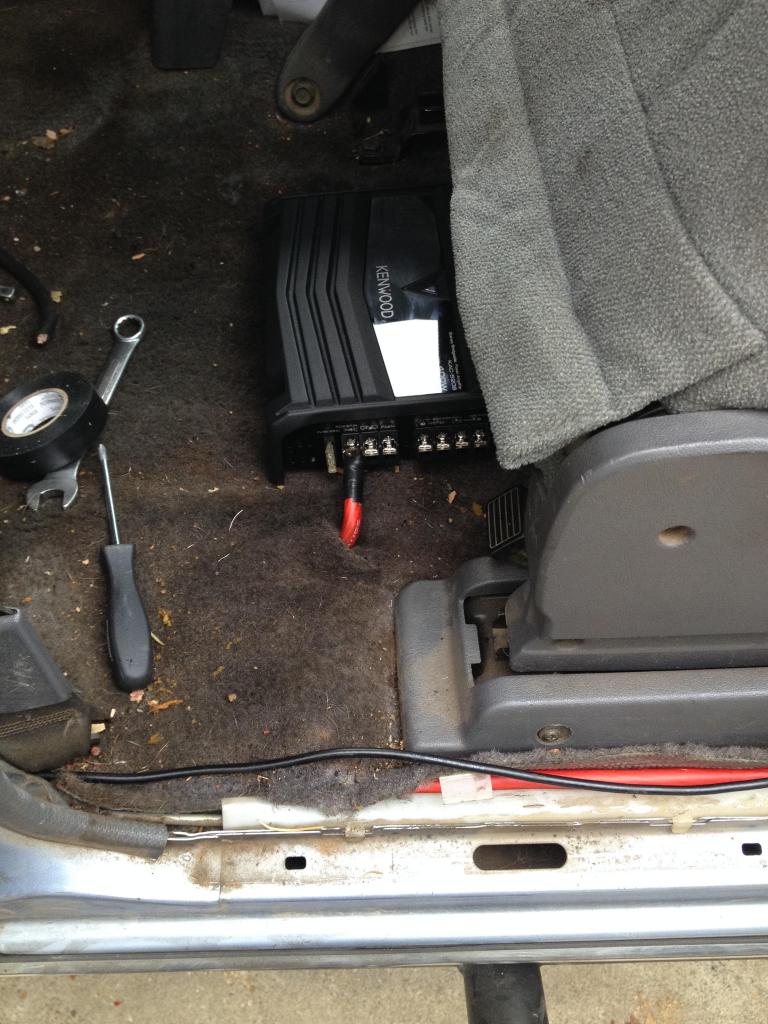
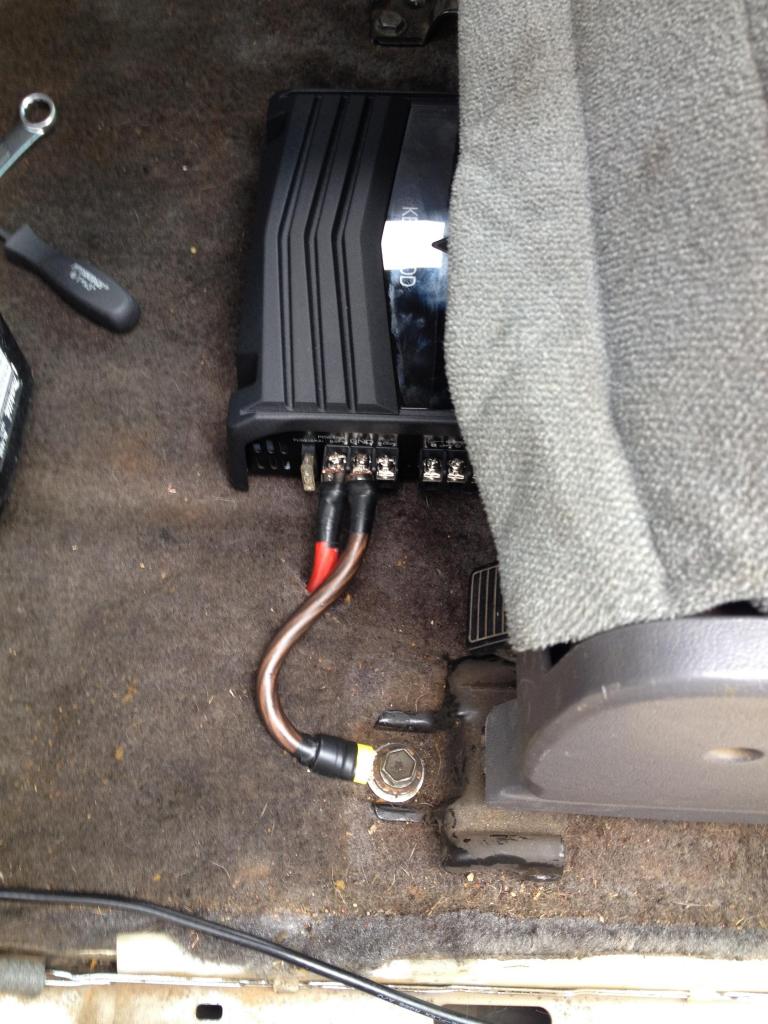
Mounted the amp under the seat. plumbed it all nicely and hidden:
Ground:
Put everything back together:

Don't have any pictures of running the stereo wiring. but it all works. it doesn't "hit" very hard, which is what I wanted. just something to even out the amount of highs/mids. with a bit of lows.
The truck was running great, I was on my way home from school late on Wednesday night. get off the freeway, roll through the next intersection and the truck decided it didn't need its False water pump / cooling fan bracket anymore. So after some serious cussing, and getting home at 2:40 in the morning on Thursday. I got about 4 hours of sleep, took the day off work, made an abundance of coffee and got crackin' on repairing the truck HOURS before I leave for Pismo.
Pictures of the night:

Here's the fan bracket in the morning:

Here's the fan bracket after it was removed ( autozone/oreilly China POS )

Toyota AISIN fan bracket installed ( $233 dollars ):

I'd also like to take the time to mention the difference between the autozone and factory Toyota ones. Seriously, get the Toyota one. I know its 150 dollars more expensive, but honestly? its a weak point in the 3vz. it holds all of your pullies on. ( power steering, alternator ) and mounts your fan.
This is the autozone one. It had this C clip in it to hold the shaft on. this was on both sides of the fan bracket. The autozone one also had casting markings in it, and was very cheaply built ( even though it highly resembles the AISIN one )

Here's the Toyota one. No clips holding the shaft

Anywho, got the truck back together kinda later than expected. It took a bit for Toyota to get it delivered from another store. So I worked on the stereo while waiting for the bracket to come in.
Here's the stereo all wired up:

I'm not really happy with how its wired in the engine bay. I planned on running it on my driver side, but the firewall hole is full from gauge wiring, and the e locker. so I looped it back around.
Mounted the amp under the seat. plumbed it all nicely and hidden:

Ground:

Put everything back together:

Don't have any pictures of running the stereo wiring. but it all works. it doesn't "hit" very hard, which is what I wanted. just something to even out the amount of highs/mids. with a bit of lows.
09-22-2014, 08:57 AM
#137
Registered User
Thread Starter
Here's the Pismo recap:
We had a total of 5 trucks caravanning from Sacramento on Thursday night. My cousin drove down in his T100 on Friday night. We also camp with a few guys from Modesto. We had a total of 8 trucks as the original group.
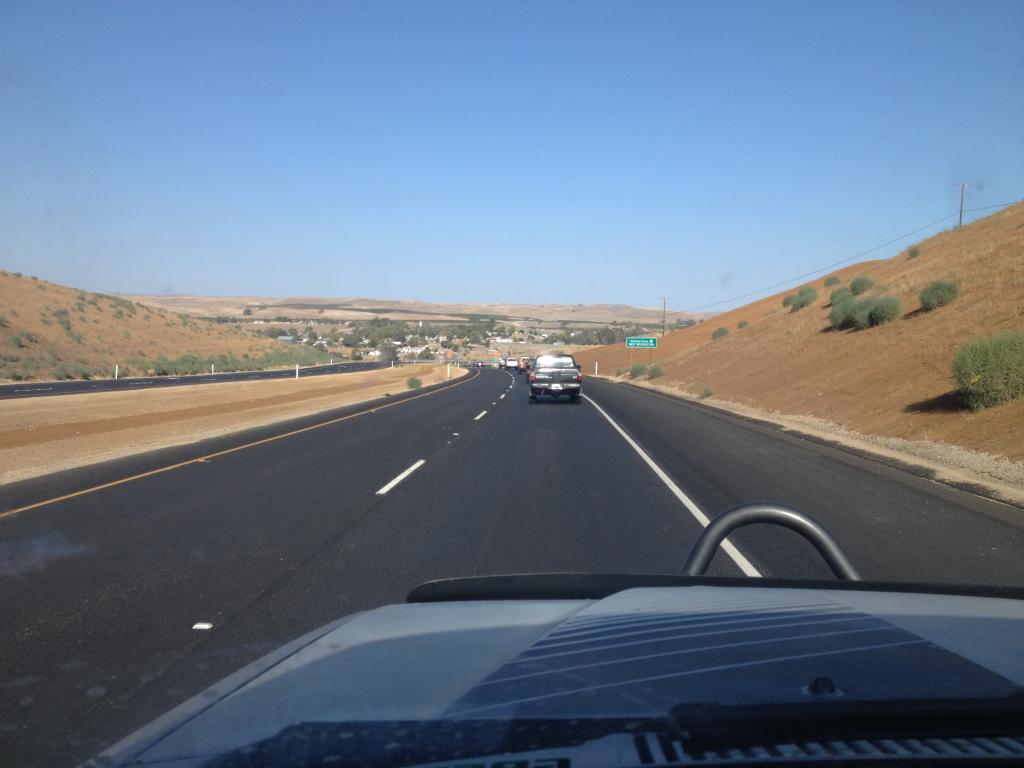
I didn't get much pictures when I left Sacramento. But he's the group from Sac at Kettleman. ( about 4 hours south of sacramento ):

Didn't get a whole lot of pictures after Kettleman. We were all exhausted from driving. A few of us pulled an all nighter Thursday night/Friday morning. But I basically set up my tent, got settled, walked the beach and passed out so I could be refreshed in the morning.
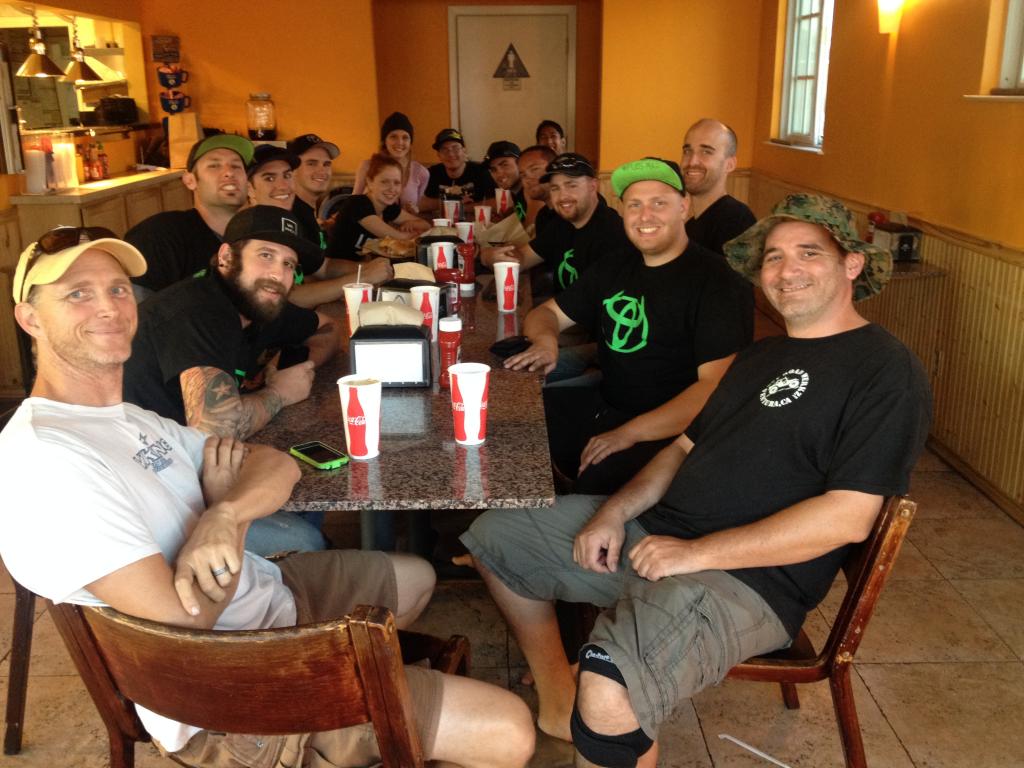
Here's some of the group next morning after breakfast. Getting some groceries ( alcohol ) so we can cook down there:
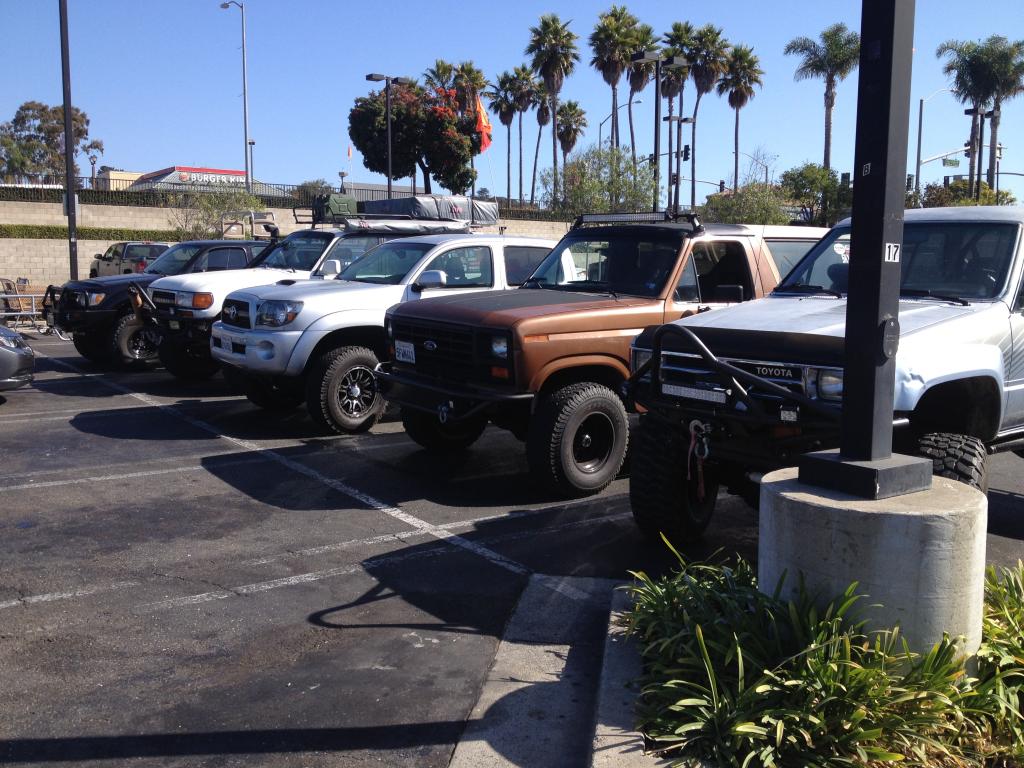
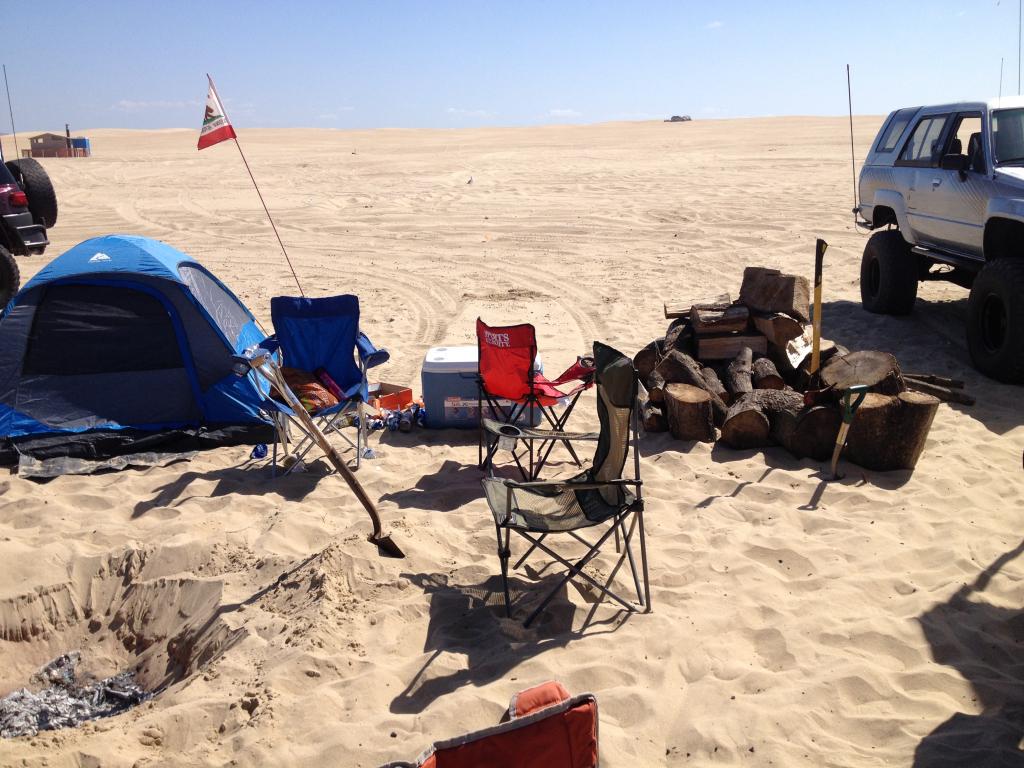
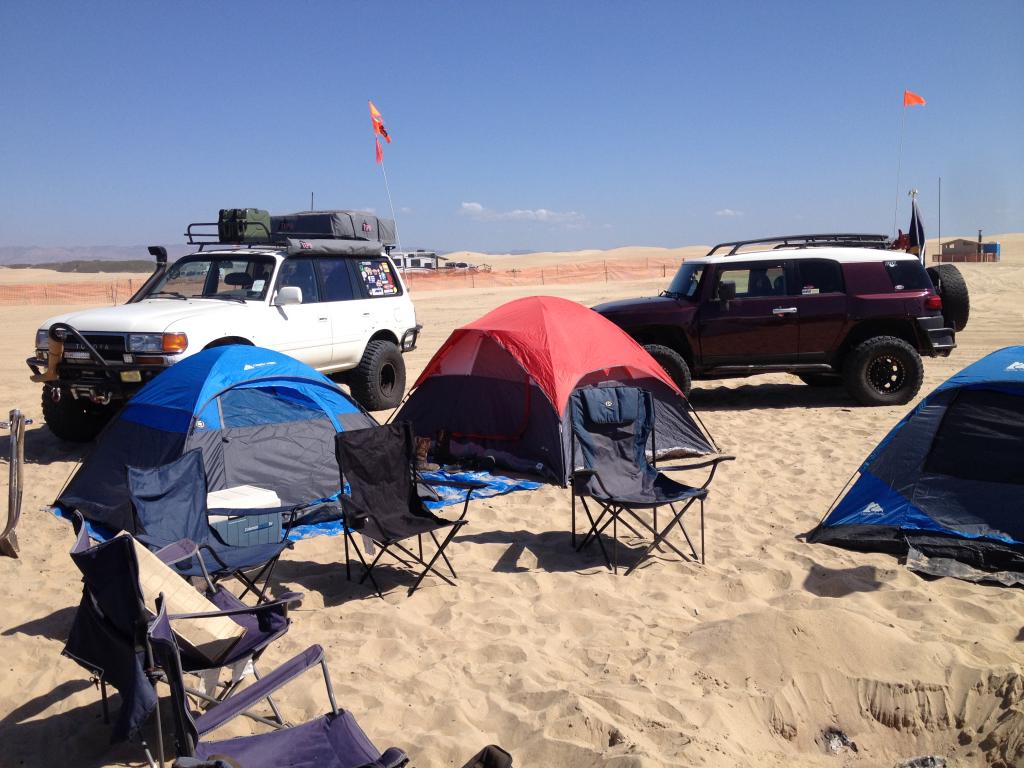
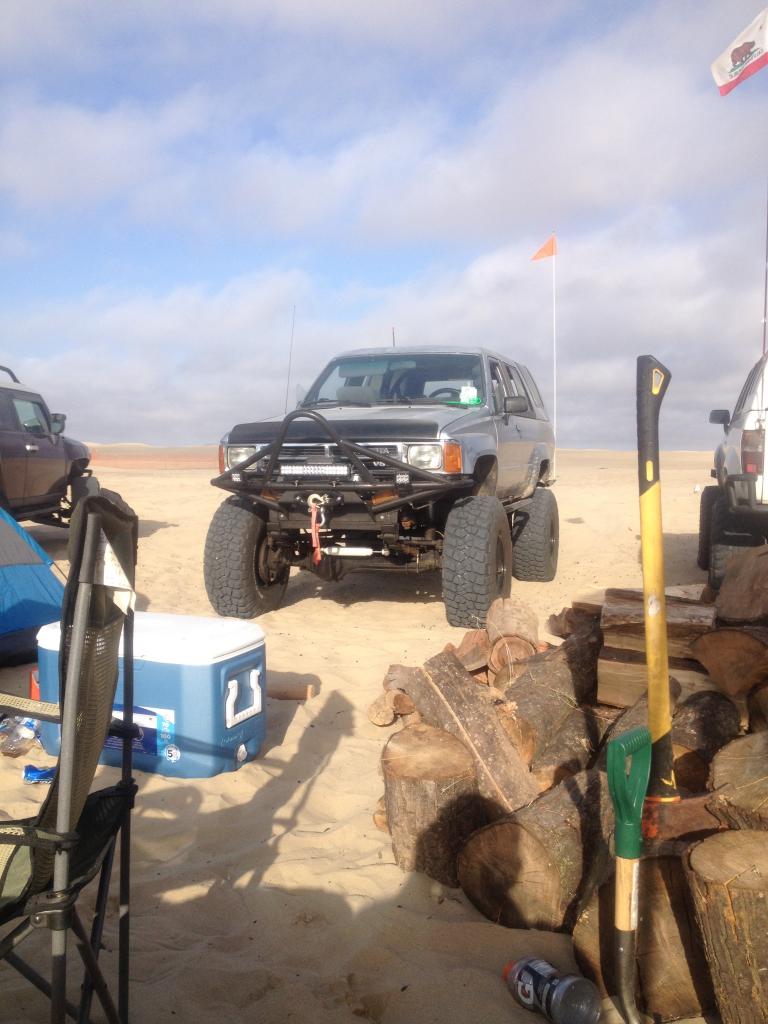
Here's a portion of our campsite. This is early Friday morning, so people for the event aren't really there yet:

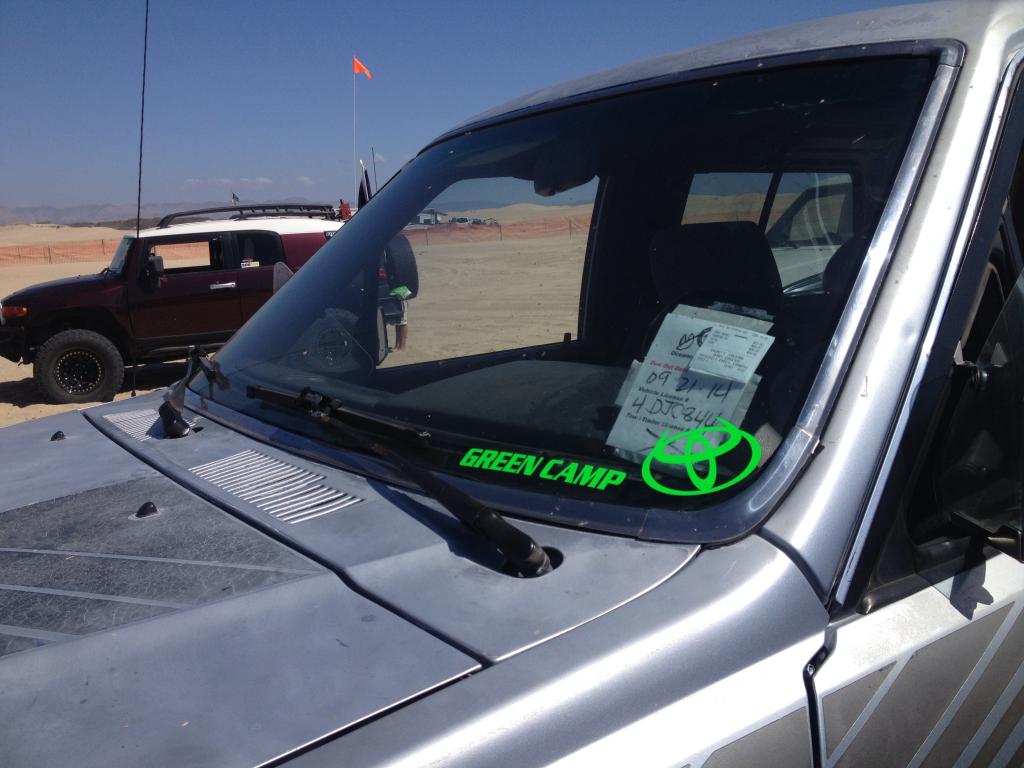
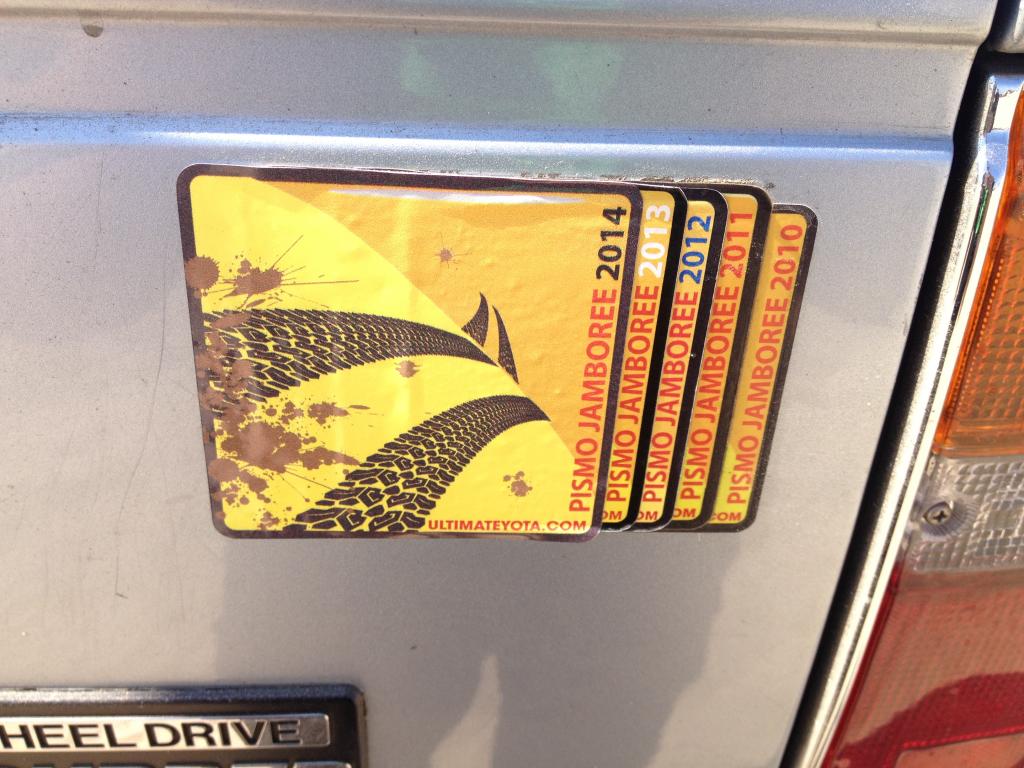
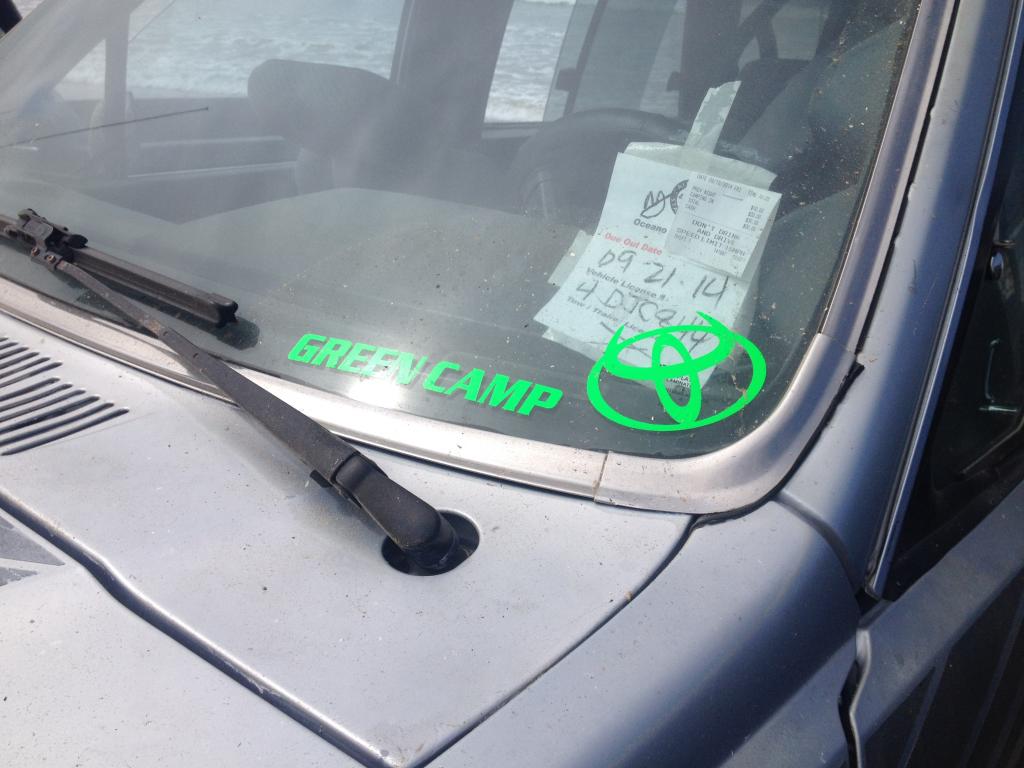
Bryan works at a printing company and had some official green camp stickers made for our rigs. I'd say it fits there nicely:
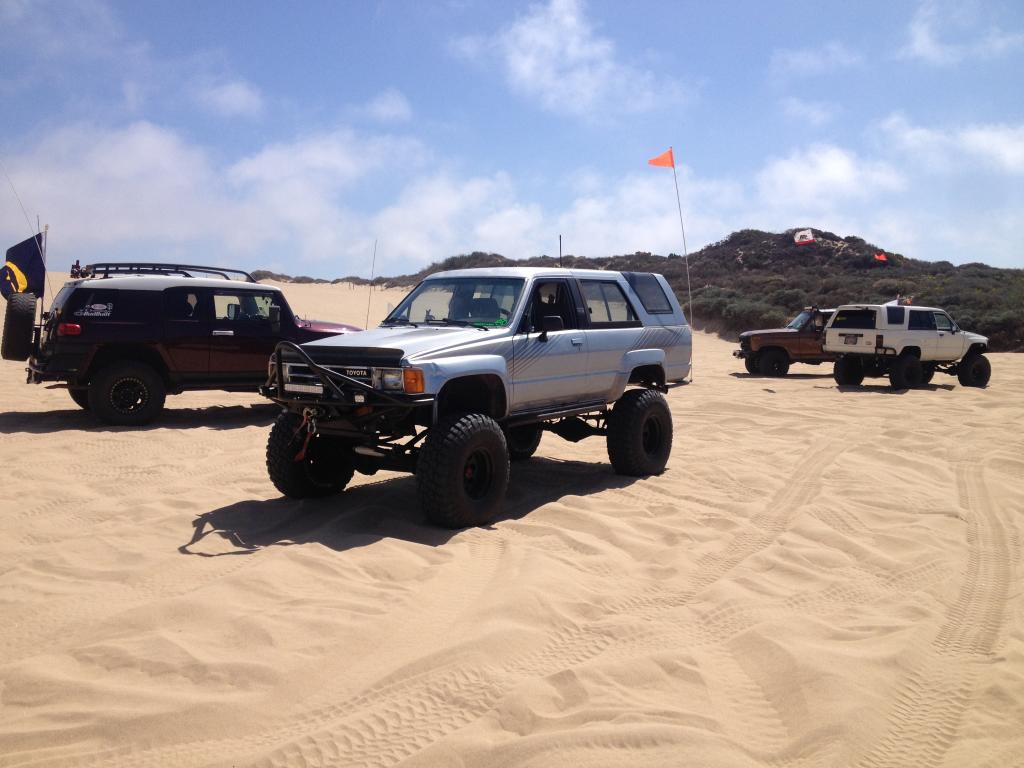
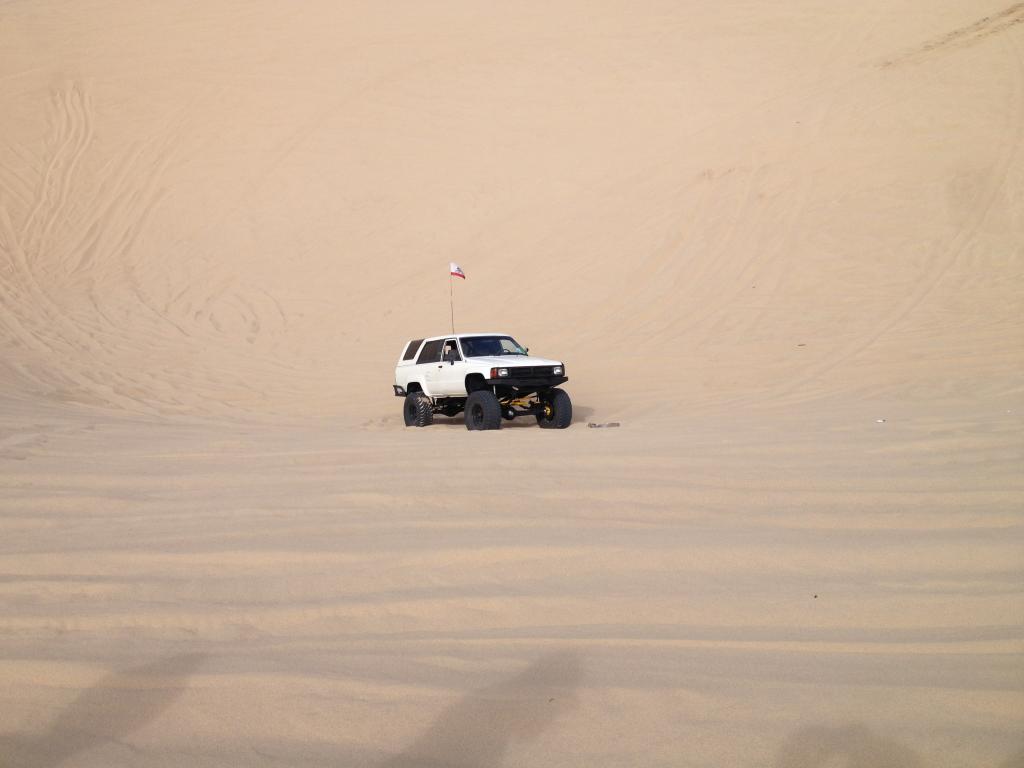
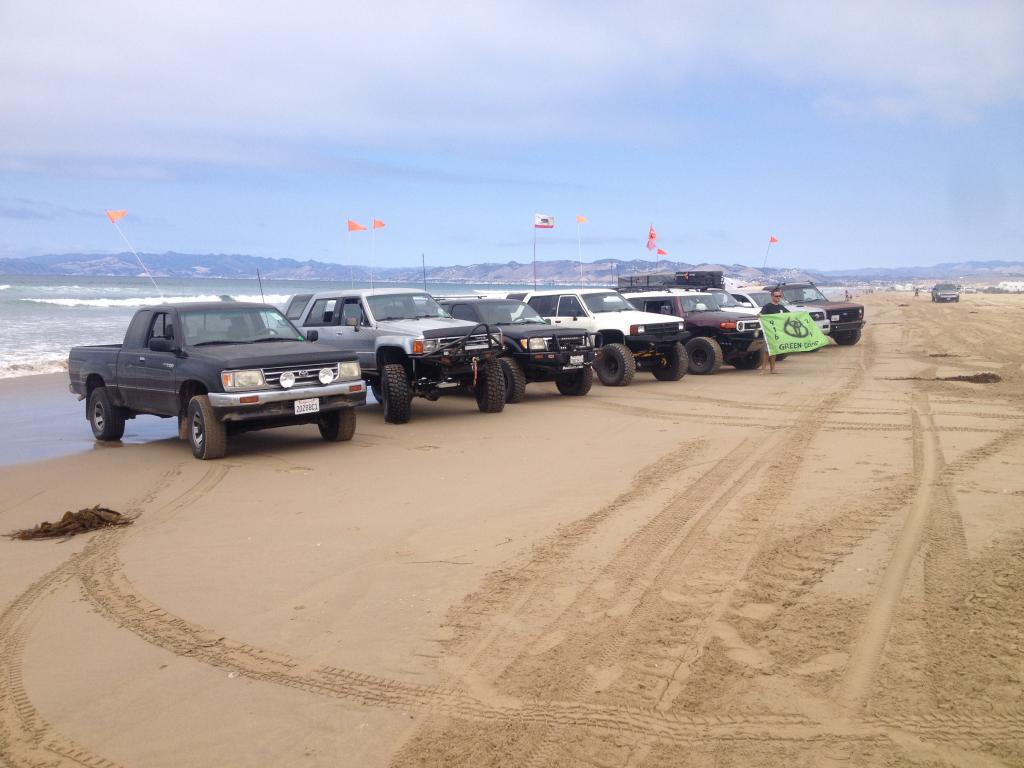
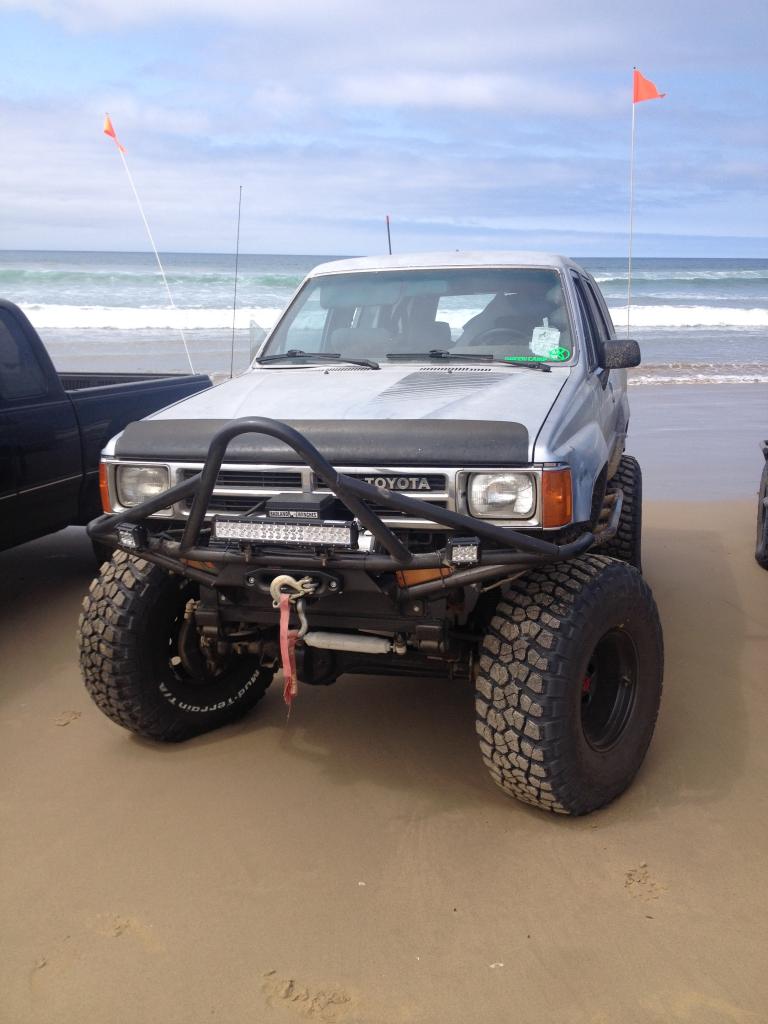
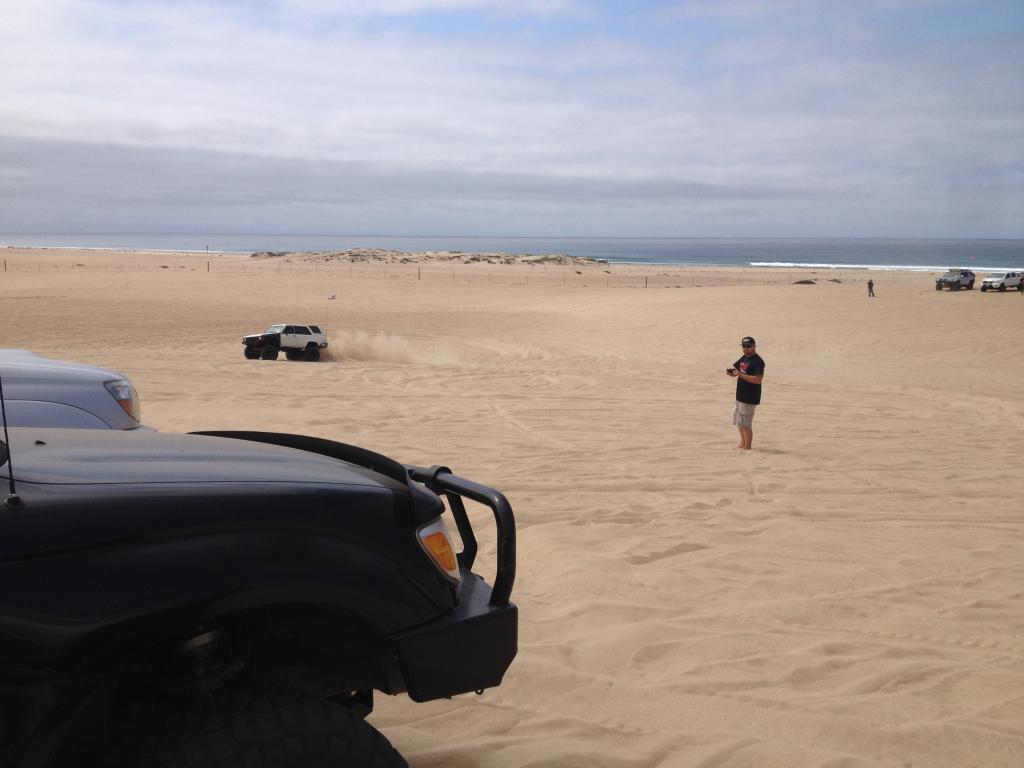
Here's a few shots of the truck on the dunes:
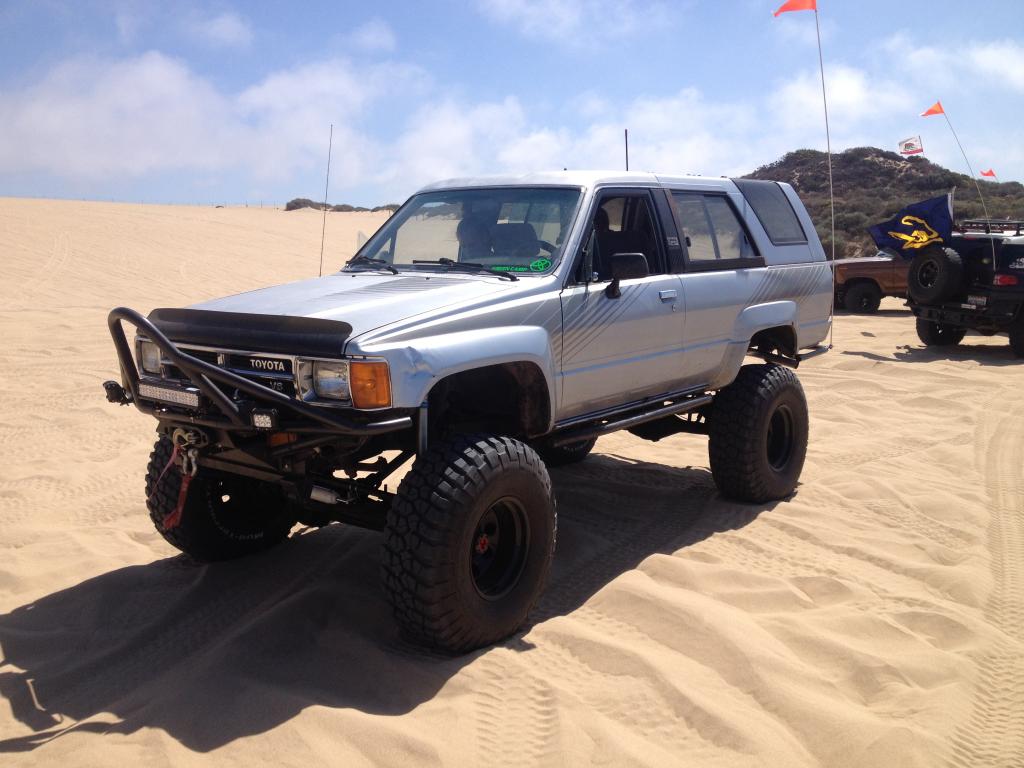
Pismo Beach:
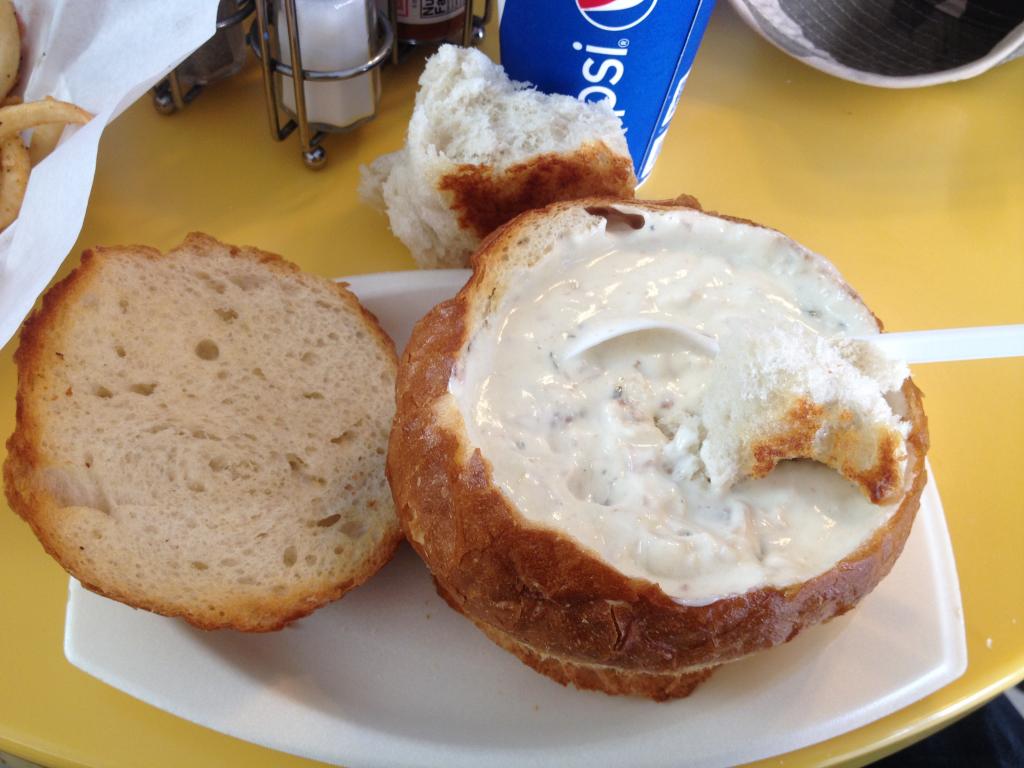
Stopped at Splash Caf� for some famous clam chowder:
Another shot of the truck posted at the camp site:
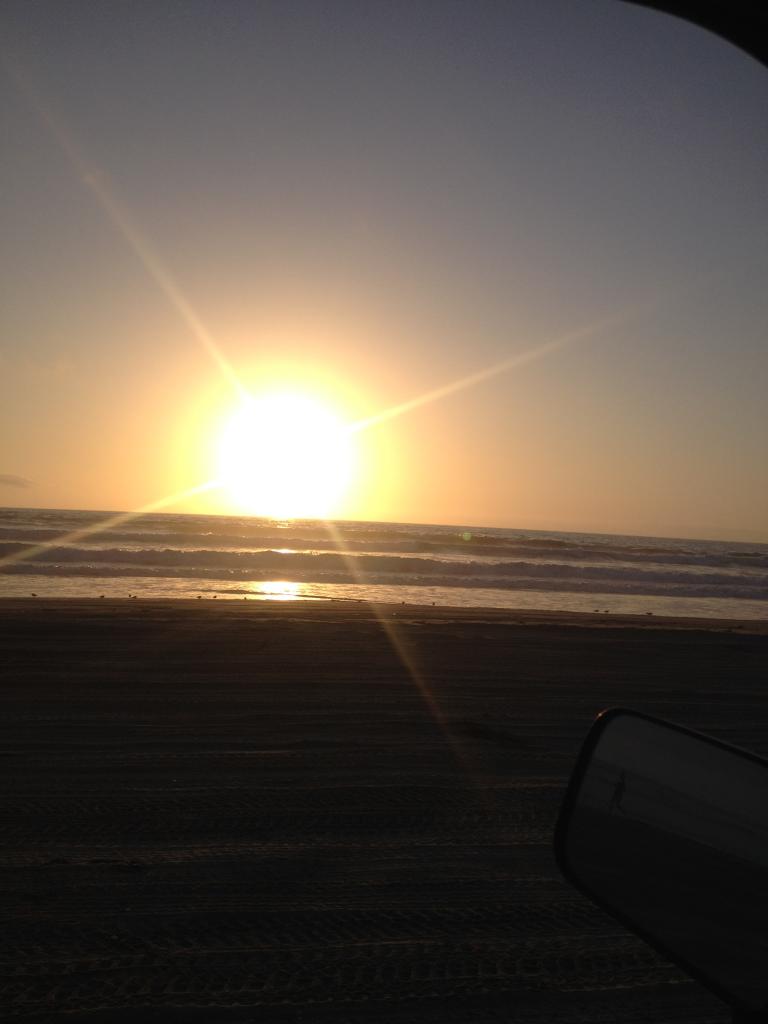
Pismo Sunset:
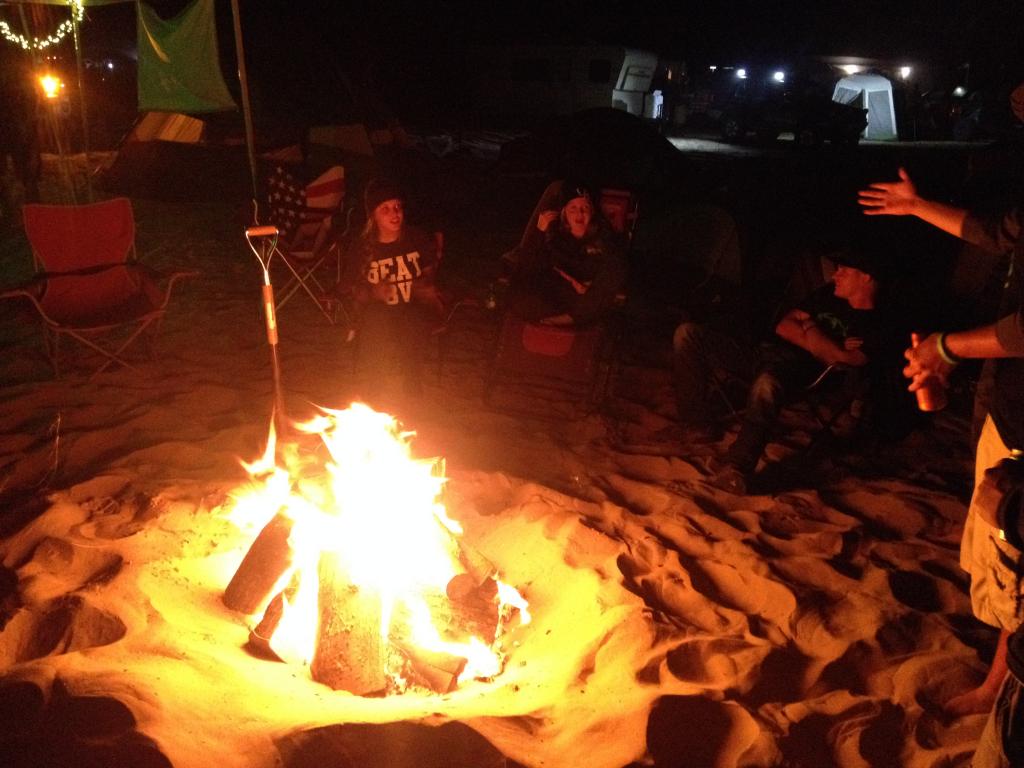
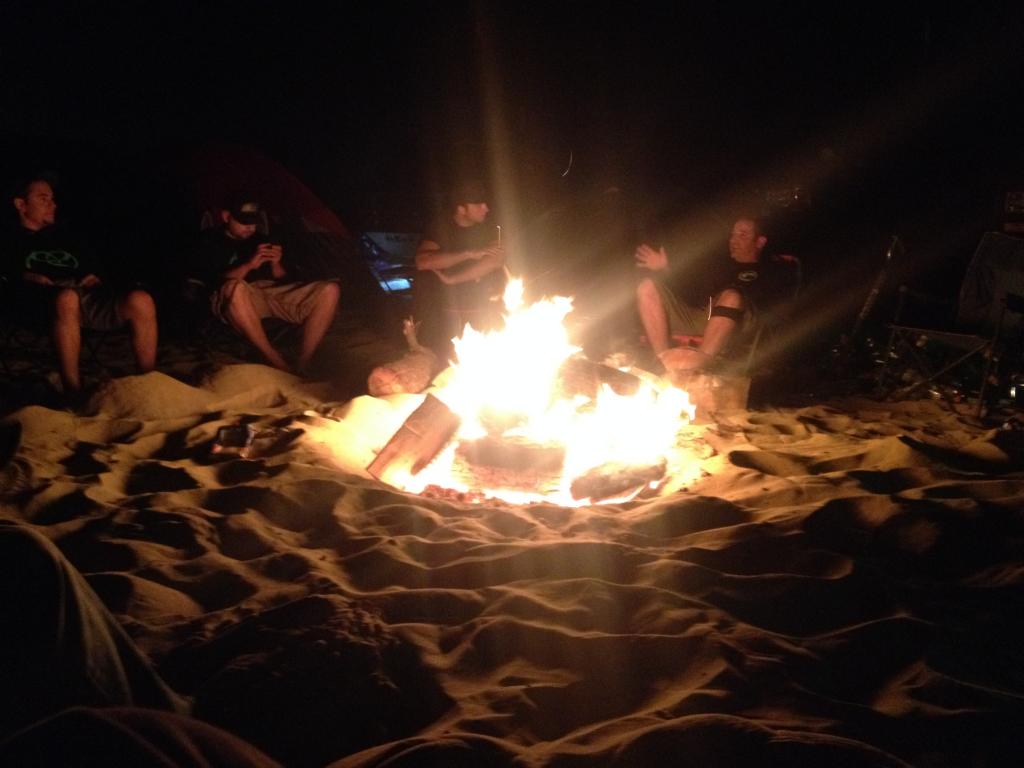
Here's Friday night:
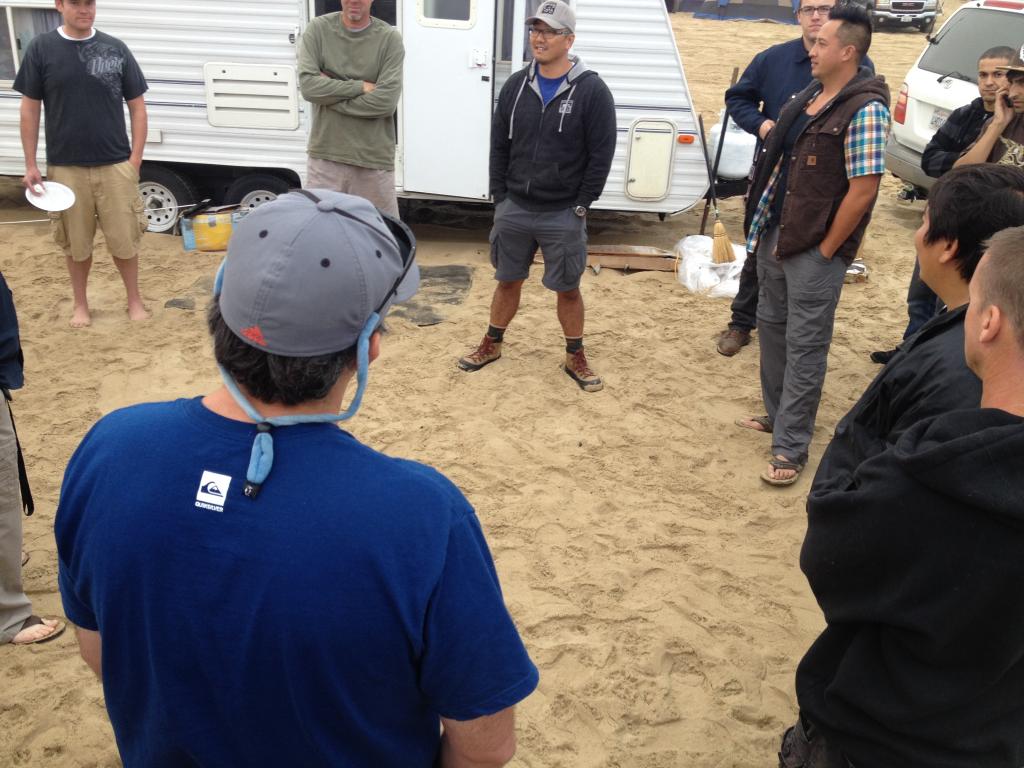
Lance giving us the talk on Saturday Morning:
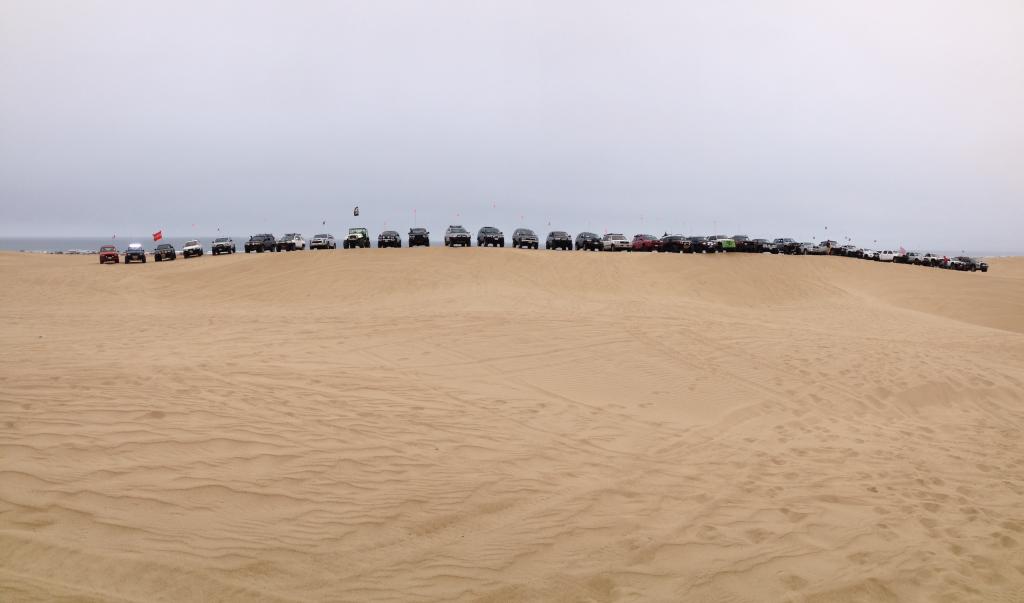
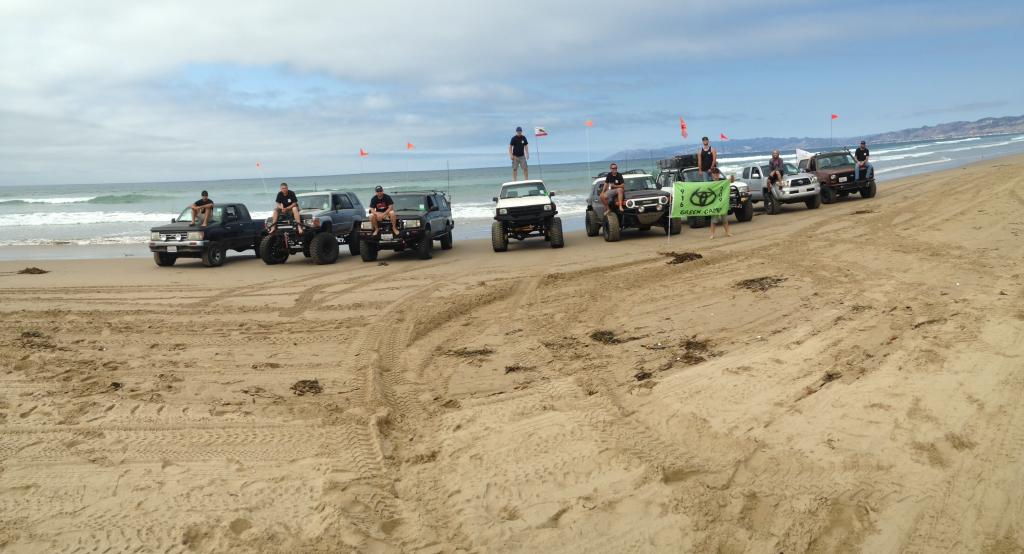
The famous event group picture ( Missing a few trucks because of Friday night alcohol consumption ):
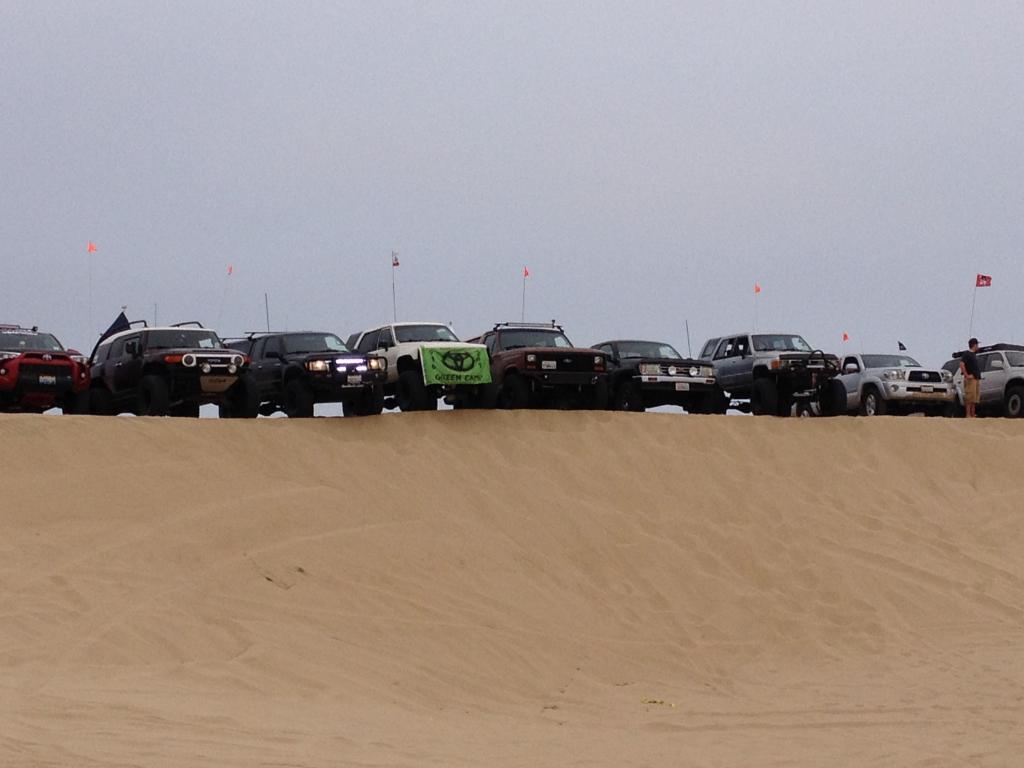
Green camp:
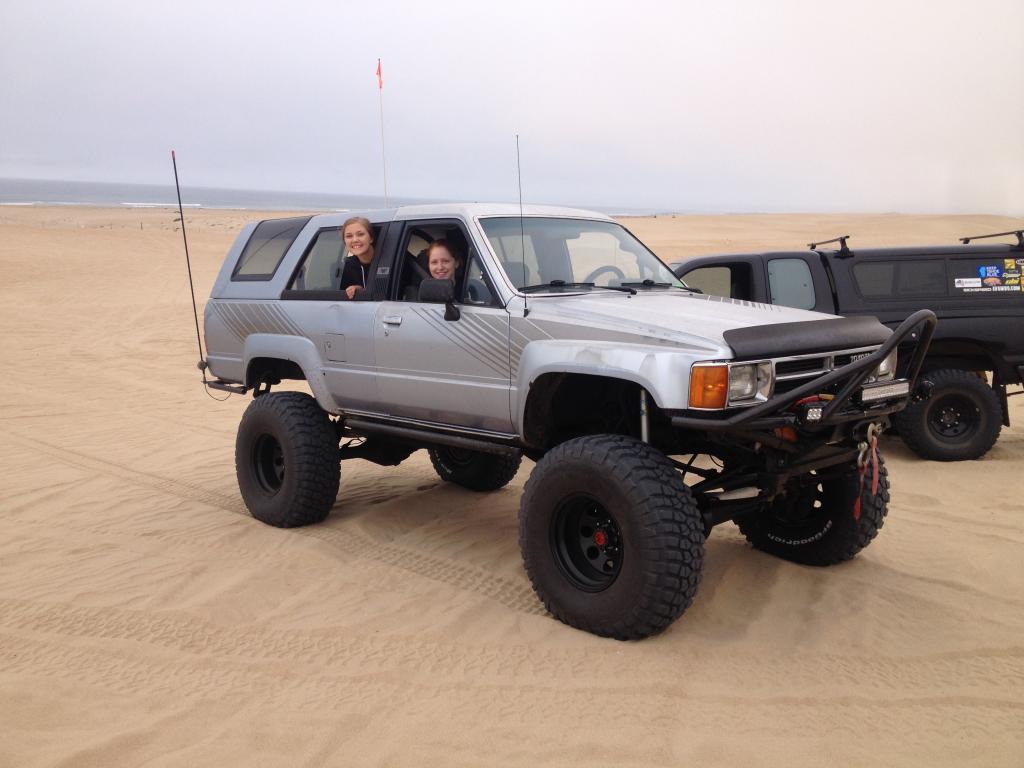
My sister and her friend in the Runner:
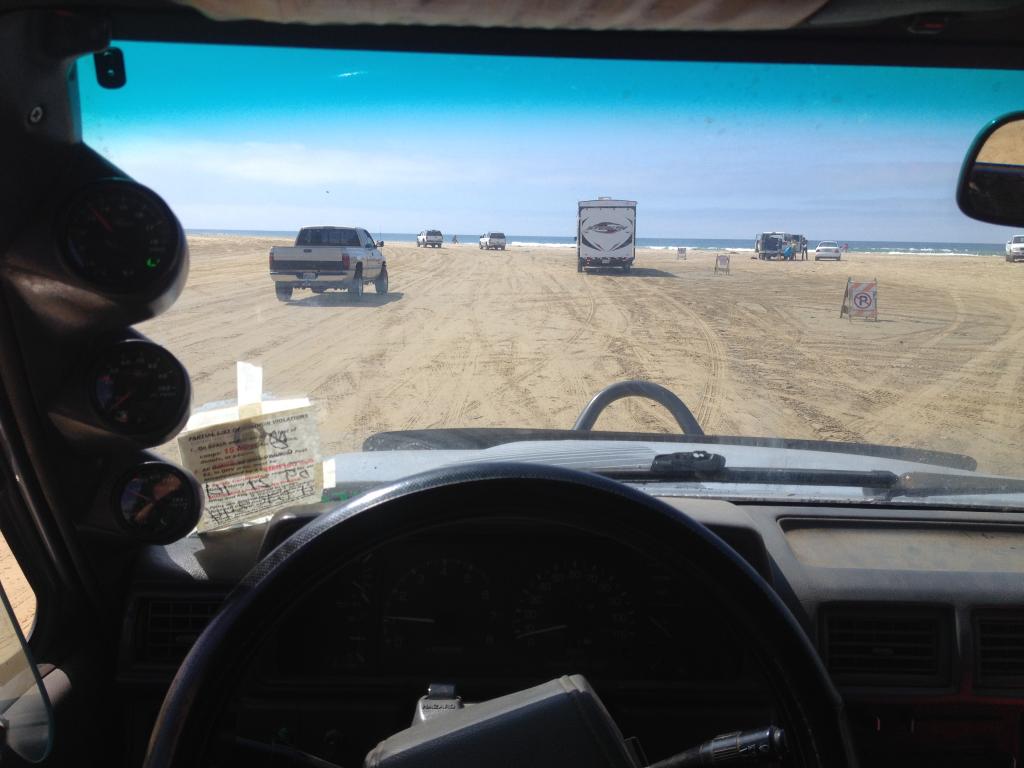
Driver view:
5 years:
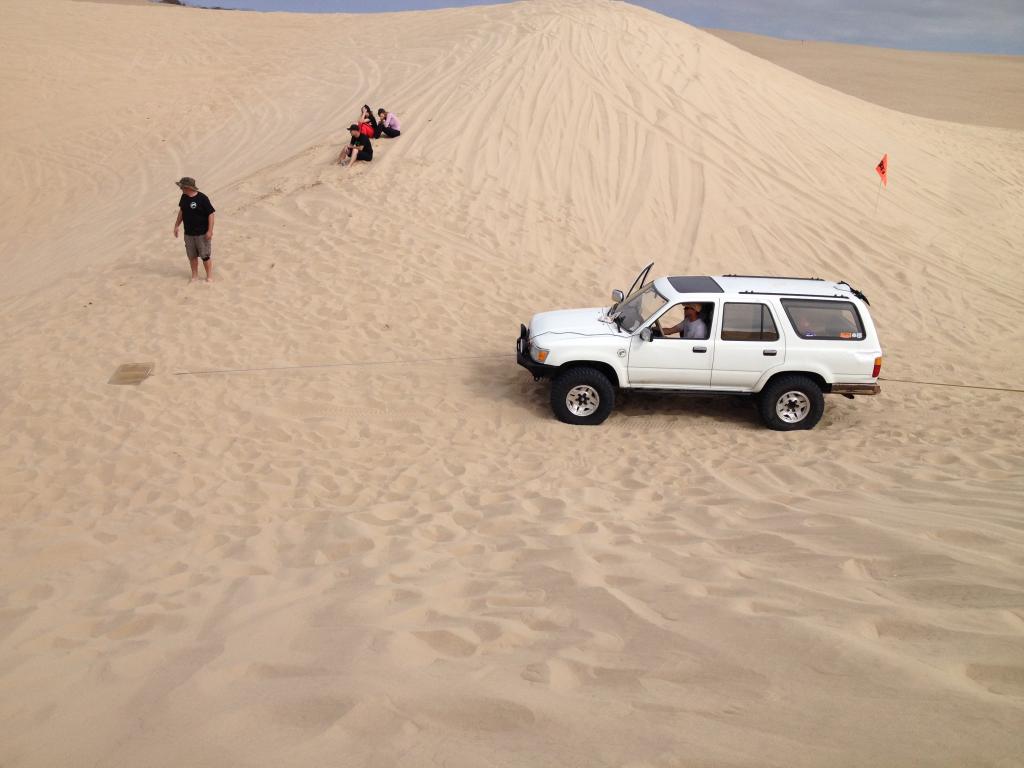
Bryan decided to get stuck in a bowl ( after almost flopping it ) so we had to winch him out. At this point we recruited two cool dudes who moved their camp to hang out with green camp:

Here's a whole picture of Green camp ( don't mind the hat, its an inside joke ):
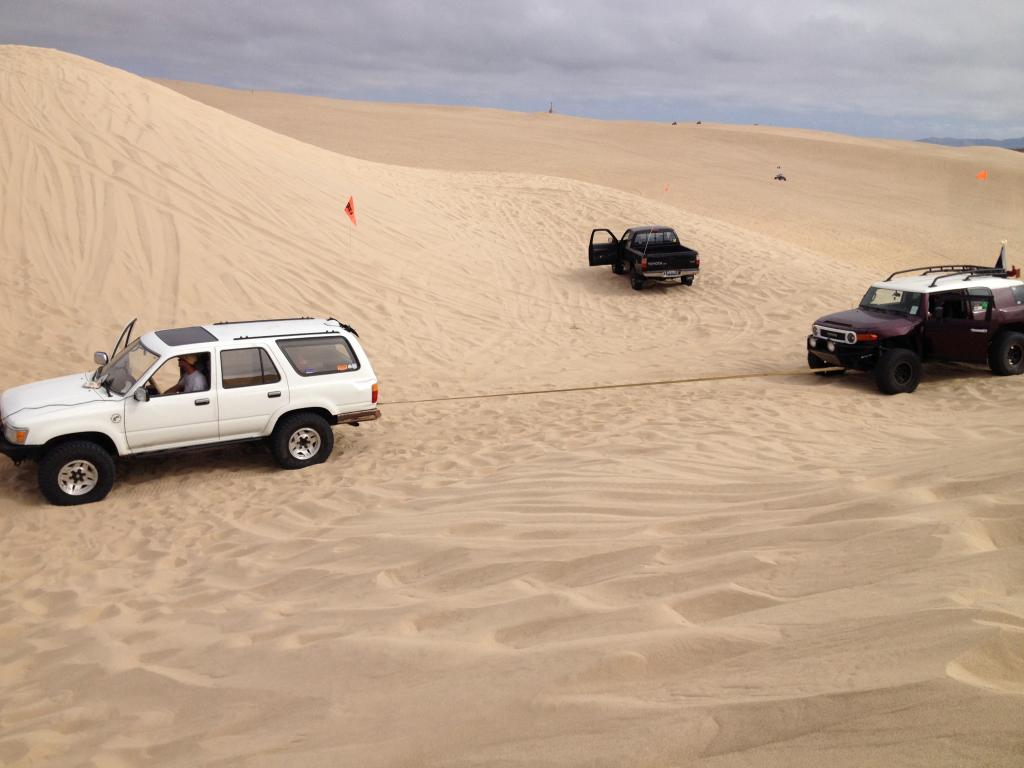
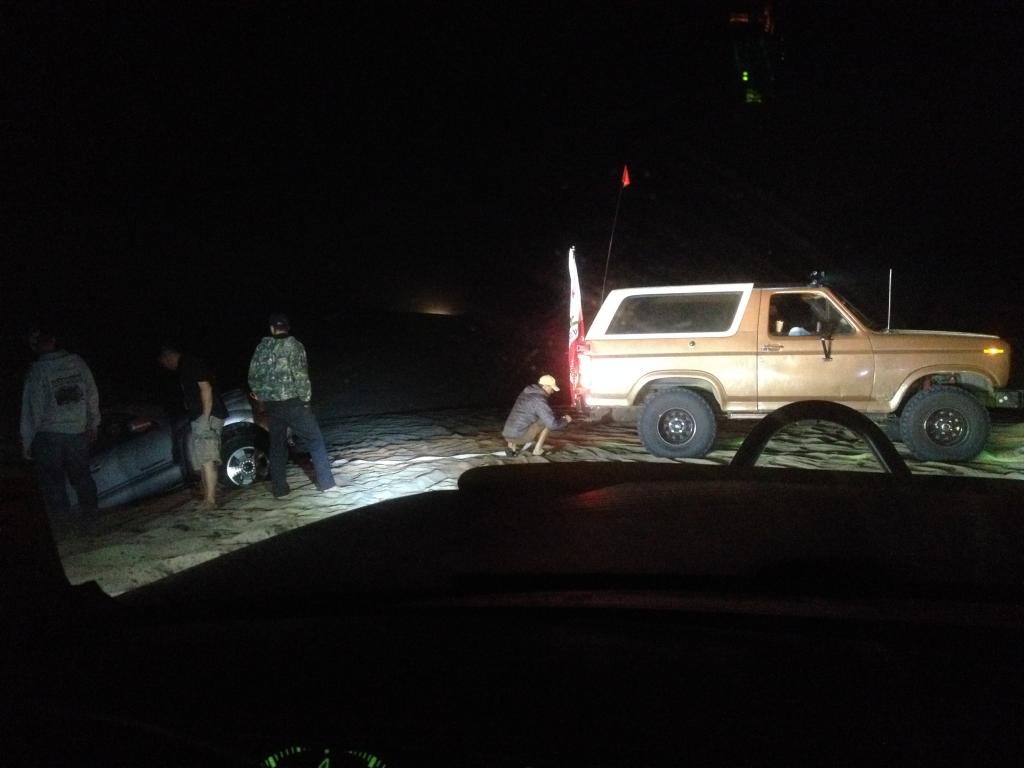
Went for a night run, but it was short lived because the group got separated. But here's Andrew w/ his bronco pulling a Tacoma out:
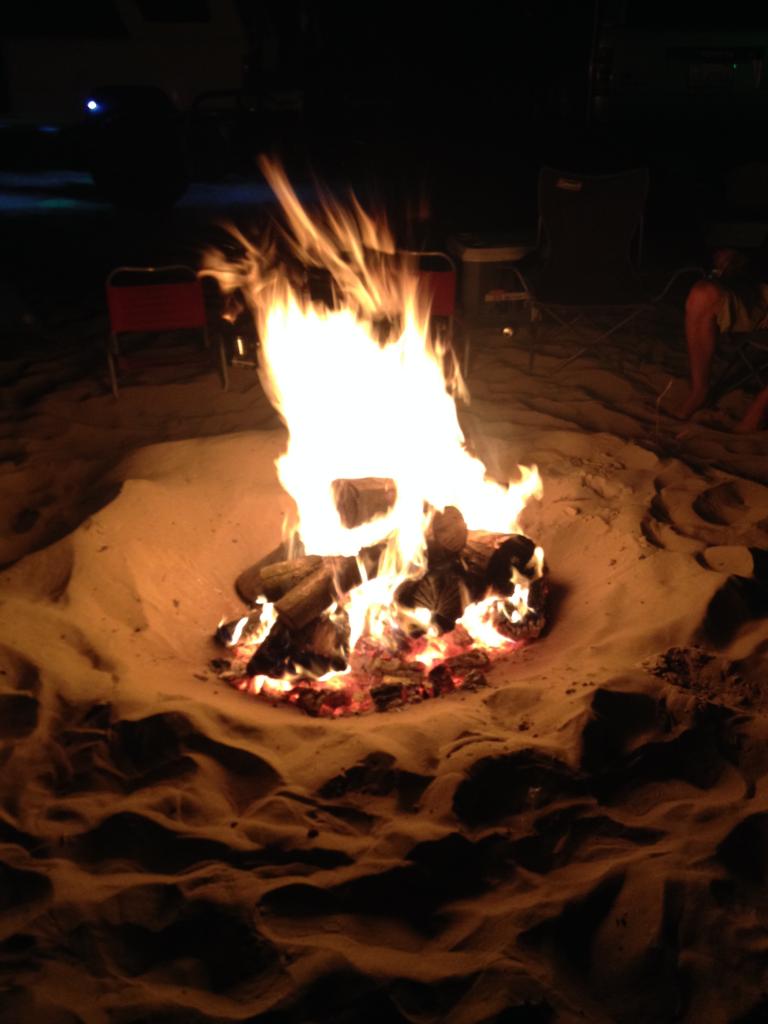
Later that Saturday night:
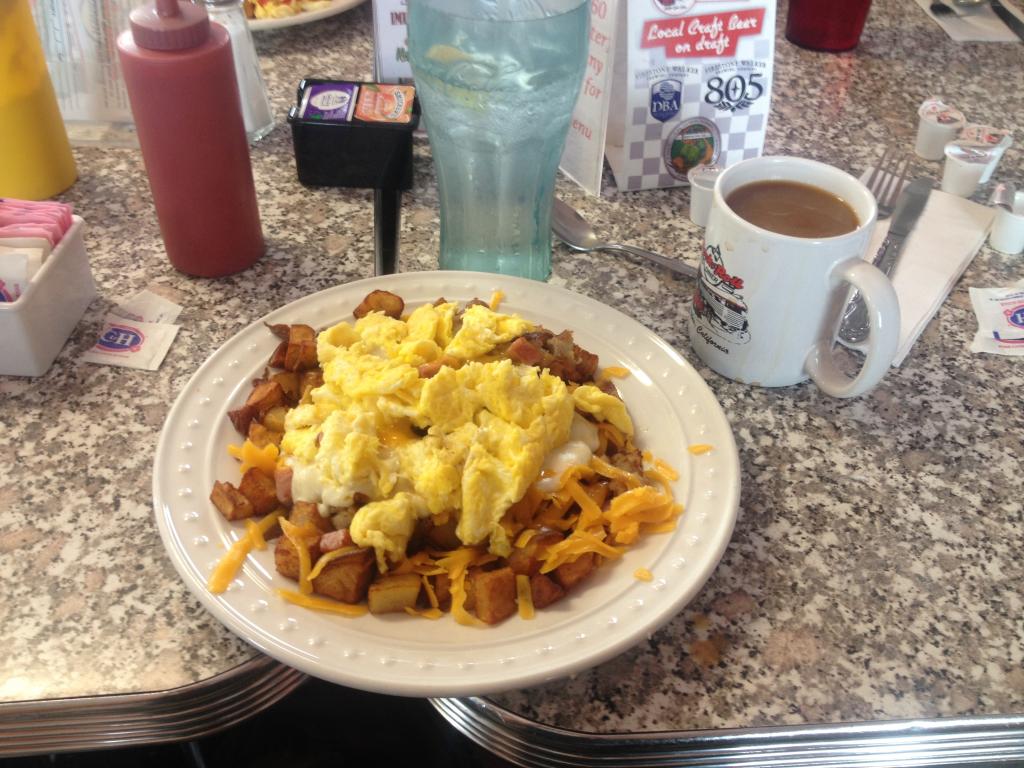
Sunday Morning breakfast:
Here's all the green camp group pictures we took:
Went out for one last cruise on the dune before heading back:
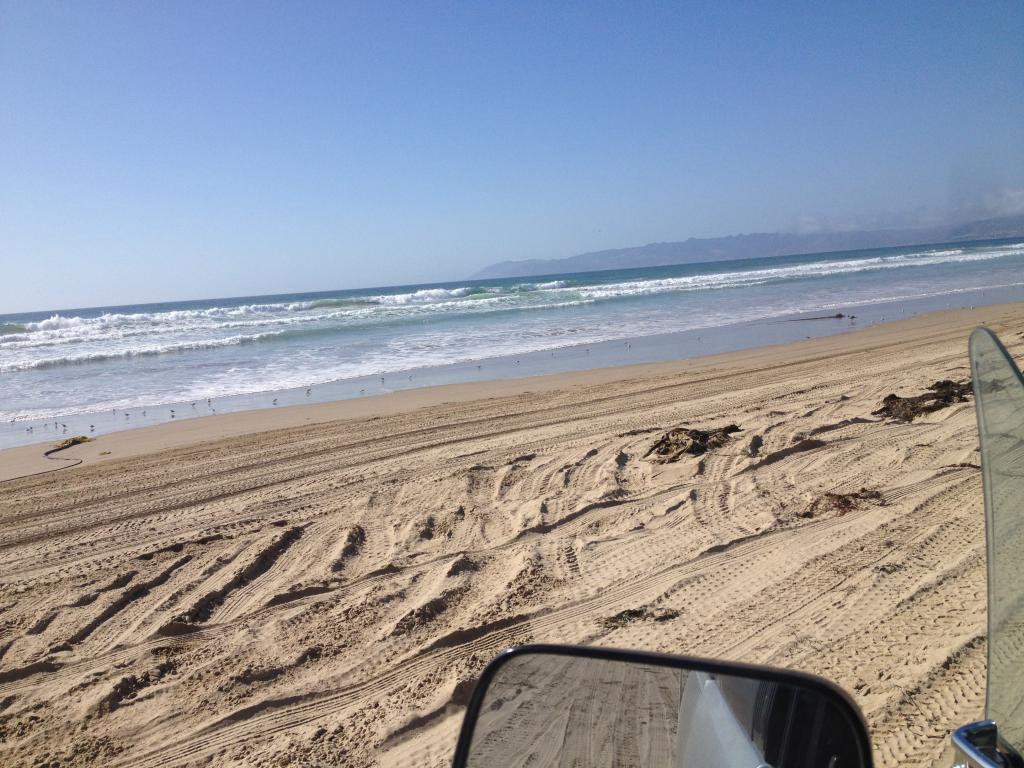
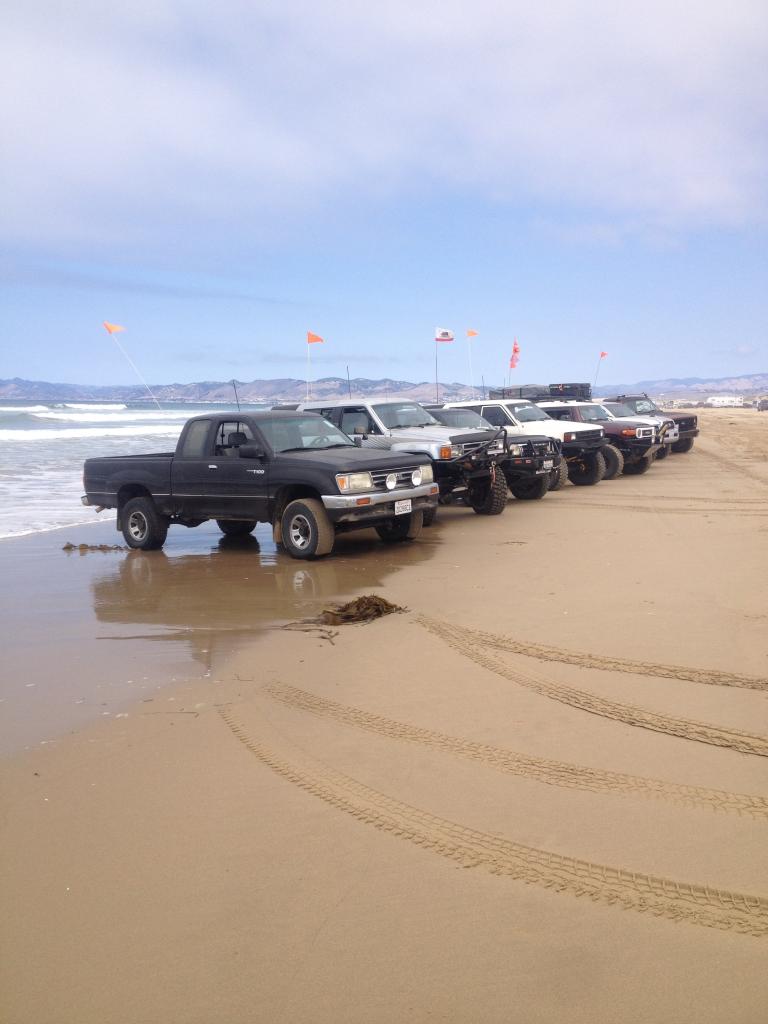
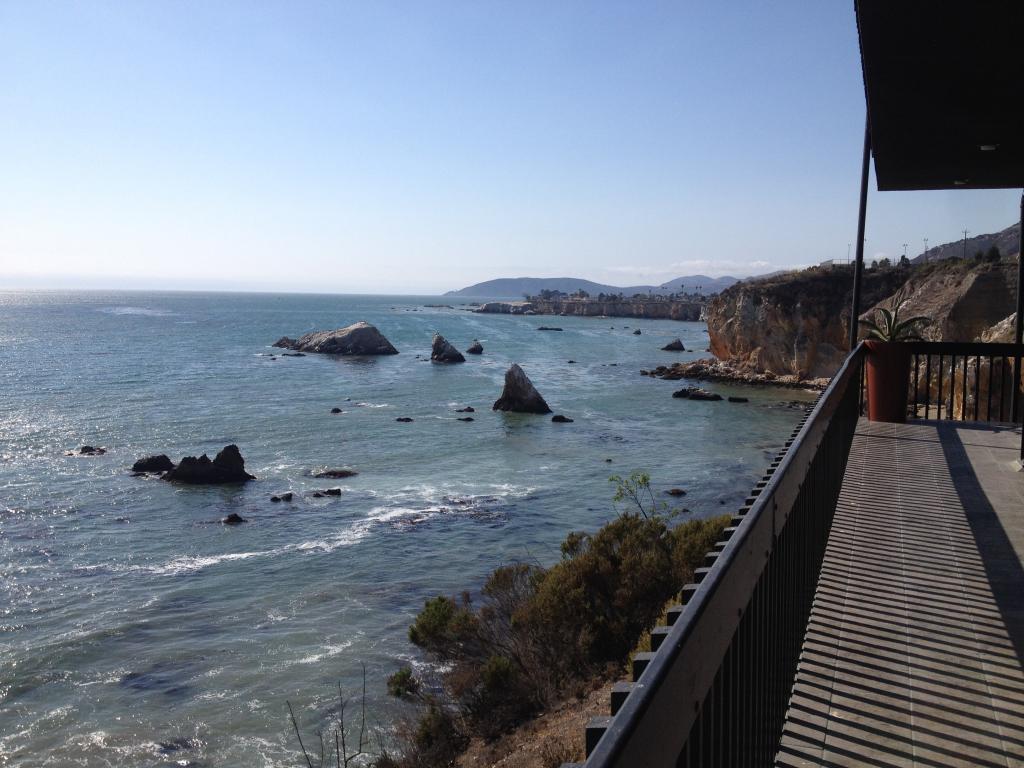
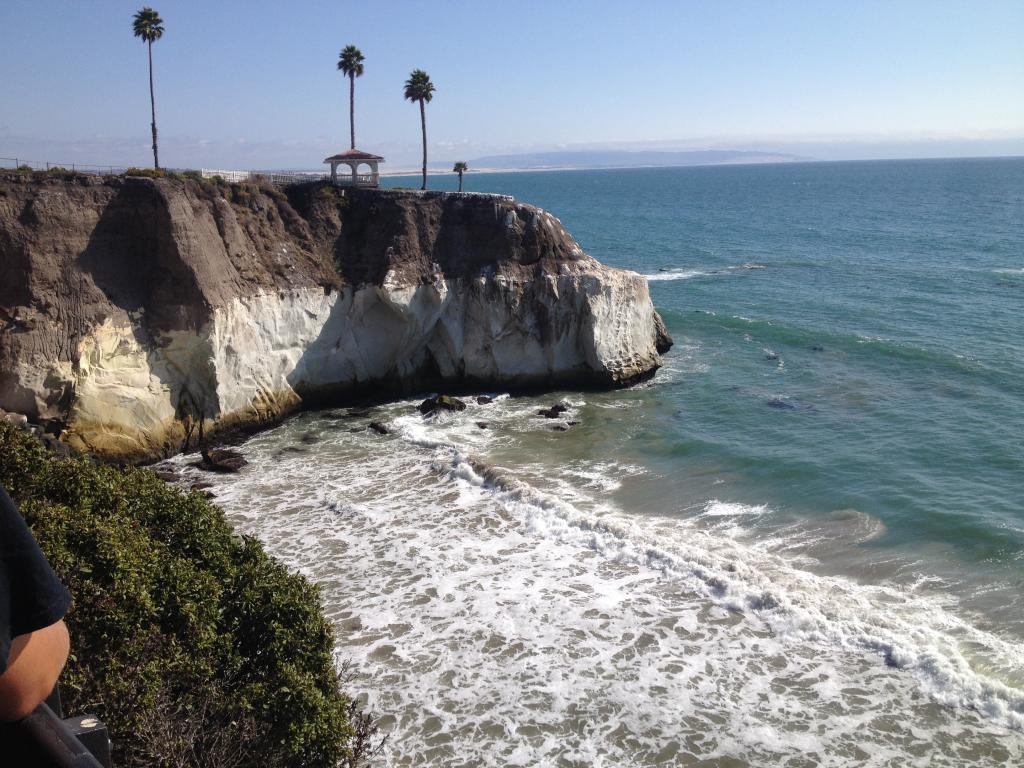
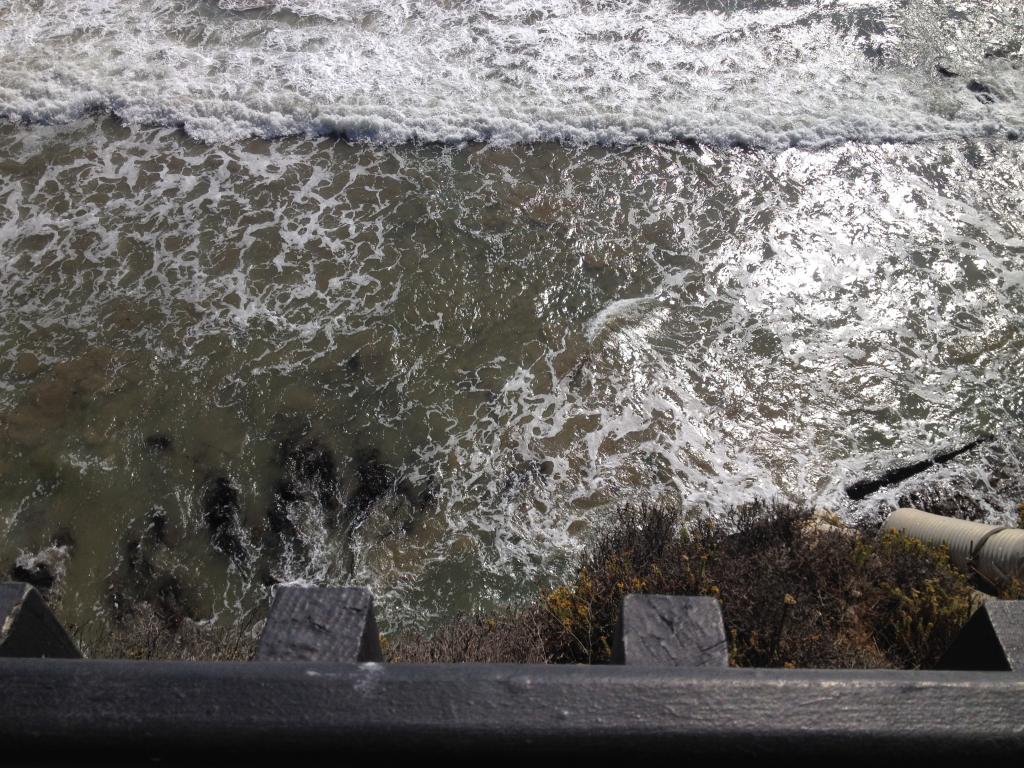
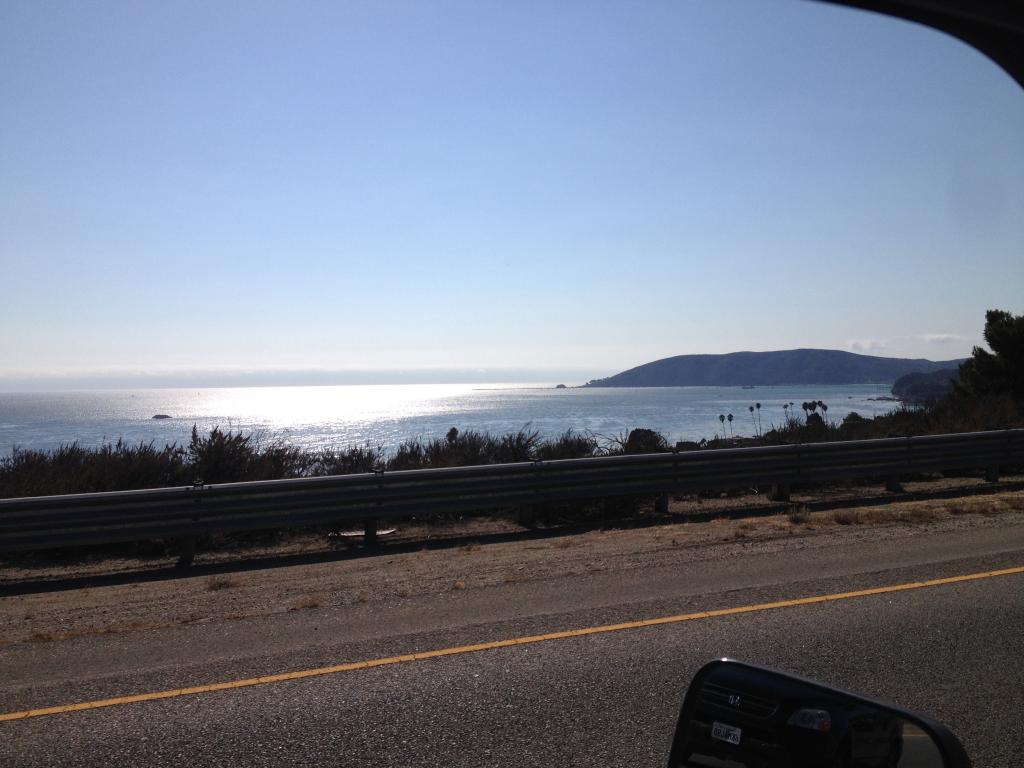
For those who have never been to Pismo. Here's the more "scenic" pictures. Its a beautiful place, for sure:
Leaving:
And that about wraps it up. For those who are wondering how much of a trip this is. Its about ~830 miles from sacramento round trip and driving around the dunes. I averaged about 20.8 MPG between kettleman and sacramento ( which basically drains the tank right as you're pulling up to kettleman from sacramento ) My opinions from this trip to last trip? The 35s are MUCH better than the 37s. with the 37s on there, I only got about 15-16 mpg, the truck was a lot more tippy and to be honest? the 35s look better. overall very pleased with how the truck performed, even though its really out of its element being a SFA, SWB, leafed rig. It definitely got some use out there. I don't think there was ever a moment I wasn't in the truck unless it was late at night
Anywho, Thanks Lance and Chris for another amazing event!
We had a total of 5 trucks caravanning from Sacramento on Thursday night. My cousin drove down in his T100 on Friday night. We also camp with a few guys from Modesto. We had a total of 8 trucks as the original group.
I didn't get much pictures when I left Sacramento. But he's the group from Sac at Kettleman. ( about 4 hours south of sacramento ):

Didn't get a whole lot of pictures after Kettleman. We were all exhausted from driving. A few of us pulled an all nighter Thursday night/Friday morning. But I basically set up my tent, got settled, walked the beach and passed out so I could be refreshed in the morning.
Here's some of the group next morning after breakfast. Getting some groceries ( alcohol ) so we can cook down there:

Here's a portion of our campsite. This is early Friday morning, so people for the event aren't really there yet:


Bryan works at a printing company and had some official green camp stickers made for our rigs. I'd say it fits there nicely:

Here's a few shots of the truck on the dunes:


Pismo Beach:

Stopped at Splash Caf� for some famous clam chowder:

Another shot of the truck posted at the camp site:

Pismo Sunset:

Here's Friday night:


Lance giving us the talk on Saturday Morning:

The famous event group picture ( Missing a few trucks because of Friday night alcohol consumption ):

Green camp:

My sister and her friend in the Runner:

Driver view:

5 years:

Bryan decided to get stuck in a bowl ( after almost flopping it ) so we had to winch him out. At this point we recruited two cool dudes who moved their camp to hang out with green camp:


Here's a whole picture of Green camp ( don't mind the hat, its an inside joke ):

Went for a night run, but it was short lived because the group got separated. But here's Andrew w/ his bronco pulling a Tacoma out:

Later that Saturday night:

Sunday Morning breakfast:

Here's all the green camp group pictures we took:


Went out for one last cruise on the dune before heading back:

For those who have never been to Pismo. Here's the more "scenic" pictures. Its a beautiful place, for sure:


Leaving:


And that about wraps it up. For those who are wondering how much of a trip this is. Its about ~830 miles from sacramento round trip and driving around the dunes. I averaged about 20.8 MPG between kettleman and sacramento ( which basically drains the tank right as you're pulling up to kettleman from sacramento ) My opinions from this trip to last trip? The 35s are MUCH better than the 37s. with the 37s on there, I only got about 15-16 mpg, the truck was a lot more tippy and to be honest? the 35s look better. overall very pleased with how the truck performed, even though its really out of its element being a SFA, SWB, leafed rig. It definitely got some use out there. I don't think there was ever a moment I wasn't in the truck unless it was late at night
Anywho, Thanks Lance and Chris for another amazing event!
Last edited by MaK92-4RnR; 09-22-2014 at 09:09 AM.
10-17-2014, 07:52 PM
#140
Registered User
Join Date: Feb 2010
Location: Southern California
Posts: 301
Likes: 0
Received 0 Likes
on
0 Posts
Those lights really freshened up the front end of your rig man. looks very sharp. Ive never been to that jamboree but it looks like a good time so long as you camp with the right group!


