
irab88's 1993 PickUp Build-Up Thread

The following users liked this post:
RAD4Runner (01-11-2021)
 03-13-2021, 03:26 PM
#2524
Small update:
Went over to RB's garage to stand around and watch 4 or 5 cutoff wheels get destroyed. Oh, and got the body-lift-replacement-tube cut. Needs cleaning up and welded in, but I feel good about the security of this new lift. So long as I take my time, something I'm not known for.
While we were chatting, he mentioned stuff to use AN fittings on the AC lines. After a bit of diving head-first into the shallow end of the world of AC systems, I have a lot of better ideas for making these connections line up, fit, and go where I want them to.
Pro-tip: don't follow this AC install for your own rig.
03-14-2021, 02:21 PM
#2525
Small update:
While we were chatting, he mentioned stuff to use AN fittings on the AC lines. After a bit of diving head-first into the shallow end of the world of AC systems, I have a lot of better ideas for making these connections line up, fit, and go where I want them to.
Pro-tip: don't follow this AC install for your own rig.
03-21-2021, 09:51 AM
#2526
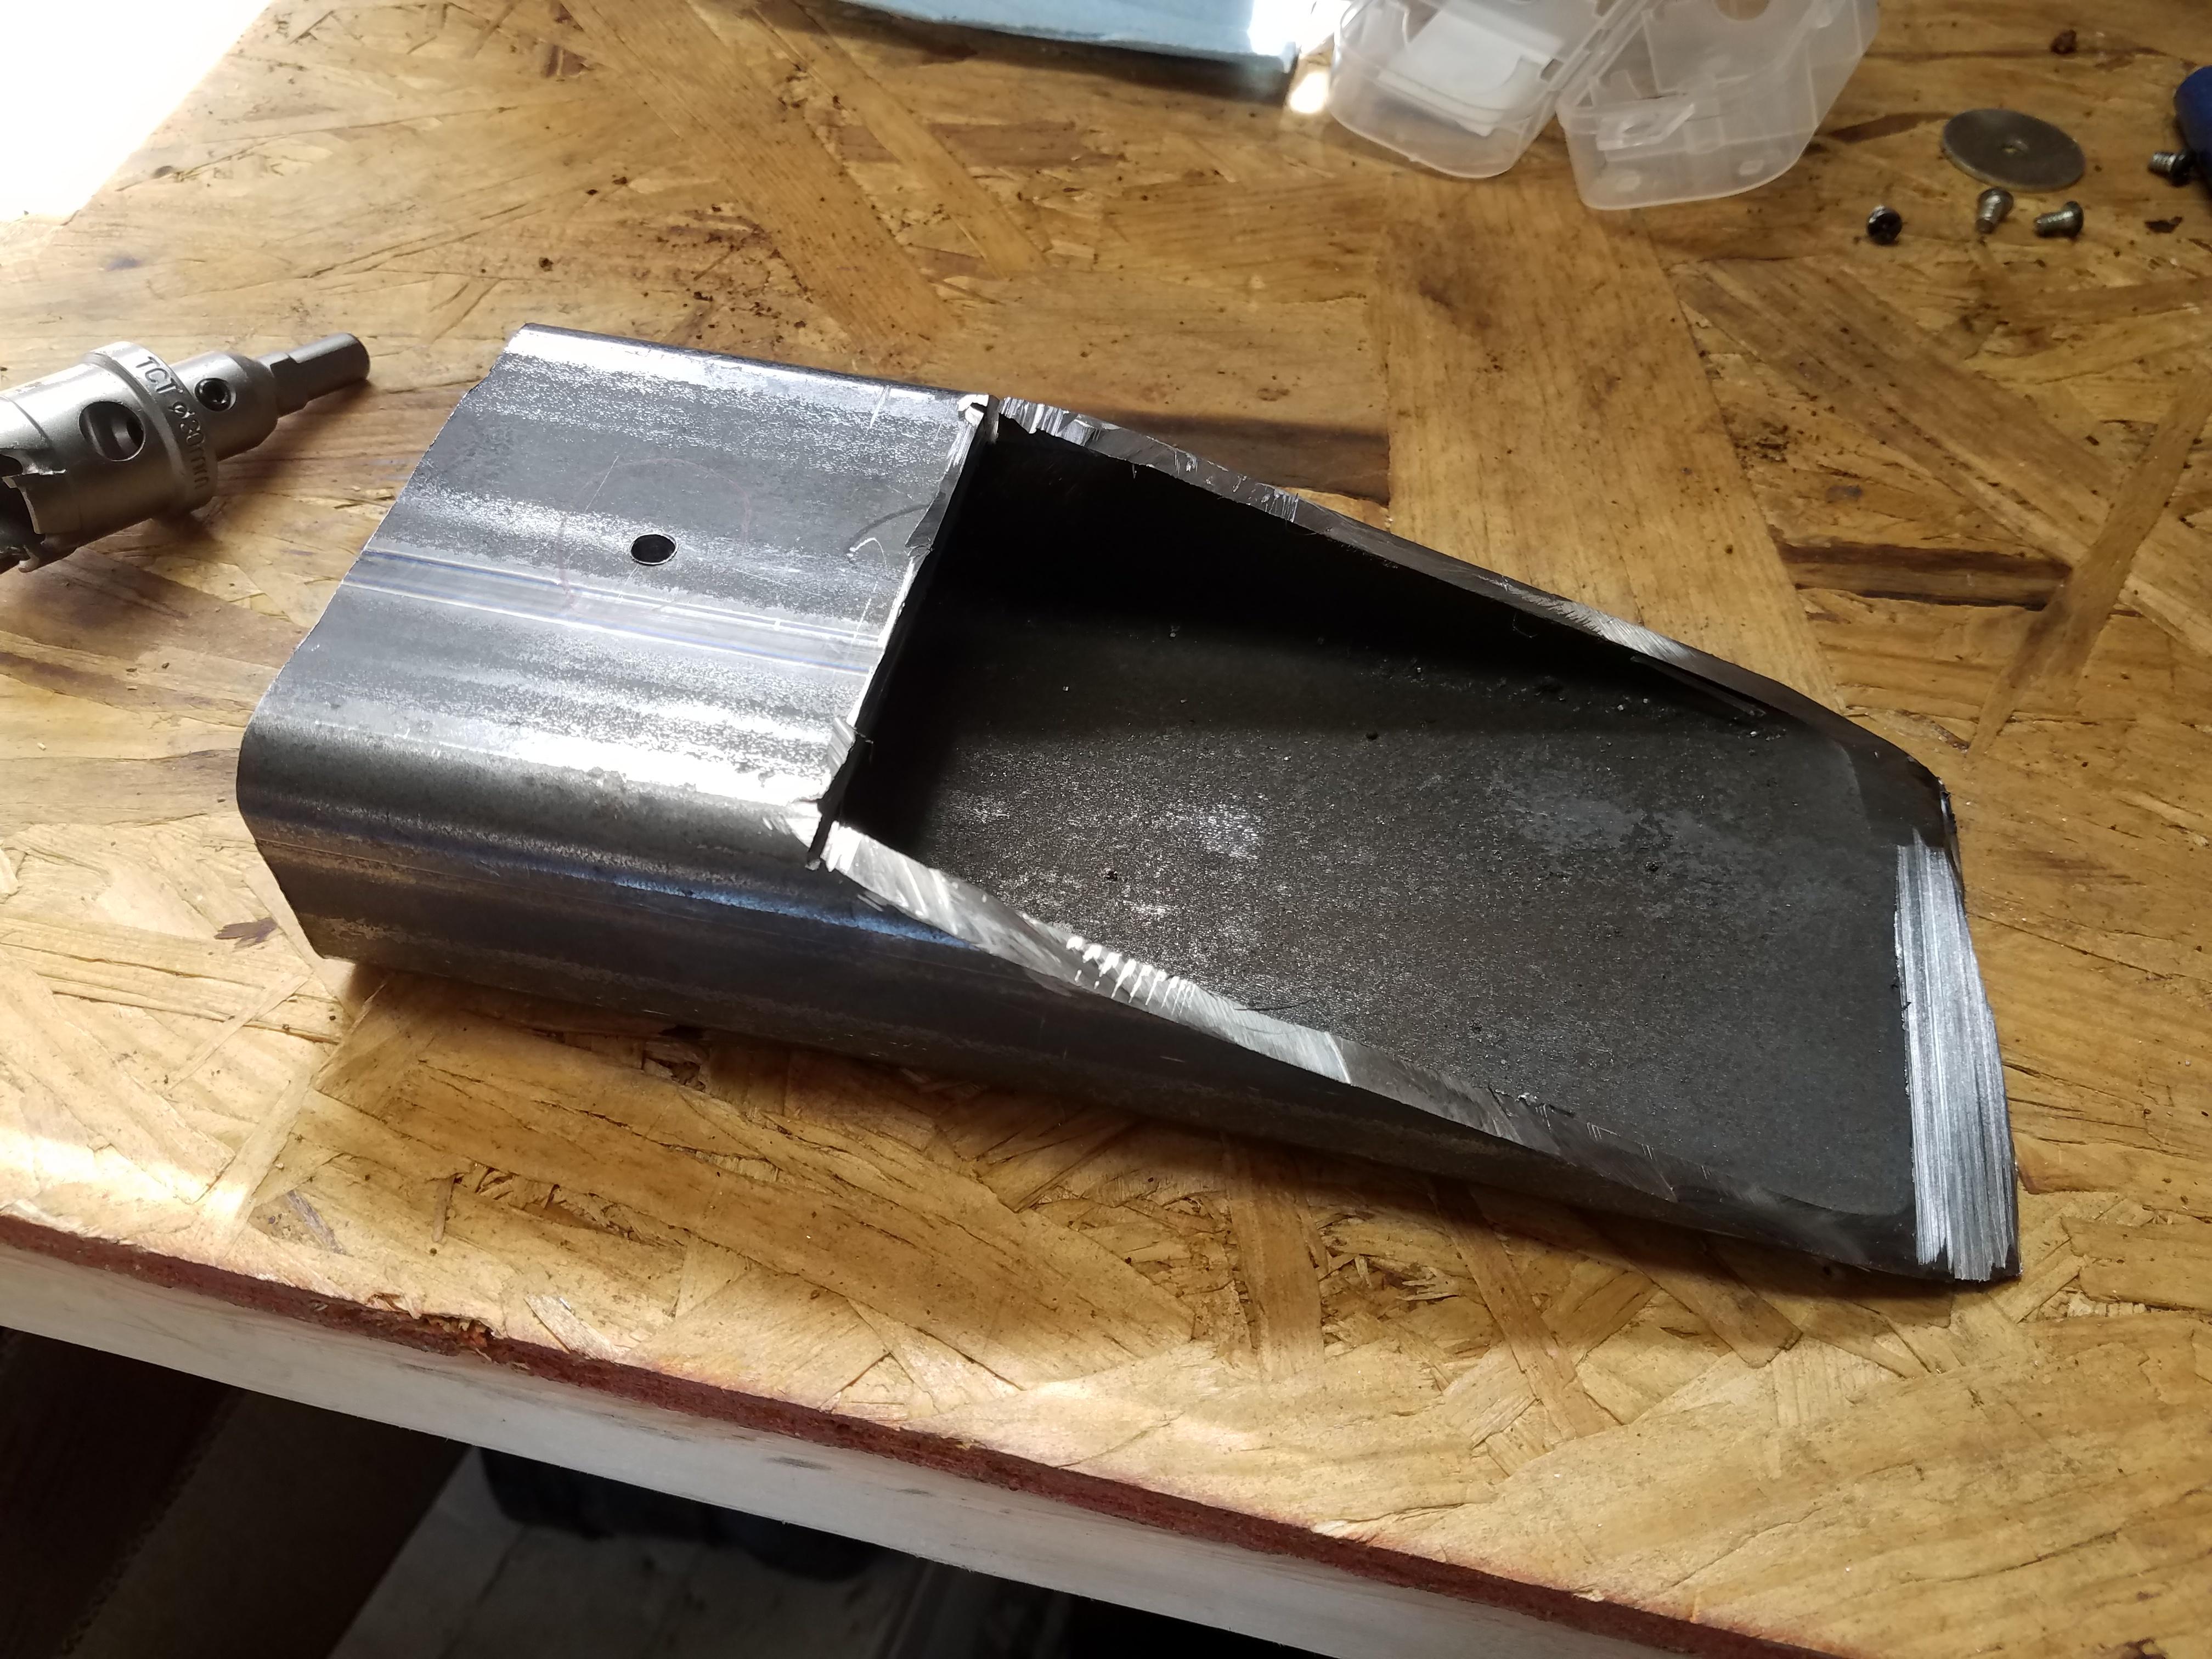
Working on the body mounts. I got a 30mm hole saw, makes a nice cut slightly undersized, then finished off with the dremmel. The hole is a good snug fit. I need to trim some of the lower bushing to 1) fit in the 2x4 tube, and 2) account for the extra thickness. I'll be welding the top plate on, no need for bolts.


Last edited by irab88; 03-21-2021 at 09:59 AM.
 03-29-2021, 03:11 PM
#2529
Registered User
Nice, I�ve been thinking about adding a variac voltage regulator to my press so I can drill stainless. I�ve needed a slower drill a few times to do some SS drilling and mine won�t go slow enough.
03-30-2021, 05:08 AM
#2530
Yeah, it was time to get a new one. It was 75 and change, which (time and money) is cheaper than just getting a new motor for my old one. It's not the same brand as the other stuff in the garage, but it should last me a couple of years anyway. I haven't really tried it out yet, just some easy stuff, though I'm sure I'll have some fun once I break it in.
The following users liked this post:
old87yota (04-01-2021)
04-03-2021, 12:48 PM
#2532
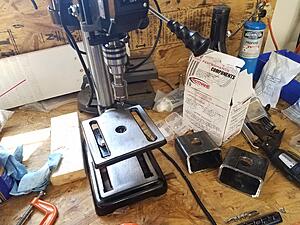
More holes cut, never mind the clutter. The press is definitely cheap, but the hole saw is the way to go, made quick work of the 1/4" steel. I'll probably finish the drilling and fitting the mounts tomorrow.

Last edited by irab88; 04-03-2021 at 12:52 PM.
04-04-2021, 04:26 PM
#2533
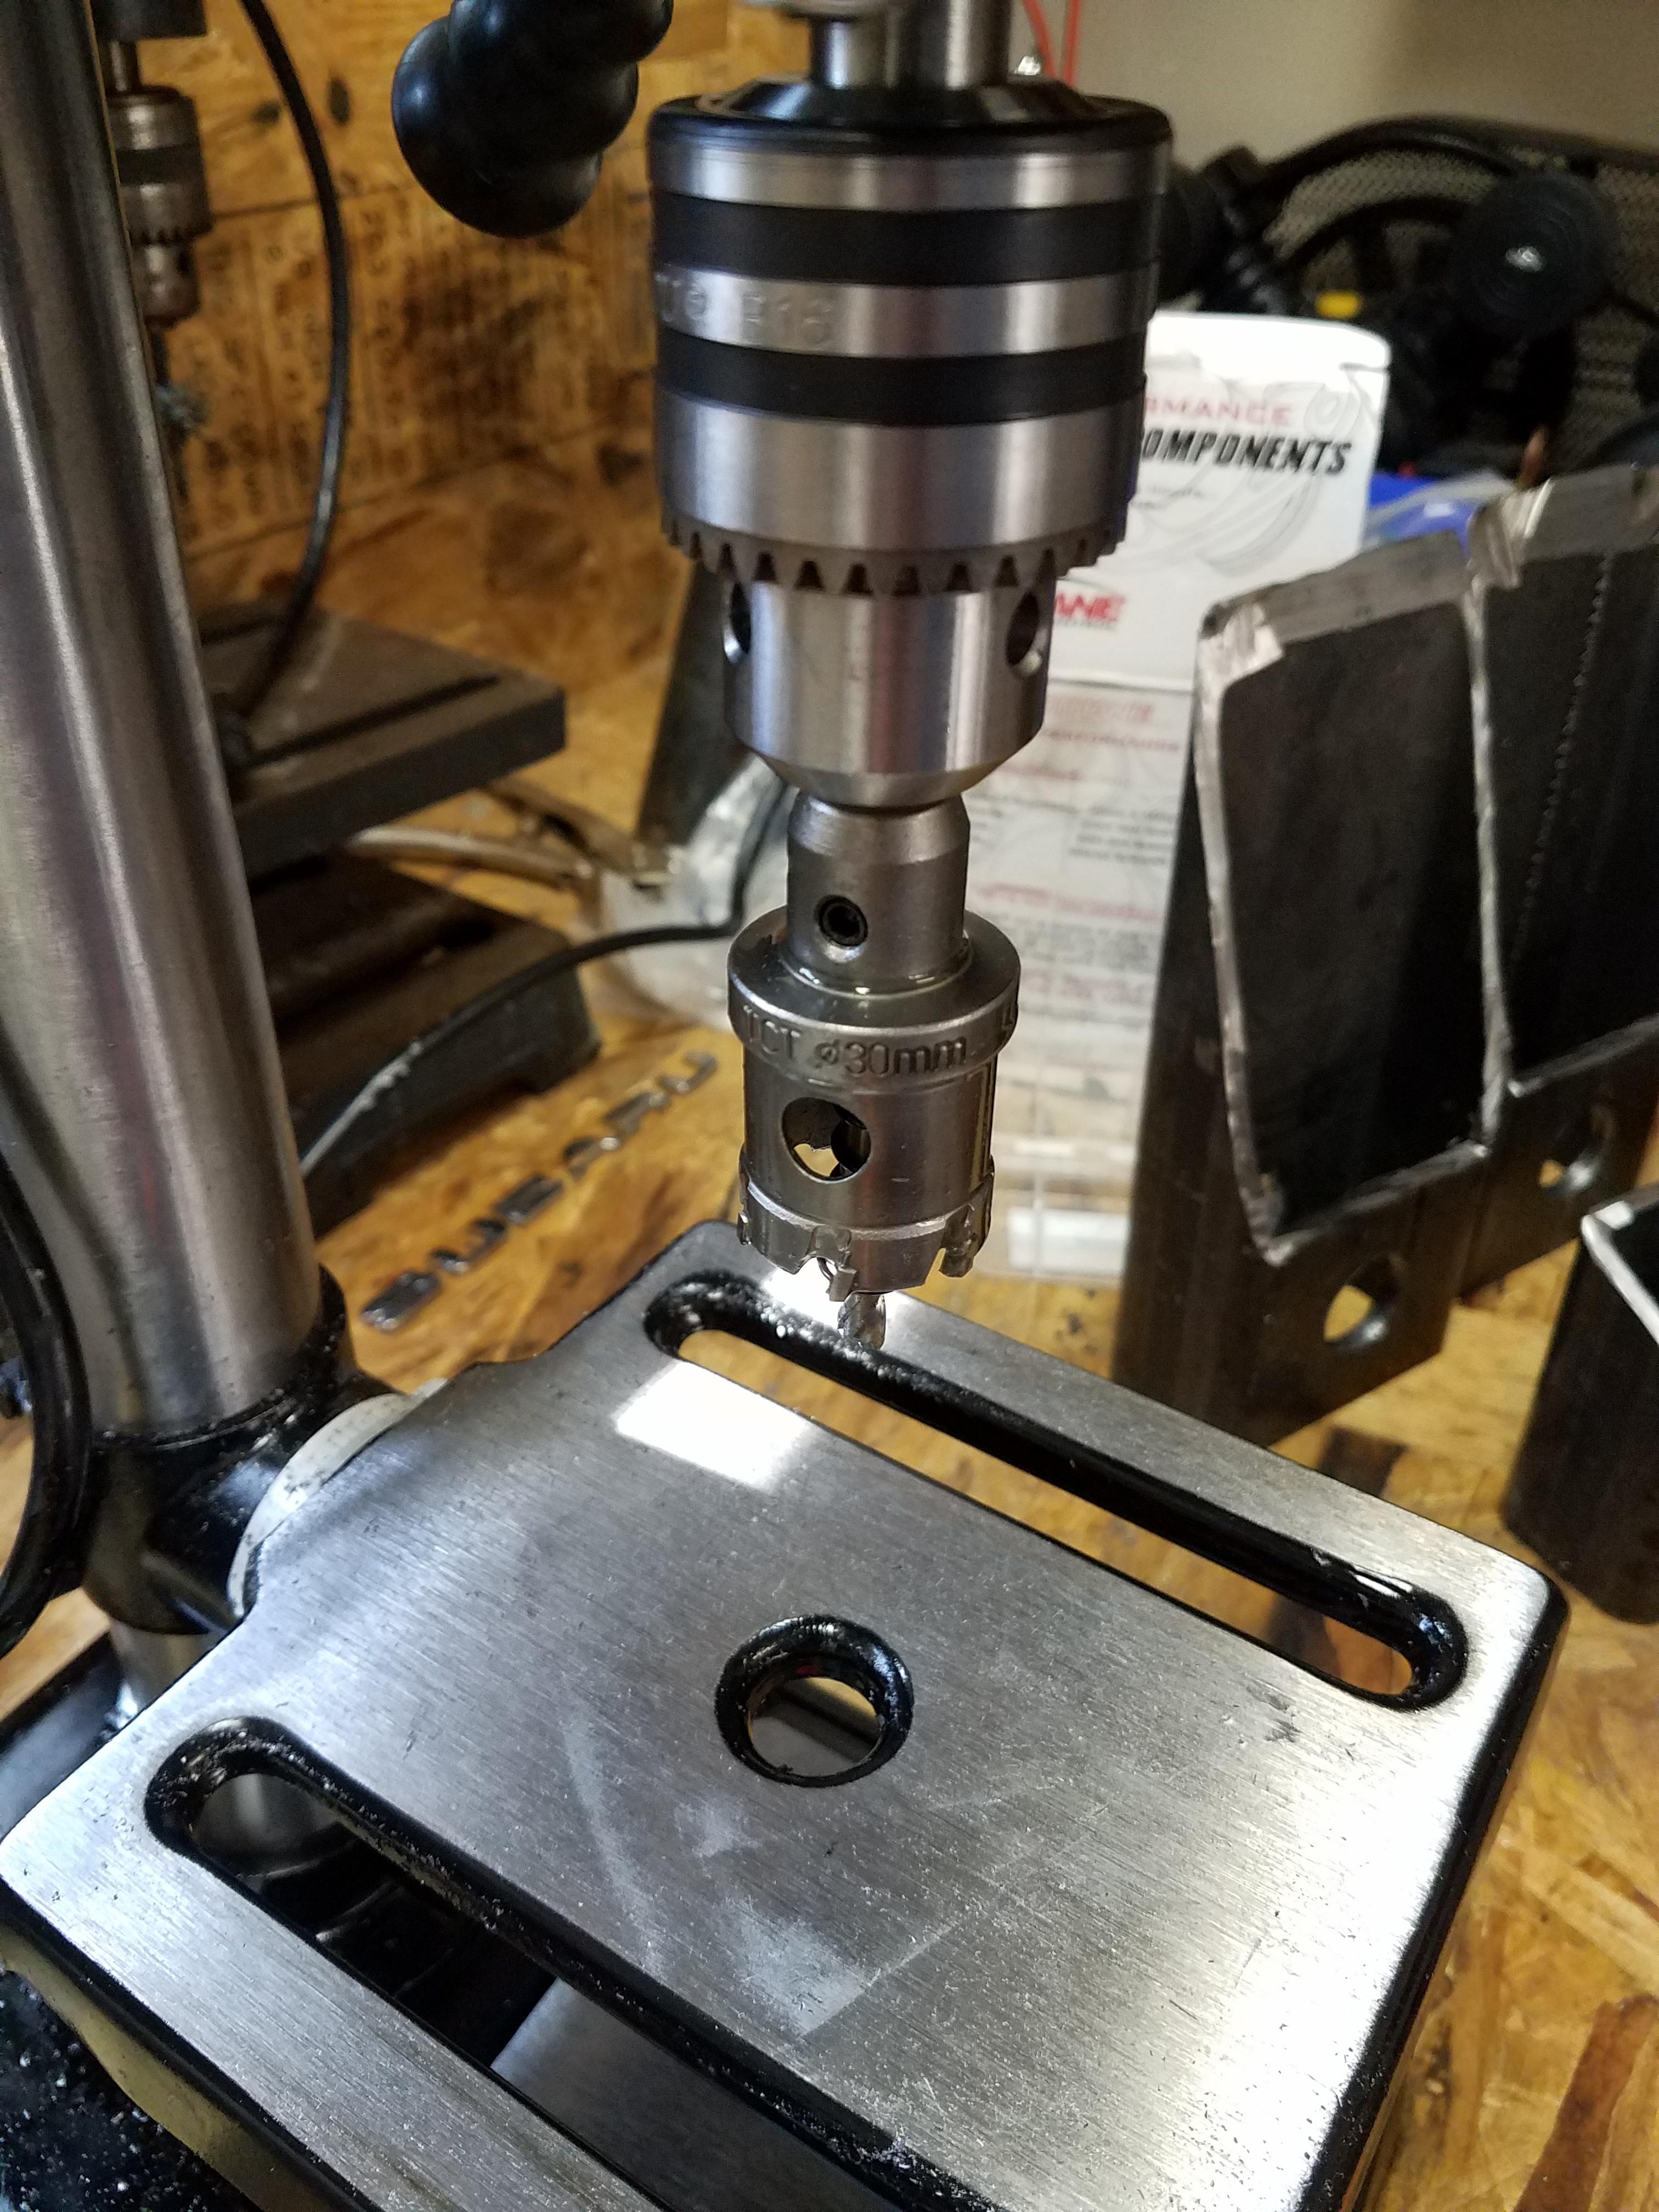
Finished up the main hole cutting today. Then my dremel decided to bite and bend its main drive, so the whole thing shakes like crazy. Anyway, some pics:

This worked a lot better than the step bit:

I think this was the heaviest job the HF drill press could handle. I've already had the head nearly pop off and lost 2 screws. But it worked, so that's good.
This worked a lot better than the step bit:
I think this was the heaviest job the HF drill press could handle. I've already had the head nearly pop off and lost 2 screws. But it worked, so that's good.
04-06-2021, 04:48 PM
#2536
Contributing Member
Jealous of the drill press even if you have it working its rear-end off. Nice work on fabby bits too.
04-07-2021, 01:45 PM
#2537
Hey, it was a cheap harbor freight find. I'm sure there's some on craigslist that are better (price and brand).
Also, thanks! RB got me hooked on Project Binky, and even though they do top-notch work, they explain everything. Seeing how the pro's do it makes me feel better about the way I'm doing it. Most of the stuff they make is using a grinder, welder, brake, grinder, tig, drill press, grinder, cardboard, grinder, and hammer. I have (almost) all those tools, and it's neat to see how they make everything work.
Also, thanks! RB got me hooked on Project Binky, and even though they do top-notch work, they explain everything. Seeing how the pro's do it makes me feel better about the way I'm doing it. Most of the stuff they make is using a grinder, welder, brake, grinder, tig, drill press, grinder, cardboard, grinder, and hammer. I have (almost) all those tools, and it's neat to see how they make everything work.
Last edited by irab88; 04-07-2021 at 01:48 PM.
The following users liked this post:
habanero (04-10-2021)
04-10-2021, 10:18 AM
#2538
One quick trip to the Hardly Freight store later...

This one works better than my old Dremel I got from Wally-World. I wonder how long it'll last. The attachments it came with are a joke, but the case is decent. I also picked up a die grinder, in case of any stubborn little buggers.
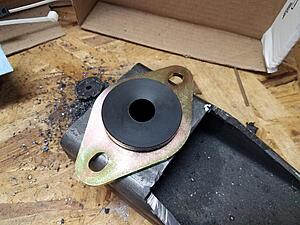
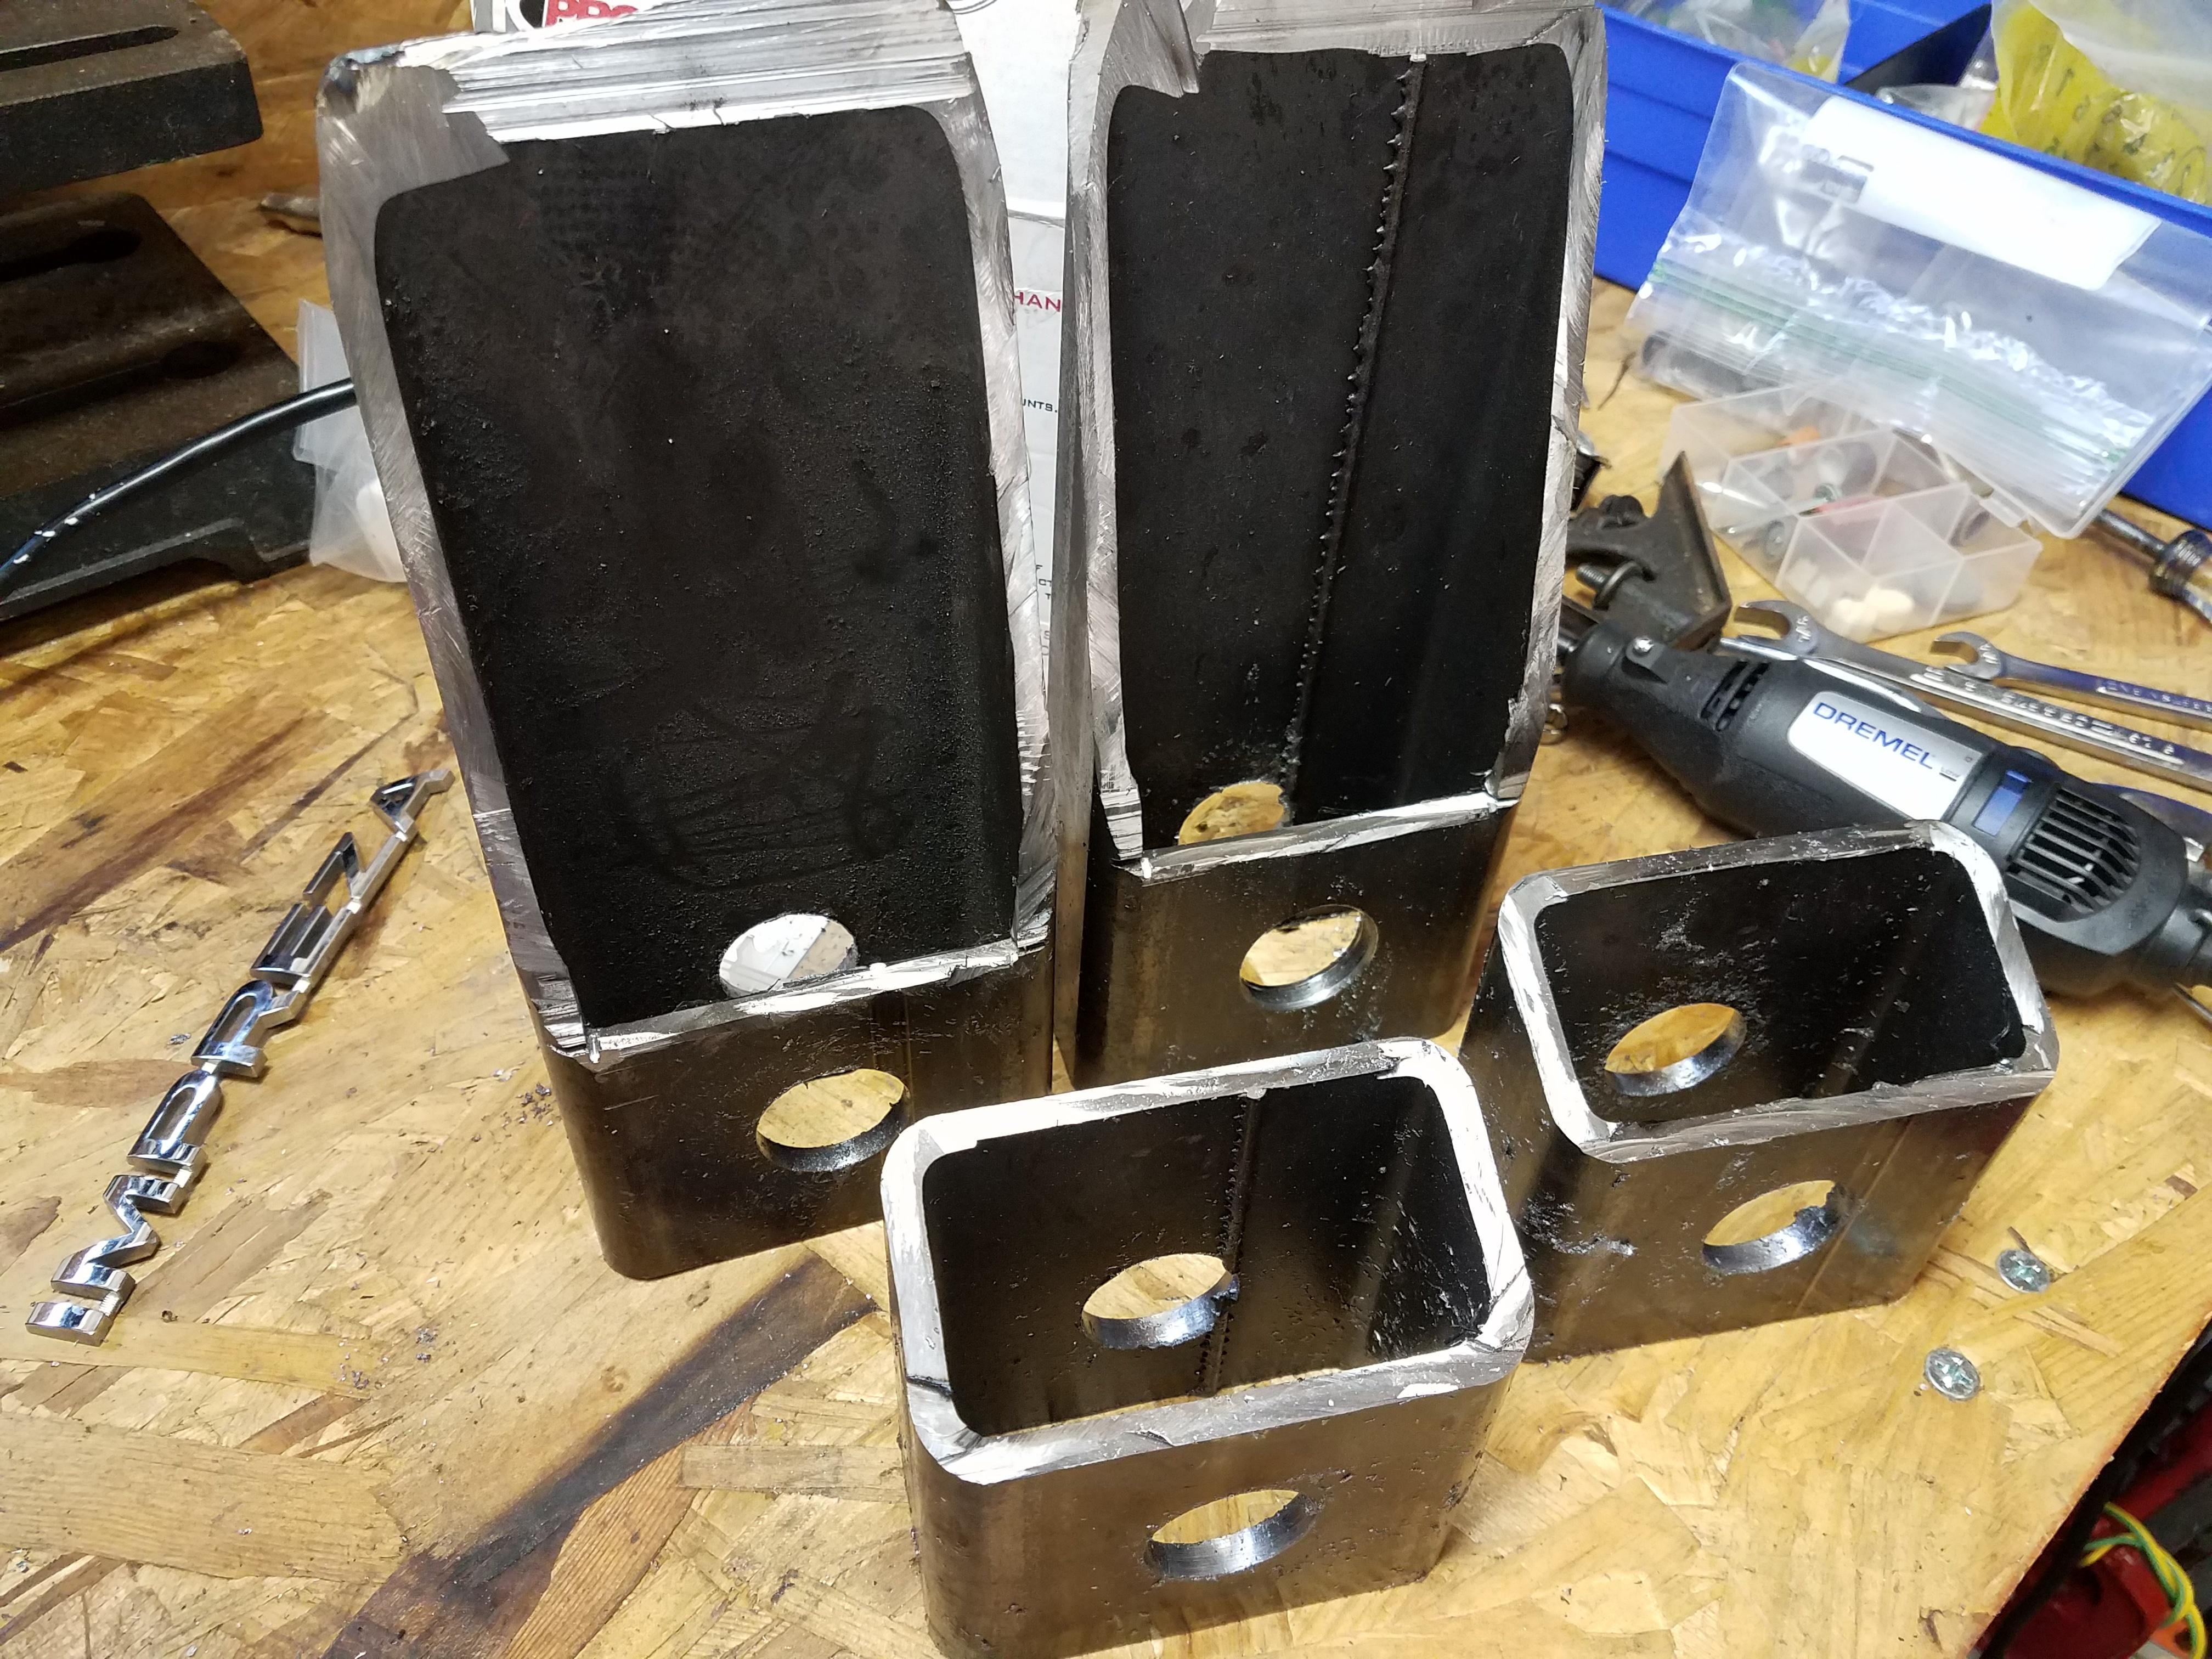
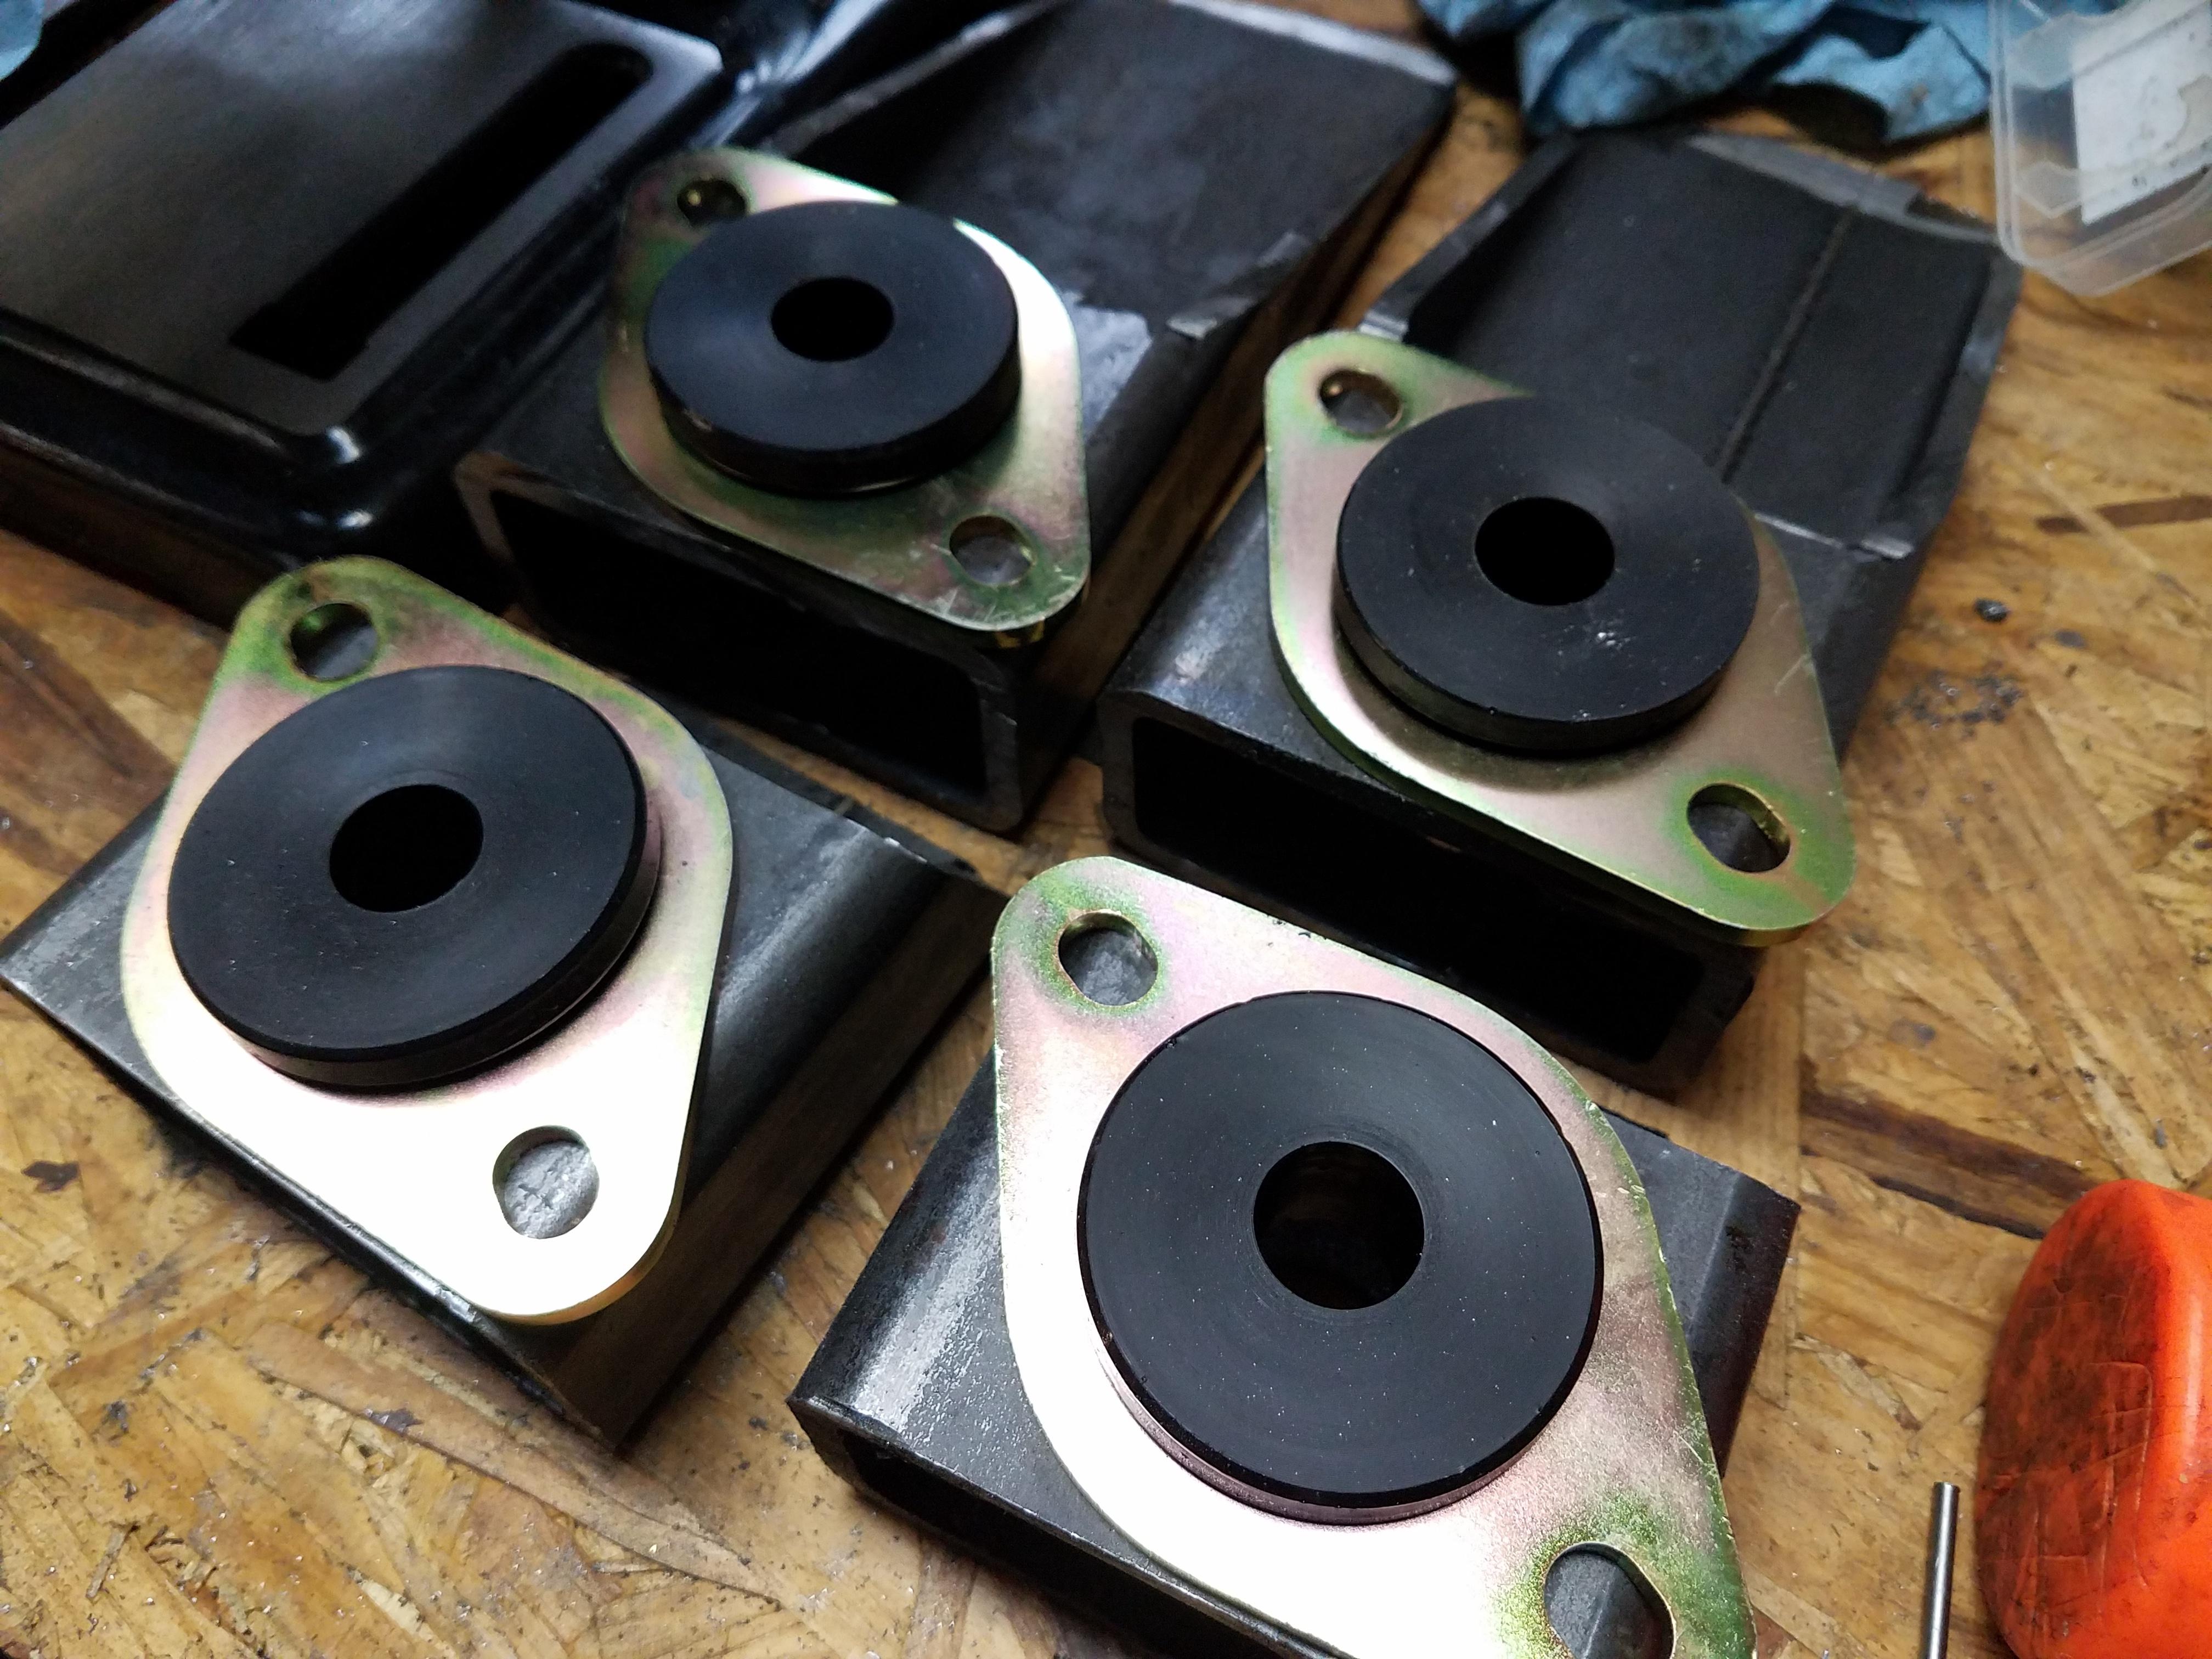
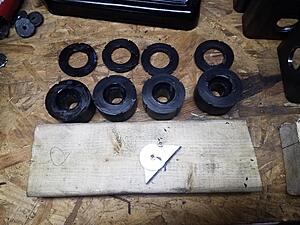
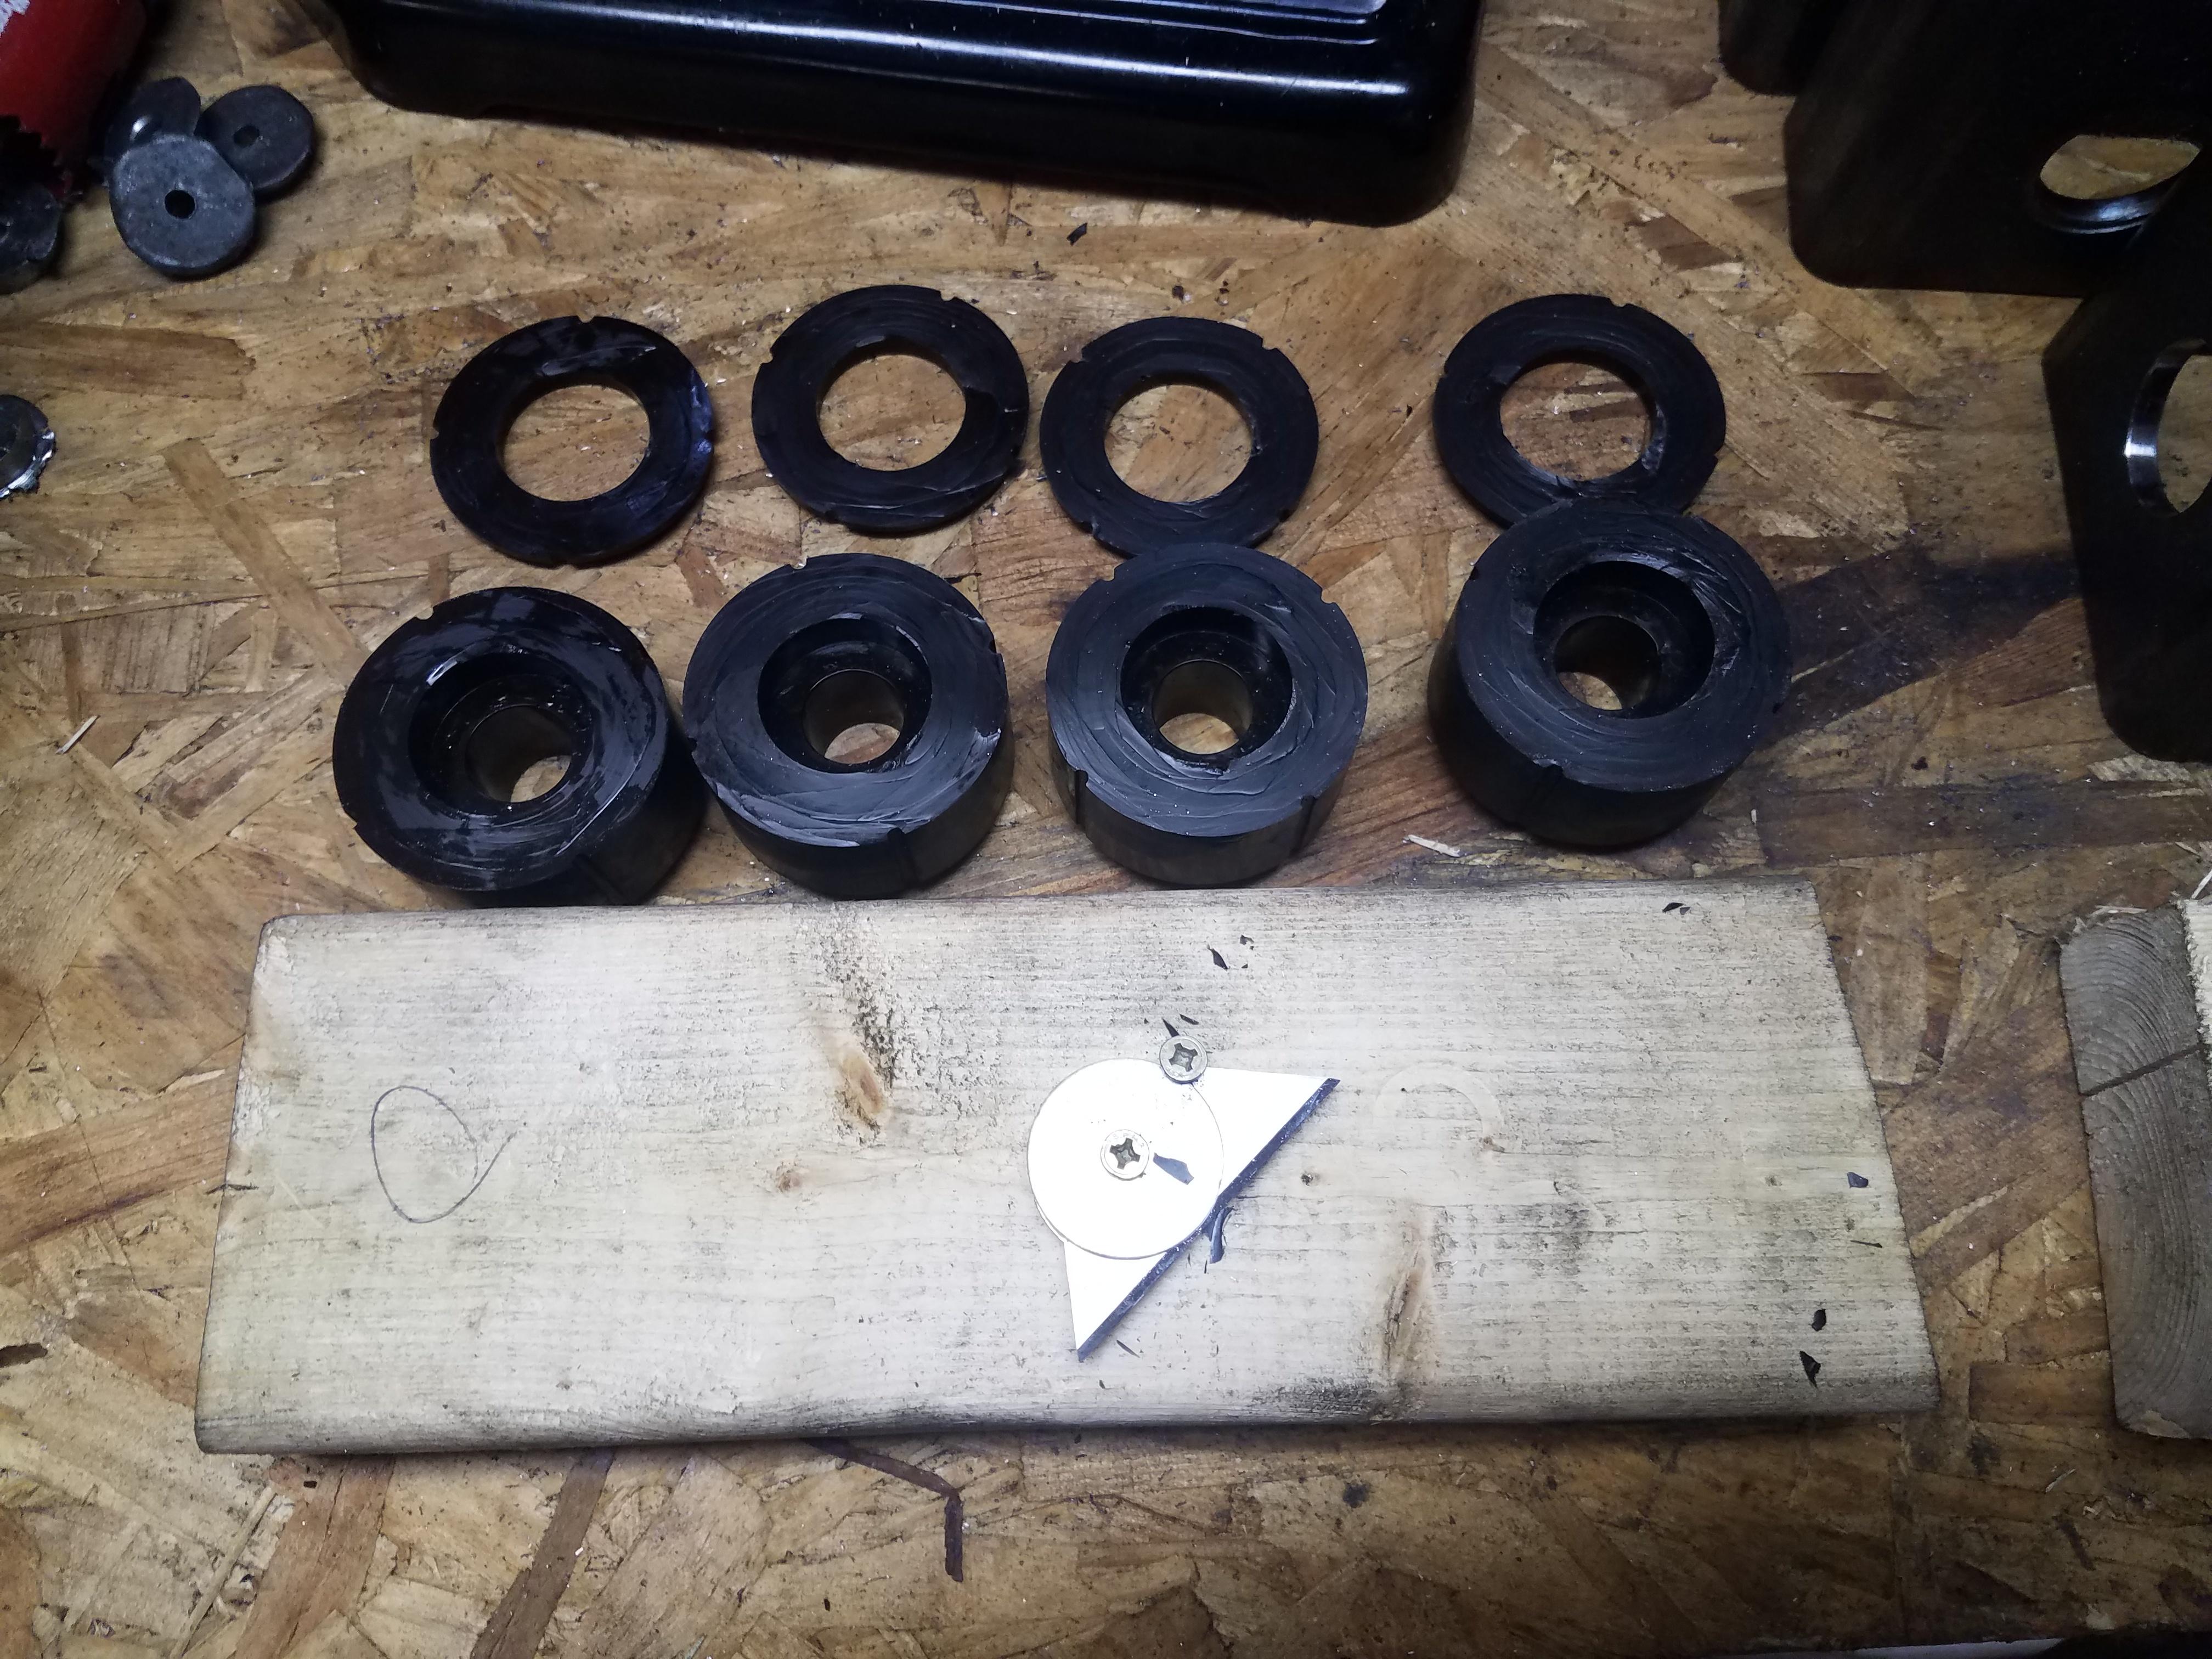
The last one was machined with relative ease, and all the body mounts fit nice and snug now.
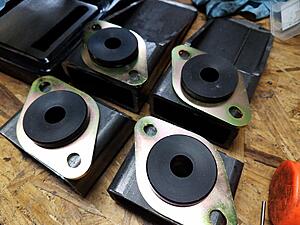
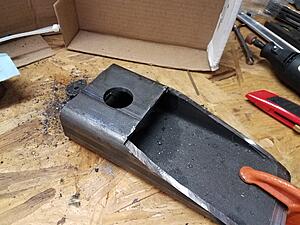
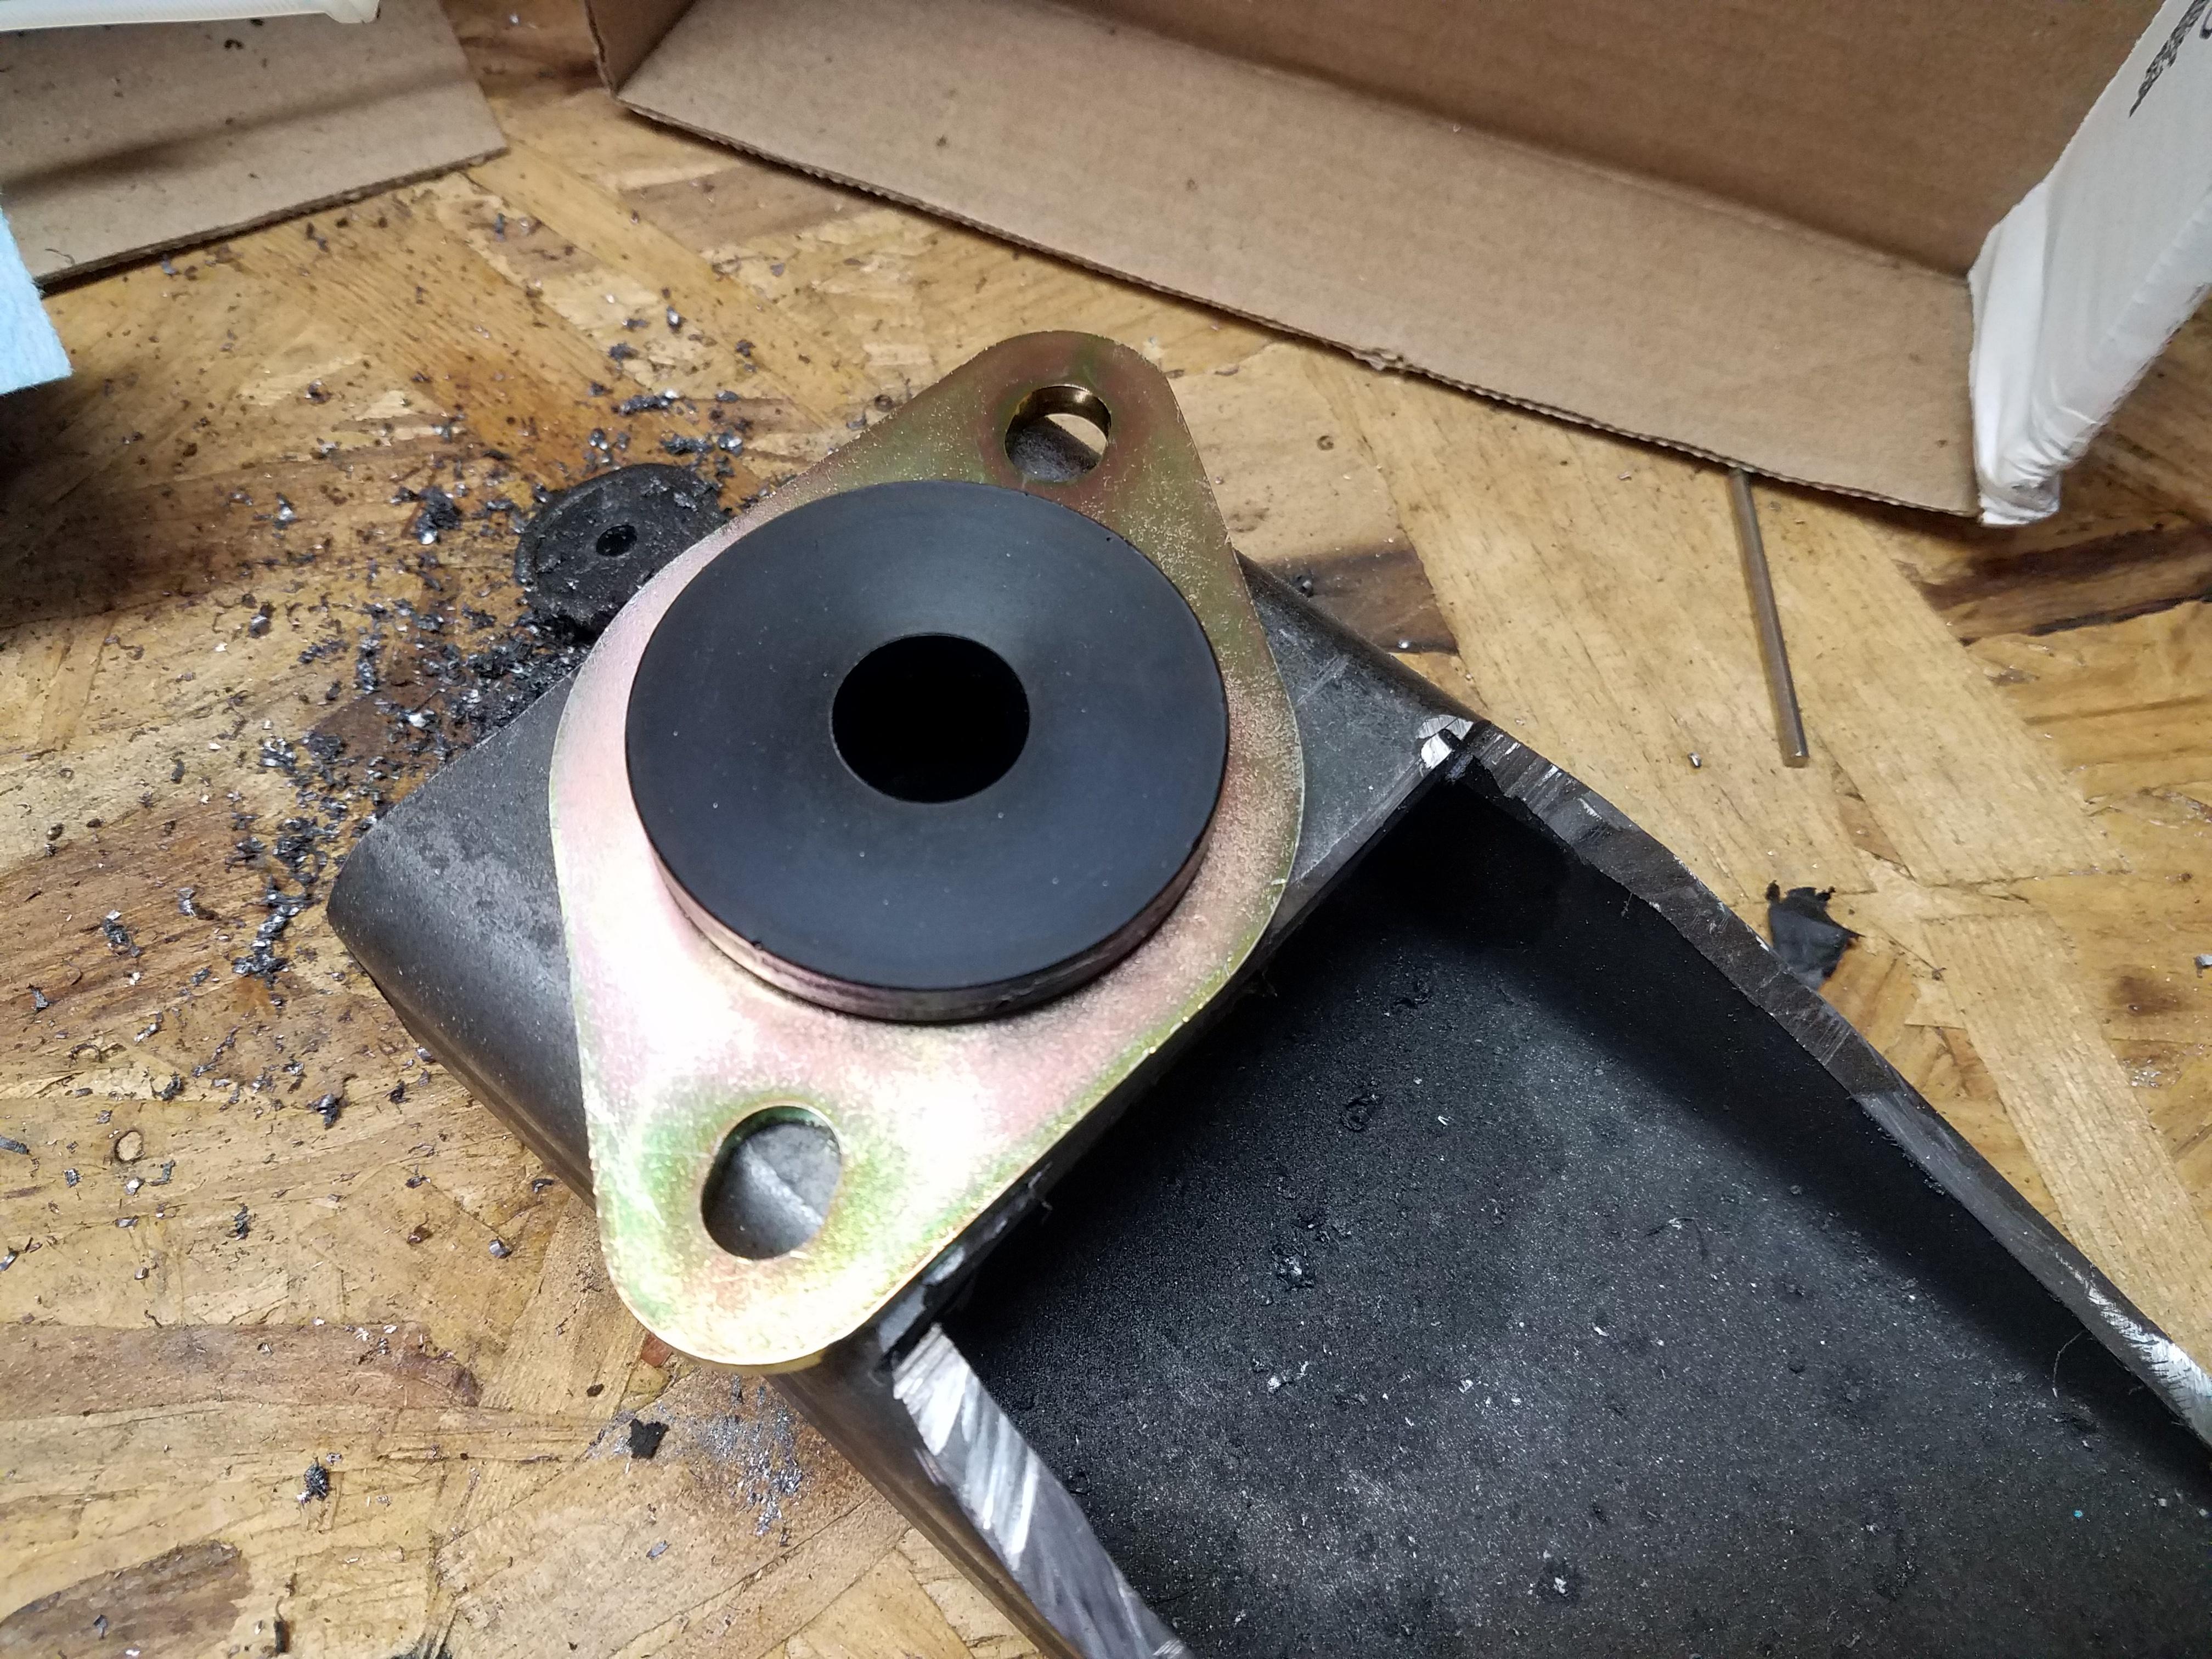
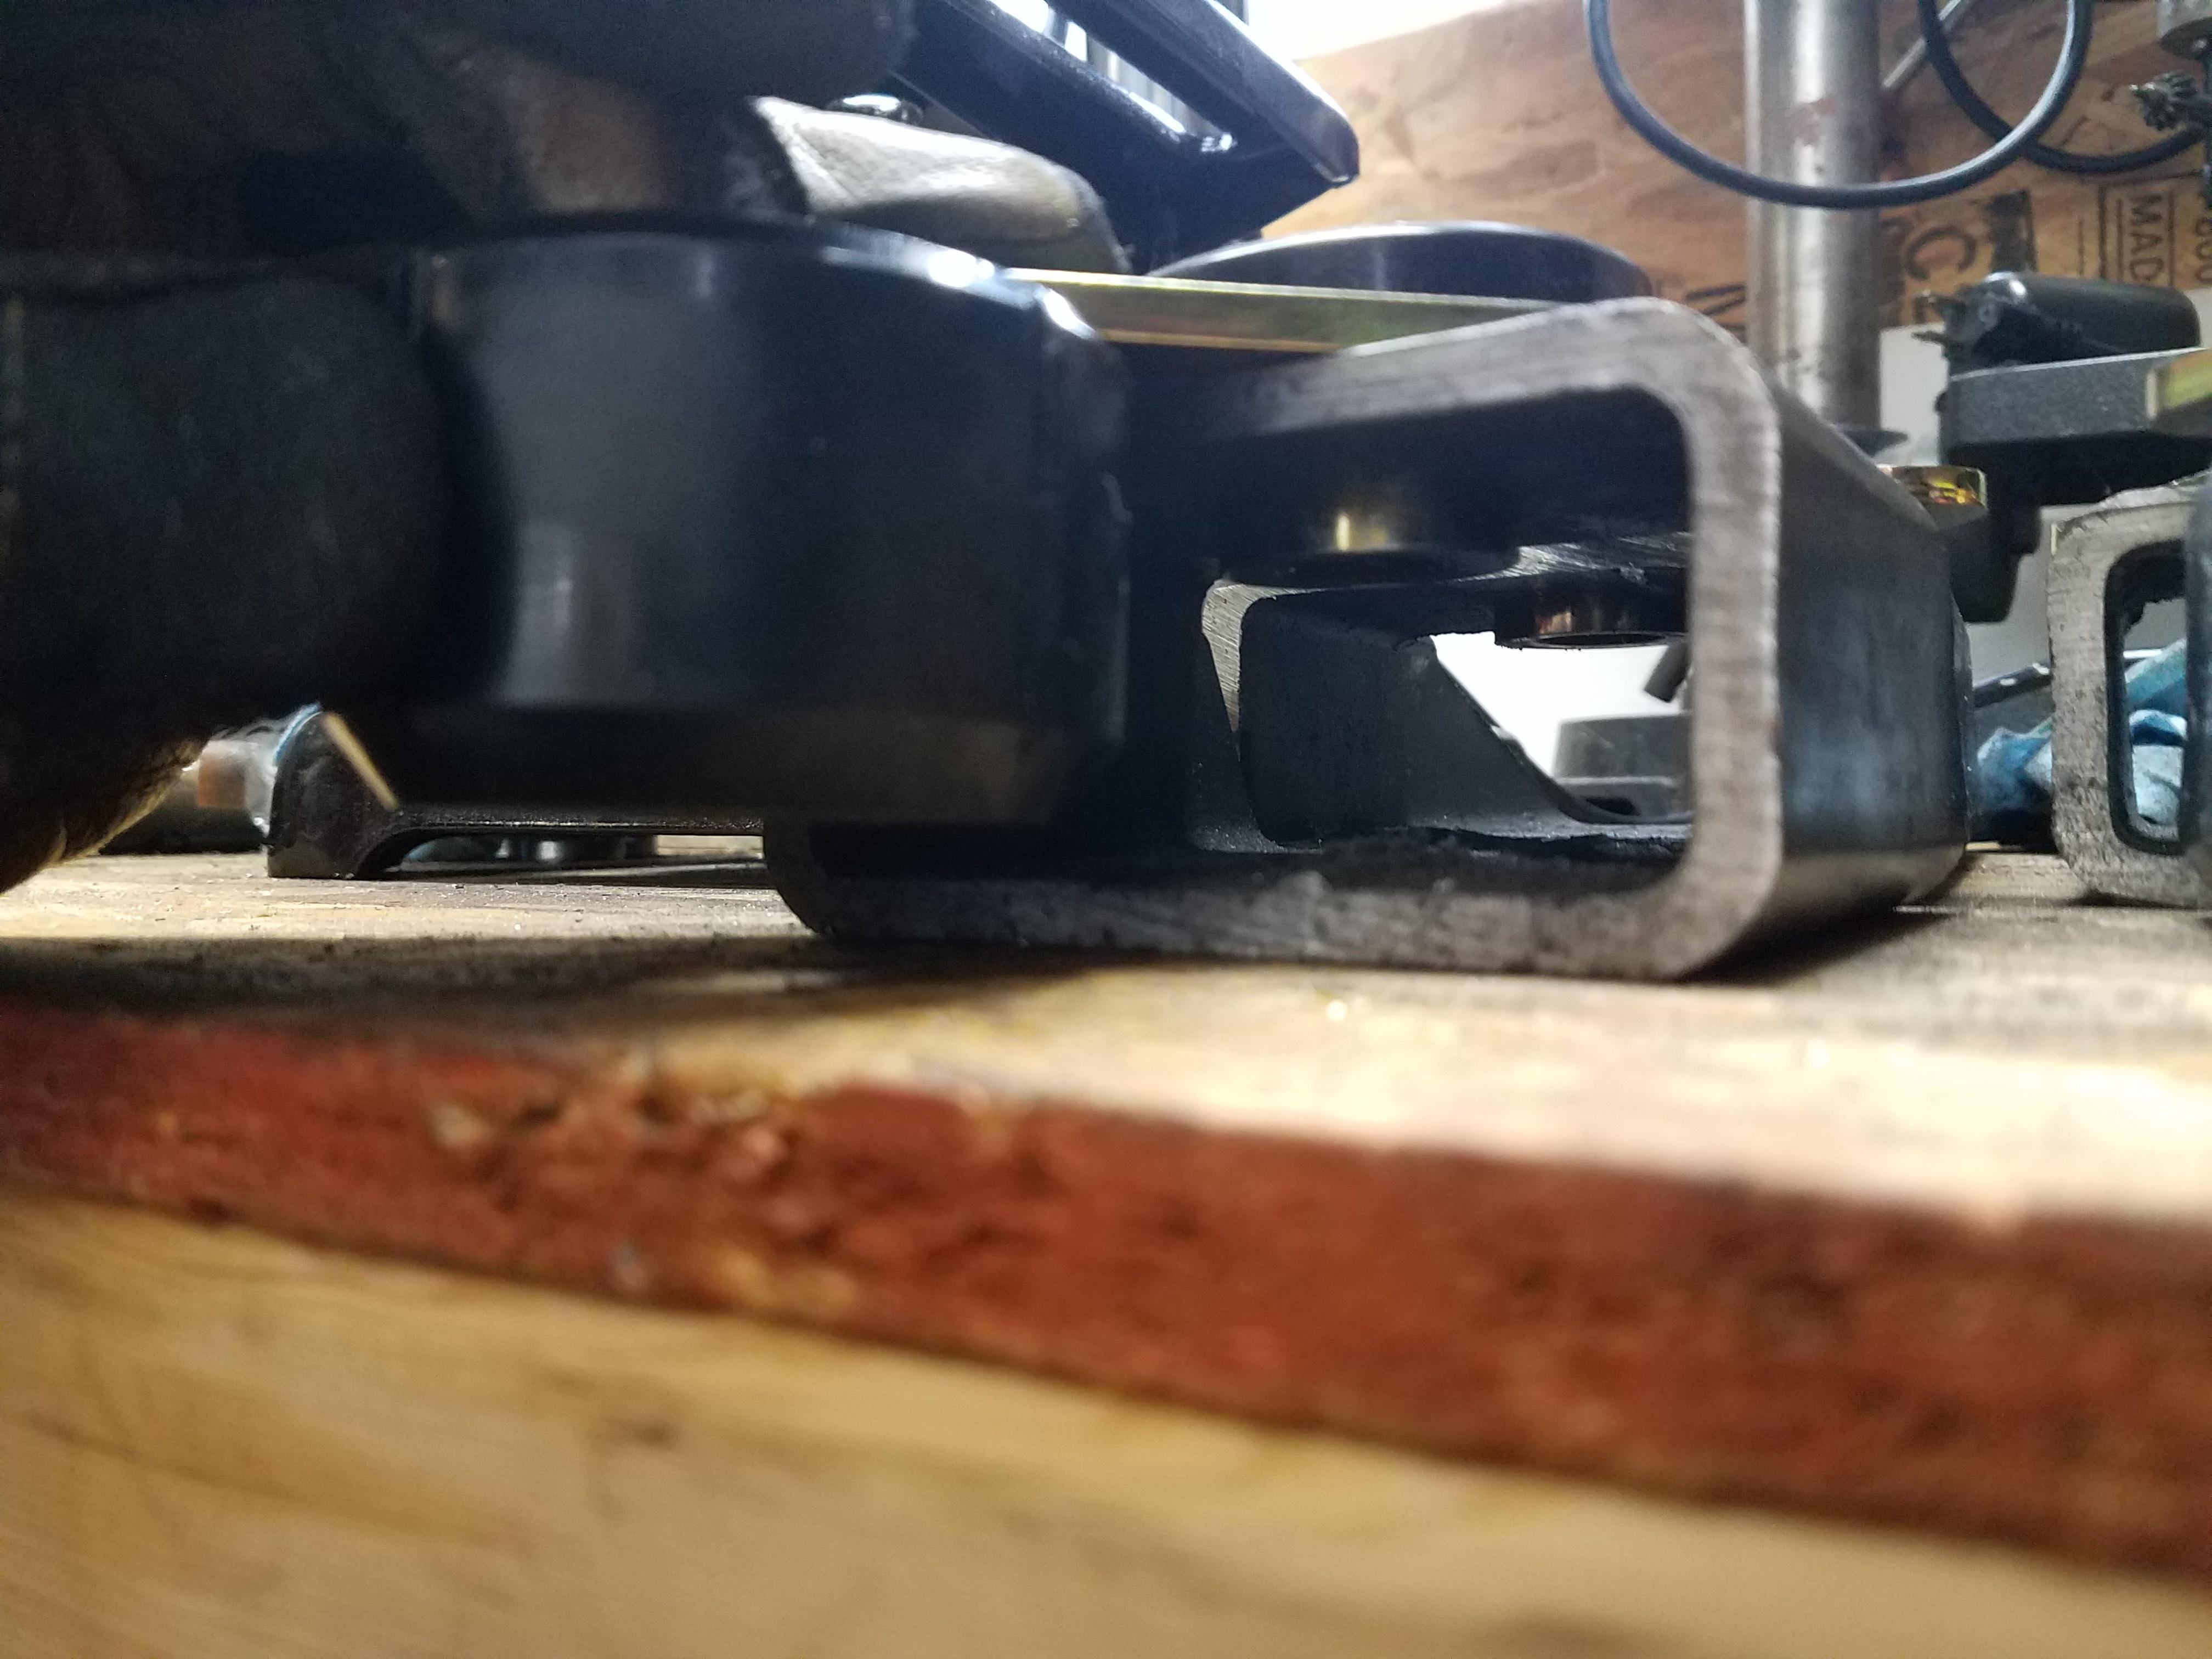
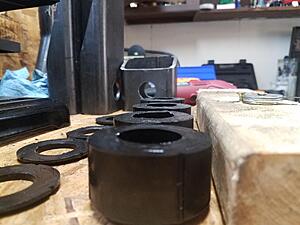
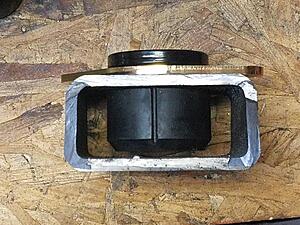
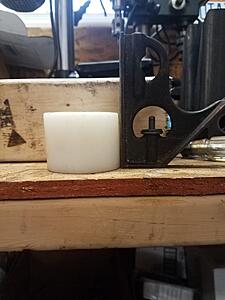
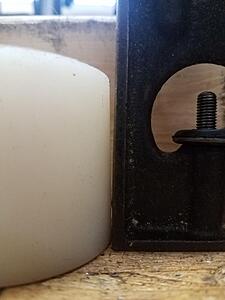
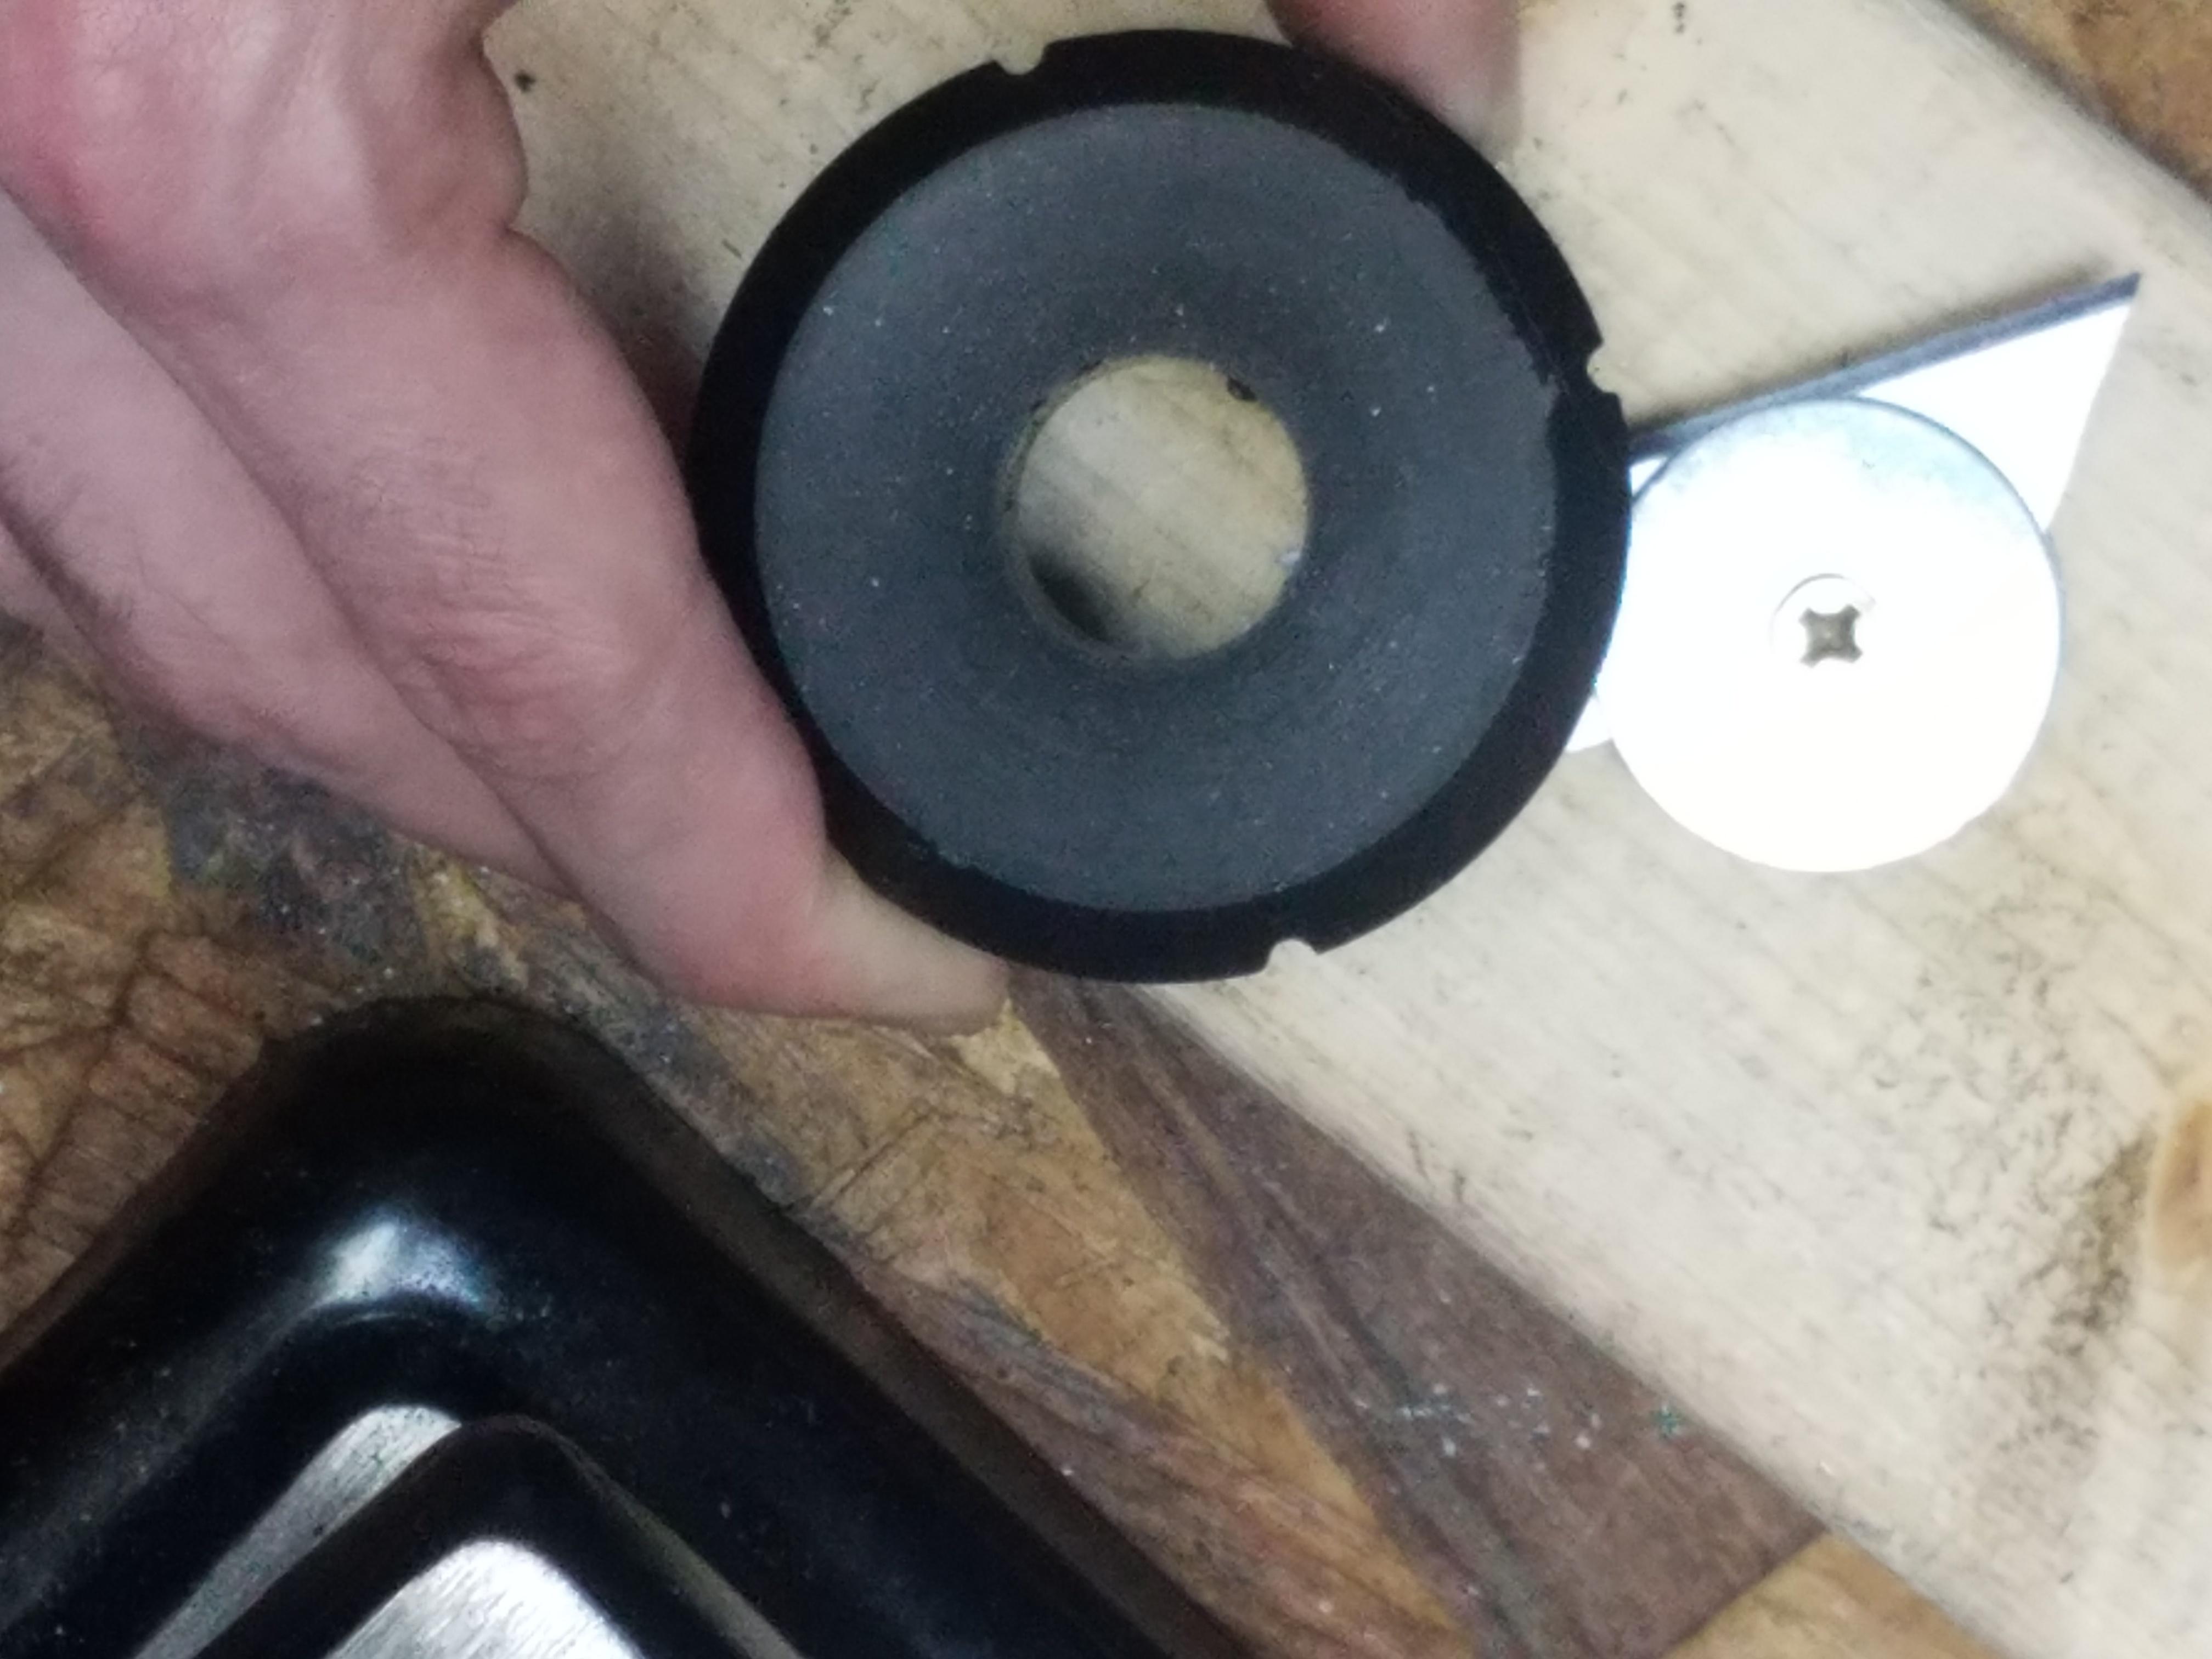
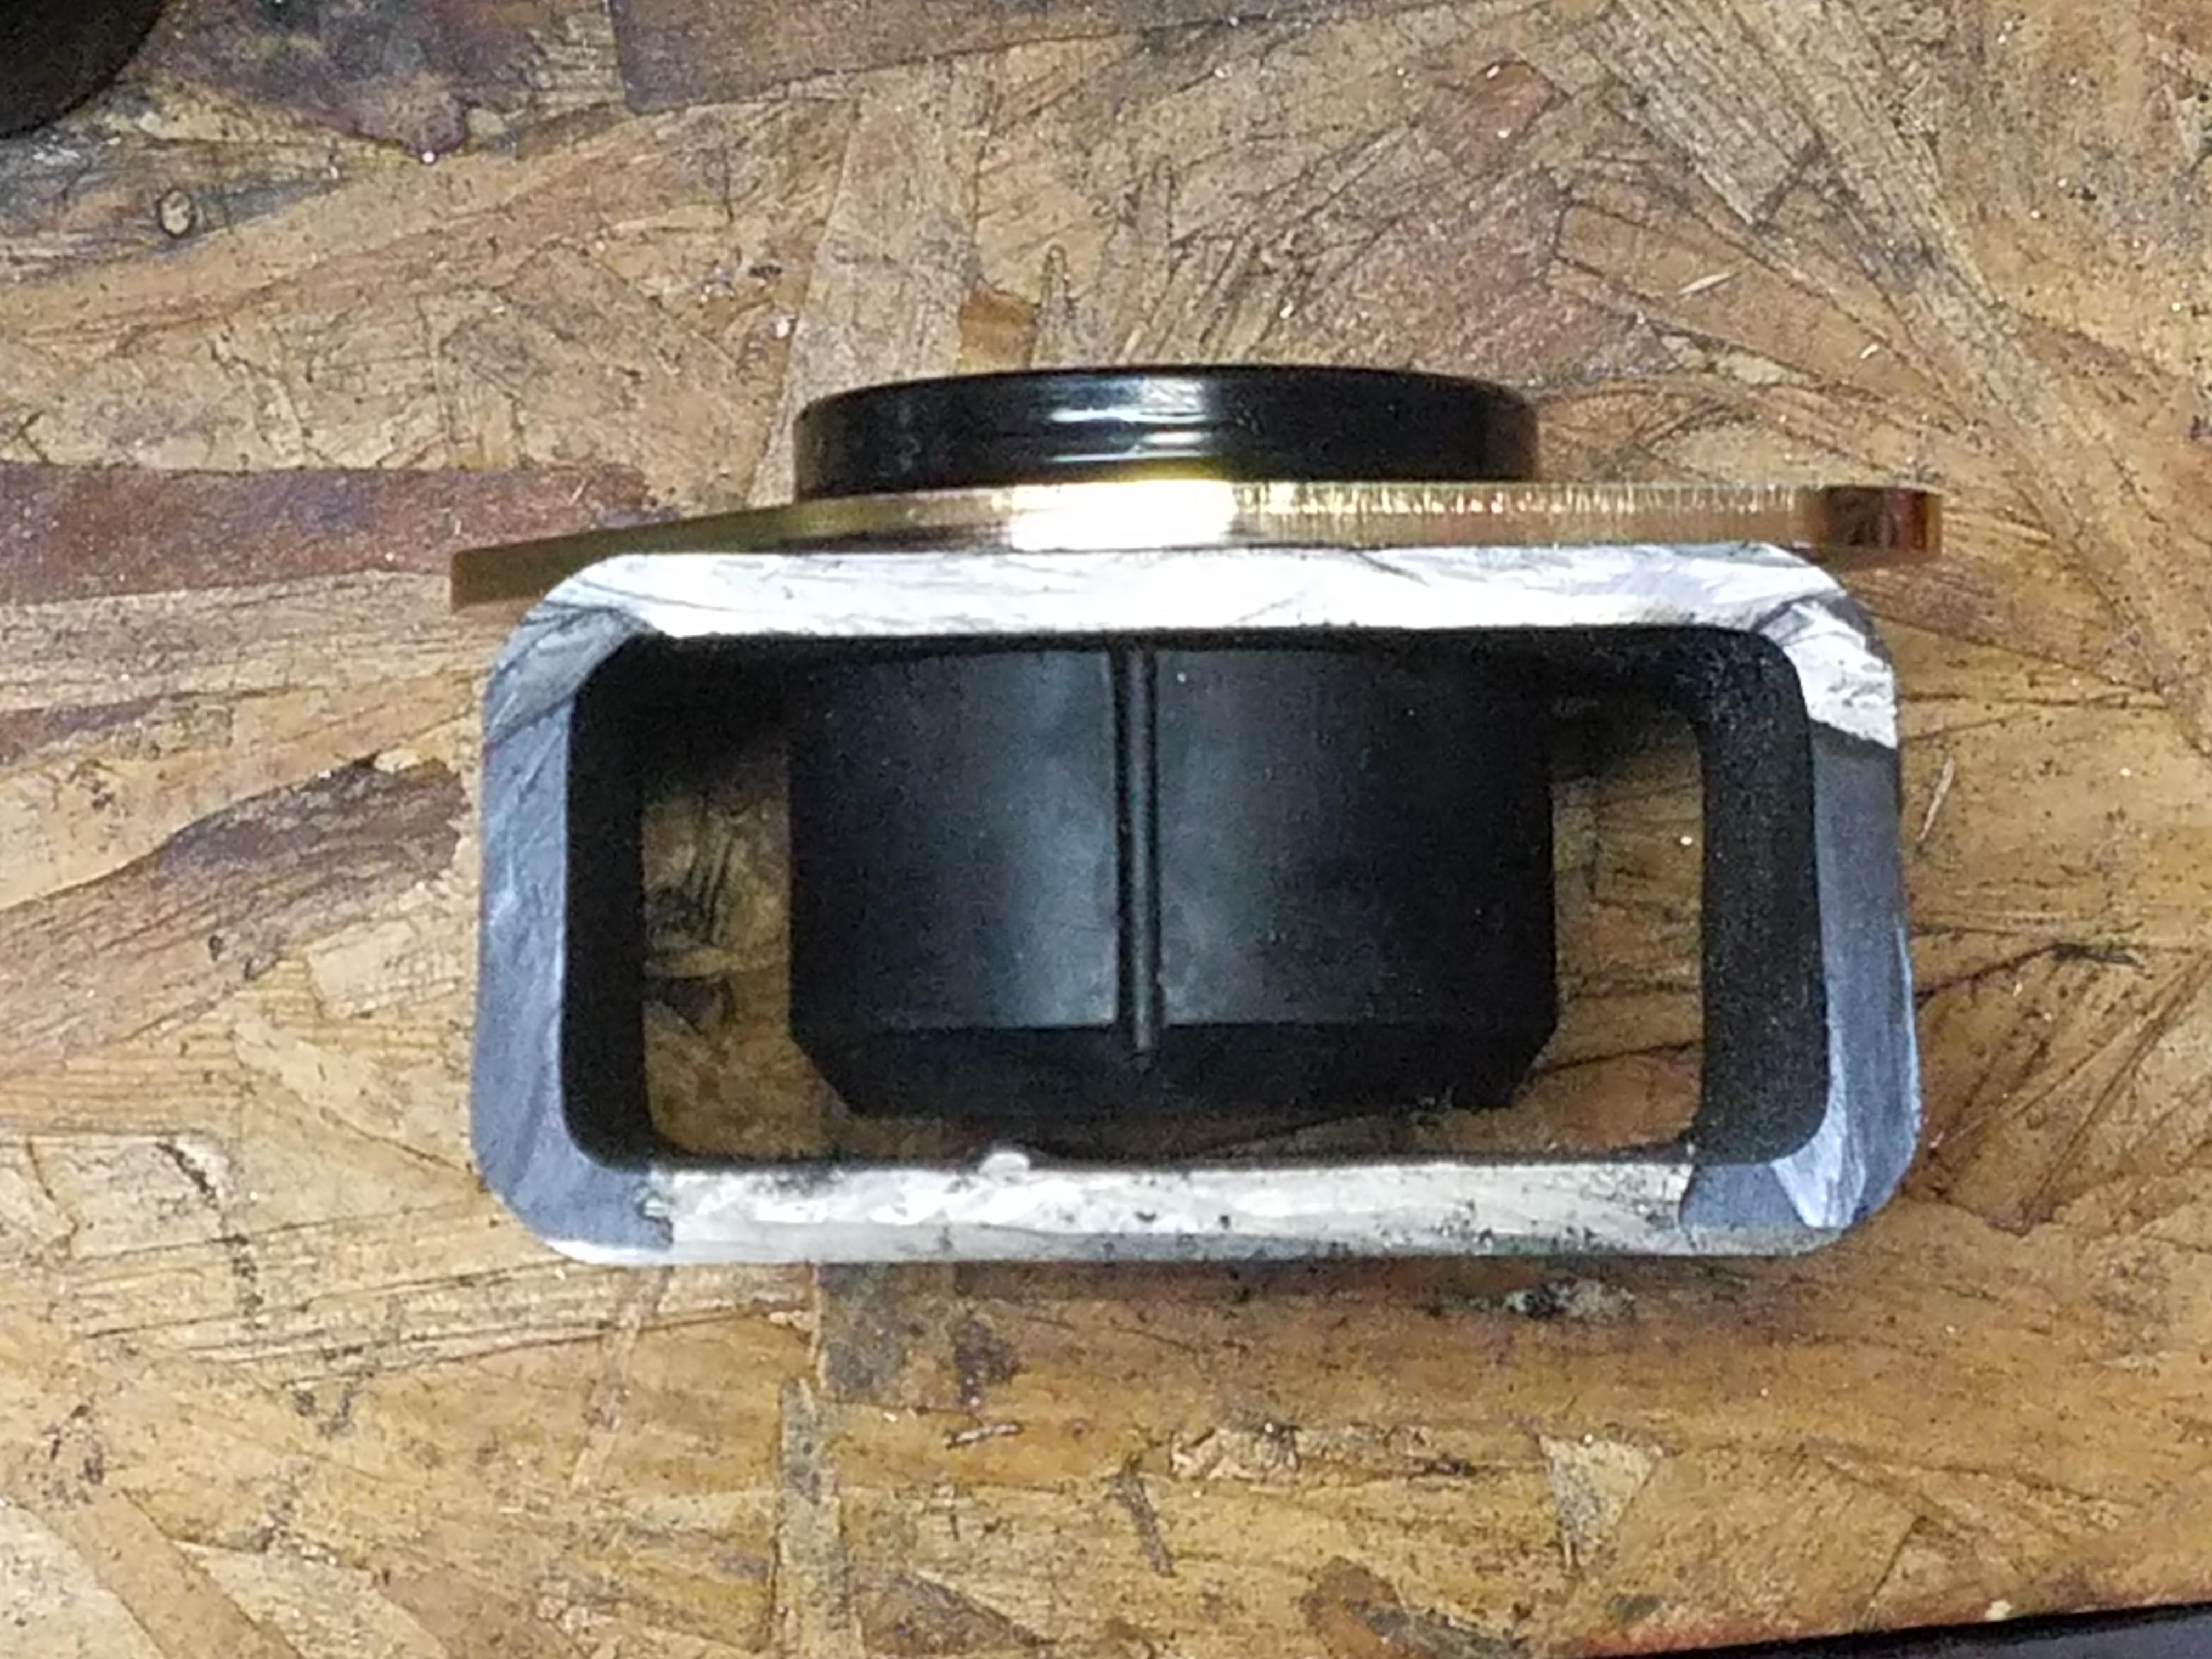
I'll be keeping the plate on top. I haven't decided if I want to cut it down, but I might. The extra thickness raises the whole body mount bushing up enough to fit the washer underneath with clearance inside the tube. The big hole on the bottom is for getting to the nut.
As you can see, the lower bushing will not fit inside the tube. Because I've added 1/4" to the top of the "bracket", I'll need to trim this to take out that 1/4".

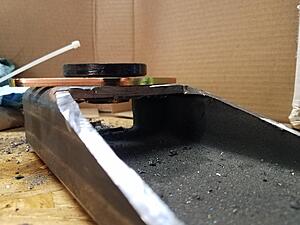
Here you can see the bottom clearing, with enough space for the washer.

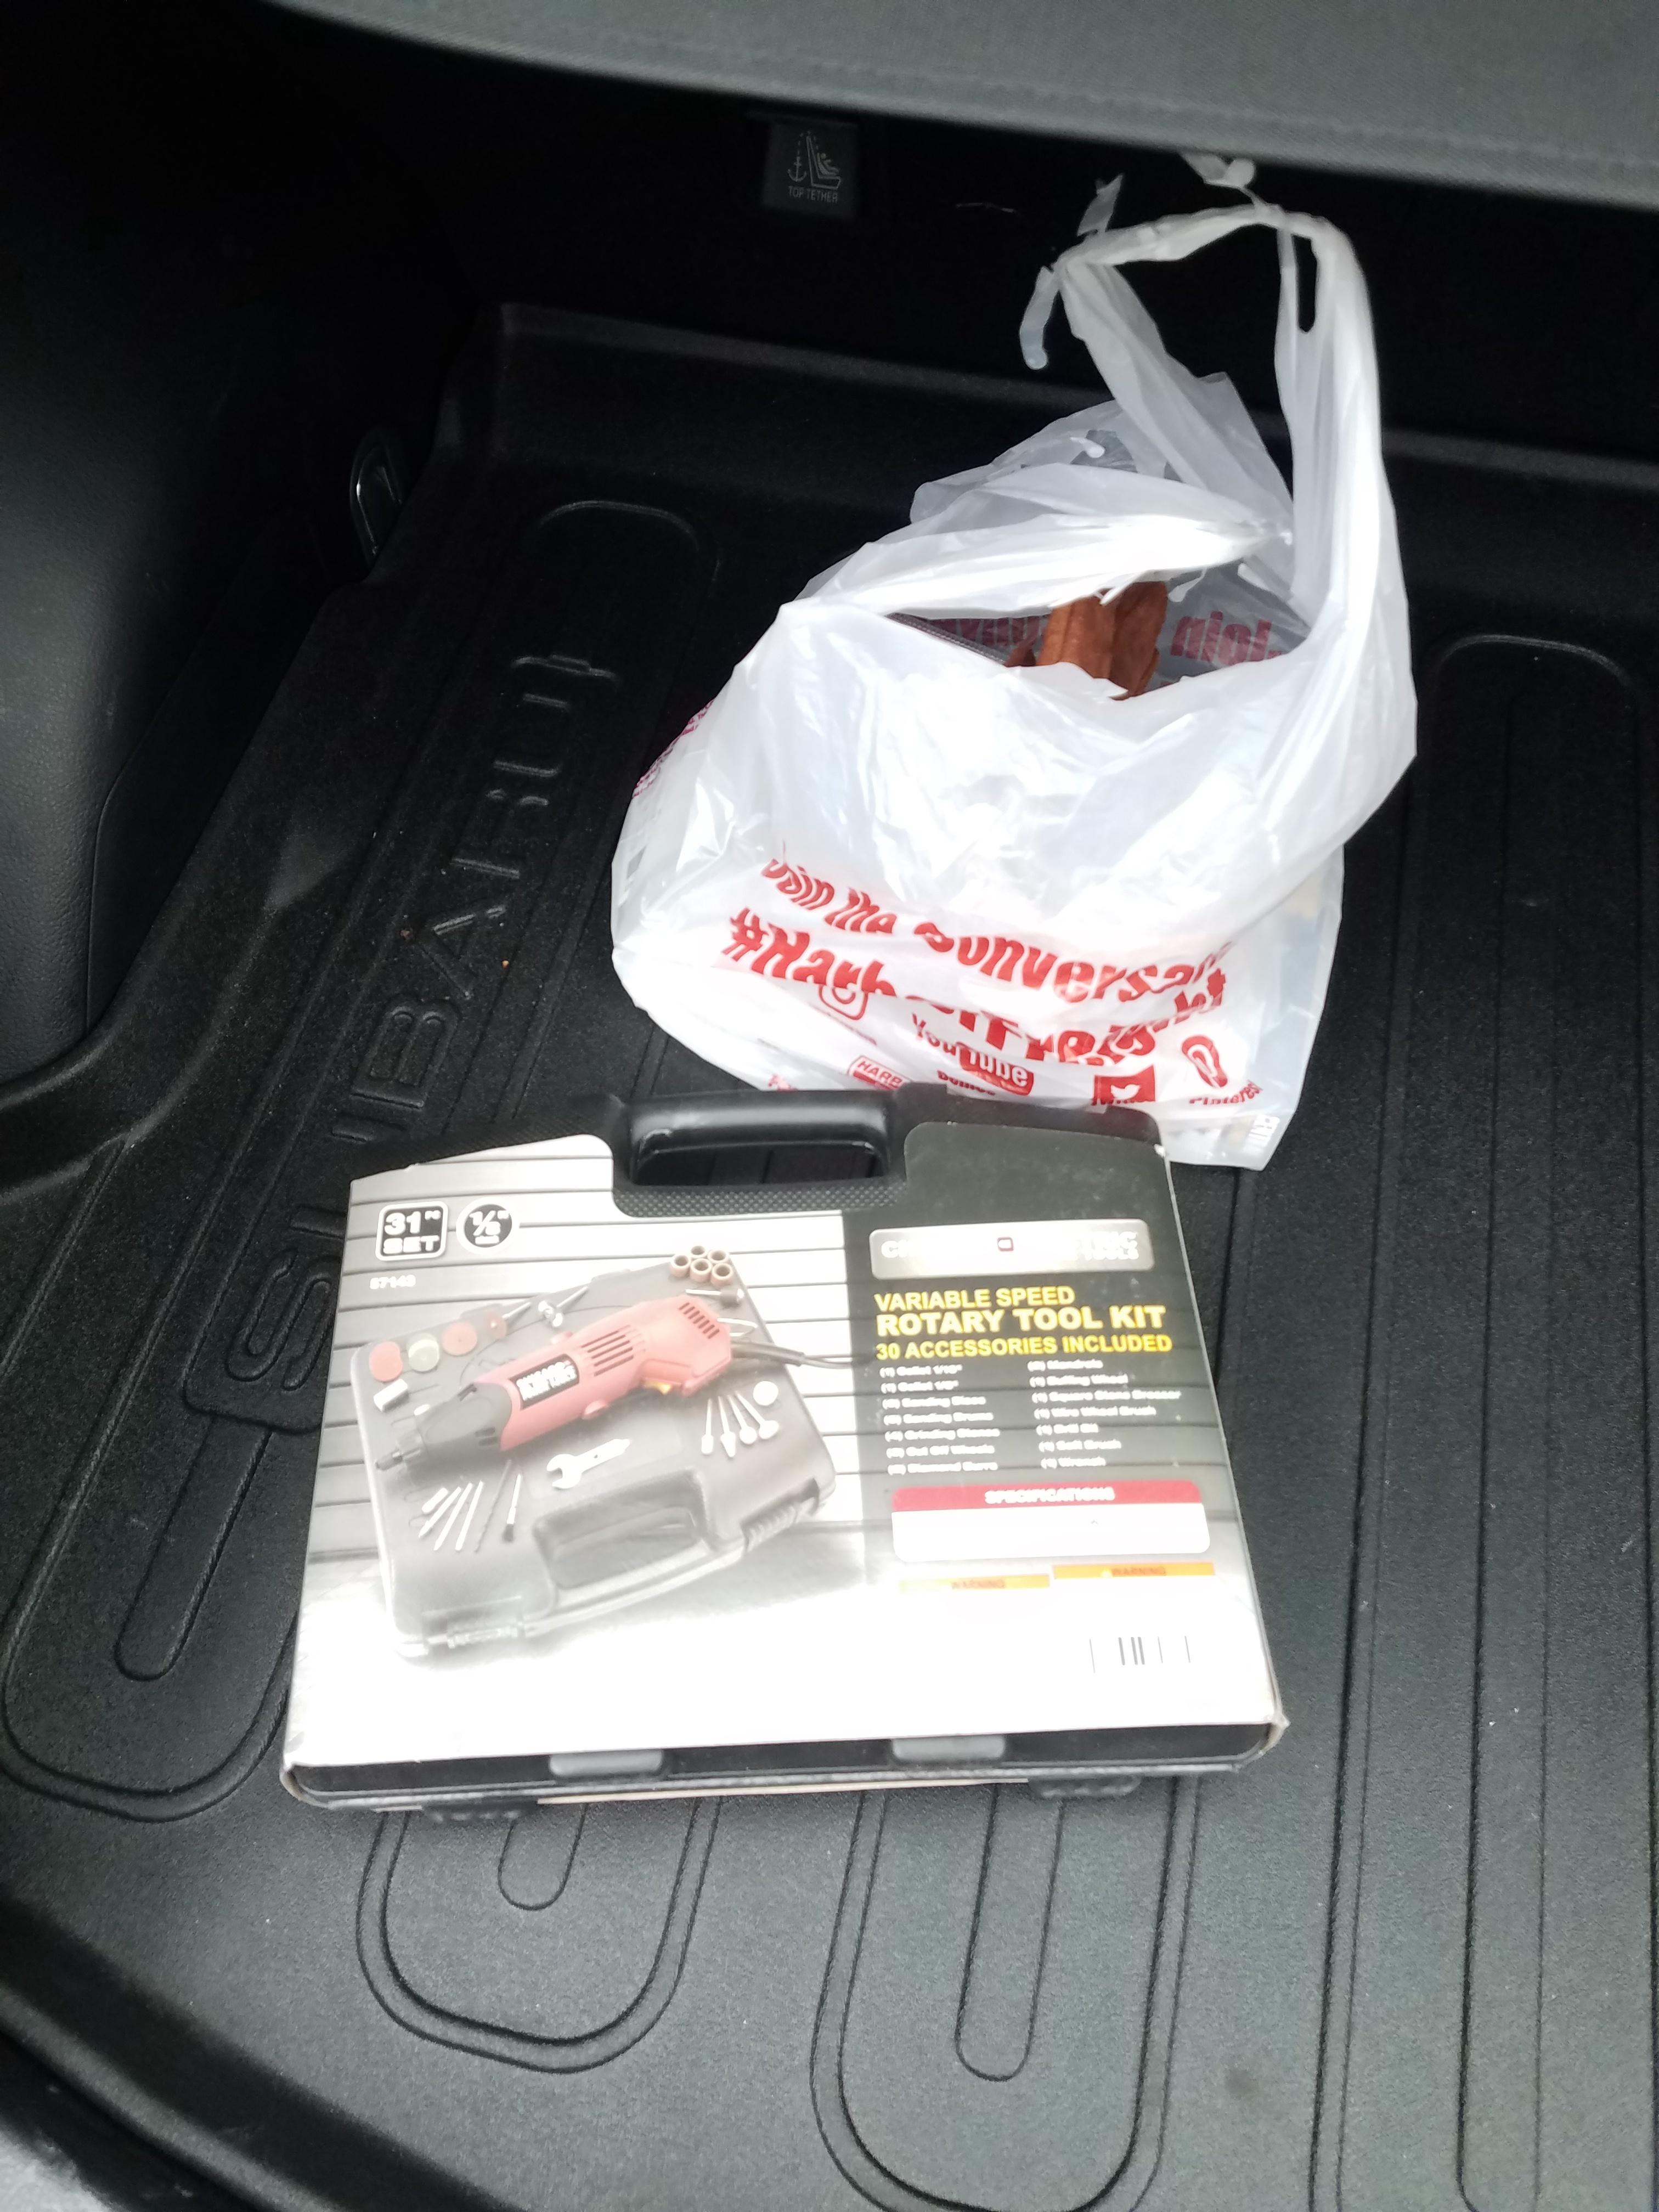
This one works better than my old Dremel I got from Wally-World. I wonder how long it'll last. The attachments it came with are a joke, but the case is decent. I also picked up a die grinder, in case of any stubborn little buggers.
The last one was machined with relative ease, and all the body mounts fit nice and snug now.
I'll be keeping the plate on top. I haven't decided if I want to cut it down, but I might. The extra thickness raises the whole body mount bushing up enough to fit the washer underneath with clearance inside the tube. The big hole on the bottom is for getting to the nut.
As you can see, the lower bushing will not fit inside the tube. Because I've added 1/4" to the top of the "bracket", I'll need to trim this to take out that 1/4".
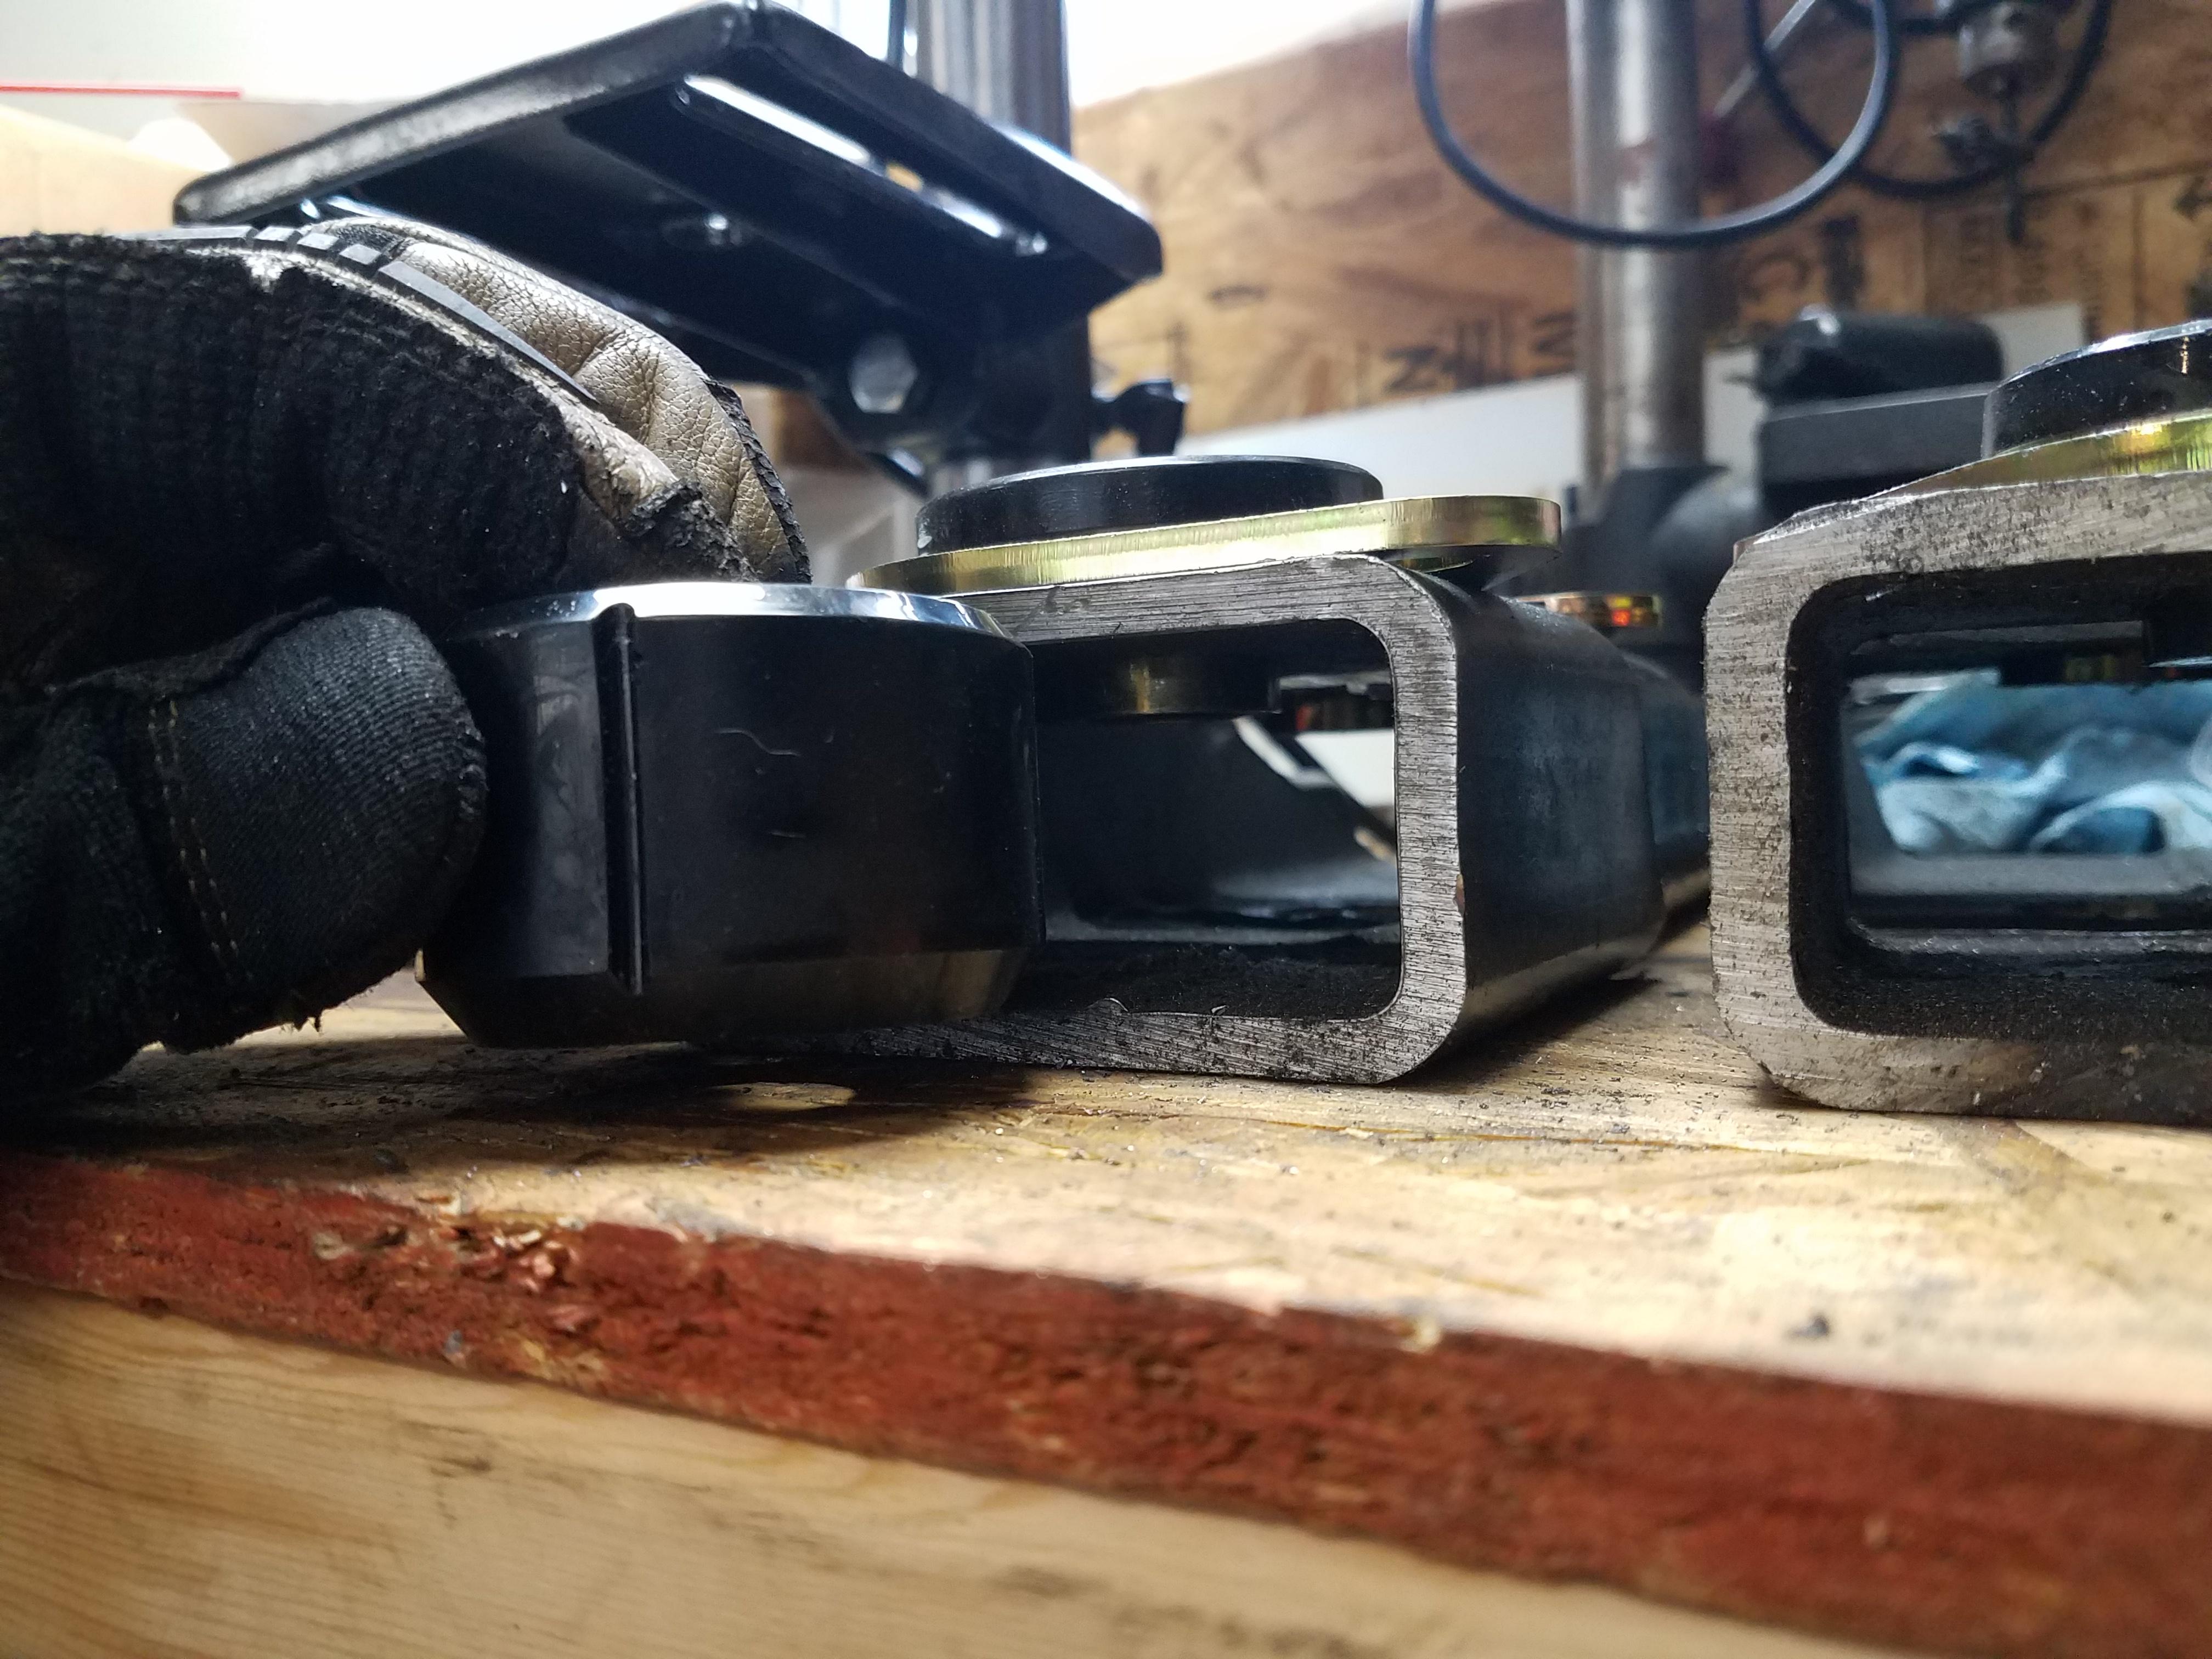
Here you can see the bottom clearing, with enough space for the washer.
 04-10-2021, 01:04 PM
#2539
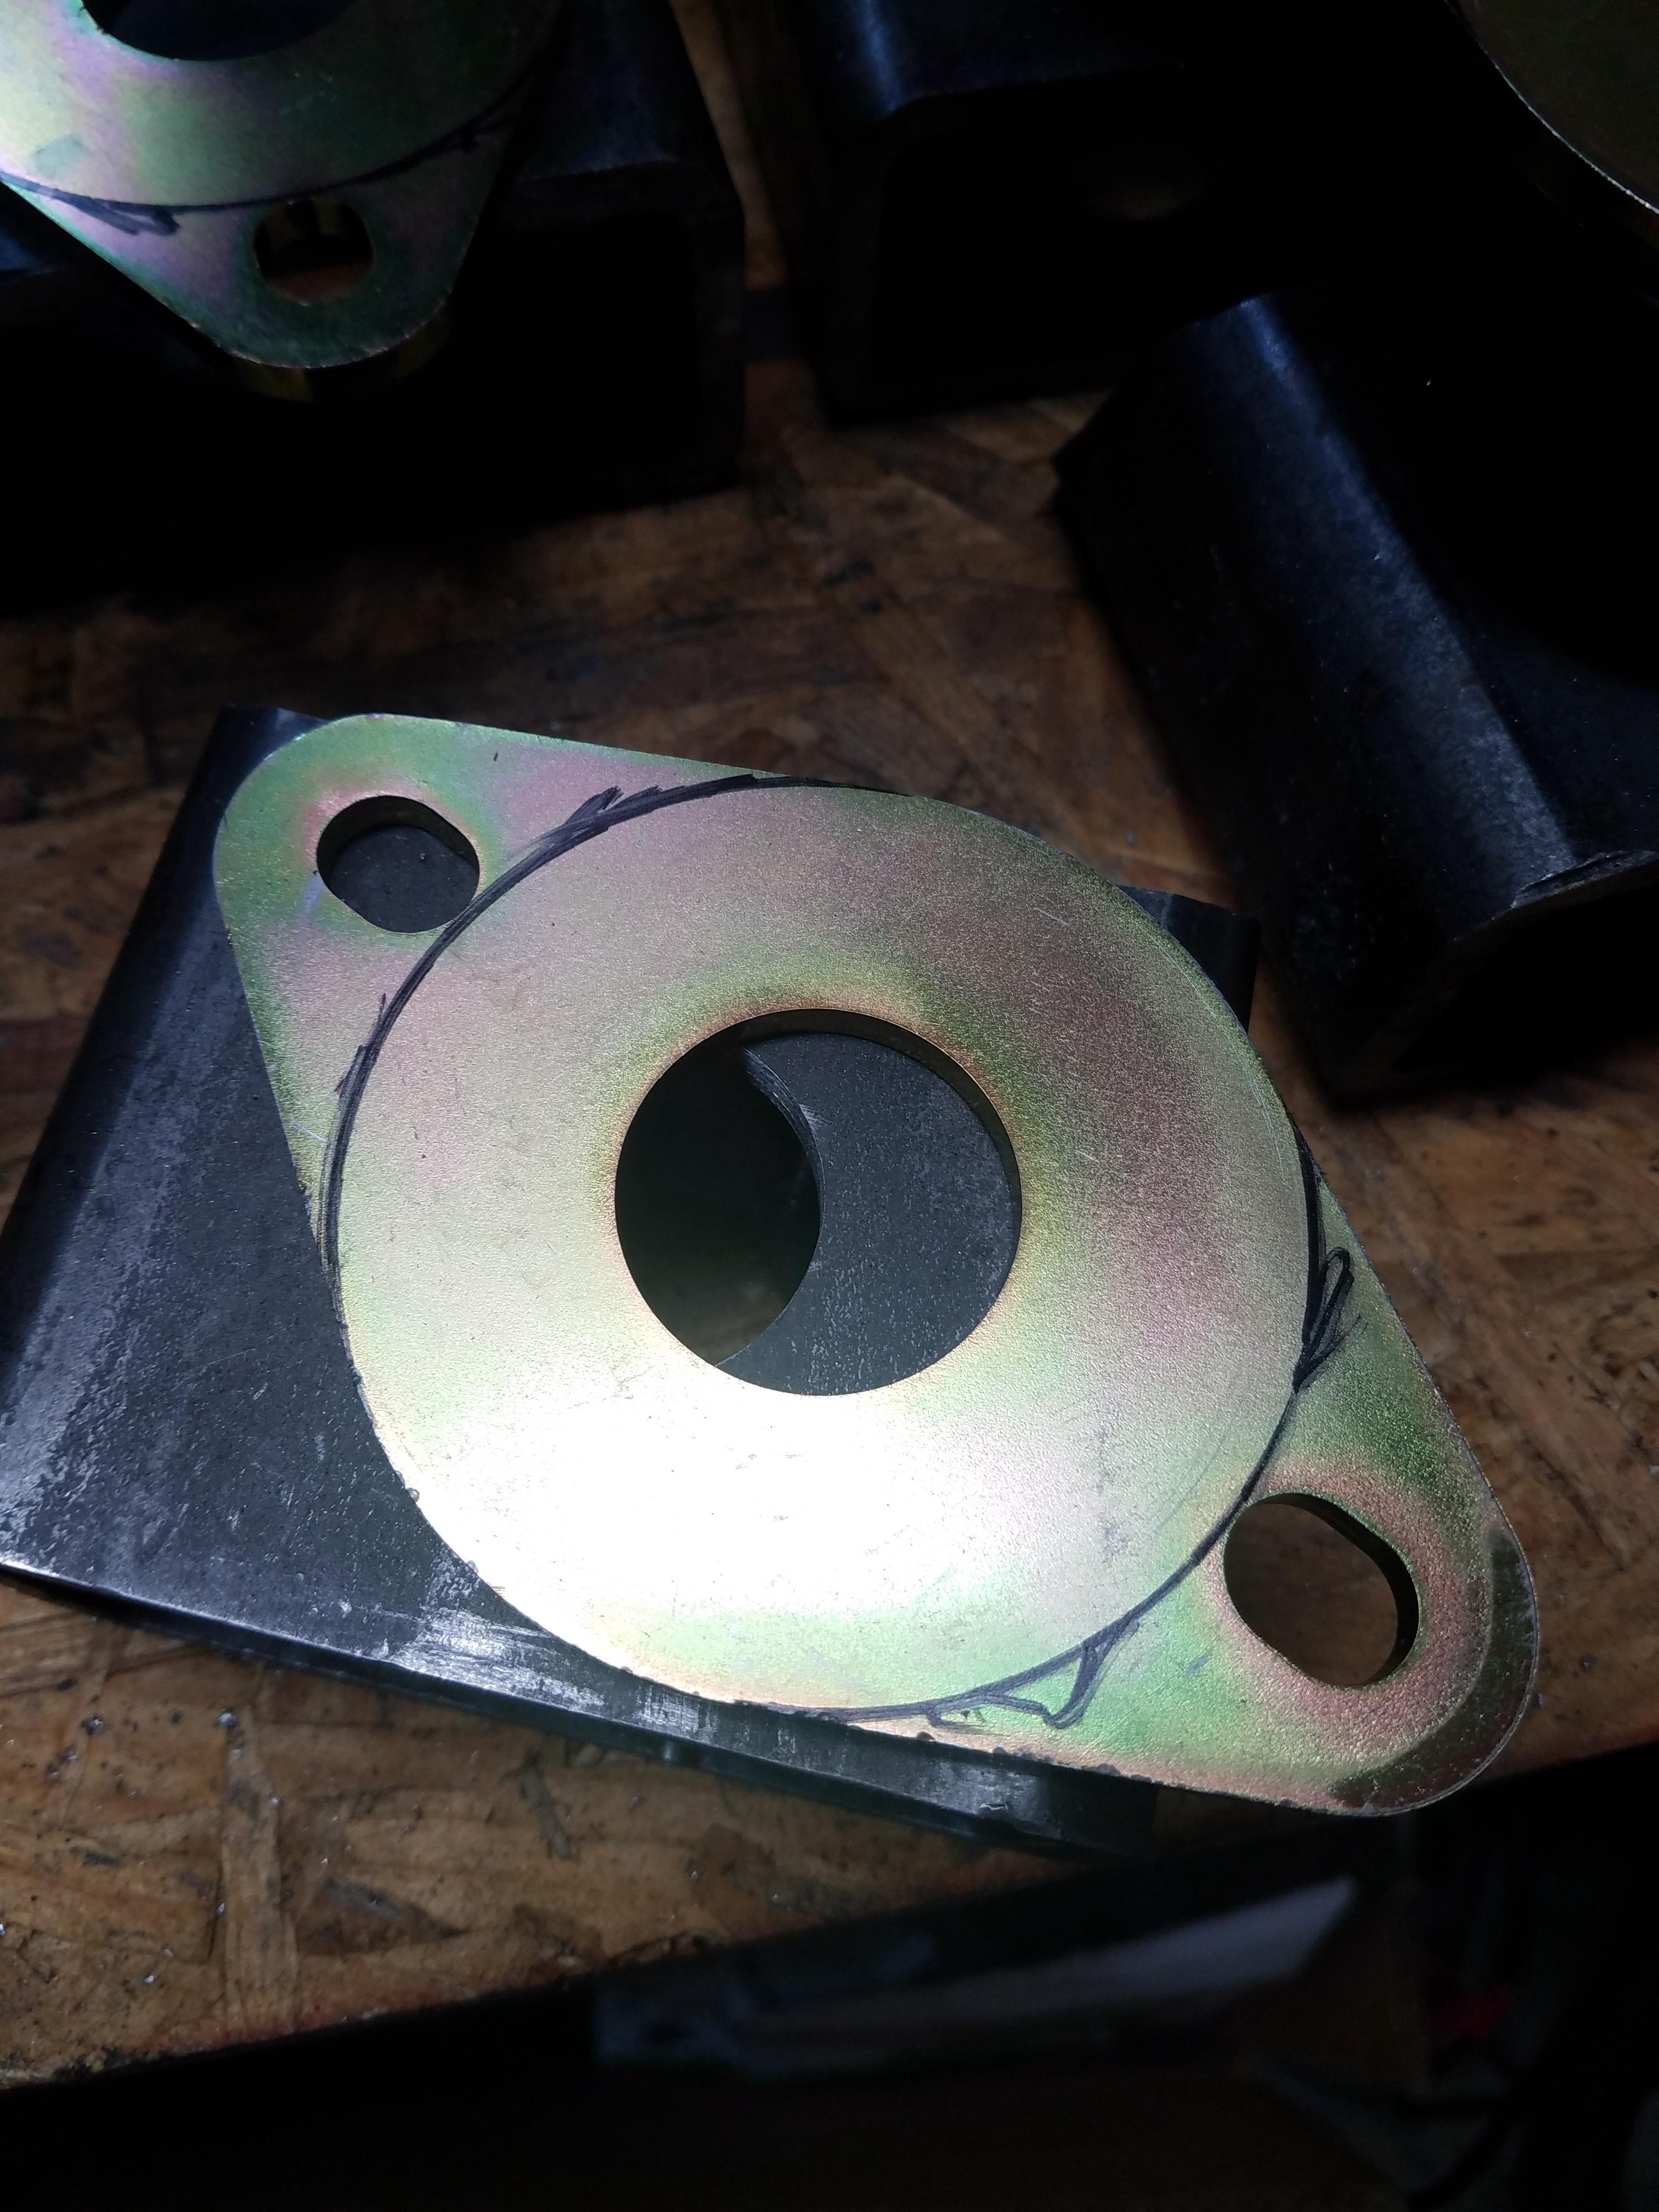
Decided I'll cut the original mounts down and weld them on. I used another mount to trace the circle to cut (at a later date).

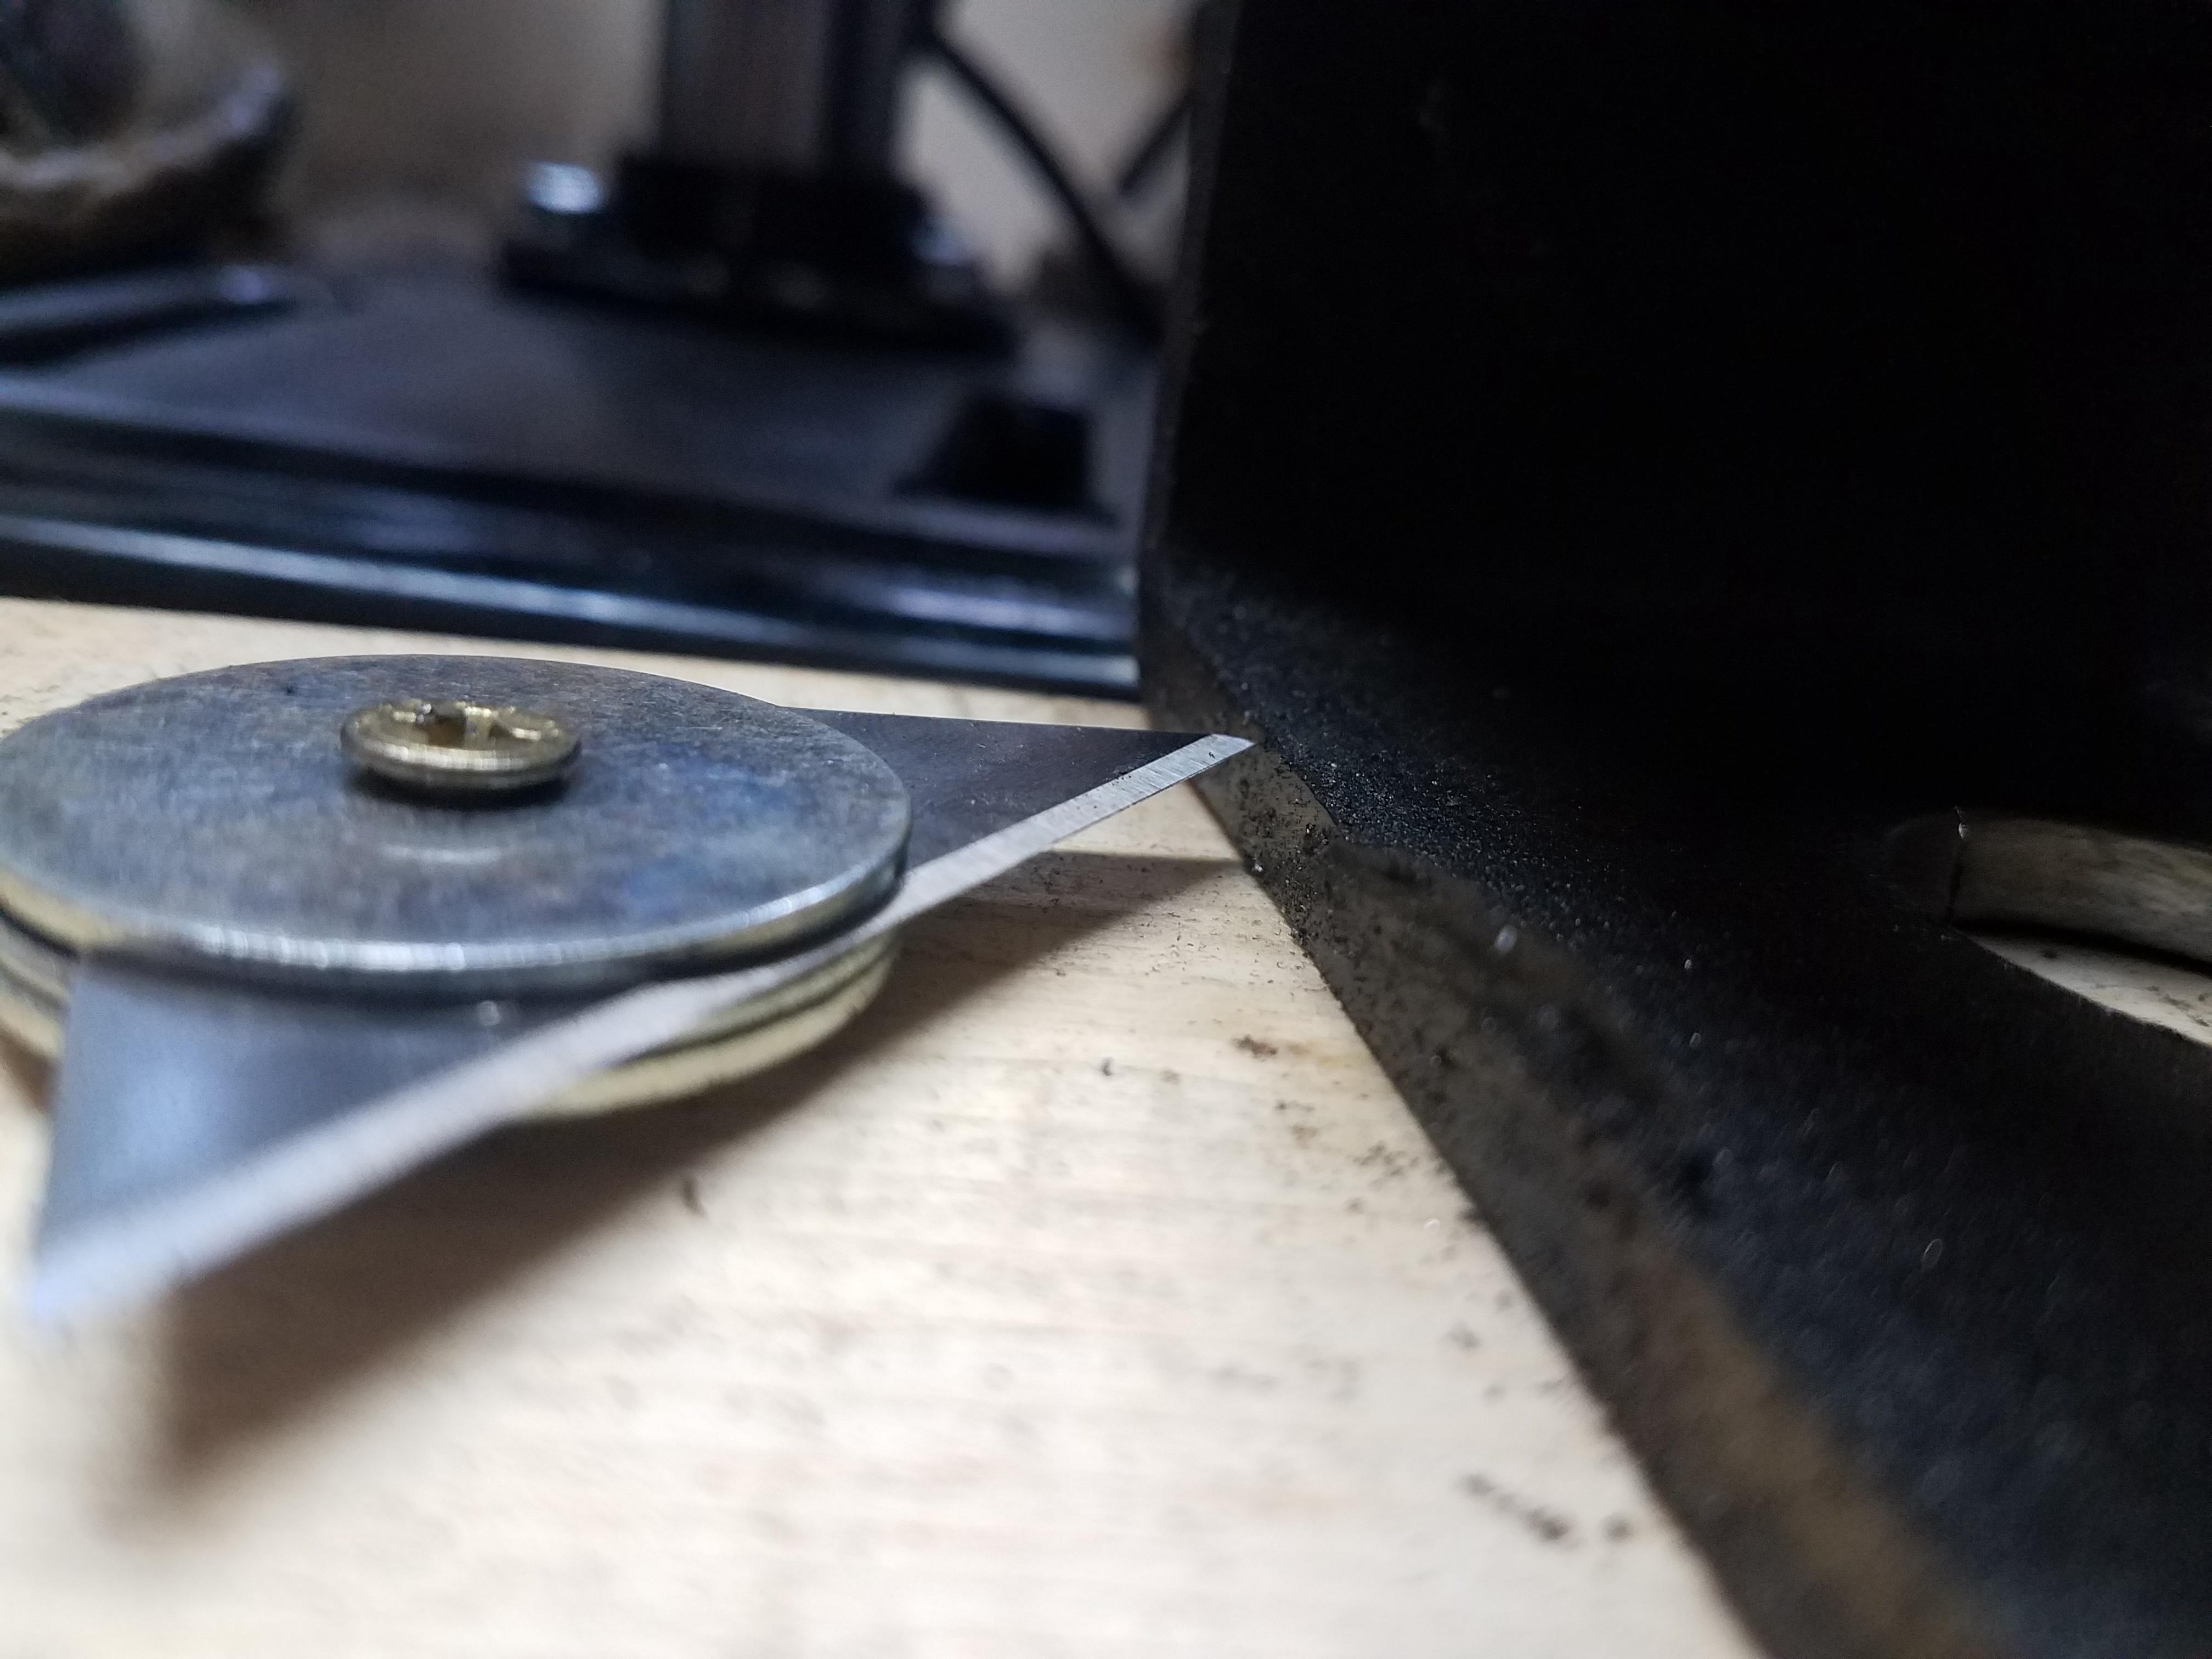
Then I cut down the rear bushing. Pretty easy once I realized a drop of oil would help with cutting
The blade was plenty long, and made a decent cut through in 3-5 passes.

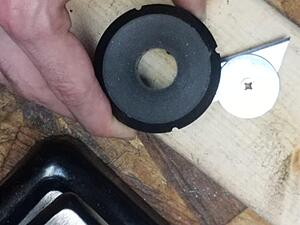

Nice.
Then I jacked up one side of the cab. I took out the body lift, and while not cracked, the rear block has a nice \lean\ to it:
So yeah, there was something going on there. Eek.
I attempted to get the old mounts out. As you can see by the lack of more pictures in this post, I called it quits for the day as none of my tools could get at that awkward angle to cut the bolts off.
Then I cut down the rear bushing. Pretty easy once I realized a drop of oil would help with cutting
The blade was plenty long, and made a decent cut through in 3-5 passes.


Nice.
Then I jacked up one side of the cab. I took out the body lift, and while not cracked, the rear block has a nice \lean\ to it:


So yeah, there was something going on there. Eek.
I attempted to get the old mounts out. As you can see by the lack of more pictures in this post, I called it quits for the day as none of my tools could get at that awkward angle to cut the bolts off.
04-11-2021, 08:56 PM
#2540
Registered User
That sir, is one nice bushing cutter. I like that idea a lot. I hope I remember it the next time I find myself in a situation where it'll come in handy.


