When you click on links to various merchants on this site and make a purchase, this can result in this site earning a commission. Affiliate programs and affiliations include, but are not limited to, the eBay Partner Network.
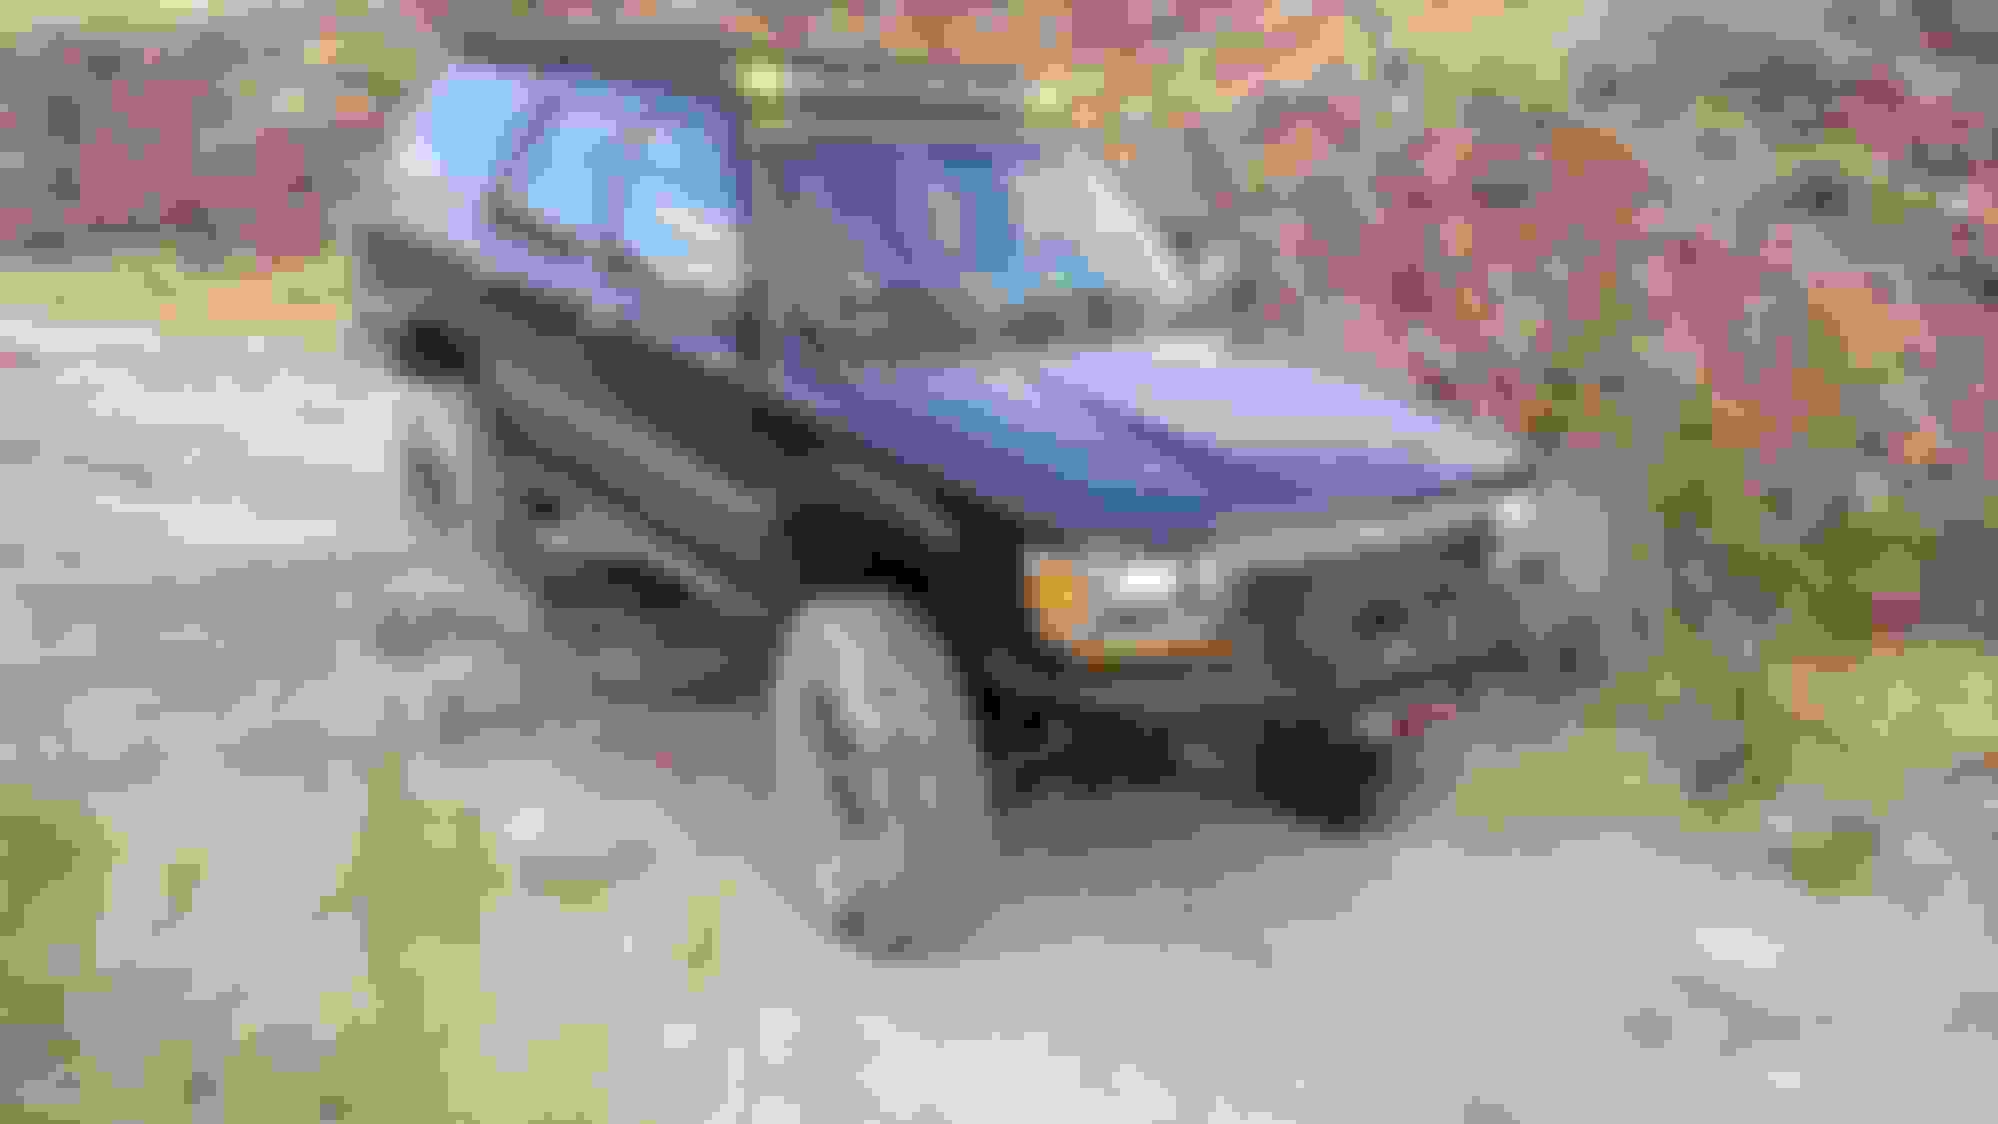
Hey Coopster. In this (see link below) post I showed the previous and new ride height. Note my previous springs were already about a 1.5 inch lift. Great springs! But I wanted a longer set for the articulation. The lift was necessary, but not the goal. https://www.yotatech.com/forums/f199...l#post52450505
I thought a lot about this setup and it seems to be paying off so far. Will know when I hit familiar trails and see how well it works
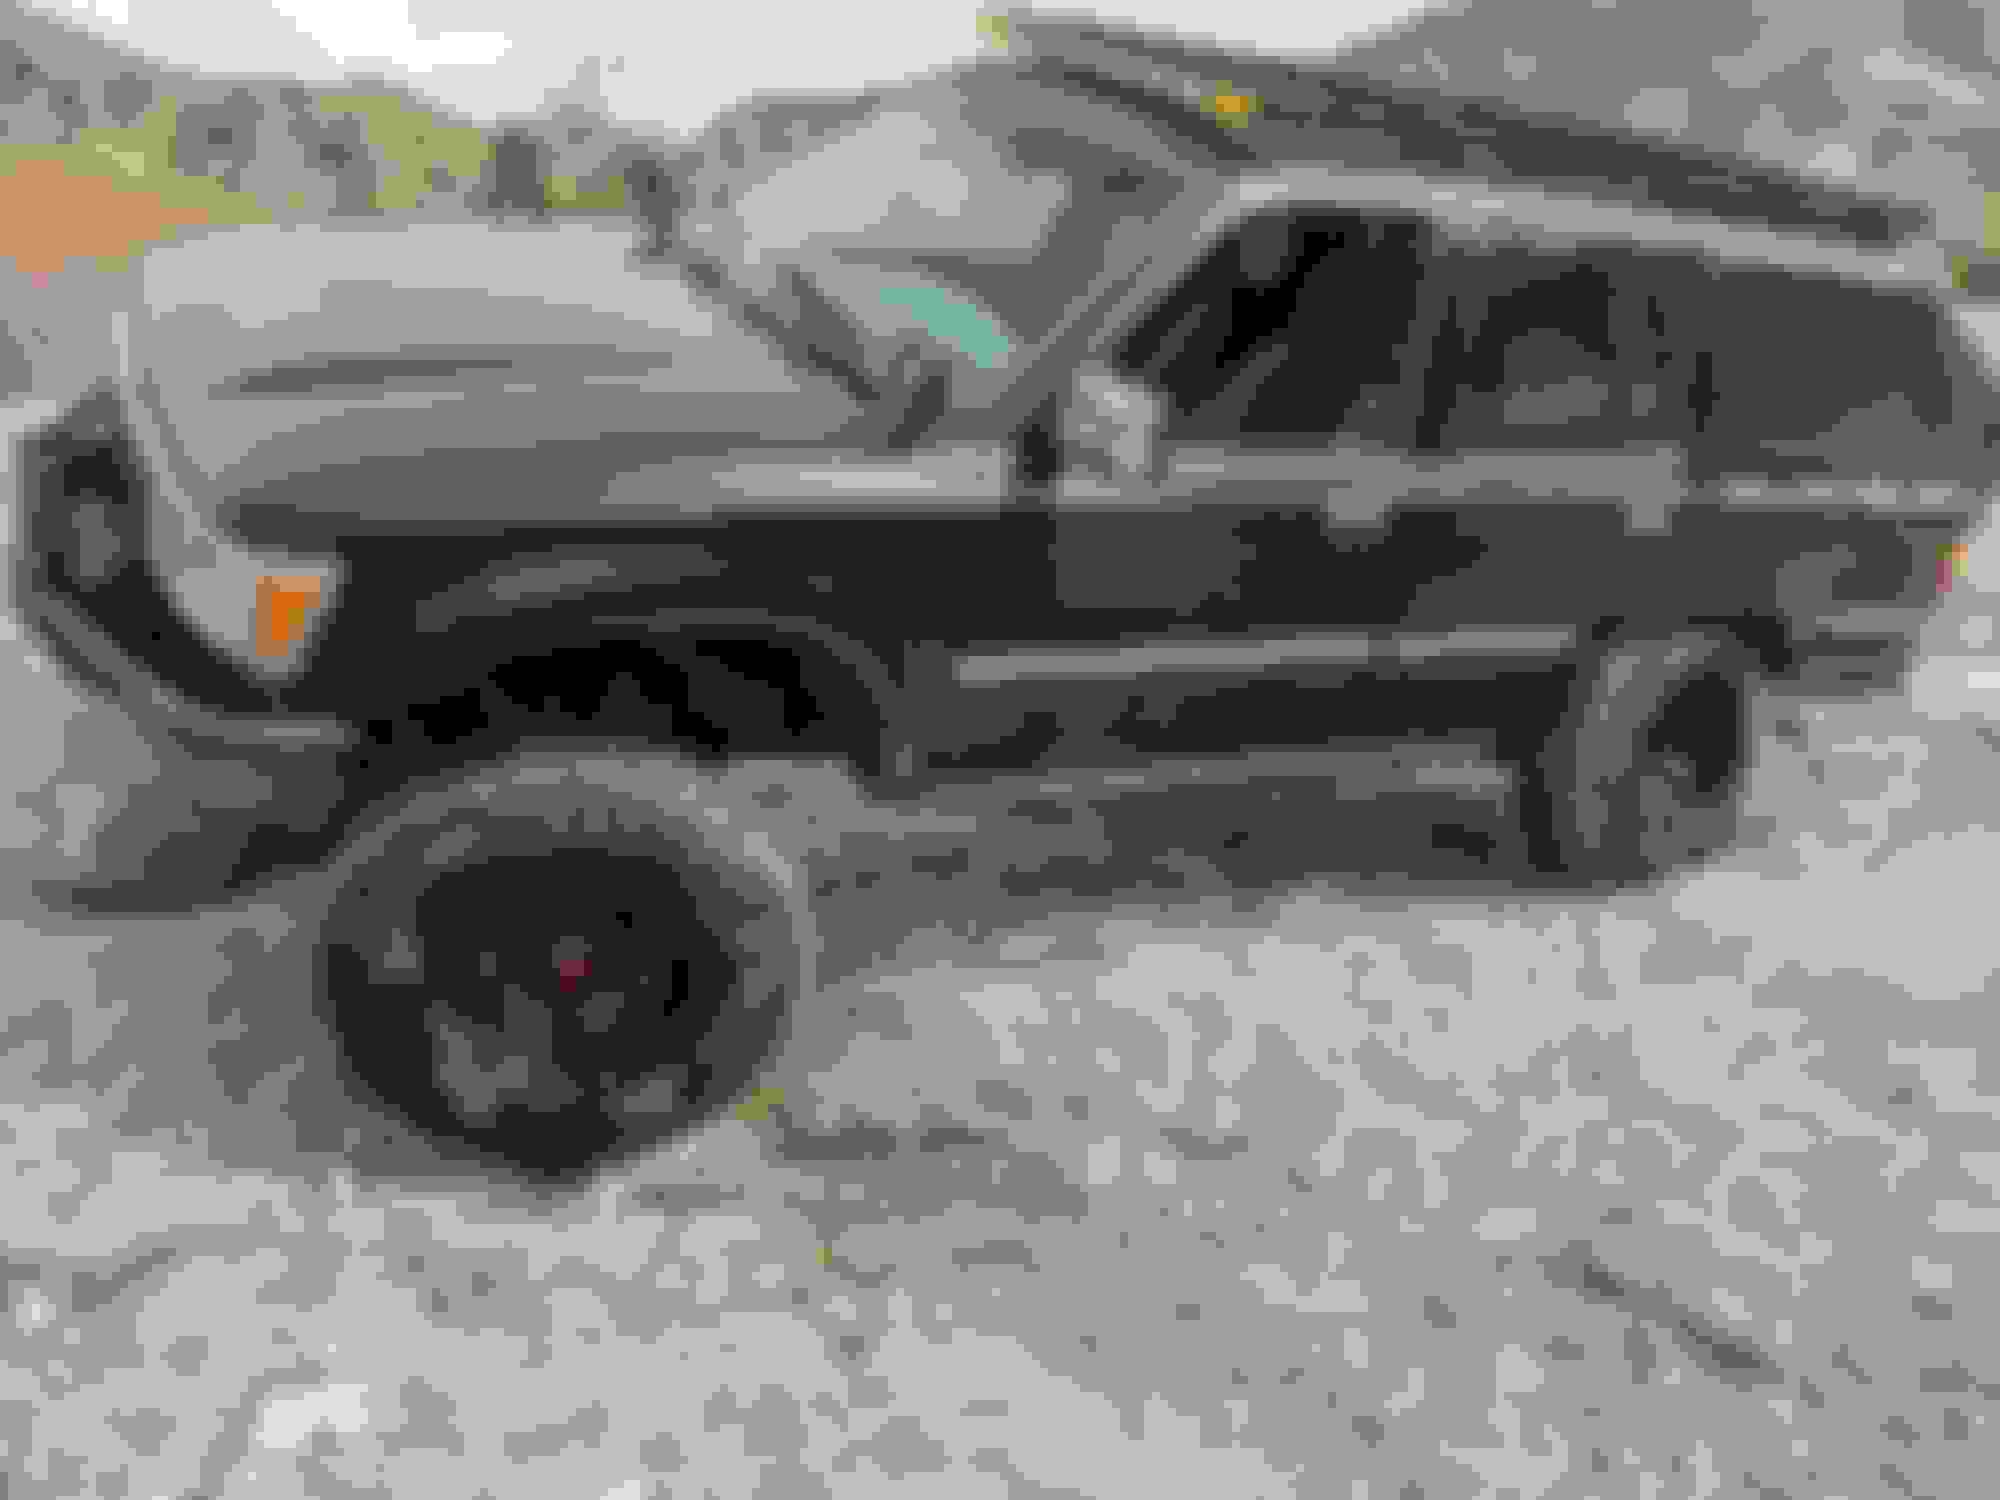
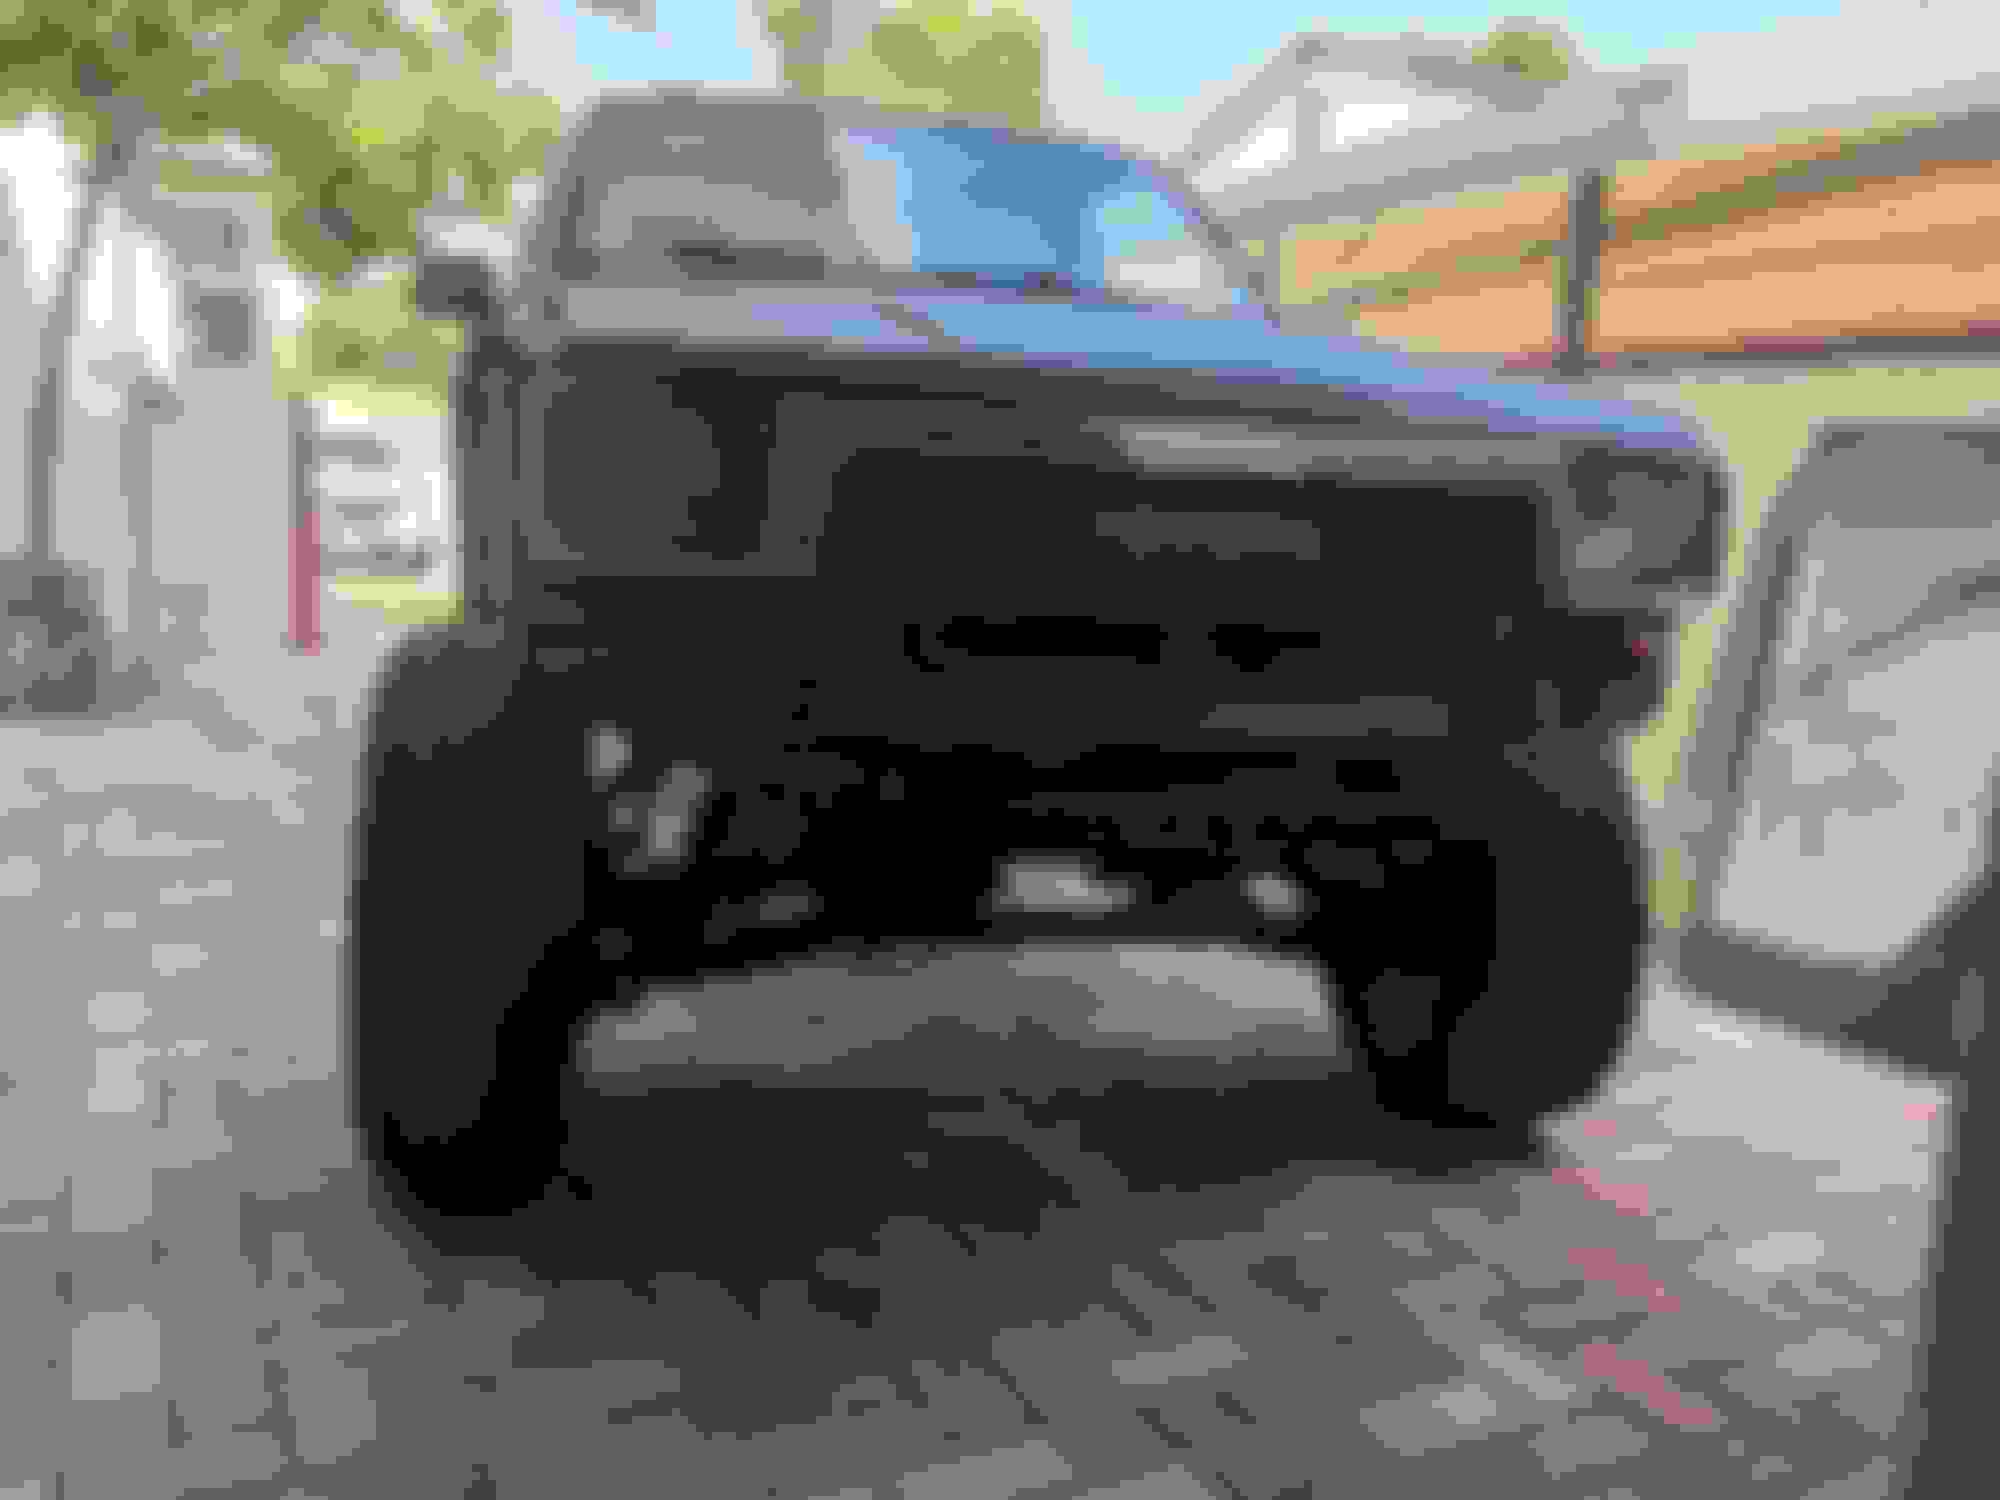
Tested out all the suspension work. Most was good! I have a clearance issue with the rear bumper, easy fix.
Waiting for new driveshaft, the vibrations are bad!
To do list for near future:
1. Bracing of lower control arm mounting points.
2. Replace front shocks
3. Install Driveshaft
To start with, my tom woods driveshaft came in, installed, had some vibrations still. I decided I didn't want 2 inches of open yoke for travel on the driveshaft, so I installed a spacer on the diff side and nearly all vibrations disappeared. I was angry that some still persisted though past 68mph. After more reading around, and thanks to Yotatech as usual, I checked my transfer case pinion nut. I took it to 100 lf-ft of torque and got about 1/8 more rotation into it. Result? Shockingly, smooth as butter. Even when I thought below 68mph it was good before, now it made a huge difference and the thing feels like it did before i messed everything up by customizing. lol.
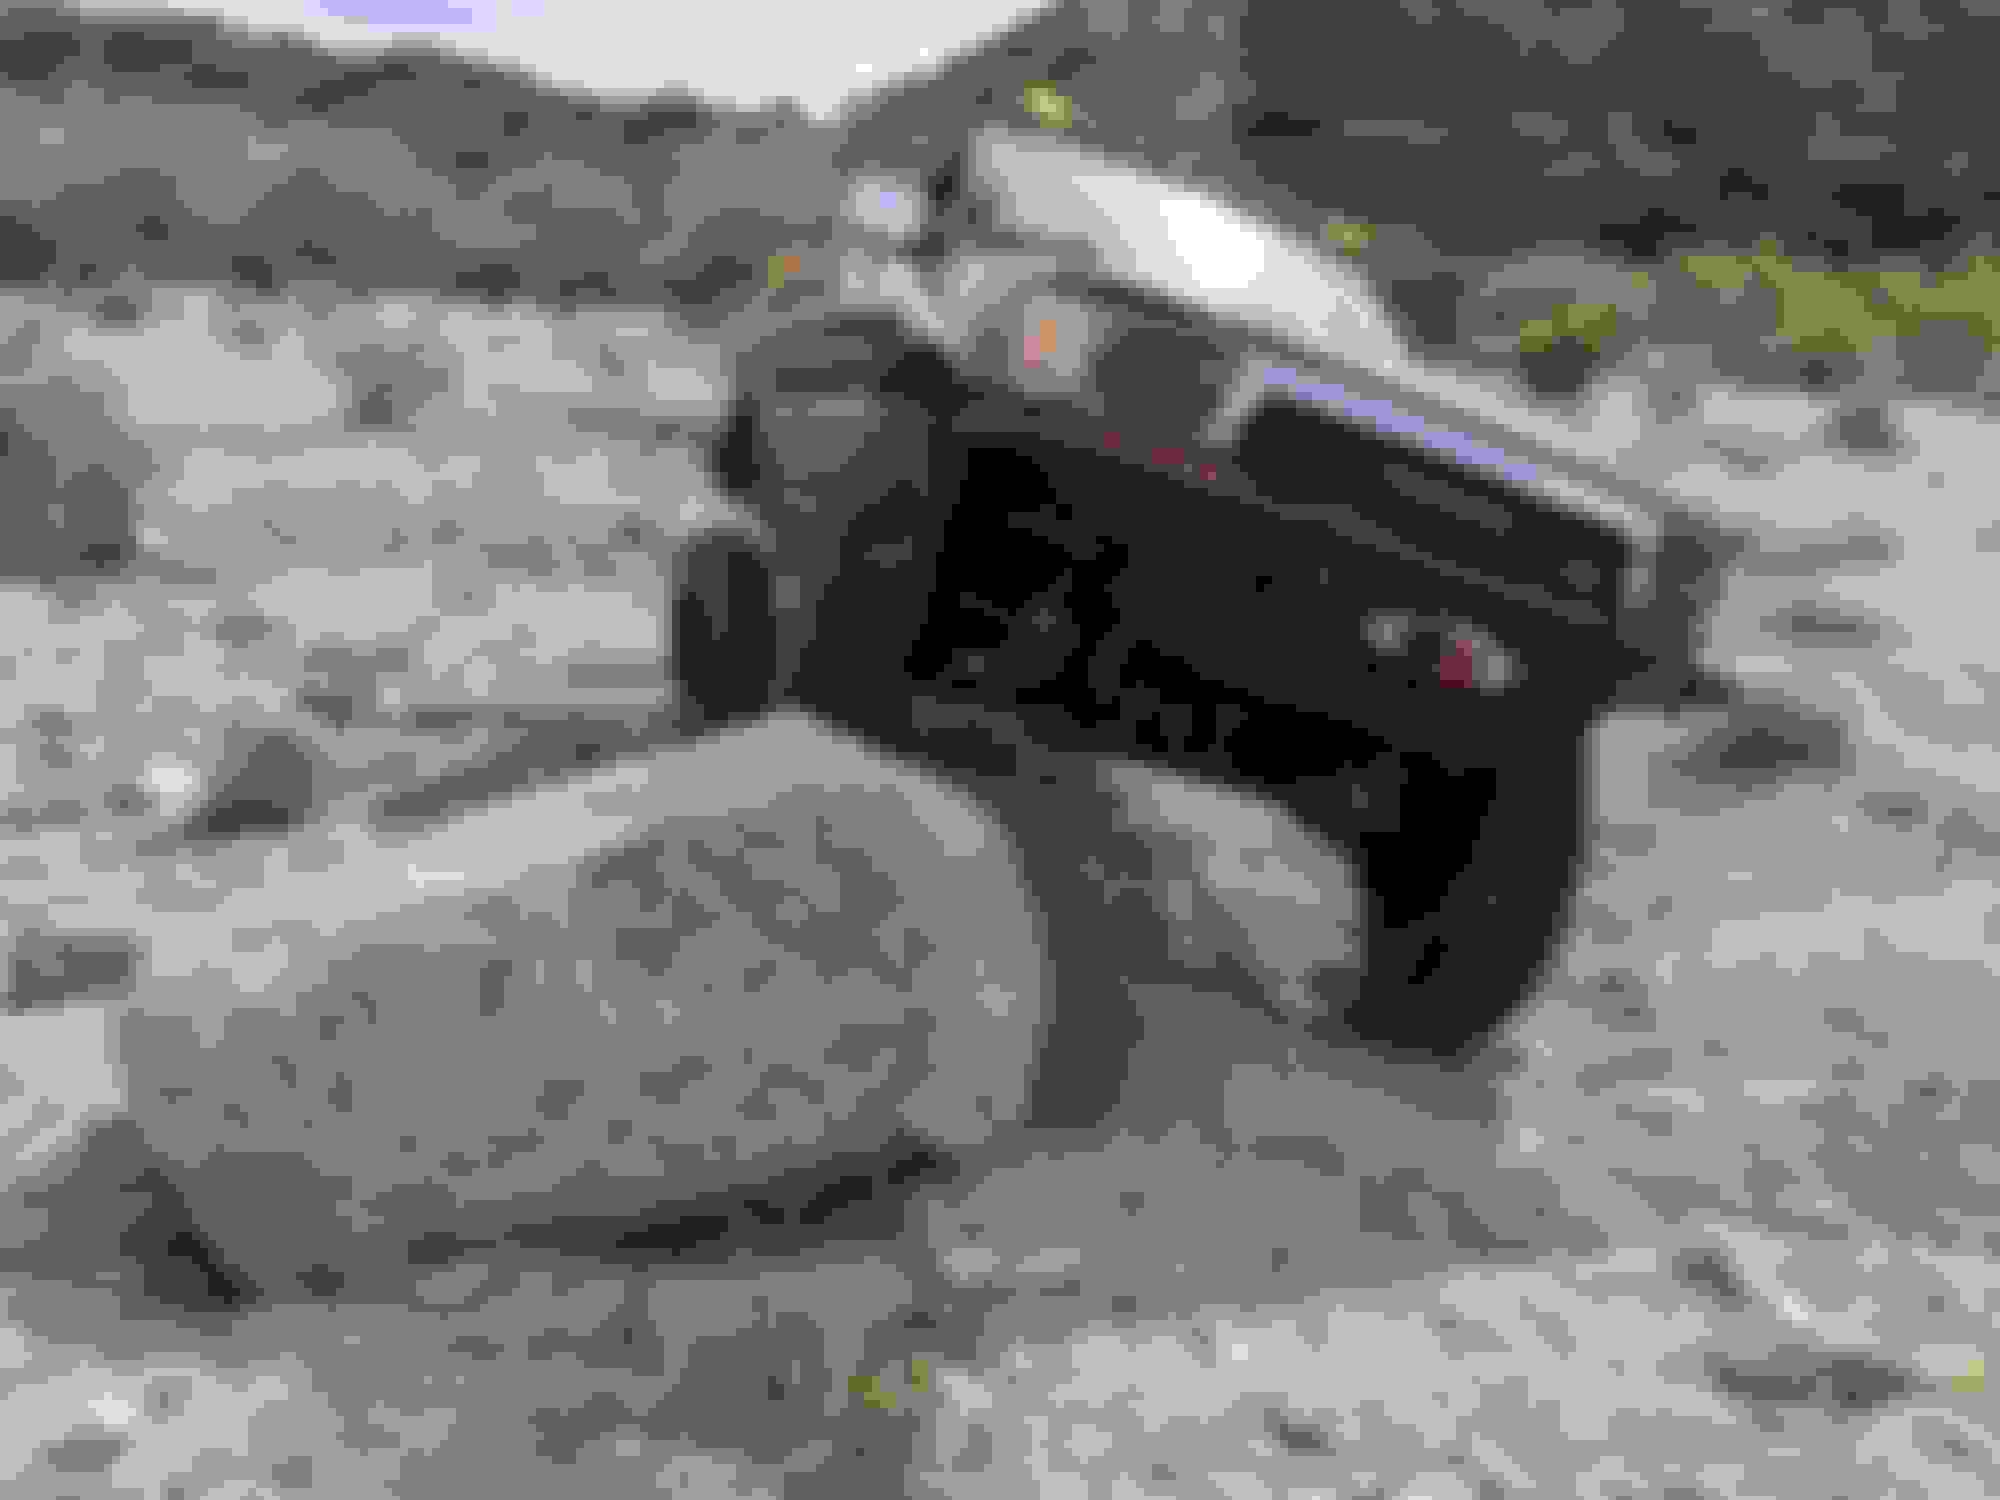
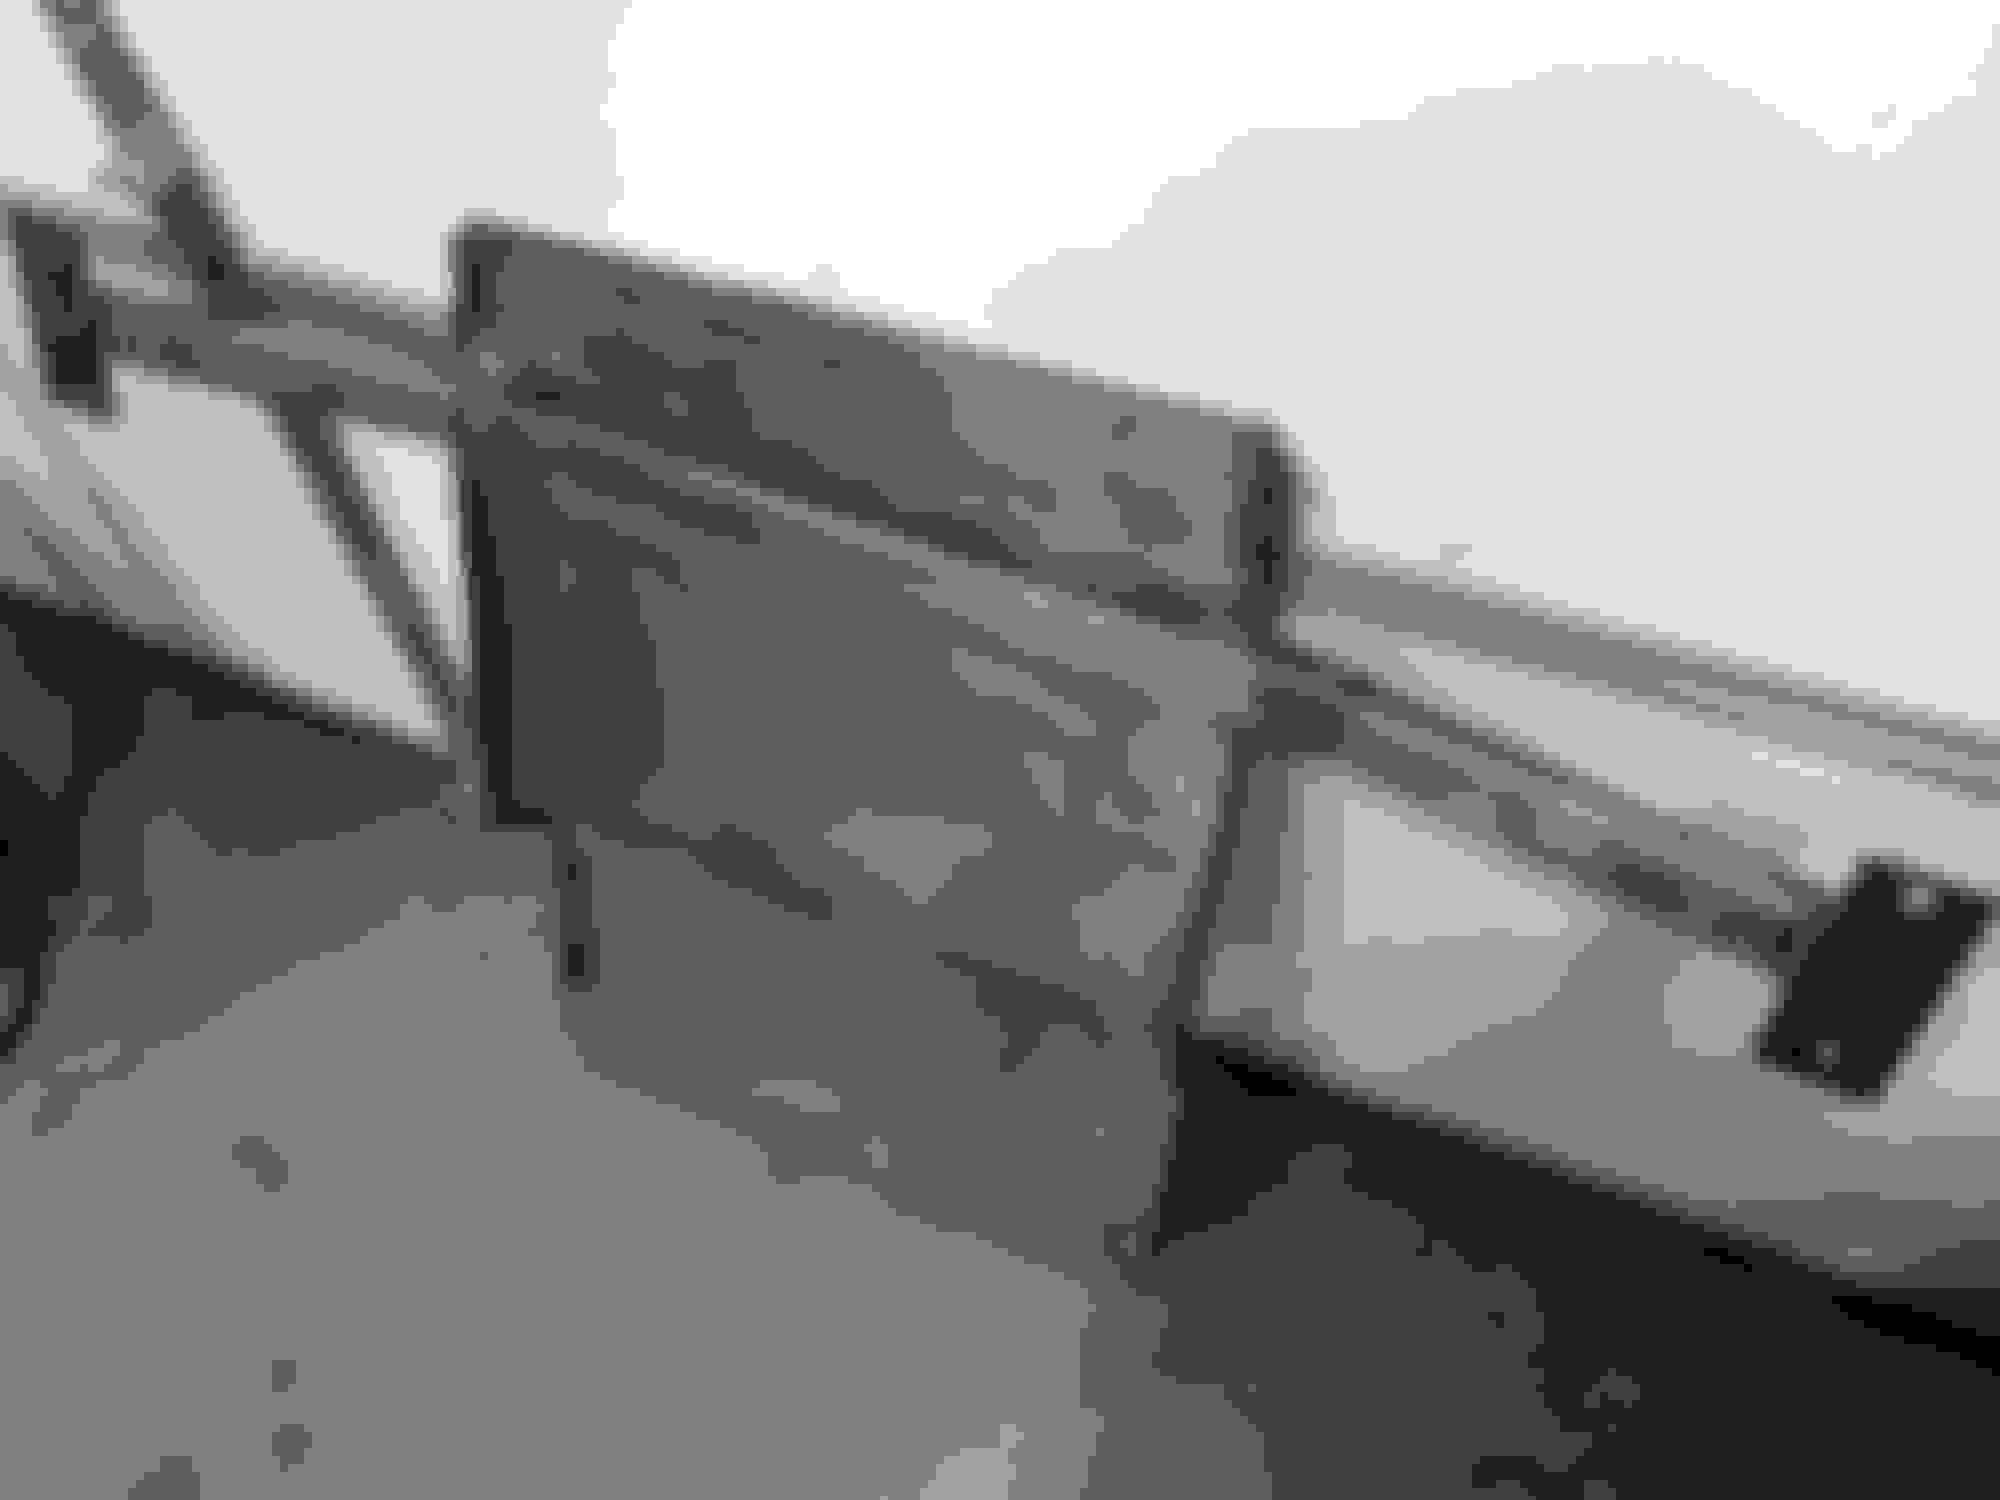
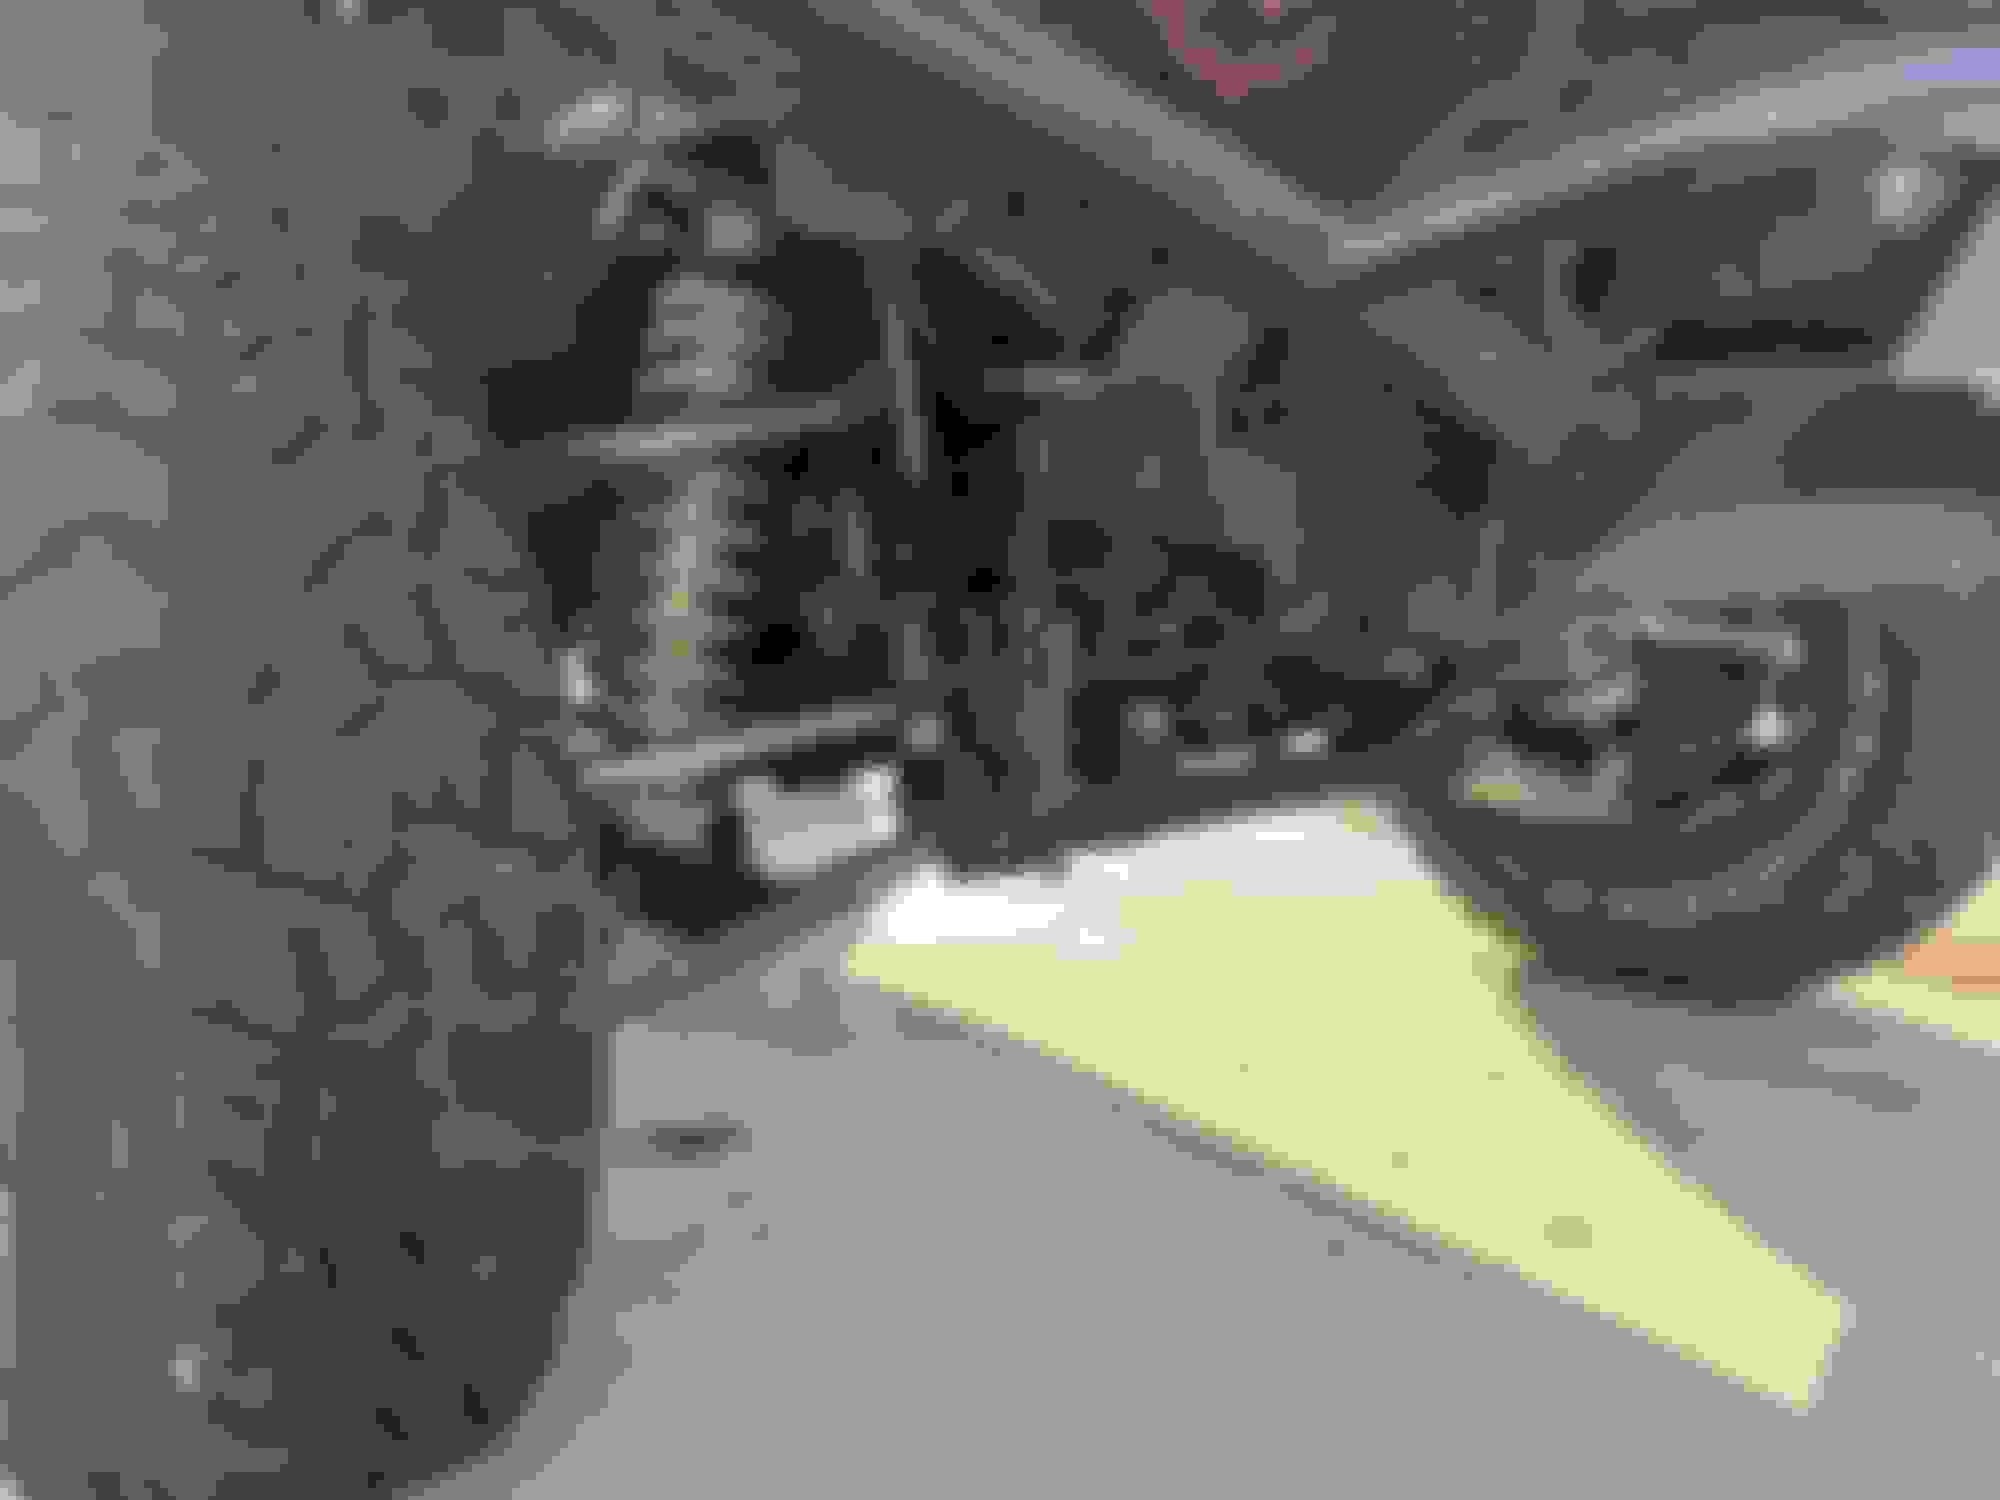
OK! now, the main part of this post. My goal is to take this thing through the Roubicon and all around MOAB soon. In efforts to achieve that goal without breaking parts, my next item to check off the list are skid plates. Aftermarket support for th 2nd gens sucks in this catagory as well. So, after much thinking and not wanting to spend $900.. I figured I can do it for about $100 worth of steel from the scrap pile.
And so... I started by building a lightweight cross member to support the rear of the the skid. Then I realized I can raise my exhaust system and it won't control how low I have to make the skid plate. Getting that right took more time than fabricating the rest of the skid plate :/
Let the pictures speak for themselves now.
get the stuff $70 Measure cut bend Test. Cut exhaust not fun Not fun Good enough for now (new CAT in a few months, will have shop install new clean setup Final weld cross member Tack weld strengthening ribs admire, test fitment Final weld
It's done. Painting will come later, after a couple of shakedown trips. I will be testing the strength in the weakest part with a jack. Should lift the car a bit before starting to bend. It is very strong, I am confident New fox steering stabilizer. One end was too wide Problem solved
Fuel tank. Nope, it is hanging lower than this skid plate. The tank is a future project. I have about 2 inches of space to raise the tank. That part seems to be less work than modifying the stock skid to lift it as well. The supports are not level and the thing is stamped steel with a ton of bends for strength. With a little bit of mods I can make it a lot stronger..
Anyway, future project
Next skid will be between the Tranny crossmember support and the front stock skid.
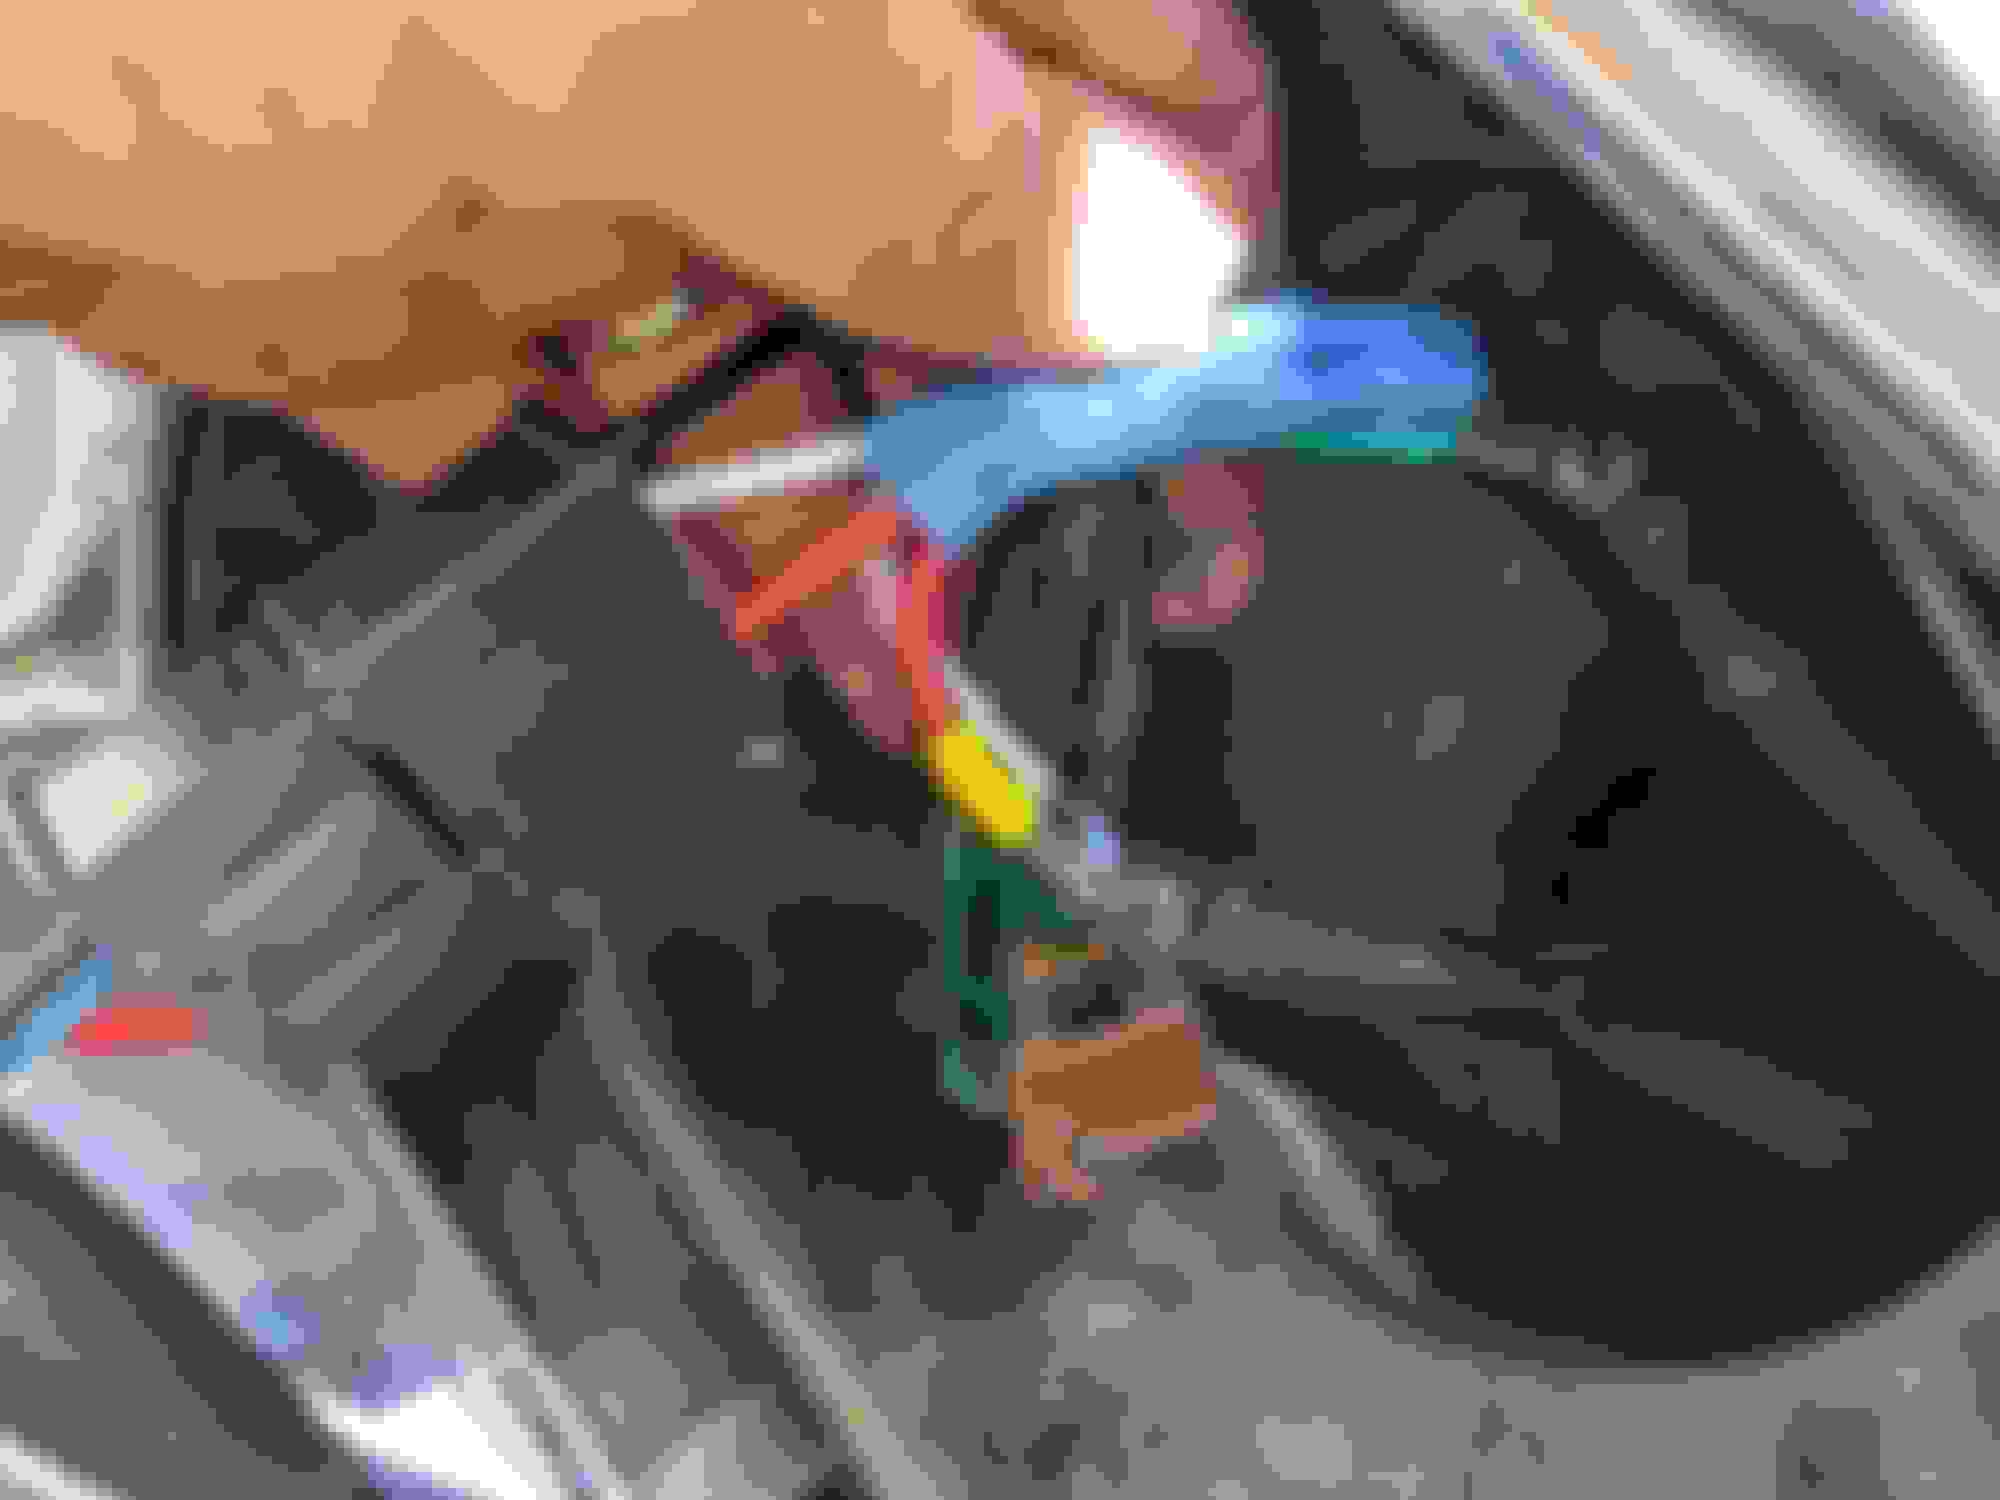
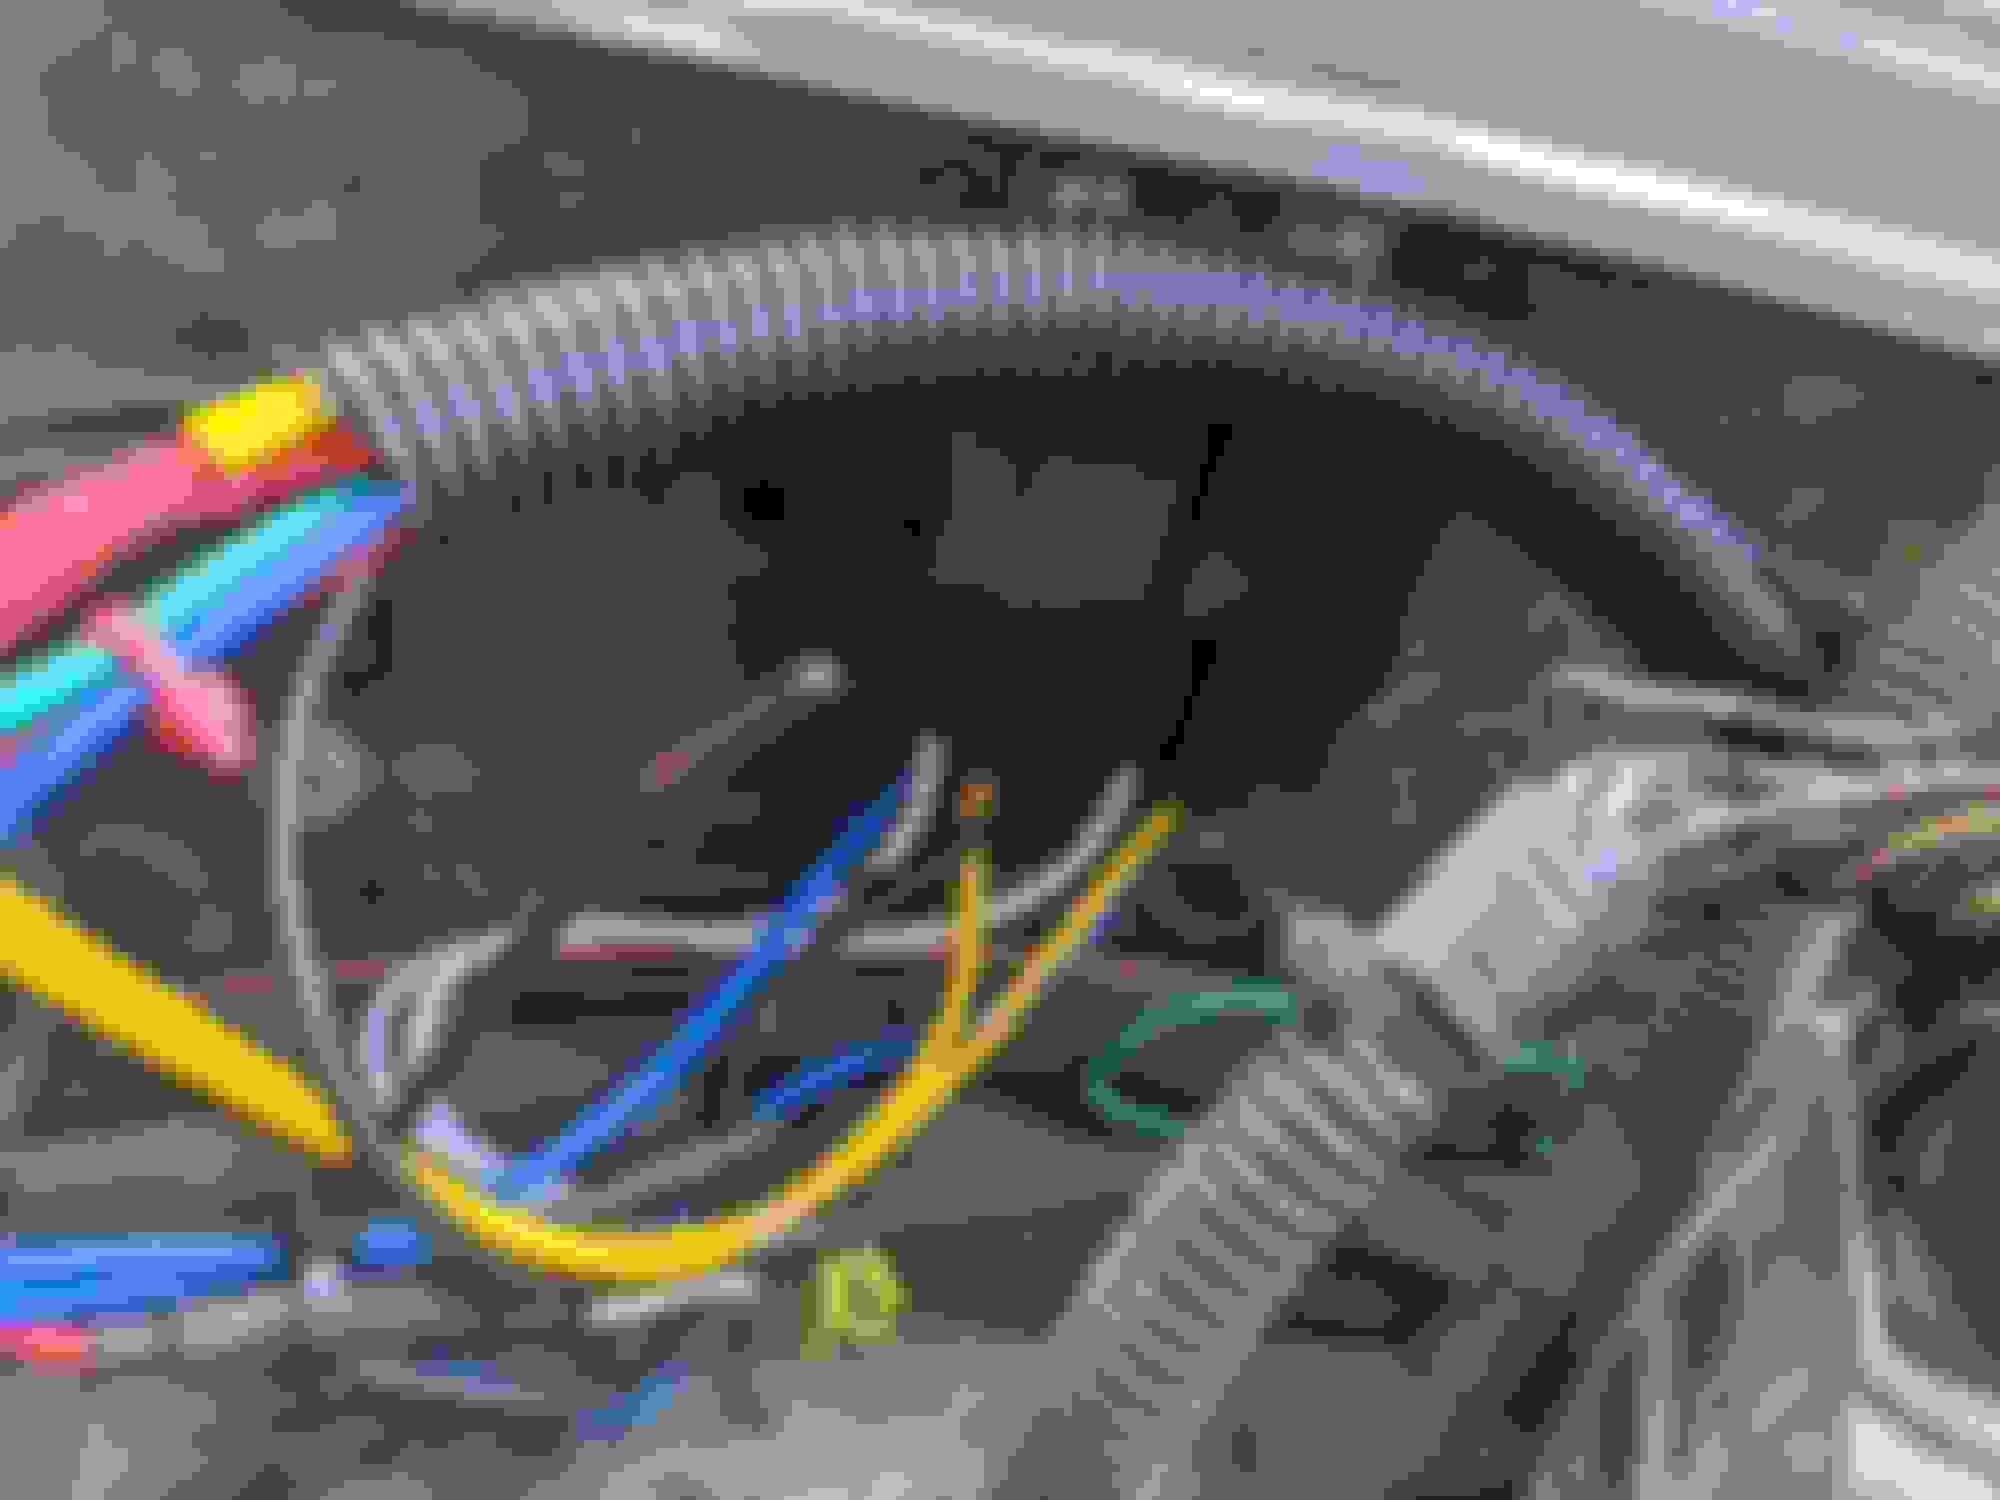
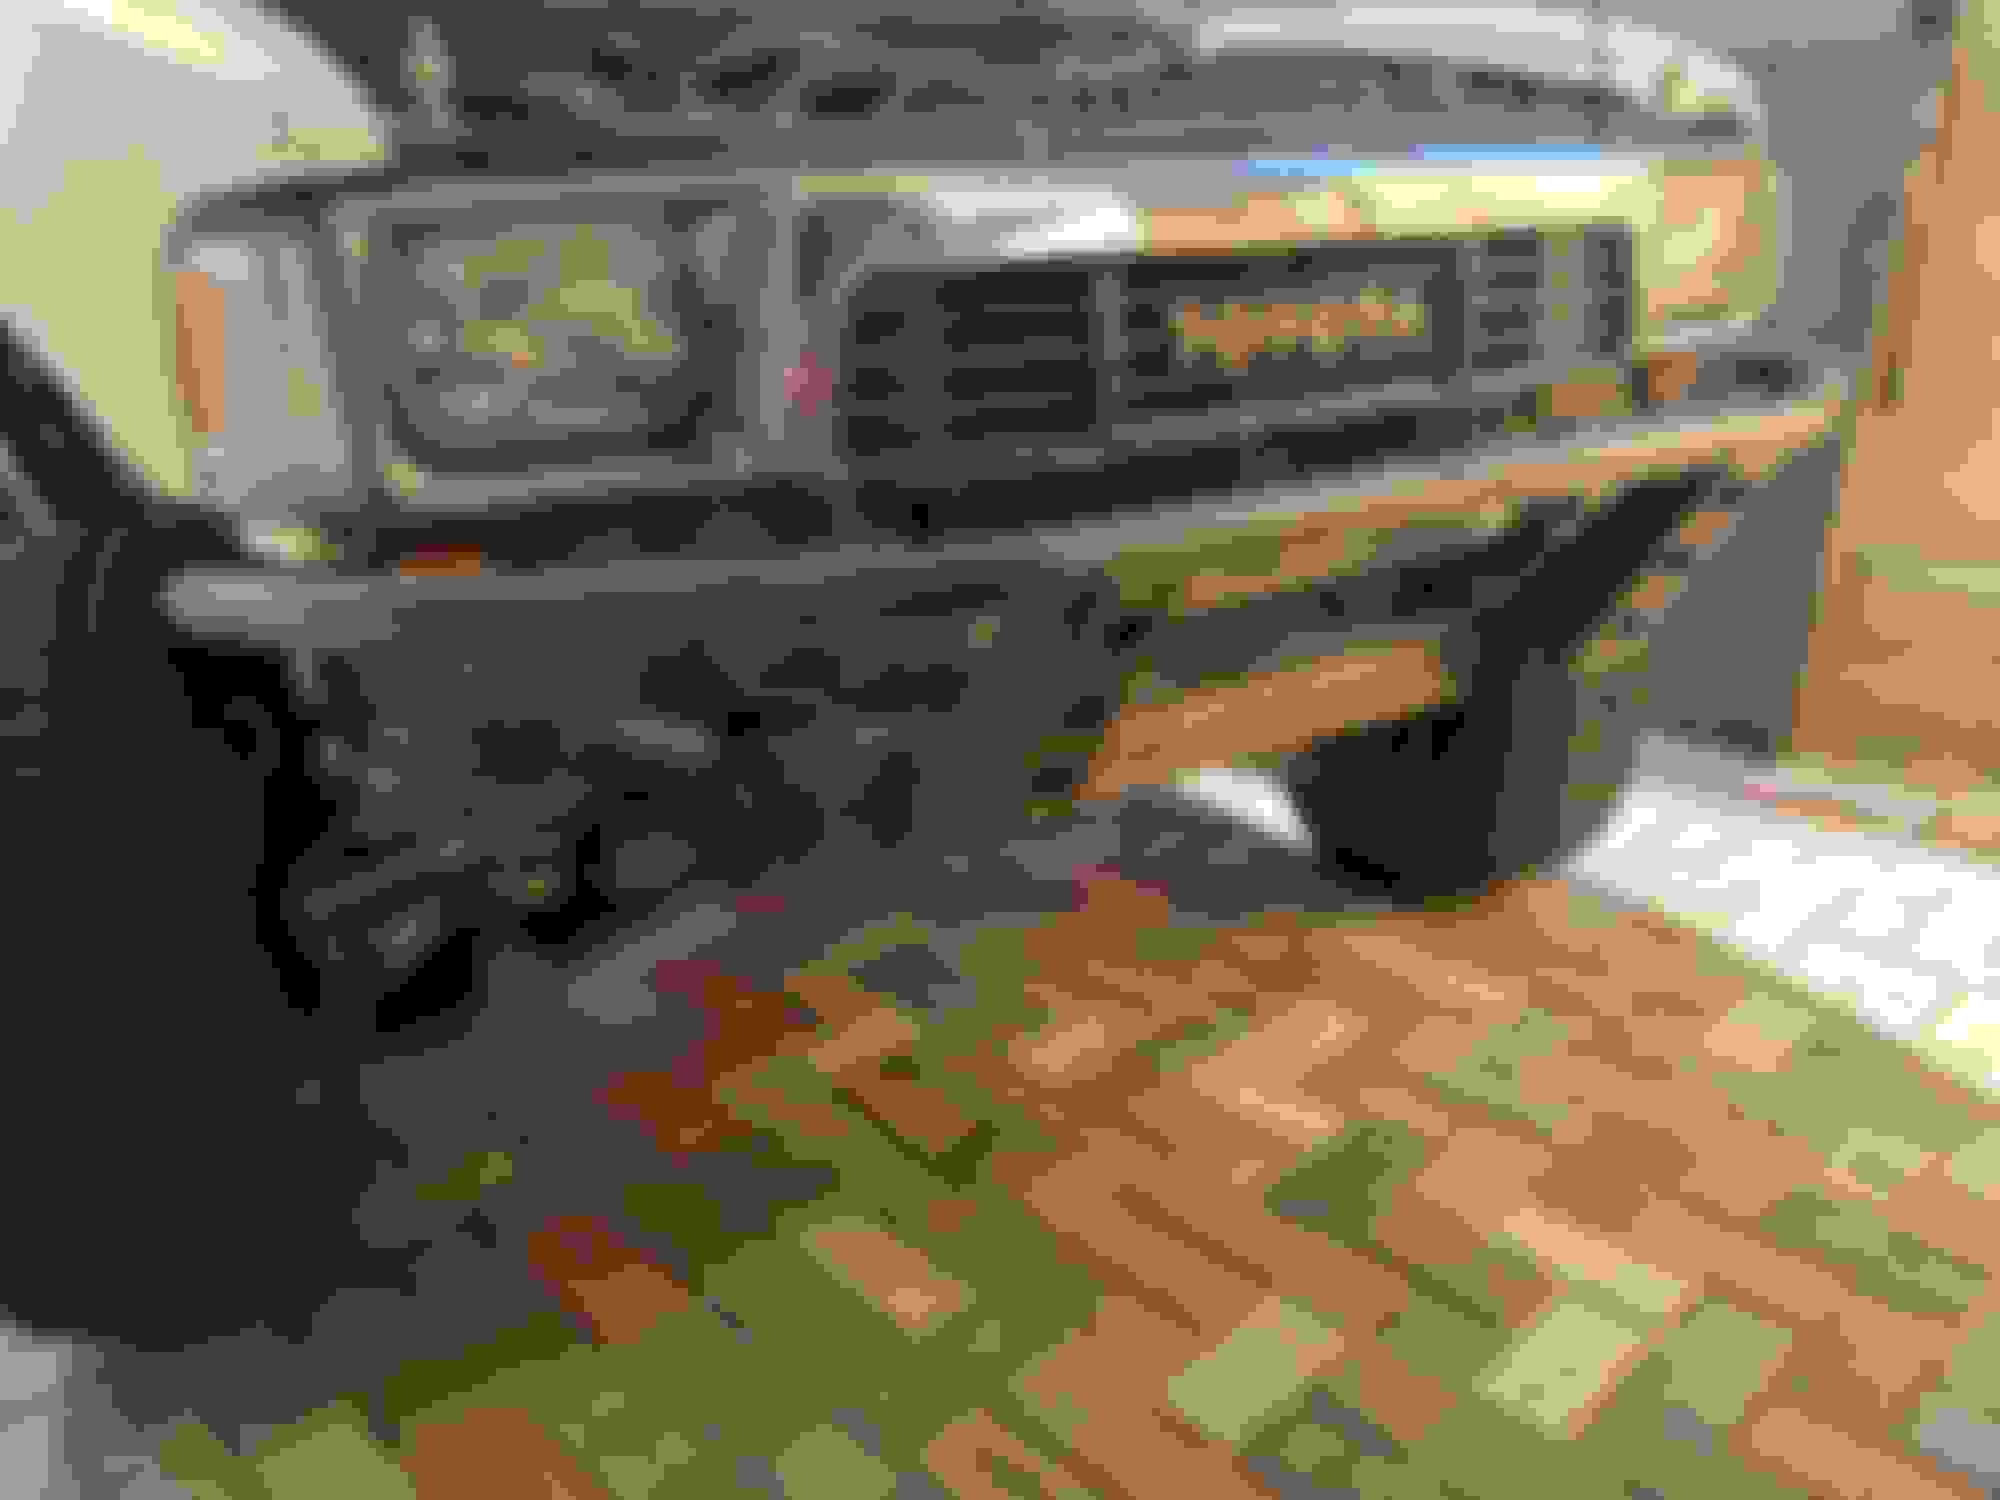
I had installed the LED headlights some time ago. And had wired only the low beams due to Toyotas backwards wiring design. Summary of the wiring: The common wire is an always hot 12 volt positive. Then the two negative feeds are switched for low and high beams. Problem is that all other cars have the opposite wirong design. So this presents two problems, the LED headlights can only be turned on either on low or high beam only, and the dash high beam light doesnt work due to change is resistance. How to solve this problem? Others have done similar, but my electrical engineer buddy came up with a pretty elegant solution.
This circuit above is now confirmed and works! My buddy came over and we built this harness and plugged it into the car
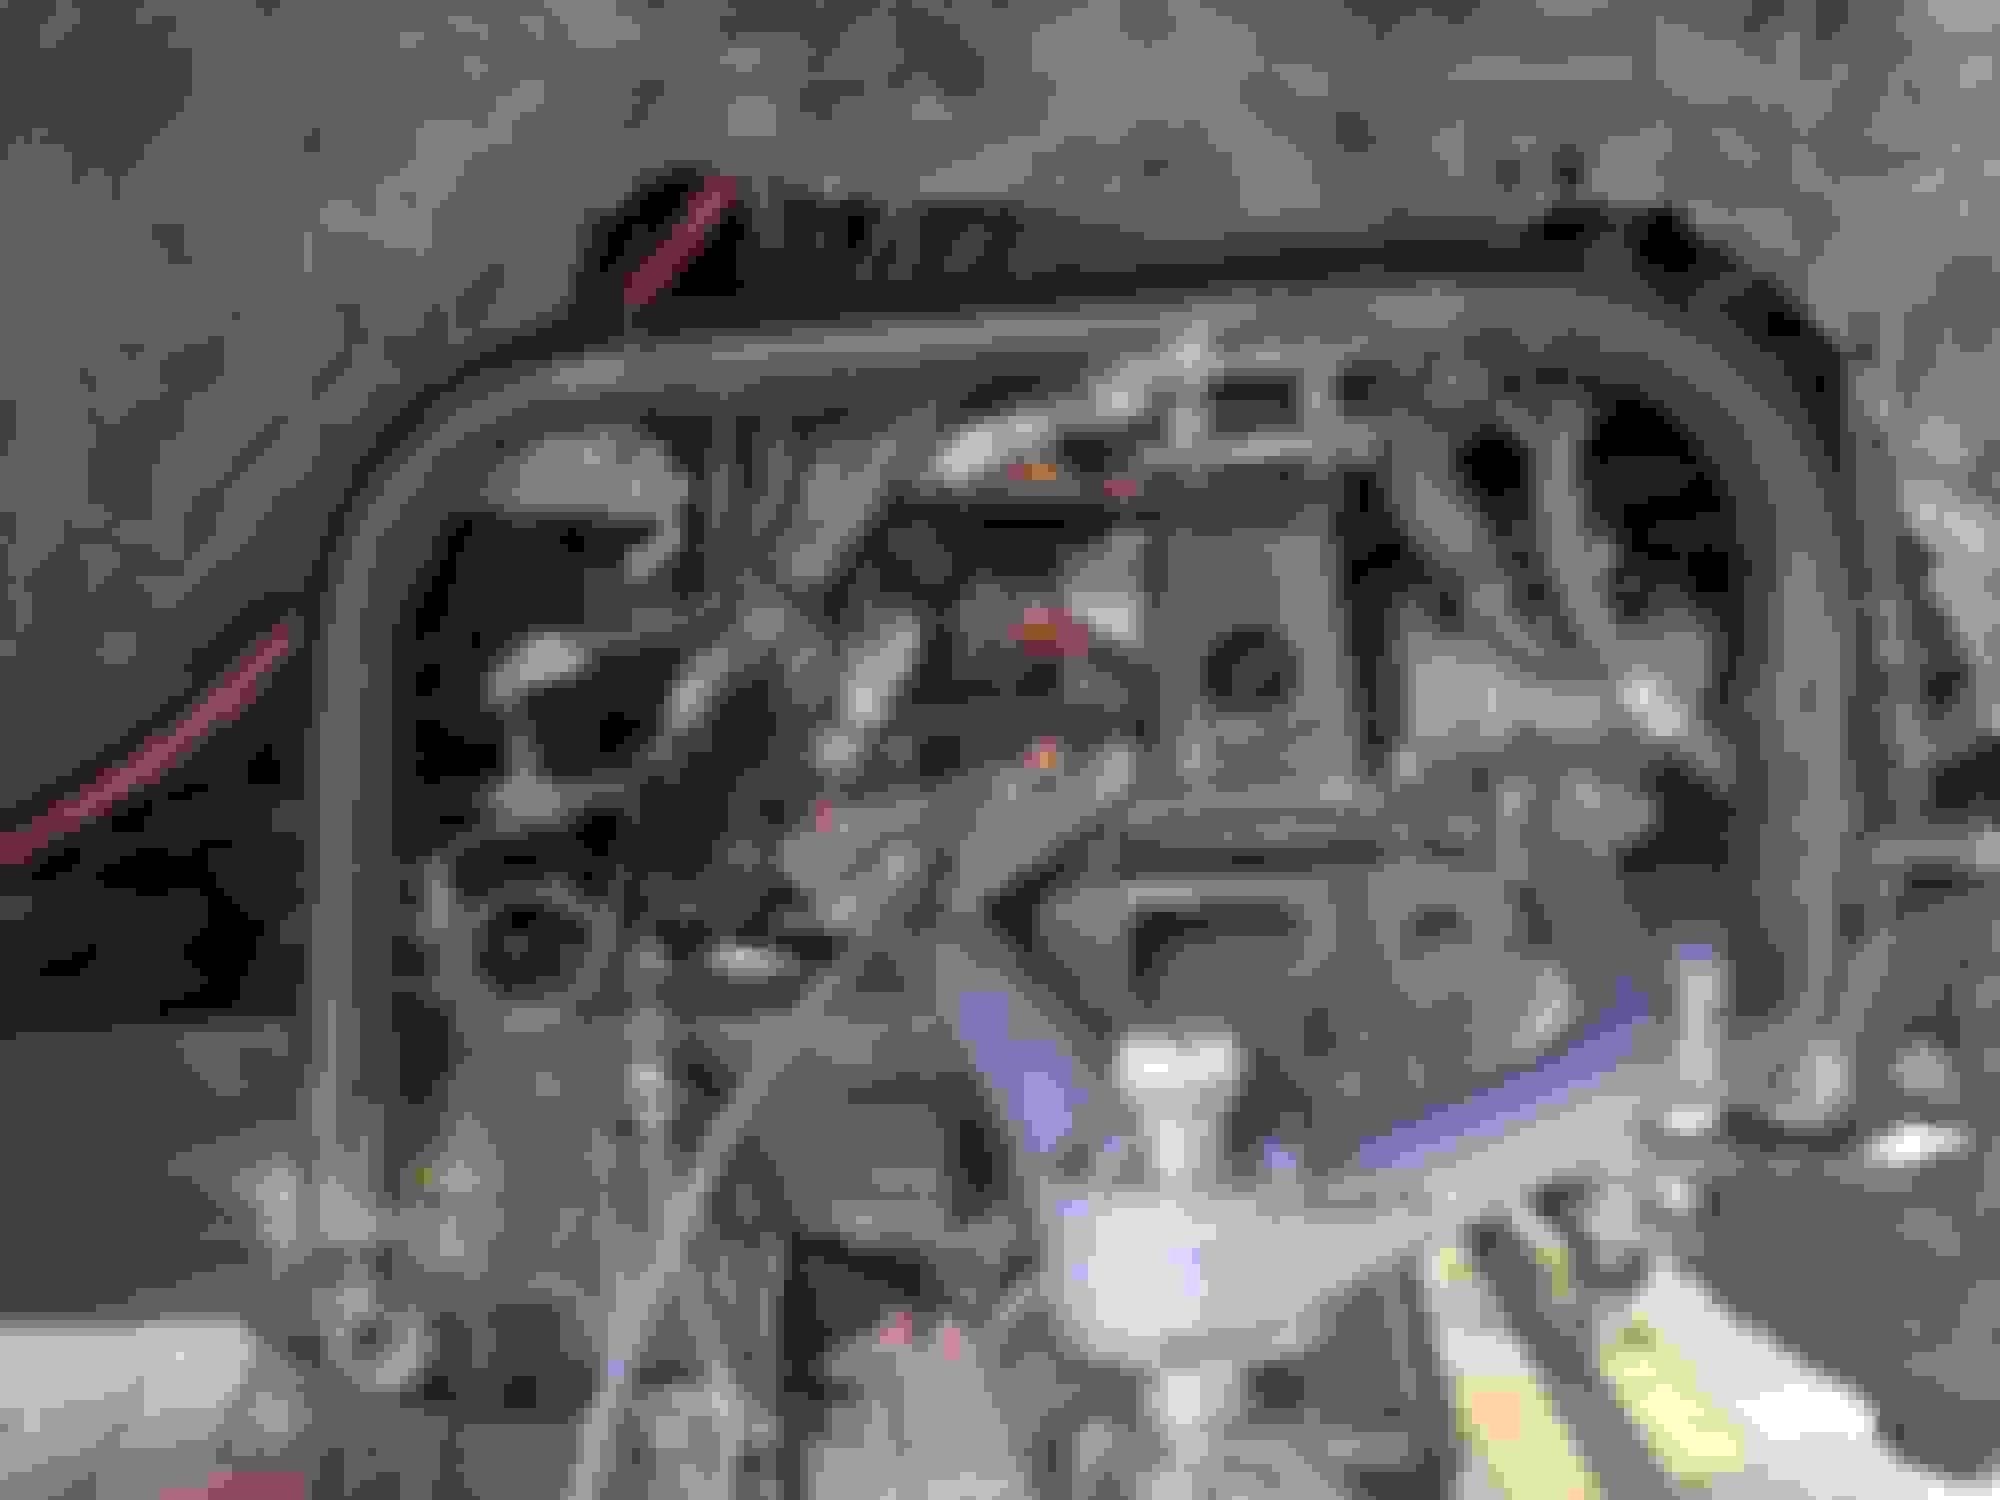
You need two simple diodes a resister big enough to power the dash high beam light and 2 relays. Here are some pics of the wiring.
looks great! not to rain on your wiring accomplishment, but you can get the conversion harness from amazon for about 20 bucks. thats what i did and its been working great.
looks great! not to rain on your wiring accomplishment, but you can get the conversion harness from amazon for about 20 bucks. thats what i did and its been working great.
.. I knew about those harnesses being available, but I remember something not being right about them. I believe it was that it killed your bright light dash indicator. It was fun
Had a fun day out at Calico 4Runner did very well!
On the way home it developed a misfire. Only old component left in ignition circuit is distributor. Checked it today and sure enough, two coils way off. Deep dive in the crappy distributor aftermarket show and finally I settled on richporter/spectra. On order.
So. I stared another thread (which I will get to shortly) about a 1989 Toyota pickup I purchased....
The pickup came with this (Total Chaos Gen II Caddy setup with Fox coilovers) After a few hours the pickup looking like this. Few more hours the 4runner looked like this. Then few more hours the pickup looked like this (Stock parts from 4runner installed on pickup) Gratuitous in between pics Gratuitous in between pics
I am a super duper happy camper. Needs an alignment. Bu the 4runner on-road behavior just improved dramatically.
I did develop an issue related to the coolant system and some knocking or tapping? If you want to help figure that out I started a thread in the general 86=95 forum section.
I Decided to do a medium quality restore on the Pickup. Everything works well, so, why not? Will update that thread soon.
Turns out getting the Toyota Pickup gave me more reasons to work and get new things for the 4Runner LOL
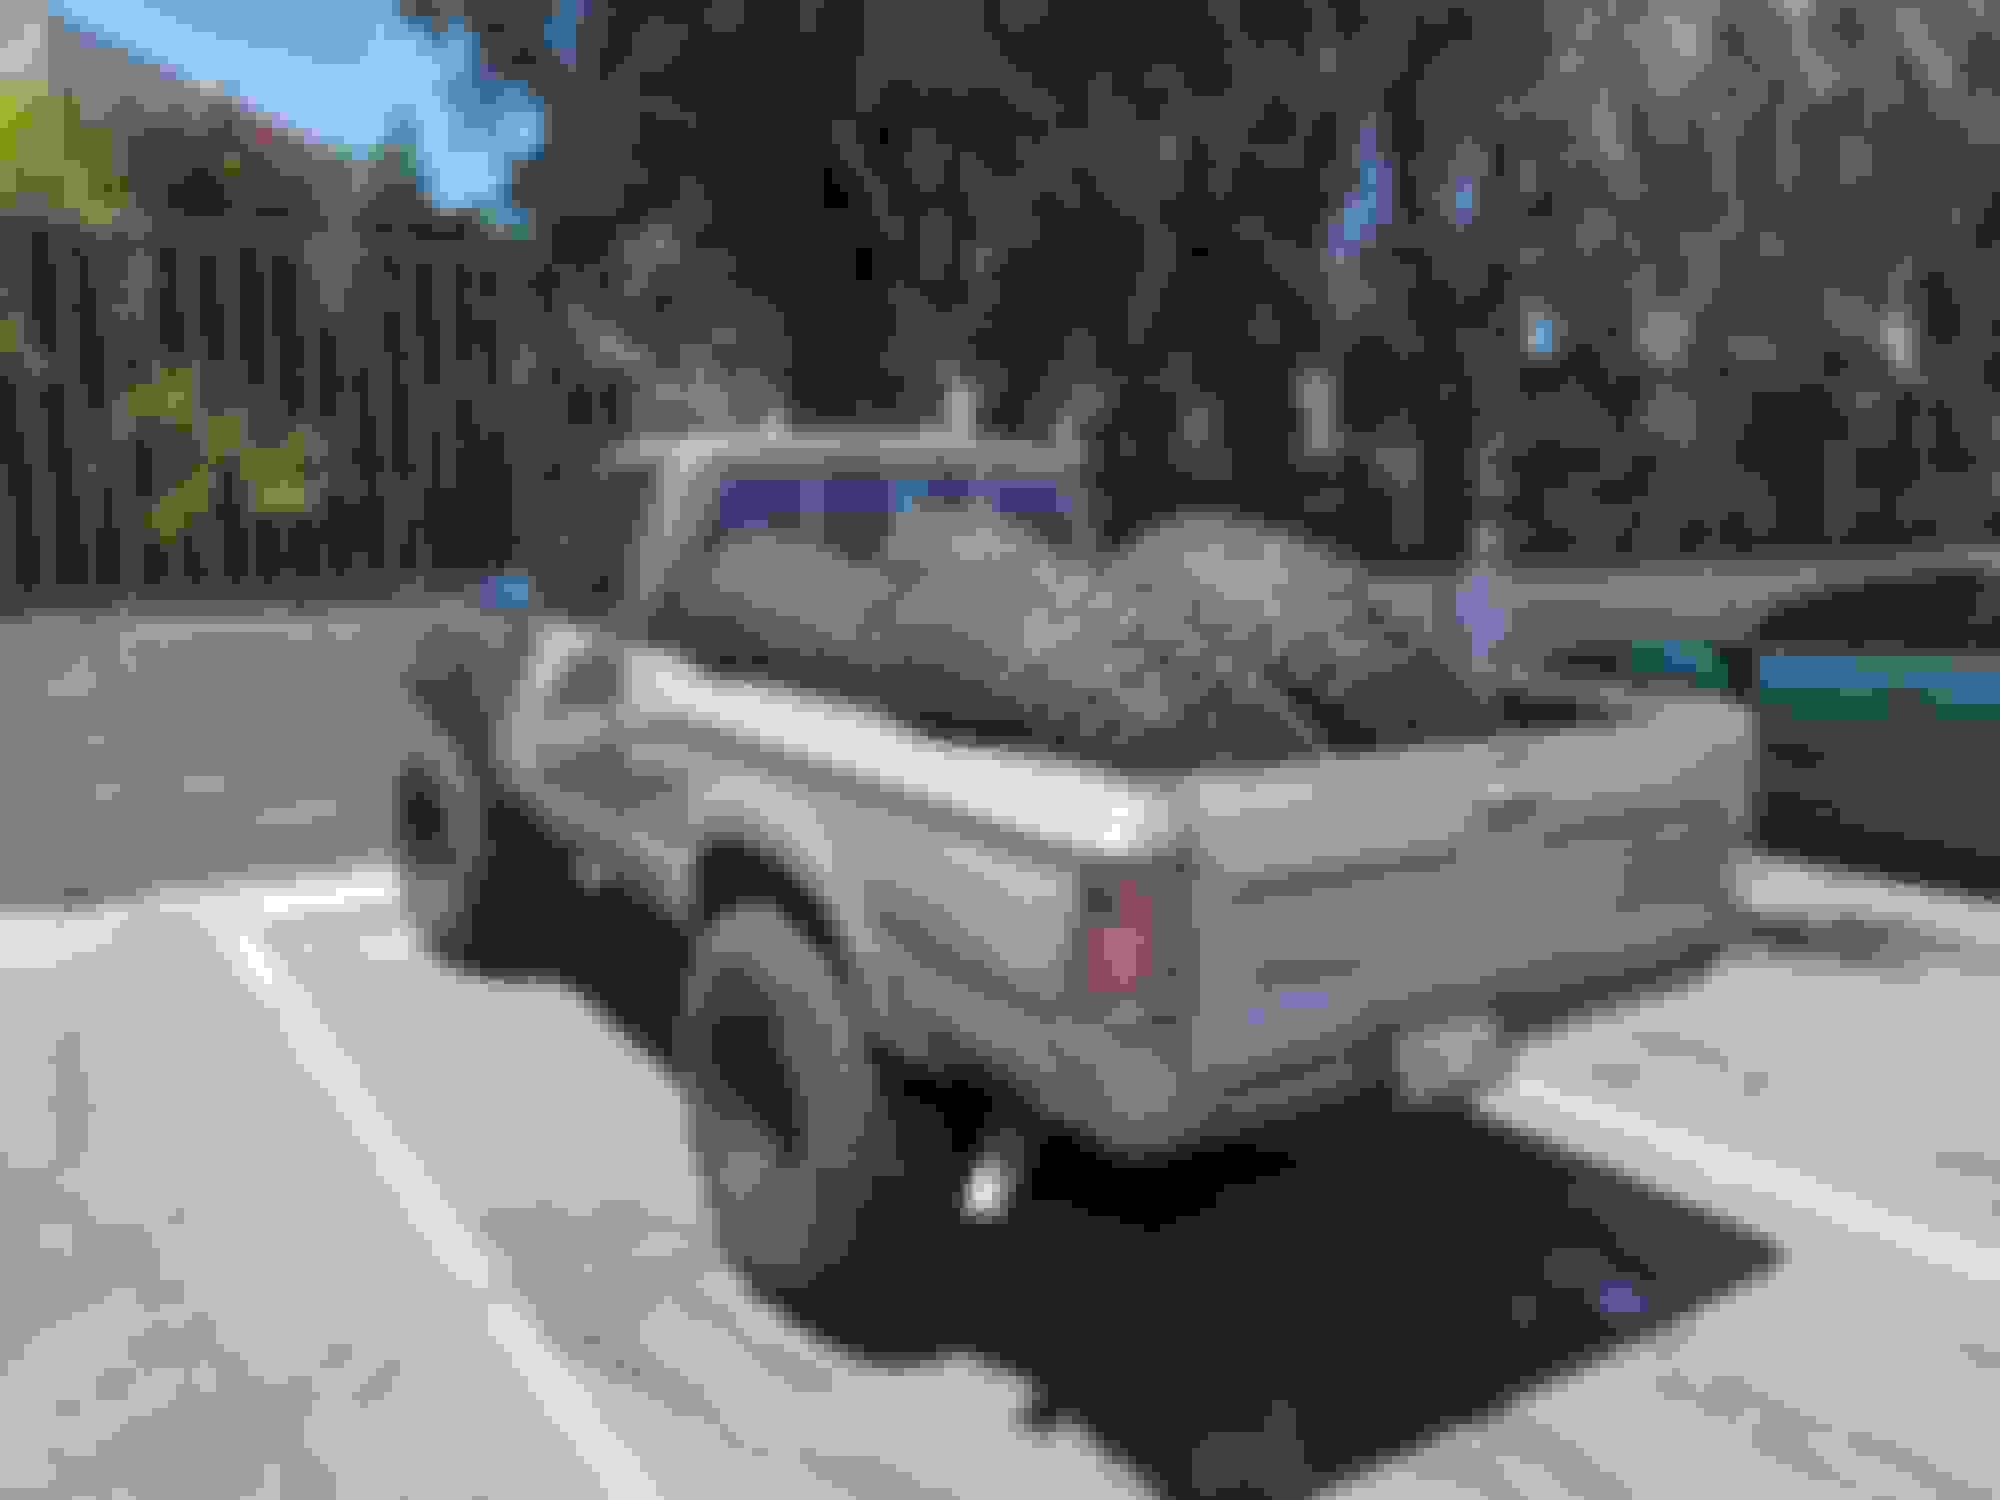
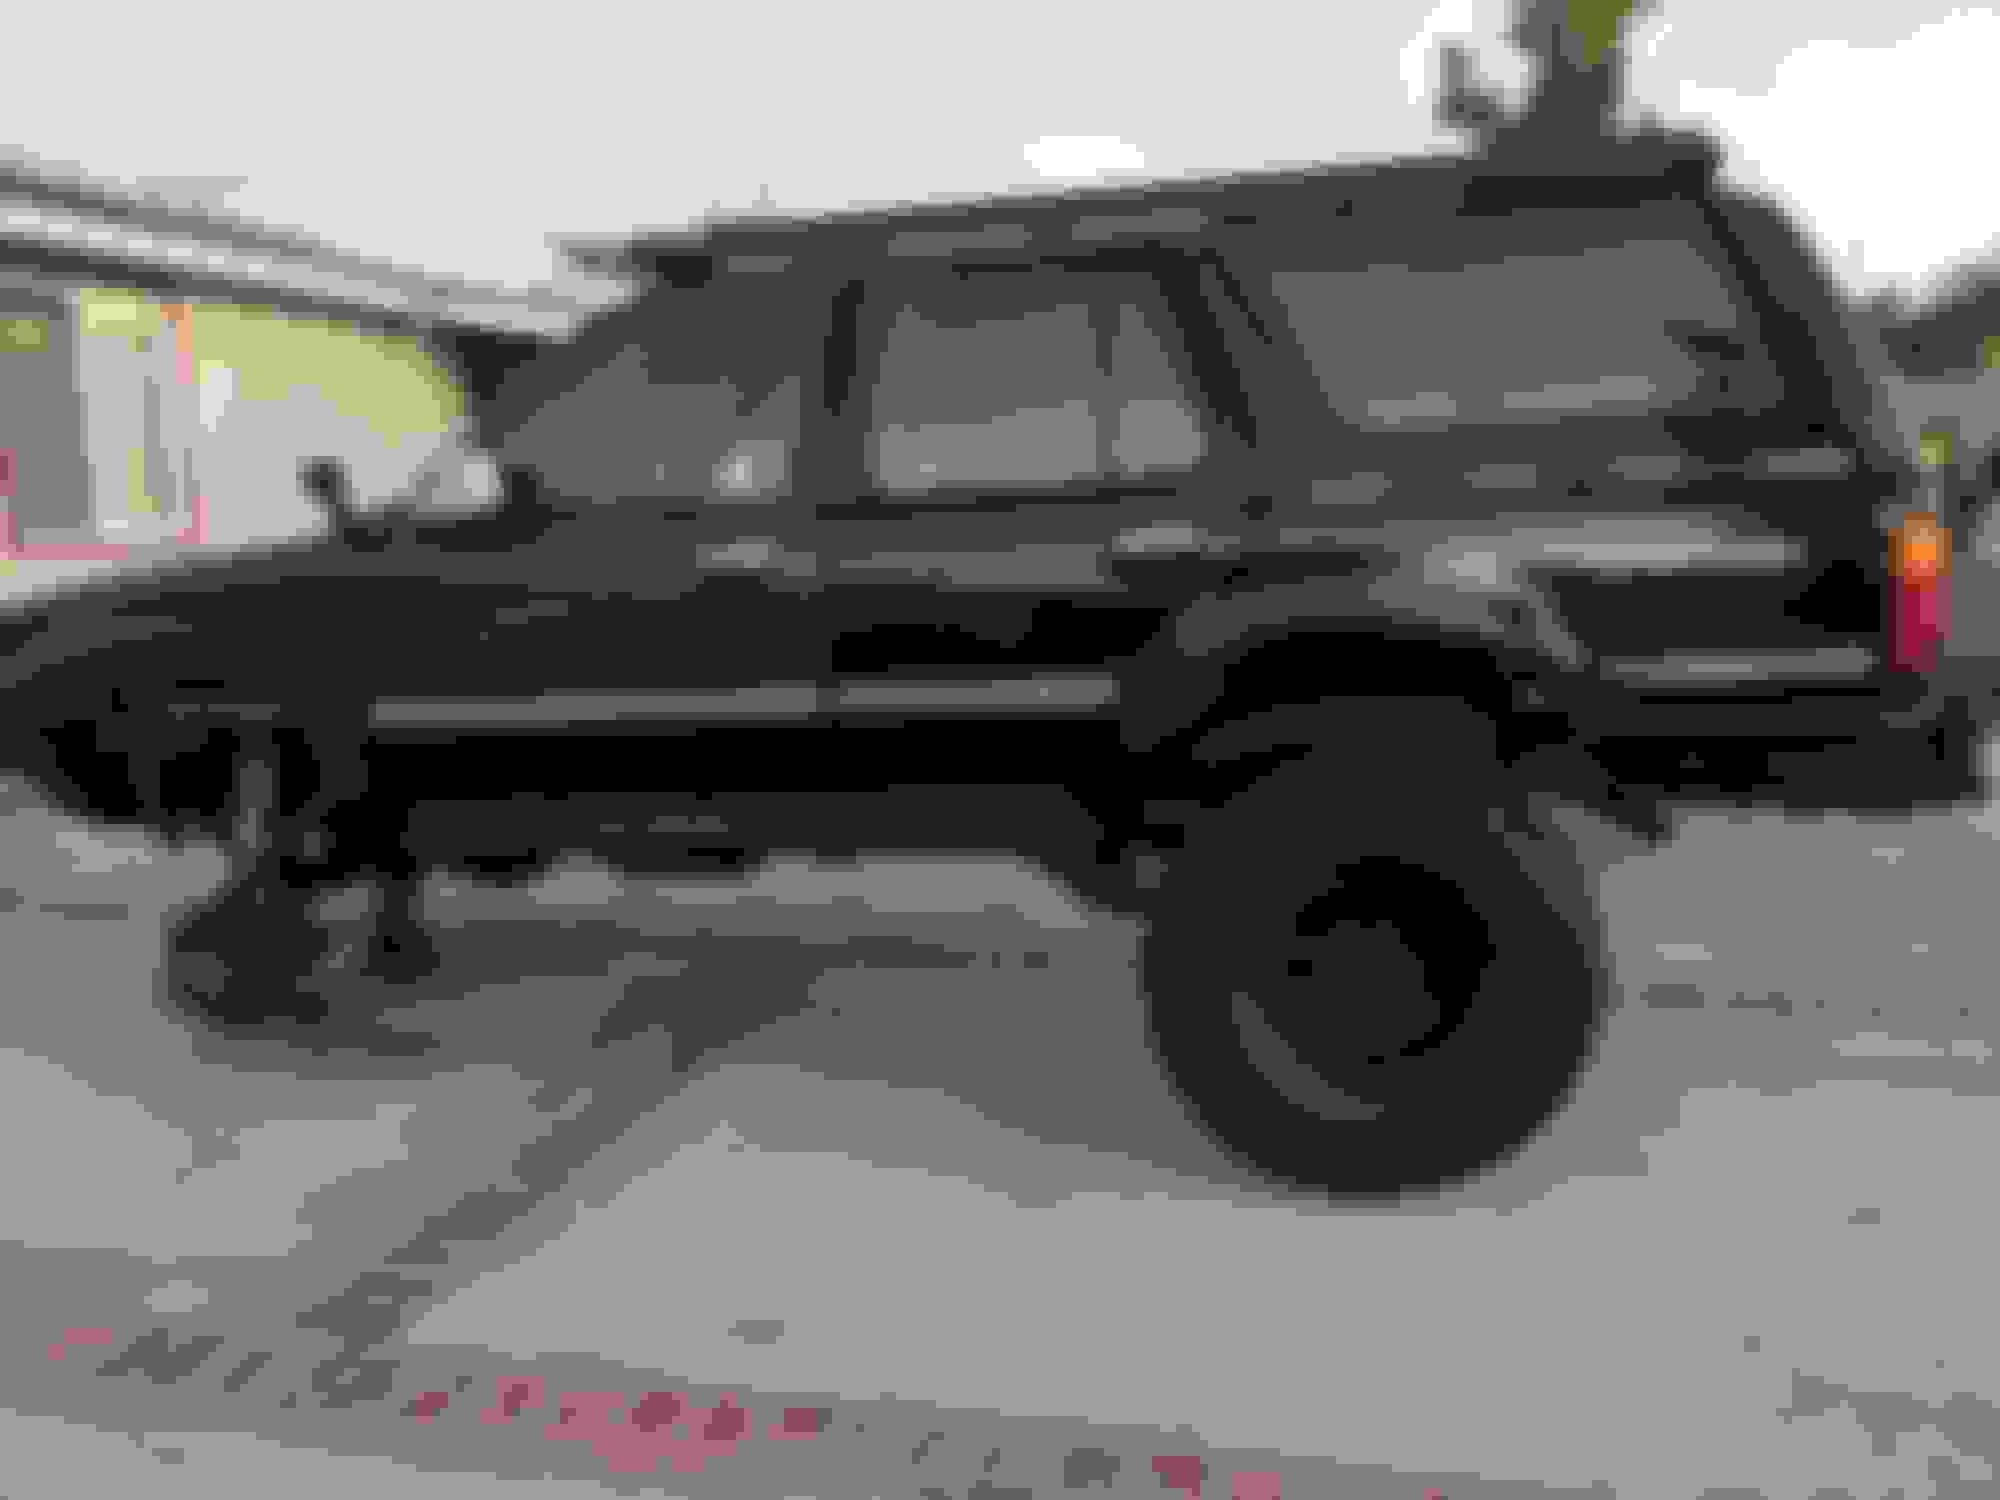
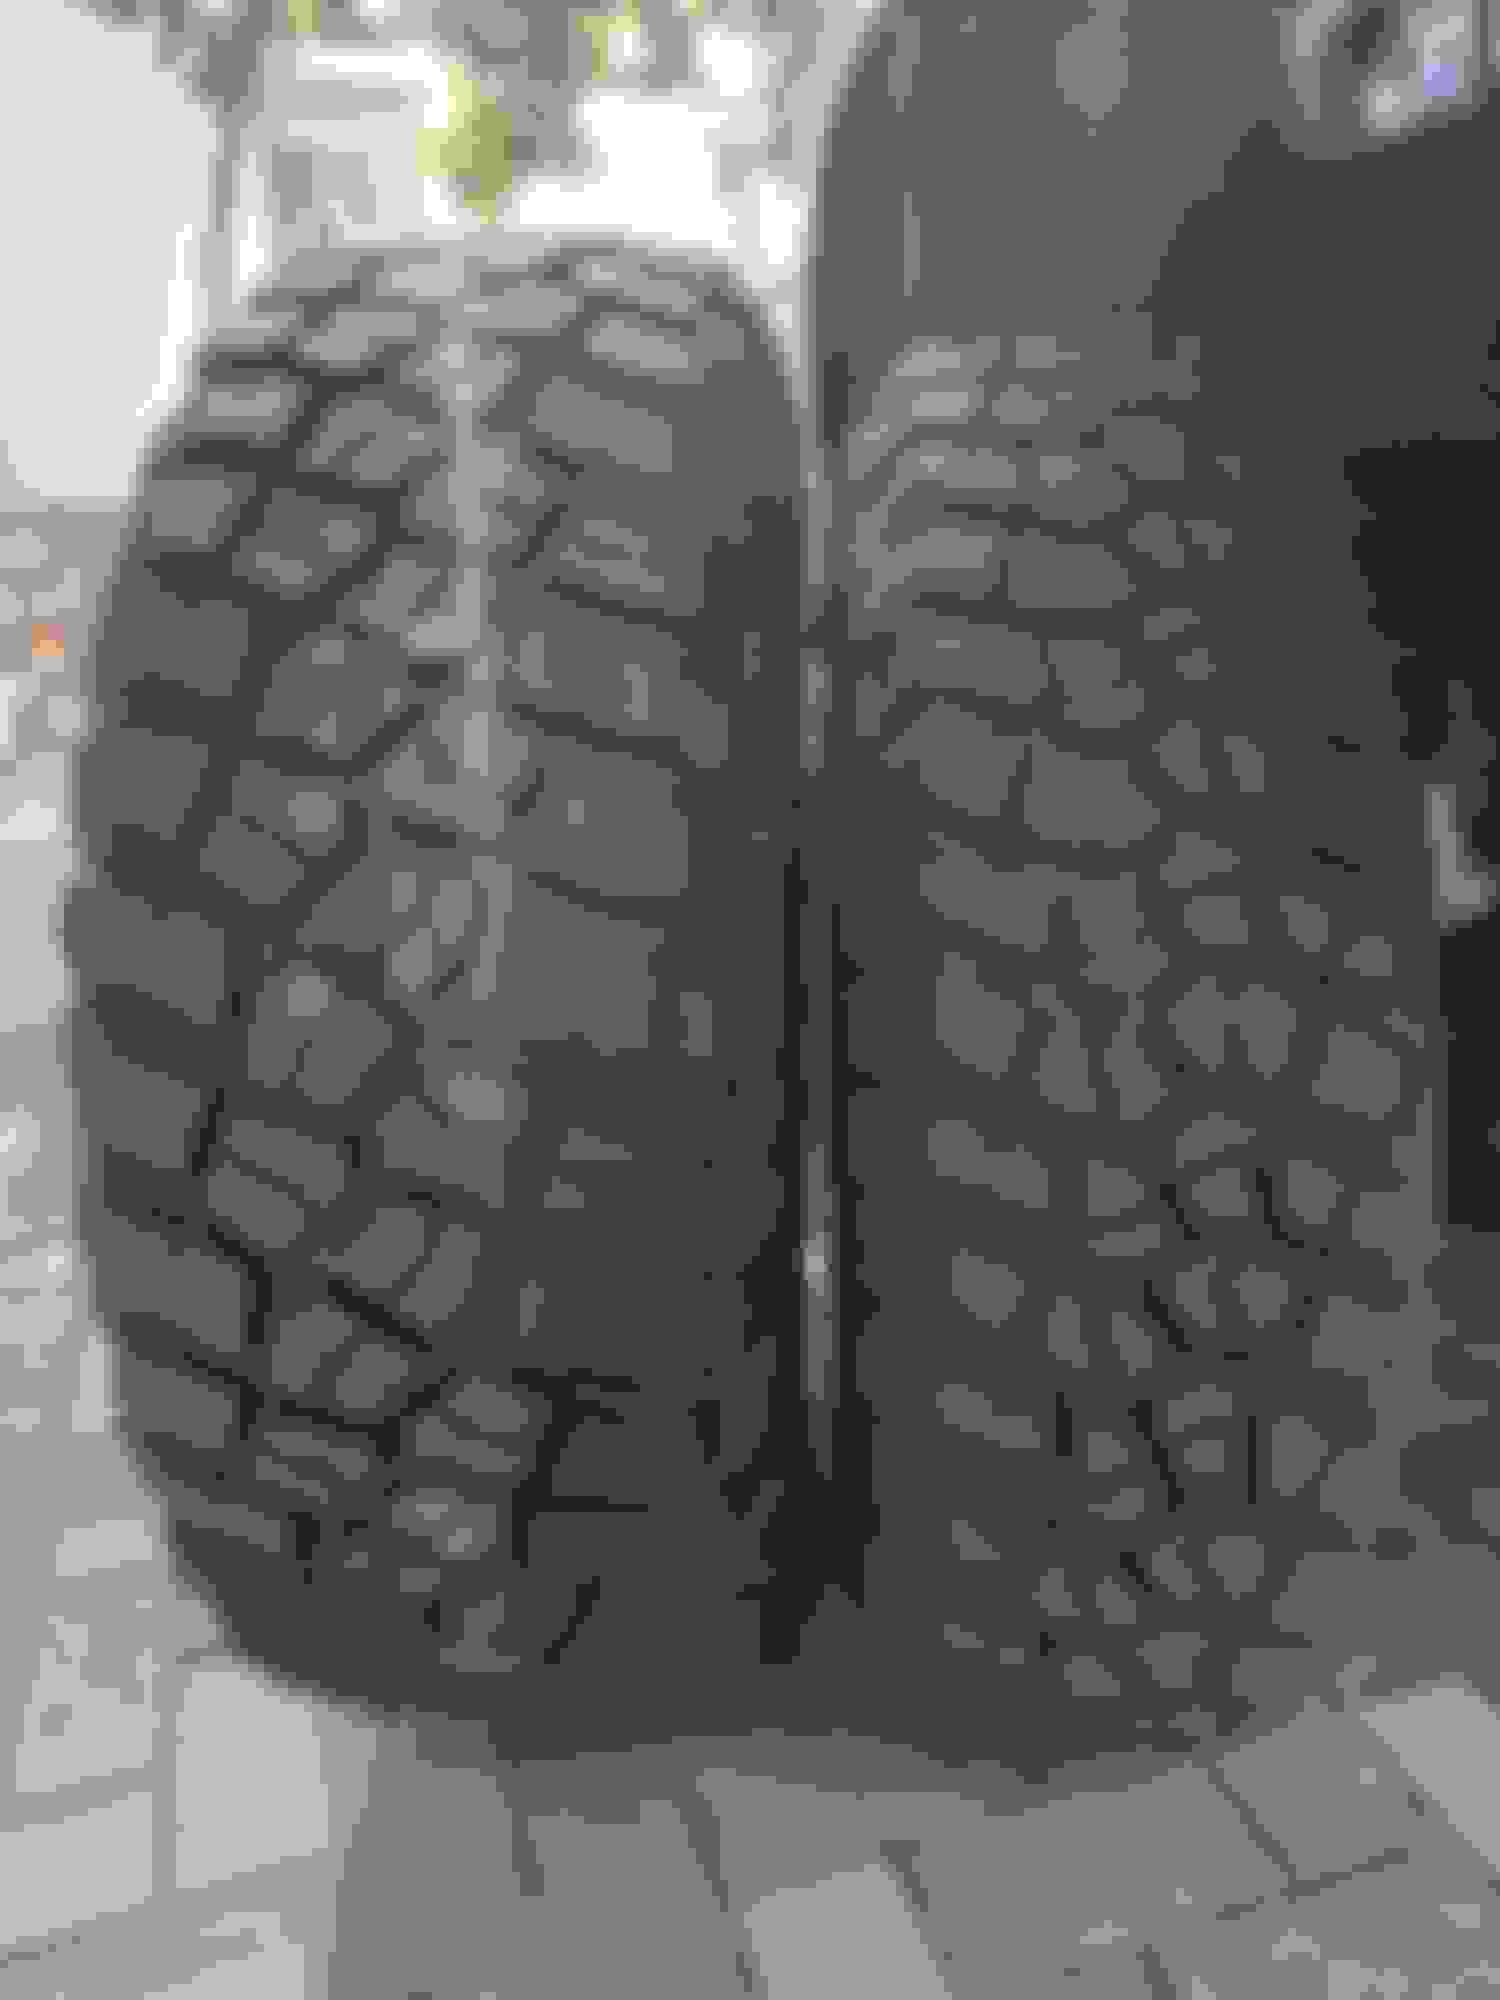
Sold the tires and wheels off the Pickup truck. Upgraded 4Runner to 35's. With 5.71 gears and stronger front suspension components, it was time! test fit. excited! But first. Smog test. I was worried it will not pass, so I found some cheap sheels and tires, 30 inch, to give it that extra edge. Turns out the engine is running very well! Smog test passed 33 KM 2 vs. 35 KM 3 Oh, new wheels. on sale, pretty good deal. Lighter, aluminum. Overall I saved 2 lbs each tire with this change Flex test to see how much of the body I need to hack off. Both front and rears need hacking. backside of each wheel well. Not terrible. Long travel flex. Definitely improved the RTI with the long travel. Once body is hacked I will test again for final flex measurements. My goal was to beat my friends MJ New stance. After selling the tires and wheels the truck came with and getting these new tires and wheels... I only spent about $1k, was not that bad. I am headed to the RUbicon trail in October. CAN'T WAIT!!!
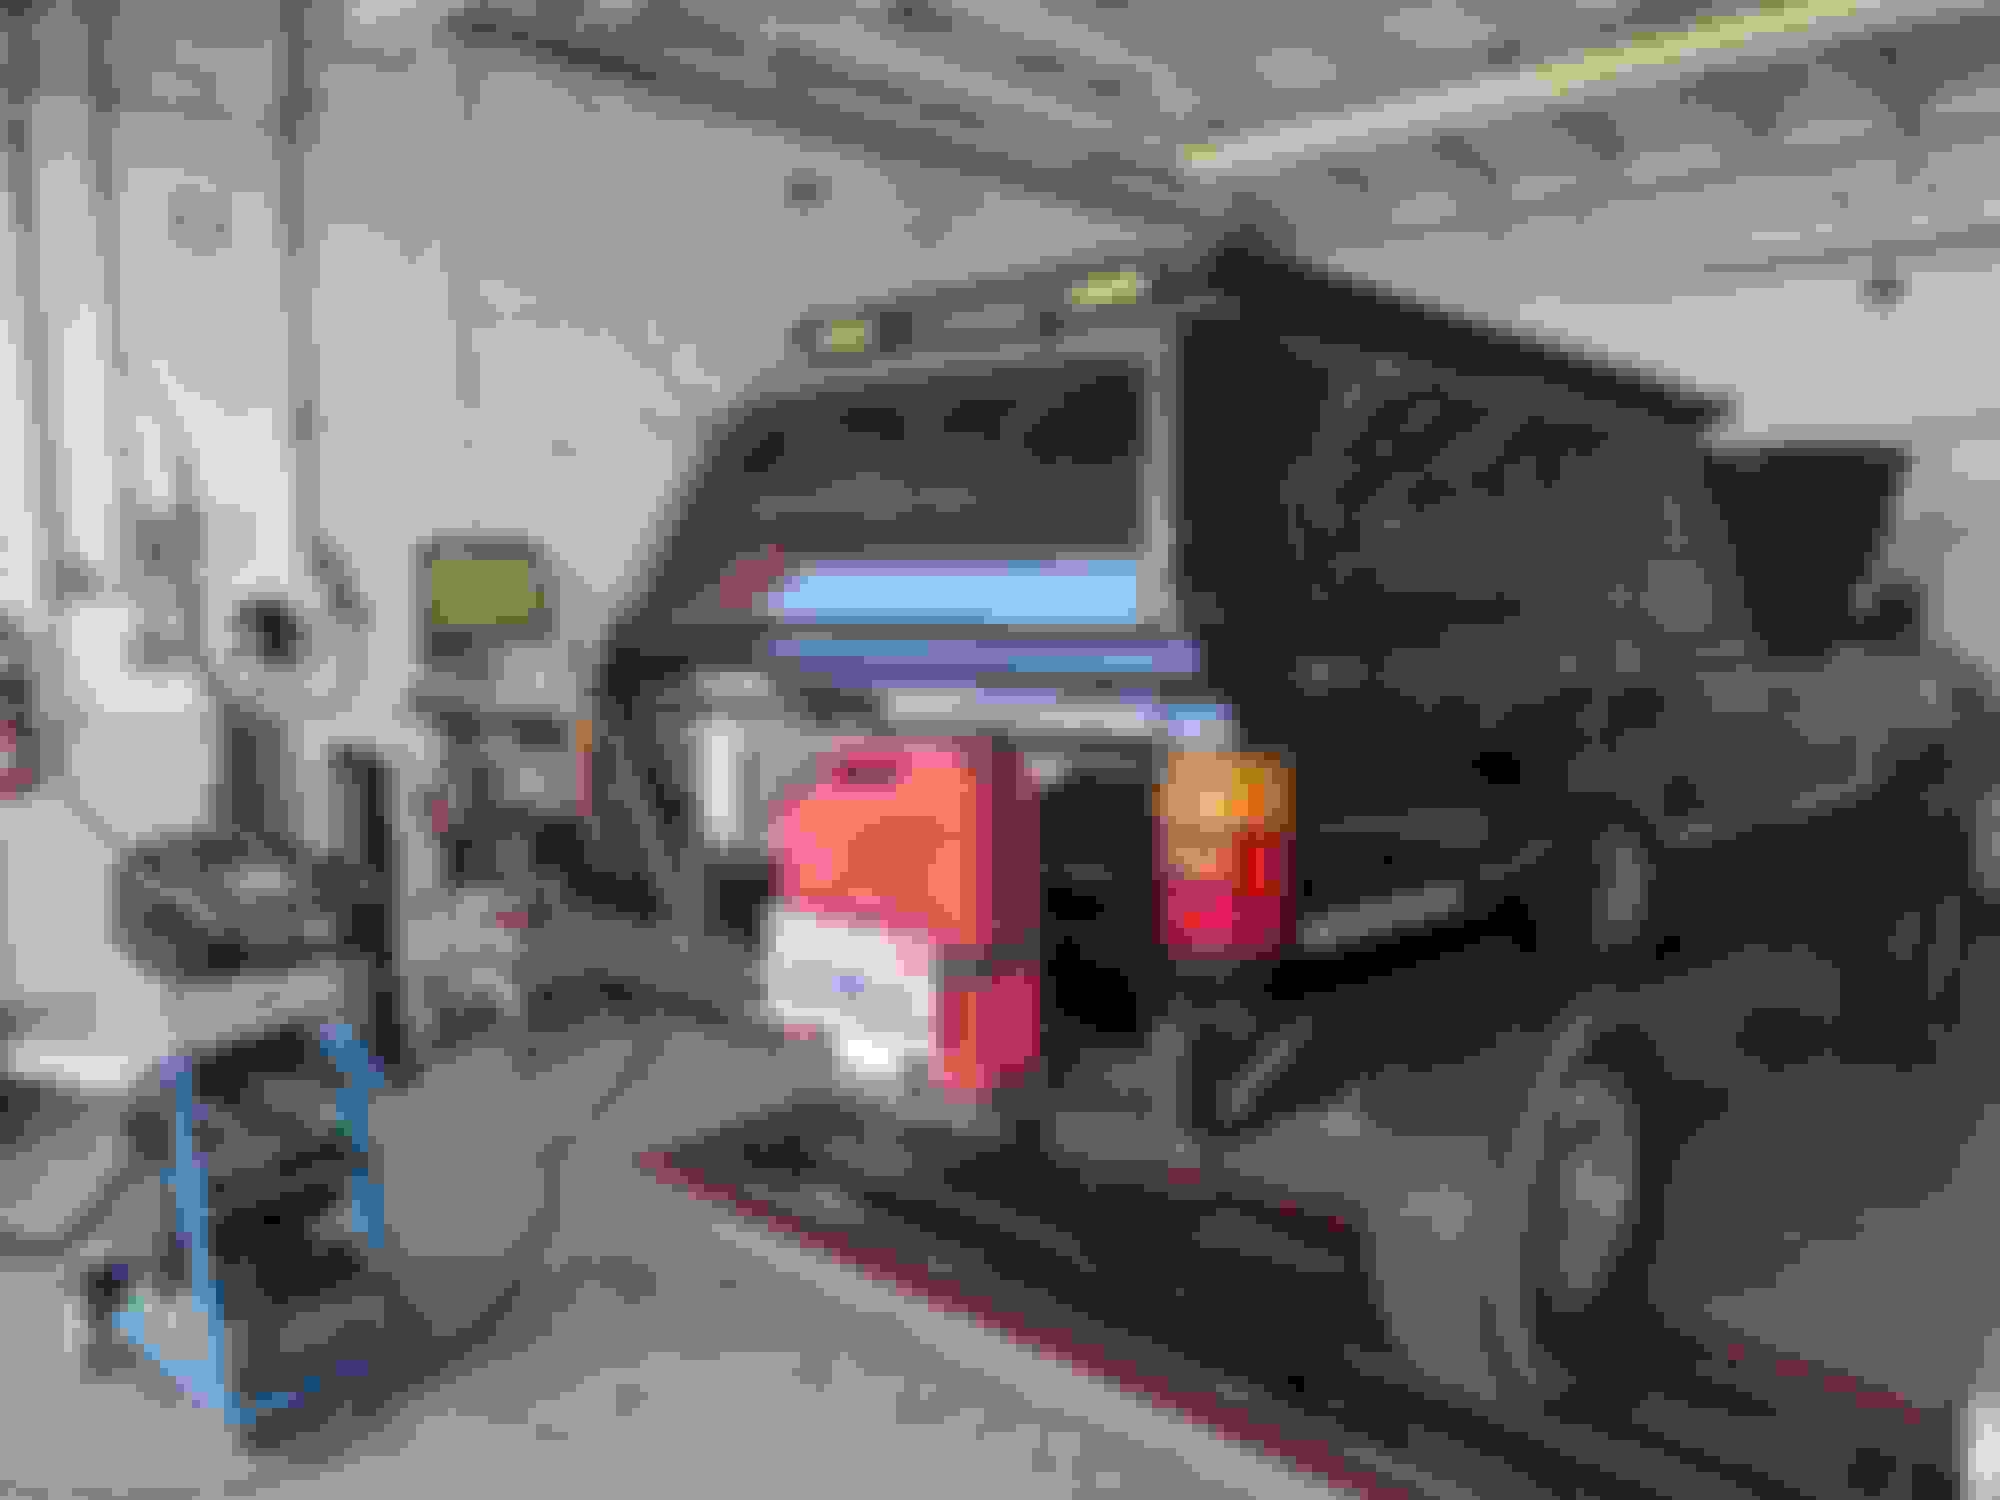
Built new cross member to accommodate budbuilt front skid and custome built center skid Old one got a huge blow on HOlcomb Valley in big bear. Adding bracing. This is rear bracket for rear skid So steel was adding way too much weight. Bought a spool gun, learned how to weld alu all over again. The initial attempts did NOT look like this. lol Center skid, 1/4 inch alu. Cut and tacked. This is rough cuts. Lots more work from here. Rear skid template Rear skid cut and tacked Test fits, cuts, mods, test fits Pretty good. Mounting hardware. nice and slick! Test. maxed out the 2 ton jack, I am happy! Adding final touches to brackets. bud built skid, clear coated for rust proofness. no paint. welded nuts because it would be way to difficult to access above the skids 98% finished product Rear lower control arm mounting points got smashed at holcomb valley. Came up with a pretty quick and decent skid, also added additional strength. welded, ground, painted. lovely. Stock shock mounts also got smashed. Can't have this for Rubi. In the future I need to remove the whole axle and rebuild all mounting points. The shock mounting need to change angle as well. Meanwhile, found a quick way to add protection. Upside down welding sucks! Clearance issue I noticed with the brake line 2 days before off roading trip!! Phew. New flex steel hose to the rescue. From the rains. windows closed. wtf?

 01-26-2021, 11:03 AM