When you click on links to various merchants on this site and make a purchase, this can result in this site earning a commission. Affiliate programs and affiliations include, but are not limited to, the eBay Partner Network.
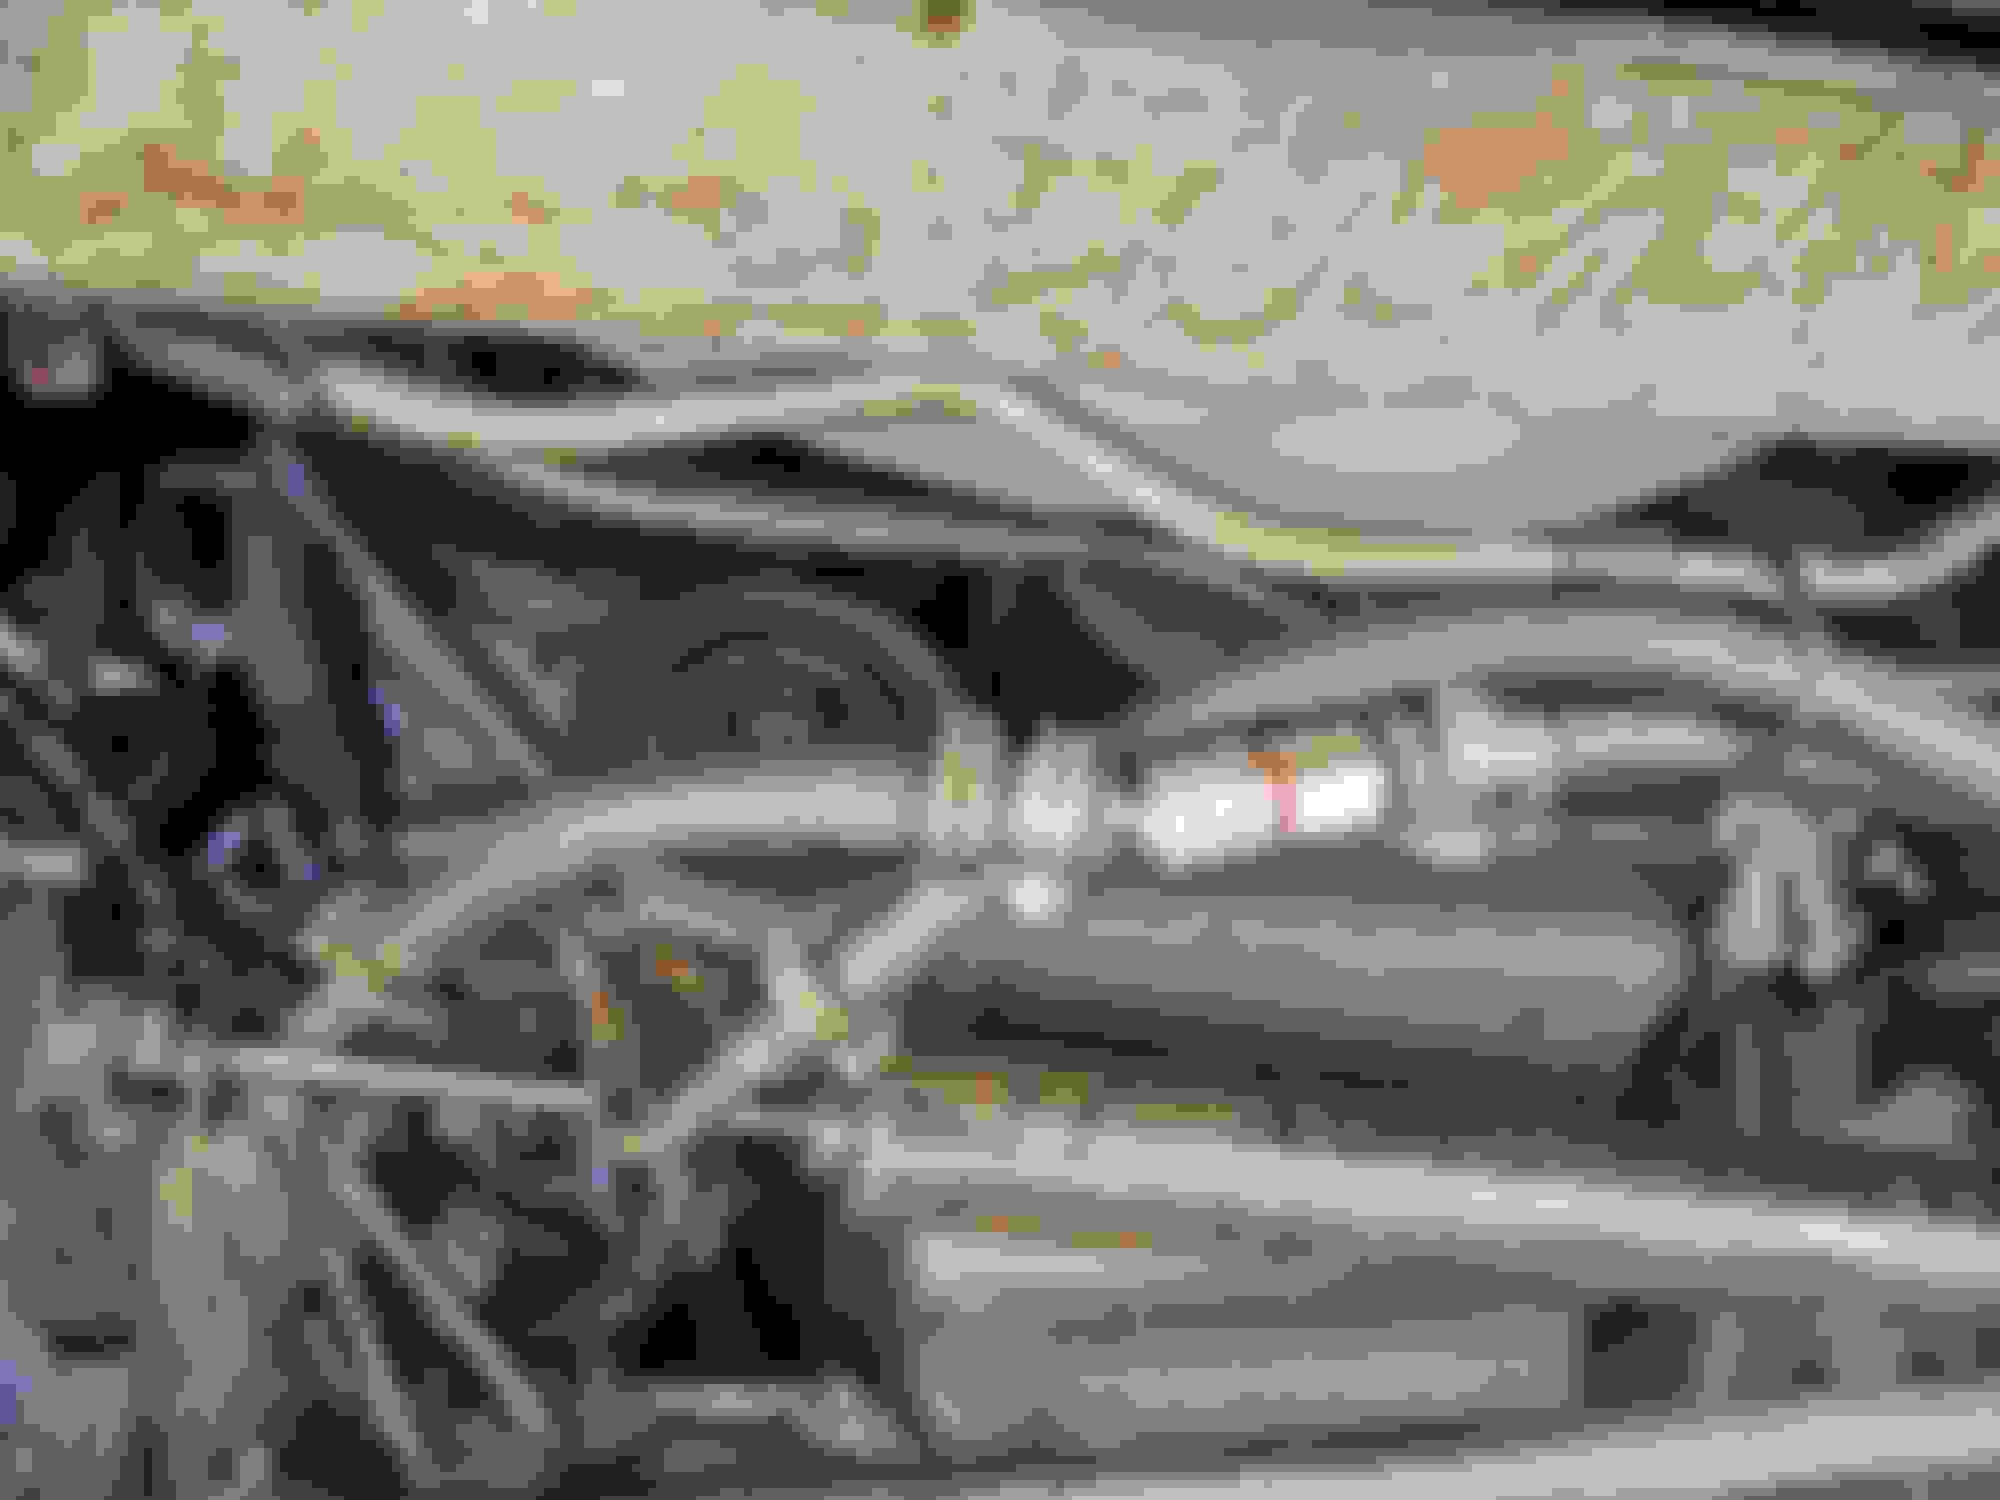
Well, I have been a busy bee. I have been on three trips with it since the new tranny crossmember/mount install and am happy to report I do not identify any problems with it. I can paint it soon. I want to design and install a belly pan before painting.
First, my current/upcoming project. I drove over the grapevine on Sunday for the offroading trip in the Kern Valley. In doing so I pushed my engine and tranny to see what temperatures I'm gonna see in the tranny since I removed one of the two tranny coolers I had installed a long long time ago. Well, I wasn't too happy because it was getting up there.. enough for me to pull over and give it 10 minutes to cool down. Ofcourse this is only on the long hill climb. So, I decided I am going to kill this problem once and for all. I will keep the thin cooler in front of the radiator, it's doing a great job! And I will install one in the bottom. First as a heat sink, so no forced air over it. If I need more I will add a fan. I order a 20inch X 7inch cooler. Will post that install when it happens.
Meanwhile.
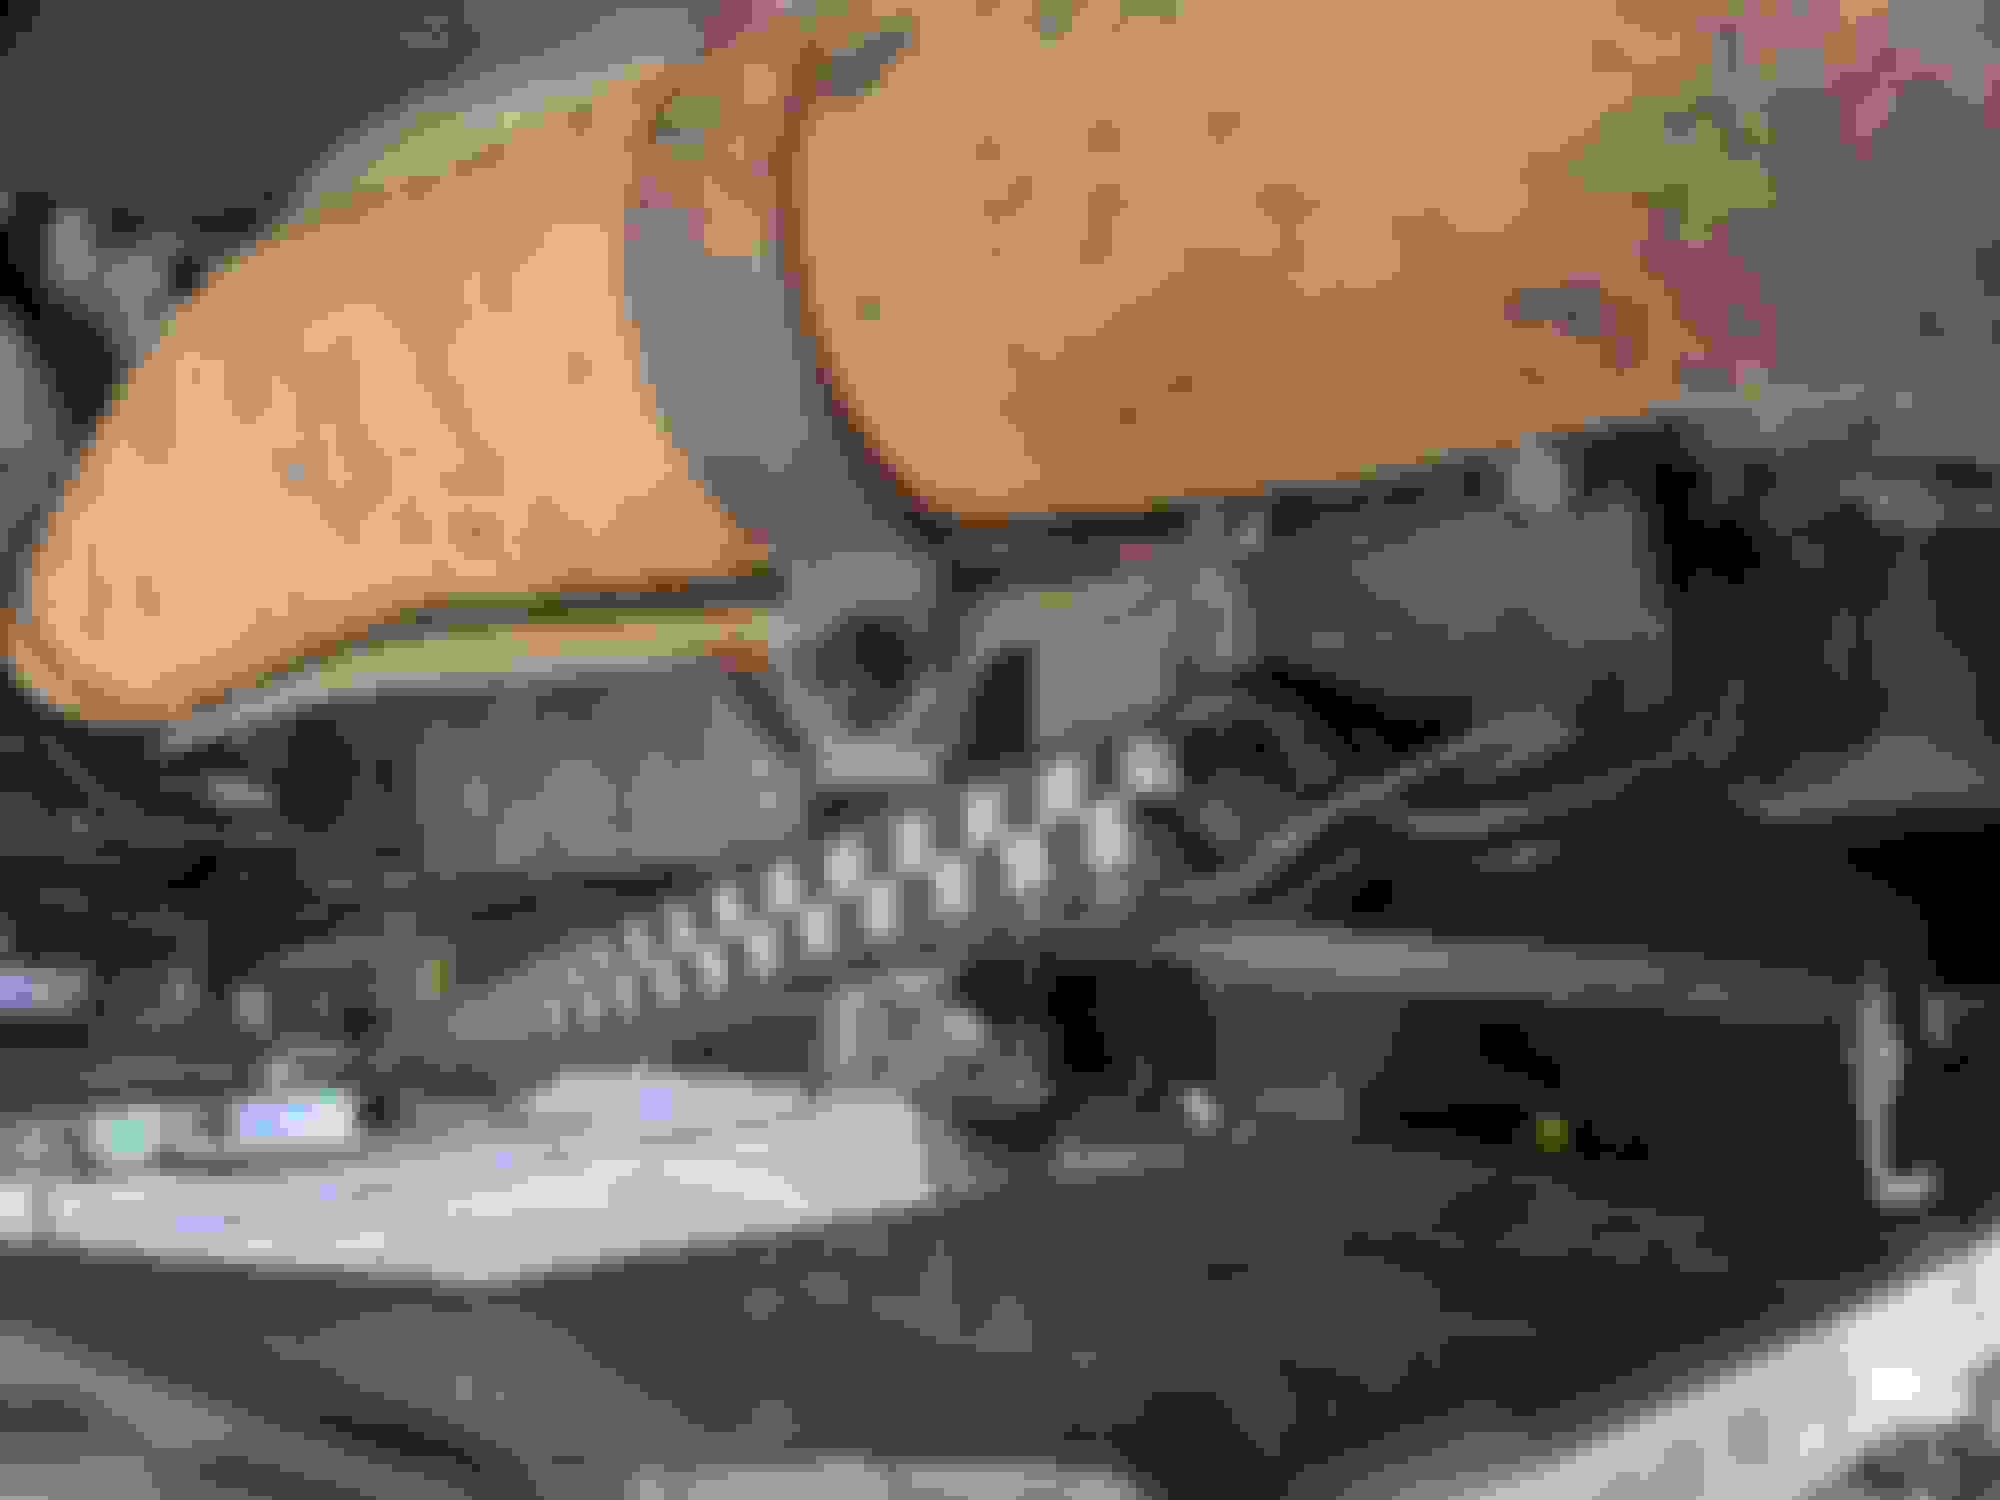
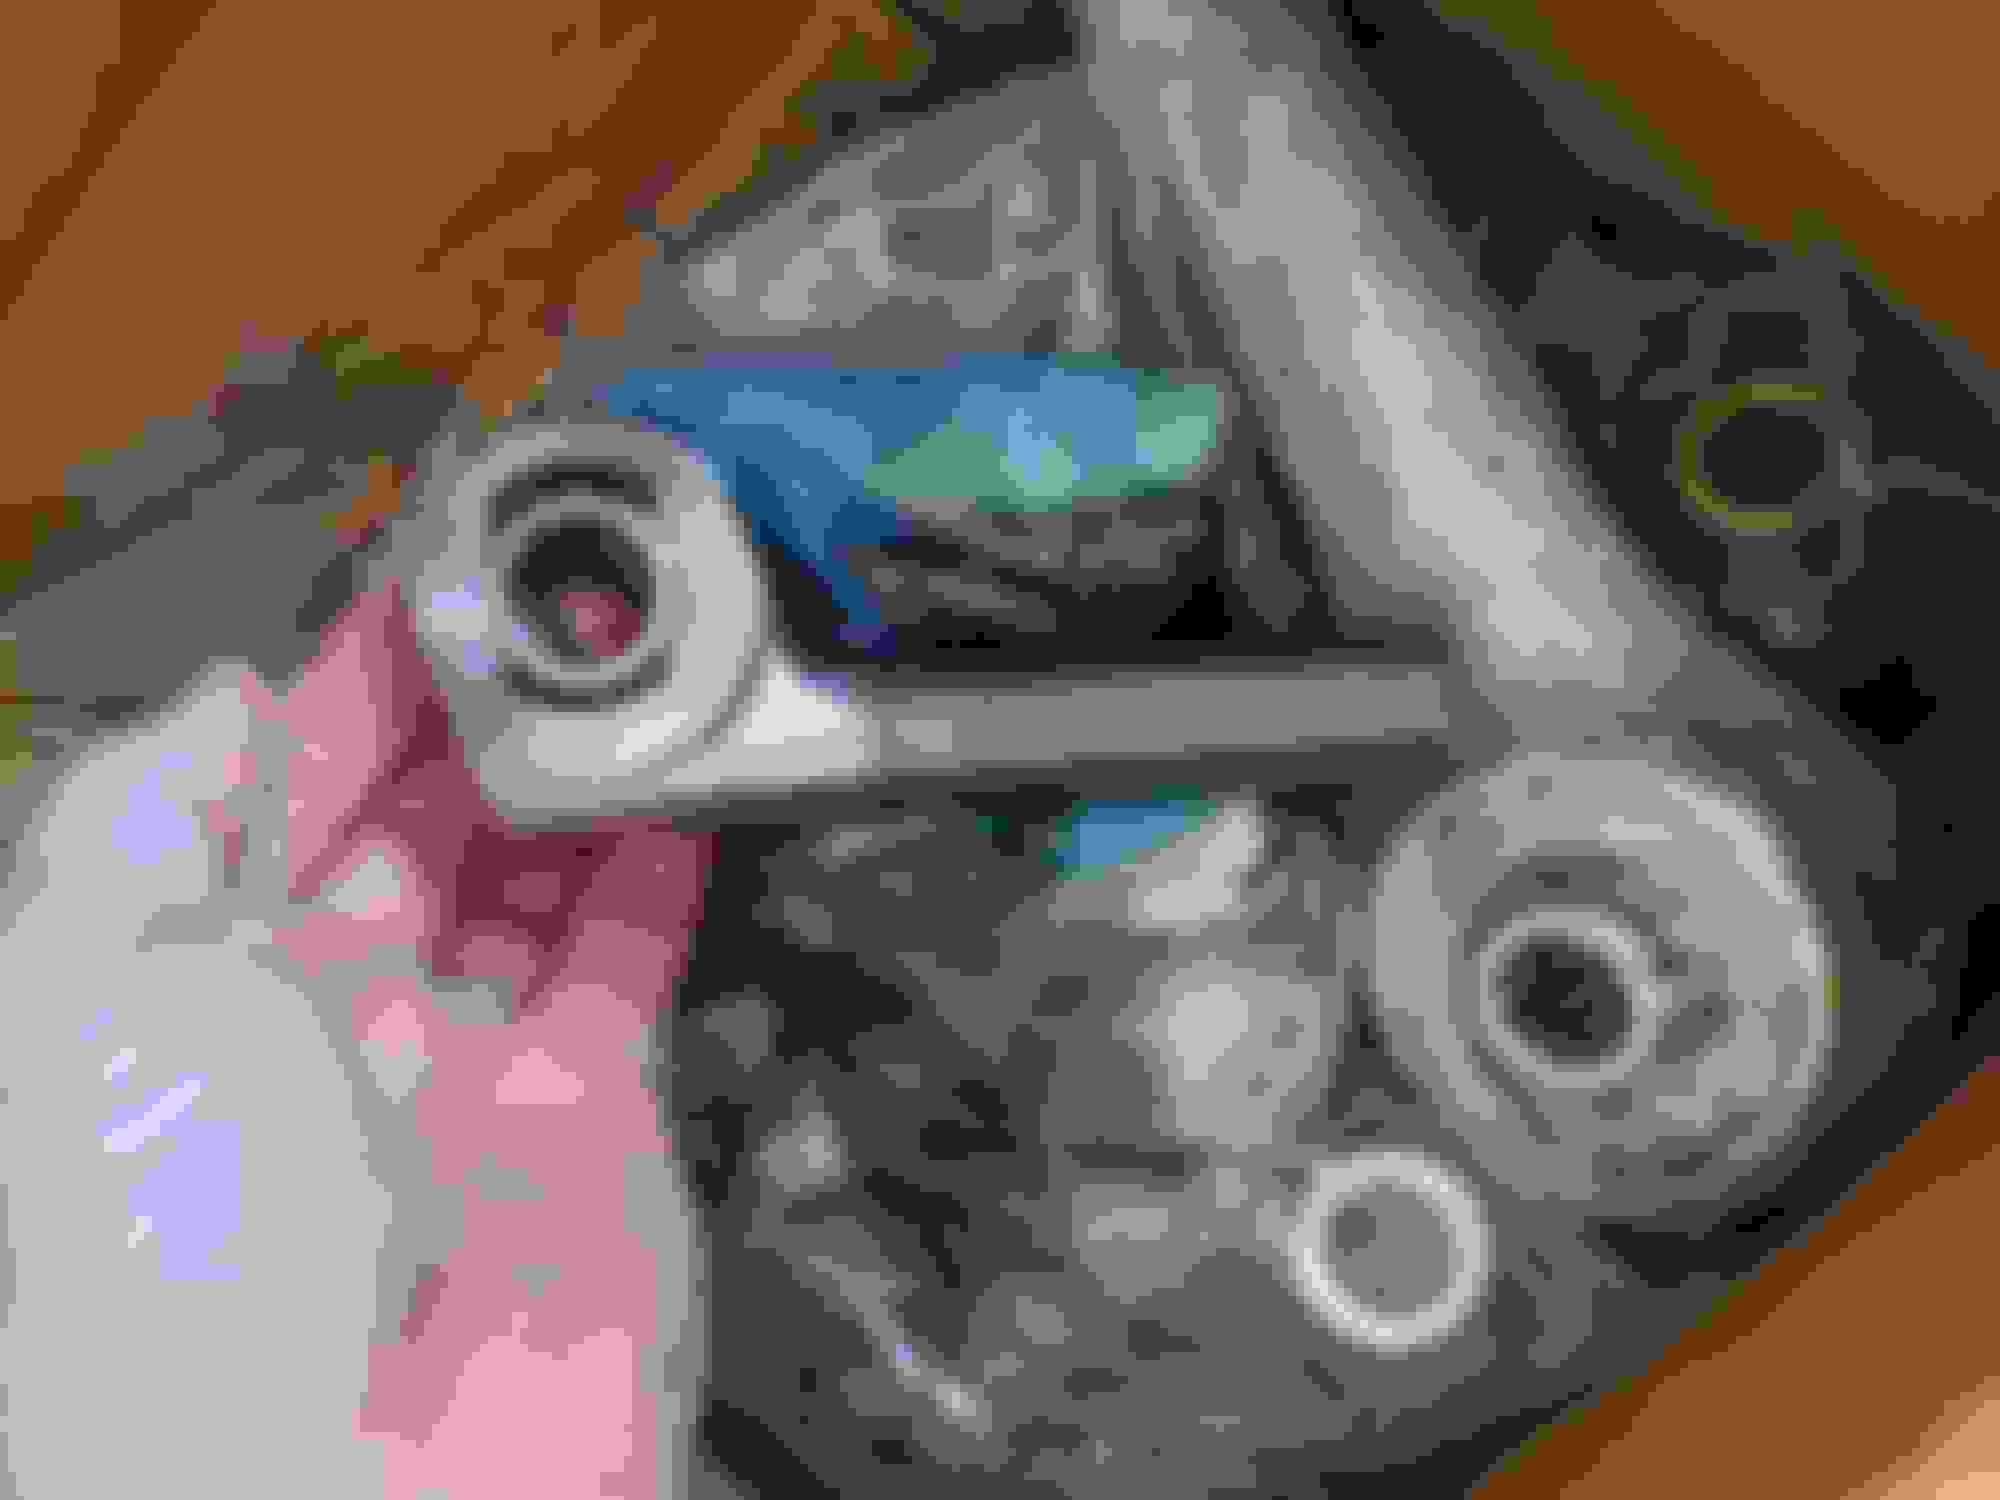
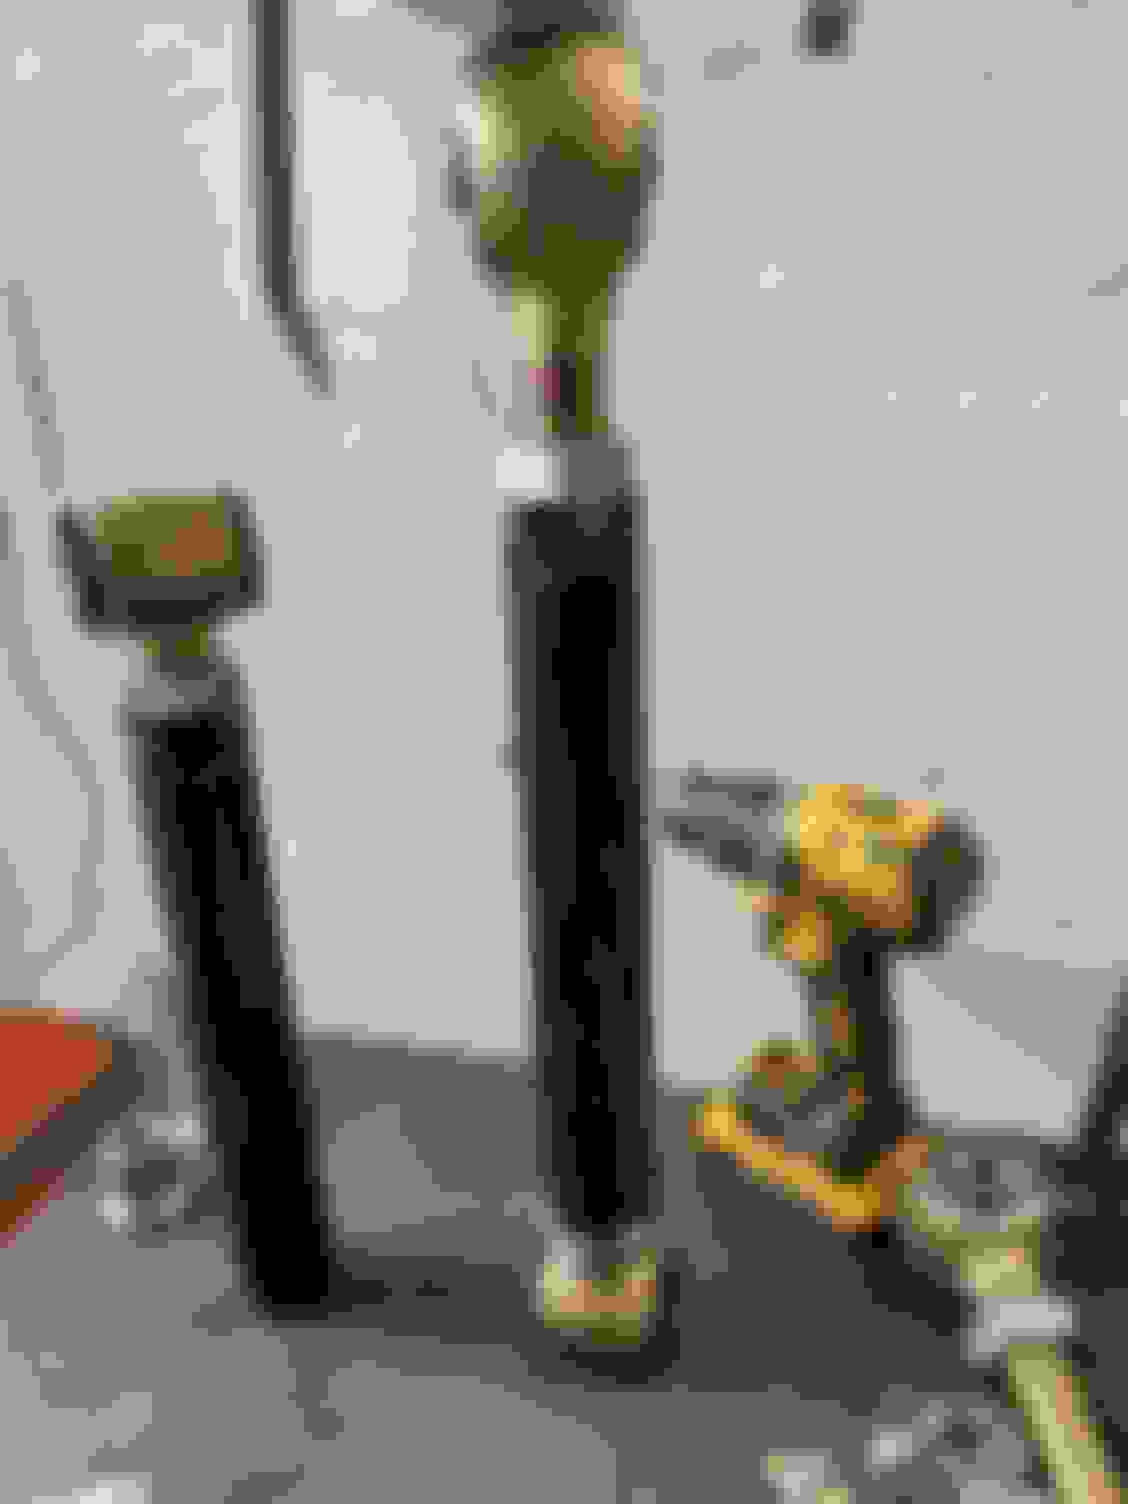
Engine mounts were shot. Only years old.. I found the problem. Same problem with the tranny mount, totally shot. I replaced it as well. You will notice strap. lol. The engine and tranny had moved backwards by 1/2, i thought the bad engine mounts caused it. I think lifting the suspension changed the angle and pulled the drivetrain backwards. I made my crossmember holes in stock location then had to slot them. Got to figure that out... I felt some vibrations and I am testing this rubber gasket out to see if it is necessary. Took the kids and wife out for a little easy run in the hills. Some stupid plastic hose coupler was corroded by the tranny fluid and gave out. Luckily my on board air system provided me with enough parts to couple it. And I had 3 qts of spare fluid. Got the job done until nearest parts store. 2.5 more quarts of fluid needed. phew!!! New switch panel and some fun with the labeling with my son I am super loving my new storage setup! New LED headlights!! Some gratuitous shorts from the weekend now. Also, new headlight looking pretty good! SO MUCH FUN!
I said something dumb about my drivetrain moving backwards issue in my last post. The suspension lift lifts whole drivetrain as is. That can't be the cause of the 1/2 movement. So the jury is still out, what about the stock mount and crossmember setup is letting this happen.
Don't have anything to add immediately about the drivetrain movement. I do want to add that I don't think the rubber spacer between the crossmember and frame is a good idea. As the rubber compresses over time, it will relieve tension on the bolts and the bolts will basically loosen. I can foresee the bolts falling out with what you've done there. Unless you have metal to metal contact, the forces won't be transmitted between the frame and crossmember as designed.
Don't have anything to add immediately about the drivetrain movement. I do want to add that I don't think the rubber spacer between the crossmember and frame is a good idea. As the rubber compresses over time, it will relieve tension on the bolts and the bolts will basically loosen. I can foresee the bolts falling out with what you've done there. Unless you have metal to metal contact, the forces won't be transmitted between the frame and crossmember as designed.
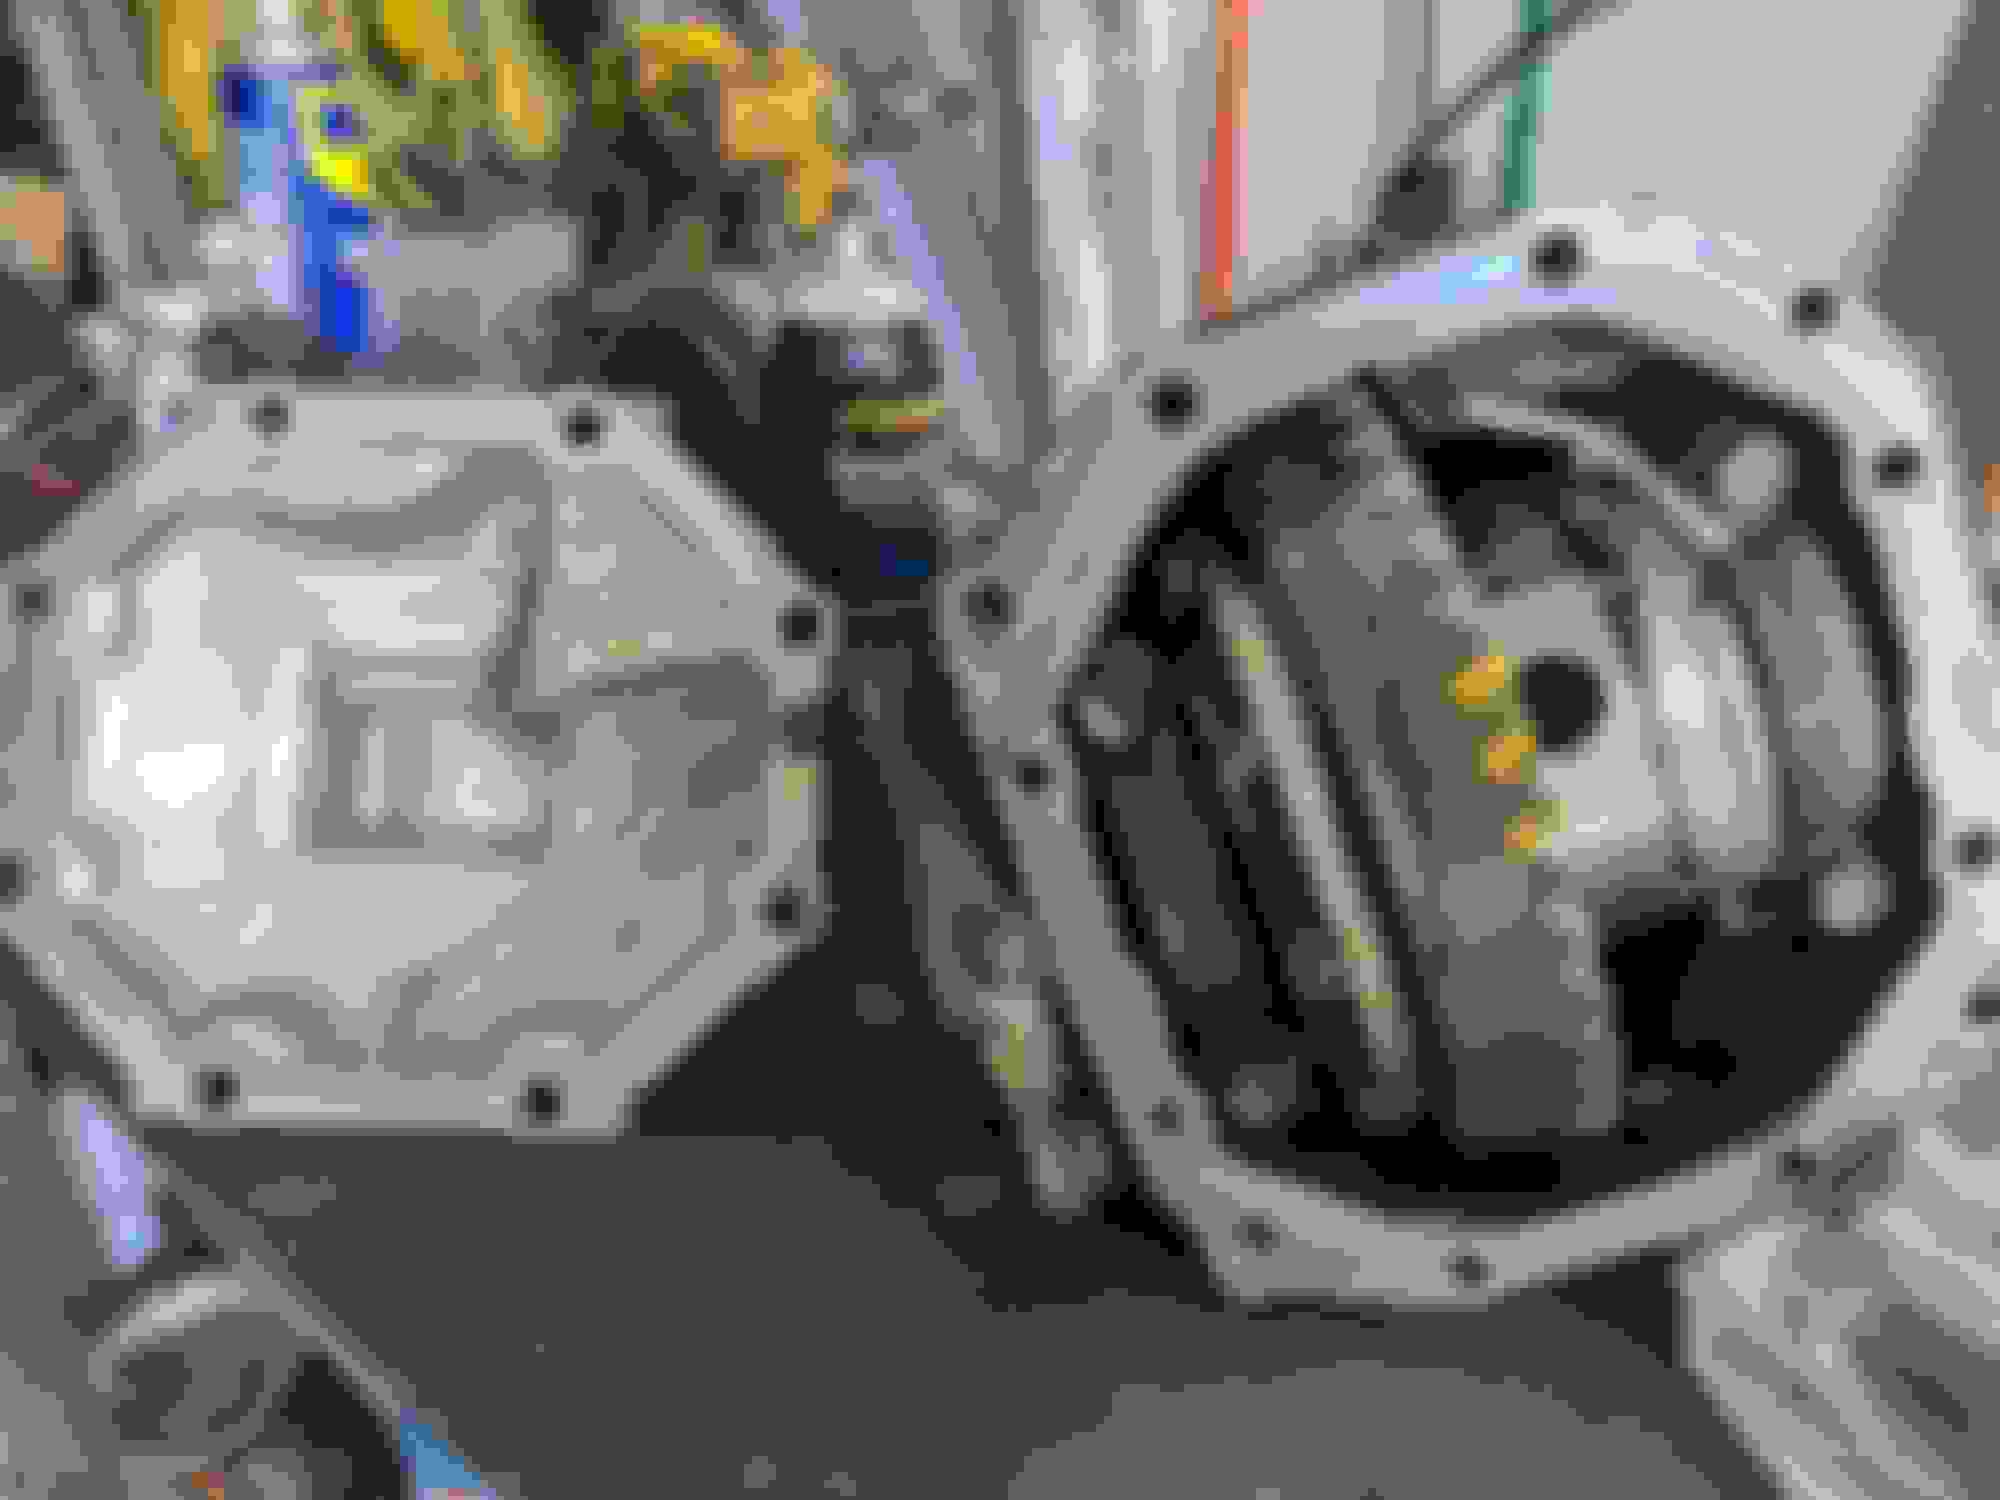
I certainly agree with you, thanks for your input! It is definitely a temporary use to isolate and identify a vibration that I noticed after the crossmember install. It did lift the tranny 1.2 inches which changed the driveshaft angle. The vibration at lower speeds isnt there anymore, but that could be one of 4 different things i changed at the same time. Lol. I will be removing the rubber and testing without it. I may need a 1/4" spacer instead to drop the tranny down... If vibrations come back.
Overall, the crossmember looks so much better than the bulky low hanging stock one and it is not very difficult to fabricate.
Hey everyone. I will soon have set of ring and pinion for 2nd gen 4runner front ifs 4.88 ratio for sale. Along with a full third member. 4.88. If anyone is interested, let me know. I'll post it in yotatech classifieds when I have them out and ready.
I bought a mid summer gift for myself. re-gear. With the new JDM tranny going in I figured it's a good time to invest in the longevity of the drivetrain.
So I missed details on those headlights. LED? How bright?
Thanks coopster.
The LED lights are of surprisingly good quality since they are 200 bucks cheaper than the big brand name one. I was just about to order the expensive ones and my friend said hes very happy with these.
Just remember a straight install wont work. There is wiring you have to change due to Toyotas efficient wiring design.
Yes, looks like the $180/piece Trucklites.
Gevo, did you have to convert yoir wiring to switched-positive?
You do have to, yes. The harnesses available online didnt account for the high beam indicator light. So my electrical engineer buddy designed a new circuit for me. Couple diodes and resistors. I haven't built the harness yet, I wired in only the low beams for now.
I got the diodes, resistors and relays, Now I just need time. Ill share the sketch of the wiring diagram if anyone is interested.
Soon I will post about the recent shananigans with my 4Runner
I made some big decisions in short order.. which lead to more things to to change, modify and fabricate. Started mostly a few weeks ago on a camping trip when I decided my shocks have lived their life and are now to mushy. They are 60073/72 OME shocks from about years ago. Then my friend got a forklift.... So we decided to see which of our 3 trucks has what flex... I realized my rear shocks were severely limiting my flex potential. Then I thought, well if I am going to get new shocks and build custom mounting for them, I may as well get a little bit more suspension lift with the new springs... SO I did. Then I realized with the lift I need to change my driveline setup, too much angle, slip yolk too far out, rear tires not centered in wheel well at rest anymore... Boy did that open a can of worms. Also, I figured to keep the rig level and not raked I need a front diff drop to pump up my springs a little bit. WIth that.. I will just let the pictures do the talking for the most part Regeared diff to 5.71 gears. Decided may as well close my eyes and bite the bullit.. got an eaton ELocker While Front diff was off decided to redo my oil pan seals.. lots of leakage. now its super duper Inside of crank case looks excellent! Lots of oil changes. First forklift test. notice shocks disconnected. got 24 inch Limited by linkage. Old Springs. After a LOT of research, which honestly still left me to make some assumptions and guesses... I got these OME Shocks. They are for FJ80 and add 1 or 1.5 inch lift to the FJ89. Height with old, Downey coils Height with new OME coils. Hate the rake. Haven't raised front yet. Notice rear tires not centered in wheel well. Got me 26 inch flex. Limitted by linkage. I thought, hmmm... without the huge step of a long arm install and gas tank relocate, I think I can get another few inches out of this stock linkage mounting points. So after lots of time and another cringe worthy expense... I got new do it yourself control arm components. I will both make the lower arms MUCH stronger so i can bang them around without concern (will need to reinforce mounting points.) And I found those offset heim's that will allow the top arm to clear the gas tank even more... for more flex. Also, half the reason for the new linkage was to have longer top links to rotate the diff up and try to give a little back to the yolk engagement. I have a ridiculous shudder and loud ass noise on decel/no load on drive shaft. New shocks are collapsed 19 inches long. Stock mounting gives me collapses 17 inches space. SO! New I figured the easiest way to pull this off and keep stock shock geometry is to cut out these stem mounting points, fabricated 2 inches taller mounting for eye type mounts. (easier to find custom shocks with eye/eye arrangement)
SO.. On the rear axle I have to redo rear shock lower mounts as well since I am rotating the axle. I think I can get away by heim joint end link conversion for the pan hard bar and the springs should flex into place. Worst case I can't make the geometry work and I have to cut more things off the axle and redo.. The new shocks are bilstein 5165 for rear with remote reservoir, 5125 front. I got the custom 5125 instead of the 5100 series so I can get the stiffer valving since I do not have sway bars. Hopefully it's not too stiff :/
Man I have a lot of work before this thing is fwy friendly again. lol.
Finally done with construction. Got my rear suspension mods started on Monday. Actually went well for the first piece of the puzzle. I will just drop a pic of the top shock mount tacked for test fit.
Hey Spacejunk! Yah I love this place and as all here I love tinkering on the 4runner. Kids and life keep me busy But I am always here in spirit lol. Cheers!
Just dropping in to leave some pics of the suspension upgrade progress. Honestly, it was much easier than I thought. I decided to change couple of the components I had ordered to different onesvso waiting for tht before I can complete the job.
I Decided I will spend some good money on a new driveshaft as well since I will have a lot more travel than this stock one is designed for. Final fitment Full compression. Thats 3 inches further up than ome shock from previous setup. OME shocks were great though! Decided to use a hiem joint i had laying around to build a longer and adjustable panhard bar. Needed it to be a little longer


 06-09-2020, 11:15 AM