
Dutchbelly's 1988 4runner Build-up
 11-06-2011, 08:58 PM
#401
Very nice, brudda! Closer, yet again, as I do my daily check in! lol. Like the theory of "I'm nearing 'getting it on the road', ......then I'll finish the restore with the motor I rebuild in my spare time while I drive the crap outta this one!"! Can't wait, Dutch!
 11-10-2011, 02:16 PM
#402
Super Moderator
Staff
iTrader: (1)
Join Date: Aug 2008
Location: Anderson Missouri
Posts: 11,788
Likes: 0
Received 25 Likes
on
22 Posts
It looking good. You have done a great job.
Got a question. You, 1986 and me are using the Celica motor. I am doing one for my 79/83 rebuild. Couple of things I have noticed are the oil pan, pick up tube, and the big horseshoe water pipe for the radiator. Is there anything else you know of right off that I need to be ware of? Thanks.
Got a question. You, 1986 and me are using the Celica motor. I am doing one for my 79/83 rebuild. Couple of things I have noticed are the oil pan, pick up tube, and the big horseshoe water pipe for the radiator. Is there anything else you know of right off that I need to be ware of? Thanks.
11-20-2011, 07:28 PM
#403
Registered User
Thread Starter
Join Date: Apr 2011
Location: Southern Ontario
Posts: 428
Likes: 0
Received 0 Likes
on
0 Posts
Hey Terry sorry it took so long for me to get back to you, I haven't had time to look at yotatech in a while. If you're putting the Celica engine into the 83, youd have to look into the differences between the 22r engines of the year, and the 22re. Obviously you'd have to use all the electronics, ecu etc from the celica. I'd assume the motor mounts would be completely different, so hopefully you have the ones for the truck still. Theyll have to be relocated. If I think of anything else, I'll be sure to chime in. I just uploaded a bunch of progress pics, so check in again in a couple mins if you're interested.
11-20-2011, 07:48 PM
#404
Registered User
Thread Starter
Join Date: Apr 2011
Location: Southern Ontario
Posts: 428
Likes: 0
Received 0 Likes
on
0 Posts
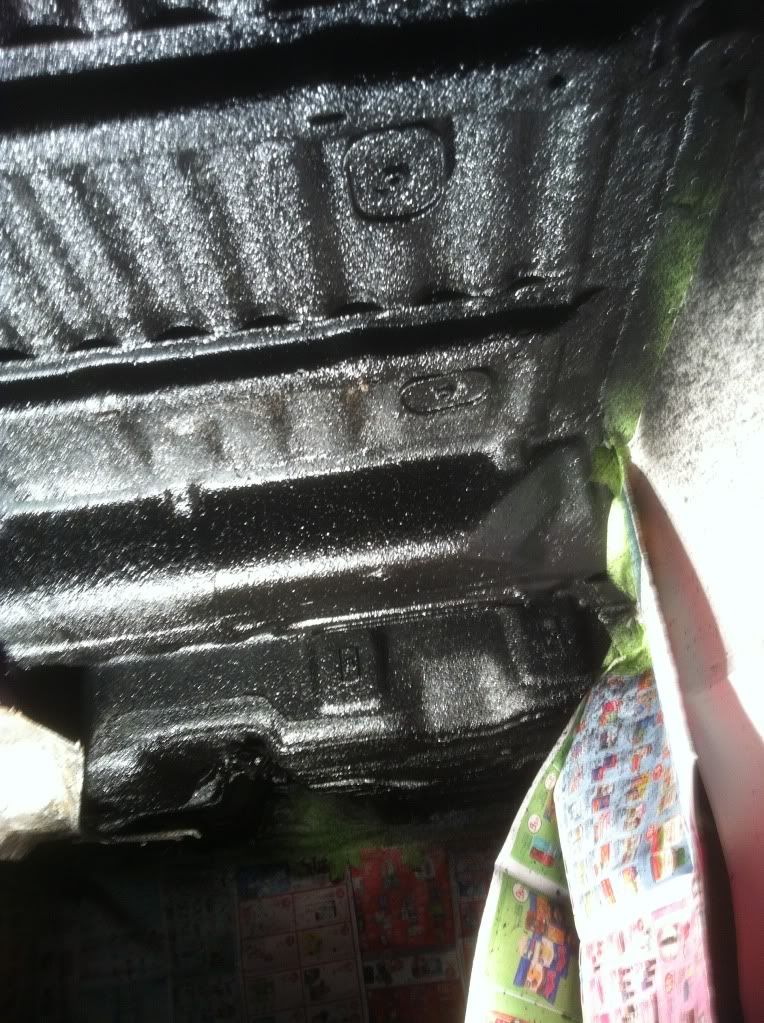
Prepping to use Bedliner as undercoat.
I did a bunch of work last weekend, and then didn't get around to updating the thread. I'm just going to post a bunch of pics, it's pretty self explanatory, but feel free to ask questions if you guys need something.
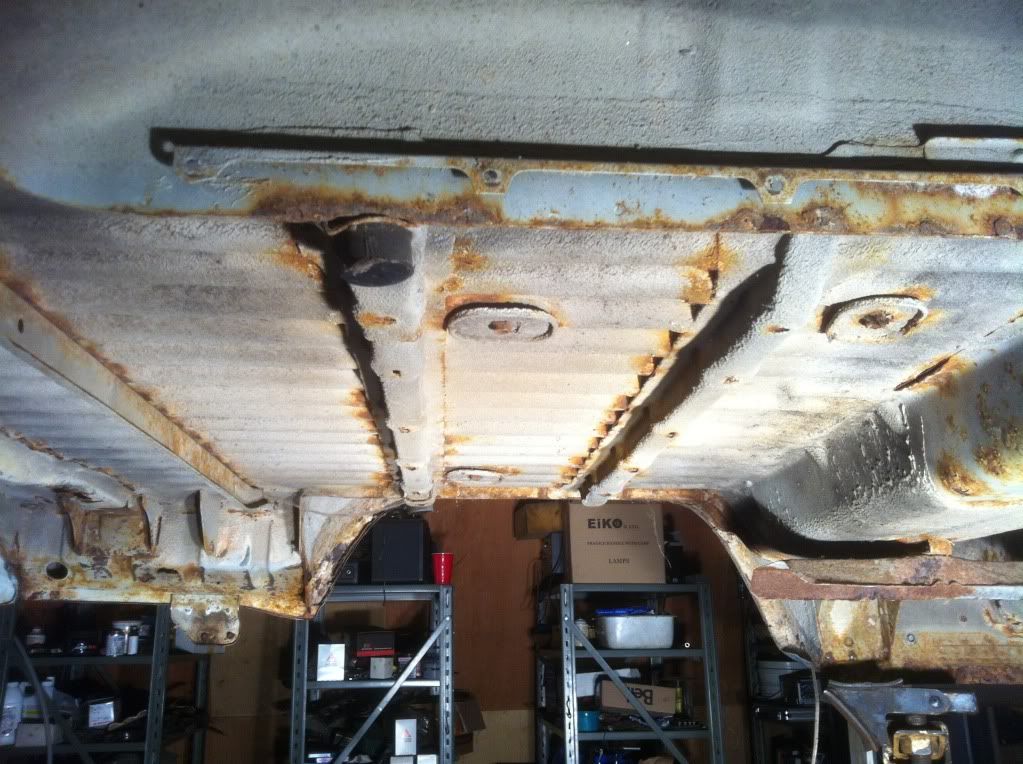
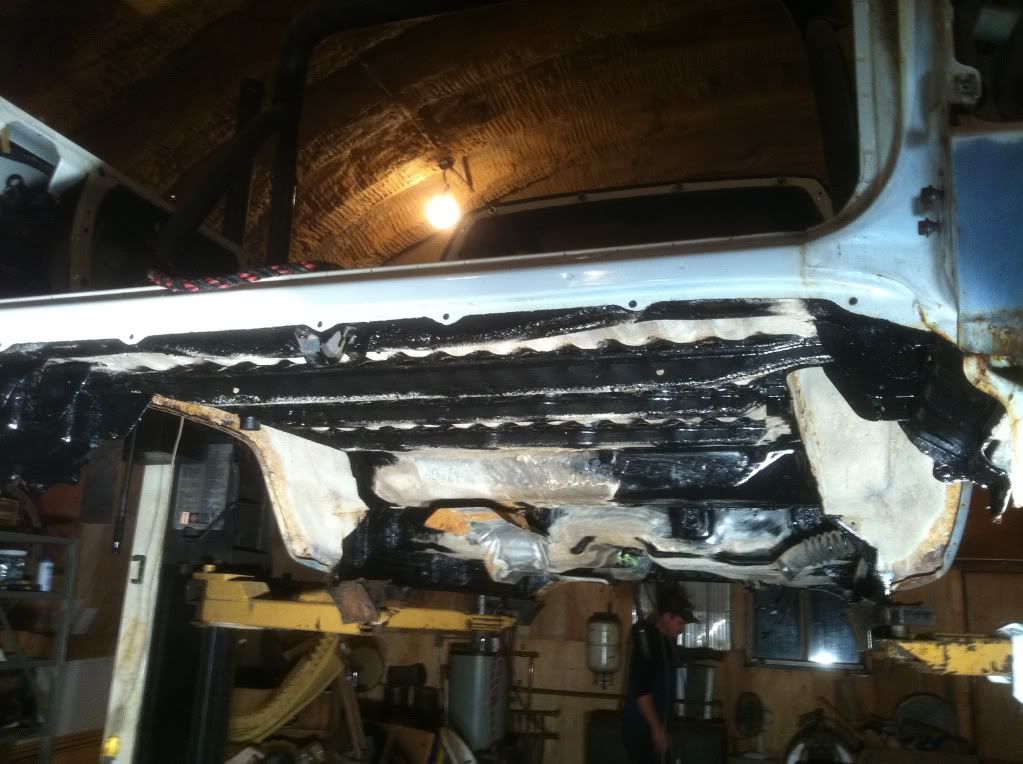
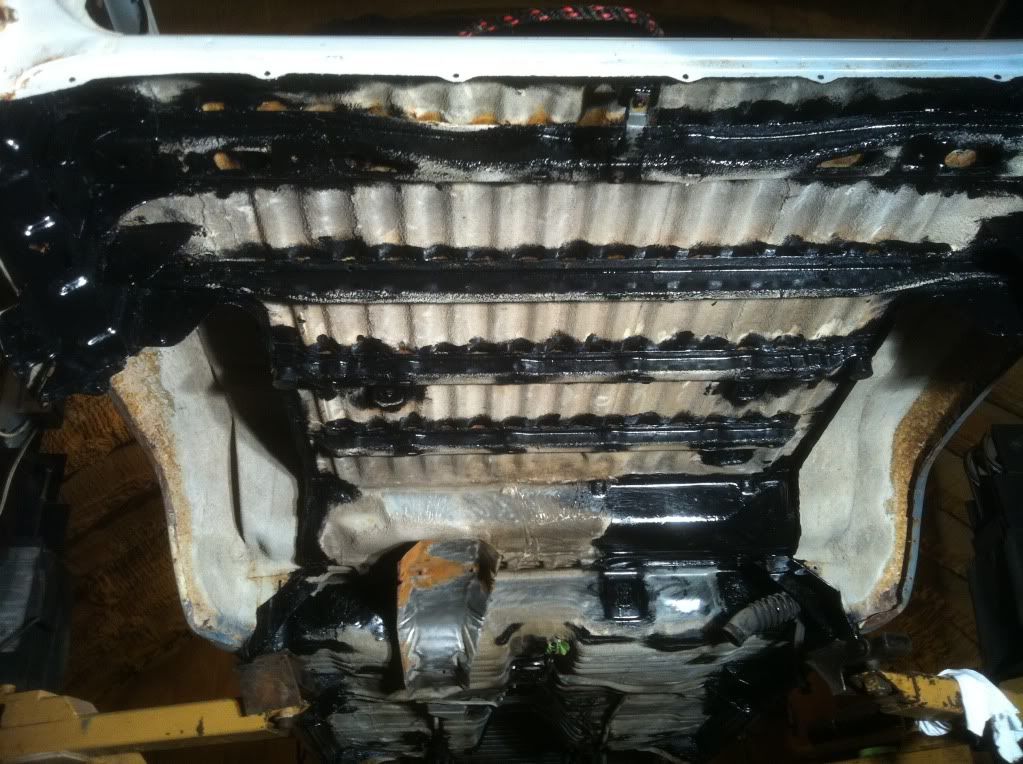
If you look close you can see that the body had been undercoated at some point. I did not wire wheel it all off. I decided instead to only buff out the spots where the rust was showing through. I then used chassis saver on all the bare spots. It's a heavy duty rust preventative paint like POR-15. I was going to get POR-15 but I went to 3 stores, and none of them had it in stock. That last pic isn't actually of the finished product, I apparently forgot to take a pic when I was completely done. I decided not to do the wheel wells at the time. I'm really just focusing on what must be done before the body goes back on. I'm uploading more pics of the bedliner that I put on this weekend, and also the body going back on, so check in later this evening if they're not up while you read this now.
If you look close you can see that the body had been undercoated at some point. I did not wire wheel it all off. I decided instead to only buff out the spots where the rust was showing through. I then used chassis saver on all the bare spots. It's a heavy duty rust preventative paint like POR-15. I was going to get POR-15 but I went to 3 stores, and none of them had it in stock. That last pic isn't actually of the finished product, I apparently forgot to take a pic when I was completely done. I decided not to do the wheel wells at the time. I'm really just focusing on what must be done before the body goes back on. I'm uploading more pics of the bedliner that I put on this weekend, and also the body going back on, so check in later this evening if they're not up while you read this now.
11-20-2011, 07:57 PM
#405
Registered User
Thread Starter
Join Date: Apr 2011
Location: Southern Ontario
Posts: 428
Likes: 0
Received 0 Likes
on
0 Posts
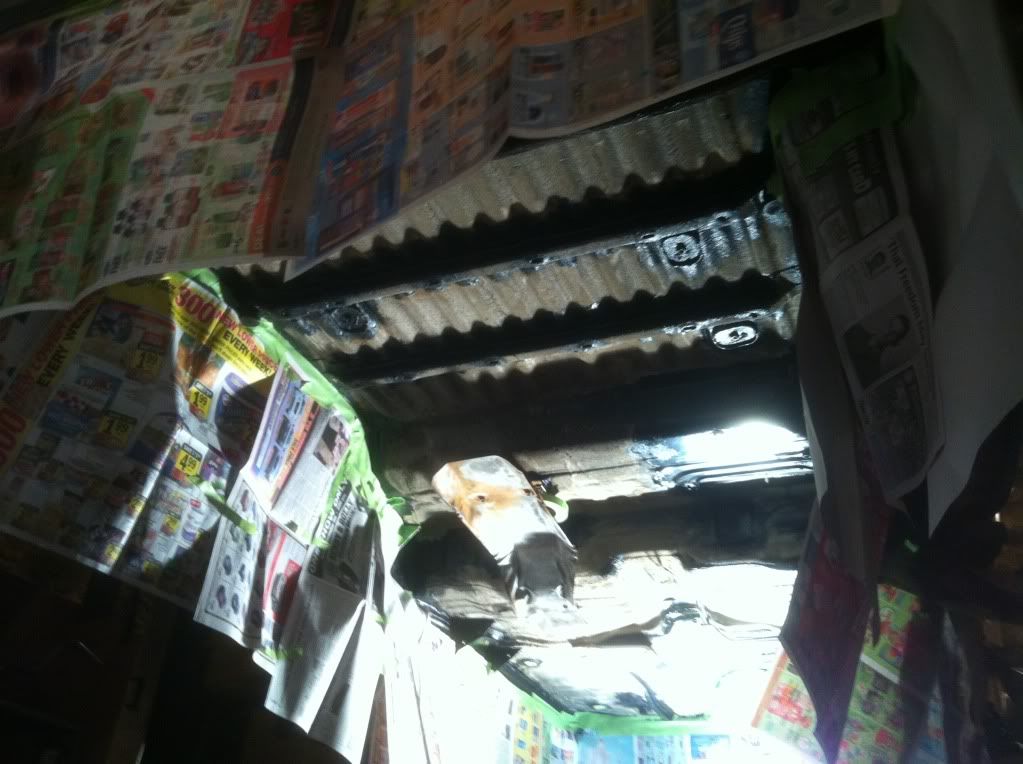
Bedliner as undercoat
I'm pretty excited about the amount I got done today, I'm just going to throw up a ton of pics, and maybe comment on them later.
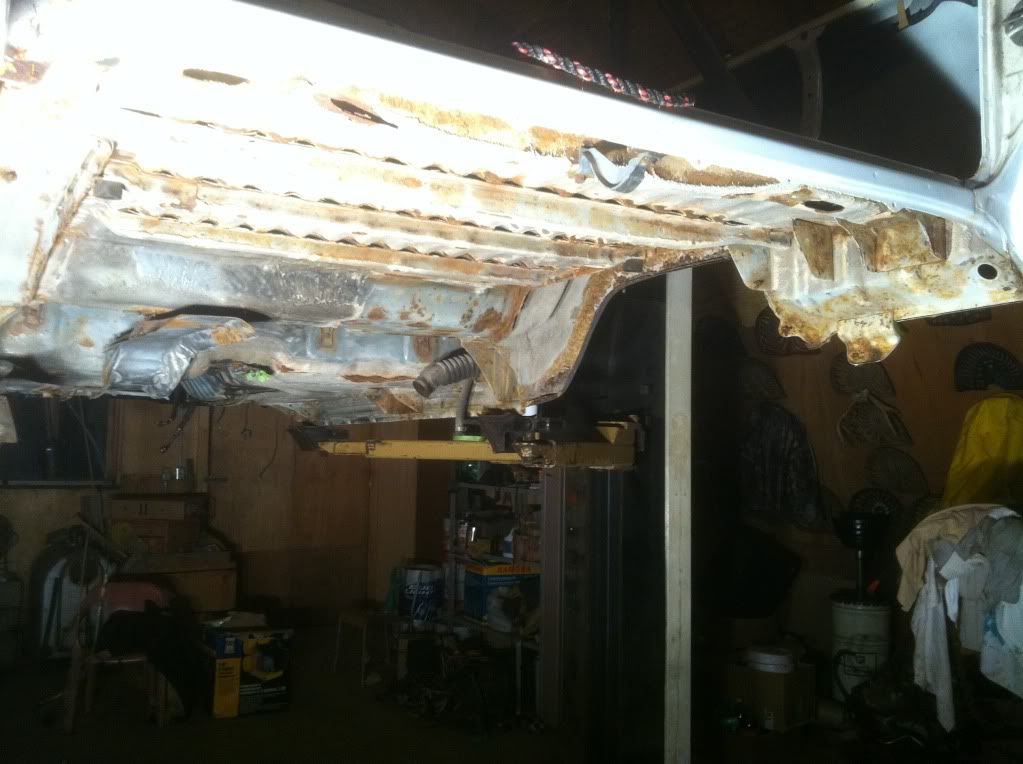
I spent a bunch of time masking off the edges of the body to protect the shop from overspray. I thought I was overdoing it. I didn't. I'd say this was the bare minimum of recommended masking.
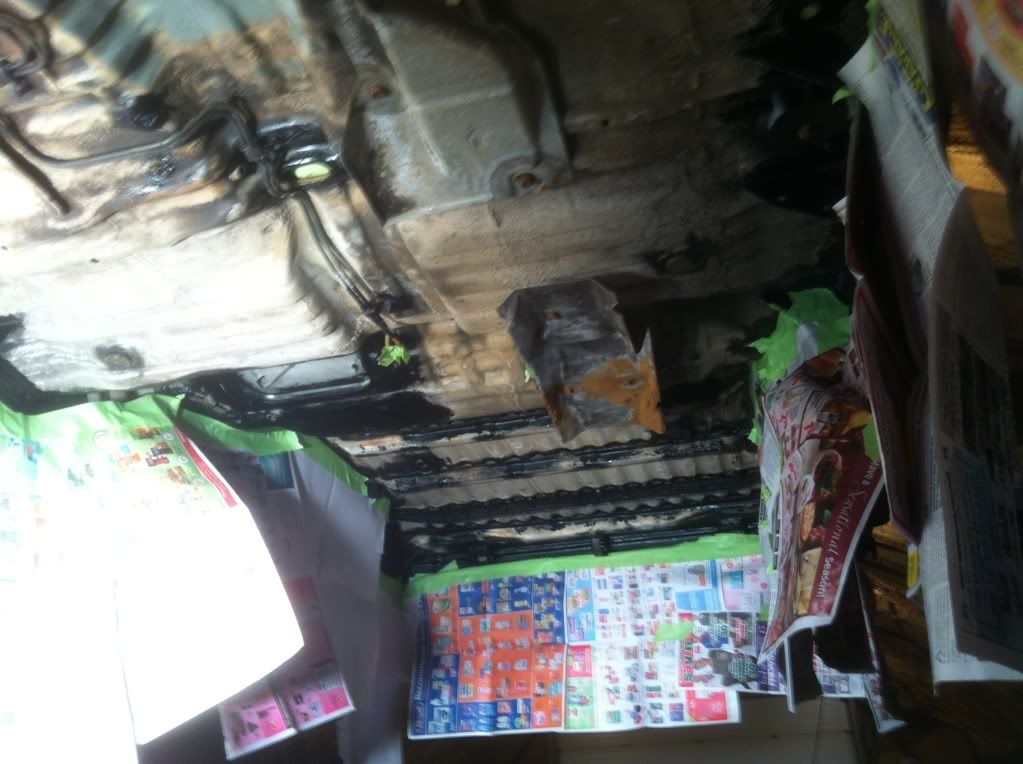
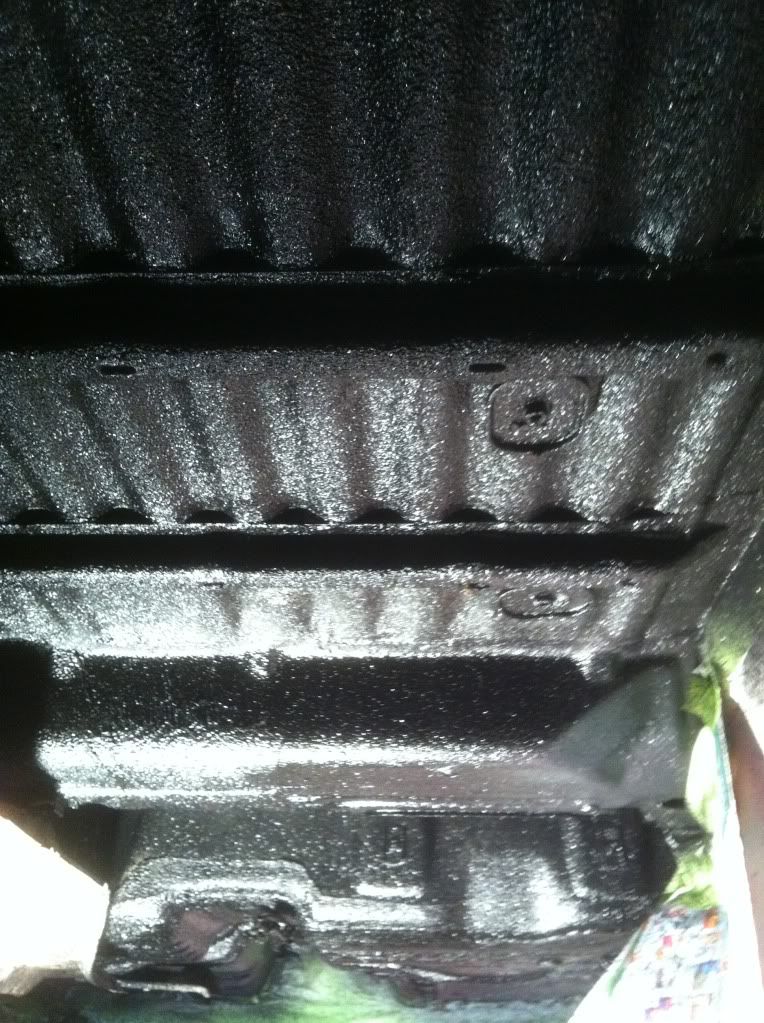
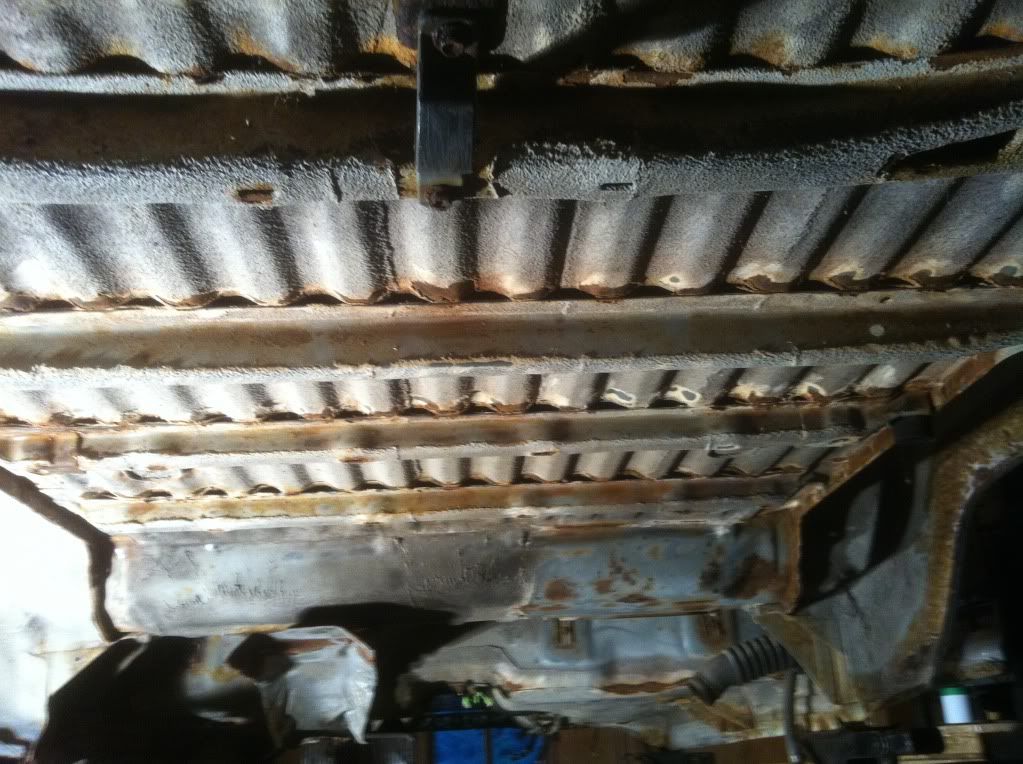
I figured people would want to see a close up. This is still wet, I'll try to remember to take one later when it's dry.


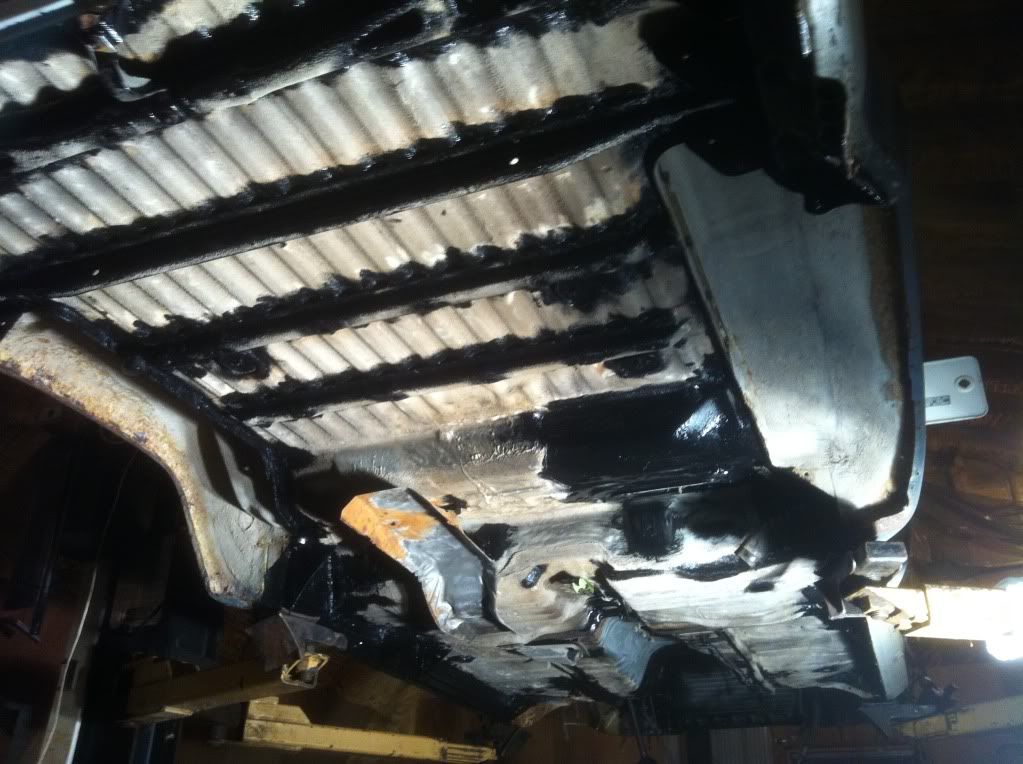
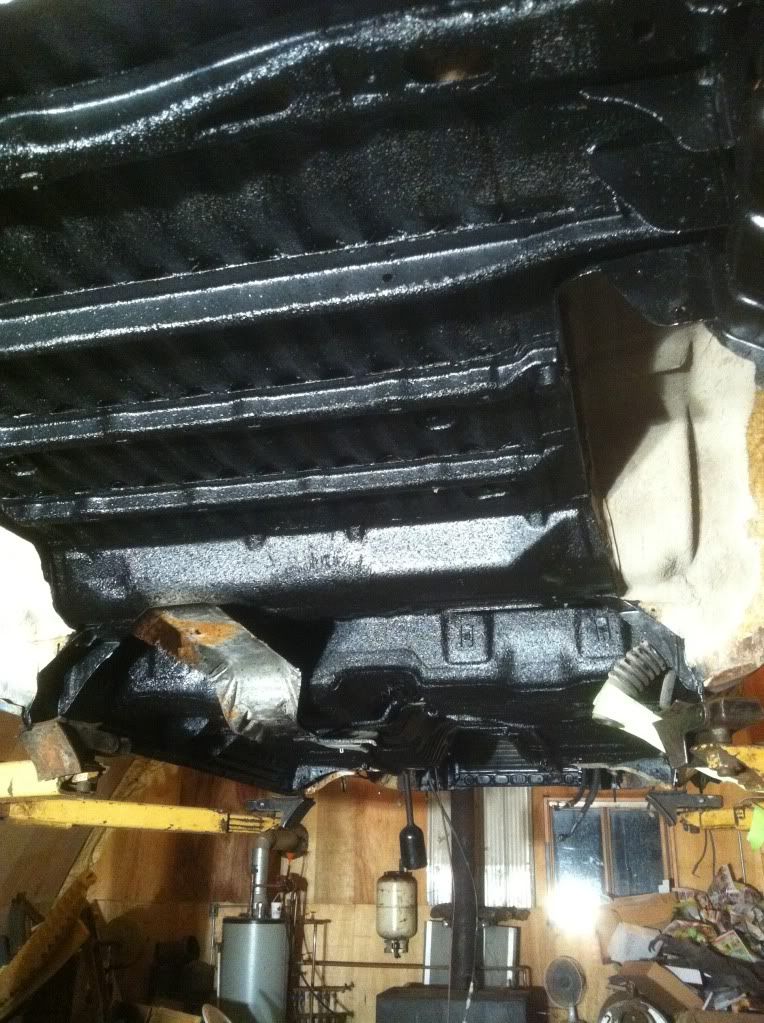
Later after I took the masking off. It's still very wet, even 2 hrs later.
I'll try to fill in more details with future edits, I'm just trying to get all the pics up right now. Next post will cover the body going back on.
I spent a bunch of time masking off the edges of the body to protect the shop from overspray. I thought I was overdoing it. I didn't. I'd say this was the bare minimum of recommended masking.
I figured people would want to see a close up. This is still wet, I'll try to remember to take one later when it's dry.
Later after I took the masking off. It's still very wet, even 2 hrs later.
I'll try to fill in more details with future edits, I'm just trying to get all the pics up right now. Next post will cover the body going back on.
11-20-2011, 08:23 PM
#406
Registered User
Thread Starter
Join Date: Apr 2011
Location: Southern Ontario
Posts: 428
Likes: 0
Received 0 Likes
on
0 Posts
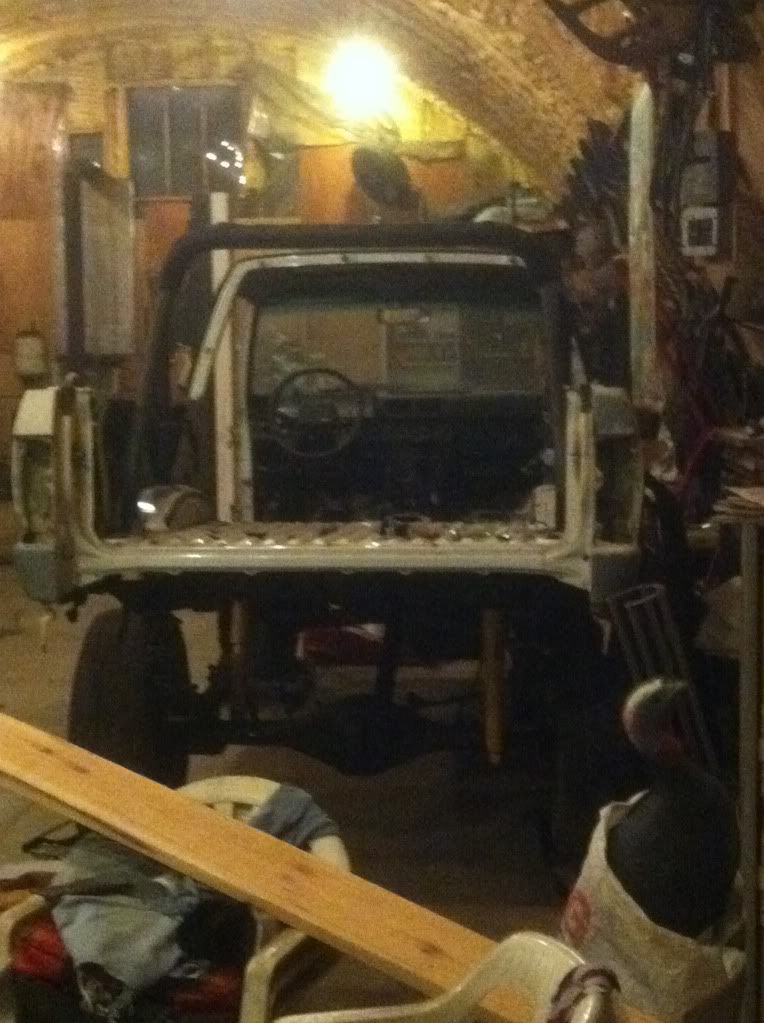
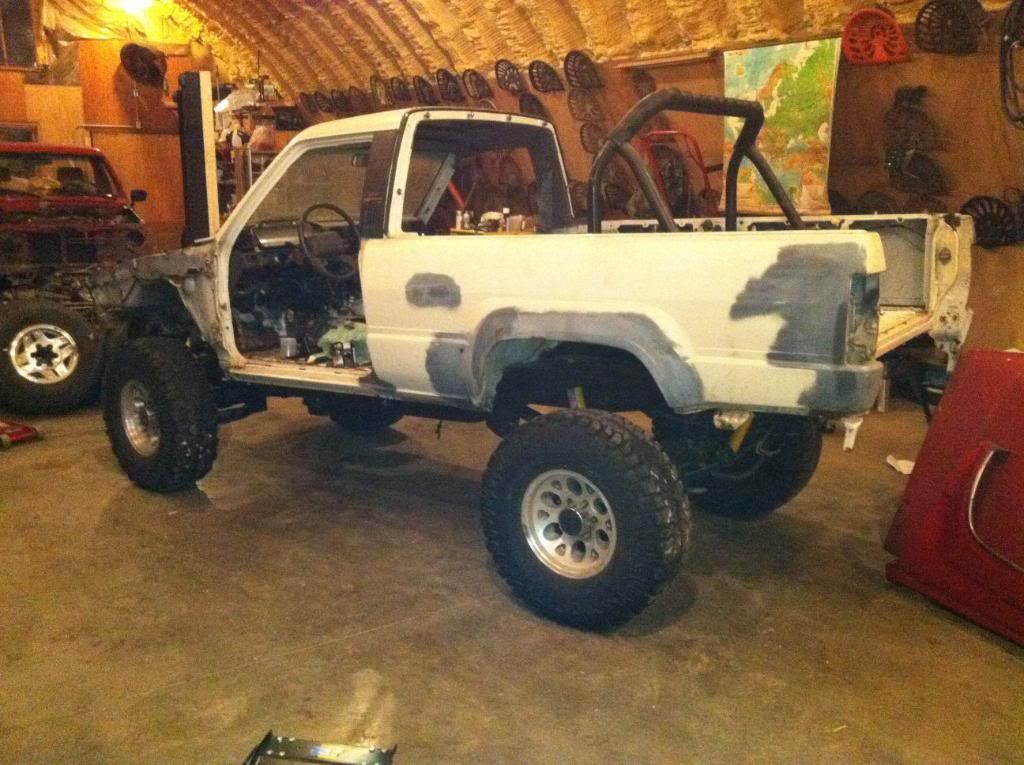
The body finally goes back on
Ok here goes with a bunch more pics:
I took the shifters off for the process so they wouldn't get in the way:
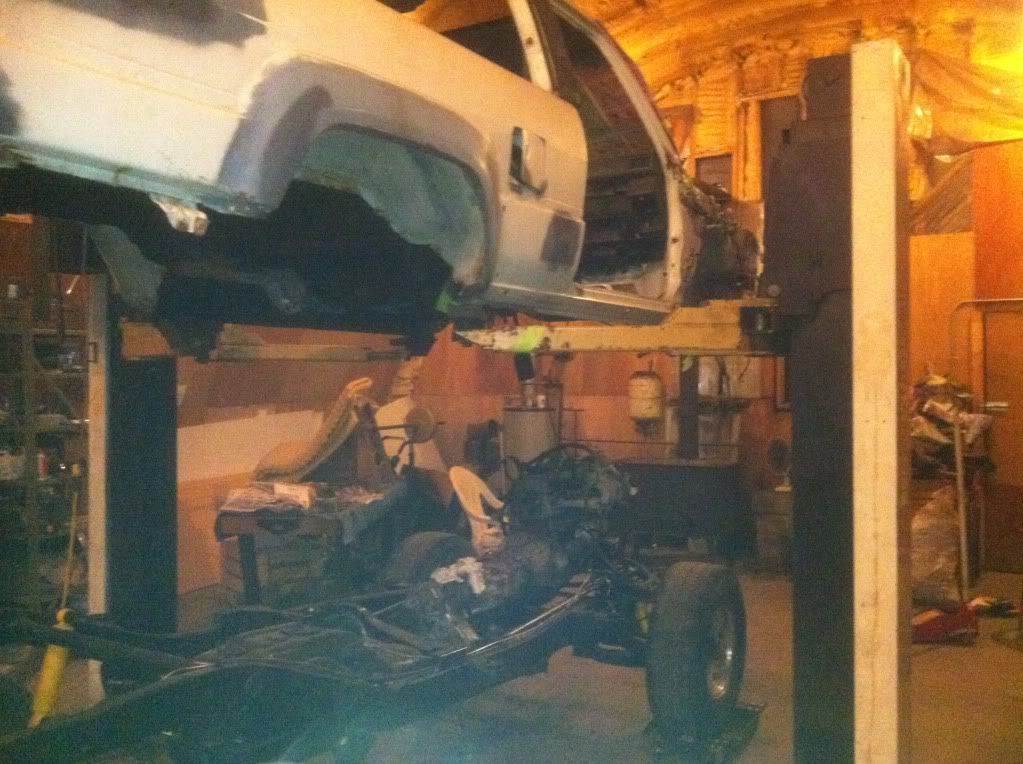
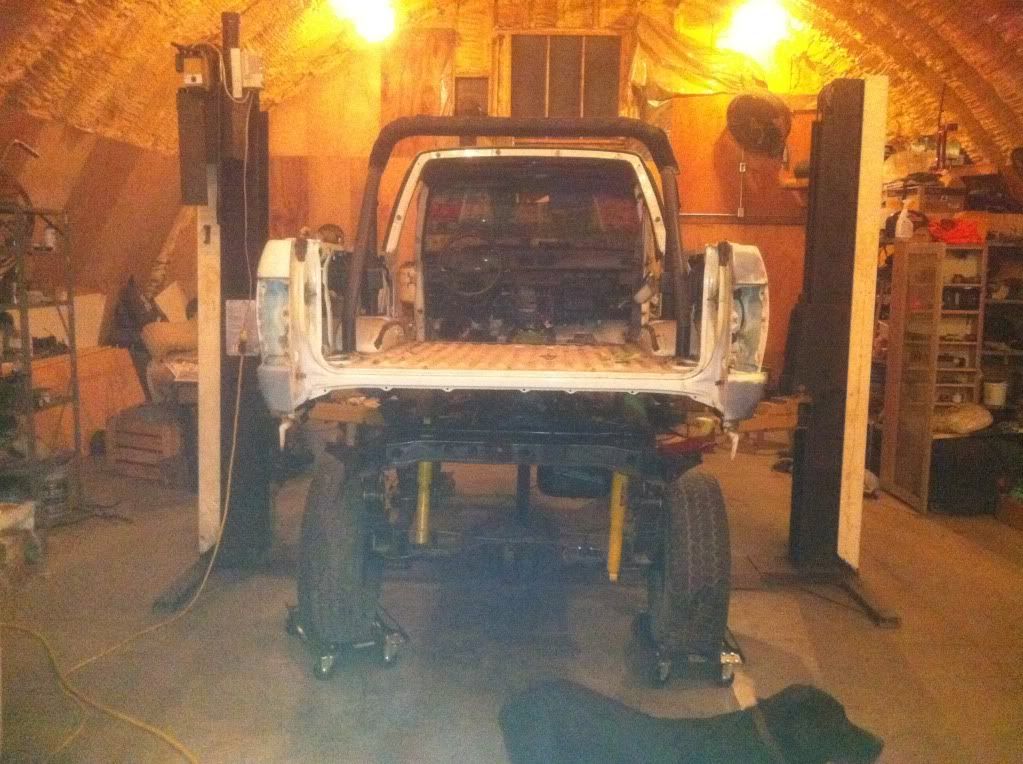
This is her finally sitting back under her own weight, body on:
It sits waaay taller than I was especting it too, especially in the back it's hard to see from the glare, but here:
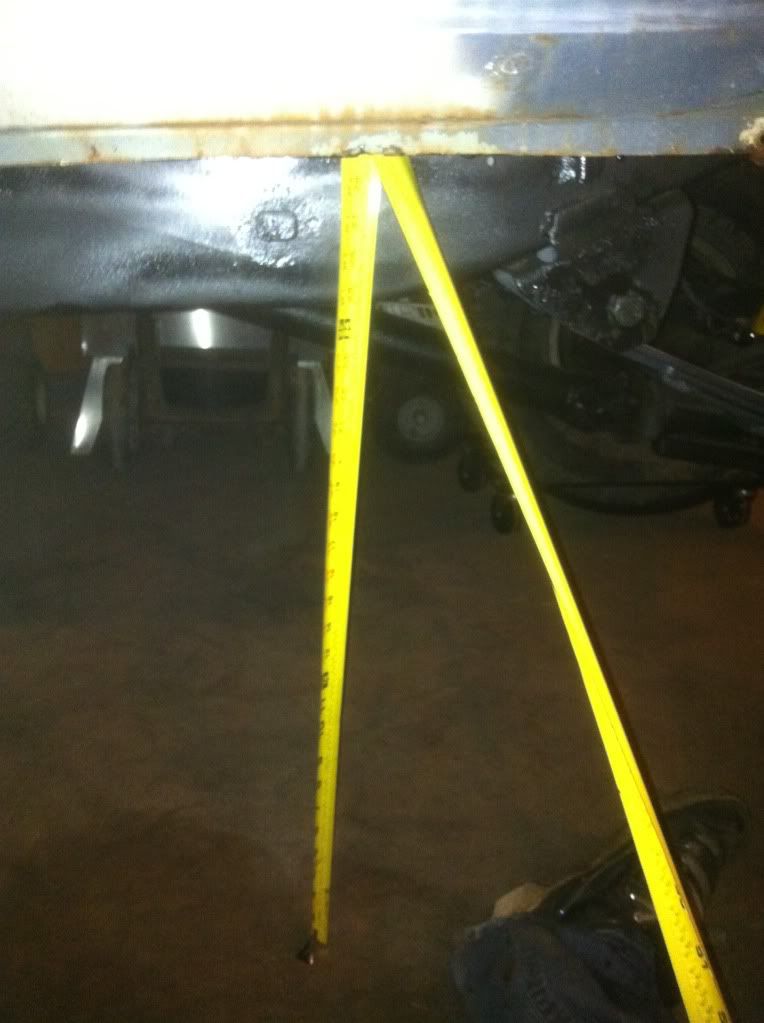
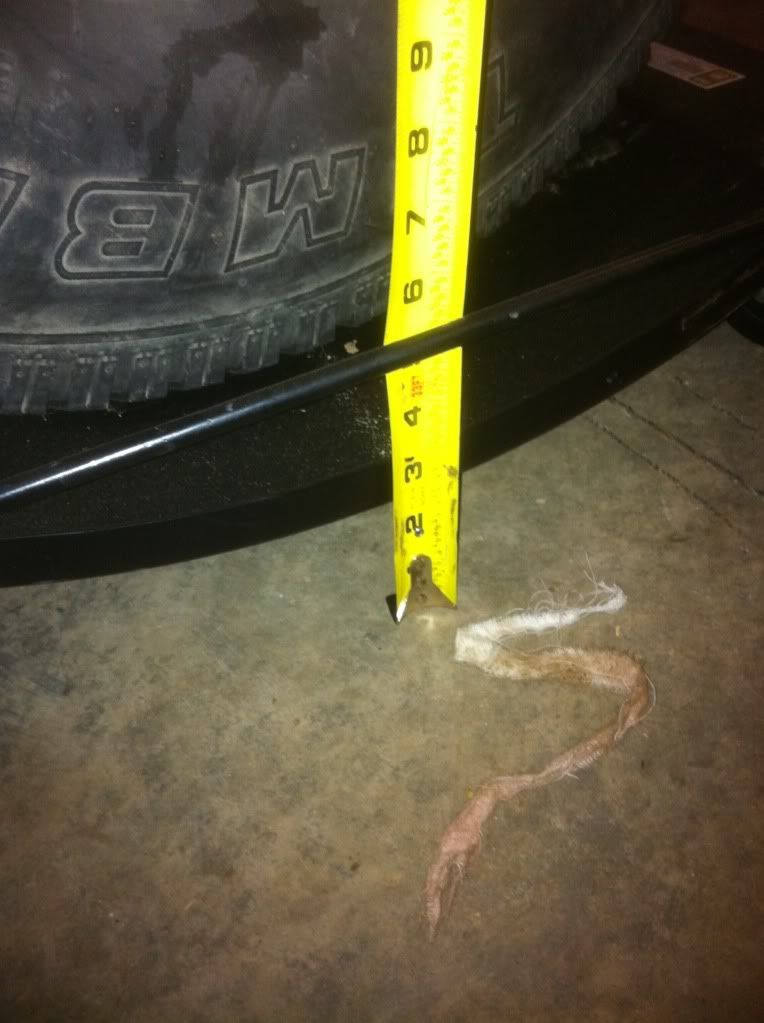
That's two feet to the frame rail in front of the rear tire, and even if you take out the rollers the truck is on at 2.5-3 inches, that's much taller than stock. This old man emu kit is way more than the advertised 2" of lift. I haven't even tightened up the torsion bars yet, they're still at almost complete sag on the adjusting nut. I'll try to go back a couple posts and find the pic of where they sit.
Edit: Found the pics. First one is the adjusting nut at stock, before it was loosened, second one is where it sits right now:
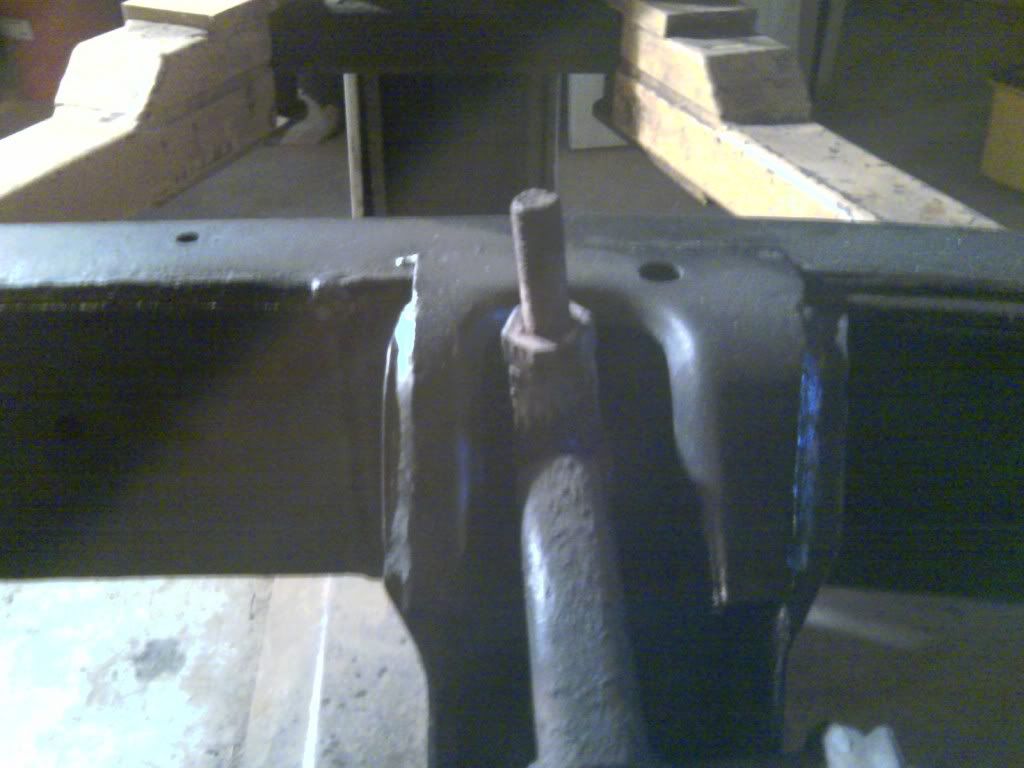
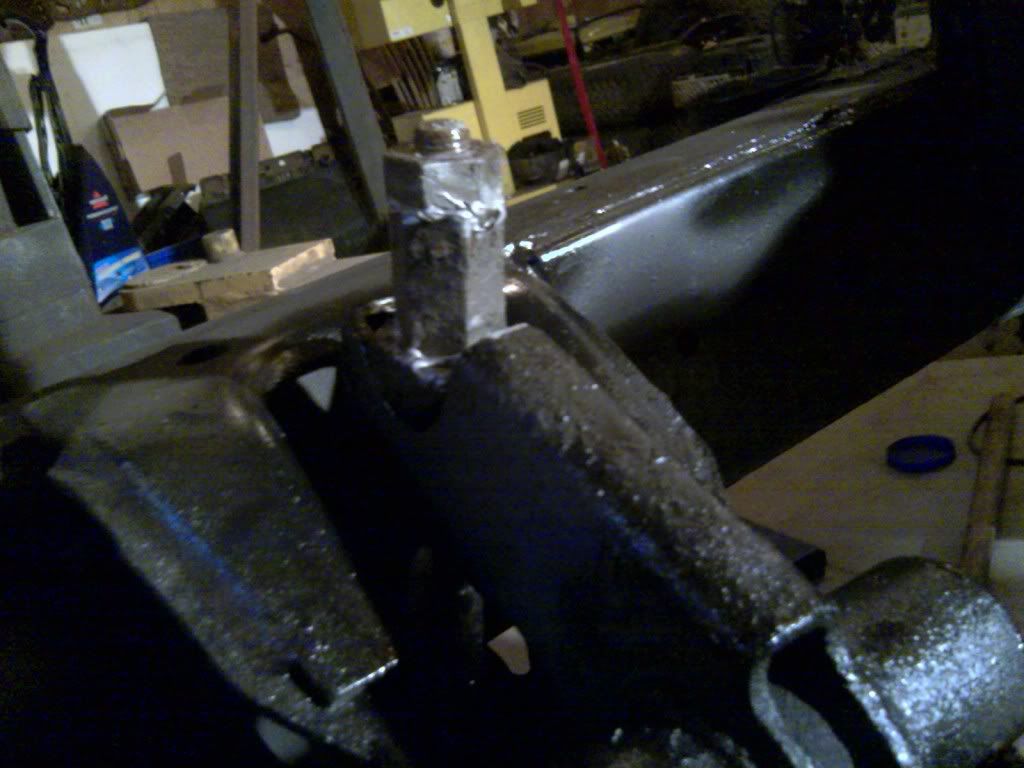
I'm now actually worried I went too far with this truck. I was expecting 4 inches above stock, I'm clearly way beyond that at the back. Next time I'm out I'm going to have to tighten up the torsion bars to see if I can get the truck to level out a bit.
I took the shifters off for the process so they wouldn't get in the way:
This is her finally sitting back under her own weight, body on:
It sits waaay taller than I was especting it too, especially in the back it's hard to see from the glare, but here:
That's two feet to the frame rail in front of the rear tire, and even if you take out the rollers the truck is on at 2.5-3 inches, that's much taller than stock. This old man emu kit is way more than the advertised 2" of lift. I haven't even tightened up the torsion bars yet, they're still at almost complete sag on the adjusting nut. I'll try to go back a couple posts and find the pic of where they sit.
Edit: Found the pics. First one is the adjusting nut at stock, before it was loosened, second one is where it sits right now:
I'm now actually worried I went too far with this truck. I was expecting 4 inches above stock, I'm clearly way beyond that at the back. Next time I'm out I'm going to have to tighten up the torsion bars to see if I can get the truck to level out a bit.
Last edited by Dutchbelly; 11-20-2011 at 08:37 PM.
11-20-2011, 08:28 PM
#407
Registered User
Thread Starter
Join Date: Apr 2011
Location: Southern Ontario
Posts: 428
Likes: 0
Received 0 Likes
on
0 Posts
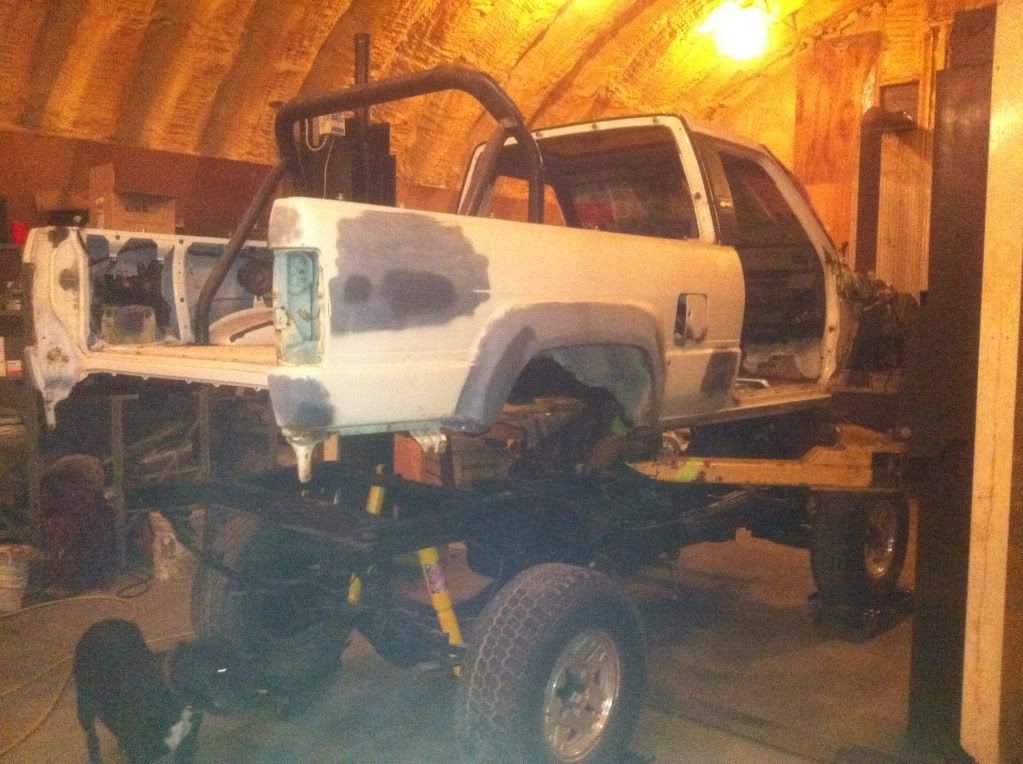
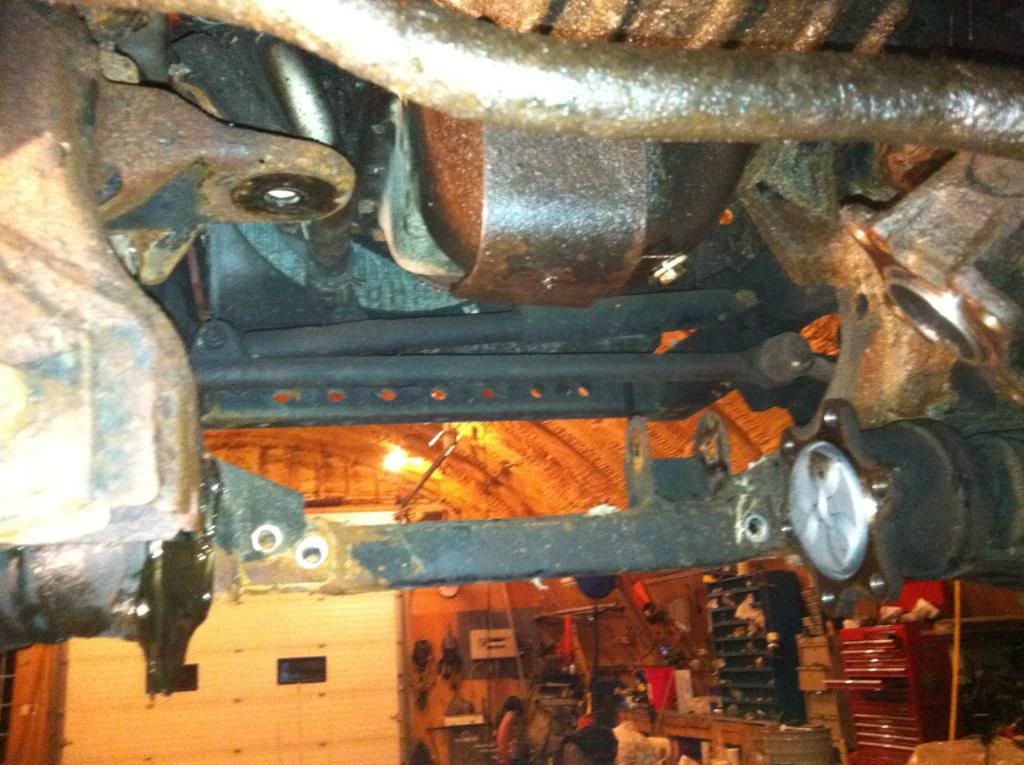
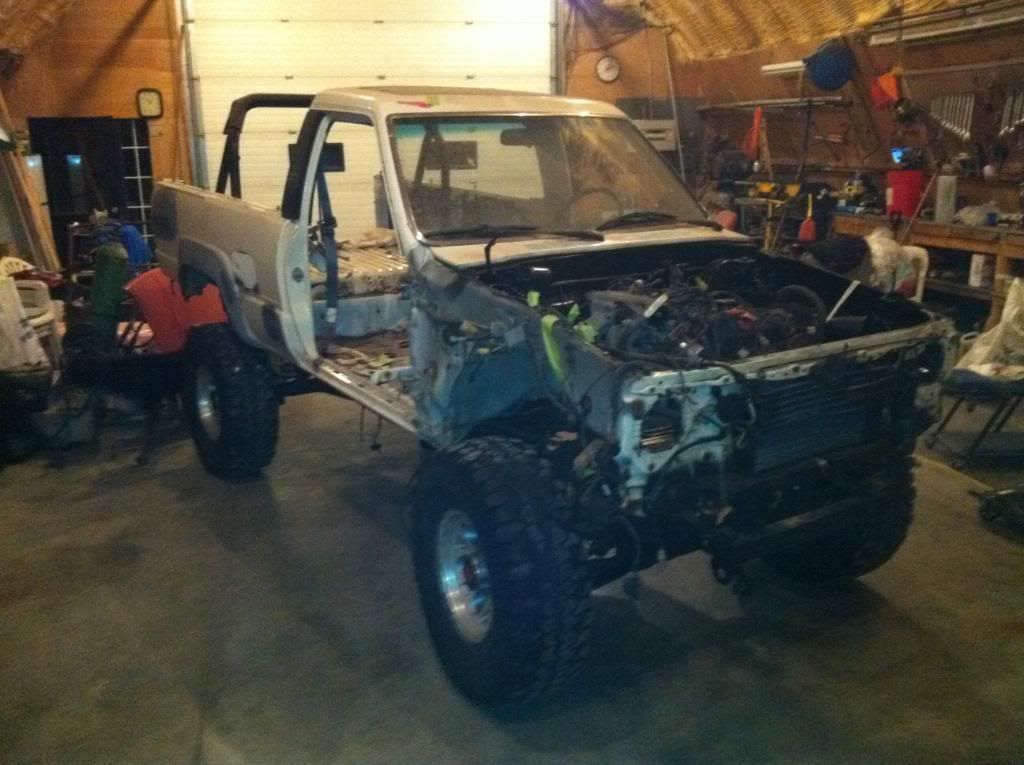
Found a couple more pics that really show how high it presently sits:
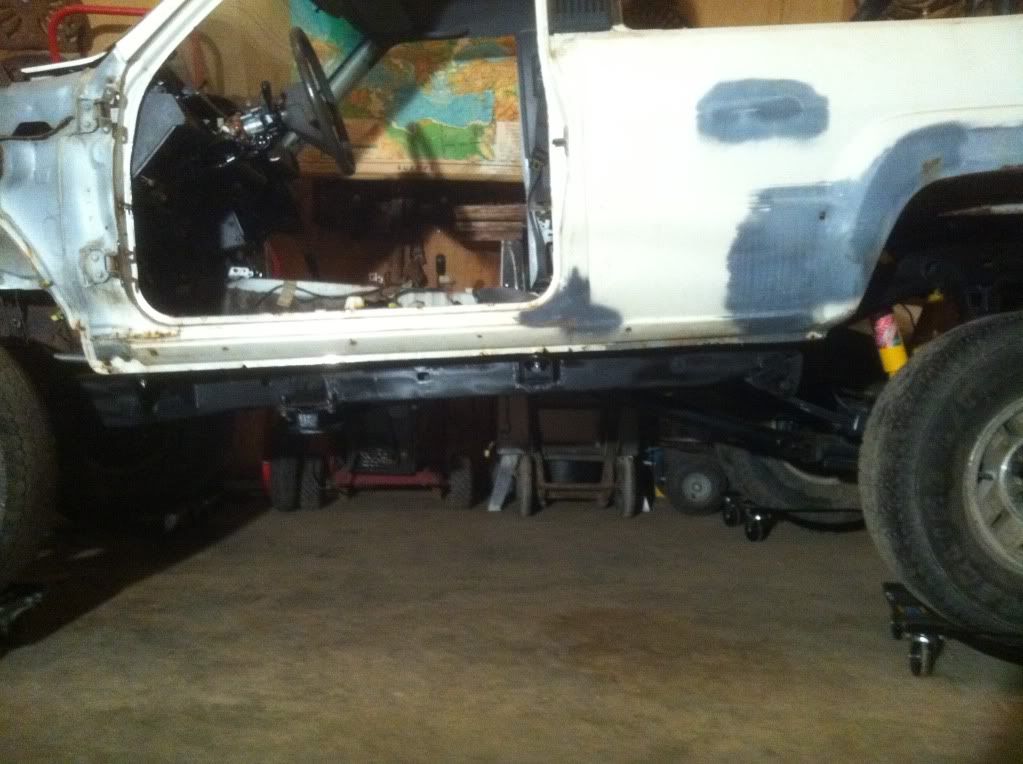
That's a good pic for clearance, too.
Kind of grainy but really shows how high the rear end sits:
I know the tailgate is pretty heavy, and the body sits without anything on it atm, but I'm concerned it won't settle as far as I'd like it to. Right now it's riding at almost complete full droop. I'll have to see how it looks after the truck is more back together.
11-21-2011, 12:43 PM
#408
Super Moderator
Staff
iTrader: (1)
Join Date: Aug 2008
Location: Anderson Missouri
Posts: 11,788
Likes: 0
Received 25 Likes
on
22 Posts
Hopefully thigs will settle a little. But you are right, I dont think it will settle that much.
But on the good news, it is in ONE piece again. Great job. Bet that was exciting to see it that way again. Congratulation and great job.
Doing a frame off is quite satisfying and makes it more yours. You know this truck inside and out. Hopefully it wont be long til you get to take your first drive. Congrats again.
11-21-2011, 04:22 PM
#409
Registered User
Just checking in Dutch. Glad to see it coming back together, sorry the lift isn't the way you were hoping, as Terry said I don't think its gonna settle a lot at least until you start driving it.
11-22-2011, 09:14 PM
#410
Registered User
Join Date: Oct 2008
Location: northen nevada
Posts: 326
Likes: 0
Received 0 Likes
on
0 Posts
hey dutch haven't really commented on you build much but i think the height right now looks about right you still have about 60 pounds of interior to put in then you add doors glass and the tailgate and your at about 200-250 pounds and in both the frame off restorations i have done it seams that it takes about 5 to 6 months for all the new bushings and hardware to settle in and that is going down the road also you may find that once you have the tires on it and drive it you may be happy with the lift that you previously thought to big I know it has happened to me but at any rate just my .2cents but i like the look and good job
11-23-2011, 10:57 PM
#412
Registered User
Thread Starter
Join Date: Apr 2011
Location: Southern Ontario
Posts: 428
Likes: 0
Received 0 Likes
on
0 Posts
hey dutch haven't really commented on you build much but i think the height right now looks about right you still have about 60 pounds of interior to put in then you add doors glass and the tailgate and your at about 200-250 pounds and in both the frame off restorations i have done it seams that it takes about 5 to 6 months for all the new bushings and hardware to settle in and that is going down the road also you may find that once you have the tires on it and drive it you may be happy with the lift that you previously thought to big I know it has happened to me but at any rate just my .2cents but i like the look and good job
Hey Chef! Canadian Thanksgiving is in October, but happy Thanksgiving to all you American Yotaheads.
11-27-2011, 08:04 PM
#413
Registered User
Thread Starter
Join Date: Apr 2011
Location: Southern Ontario
Posts: 428
Likes: 0
Received 0 Likes
on
0 Posts
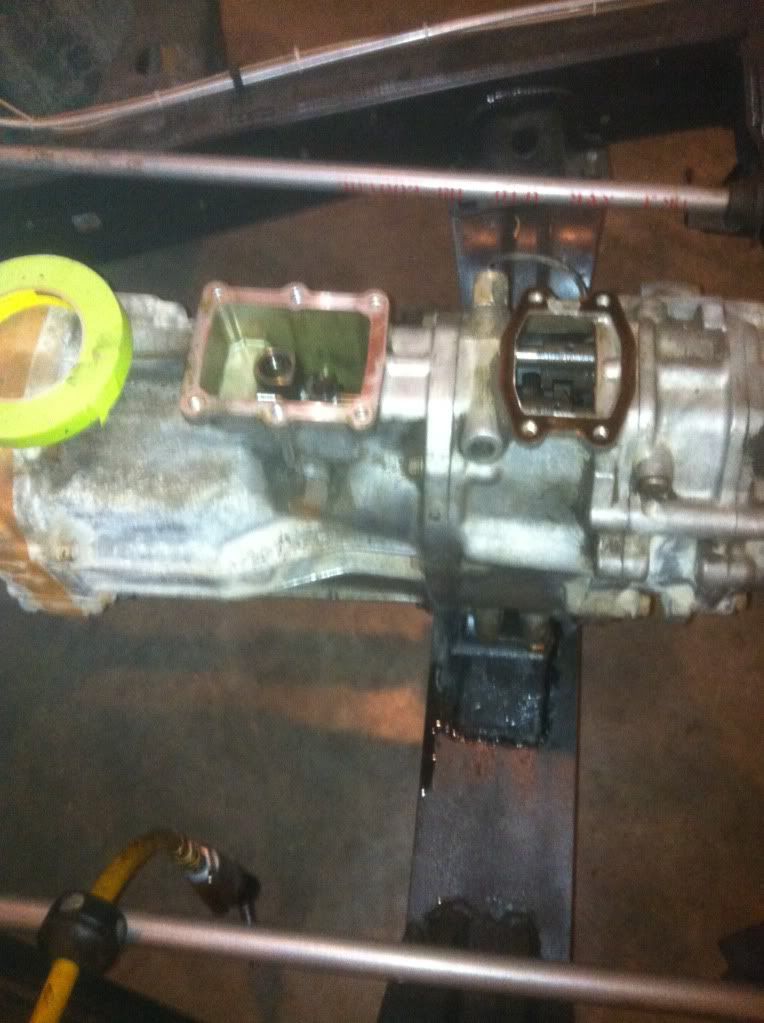
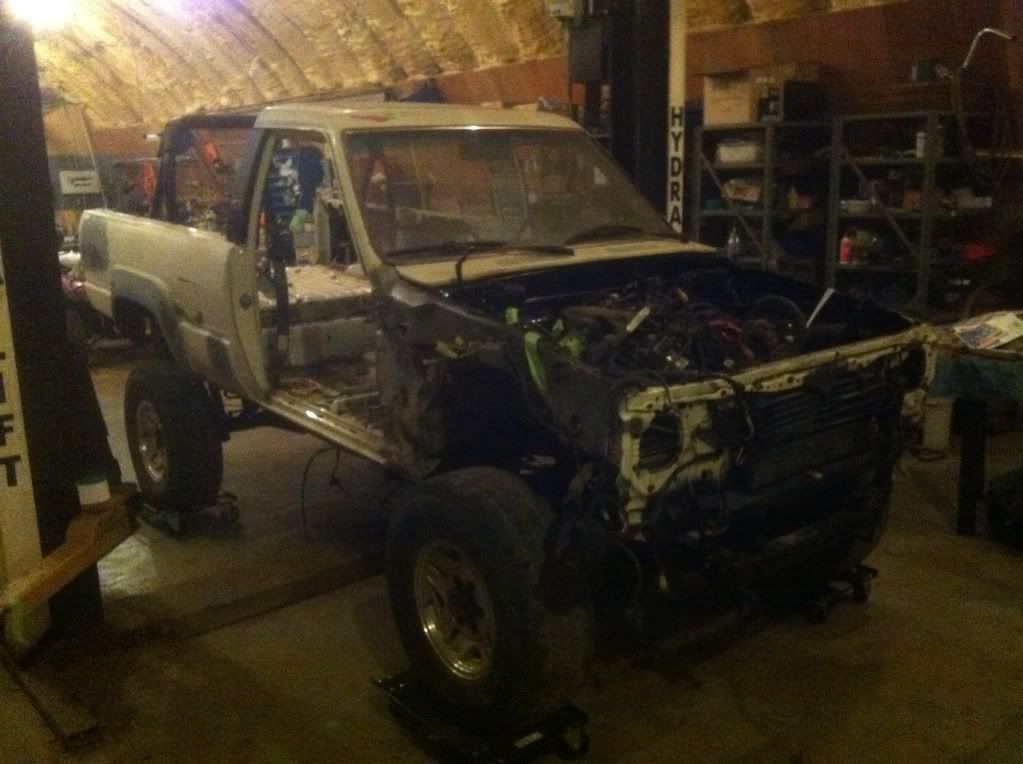
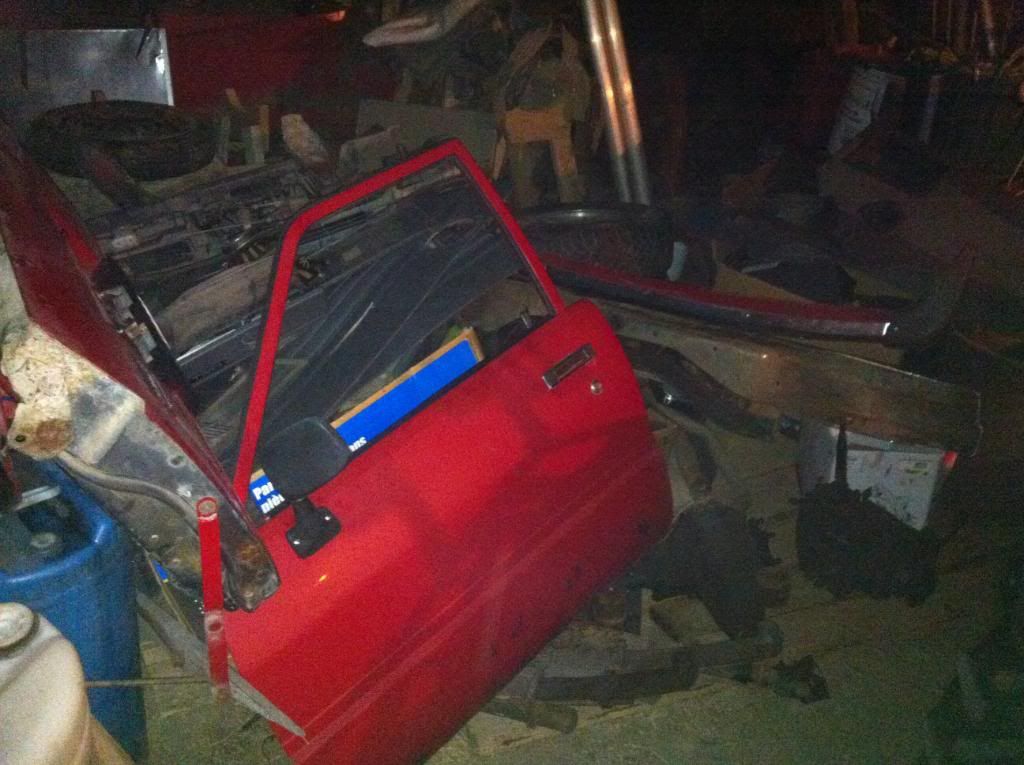
I got a bunch of work done this weekend, most of it wasn't on the project truck, but rather on the parts truck. I had promised the mother in law I would be rid of the parts truck by winter, and that deadline is coming close so I decided to rip out whatever I could and scrap the thing. Here are a bunch of pics:
Took the front diff out. It's just 4:10 gears, so I don't need the diff, but I want the short axle. The front diff I pulled from the '95 a while back has the short axle that comes with the crap for the auto disconnecting diff, all vacuum lines and such. I want to swap that one out with the straight short axle from this one. I apparently didn't take a pic of the actual diff, I was just trying to get as much as I could done in one weekend.

That's about halfway through the teardown.
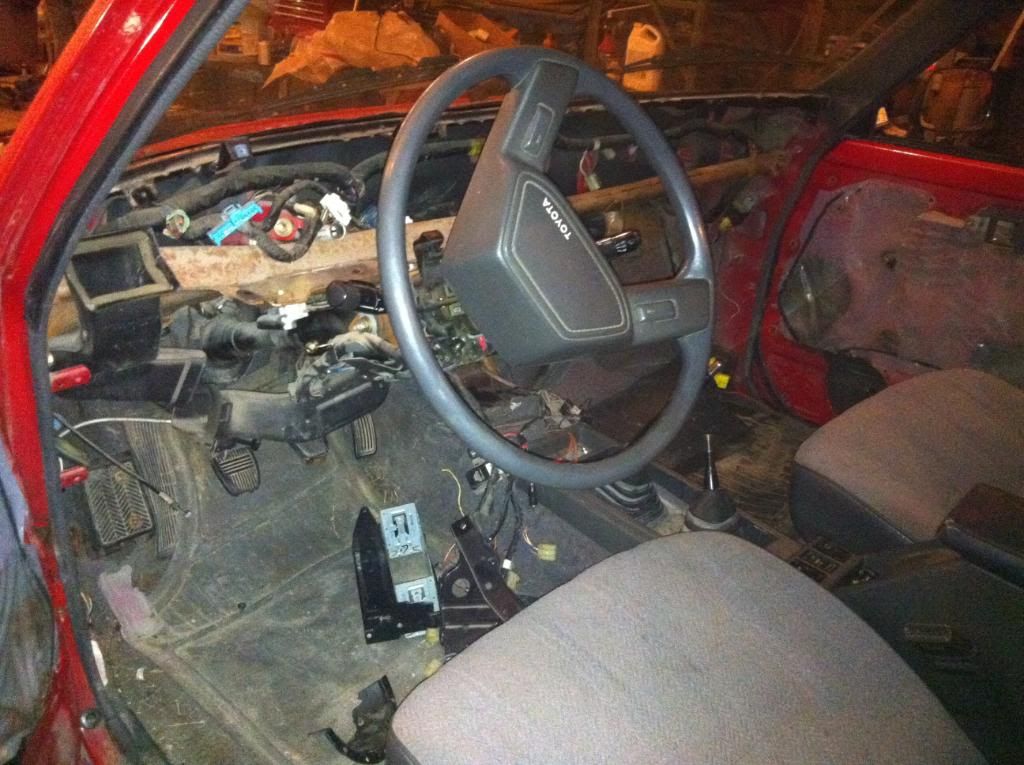
I had a buddy with me on saturday that pulled apart the whole dash for me, and salvaged the heater core, as well. I was pulling off the manual locking hubs and swapping out the 33" tires for the crappy ones I had lying around.

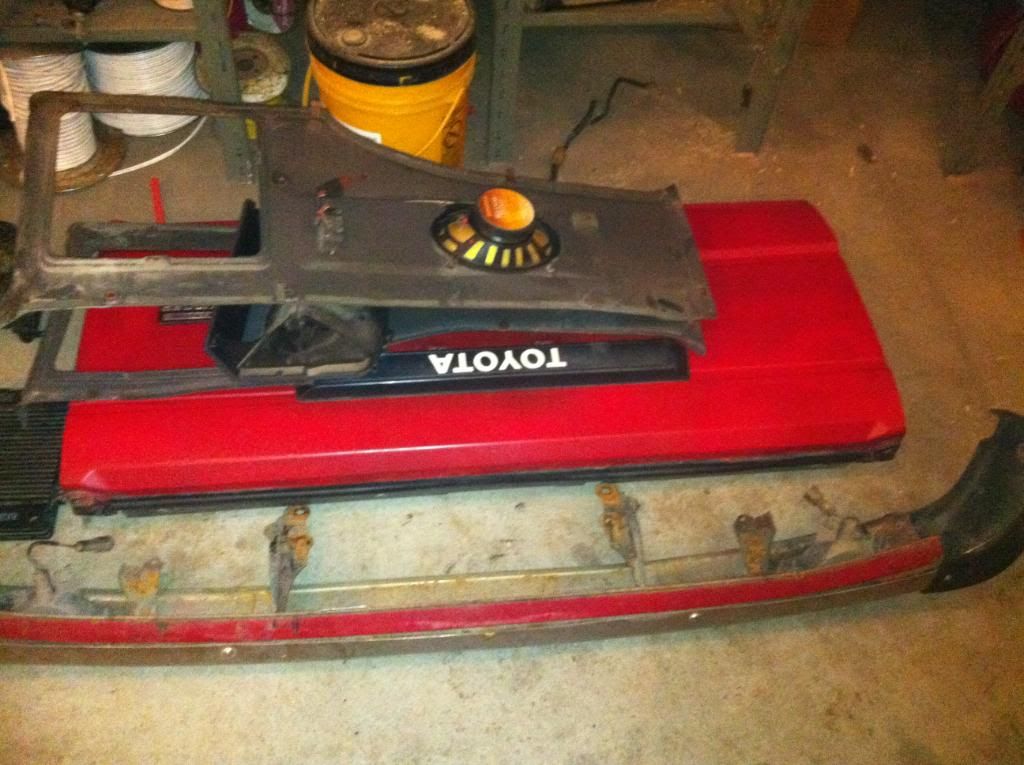
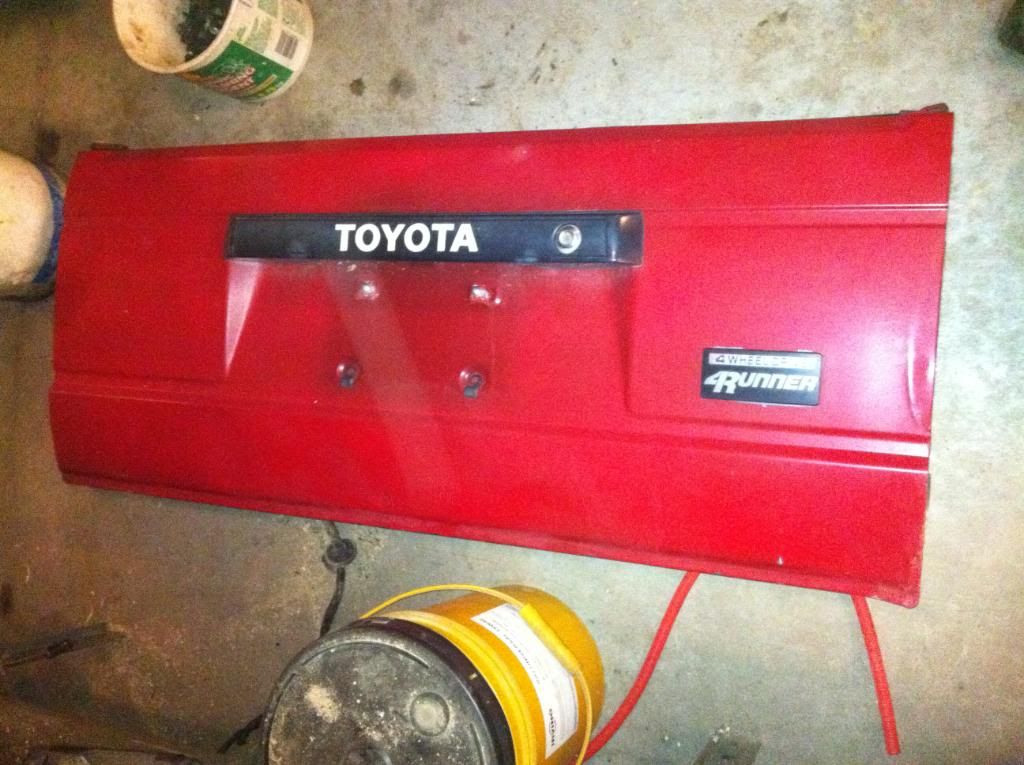
I'm thinking someone could use this tailgate at some point. There are a few dents, but it isn't rusted out like all the other tailgates I've seen around here.
There's a pic of the growing pile of parts in the other shed. If you look close you can see the outline of the transfer case I pulled out, and the front diff down at the bottom right.
Took the front diff out. It's just 4:10 gears, so I don't need the diff, but I want the short axle. The front diff I pulled from the '95 a while back has the short axle that comes with the crap for the auto disconnecting diff, all vacuum lines and such. I want to swap that one out with the straight short axle from this one. I apparently didn't take a pic of the actual diff, I was just trying to get as much as I could done in one weekend.
That's about halfway through the teardown.
I had a buddy with me on saturday that pulled apart the whole dash for me, and salvaged the heater core, as well. I was pulling off the manual locking hubs and swapping out the 33" tires for the crappy ones I had lying around.
I'm thinking someone could use this tailgate at some point. There are a few dents, but it isn't rusted out like all the other tailgates I've seen around here.
There's a pic of the growing pile of parts in the other shed. If you look close you can see the outline of the transfer case I pulled out, and the front diff down at the bottom right.
11-27-2011, 08:15 PM
#414
Registered User
Thread Starter
Join Date: Apr 2011
Location: Southern Ontario
Posts: 428
Likes: 0
Received 0 Likes
on
0 Posts
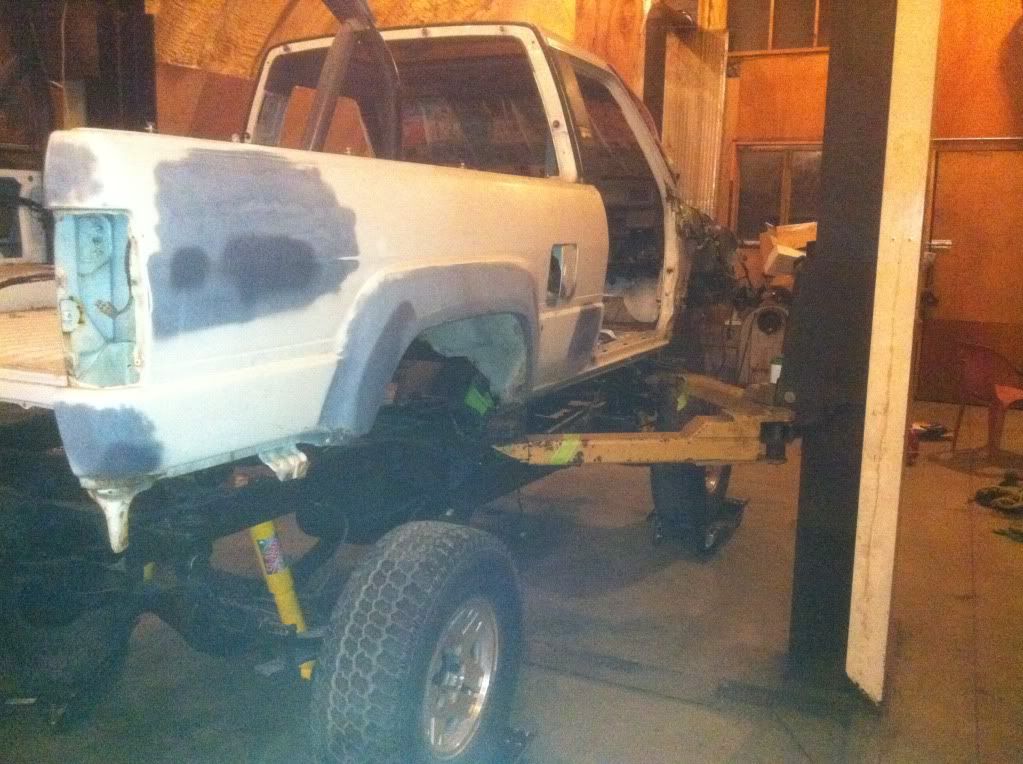
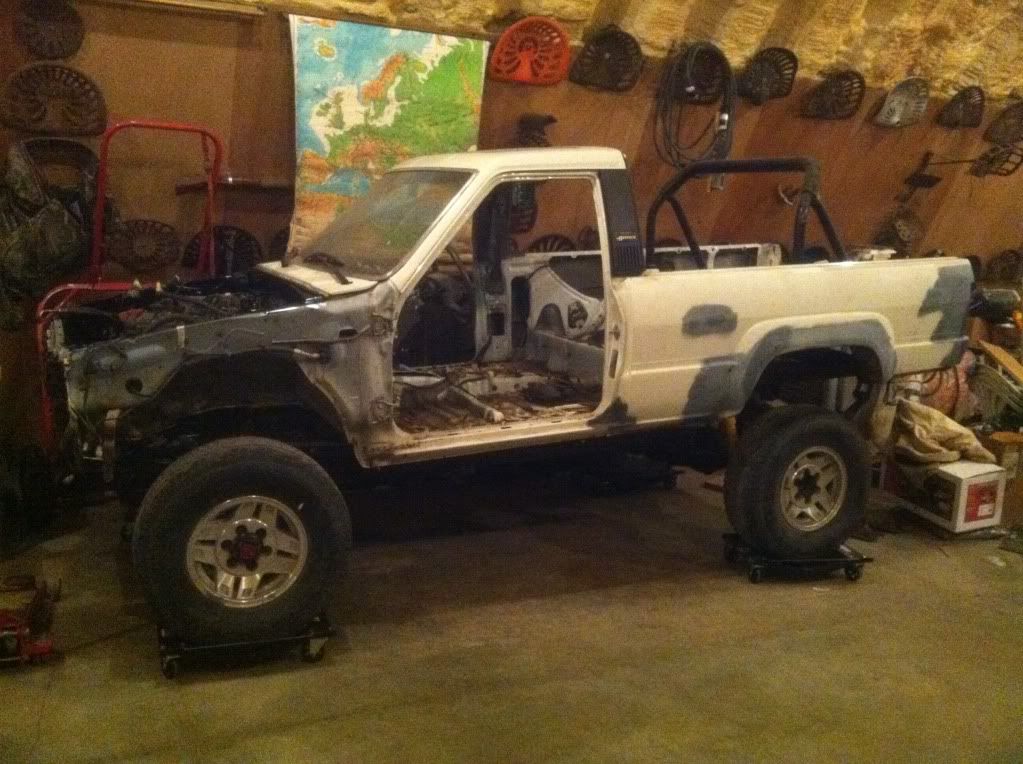
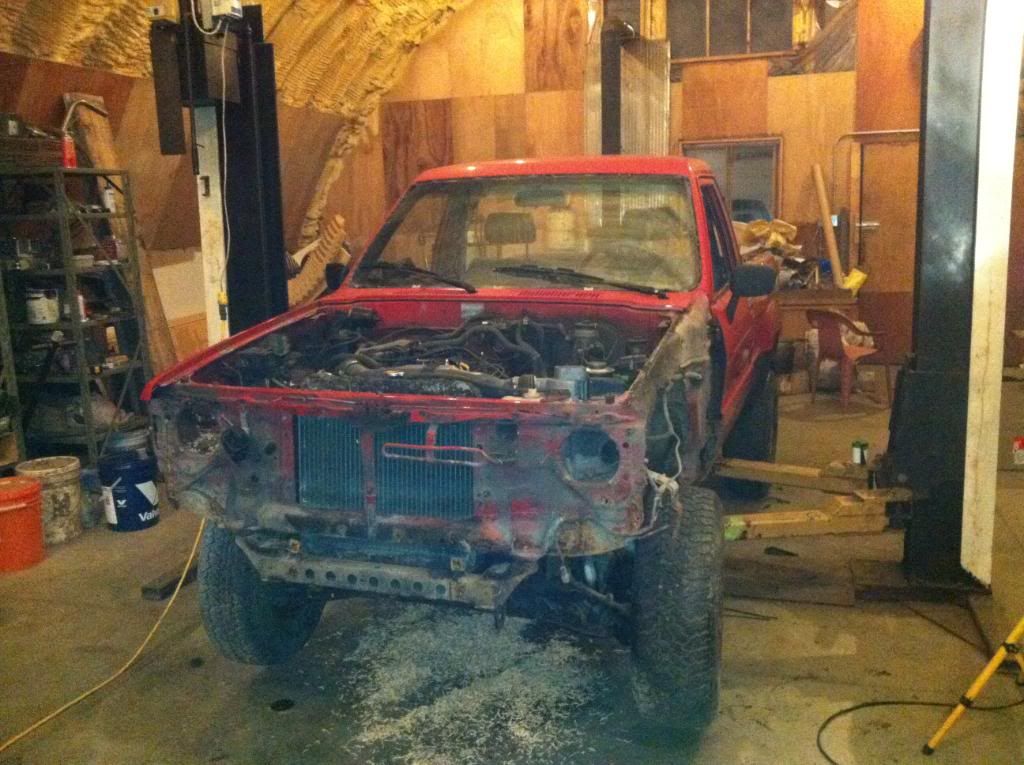
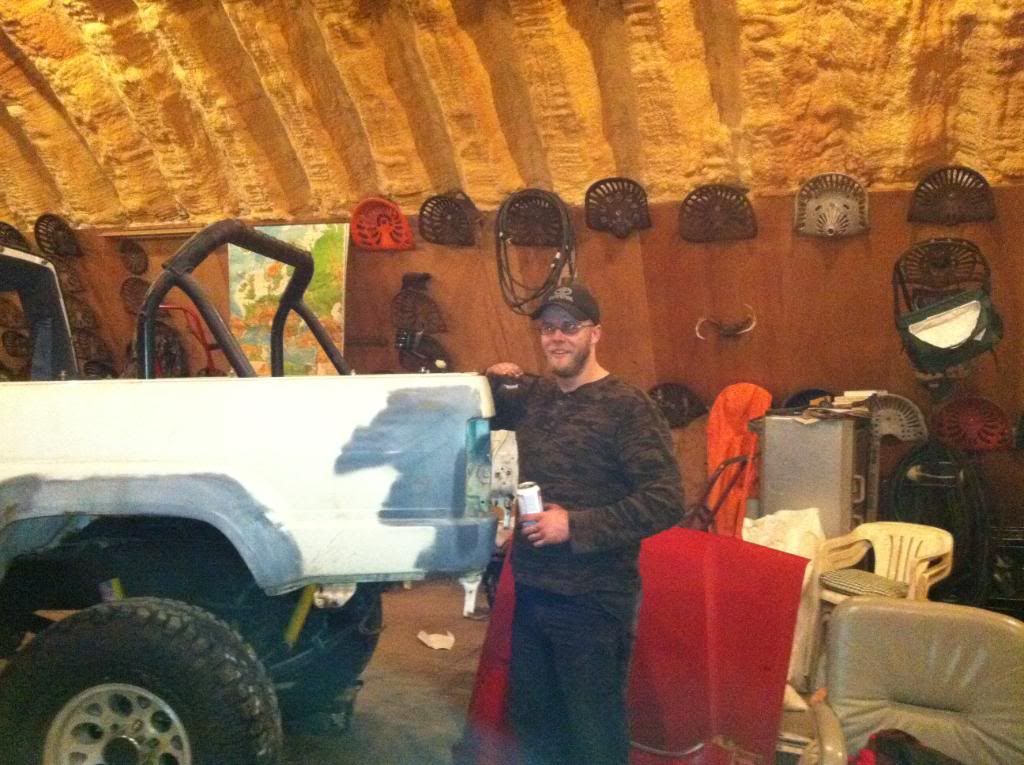
So I decided after we got sick of working on saturday that I wanted to see what these looked like on the truck:
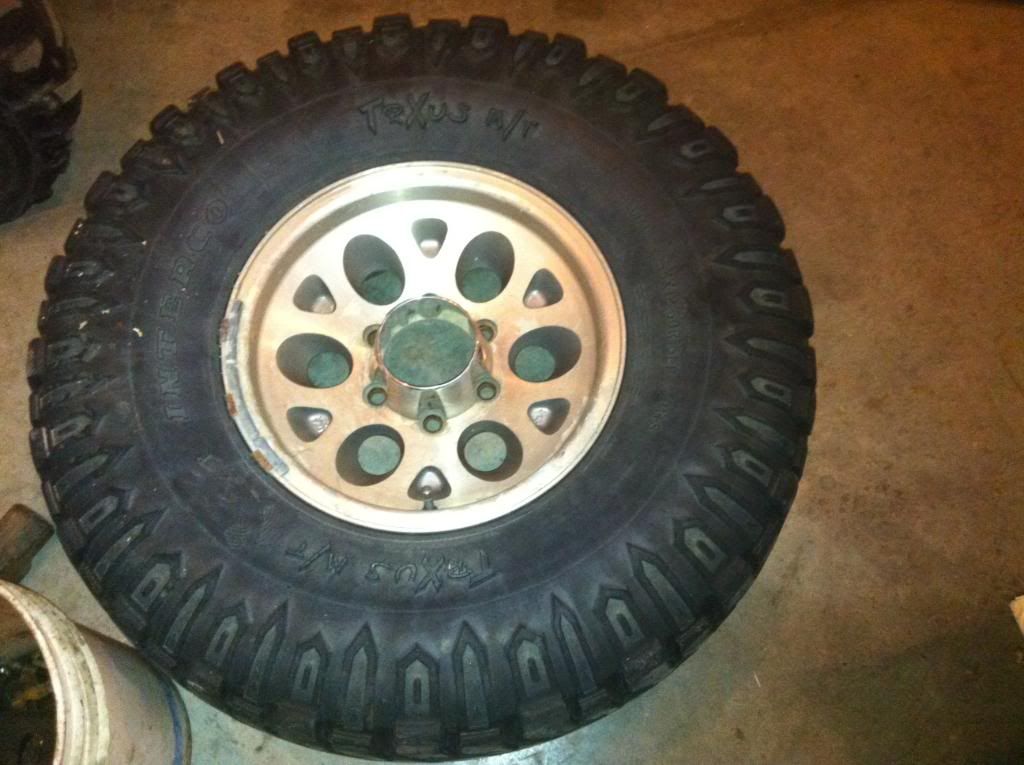
Those are 33's. They don't have a lot of tread left on them, but that gives a good estimation of what the stance will be like when I finally buy the tires I want for it. I'll probably sell these tires and rims because I prefer the factory aluminum ones.
I didn't get this pic till after I put the truck back on the car dollies, so the truck actually sits 2 inches or so lower than this, but it's still the best reference pic I have for you. I'm 6 feet tall.
Last edited by Dutchbelly; 11-27-2011 at 08:17 PM.
 11-27-2011, 09:08 PM
#416
Registered User
Thread Starter
Join Date: Apr 2011
Location: Southern Ontario
Posts: 428
Likes: 0
Received 0 Likes
on
0 Posts
I didn't pop that out when I removed the diff. I'm pretty sure the father in law is taking the truck to scrap this week, but if he doesn't get around to it, I'll knock that out for you next weekend.
11-29-2011, 12:28 AM
#418
Registered User
Thread Starter
Join Date: Apr 2011
Location: Southern Ontario
Posts: 428
Likes: 0
Received 0 Likes
on
0 Posts
Hey Toyo, I touched base with the Father in Law, and he'd already taken the truck in for scrap, so I can't help you out. Apologies. I get up late in the day because I work afternoons, and he'd already left by then.
11-29-2011, 01:40 AM
#419
Super Moderator
Staff
iTrader: (1)
Join Date: Aug 2008
Location: Anderson Missouri
Posts: 11,788
Likes: 0
Received 25 Likes
on
22 Posts
You will be surprised at how the extra parts come in handy. Always need something later on.
You will definitely be up there in height. Where you do your camping, I am sure it will be nice not having to worry about bottoming out. Truck is coming along great. I know you got a lot of work involved in it and it is showing. Great job.
You will definitely be up there in height. Where you do your camping, I am sure it will be nice not having to worry about bottoming out. Truck is coming along great. I know you got a lot of work involved in it and it is showing. Great job.
11-29-2011, 06:52 PM
#420
its all good. ill keep looking. with all the SAS people are doing. seems like no one wants to sell me a small piece of the IFS lol


