When you click on links to various merchants on this site and make a purchase, this can result in this site earning a commission. Affiliate programs and affiliations include, but are not limited to, the eBay Partner Network.
Toast makes a terrible muffler. Supercharge AND sas is certainly the only solution. We can all get along.
Awesome 'fix' for the cheap 4Runner! And I thought a couple hundred off for a dirty maf was keen.
Gonna miss the Trekker build but it'll be fun to watch the 4Runner. With the 3.slow you can transfer that bus sticker which I covet.
LOL habanero, you are right about the sticker.
I will have to get another one.
Here is a link to where I got it if you want one http://busjunkies.com/shop/uphill-warning/
Started swapping out what some of were probably the original bulbs. I am going to need to clean some contacts, some of the LED'S made a huge difference, some not so much.
Map light with 4 SMD 5050 LED compared to the old one Old vs. New
Maps lights I should be able to find stuff
With all the domes/maps
I will probably add a couple 3w LED rock lights in the back to brighten it up in the cargo area.
Hard to tell from the picture but the brake lights are way better
The 21 year old lens are pretty faded so i'll either need to polish them or pick up new housings.
Get your sunglasses ready, The LED king is at it again... I really need to hop on your train - I'm alright with halogen lights on the exterior, but I really would to convert to LED lights on my interior.
Get your sunglasses ready, The LED king is at it again... I really need to hop on your train - I'm alright with halogen lights on the exterior, but I really would to convert to LED lights on my interior.
Haha thanks Dave.
The dash on this one may be a challenge though.
If you are talking about getting the dash apart on the 89-95, start over on the passenger side and remove the glove box and work your way over to the drivers side. You don't need to pull the dash pad but about everything else will need to come off to get to the cluster. It is not as bad as it may sound to do if you are wanting to change bulbs in the cluster. I don't remember if you will need to pull the panel below the steering column or not but it to is easily removed if need be. Your first time will probably take you 15-20 minutes or so but once you do it, you will have it down in about 5-10 minutes.
Undo the speedometer cable from the clips on the fire wall under the hood and possibly the under carriage so as you can pull the cluster further out to disconnect the speedometer cable.
If you are talking about getting the dash apart on the 89-95, start over on the passenger side and remove the glove box and work your way over to the drivers side. You don't need to pull the dash pad but about everything else will need to come off to get to the cluster. It is not as bad as it may sound to do if you are wanting to change bulbs in the cluster. I don't remember if you will need to pull the panel below the steering column or not but it to is easily removed if need be. Your first time will probably take you 15-20 minutes or so but once you do it, you will have it down in about 5-10 minutes.
Cool Terry, that is just the sort of info I need. I want to pull the dash cluster to swap the LED's. As the same time i need to work on the fan switch. The fan switch works but seems to be sensitive to the position it is in. I only have 2 speeds for the fan.
here are some of the prices I have come up with for doing my SAS and convert to rear leaf springs
front suspension: Front Spring Hanger Options-
Traditional/commonly used Trail-gear that seems to had 1.5-2" to a lift
front spring hanger $95 normal t-g http://www.lowrangeoffroad.com/front-spring-hanger.html
Details
If you are looking for a front spring hanger for your Toyota, this is the best engineered front spring hanger available today. Why? We have found that with excessive off road use, the front hanger can be bashed in many times. The hanger itself usually holds up, but the factory Toyota frame doesnt. The amount of surface to weld on many hangers allows the frame to tear out and roll under the vehicle, especially on Tacoma's.
This hanger resolves these issues by increasing the amount of surface area to weld.
Its also designed to be "Low Profile," meaning that it does not give as much lift as other hangers on the market, by over an inch. That means that your "3 inch springs" will be closer to the 3" lift you are expecting. Your "4 inch springs" will give you closer to the 4" lift you were expecting......and down the line.
FAQ:
Question: Why won't my factory spring hangers work with new longer springs?
Answer: Many aftermarket springs for the Toyota are increased length over stock. In order to allow for maximum flex, they have to use a longer shackle. When you use a longer shackle, your caster is affected. Caster is the forward and rearward tilt of the steering axis from true vertical. If the caster is not correct, your steering wheel will not return to center and your handling will greatly be affected. This hanger allows for: Longer Springs, a "drop" of the front of the spring so that slightly longer shackles can be used in the rear of the front spring while correcting caster so that your vehicle handles correctly.
Question: What front springs will work with this hanger?
Answer: OEM and Aftermarket front springs ranging from OEM length to 47" Long. You will need to weld this hanger in position so as to have a correct shackle angle in the rear of the front spring. It will also assist when doing the common "Rears Up Front" swap.
front shackle frame jig $27 http://www.lowrangeoffroad.com/yotam...-and-jigs.html
Have you looked at using ford shock towers, low range sales them. Also might want to look at a low shock mount that mounts lower on axle than standard top mount. I went with 12" shock hoops pushed up as high as possible. My front spring flex is limited by shock length. My up travel is little less than 3" so might want to consider different pads for bump stops. So bottoming out suspension isn't a harsh slam. I'll look at box or snap a pic tomorrow, but low range sales them too.
Have you looked at using ford shock towers, low range sales them. Also might want to look at a low shock mount that mounts lower on axle than standard top mount. I went with 12" shock hoops pushed up as high as possible. My front spring flex is limited by shock length. My up travel is little less than 3" so might want to consider different pads for bump stops. So bottoming out suspension isn't a harsh slam. I'll look at box or snap a pic tomorrow, but low range sales them too.
Ford shock towers are an option, a little cheaper and actually easier to mount.
Always open to other options for bump stops. I know there are some others that would almost act as a sort of progressive bump.
Originally Posted by RBX
Have you discussed the rear sump and 2wd oil pan you'll need?
Haven't discussed it here said, talked about it on a FB page though. It is stuff I need to pick up.
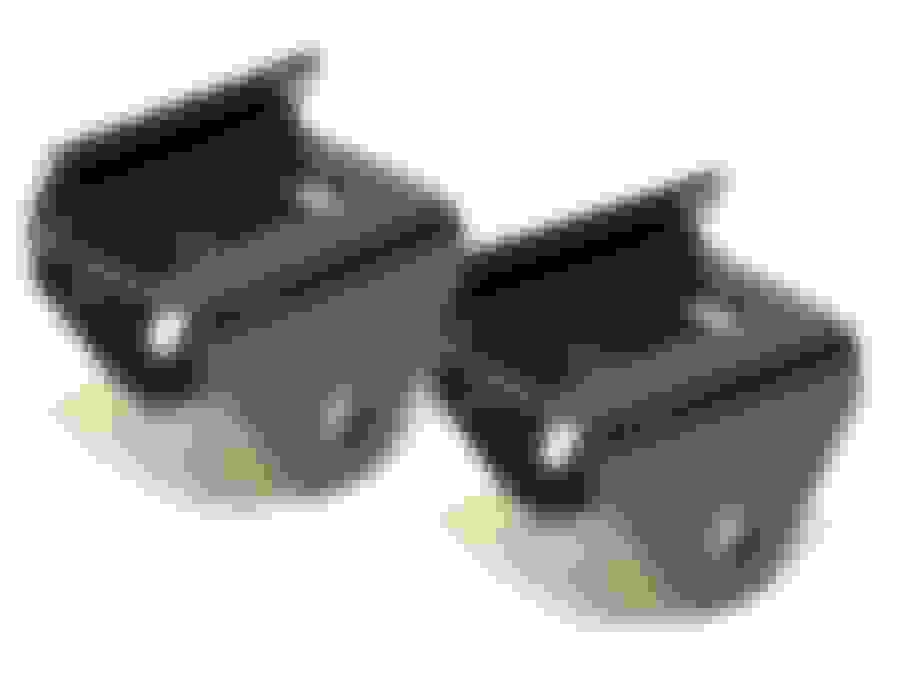
Didn't snap a picture but these a bump stops I switched too. The 4.5" mine mounted differently flat with tabs for and aft. I had to trim them a bit and tacked them on front flip plate. Pot holes on the road are much nicer.
These are the lower mounting shock mounts. But don't know how possible they are to use on a front stock housing. I would like to compare droop of front axle with and without shock mounted, I think now my front articulation is limited by shock length with the shorter upper shock hoop. I did not want to start cutting into inner fenders to run the longer shock hoops.
i agree, i don't want to cut the inner fender. Being in the PNW we get enough rain water into the engine compartment.
I'll give those shock mounts a look. you might be able to mount them towards the backside of the housing so that as you cycle the steering it would not be in the way.
I do already have a set of double shear mounts already since I am recycling the axle from my 81.
started ordering parts yesterday.
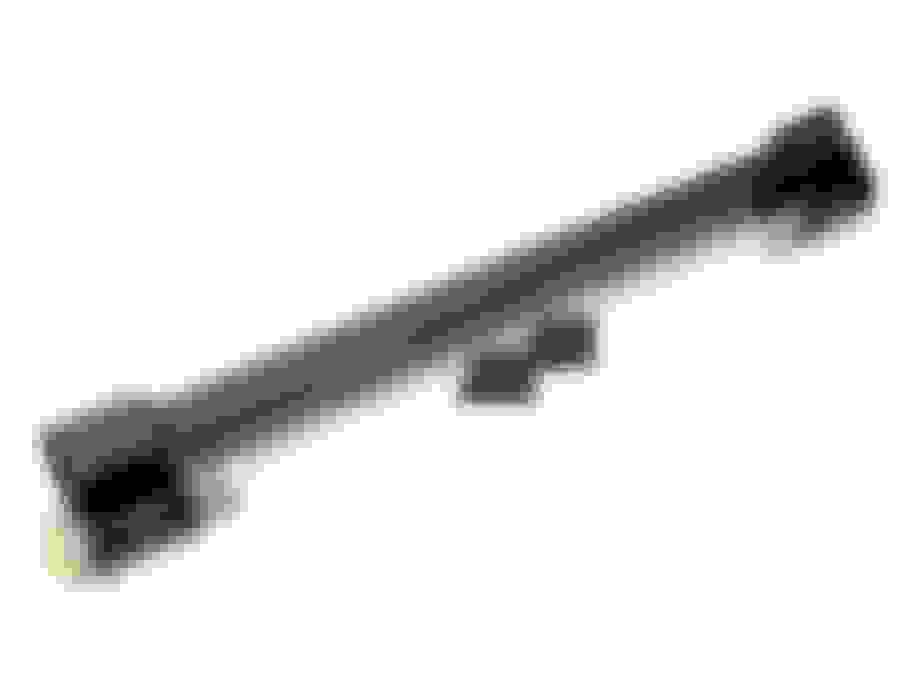
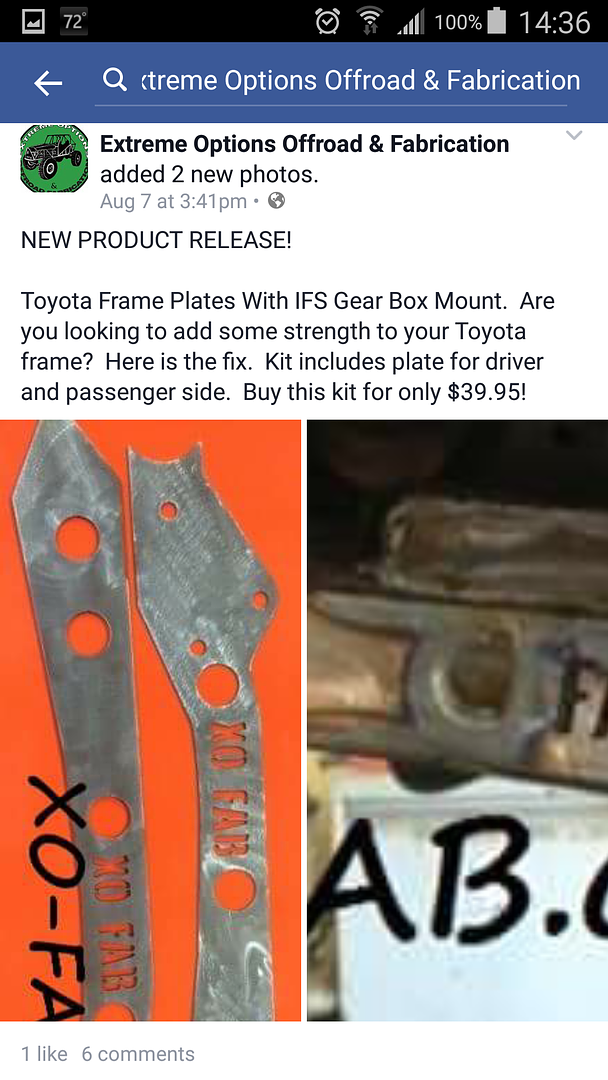
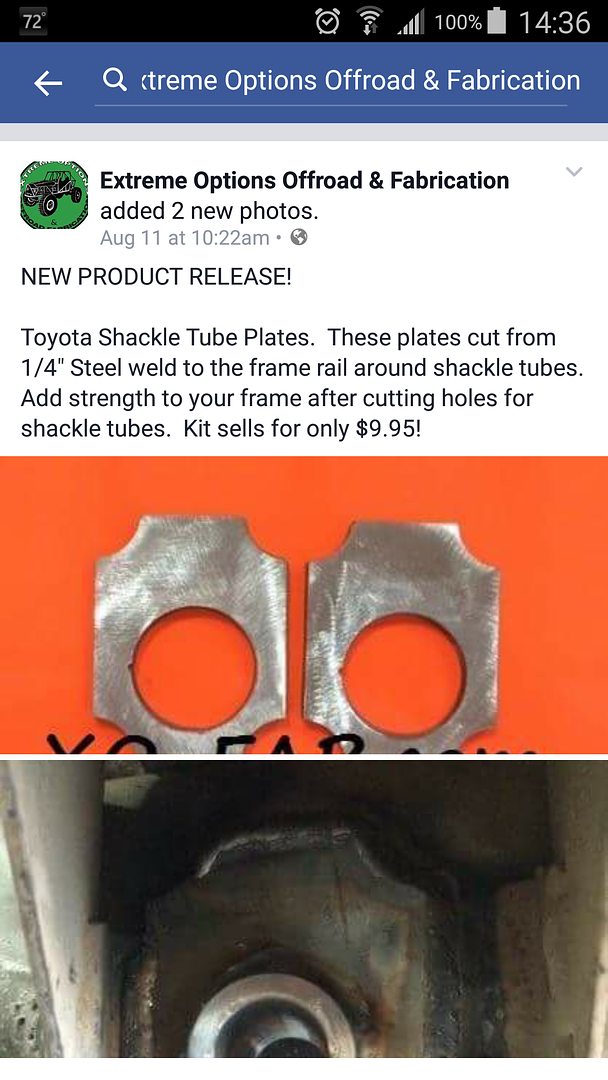
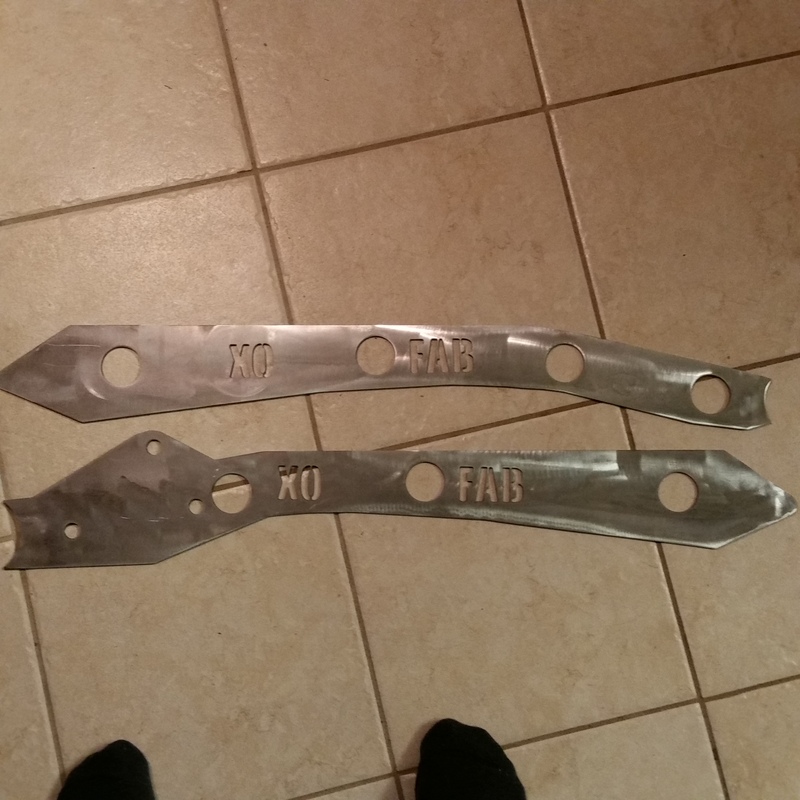
Ordered this from Extreme Options Fab Thursday morning, had it Friday afternoon. I will be ordering stuff from them again
the integrated steering box mount is a nice touch
rest of the stuff should be here soon from LROR

 10-02-2015, 06:19 AM