
ChefYota4x4's 1987 4Runner Build-Up Thread

 02-27-2013, 10:08 AM
#5942
Super Moderator
Staff
iTrader: (1)
Join Date: Aug 2008
Location: Anderson Missouri
Posts: 11,788
Likes: 0
Received 25 Likes
on
22 Posts
The kid looks great and dont envy you on having to move your moms friend, but envy the heat. I dont mind the heat, it is the cold I dont care for.
Roof rack looks great. I might would put a rubber cap on the bolts on the inside. I know my luck is some how I would just find a way to hit my noggin on one of those. If there is something that will get me I will find it.
Roof rack looks great. I might would put a rubber cap on the bolts on the inside. I know my luck is some how I would just find a way to hit my noggin on one of those. If there is something that will get me I will find it.
02-27-2013, 12:25 PM
#5943
Registered User
The kid looks great and dont envy you on having to move your moms friend, but envy the heat. I dont mind the heat, it is the cold I dont care for.
Roof rack looks great. I might would put a rubber cap on the bolts on the inside. I know my luck is some how I would just find a way to hit my noggin on one of those. If there is something that will get me I will find it.
Roof rack looks great. I might would put a rubber cap on the bolts on the inside. I know my luck is some how I would just find a way to hit my noggin on one of those. If there is something that will get me I will find it.
02-27-2013, 12:43 PM
#5944
Registered User
02-27-2013, 12:52 PM
#5945
Registered User
02-27-2013, 03:08 PM
#5948
Contributing Member
Hello Chef. Just checking in. Glad to see the rack is done and fits in the garage. I was thinking the same thing as Cyberhorn but with some of those acorn nuts...but playground nuts? Genius!
 02-28-2013, 08:42 AM
#5953
Registered User
02-28-2013, 10:19 AM
#5954
Hey Guys, thanks lots for the props/input. 
First thing;
* Bolts Length.....
This can be a problem, shaving them, until it's installed.... Reason being, I used a solid piece, one end to the other...... SO, when I put the bolts through all those layers(anchored washer for 2 bolts in the tracks, .... 1/8" Aluminum Plate.... Rubber Foam Seal compressed down to 1/8", Roof thickness, 1/2" in front bolts, 5/8" at Center bolts and 1" in the rear by those curved windows.... 1/8" Aluminum Strips)... Along with the differences in height of the curves inside, creates the need for a FAIRLY LONG bolt, just to get it through. Then, when compressing, it just keeps going and going and going until it finally hits and begins to lock the lock washers, etc, when reaching the nylon spacers.
SOOOO, when I want to pull it again, soon, to reseal a couple things a lil more and possible move the driver side track(couple things weren't considered before drilling... I should have noticed... BUT, it all fit, so it's not a HUGE deal... STILL, I would like it to be symmetrical, etc.).... And if I do that, I will need them long that ONE MORE TIME just to get started and in.. and THEN they'll be in for good......
ANDDDDD, .... I might be doing like I did with the center bolt..... Where I used the Sliding Angled T-Track Square Bolts instead of the anchored washers... This would eliminate ALL head punctures, lol.... (Only problem, really is, that I would need someone with me to do this, so they could compress the things together by hand while I start the nuts... AND, the bolts would have to be EXACTLY the right length, ...which could require an ODD size, needing shaving, etc... Because the t-tracks channel ABOVE the Square nuts only allow for so much compression before the bolts would touch/before locking tight.{The Center one is proof, as it's coming up into and flush with the top track actually, through a hole in that track, just clear of touching the sliding square nuts that are holding on the Cage. } )
All in all, the main thing is it's VERY solid.... Sealing it up, further/making sure it's sealed up 100%/ will not be that difficult as it's all meant to come apart without damaging anything, especially due to the Nylon Spacers.
************************************************** **********
Richard, ... that's cool, man. I VERY MUCH ENJOY being of use on here or in life in general... So, it's nice to know that you might have encouraged someone to try something/GO FOR IT! lol... BTW, ..... just like with me, as RBX and that dude with the White 4Runner who put down the Aircraft Aluminum T-Tracks he ordered online/with insert/lipped spacers did. Those tracks make it easy to drill as they have pre-countersunk spaces in them for the bolts to go right through. GREAT idea, ... I just already had the Side Rails(Thule dual T-track channel ones), and those are 28$ a piece(WORTH EVERY PENNY, not dissing that.... Just trying to do a mostly CL and PYPart finds-Mod! lol....
************************************************** *******
I still have to loosen the cage and slide it forward to put the rear thule end caps on and then backward for the front ones... I MIGHT move them then and just reseal it all on the one side(which ever one I move).... We'll see. For now, I'm ok. I've already moved back into finishing something up... I'll have a nice update on that/cargo stuff, later.
************************************************** **********
Far as my Granddaughter/Grandson........ THEY REALLY DO, CONSTANTLY, MAKE ME SMILE! So proud of my daughters for being independent and raising them well, also, in spite of tough circumstances! That's also very rewarding... as, well, when you're a parent, ... YOU CAN REALLY get concerned as they're coming into their own... And, obviously, you ALWAYS get concerned for them when things are tough. And, YEP, THINGS ARE PRETTY TOUGH FOR LOTS RIGHT NOW, period, right?!?!?!?!?
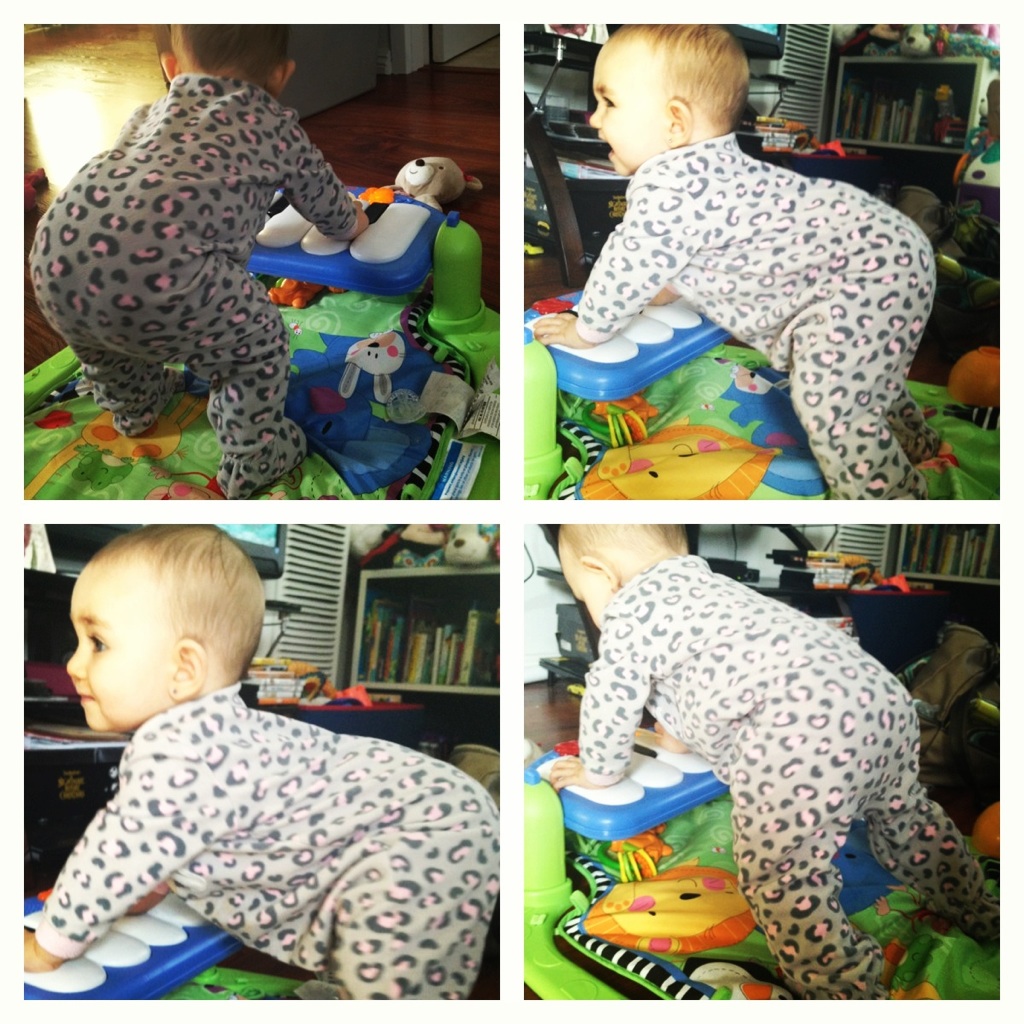
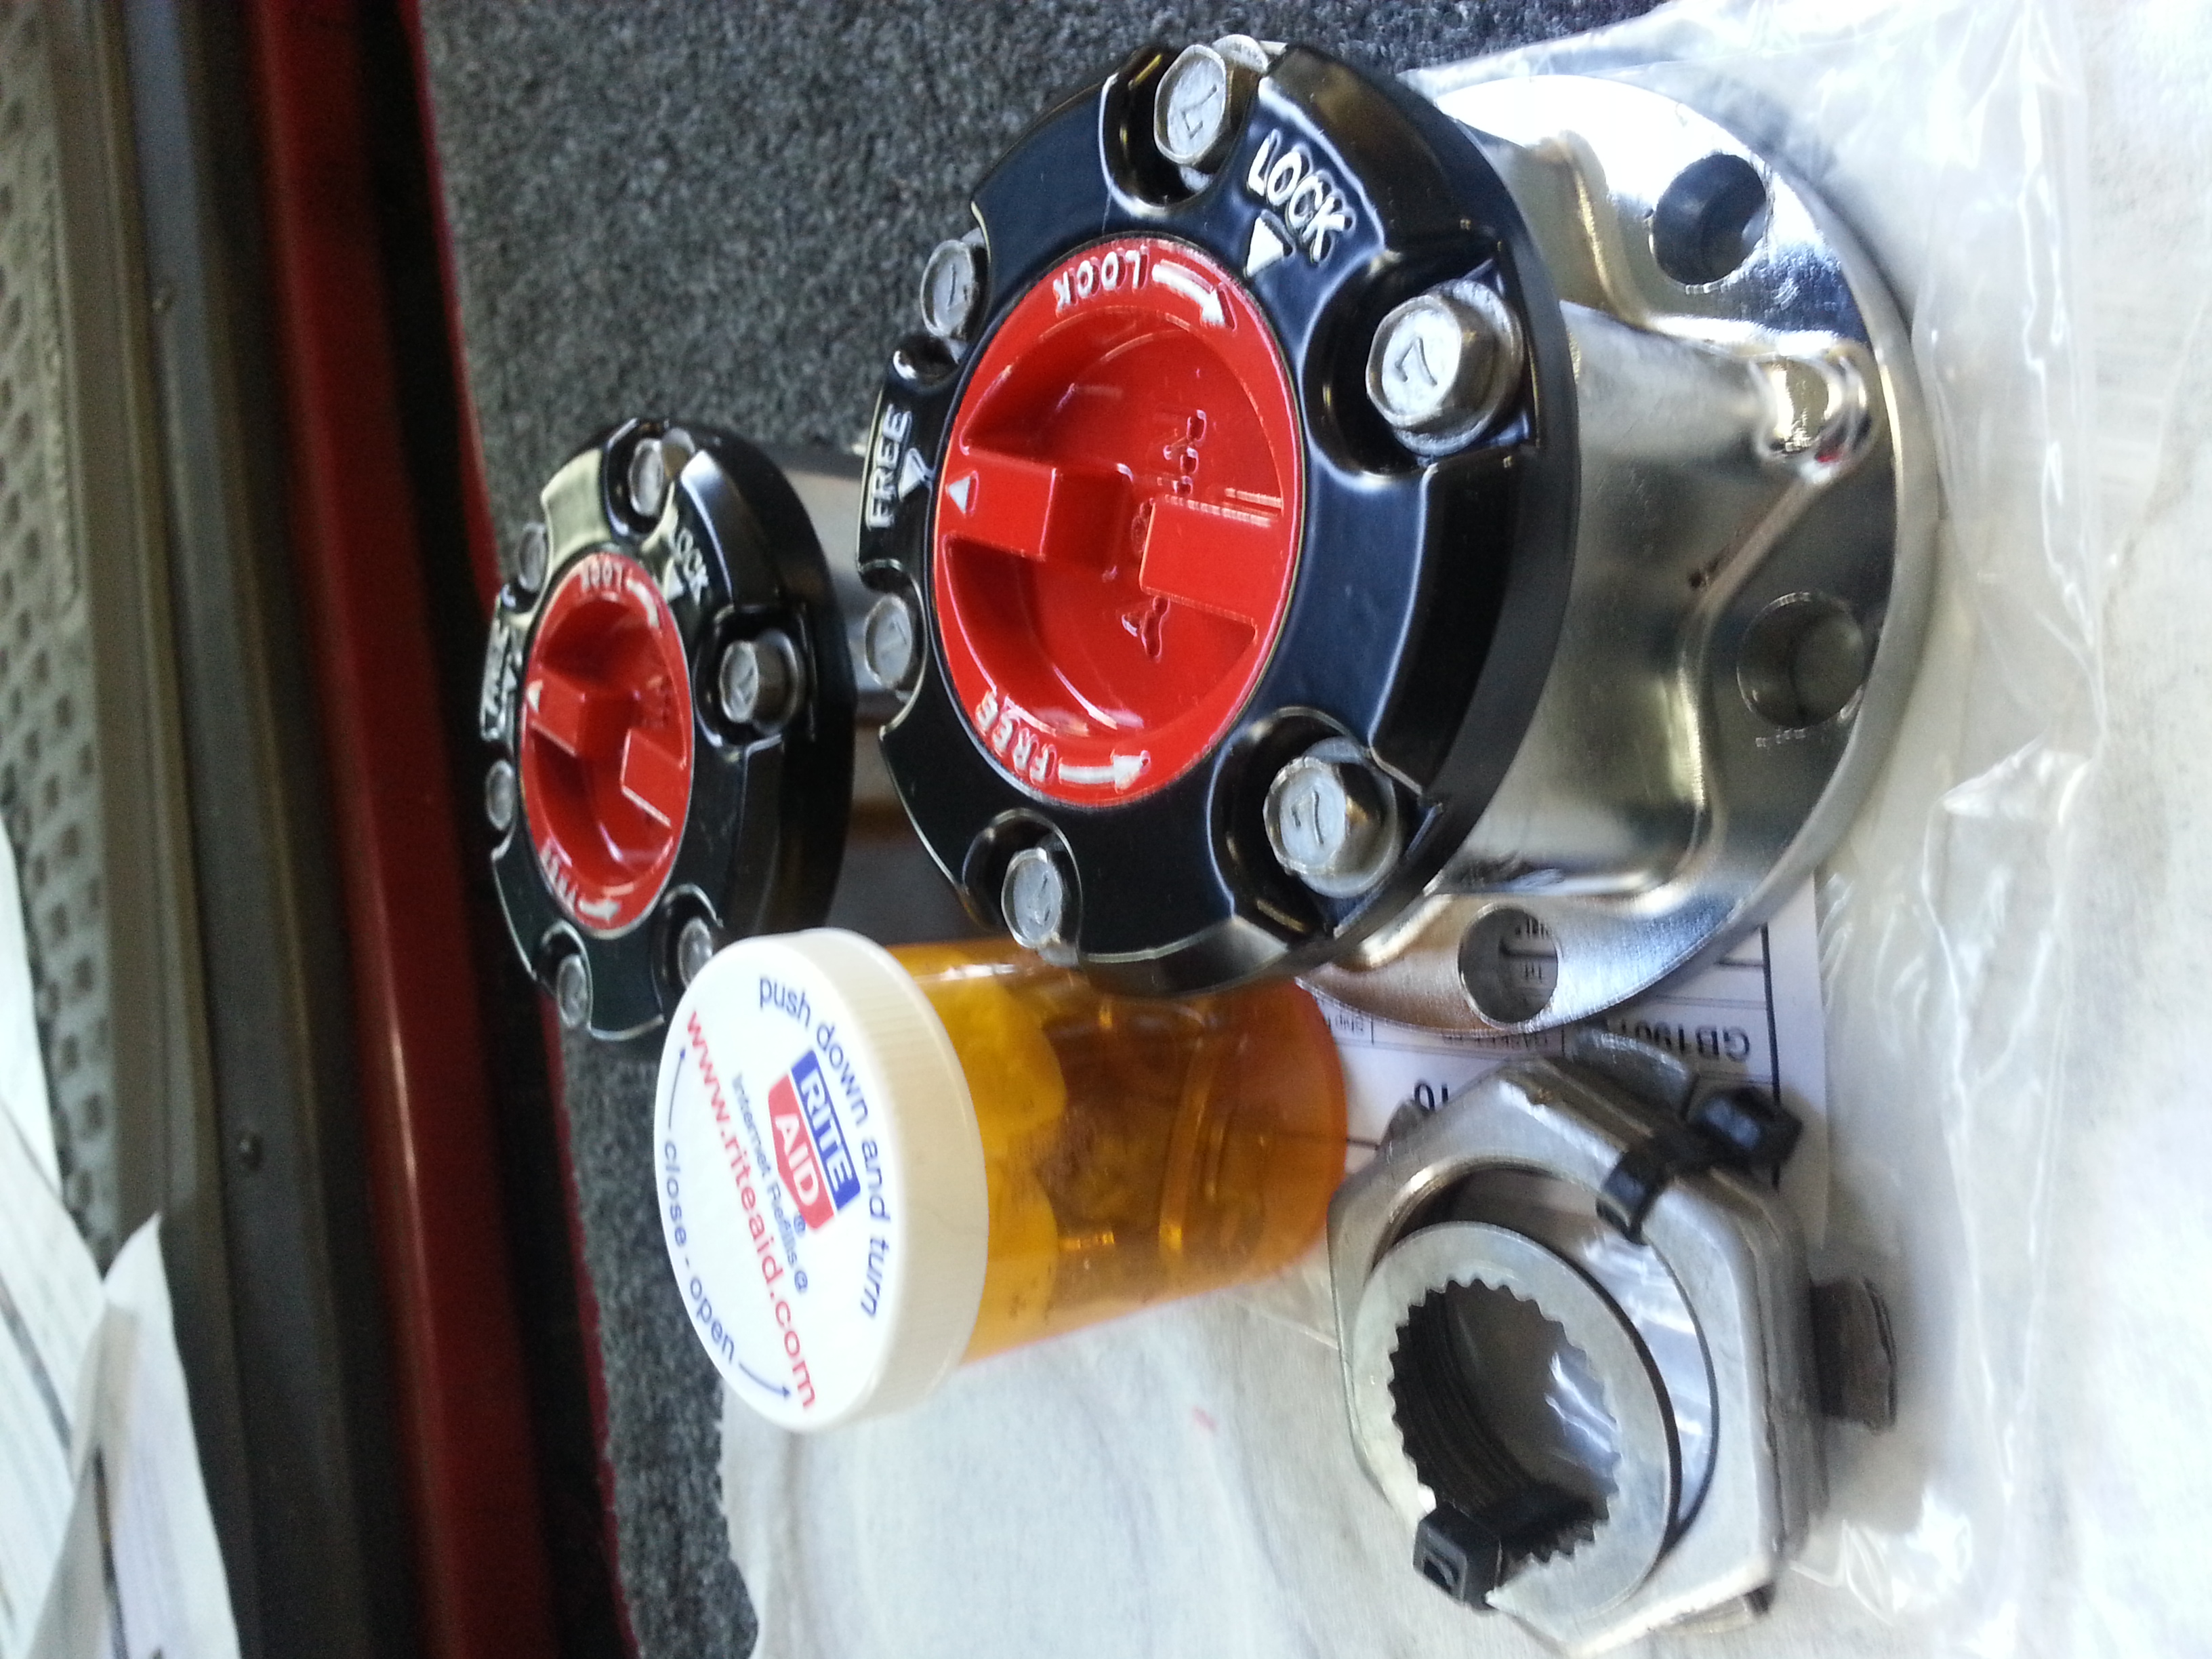
She hung out with me and went to pick up the Aisin IFS Man. Locking Hub Covers and dials from the Powercoater with me...... While in the car, she sent me a bunch of pics, lol.. Some with me, some just playing around, some with my Mom, the Great Grandma!!! >>>


With her Uncle, my Daughters Brother.....

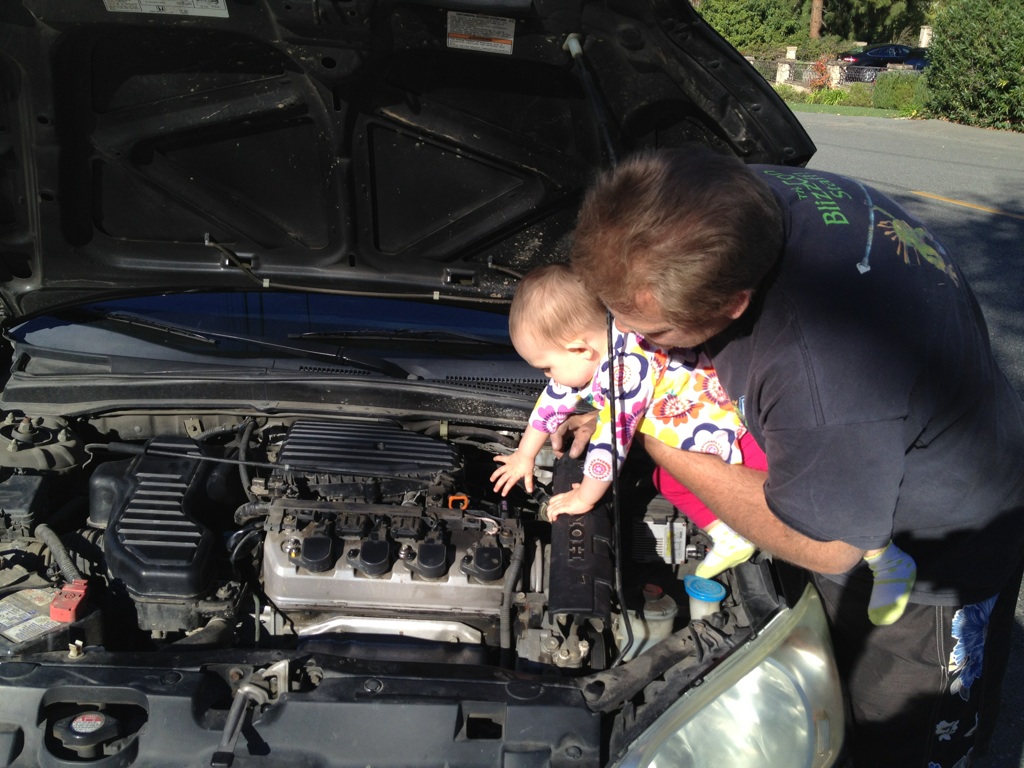
OH YEAHHHHHHHH, YOU KNOW IT! lol...(Helping me fix my Daughters Honda)>>>>
More on the swing.....


************************************************** *************
Snapped one of Ruby, getting her cage on in the Post office parking lot, shipping off Stew's Aisin Hubs... LOW clearance.... 3" safe.........

Stew's Hubs, powdercoated, letters cleared, IMMACULATE and pristine inner condition, all OEM Gaskets, new O-Rings installed....ready to ship >>>>>>>
************************************************** ***********
Another update coming later.
First thing;
* Bolts Length.....
This can be a problem, shaving them, until it's installed.... Reason being, I used a solid piece, one end to the other...... SO, when I put the bolts through all those layers(anchored washer for 2 bolts in the tracks, .... 1/8" Aluminum Plate.... Rubber Foam Seal compressed down to 1/8", Roof thickness, 1/2" in front bolts, 5/8" at Center bolts and 1" in the rear by those curved windows.... 1/8" Aluminum Strips)... Along with the differences in height of the curves inside, creates the need for a FAIRLY LONG bolt, just to get it through. Then, when compressing, it just keeps going and going and going until it finally hits and begins to lock the lock washers, etc, when reaching the nylon spacers.
SOOOO, when I want to pull it again, soon, to reseal a couple things a lil more and possible move the driver side track(couple things weren't considered before drilling... I should have noticed... BUT, it all fit, so it's not a HUGE deal... STILL, I would like it to be symmetrical, etc.).... And if I do that, I will need them long that ONE MORE TIME just to get started and in.. and THEN they'll be in for good......
ANDDDDD, .... I might be doing like I did with the center bolt..... Where I used the Sliding Angled T-Track Square Bolts instead of the anchored washers... This would eliminate ALL head punctures, lol.... (Only problem, really is, that I would need someone with me to do this, so they could compress the things together by hand while I start the nuts... AND, the bolts would have to be EXACTLY the right length, ...which could require an ODD size, needing shaving, etc... Because the t-tracks channel ABOVE the Square nuts only allow for so much compression before the bolts would touch/before locking tight.{The Center one is proof, as it's coming up into and flush with the top track actually, through a hole in that track, just clear of touching the sliding square nuts that are holding on the Cage. } )
All in all, the main thing is it's VERY solid.... Sealing it up, further/making sure it's sealed up 100%/ will not be that difficult as it's all meant to come apart without damaging anything, especially due to the Nylon Spacers.
************************************************** **********
Richard, ... that's cool, man. I VERY MUCH ENJOY being of use on here or in life in general... So, it's nice to know that you might have encouraged someone to try something/GO FOR IT! lol... BTW, ..... just like with me, as RBX and that dude with the White 4Runner who put down the Aircraft Aluminum T-Tracks he ordered online/with insert/lipped spacers did. Those tracks make it easy to drill as they have pre-countersunk spaces in them for the bolts to go right through. GREAT idea, ... I just already had the Side Rails(Thule dual T-track channel ones), and those are 28$ a piece(WORTH EVERY PENNY, not dissing that.... Just trying to do a mostly CL and PYPart finds-Mod! lol....
************************************************** *******
I still have to loosen the cage and slide it forward to put the rear thule end caps on and then backward for the front ones... I MIGHT move them then and just reseal it all on the one side(which ever one I move).... We'll see. For now, I'm ok. I've already moved back into finishing something up... I'll have a nice update on that/cargo stuff, later.
************************************************** **********
Far as my Granddaughter/Grandson........ THEY REALLY DO, CONSTANTLY, MAKE ME SMILE! So proud of my daughters for being independent and raising them well, also, in spite of tough circumstances! That's also very rewarding... as, well, when you're a parent, ... YOU CAN REALLY get concerned as they're coming into their own... And, obviously, you ALWAYS get concerned for them when things are tough. And, YEP, THINGS ARE PRETTY TOUGH FOR LOTS RIGHT NOW, period, right?!?!?!?!?
She hung out with me and went to pick up the Aisin IFS Man. Locking Hub Covers and dials from the Powercoater with me...... While in the car, she sent me a bunch of pics, lol.. Some with me, some just playing around, some with my Mom, the Great Grandma!!! >>>
With her Uncle, my Daughters Brother.....
OH YEAHHHHHHHH, YOU KNOW IT! lol...(Helping me fix my Daughters Honda)>>>>
More on the swing.....
************************************************** *************
Snapped one of Ruby, getting her cage on in the Post office parking lot, shipping off Stew's Aisin Hubs... LOW clearance.... 3" safe.........
Stew's Hubs, powdercoated, letters cleared, IMMACULATE and pristine inner condition, all OEM Gaskets, new O-Rings installed....ready to ship
>>>>>>> ************************************************** ***********
Another update coming later.
 She's growing up very cute.
02-28-2013, 11:08 PM
She's growing up very cute.
02-28-2013, 11:08 PM
#5960
Been to busy with work, though; No progress on my headlight H4 harness upgrade since last month.


