
ChefYota4x4's 1987 4Runner Build-Up Thread

 03-28-2012, 11:29 AM
#3782
I'll take it!  lol.
lol.
Bone in Pork Shoulder or bone-in Country Style Pork Ribs, grill-seared with plenty of rub, then simmered for 4-WHATEVER hours(pretty much a precise "to touch" dish, most stews are.... If you go even 30 MINUTES too long.... they begin to RE-BIND and actually wind up chewy... This can also happen by simply cooking it at too high of a temp... This is why it's so important to bring it back to a boil as you add things.... THEN reduce to simmer and watch it for a bit, holding it steady. It doesn't hurt to have a lid, but NOT SEALED, ....just basically like a 'paris hat'/angled/leaving a nice gap. This wont reduce cooking time, because you want only a simmer, no matter if it's covered or not.... BUT, it WILL keep most of the liquid you have in there, IN THERE..... Also important is to skim, on occasions, as you go. If you don't, they will re-Incorporate into the stew/soup..... VERY bitter background taste and NOT GOOD FOR YA! lol.) I use halved/cleaned large carrots, cut at angle, whole fingerling potatoes, Yellow Onions, quartered/cleaned, halved celery, quartered/de-stalked Cabbage, Worcestershire, toasted and course ground black/green/red peppercorns, toasted fennel seeds, hand-rubbed Albanian sage, kosher salt, Hungarian paprika, then toward the end, fresh picked basil/oregano/thyme and continue to season to taste before serving. I start the pork, first, for about an hour, before adding all the veggies(return to boil, reduce to simmer, keep there for hours). You can sear the pork in a pan, but I love the thorough searing I get with the grill, along with more carbonizing/without cooking too long..... A screaming hot grill gives you that, ya know?(I grow all the herbs mentioned, including multiple sage herbs(Purple, Albanian, etc.). Many basil strains, many types of oregano, including mexican, bay leaves and more. In some cases, dried herbs are preferred with some cooks... I simply low-heat the herbs to semi-dry and they are FAR more intense than jarred-dry herbs. Even with my meatloaf.... FRESH THYME or NOTHING! lol. It is all cooked in a 6-8 quart Cast Iron Dutch Oven style pot. YOU CAN cook this in the oven, just covering the ingredients with liquid, but I find it to be much more work to add the veggies, herbs, etc., when needed and on time.... And, Large cast pots heat with VERY evenly distributed heat, so it makes very little difference. You can also add whole plum tomatoes, canned are fine(tomatoes are one of a few things that do NOT lose lycopene, etc., when canned, but IMHO, it turns out better when the tomato juice from the cans is added in the beginning, to avoid 'over-drowning'. Then add the tomatoes during the last hour. If you use fresh, add them around 1.5-2 hours before done. (Half to a third of the way through/depends on how much meat/bone-in, etc.). The trick to the Cabbage is to quarter it, as mentioned, then wait until you're around 3/4 done, then remove a couple cups of the liquid base from the stew and add enough to cover chicken broth(stock, preferably) and cook it until JUST done/soft to the tooth.... I don't like it when it can't hold together when you pick it up, and I don't like it crunchy in this application.... so 'just enough'. I also don't cook the cabbage on too high of heat... that also aids in 'break down'... You want it with all of it's curves, still in tact, green as possible and able to cut into a wedge of it... Sometimes I break it up into individual pieces/layers... But usually I just cook around 5 layer stacks of the quarters, more layers toward the center.
I can post up a organized recipe for this... but I just kinda slapped this out as quick as possible and, well, to be honest, it's one of those things I've just "cooked to taste" for decades, lol.... This is a great thing to take camping, as you can(if you're good with fire coals and stay on top of it, or use a camp stove with 5 gal tank attached) lay it on and leave it, checking it throughout the day.... Dutch ovens do great on fire pits... just can't let it get too hot that it might boil, ya know? I do a similar one, camping, with 'greens' and pork shank and ham hocks. The surrounding campers come from all around to find out what it is and share with me! lol... I also do Johnny Cakes when camping.... they go really well with this. Or corn bread at home.... For dessert, I usually do something like Apple torte or pear torte with fresh vanilla bean iced cream. If you drink, I recommend Kendall Jackson Chard. or a Moscato for those who like it a lil sweeter.
lol. I can post up a organized recipe for this... but I just kinda slapped this out as quick as possible and, well, to be honest, it's one of those things I've just "cooked to taste" for decades, lol.... This is a great thing to take camping, as you can(if you're good with fire coals and stay on top of it, or use a camp stove with 5 gal tank attached) lay it on and leave it, checking it throughout the day.... Dutch ovens do great on fire pits... just can't let it get too hot that it might boil, ya know? I do a similar one, camping, with 'greens' and pork shank and ham hocks. The surrounding campers come from all around to find out what it is and share with me! lol... I also do Johnny Cakes when camping.... they go really well with this. Or corn bread at home.... For dessert, I usually do something like Apple torte or pear torte with fresh vanilla bean iced cream. If you drink, I recommend Kendall Jackson Chard. or a Moscato for those who like it a lil sweeter.
03-29-2012, 10:42 AM
#3785
YUMMO! lol.
PS> If you want to thicken it, you can go either way(roux/equal parts butter and flour or coulie/equal parts COLD water and corn starch--for more of a 'clear/thick' base).
03-29-2012, 06:25 PM
#3787
03-29-2012, 06:46 PM
#3788
Contributing Member
Join Date: Mar 2003
Location: COTKU,Ontario,Canada
Posts: 11,334
Likes: 0
Received 0 Likes
on
0 Posts
Mark... dude... if you're gonna thicken anything you gotta go the roux butter route... butter/flour = flavour.... water/corn starch = empty calories... you know that... lol
I just assumed the garlic was there lol... Garlic = love and every main dish has a little love in it...
I just assumed the garlic was there lol... Garlic = love and every main dish has a little love in it...
04-06-2012, 12:45 PM
#3789
DANGGGGGGG! I'm really getting depressed about this inaction here..../having to use 'filler'! lol.
Actually, I love just discussing whatever on here.... But I suppose I should just start a "My LIFE and Thoughts" thread or something... Sorry guys! lol
I'm actually coming here because it had fallen so far down my subscribed list and I want to update a lil;
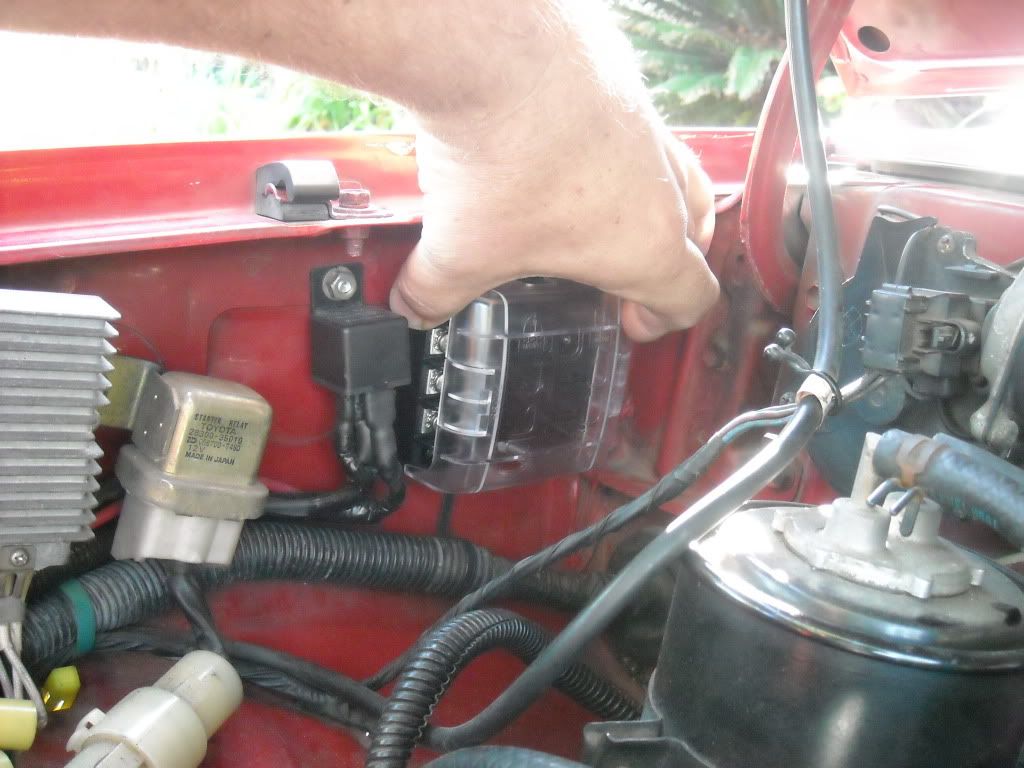
I'M WORKING ON IT! lol.... Actually, I'm out there, today, trying to figure the final wiring route, etc., for the Fuse Block.
Actually, I love just discussing whatever on here.... But I suppose I should just start a "My LIFE and Thoughts" thread or something... Sorry guys! lol
I'm actually coming here because it had fallen so far down my subscribed list and I want to update a lil;
I'M WORKING ON IT! lol.... Actually, I'm out there, today, trying to figure the final wiring route, etc., for the Fuse Block.
04-06-2012, 05:13 PM
#3790
YotaTech Milestone-Two Millionth Post
hey.....yo...'sup?
I find myself being an infrequent lurker lately. seems like I have no input cuz I'm always late to the partay. nonetheless, thanks again for the advice on the springs. really would have been beside myself if Joe's runner looked all jacked up.
I find myself being an infrequent lurker lately. seems like I have no input cuz I'm always late to the partay. nonetheless, thanks again for the advice on the springs. really would have been beside myself if Joe's runner looked all jacked up.
04-06-2012, 06:16 PM
#3792
Well, .........I'll update later tonight with some pics of what wound up happening today, lol....
Long and short, I couldn't do the electrical cuz I needed my rig to run out 3 times(I got the call on that from Mom, only RIGHT WHEN I walked out to work on it, so I decided to do other things.....)........ Namely, I REALLY cleaned up the Garage, back and forth a bit, then did more cleaning. I also laid out everything within measurements to see how the Rack would go..... I'll post up some pics with explanations as to why I've chosen what I have, soon as I run my 5TH ERRAND of the day! lol.
I'm very satisfied with how today today went, .... be back in a few to lay it all out and post the pics... but probably wont be til around 9:30pm or so.
04-06-2012, 09:23 PM
#3793
Contributing Member
Join Date: Mar 2003
Location: COTKU,Ontario,Canada
Posts: 11,334
Likes: 0
Received 0 Likes
on
0 Posts
Gotta love when those little errands get in the way of a project... on the plus side you did get the garage cleaned out which should make the next project easier... once you remember where it was you cleaned everything up into... 
04-06-2012, 09:59 PM
#3794
Registered User
Join Date: Jun 2009
Location: Fresno, Ca
Posts: 719
Likes: 0
Received 0 Likes
on
0 Posts
It's almost 11 and no pics yet!!! Haha jk just ran across those pic of the party and look like it'll make good memories. Hope everything is moving alone nicely for you. Now let's go fishing hahaha
04-06-2012, 10:06 PM
#3795
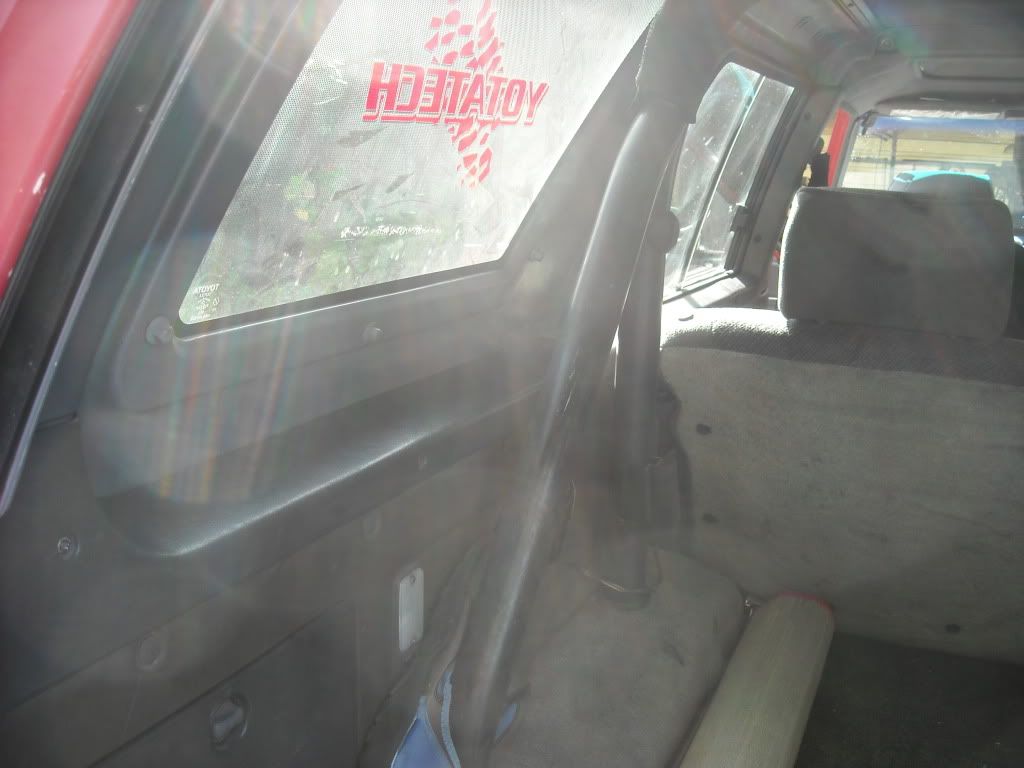
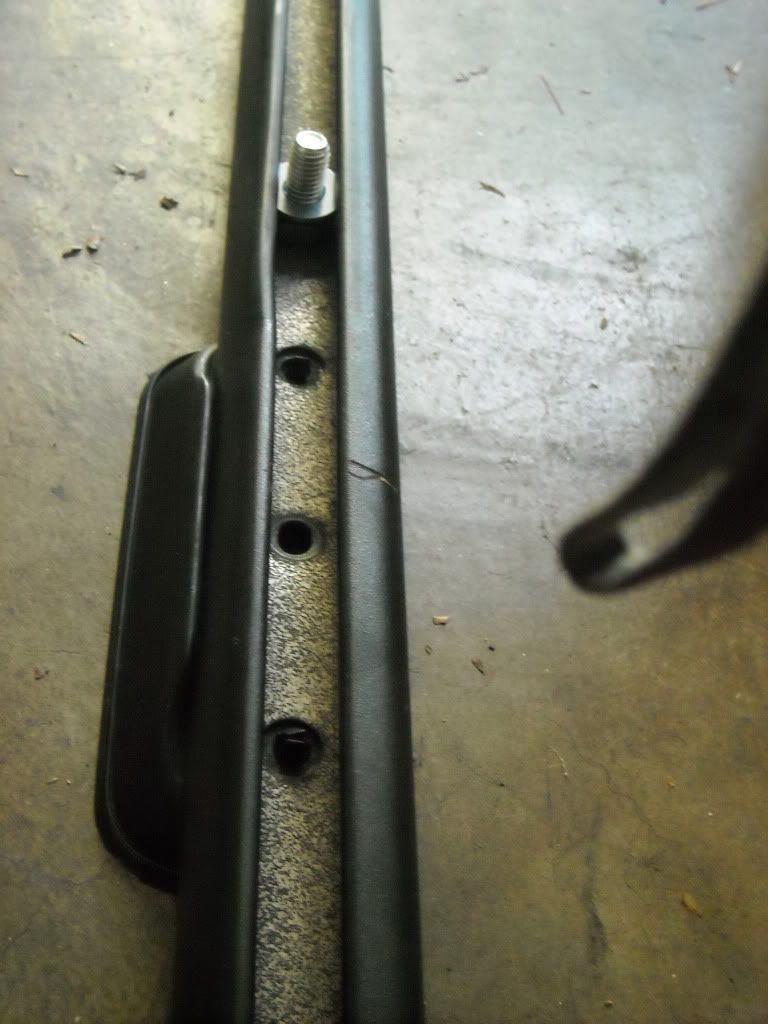
Ok, first off.... I DID get one thing done today, and it was nice to know the JB Kwik Weld Fix held and didn't 'creeeek' or risk snapping when I screwed the screw in right there, on part of the cracks that I repaired........ L-Trim installed>>>
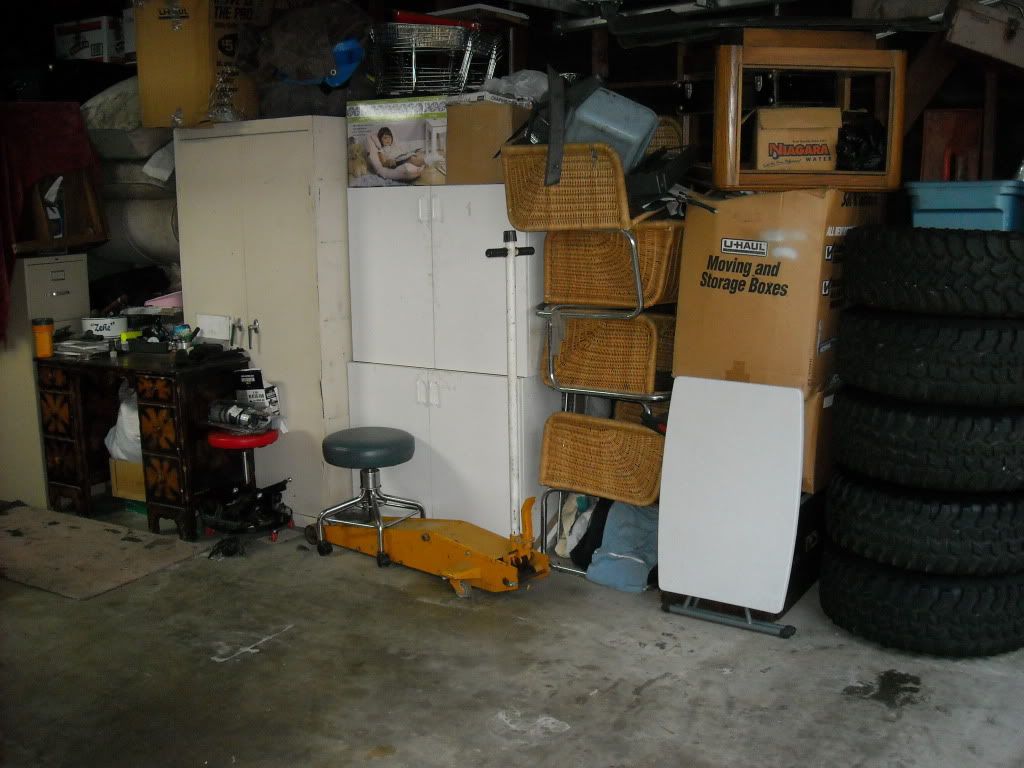
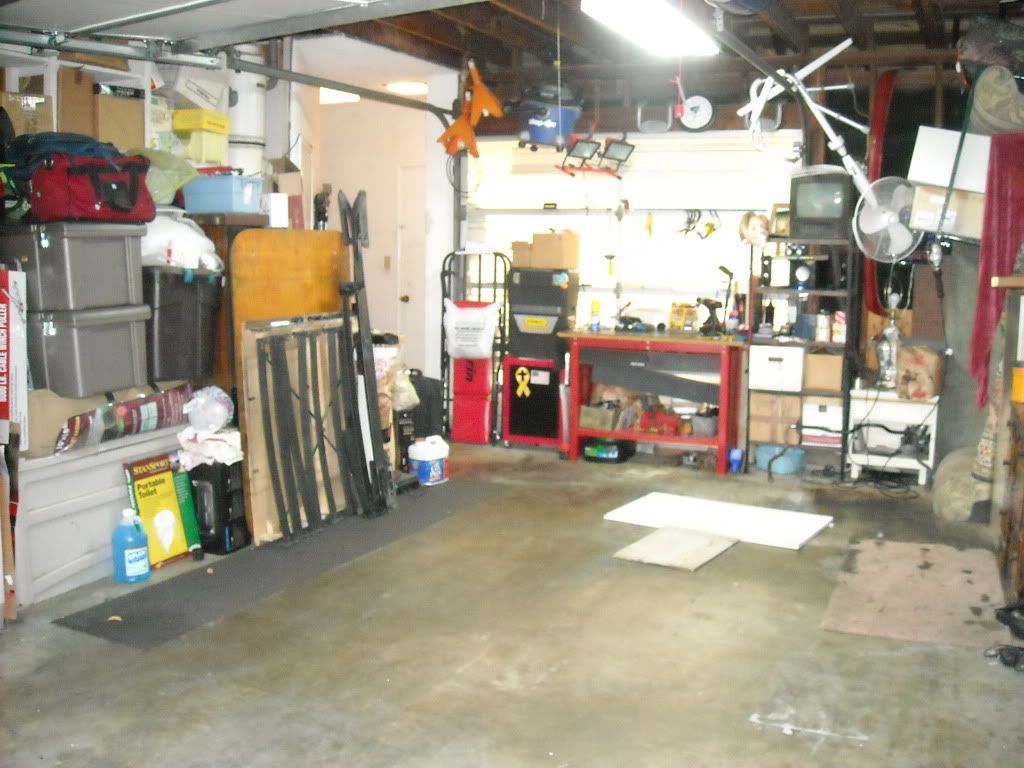
I also spent HOURS off and on, today, cleaning out the Garage/getting tools into locked storage in the left corner/moving the block and table into storage/moving the 32's into the front corner where they're out of the way(removed and dumped TONS of milk crates and more that were not ever going to be used over there/fixed my 3/4 HP Air Compressor made by 'GE'(Hetchfield and Crownbeck or something like that, lol)..... Got the Camry and Scion Seats out of there.... I NOW HAVE ROOM TO GET'R'DONE'!!!!!!!! LOL...
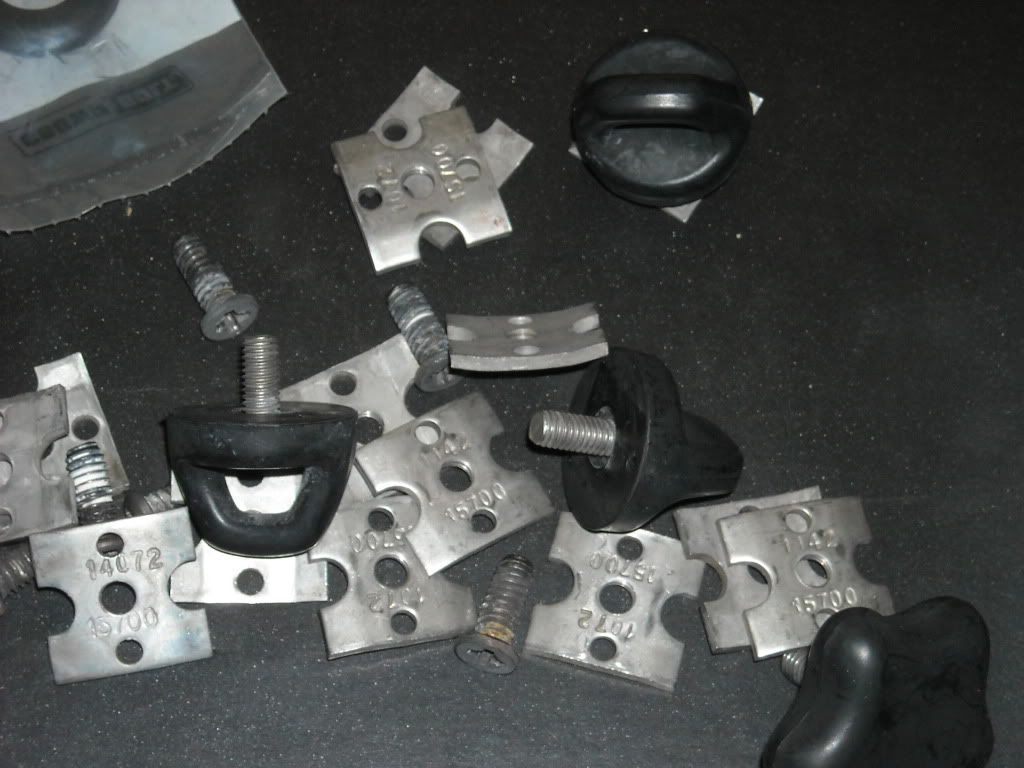
Picked up all these at Pick-Your-Part, last time out... lil stuff is cheap/or/free, depending on the guys up there.... so why not, right? .....
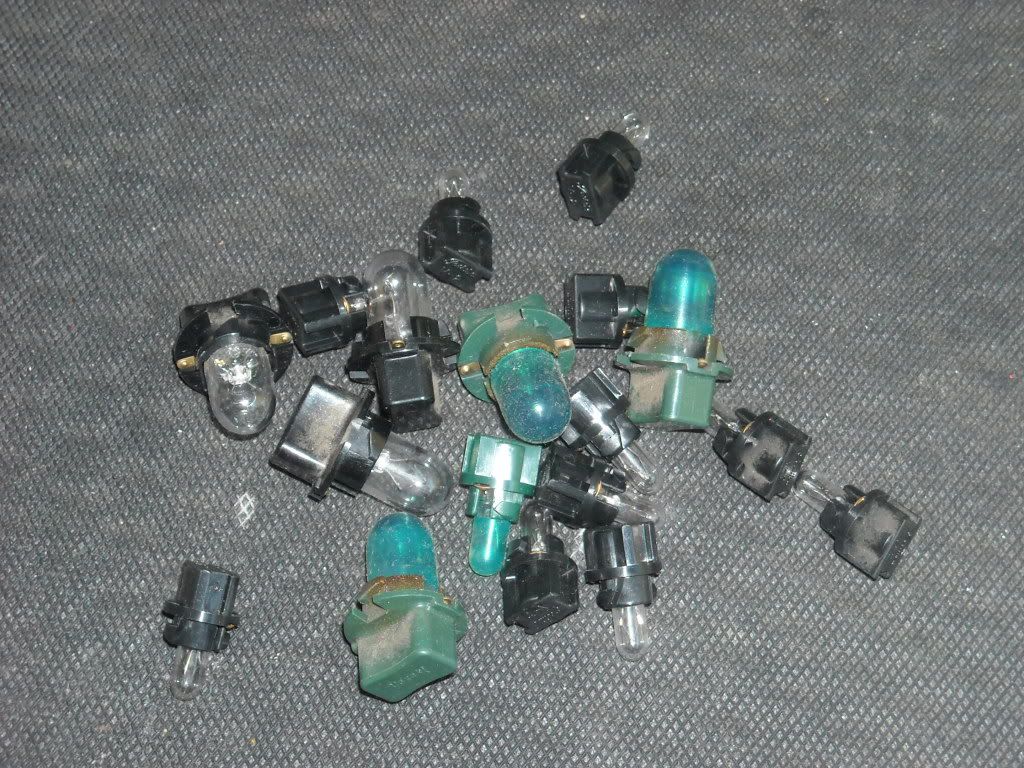
These are on the Explorers and other Imports, actually....
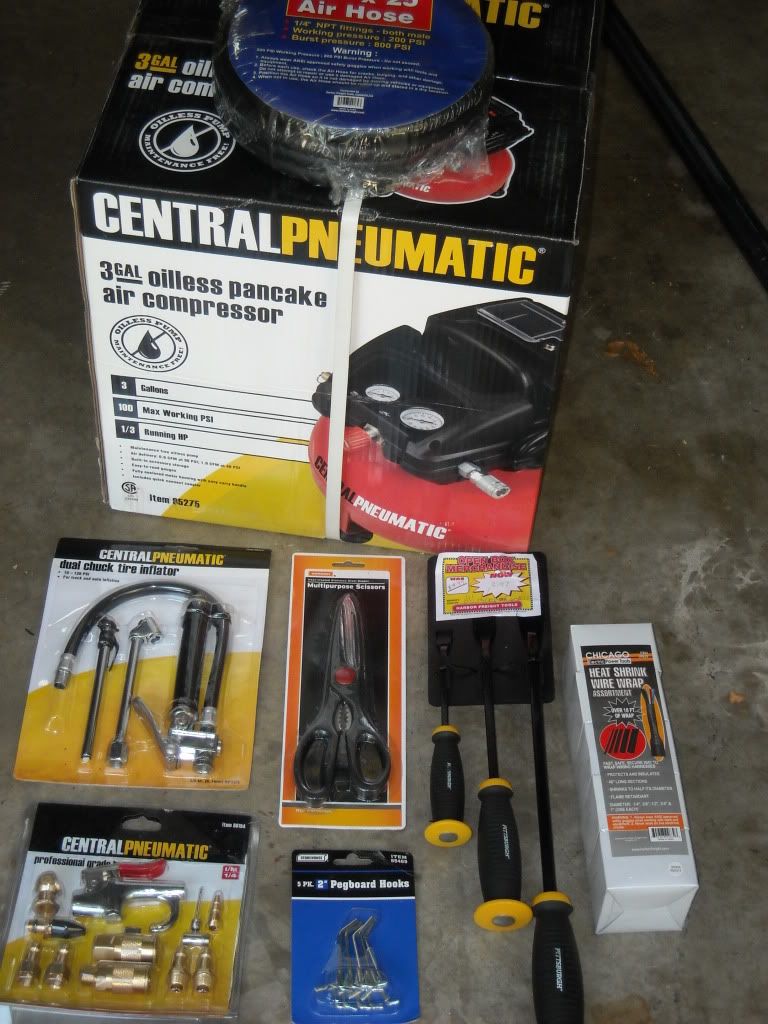
Had a Gift Card to Harbor Freight and figured, WTH, .... I'll grab some of this stuff by the front door(clearance/but still under warranty)....Even though I fixed my GE Compressor(it needed a new wire, that's why it was smoking/along with the fact that I was using a MUCH too long extension chord with it, last time.... Big no-no! lol)... I figured I'd grab this one, as I ended up getting it with a 2 yr. store warranty for 40$ w/tax! The prybars were 3.50$! I can use everything I got, including the Air hose and Air kits... And the total for all that, with my 20% coupons/making 3 trips out of it so I could use all my 20% coupons, lol/ was 97$!!! (I also used the Mailers cuz I'm a "Harbor Frieght Member", which gives me more mailers and more deals....).....
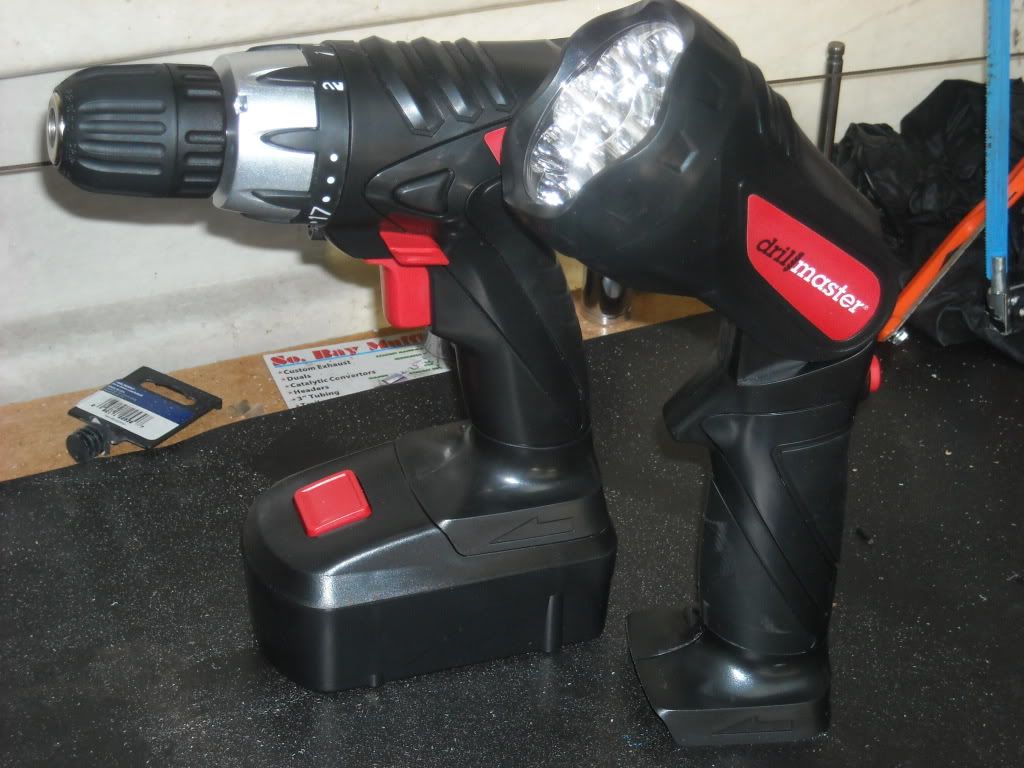
^^^ 18$ instead of 35$ for the Drill and Light pair... 2 year Warranty/instore, too, so I think it's worth it....
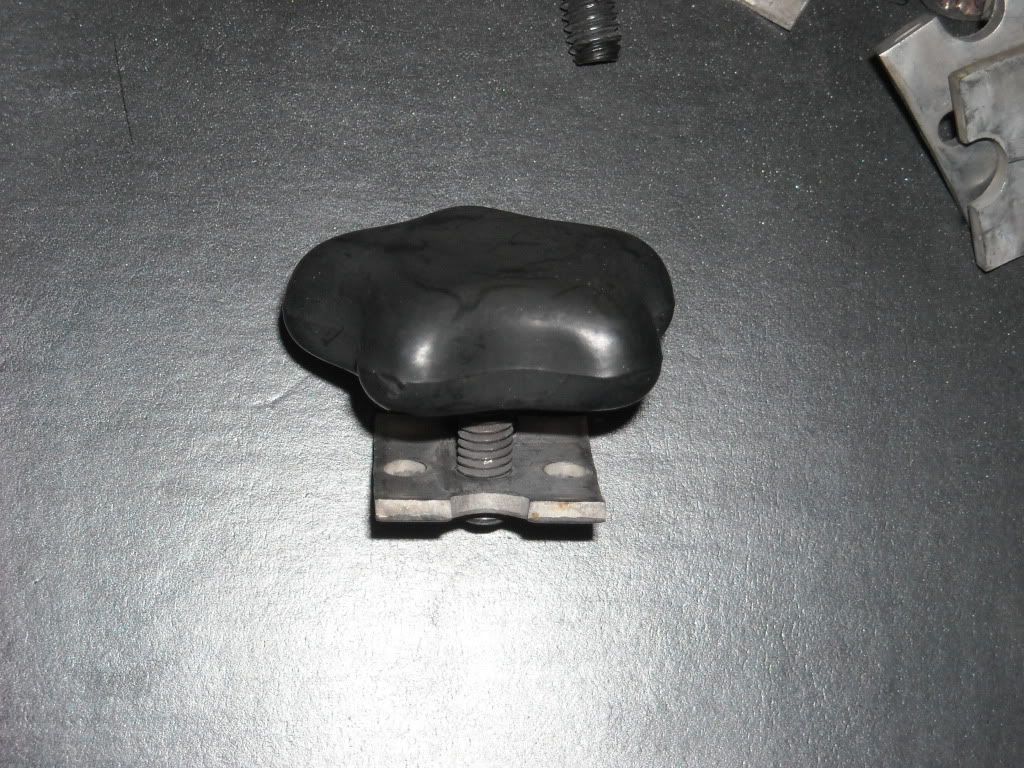
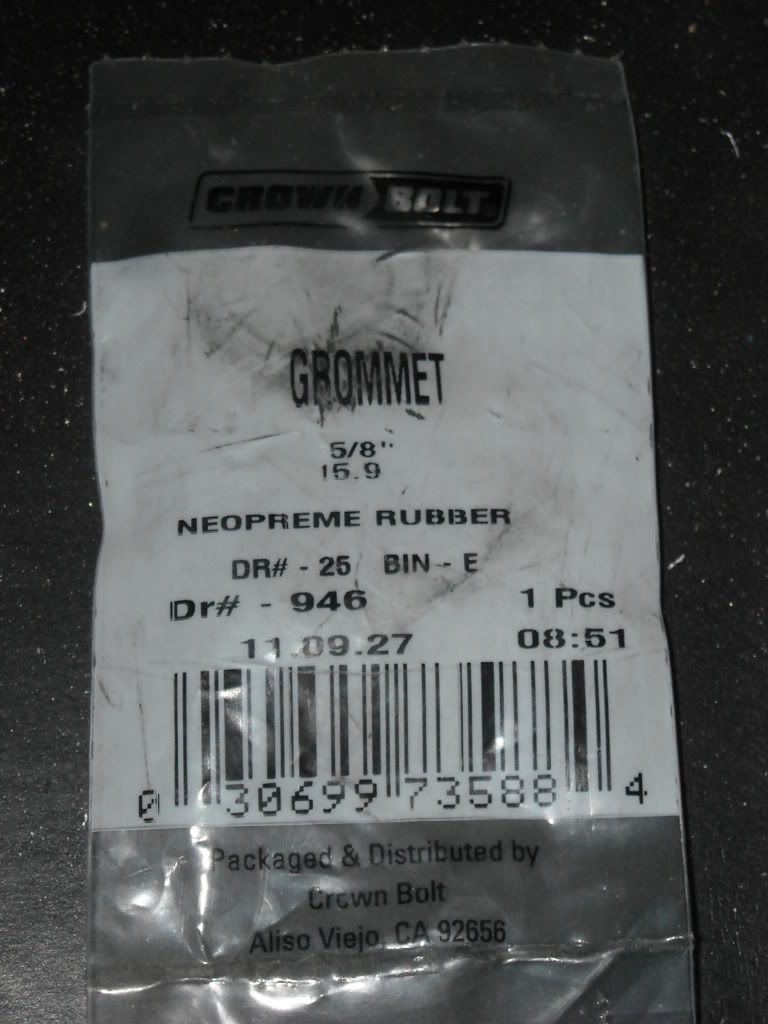
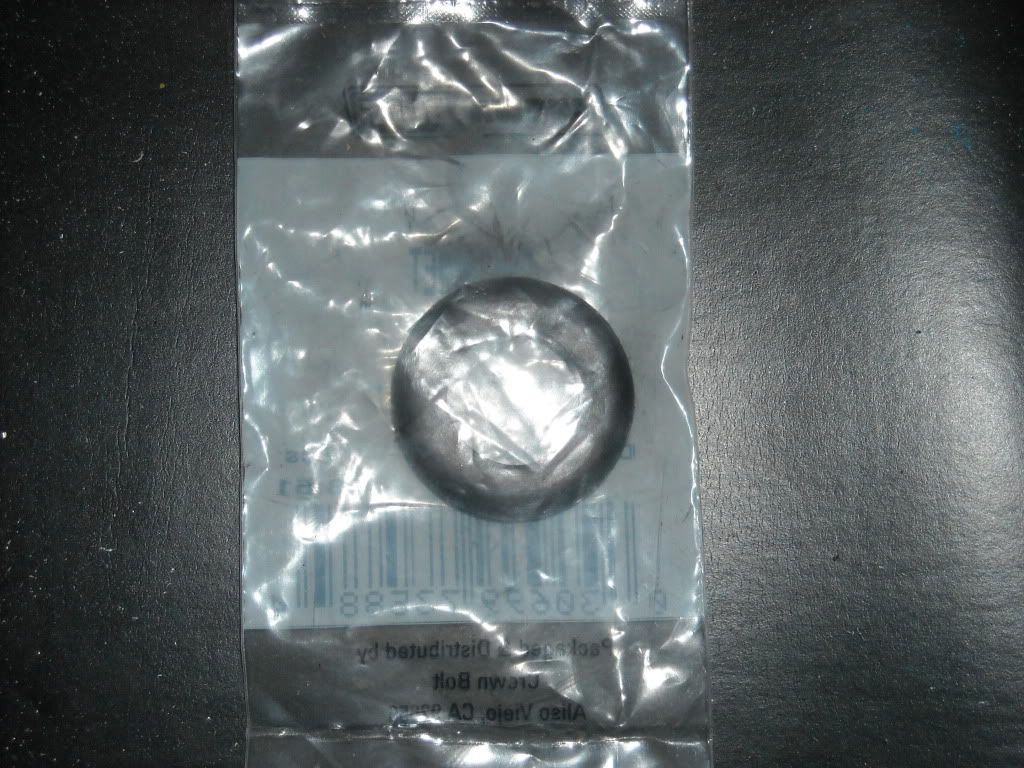
Got this grommet for the fenderwall/fenderwell install of the wiring from the Fuse Block that will be going right in the corner....
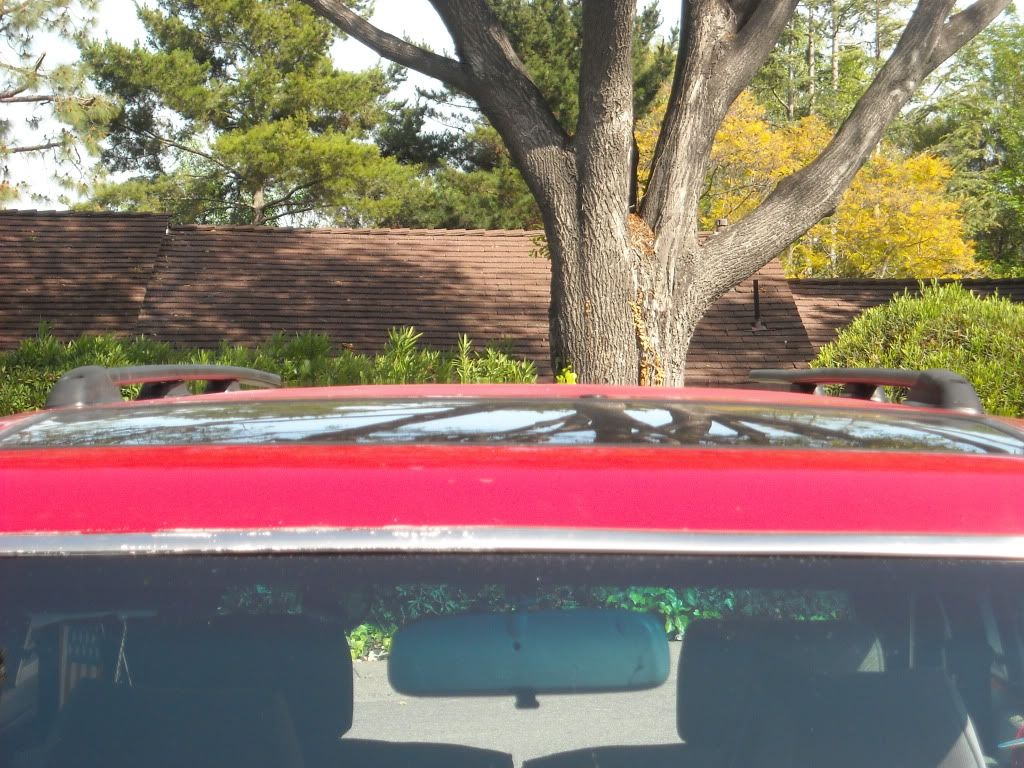
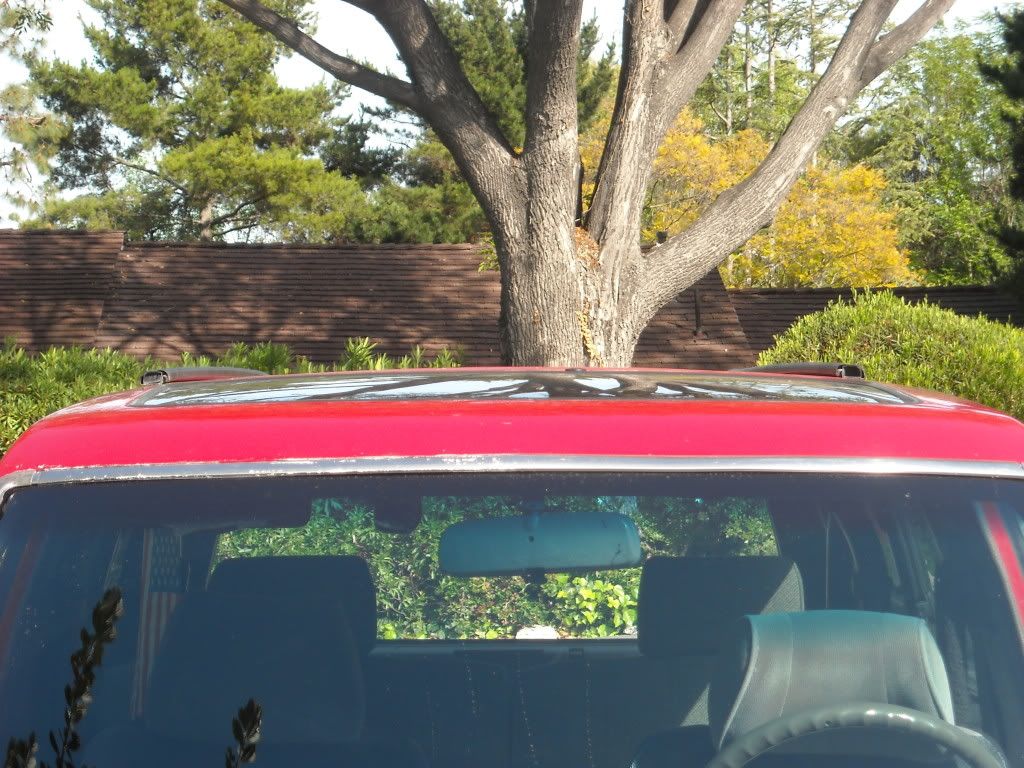
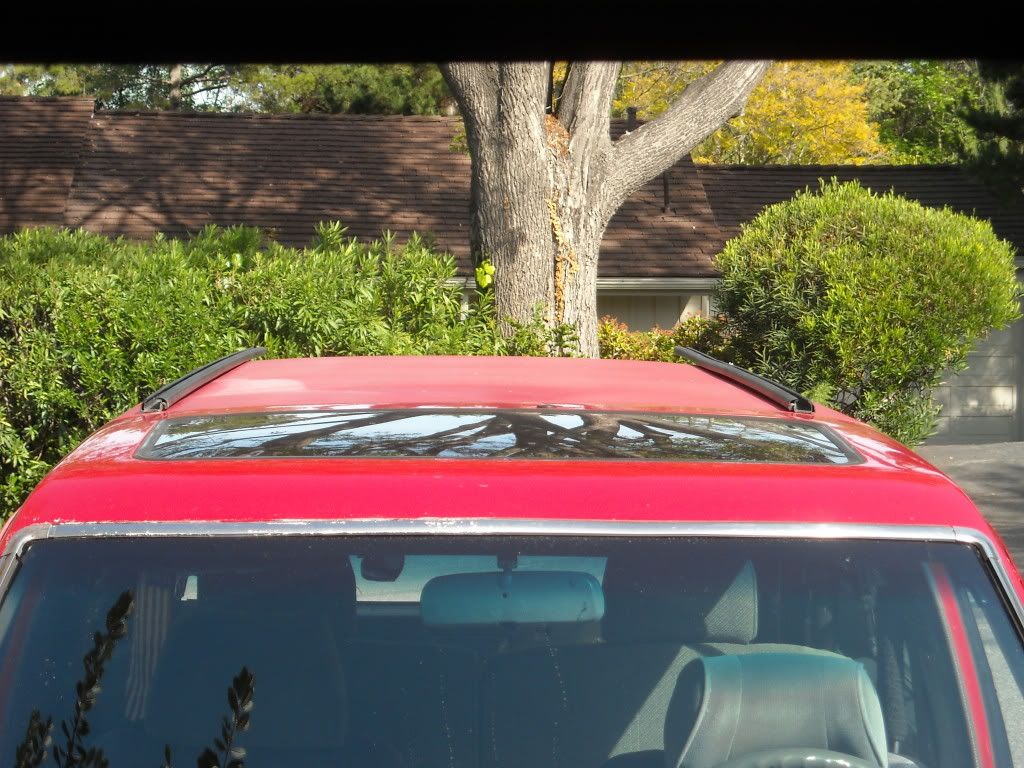
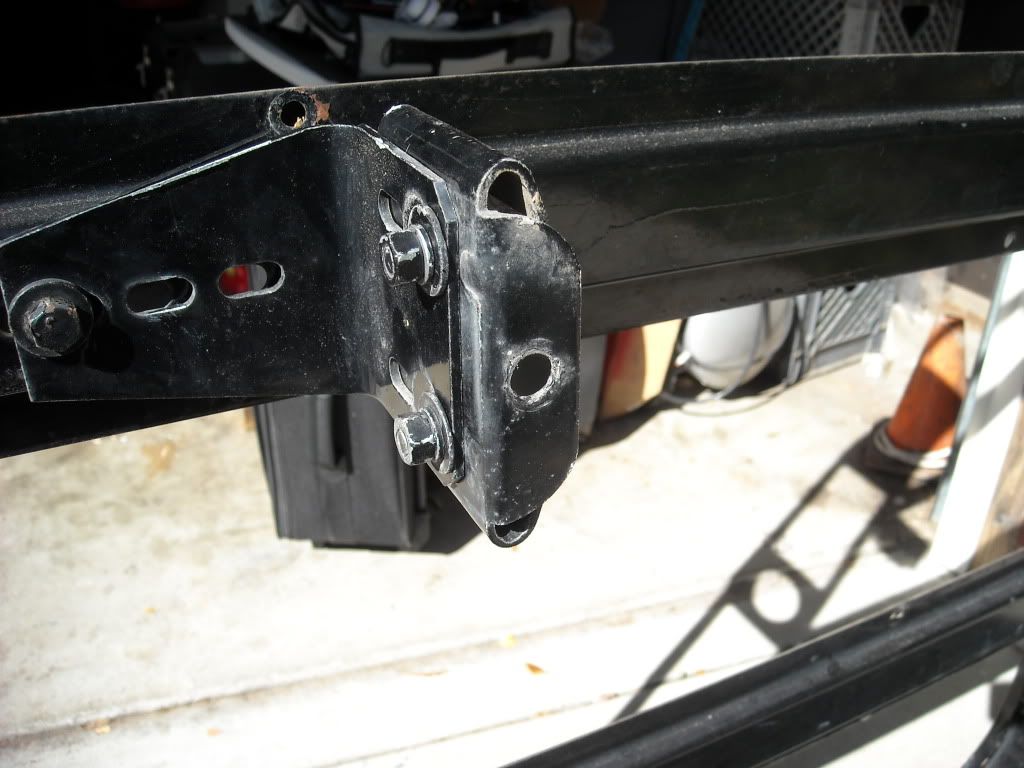
I also fully investigated the Roof racks, S10 and Suburban/Con-Ferr compatibility, ..... and I don't like/don't think I can use either one if I want to use "BOTH"(Cross bars AND Con-Ferr).......Starting to wonder if the Con-Ferr should hit the CL forums! lol.. Actually, it's a cool Vintage thing that is very well made.... and it's long and narrow/Tall, ....so I think it would be cool to have it/use it....... So I will try.......
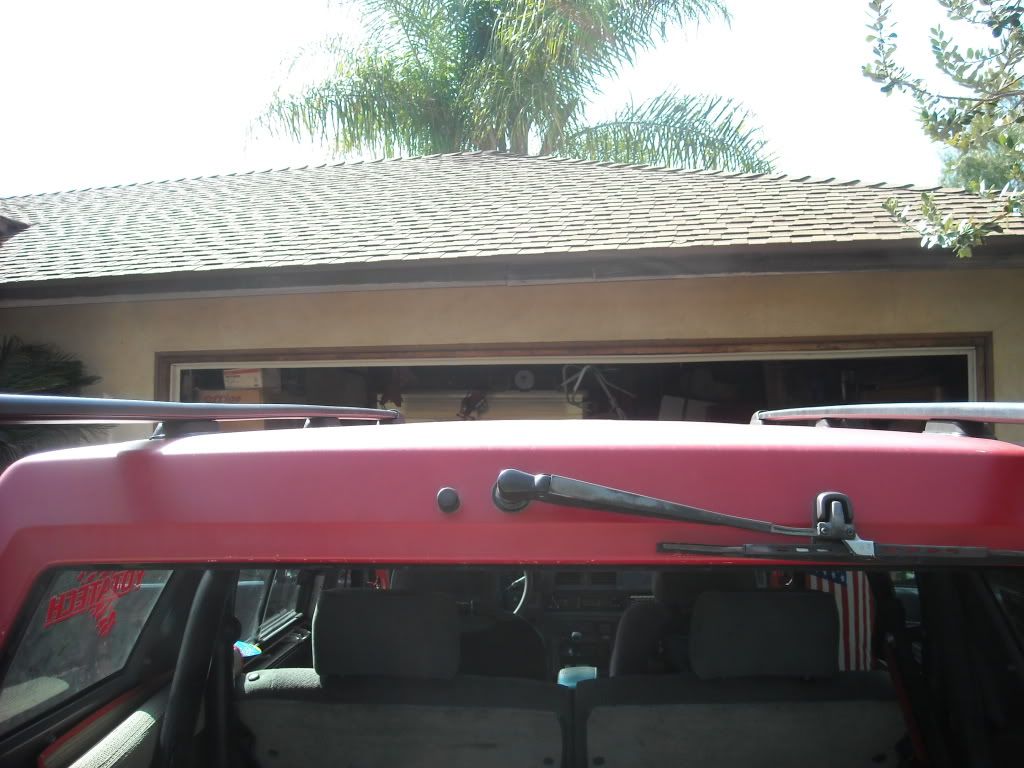
First, Here is the Suburban rails, on the ground/on the roof/ w/and w/out the Underside spacers...... Problem is, upon closer inspection, I noticed that the lip on one side is almost at a 35* angle! GRRR! lol.(I will get pics of the inside of the channels so you can see why I don't feel comfortable using them, as strongly constructed as they are)......

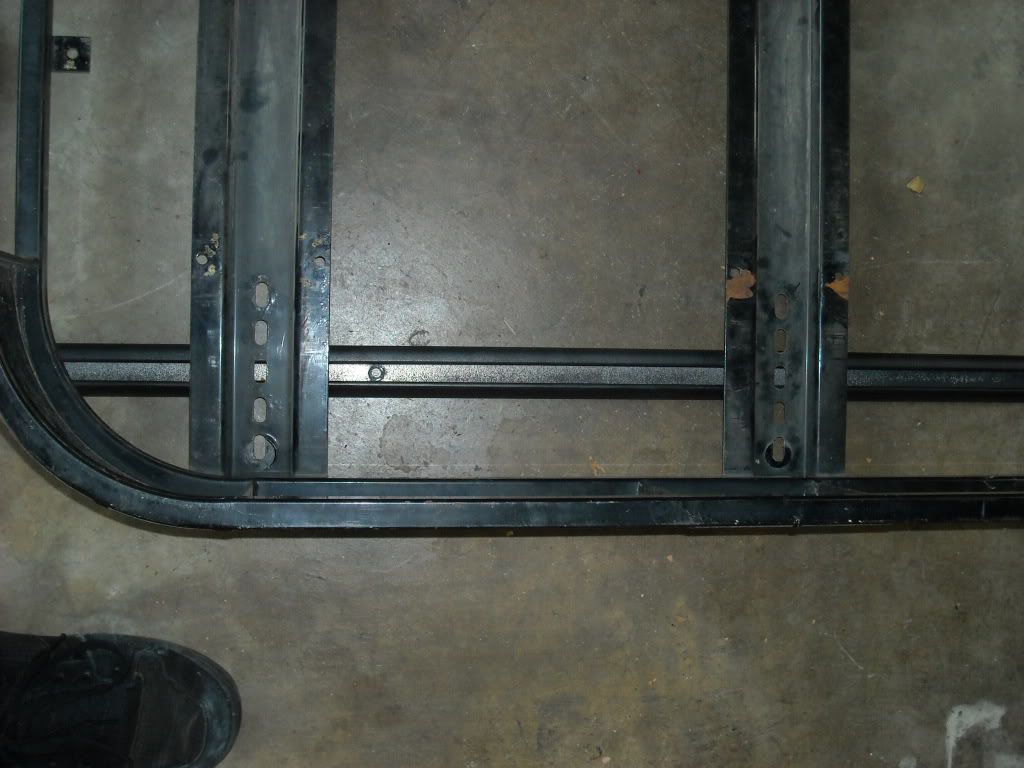
^^^^^ Like I said, ........problem is, .... as EASY as it would be to slap it up there/use 5/8" bolts with Square Washers to just slide in there and tighten down/then switch to the Suburban Cross bars.... THEY'RE NOT T-TRACTS! GRRRRR! lol. The cross bars are EXTREMELY secure in there... I tried em out again and they can take SERIOUS weight, ........but alas, I would not be comfortable with that cage being up there without the lips being totally horizontal..... ..... ahhhhhhh, lol.
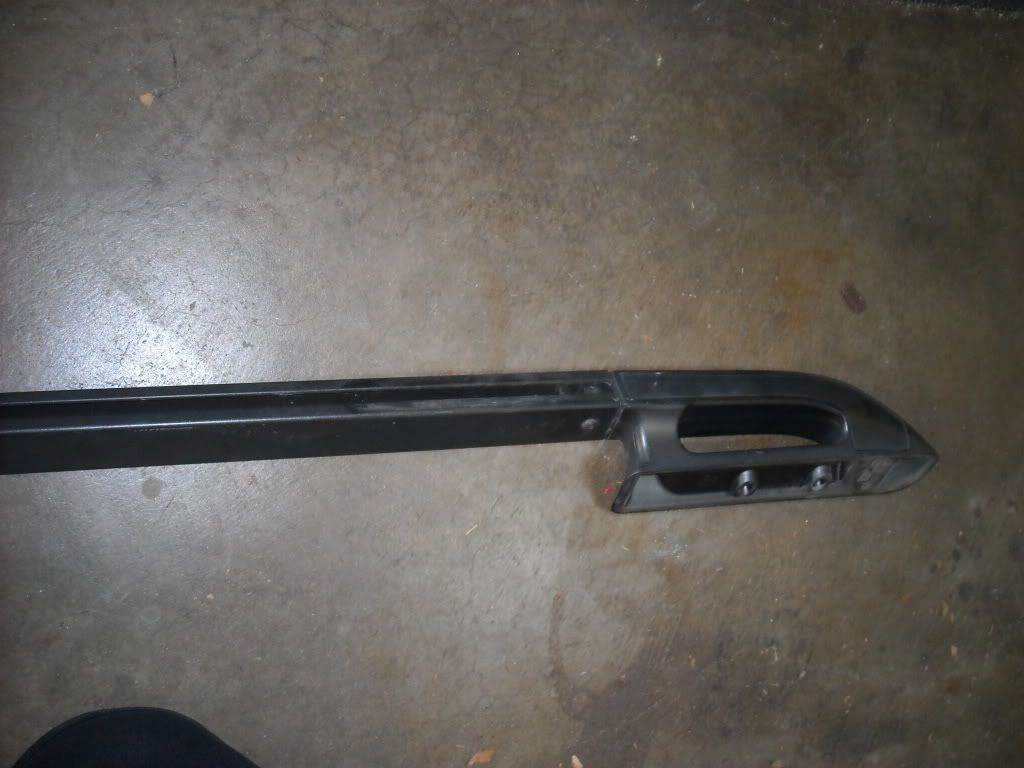
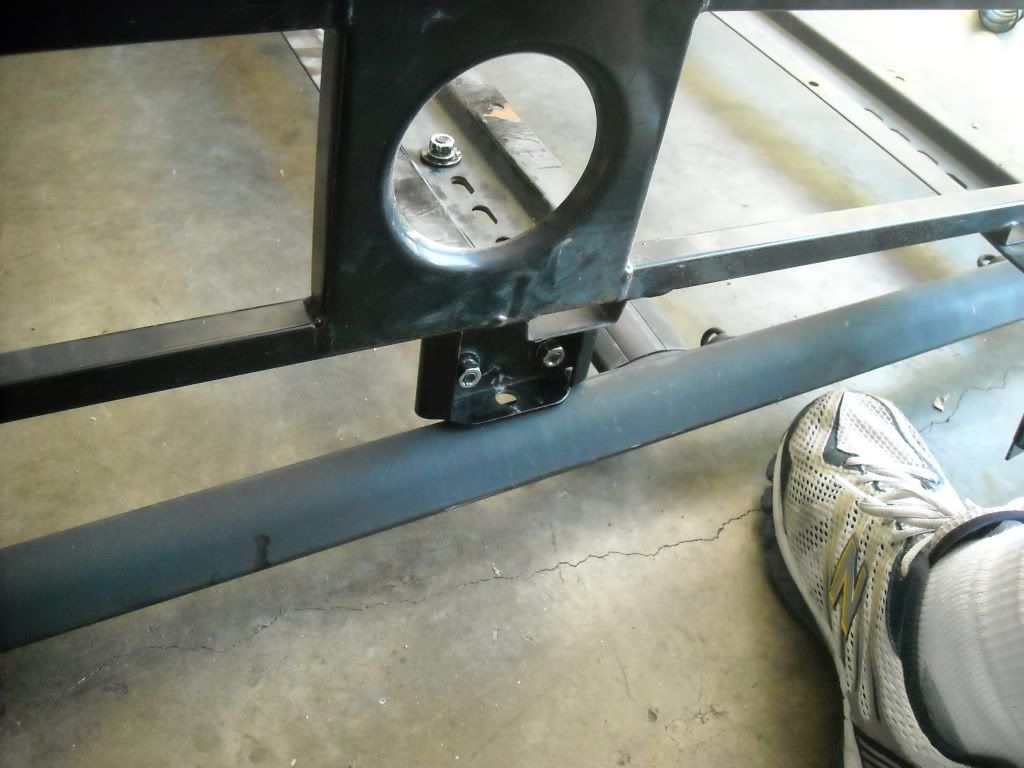
Here is the inside of the S10 side rails.... Problem with them is..... they're not long enough to mount all 4 Con-Ferr Crossbars onto it.... LET ALONE when I am done shortening them, which I'd have to do(like RBX did very nicely!)....Again, the stupid Con-Ferr is giving me issues! lol. When I tried the Con-Ferr on the shortened S10 side rails(sliding it in with 5/8" bolts fit PERFECTLY)... I would only be able to get the Center 2 cross bars in there, and barely! I think it would be safest/least chance of shearing/ if I can use all 4 crossbars of the Con-ferr.... SO I'LL HAVE TO use the "T-Tract" that I posted the link to, above... lol... Nahhh, I'm stoked to have finally figured out what I have to do to make myself comfortable. here's the S10 side rail, how it faces horizontally, rather than Vertically.......
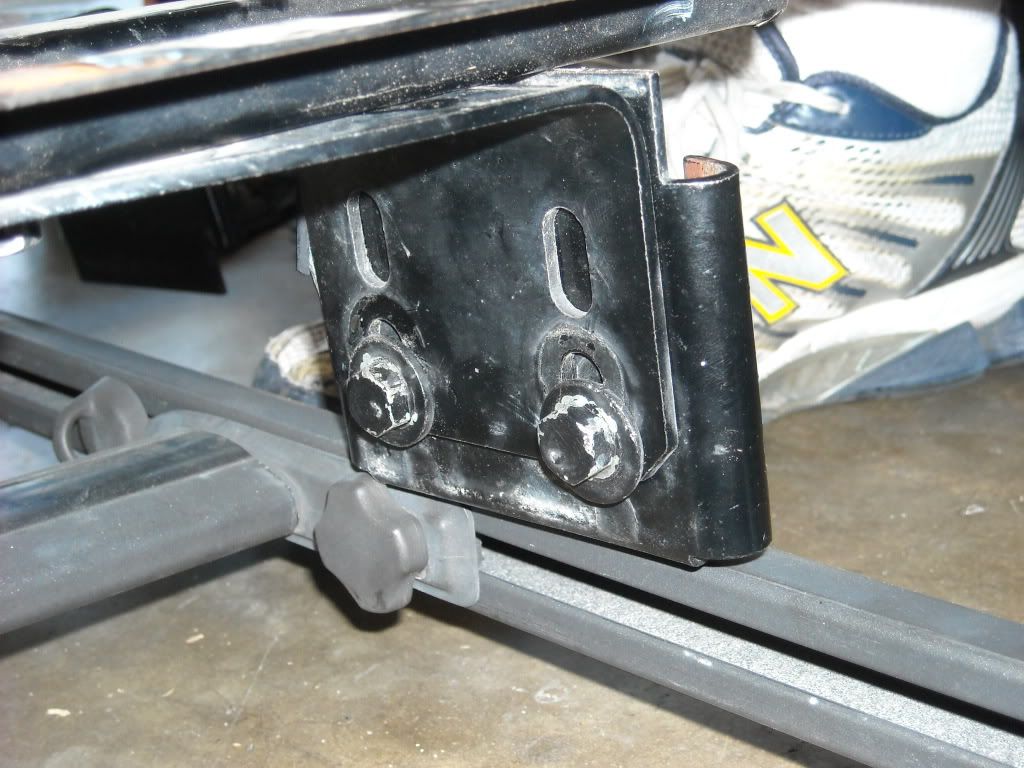
I even tried and successfully got the front and rear Con-Ferr Cross bars into the S10 Side rails using the 5/8" hex bolts.... But on either end, the last crossbar of the con-ferr is too long and when I put the S10 ends back in?????? NOPE! lol. The ONLY way I can use the S10 side rails is to delete the plastic ends, all together, then use the L-Brackets on the Con-Ferr and bolt em in sideways.... This would allow me to use the S10 Cross Bars as well, easily popping them in and out.... But honestly? >>> I'd HAVE to drill out larger holes in the top arch of the S10 side rails and then smaller holes right beneath it just to mount them into the roof..... Ya'all think that would be worth it?/Think it would keep it's needed structural integrity once I drill out 2-3 holes along the top of the angled/arch portion of them??????? (I'll do video explaining what I'm talking about... VERY hard to describe with text..... Can you see the angle I'm talking about on my pics???? ^^^ >>>>
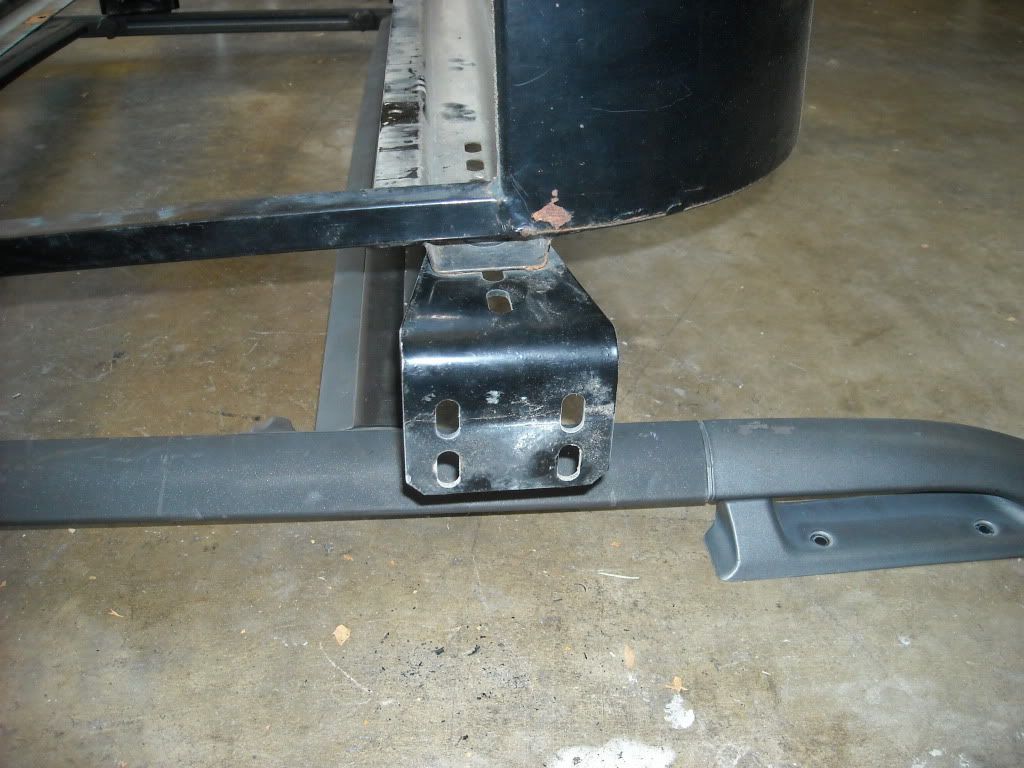
I would have JUST THE L-BRACKET in this picture, not the gutter mounting portion as well, mounted sideways into the S10 T-tracts, using 5/8" Hex Stainless bolts....
Somewhat like this........(again, without the gutter mounting portions.. Just the L-brackets)
Like this, but the L-Bracket reversed/180* and S10 rail without Ends, bolted directly to the roof.....
Again,.... I think it might be MUCH easier to just get the T-Track... But then the S10 or otherwise Cross bars are OUT, lol... Can't do both. Still, it might be a lil hard to drill nice holes into this Aluminum at such an angle, .........RIGHT???? lol...
Sorry, just thought I'd throw it all out there/what I've looked into so far..... At least I got something done after 3.5 Hours Sleep, right? hahaha.
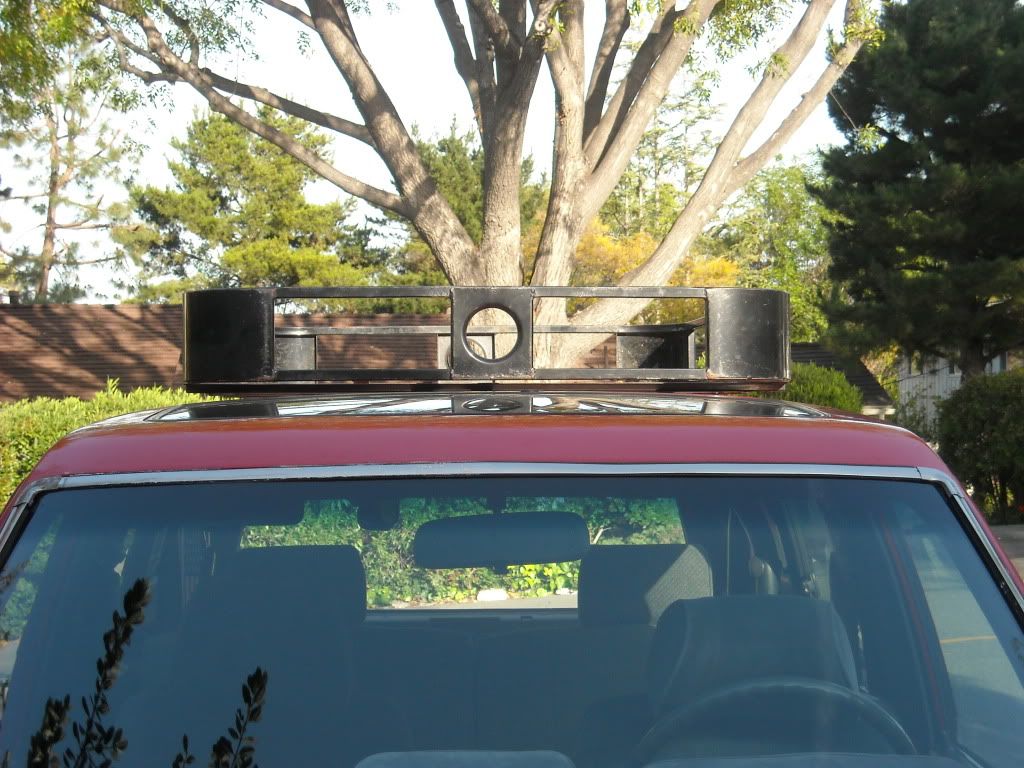
Anyway, some pics of how it will be mounted/where........(just about a half inch off the roof)......

I also spent HOURS off and on, today, cleaning out the Garage/getting tools into locked storage in the left corner/moving the block and table into storage/moving the 32's into the front corner where they're out of the way(removed and dumped TONS of milk crates and more that were not ever going to be used over there/fixed my 3/4 HP Air Compressor made by 'GE'(Hetchfield and Crownbeck or something like that, lol)..... Got the Camry and Scion Seats out of there.... I NOW HAVE ROOM TO GET'R'DONE'!!!!!!!! LOL...
Picked up all these at Pick-Your-Part, last time out... lil stuff is cheap/or/free, depending on the guys up there.... so why not, right? .....
These are on the Explorers and other Imports, actually....
Had a Gift Card to Harbor Freight and figured, WTH, .... I'll grab some of this stuff by the front door(clearance/but still under warranty)....Even though I fixed my GE Compressor(it needed a new wire, that's why it was smoking/along with the fact that I was using a MUCH too long extension chord with it, last time.... Big no-no! lol)... I figured I'd grab this one, as I ended up getting it with a 2 yr. store warranty for 40$ w/tax! The prybars were 3.50$! I can use everything I got, including the Air hose and Air kits... And the total for all that, with my 20% coupons/making 3 trips out of it so I could use all my 20% coupons, lol/ was 97$!!! (I also used the Mailers cuz I'm a "Harbor Frieght Member", which gives me more mailers and more deals....).....
^^^ 18$ instead of 35$ for the Drill and Light pair... 2 year Warranty/instore, too, so I think it's worth it....
Got this grommet for the fenderwall/fenderwell install of the wiring from the Fuse Block that will be going right in the corner....
I also fully investigated the Roof racks, S10 and Suburban/Con-Ferr compatibility, ..... and I don't like/don't think I can use either one if I want to use "BOTH"(Cross bars AND Con-Ferr).......Starting to wonder if the Con-Ferr should hit the CL forums! lol.. Actually, it's a cool Vintage thing that is very well made.... and it's long and narrow/Tall, ....so I think it would be cool to have it/use it....... So I will try.......
First, Here is the Suburban rails, on the ground/on the roof/ w/and w/out the Underside spacers...... Problem is, upon closer inspection, I noticed that the lip on one side is almost at a 35* angle! GRRR! lol.(I will get pics of the inside of the channels so you can see why I don't feel comfortable using them, as strongly constructed as they are)......
^^^^^ Like I said, ........problem is, .... as EASY as it would be to slap it up there/use 5/8" bolts with Square Washers to just slide in there and tighten down/then switch to the Suburban Cross bars.... THEY'RE NOT T-TRACTS! GRRRRR! lol. The cross bars are EXTREMELY secure in there... I tried em out again and they can take SERIOUS weight, ........but alas, I would not be comfortable with that cage being up there without the lips being totally horizontal.....
..... ahhhhhhh, lol. Here is the inside of the S10 side rails.... Problem with them is..... they're not long enough to mount all 4 Con-Ferr Crossbars onto it.... LET ALONE when I am done shortening them, which I'd have to do(like RBX did very nicely!)....Again, the stupid Con-Ferr is giving me issues! lol. When I tried the Con-Ferr on the shortened S10 side rails(sliding it in with 5/8" bolts fit PERFECTLY)... I would only be able to get the Center 2 cross bars in there, and barely! I think it would be safest/least chance of shearing/ if I can use all 4 crossbars of the Con-ferr.... SO I'LL HAVE TO use the "T-Tract" that I posted the link to, above...
lol... Nahhh, I'm stoked to have finally figured out what I have to do to make myself comfortable. here's the S10 side rail, how it faces horizontally, rather than Vertically.......I even tried and successfully got the front and rear Con-Ferr Cross bars into the S10 Side rails using the 5/8" hex bolts.... But on either end, the last crossbar of the con-ferr is too long and when I put the S10 ends back in?????? NOPE! lol. The ONLY way I can use the S10 side rails is to delete the plastic ends, all together, then use the L-Brackets on the Con-Ferr and bolt em in sideways.... This would allow me to use the S10 Cross Bars as well, easily popping them in and out.... But honestly? >>> I'd HAVE to drill out larger holes in the top arch of the S10 side rails and then smaller holes right beneath it just to mount them into the roof..... Ya'all think that would be worth it?/Think it would keep it's needed structural integrity once I drill out 2-3 holes along the top of the angled/arch portion of them??????? (I'll do video explaining what I'm talking about... VERY hard to describe with text..... Can you see the angle I'm talking about on my pics???? ^^^ >>>>
I would have JUST THE L-BRACKET in this picture, not the gutter mounting portion as well, mounted sideways into the S10 T-tracts, using 5/8" Hex Stainless bolts....
Somewhat like this........(again, without the gutter mounting portions.. Just the L-brackets)
Like this, but the L-Bracket reversed/180* and S10 rail without Ends, bolted directly to the roof.....
Again,.... I think it might be MUCH easier to just get the T-Track... But then the S10 or otherwise Cross bars are OUT, lol... Can't do both. Still, it might be a lil hard to drill nice holes into this Aluminum at such an angle, .........RIGHT???? lol...
Sorry, just thought I'd throw it all out there/what I've looked into so far..... At least I got something done after 3.5 Hours Sleep, right? hahaha.
Anyway, some pics of how it will be mounted/where........(just about a half inch off the roof)......
Last edited by ChefYota4x4; 04-06-2012 at 10:17 PM.
04-06-2012, 11:17 PM
#3796
Registered User
Join Date: Jun 2009
Location: Fresno, Ca
Posts: 719
Likes: 0
Received 0 Likes
on
0 Posts
That actually look pretty dam good. Just mess around with it some more. I'm pretty sure you'll hit a point where you'll be like "this is it. This is it!!!" then mess around with it some more and be like " no, this one is it, forget the last one" and the story goes on and on and on hahaha good luck chef
Last edited by vang_22re; 04-06-2012 at 11:19 PM.
04-07-2012, 12:37 PM
#3798
That actually look pretty dam good. Just mess around with it some more. I'm pretty sure you'll hit a point where you'll be like "this is it. This is it!!!" then mess around with it some more and be like " no, this one is it, forget the last one" and the story goes on and on and on hahaha good luck chef
Sorry it's not a huge accomplishment post, ..but I felt good getting so much done that needed to be done, lol. PLUS, I LOVE having my 3/4 HP compressor being useful again(and having an extra now! WOOT! lol)
I'm really busy for the next 48 hours, ...but I'll have more done soon, PROMISE! lol.
04-07-2012, 12:41 PM
#3799
PS> You probably didn't read all through that...(I DON'T BLAME YOU! lol).... But the Suburban rails, IMHO, are NOT practical for anything but if you're going to simply use the Cross Bars... The Channel inside, if you look in that one pic where you can see in them, is more like this (___] ..... It has a LIL lip on it on the left side/outside... But to ME? .... yeah, I don't trust that for a 30# Cage and stuff in it, ya know? I'm sure it COULD hold... Maybe I could test it out on the floor, really pulling on it? What have I got to lose, right? I LOVE the idea of having those and their crossbars, cuz they're not so arched and would sit closer to the roof, w/the cage or crossbars.
04-07-2012, 10:48 PM
#3800
Registered User
Join Date: Mar 2009
Location: (LSD) Lower Slower Delaware
Posts: 1,169
Likes: 0
Received 0 Likes
on
0 Posts
Hey Mark, I'm doing a 89 runner build and I when to all 152 pages of yours to get ideas. You and Terry got one of the best build threads on 4runners, hope mine is ends up something close to yours .....thanks.. Bill


