When you click on links to various merchants on this site and make a purchase, this can result in this site earning a commission. Affiliate programs and affiliations include, but are not limited to, the eBay Partner Network.
I bought it from gaugepods.com. Want to buy my two gauge pillar gauge pod? I'm going to be buying the three pod setup so I can add an oil pressure gauge. Mine's already painted.
Nice. Sure, I'll send you a PM to work out the details.
Going to try to fix the OEM set up. Besides the cost, there would just be so many sensors, senders, and T fittings hanging off the block. More joints are more potential leaks. Plus the task of wiring up a new gauge isn't very enticing.
I have a new oil pressure sensor on order, and I'll clean up all the wiring and connections when I install it. I did have the gauge cluster apart to wire up the idiot light, maybe something didn't go together correctly in there. I'll also check all those connections and clean them up.
Right on dude!
Maybe there�s a draw from the added wire and lamp to the back of the cluster? I�d be curious to know if you unhook your new cluster light the stock oil pressure gauge reads normal again. I�d try it with just bulb removed and then with the bulb and wiring removed.
Or removing and reinstalling the old sending unit forced it to give up the ghost.
My friend has an '87 FJ60 with a 12ht engine swap. I was helping him with some work and connected his oil sending unit incorrectly. Exact same symptoms as you, low pressure on the factory gauge.
I don't think the factory 22RE oil sending unit has two tabs like the 12ht one did. But if it was grounded or hooked up wrong for some reason. The could be your problem.
Right on dude!
Maybe there�s a draw from the added wire and lamp to the back of the cluster? I�d be curious to know if you unhook your new cluster light the stock oil pressure gauge reads normal again. I�d try it with just bulb removed and then with the bulb and wiring removed.
Or removing and reinstalling the old sending unit forced it to give up the ghost.
That thought crossed my mind too. It doesn't quite add up since the dummy light doesn't light up which indicates there is no path to ground, but I'll still give it a try.
Originally Posted by 84 yota dude
Wow you got it in and running fast!
My friend has an '87 FJ60 with a 12ht engine swap. I was helping him with some work and connected his oil sending unit incorrectly. Exact same symptoms as you, low pressure on the factory gauge.
I don't think the factory 22RE oil sending unit has two tabs like the 12ht one did. But if it was grounded or hooked up wrong for some reason. The could be your problem.
You are correct there is only one connection on the sending unit. The way the factory setup works, higher resistance means lower pressure. So a disconnected wire to the sender would show zero pressure on the gauge. And a direct short to ground would peg the gauge high. I've also heard reports that this will irreparably fry the gauge. So what I have is a high resistance to ground. I'm guessing it's a fault in the wiring since there is a splice down near the sending unit, or maybe the sender doesn't have a good path to ground through the pipe dope and the adapter. It could also be a faulty sender so I have one of those on order. Odd timing, so I'm a bit doubtful, but I'm not ruling it out.
Also, the spade for the factory connector was super dirty and corroded.
I cleaned up the factory spade terminal and its mating terminal. I got rid of the all the crimp connectors and repaired the little subharness. I also replaced the sending unit. Somewhere in that combination the problem was fixed. I'm guessing it was the wiring.
Engine's been running great. Starts quick, sounds so quiet and smooth at idle. Feels about the same as stock power wise under 3000 RPM but really takes off above that. I guess that's to be expected with bigger valves and port work. Still running 33's on 4.10:1 gears. I have a 4.88:1 set for the rear I need to install but I'm probably going to wait until I have a matching set for the front. Been driving it around Roadkill style with no hood. Put about 200 miles on it so far. Just got the hood on yesterday.
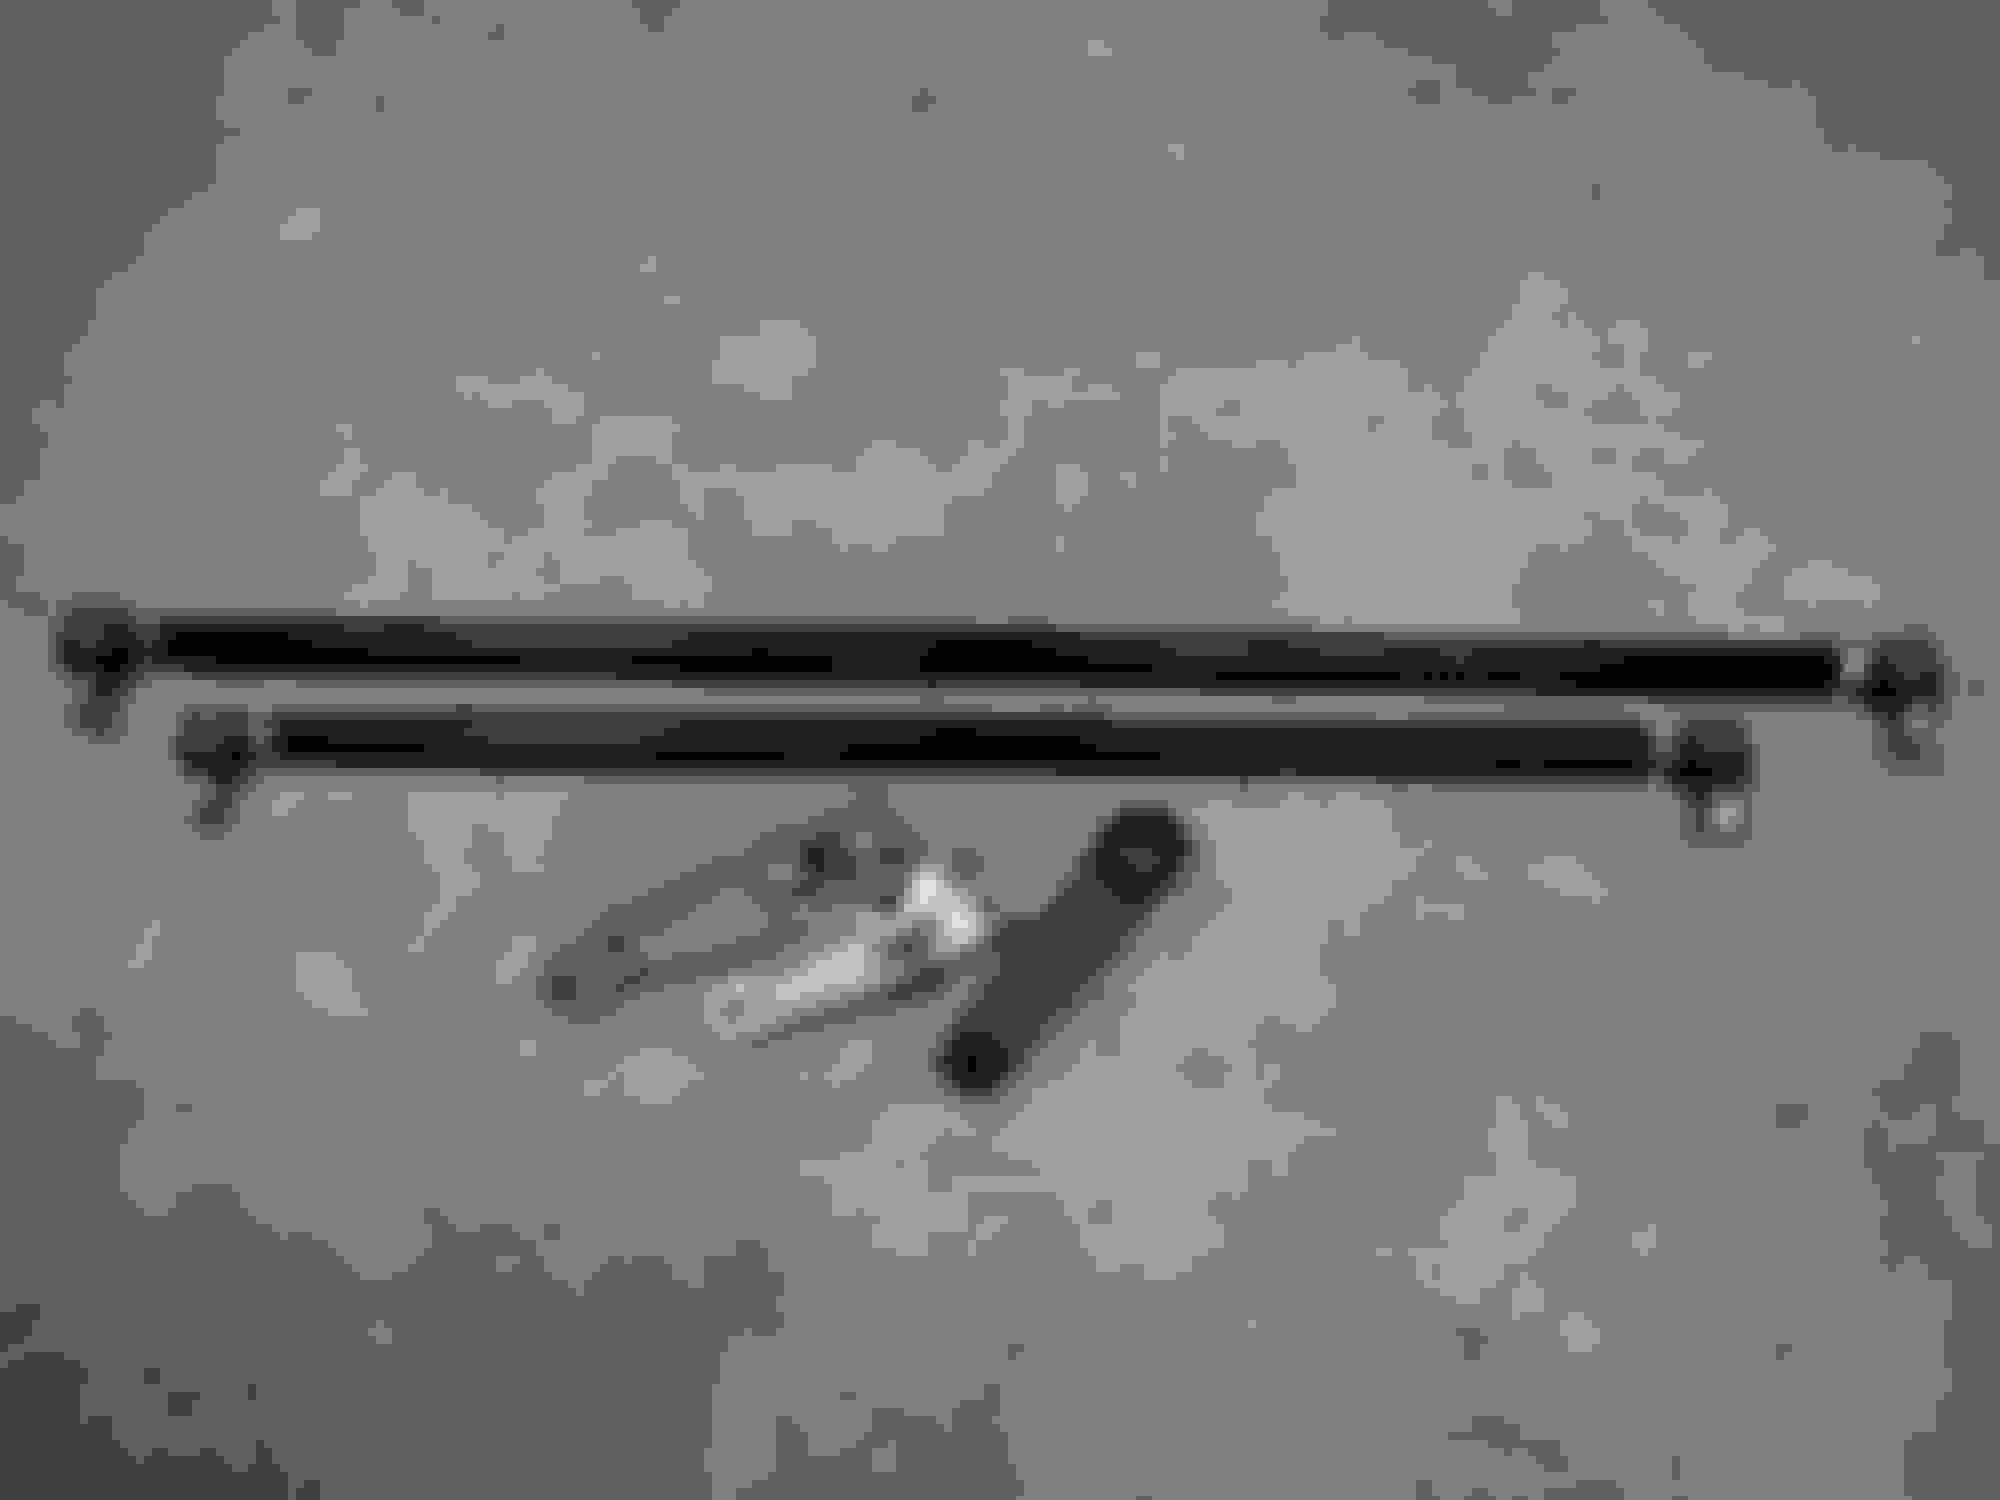
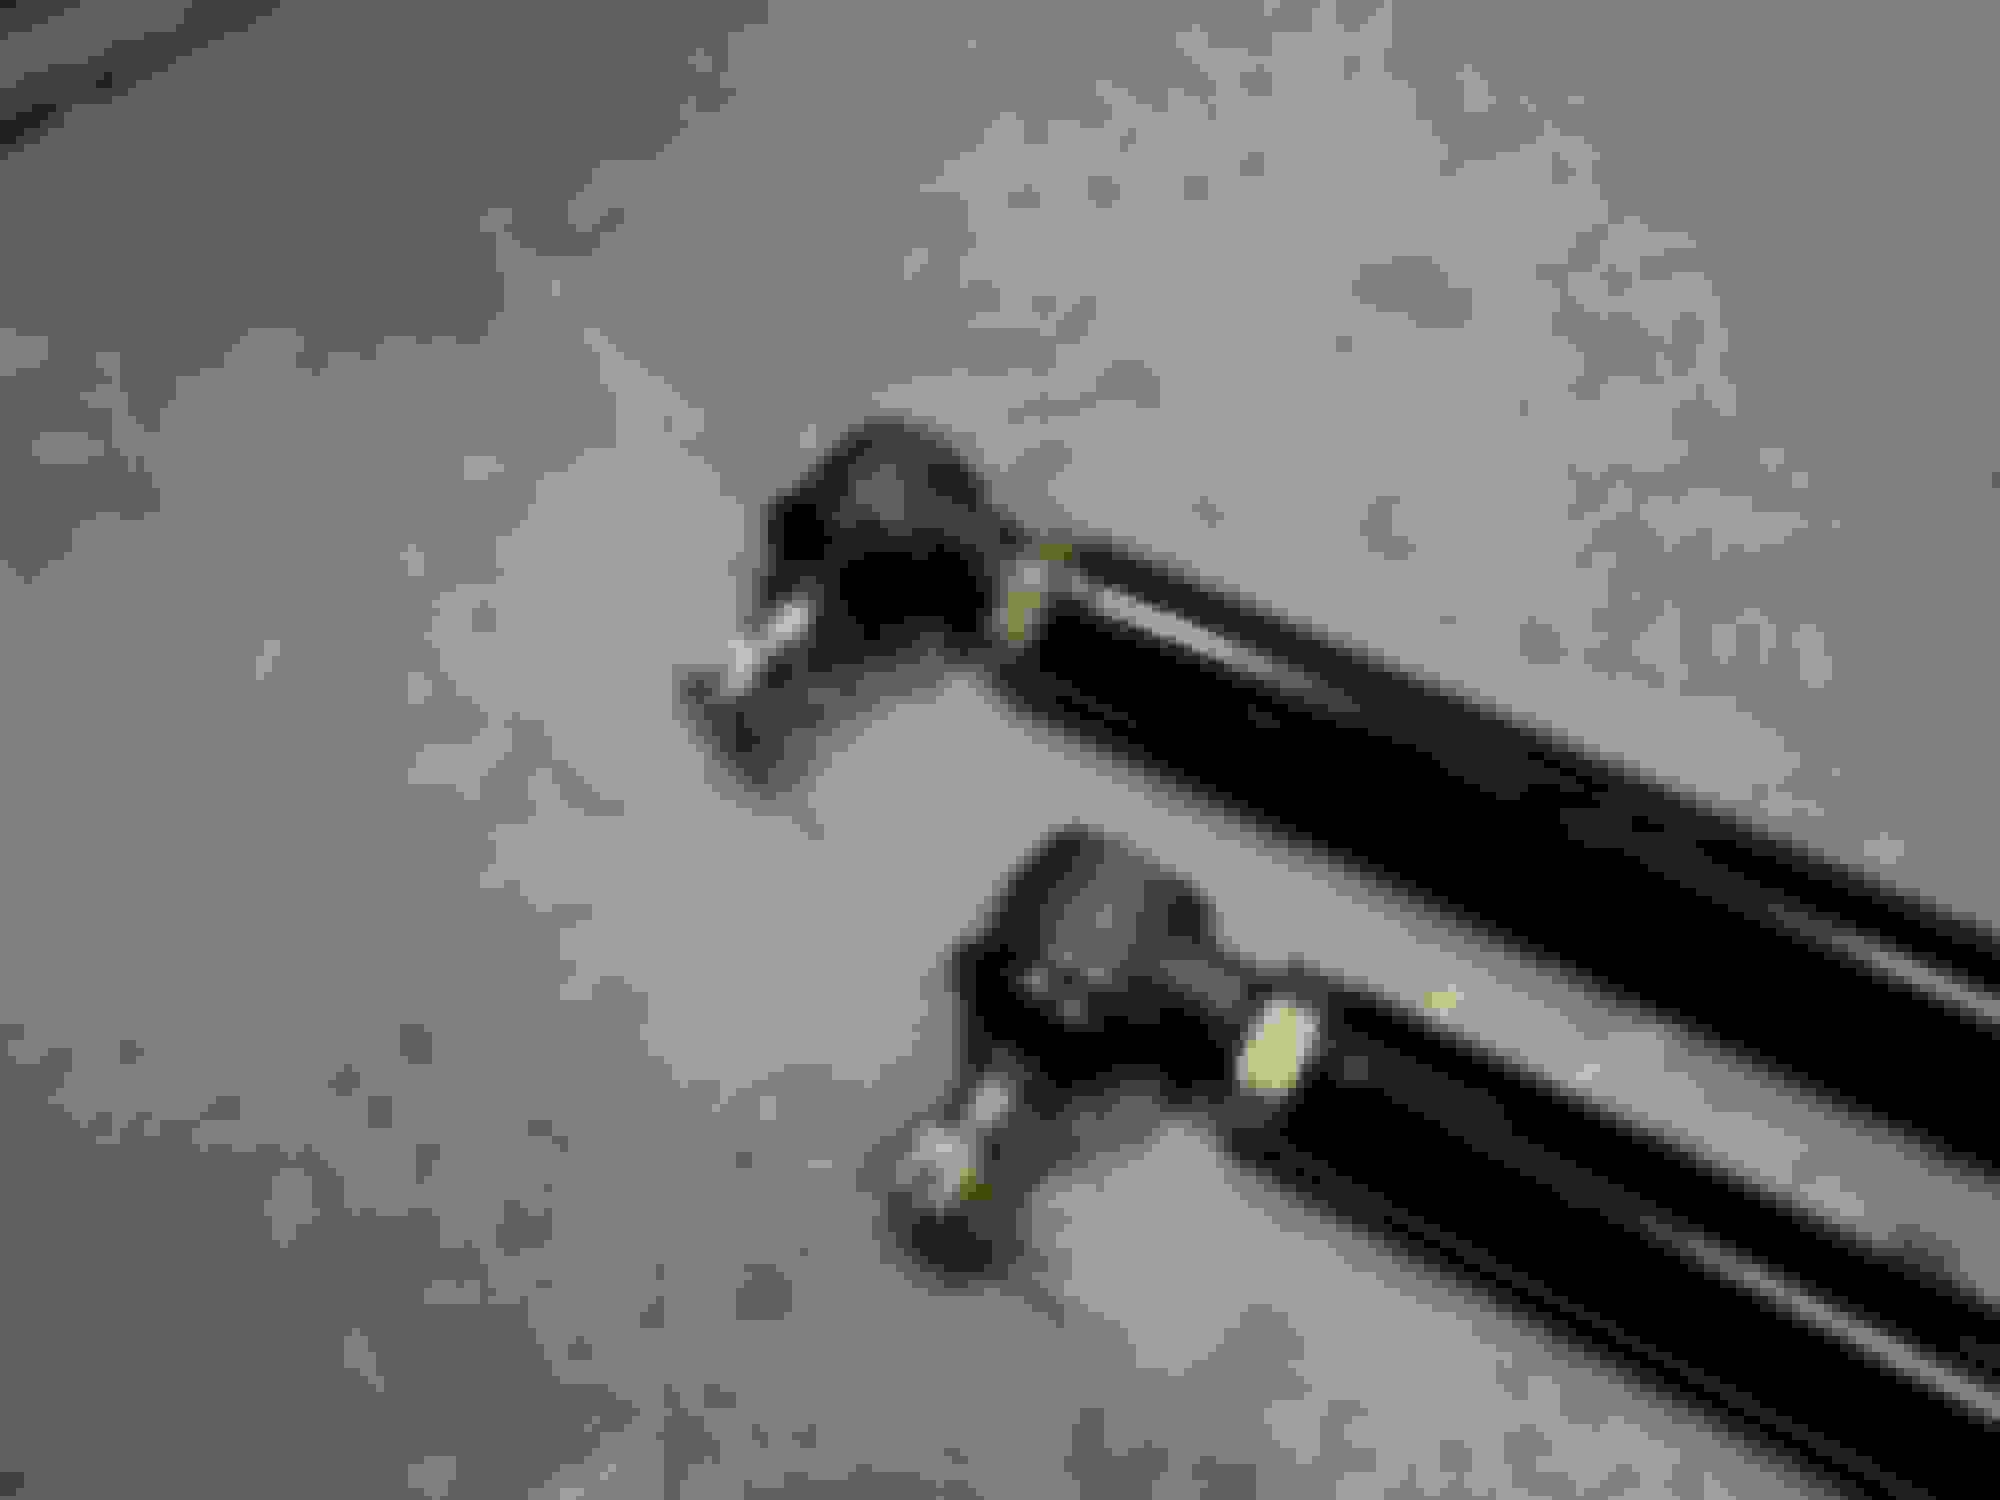
I've been collecting parts for a solid axle swap for years. I got this from YotaMasters online. It's the All-Pro brand high steer. Since All-Pro was bought by Trail-Gear I'm assuming they are just running out existing inventory because this kit was super cheap. $299 before shipping. I was afraid it was a mistake and my order would be cancelled but here it is. All I have left to buy is shackles and shocks. Then I need to commit and actually cut my perfectly good frame up.
I used to wheel this truck a lot more. Since I moved down here about 4 years ago I haven't been able to as much. When I wheeled a lot, I would often have issues with something new clunking in the front end after a trip. I've been through a lot of steering and suspension parts. I bent two idler arms. It's also very easy to lift a wheel with IFS. Since this truck doesn't have to serve daily driver duties, and I'm hoping to spend more time wheeling in the future, I think it's worth it. I try to stay practical, but it has to be said that a solid front axle is just cooler, so that plays into it a little. I'm hoping to keep it low. Ideally I'd get the front to match my current OME rear springs. I don't want to step up to 35's since that requires more trimming, new gears, and of course tires.
I used to wheel this truck a lot more. Since I moved down here about 4 years ago I haven't been able to as much. When I wheeled a lot, I would often have issues with something new clunking in the front end after a trip. I've been through a lot of steering and suspension parts. I bent two idler arms. It's also very easy to lift a wheel with IFS. Since this truck doesn't have to serve daily driver duties, and I'm hoping to spend more time wheeling in the future, I think it's worth it. I try to stay practical, but it has to be said that a solid front axle is just cooler, so that plays into it a little. I'm hoping to keep it low. Ideally I'd get the front to match my current OME rear springs. I don't want to step up to 35's since that requires more trimming, new gears, and of course tires.
Been a long time coming! Congrats on the continued progress!
@arlindsay1992 just got the two gauge a pillar from gaugepods. Quick question, how did you attach it? My original (1985) mold has clips to hold it in place. The gauge pods pillar has two screws which don't match the clips. Did you drill?
Yeah, I just drilled the screws right in. I assume this is because the gauge pillar is made from a sheet of plastic which is heated and vacuum formed to a mold. Making an injection molded part would require a lot more tooling and drive the price way up. Some people don't like drilling holes. In this case you would never see the holes if you decided to revert back to stock so I wasn't too upset about it.
Not many pictures in this update for the 4Runner. I've put about 20,000 miles on the engine from 22RE Performance. No leaks or weird noises. The 4Runner splits daily driver duty with my 1988 Pickup which I'll talk about below. The 4Runner gets the nice days, and the Pickup gets the wet days. I did re-gear the 4Runner's rear diff to 4.88:1 to go with the 33" tires. Definitely worth the effort. Used Marlin Crawler's Ninja Gears which are really Yukons. Still have the stock 4.10:1 front diff so I can't engage 4WD currently. The SAS should fix that since I built the front axle with a Truetrac and the same 4.88:1 Ninja Gears. I have all the parts for the SAS and would like to start on it soon but I've been busy with house stuff and keep getting sucked into motorcycle projects. Only things I don't have are a front driveshaft and shocks but those pretty much have to wait until the SAS is done so I can measure for the right parts.
So the 4Runner and new engine are doing great. Everything below is about my other truck, a 1988 Pickup.
The engine that came out of my 4Runner has been put to good use. A bit of backstory here. I bought a 1988 Pickup almost three years ago from the original owner. His son had wrecked it and rolled it (two separate occasions). When it rolled, it must have idled upside down for a while because it had a rod knock when you first started the engine and low oil pressure. Also the oil pump was all nasty looking and scored as if it ran dry. But the cam and rockers were all mint. The engine was fairly clean inside sludge-wise and the guy had good records of frequent oil changes. So the engine was well maintained but had been hurt. I had no problems with it for two years. Then over Christmas 2019 while visiting my parents, I drove through a creek that was slightly too deep and hydrolocked it bad. I was fairly deep in the throttle when it happened, and it didn't sputter out and die, it just stopped hard. I ended up getting it running enough to get back out to the road and partway to my parents' house but it was steaming out the exhaust super hard and I couldn't keep water in it for more than a couple blocks. I didn't want to melt it down so I had it towed to my parents' house and pulled the head off. The head gasket was very blown, and the #4 piston never came up to flush with the deck so I knew a rod was bent. I live 4 hours from my parents and I had to get home so I put a new head gasket it and figured we'll see how far she goes. It ran fine actually, with only a slight miss at idle due to the super low compression ratio on cylinder #4. I ended up driving it home 4 hours and around town for a month without any problems even with the bent rod and the knock at startup. Well, eventually the rod had had enough and it threw itself out the block on the side of I-95. It still ran on the front three cylinders but obviously I wasn't going to drive it like that. Had it towed home again. The engine out of the 4Runner was machined at a local machine shop here and I rebuilt it with components from 22RE Performance. I used the original block, crank, and rods from the 4Runner, the cam, and rocker assembly from the Pickup, and got a new set of pistons, a head, and timing set from 22RE Performance. This engine now has almost 5,000 miles and seems to be running good too.
I don't know how many of you have experienced a connecting rod separating while driving but I can say it made quite a racket. Kinda sucks having to pay to fix it but destruction is always cool to look at. I gotta give that engine credit, it ran with low oil pressure after idling dry for who knows how long, it ran after being drowned in a creek even with the head gasket letting coolant pour in, it ran after replacing the head gasket even with the bent rod, and then, even after the rod exited the block, it still ran off the tow truck and into the garage.
Original engine coming out.
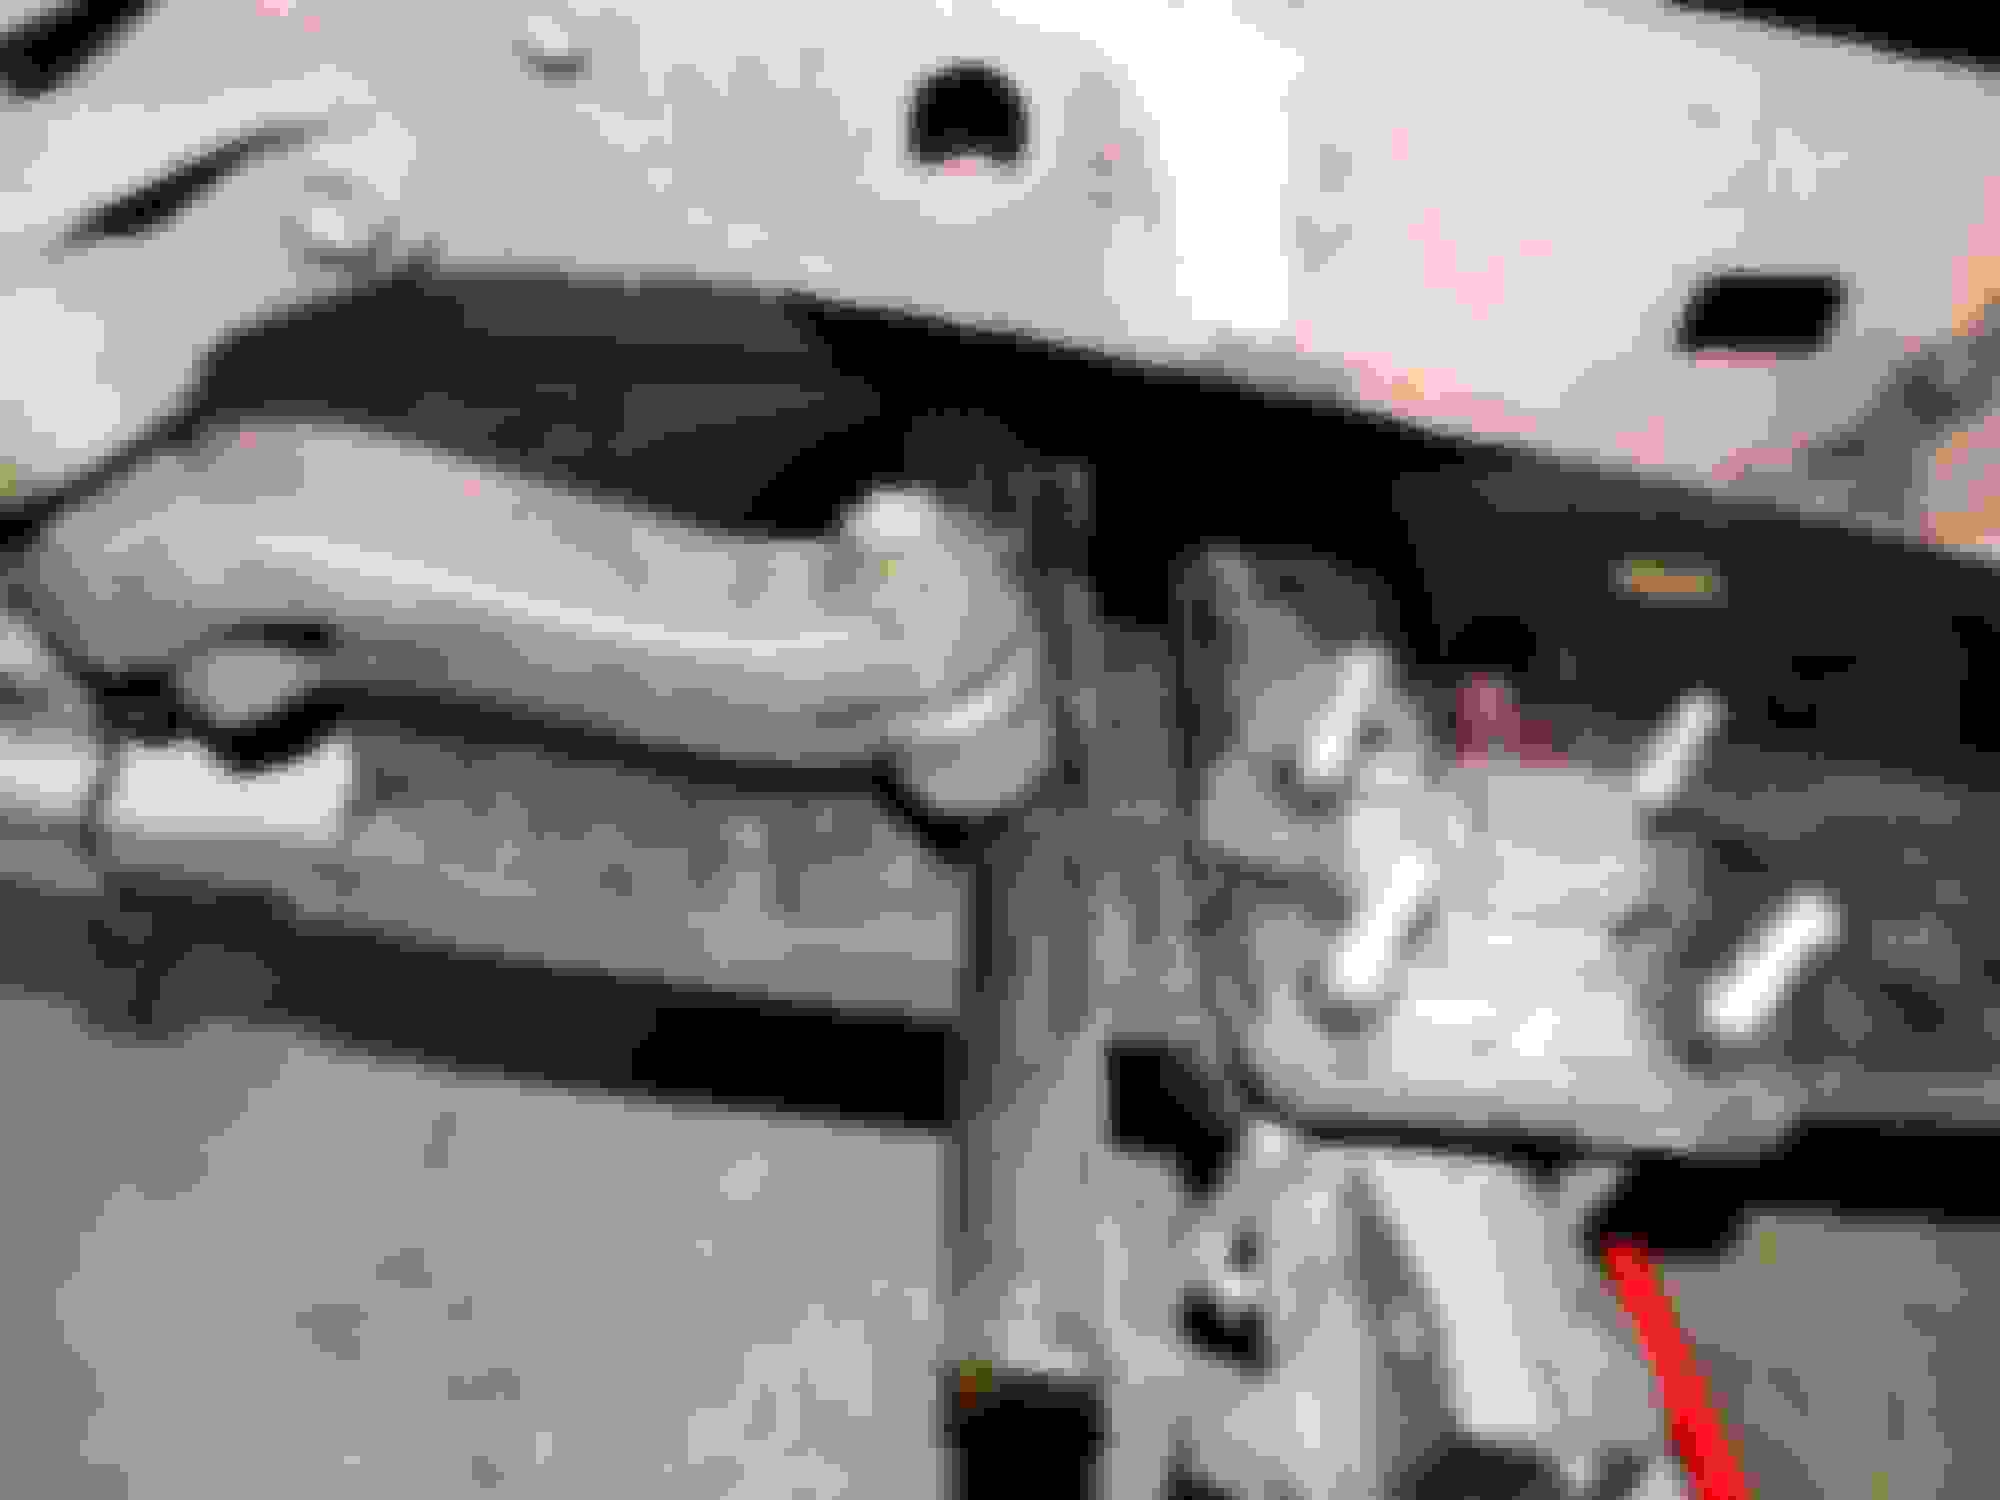
Hole on the right side behind the starter.
Hole on the left side through the water jacket and block.
Block out of the 4Runner back from the machine shop. Bored over one size and decked (with timing cover installed). All threads chased and a couple helicoiled by me.
Factory rods getting assembled. Bearings and bushings from 22RE Performance. Bushings installed and honed by the machine shop.
Factory crank was measured and magnafluxed. All looked good so just a polish and it's ready to go. They also recommended removing the crank plugs and cleaning out the oil passage since sludge gets trapped in there so I let them do that. 22RE Performance sells the OEM plugs so I put those in also.
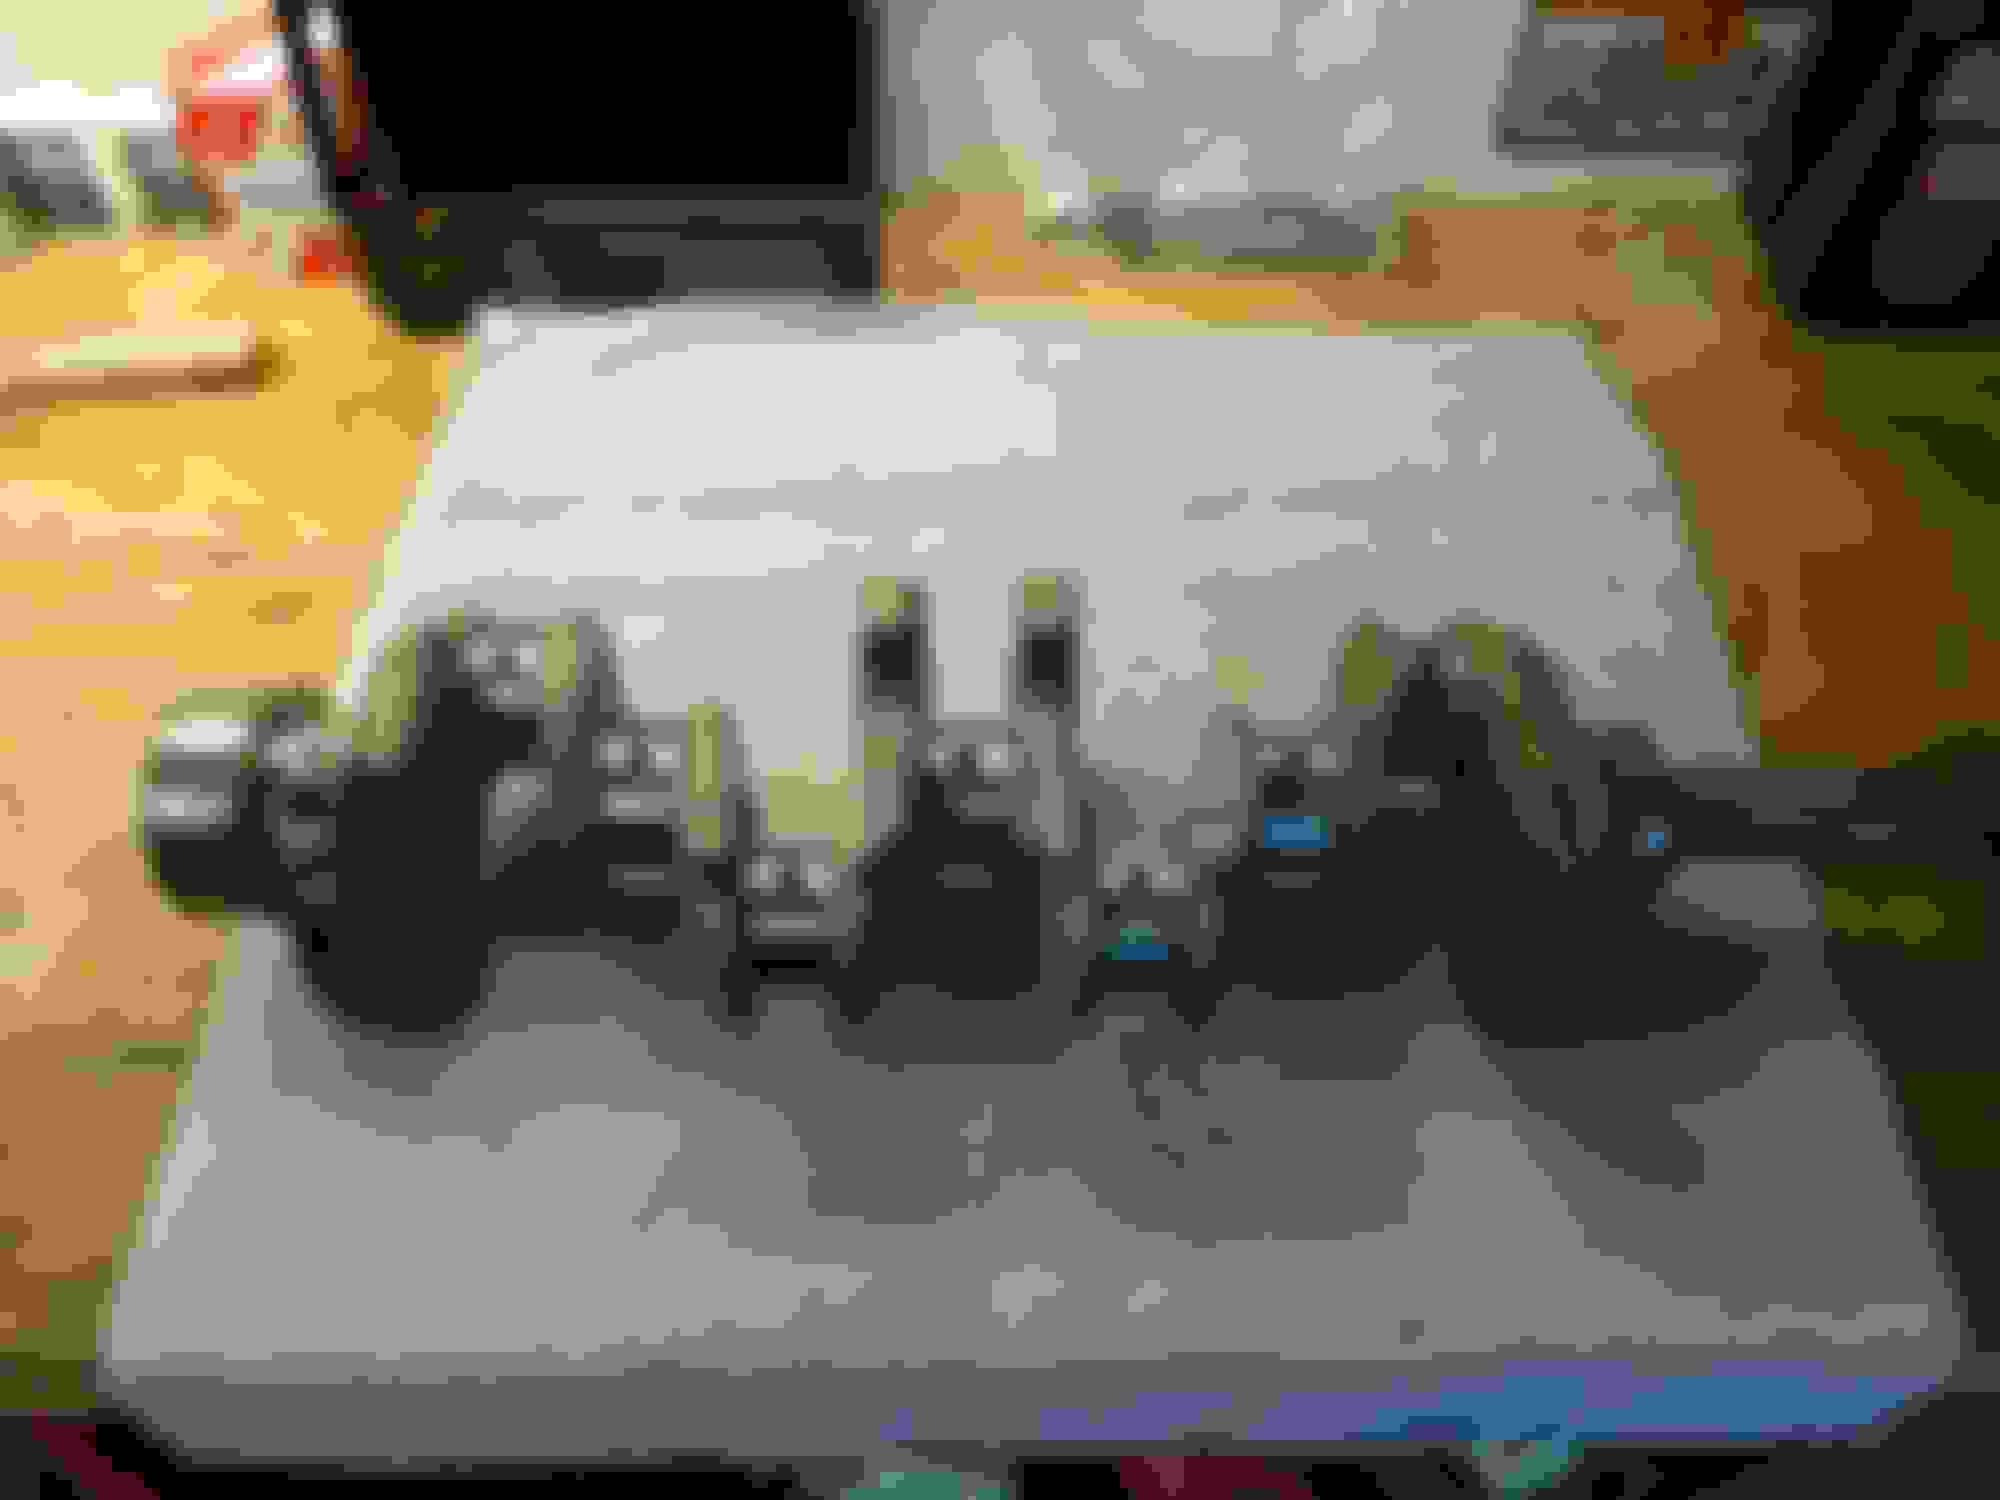
They always look so nice when they're getting assembled.
Used the best parts of the two donor engines to put it back together.
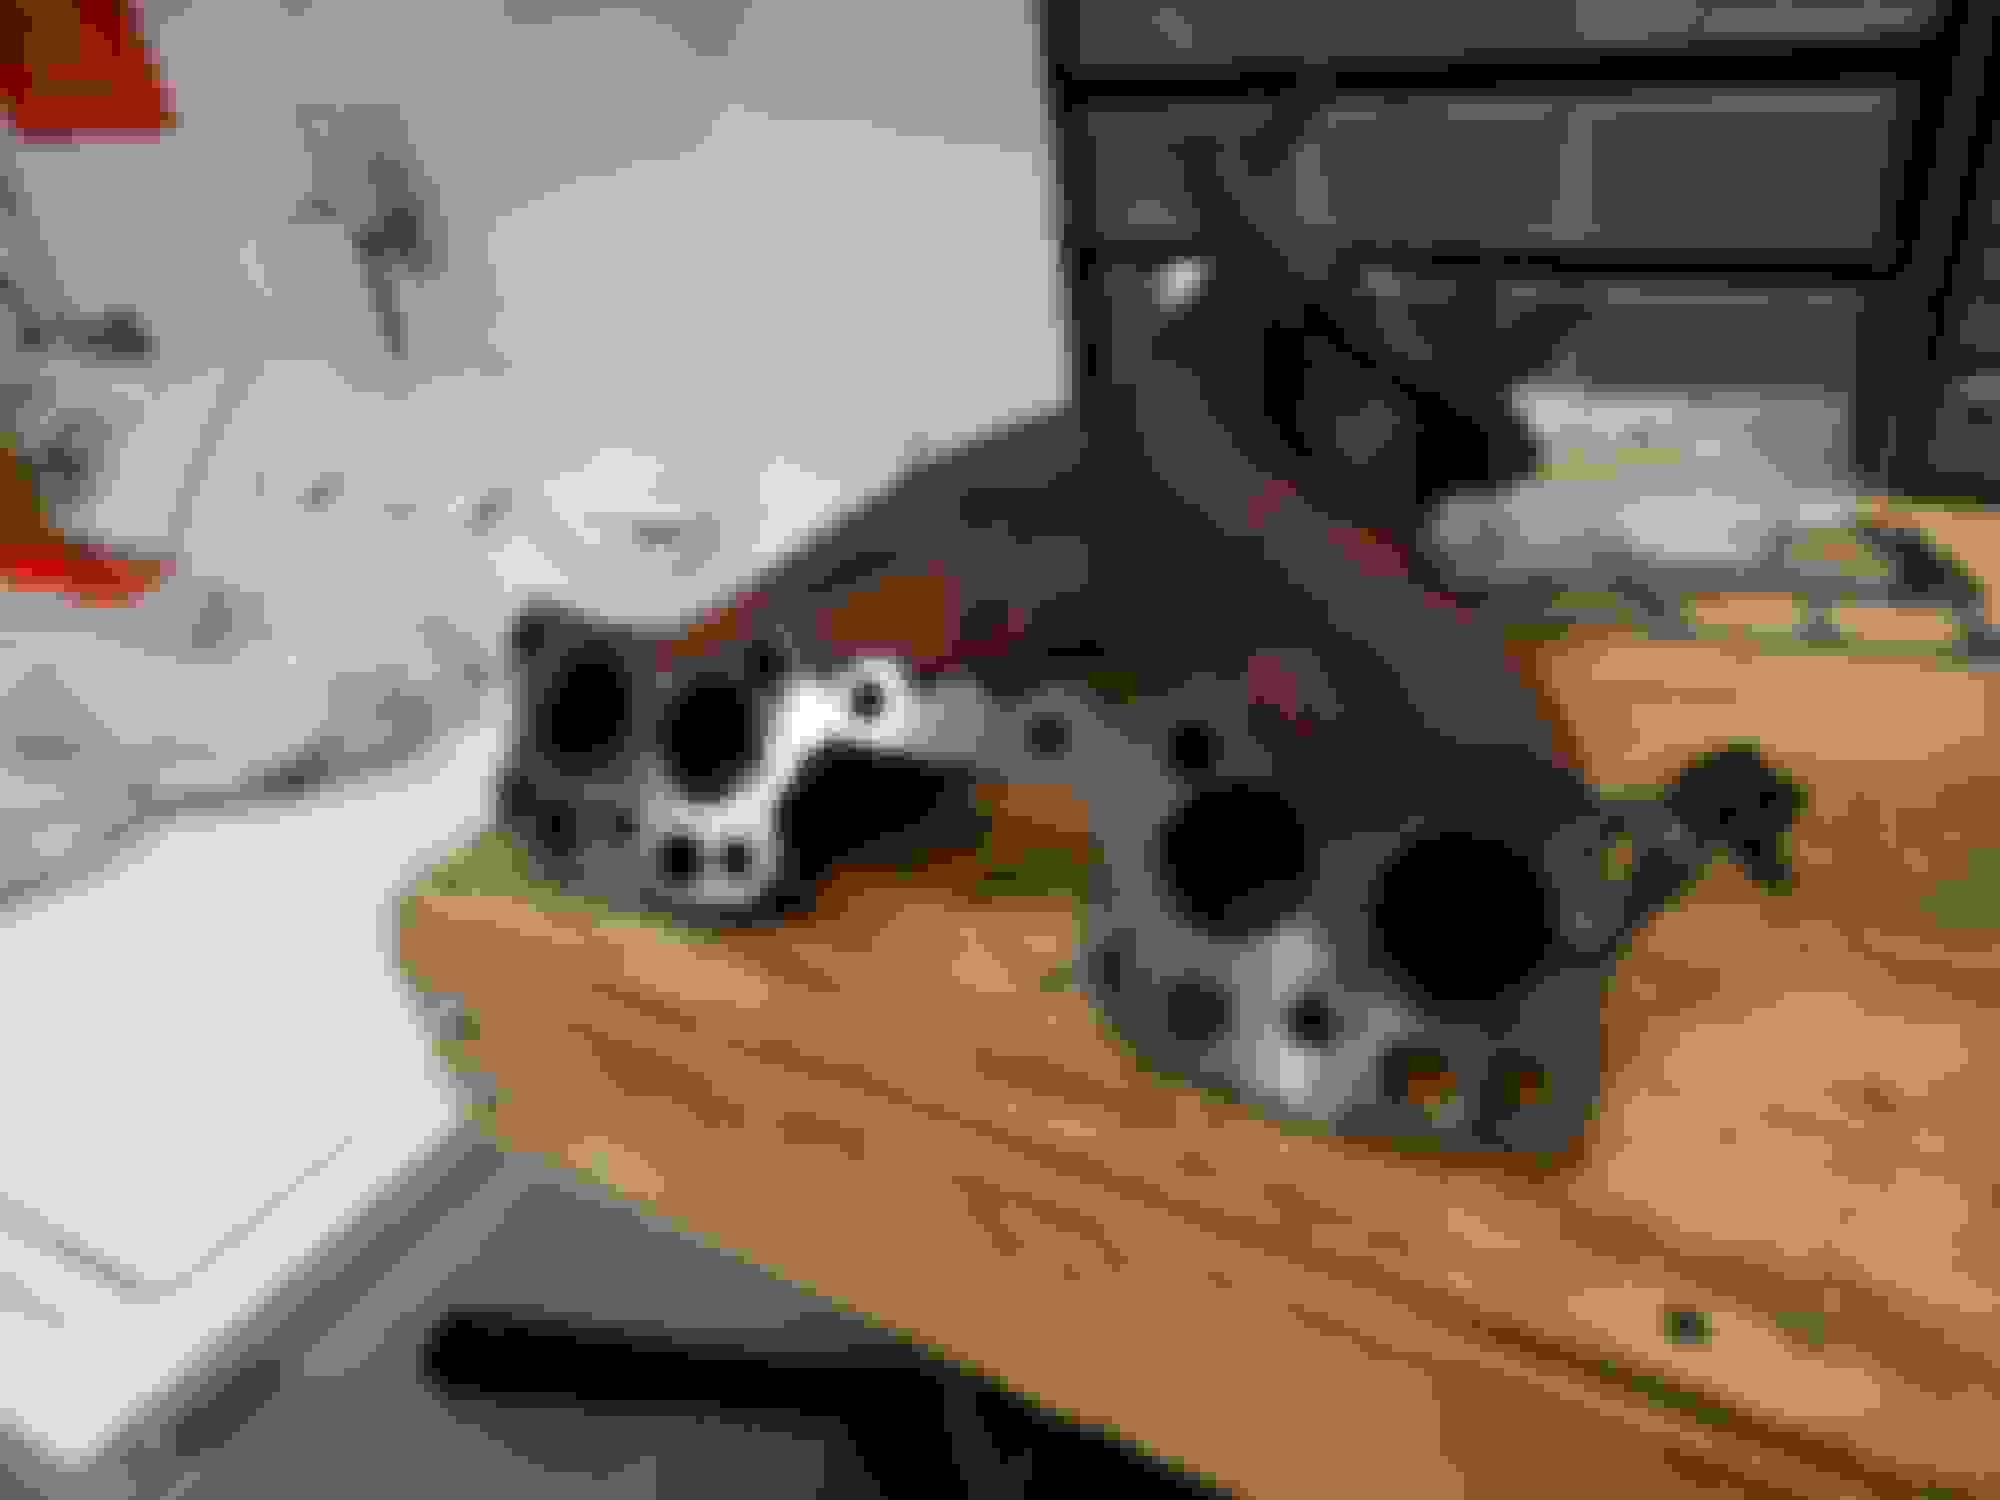
The exhaust manifold was super warped. I tried planing it down on my belt sander but this was after a long time and you can see it's still way off. Ended up paying the machine shop $20 to put it on their big belt sander and they made it flat again. No after pictures, but imagine the shiny area covers the whole mating surface.
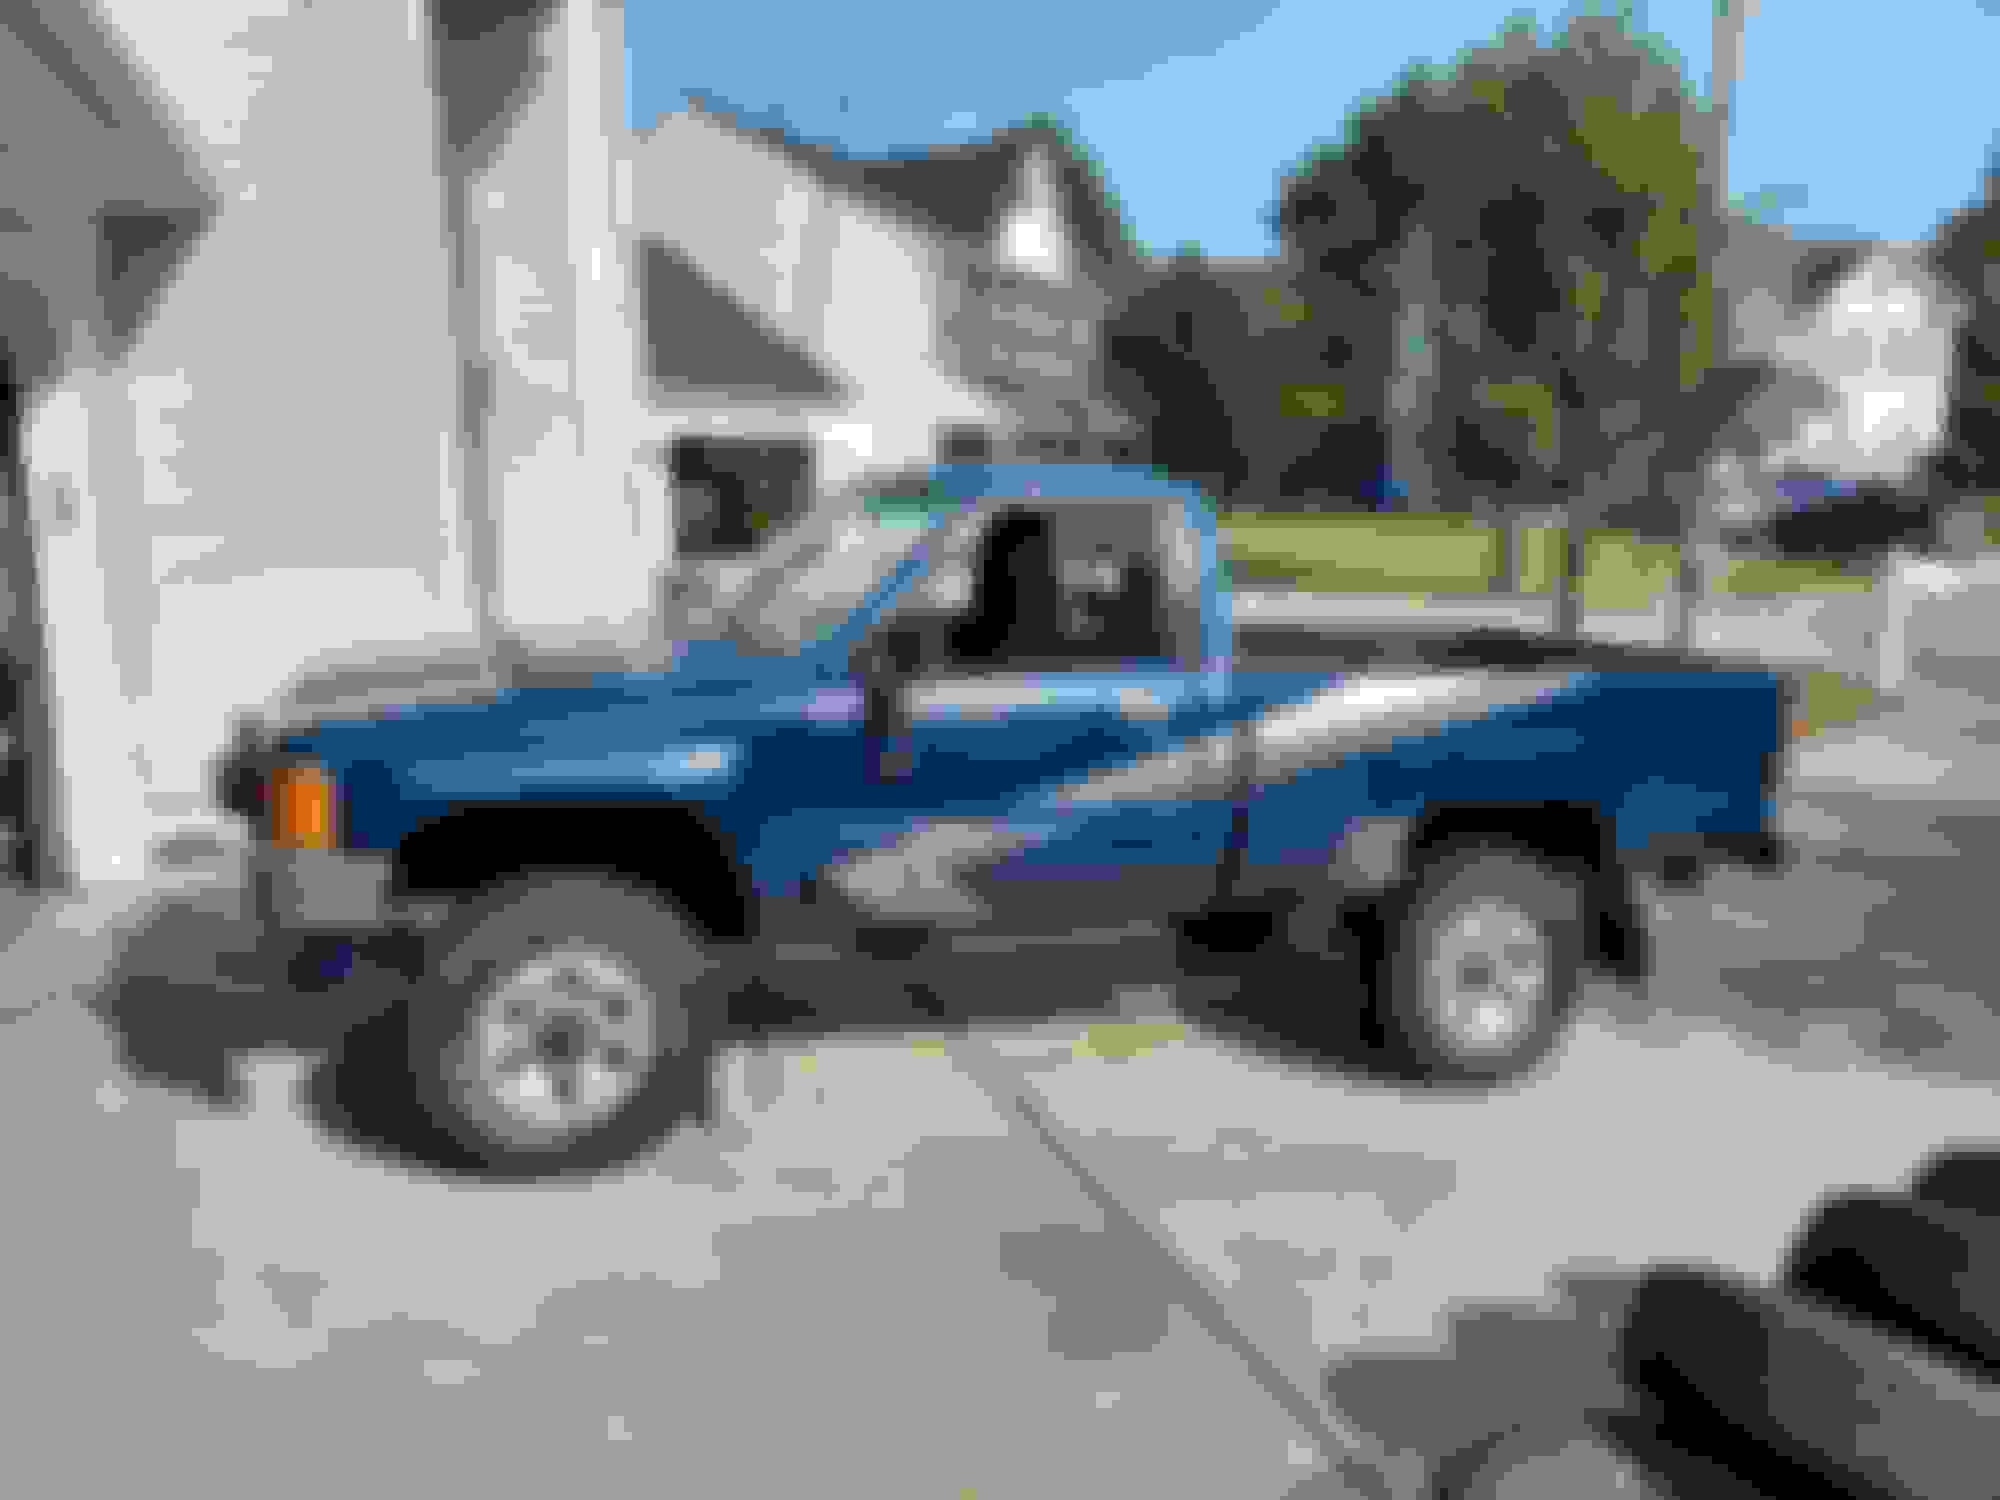
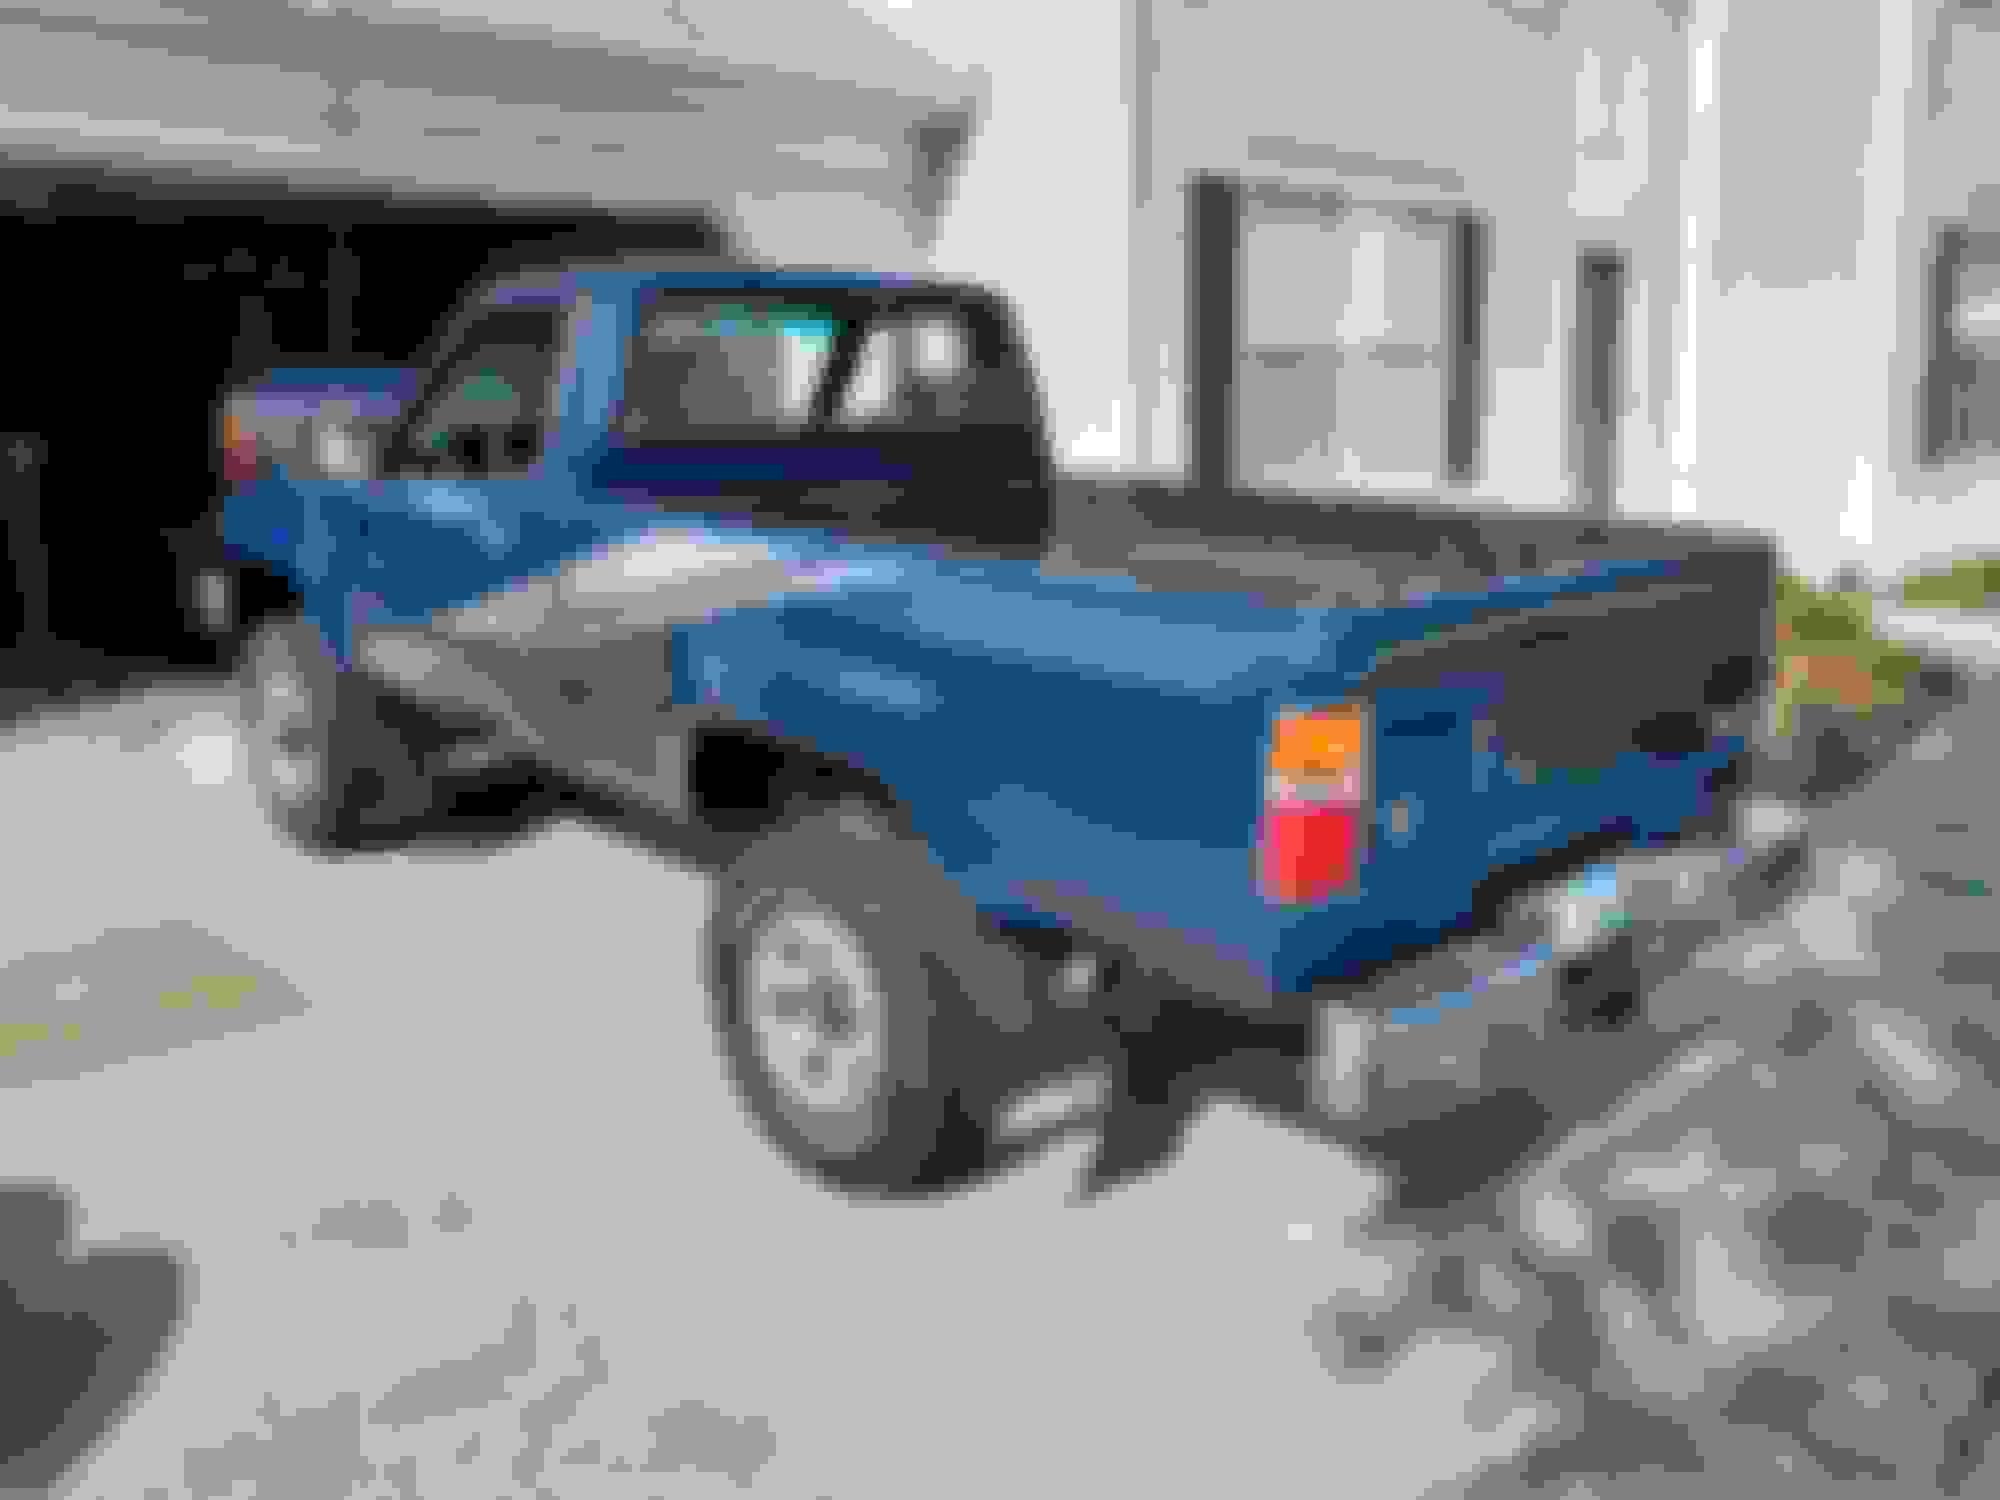
So that had it running good again. Then I had to do something about its looks. The PO spray bombed the whole truck flat black. I hate that. It never ever looks good. I wouldn't mind the original faded peeling paint, but this was just stupid ugly.
So I fixed most of the dents kinda half-assed, I didn't actually fix the typical bed rust, and I painted it back to the original color. It was my first time painting a car, so it has some room for improvement but I learned a lot and definitely think my next one would be much better. Also got a set of James Dean Creations reproduction stripes. My justification for not fixing the rust was that no matter what, it would come back and this is really what this truck should look like at this point in its life. It looks a bit odd with fresh paint on the rust holes, but in a couple years the rust will eat away at the edges of the holes and it will all look natural again, like a decent truck with a little bit of the typical rust. At least that's how it works in my head. I'm not trying to restore this truck at all, I just think flat black is the dumbest thing to paint a car with and I was embarrassed of it. Also refinished the original wheels, got new tires, and a very light tint on the side and rear windows. And you can't see it but I put an Eaton Truetrac in the rear diff. Does good burnouts now.
Last edited by arlindsay1992; 03-02-2021 at 08:58 PM.
Nice paint job on the truck, and the stripes really look good. Too bad about the rust holes, but I know what you mean. I had an 88 pickup in college and it had pretty bad rust holes all along that seam.
I know this is supposed to be a 4Runner build thread, but bear with me. I bought new tires for the Pickup not long ago. I wanted to get a fresh alignment to keep them from wearing prematurely. Naturally I jacked up the front end to make sure all the joints and parts were good with no play or issues. Well, the lower ball joints on both sides have play. They're original as far as I can tell and the truck has a bit over 230,000 miles. Well, I know where I can find a set of low mileage OEM ball joints. They're installed on my 4Runner and I replaced them only a couple years back. Only problem is, then what about the 4Runner? Well, I've been wanting to do this for a long time, I have all the parts, and with a week off between Christmas and New Years I have the time, so I started the solid axle swap.
I don't know about you, but for me, the hardest part of a project is getting started. The Pickup needing ball joints gave me a reason though so on to the pictures.
First step is to strip everything. Here I've unbolted everything that will unbolt. The front cam bolts on the lower control arms came out no problem but the rear cam bolt on both sides was seized in the LCA bushing. Also, pro tip: Do not Fluid Film your truck a month before a solid axle swap. It made everything disgusting to work on.
Lots of spare parts. Some people like to torch the whole front suspension off the frame in one huge chunk but I chose to unbolt everything so I could use some parts as spares for my other truck which is staying IFS. I was lucky, it's an east coast truck but every single bolt came out with no problem except the two LCA cam bolts at the back on each side.
The required "there's no going back now" picture. I don't have a torch or plasma cutter so I cut it all off with a Sawzall like an animal. It actually wasn't bad at all though. I buy good blades and it only took two long blades and one short one to get the job done.
Ready for grinding. The cardboard is to keep sparks and dust from flying up into the engine bay.
And all done grinding.
Even cut off and ground down the brackets on the inside of the frame. Nobody but me would have seen them if I left them. But since I'm the person who cares the most I decided to spend the time here too. I've read about other people doing this swap, and they've said that grinding day sucks, and boy they were right. I was not prepared for how dusty and dirty this turned out to be. Especially laying under the work while sitting, lying, and sliding on top of the dust on the floor. It was filthy.
Next step is to mock up the parts and see how it'll all line up. For a spring hanger, I'm using this low profile option from Low Range Off Road. I liked that it provided very little lift unlike most other brands, and that it could be bolted on for alignment. It does still have to be fully welded but the slotted holes make fit-up and adjustment easy. Here it is just bolted to the frame. To start, I slid it all the way back in the slots which makes it basically flush with the front of the frame.
For springs I'm using rear's up front (RUF). These are the factory springs off the back of this truck. I saved them when I installed the Old Man Emu springs in the back years ago. So it's a factory leaf set, with the overload leaf removed, and ToyTec's long add-a-leaf added in. Here I have them hung from the front spring hanger, and a ratchet strap holding up the back end. A 2x4 is used as a spacer to simulate about where the shackle eye of the spring would sit height-wise. You can see I haven't yet drilled the hole in the frame for the shackle tube.
Next I hung the axle from the springs, bolted on the wheels, and very carefully lowered the weight of the truck onto the new parts. This was necessary to see where the axle would sit front-to-back-wise and check for clearance with steering and the frame. When using RUF's, the front axle is moved forward 2 inches. This is usually okay and in many cases desired for guys running big tires. This makes it less likely for the tire to hit the firewall. It looks like I'll have more than enough clearance even if I decide to bump up to 35's in the future.
Ended up with about 3.5 inches of lift after letting it settle overnight. This is okay with me although it's probably going to push me to run 35's. Also, I'll have to figure something out for the back because I'm not about the squat. Coincidentally, there's about 3.5 inches between the tie rod and the frame. So if you wanted to do a no-lift SAS and use high steer you'd have no suspension up-travel. This is why some guys will fabricate a whole new front section of the frame and maybe even 3 link it. But they are way more hardcore than me.
Everything looks good except for the clearance between the drag link and tie rod. There's only about 1/4 inch of space between them which goes away as soon as the suspension compresses. It looks like moving the axle back one inch (overall one inch forward from stock) would cure this issue. Also, since the axle moves back slightly as the spring compresses (spring arch becoming closer to straight) this would only help my situation.
Like I said earlier, I positioned the front spring hanger as far back as it goes in the slotted holes. So I can't move the spring hanger back in order to move the axle back. So instead, I'll just move the axle back in relation to the springs. To do that, I simply re-drilled the locating hole in the spring perch on the axle. For whatever reason, the driver's side perch already had three holes in it from the factory. A center hole and two holes 1 3/8 inches away both forward and back. So I just replicated the same thing on the passenger side spring perch.
And did the same for the U-bolt plates.
So with the axle position sorted, I'm able to drill out the frame for the shackle tubes. Since I'm using factory rear springs, I knew I could use the rear of the frame to get the measurements I needed. I measured the eye-to-eye distance from the rear spring front hanger to the rear spring shackle hanger on the frame. Then at the front of the frame, I measured that same distance from the front spring hanger eye and marked for my hole. Since I'm using factory springs and factory shackles with factory dimensions for hole placements, this should hopefully make the shackle angle work out nicely. Notice I did have to clearance the body mount slightly. It looks like there is only a little bit of weld left holding it on but on the backside it's welded all the way up so I think it'll be fine.
And welded the tube in.
Did the same on the other side but the hole saw walked. Had to hog the hole out (which was a pain!) to get the tube centered in the right spot. Left a nice gap to weld up. I've since cut a small patch piece and welded it in.
While I was welding I patched up the engine mount bracket on both sides.
Which brings me to where I am now. The frame is painted with the exception of the very front. I still have some work to do to the front spring hanger before I weld it in. I'll go over that once parts arrive.
Last edited by arlindsay1992; 12-31-2020 at 02:06 PM.

 07-21-2019, 05:35 PM