1992 4runner Build Up (3.4 swapped)
#1
1992 4runner Build Up (3.4 swapped)
Well I've been a part of Yotatech long enough now, and was creeping for awhile before that, I think it's time for an official build thread.
I am going to try to include as much as possible, but in no particular order until I get caught up.
Link to my 3.4 Swap:
https://www.yotatech.com/forums/f160.../#post51999915
And some smog info that I hope will help someone down the line:
https://www.yotatech.com/forums/f160...g-info-266708/
Purchased summer 2011
1992 4runner 5spd 4x4 3.0 (now 3.4)
When I bought the truck, the transmission had been rebuilt, the rear diff gears had been replaced, and manual hubs had already been put in, and a heavy duty sway bar installed. Everything else pretty much stock.
First thing I did was take off the running boards, mud flaps, and got the windows tinted to 5%
This is what it looked like when I bought it


And this is what it looks like now


I am going to try to include as much as possible, but in no particular order until I get caught up.
Link to my 3.4 Swap:
https://www.yotatech.com/forums/f160.../#post51999915
And some smog info that I hope will help someone down the line:
https://www.yotatech.com/forums/f160...g-info-266708/
Purchased summer 2011
1992 4runner 5spd 4x4 3.0 (now 3.4)
When I bought the truck, the transmission had been rebuilt, the rear diff gears had been replaced, and manual hubs had already been put in, and a heavy duty sway bar installed. Everything else pretty much stock.
First thing I did was take off the running boards, mud flaps, and got the windows tinted to 5%
This is what it looked like when I bought it


And this is what it looks like now


#2
Body Lift
For the upcoming 3.4 swap, I was gonna have to cut a hole in the hood for the engine to fit, or do a body lift, so I decided to go with a body lift as to provide some extra room for bigger tires.
Also makes working on the truck MUCH easier with the lift.
Purchased the 2" kit from 4crawler's site with the front bumper bracket.
Was a very easy install and managed to do it all myself.
As it sits before the lift:

After the lift:


Didn't stretch anything too bad.
Ended up making some gap guards from rubber matting from Lowe's

Also makes working on the truck MUCH easier with the lift.
Purchased the 2" kit from 4crawler's site with the front bumper bracket.
Was a very easy install and managed to do it all myself.
As it sits before the lift:

After the lift:


Didn't stretch anything too bad.
Ended up making some gap guards from rubber matting from Lowe's

#3
#4
Suspension Lift
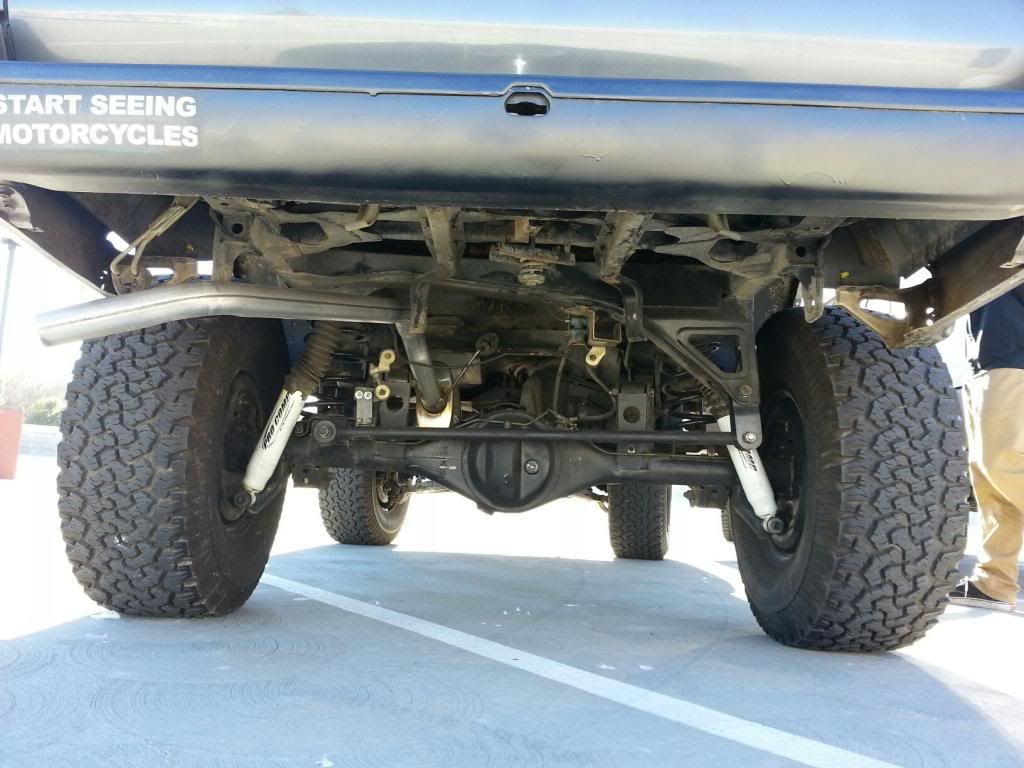
Purchased a complete 2" lift kit which included:
OME lift coils
BJ spacers
ProComp 9000 shocks
Panhard drop kit
LSPV bracket
Sway bar drop kit
Diff Drop (not installed)
Also installed (recently, a year or so after the lift itself) an OME steering stabilizer
It was a rather straightforward install. Grinding of A-arms required in the front to get the spacers to fit, which was kind of a pain, and you need to rent or buy a spring compressor for the rear. I got one cheap from good old Harbor Freight in Rocklin. I decided to replace the ball joints while I had everything torn apart, so I bought a pickle fork as well, which also helped with the stabilizer install.
It would be a good idea to check brakes and CV axles before the install, that way you can replace those as well during the BJ spacer install.
**NOTE: My stock rims did not fit with the BJ spacers installed! The upper control arm would rub on the tire and I couldn't mount it. Backspaced rims or spacers required!**
Some wrenching pics:



Comparison Shots:


OME lift coils
BJ spacers
ProComp 9000 shocks
Panhard drop kit
LSPV bracket
Sway bar drop kit
Diff Drop (not installed)
Also installed (recently, a year or so after the lift itself) an OME steering stabilizer
It was a rather straightforward install. Grinding of A-arms required in the front to get the spacers to fit, which was kind of a pain, and you need to rent or buy a spring compressor for the rear. I got one cheap from good old Harbor Freight in Rocklin. I decided to replace the ball joints while I had everything torn apart, so I bought a pickle fork as well, which also helped with the stabilizer install.
It would be a good idea to check brakes and CV axles before the install, that way you can replace those as well during the BJ spacer install.
**NOTE: My stock rims did not fit with the BJ spacers installed! The upper control arm would rub on the tire and I couldn't mount it. Backspaced rims or spacers required!**
Some wrenching pics:


Comparison Shots:


Last edited by rworegon; 08-19-2014 at 06:43 PM.
#6
3.4 Swap
I'll keep this brief because I already have another thread dedicated to the swap, which can be found here
https://www.yotatech.com/forums/f160.../#post51999915
The sexy beast as it arrived to me


Out with the old, in with the new!


https://www.yotatech.com/forums/f160.../#post51999915
The sexy beast as it arrived to me


Out with the old, in with the new!


#7
Custom Grill Insert
So I wish I had taken more pictures during the process so I could make a write up, but what's done is done.
One day after class when I was walking through the parking lot,
the billet grills started to get to me, and I decided I was gonna give the truck a face lift.
I went to Home Depot and bought some metal mesh.
Took off the grill, bumper, and faring, took a dremel to it,
sanded it down, cut the metal to size and bonded it with JB weld,
and painted.

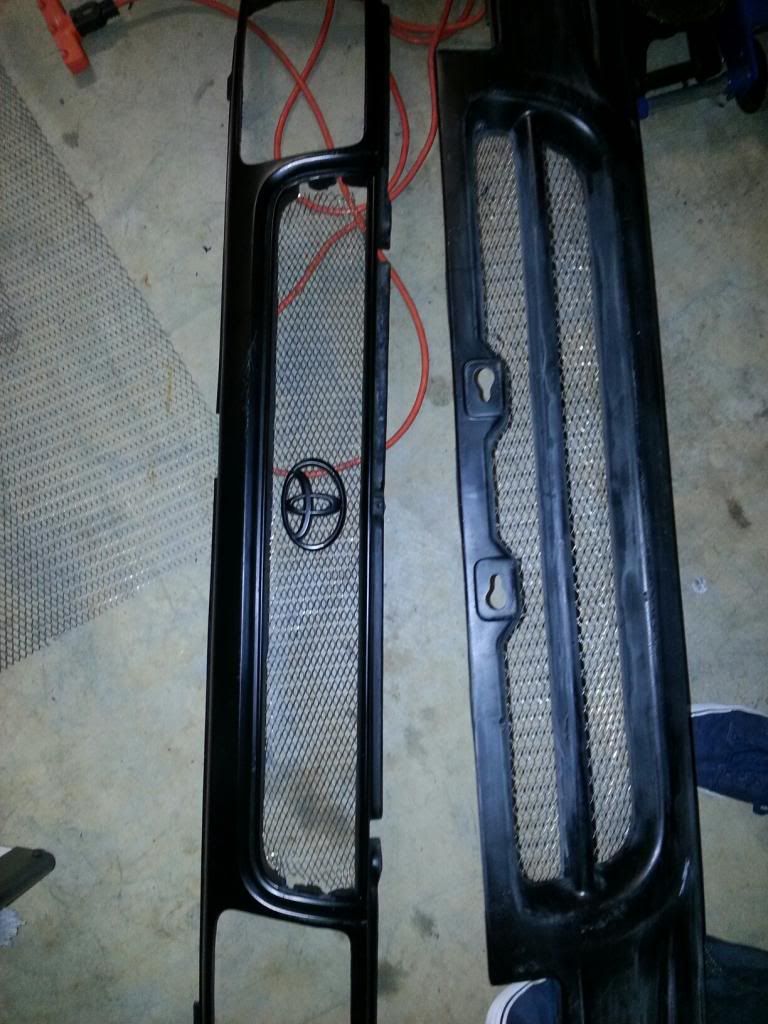

You can see the difference between the new paint top and bottom,
and the bumper in the middle, which I should have repainted.
One day after class when I was walking through the parking lot,
the billet grills started to get to me, and I decided I was gonna give the truck a face lift.
I went to Home Depot and bought some metal mesh.
Took off the grill, bumper, and faring, took a dremel to it,
sanded it down, cut the metal to size and bonded it with JB weld,
and painted.


You can see the difference between the new paint top and bottom,
and the bumper in the middle, which I should have repainted.
Trending Topics
#8
Roof Rack/ Spare Mount/ Safety Equipment
A few weeks ago I built some cheap mounts for my roof rack.
The most expensive parts were the locks themselves!

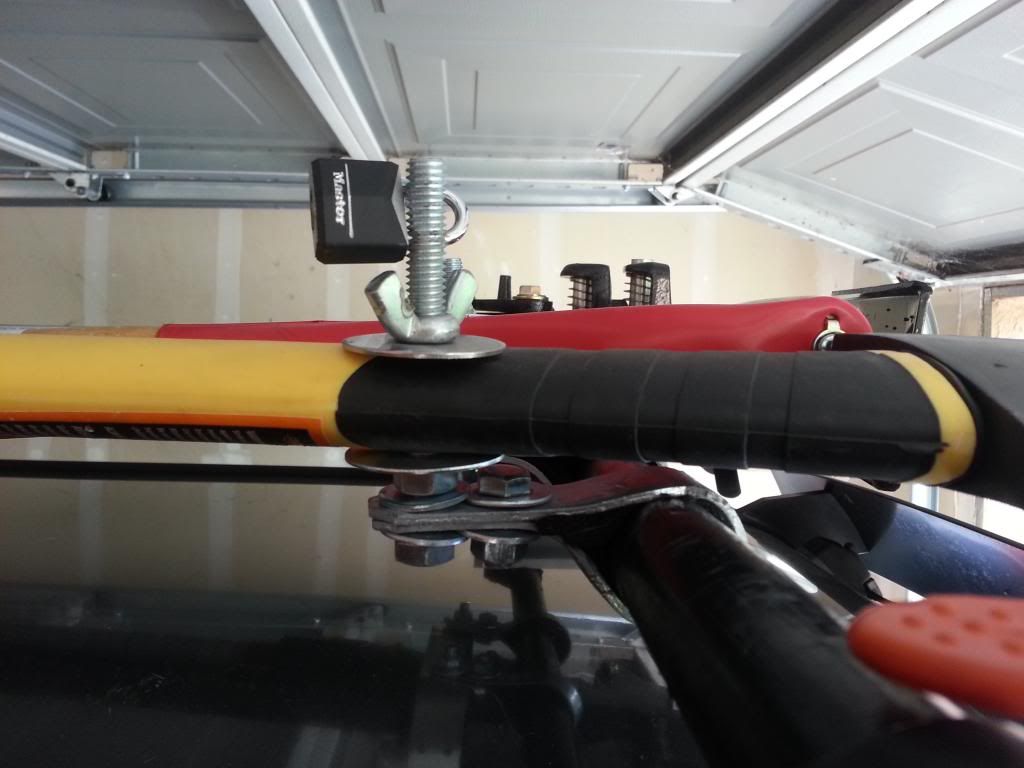
I also bought some square stock from Lowe's and some studs/nuts from Auto Zone and fabbed up a spare tire carrier for the rear.
Yes it's ugly, but this is my first time welding, so take it easy on me.
The bulk of the weight is supported by a 2x4 under the tire.


I also got some velcro for the fire extinguisher.
Super heavy duty stuff too! This thing's not going anywhere.

I also carry:
Gallon of Water
All Extra Fluids
Tow Strap
Tool Kit
Jumper Cables
Two First Aid Kits
Flashlights and Batteries
Lots of Maps
Blanket
Protein Bars
Lots of Knives
Multi-tools
Zip Ties etc.
CB radio that plugs into cig liter.
I'm sure I have more than that I can't remember,
and I'm sure there's more that I should be carrying, but I like to think I do a decent job
(will be buying a LifeStraw Water Filter soon)
The most expensive parts were the locks themselves!


I also bought some square stock from Lowe's and some studs/nuts from Auto Zone and fabbed up a spare tire carrier for the rear.
Yes it's ugly, but this is my first time welding, so take it easy on me.
The bulk of the weight is supported by a 2x4 under the tire.


I also got some velcro for the fire extinguisher.
Super heavy duty stuff too! This thing's not going anywhere.

I also carry:
Gallon of Water
All Extra Fluids
Tow Strap
Tool Kit
Jumper Cables
Two First Aid Kits
Flashlights and Batteries
Lots of Maps
Blanket
Protein Bars
Lots of Knives
Multi-tools
Zip Ties etc.
CB radio that plugs into cig liter.
I'm sure I have more than that I can't remember,
and I'm sure there's more that I should be carrying, but I like to think I do a decent job
(will be buying a LifeStraw Water Filter soon)
#9
Interior
For Christmas last year I bought myself a new deck, sub, and amp.
Well actually my friend was selling them, so I got hooked up!
Paid only $100 for all three.


I also bought some newer floor mats and some seat covers for the front row.
Replaced the stock steering wheel with a smaller one as well.
For a '92, the truck's interior is in really good condition.
Of course the rear is scratched and cracked from cargo, but thats' to be expected.


Oh, and it has a sunroof.

Well actually my friend was selling them, so I got hooked up!
Paid only $100 for all three.


I also bought some newer floor mats and some seat covers for the front row.
Replaced the stock steering wheel with a smaller one as well.
For a '92, the truck's interior is in really good condition.
Of course the rear is scratched and cracked from cargo, but thats' to be expected.


Oh, and it has a sunroof.

#10
Rock Sliders (Current Project)
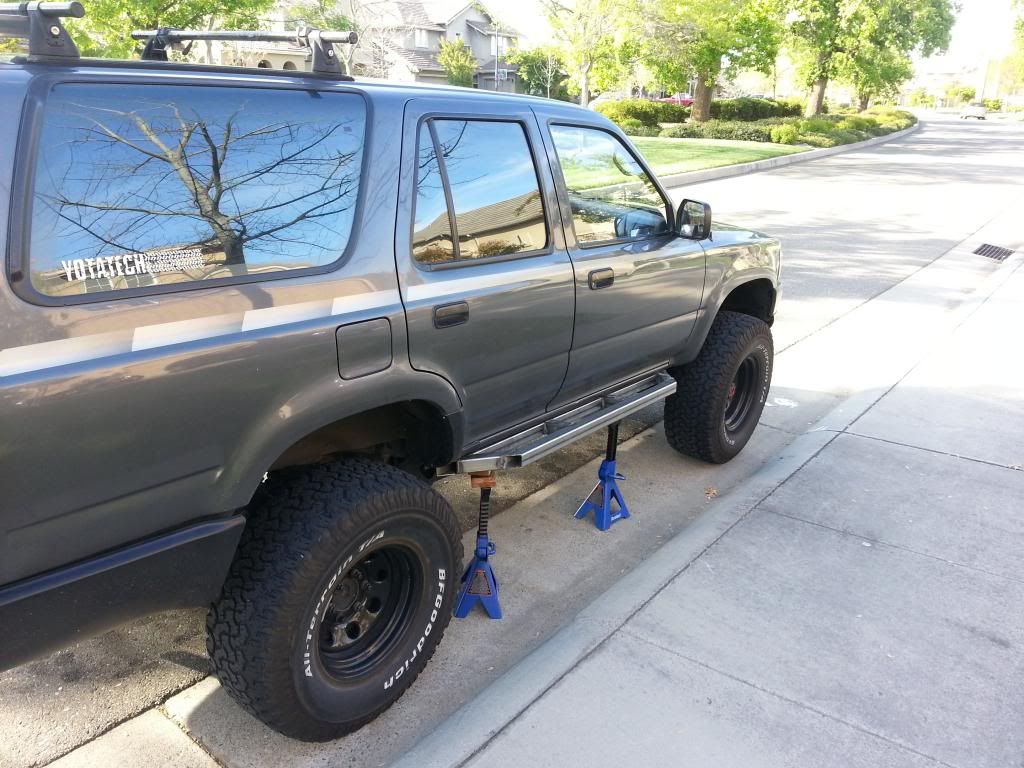
Finally bought myself a welder a few weeks ago,
and I'm currently working on building some rock sliders for the toy.
I'm using 2"x2" square stock with .120 wall.
Keep in mind this is my first major project welding, and I'm still new to this.

This is essentially what each slider is going to look like.
I only have one side done, not including the mounts.
I still need to design mounts, and do a lot of grinding, sanding, etc.
It's a slow going process but I should be able to get it done this summer
when the semester is over and I have more free time.
Side #1 tacked (I've welded it since this picture was taken)

Some mock up pictures to get an idea of what it will look like,
and to help me figure out a mounting design.
I'll cap the ends before I consider it done.

and I'm currently working on building some rock sliders for the toy.
I'm using 2"x2" square stock with .120 wall.
Keep in mind this is my first major project welding, and I'm still new to this.

This is essentially what each slider is going to look like.
I only have one side done, not including the mounts.
I still need to design mounts, and do a lot of grinding, sanding, etc.
It's a slow going process but I should be able to get it done this summer
when the semester is over and I have more free time.
Side #1 tacked (I've welded it since this picture was taken)

Some mock up pictures to get an idea of what it will look like,
and to help me figure out a mounting design.
I'll cap the ends before I consider it done.


#11
Steering Linkage
Replaced pretty much my entire steering linkage yesterday.Truck feels amazing now!
Still need to replace the pit man arm though, they didn't have one in stock at the time.
Replaced: All four tie rods, Idler arm, Steering damper (last week)
Link to tech write up: https://www.yotatech.com/forums/f166...pickup-280367/
New Parts:

Idler arm bolts were pretty nasty, so I ran to Lowe's to pick up some replacements before I put it back on.

Here's just a look at how worn mine were compared to new:

Was a super easy install. Only took a little over two hours. And it was my first time doing it. Will hopefully finishing with the pit man arm next week.
Still need to replace the pit man arm though, they didn't have one in stock at the time.
Replaced: All four tie rods, Idler arm, Steering damper (last week)
Link to tech write up: https://www.yotatech.com/forums/f166...pickup-280367/
New Parts:

Idler arm bolts were pretty nasty, so I ran to Lowe's to pick up some replacements before I put it back on.

Here's just a look at how worn mine were compared to new:

Was a super easy install. Only took a little over two hours. And it was my first time doing it. Will hopefully finishing with the pit man arm next week.
#13
As for the dash top, unless the previous owner swapped it out it's actually still stock. Haha surprising, right?
#14
Pitman Arm STUCK
So just thought I'd share:
I went and bought a pitman arm from Carquest yesterday, and since that was all I had left to replace on my steering linkage I thought I'd go ahead and get it done. Well, what should have been a straightforward job ended up with and hour of my time wasted and two bent tools.
I could not for the life of me get the pitman arm off!!
It actually bent my puller!
So I had to bring it to Midas and payed them to do it. =/
At least everything is new now, and I've an alignment =]
But just curious, anyone else ever have this problem?
#17
Hey guys! After quite the Hiatus from Yotatech, I've decided I'm gonna start hanging out here a bit more again. As for an update on the truck: I just hit 290k on the chassis, which means I'm close to 200k on the 3.4, and she's still running like a champ. Within the last six months, I've replaced the spark plugs, wires, 02 sensors, fuel filter, and both front wheel bearings. I'm also now running 33" Falken WIldpeak A/T tires, which are awesome btw. I don't think I've ever seen tread so deep on a standard A/T before.
A few small mods I've done to the truck, which I'll include pictures of shortly:
-Finished the sliders
-Installed a factory third brake light
-Installed bright LED reverse lights
-Installed front running lights and auxiliary lights
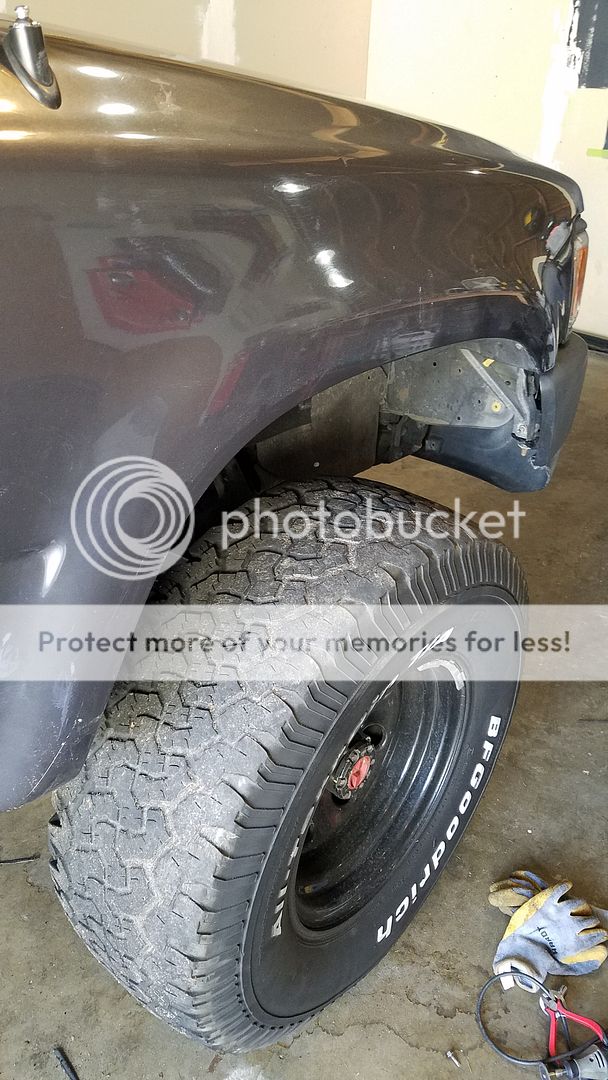
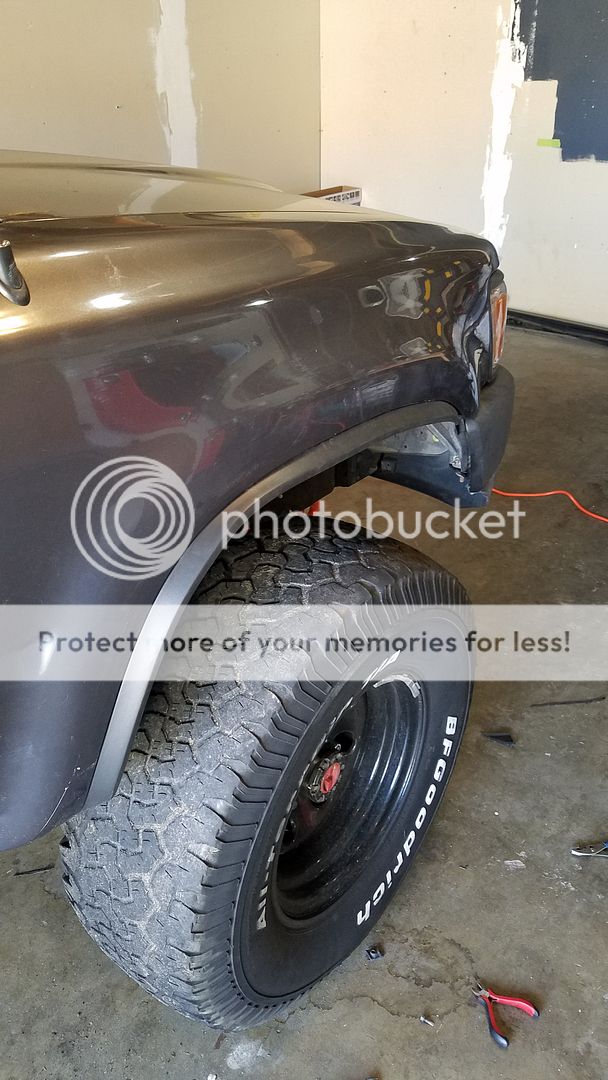
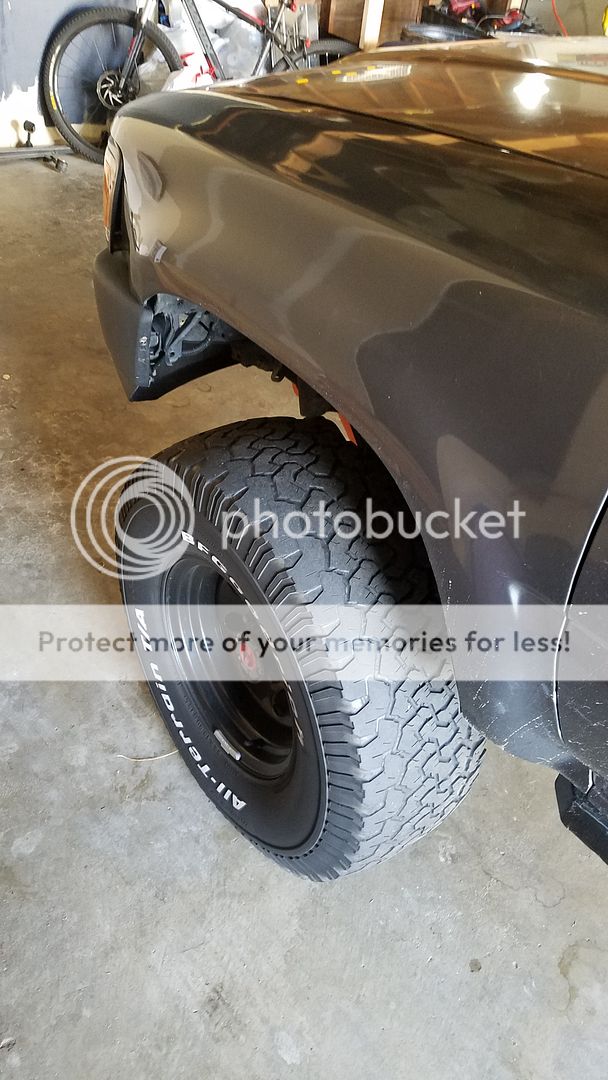
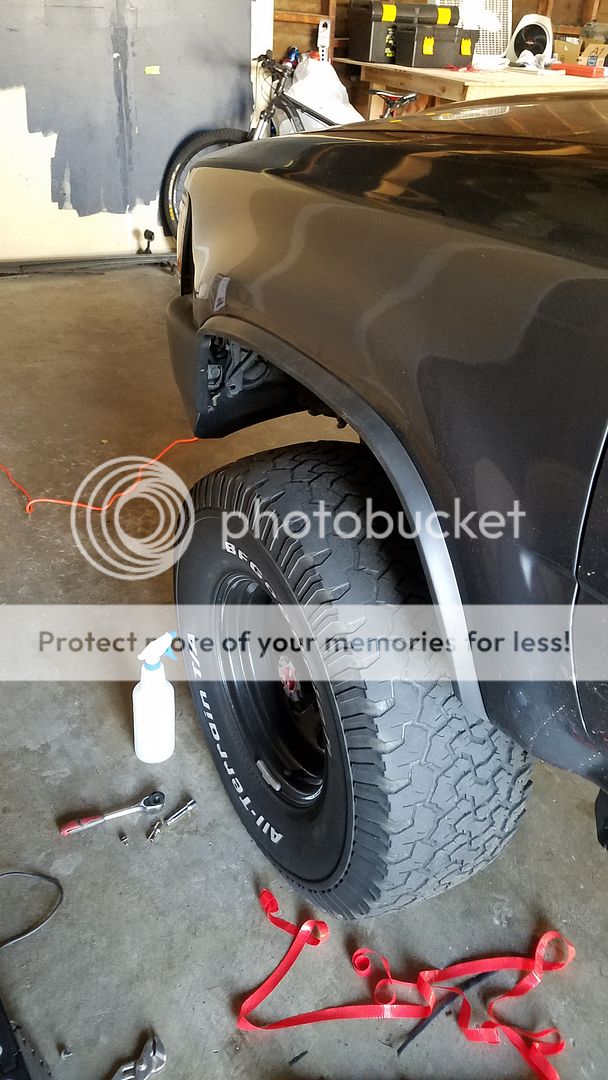
-Installed some "fender flares"
-Finally got a tow hitch installed
-And currently (November 2020) Building a front bumper!!! Which I will be starting a separate build thread for.
Happy Thanksgiving everyone.
Last edited by ztbailey1; 11-26-2020 at 01:00 PM.
The following 2 users liked this post by ztbailey1:
84 yota dude (12-10-2020),
swampedout (11-28-2020)
#18
Rock Slider Update
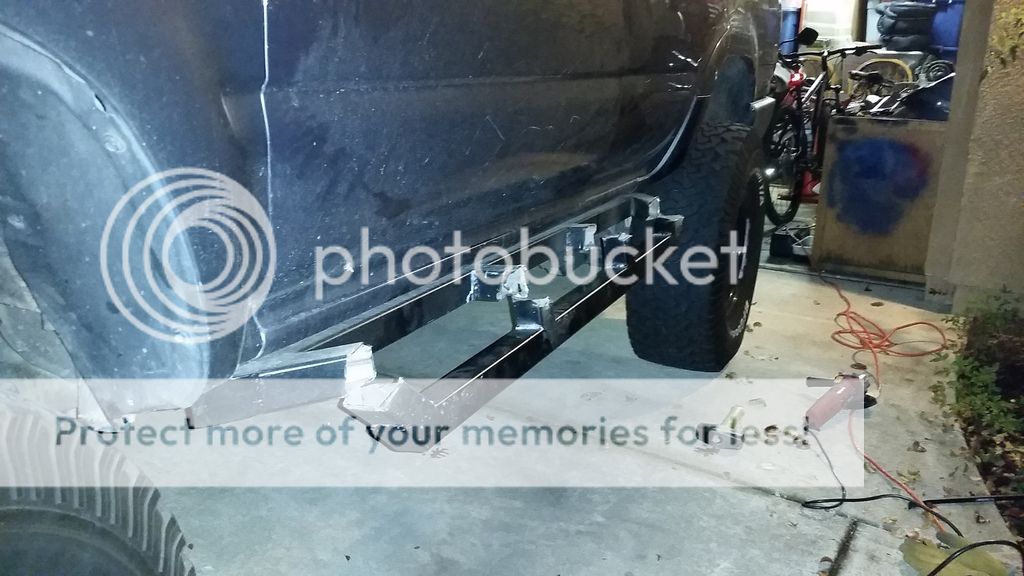
So it looks like back in 2014 when I was working on my sliders I dropped off the face of the earth here and never posted an update. So for the thread (and partially for my own record keeping lol) here are some completed pictures of the sliders I was working on.
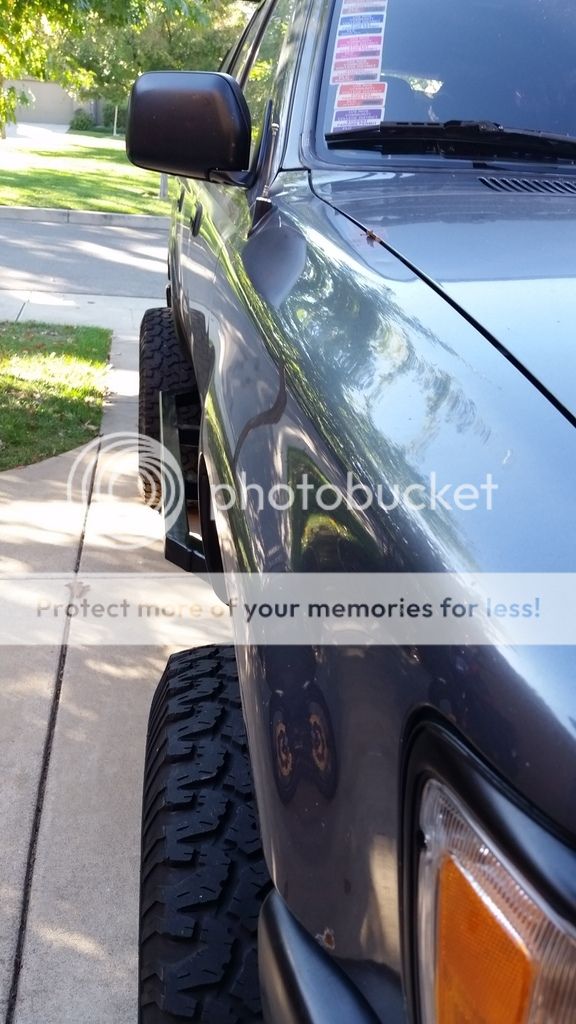
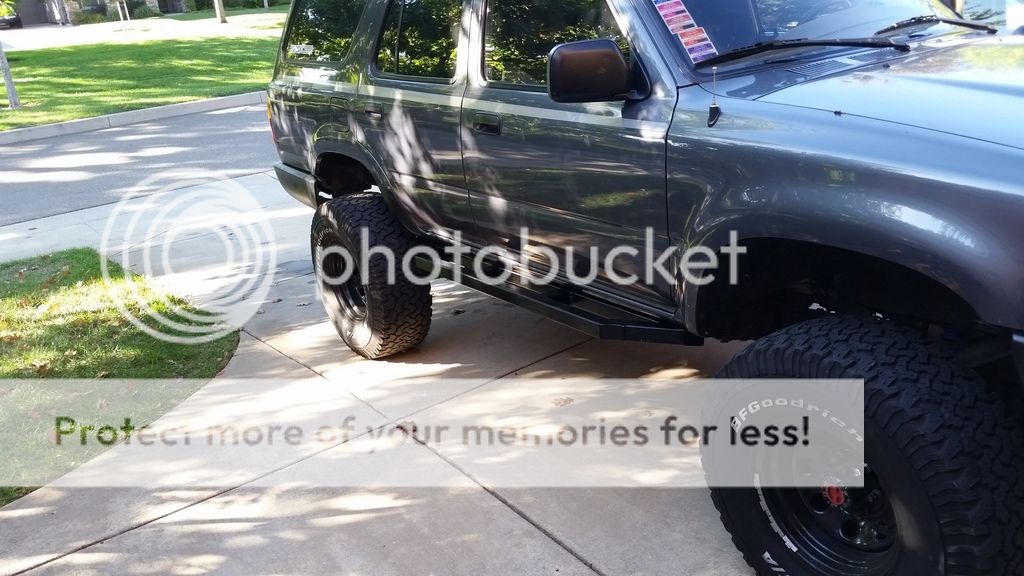
After driving around with these on for awhile though I decided I didn't like all that extra weight, plus they just kind of got in the way of me getting in and out of the truck, so I cut them off:
And this is what they look like now:
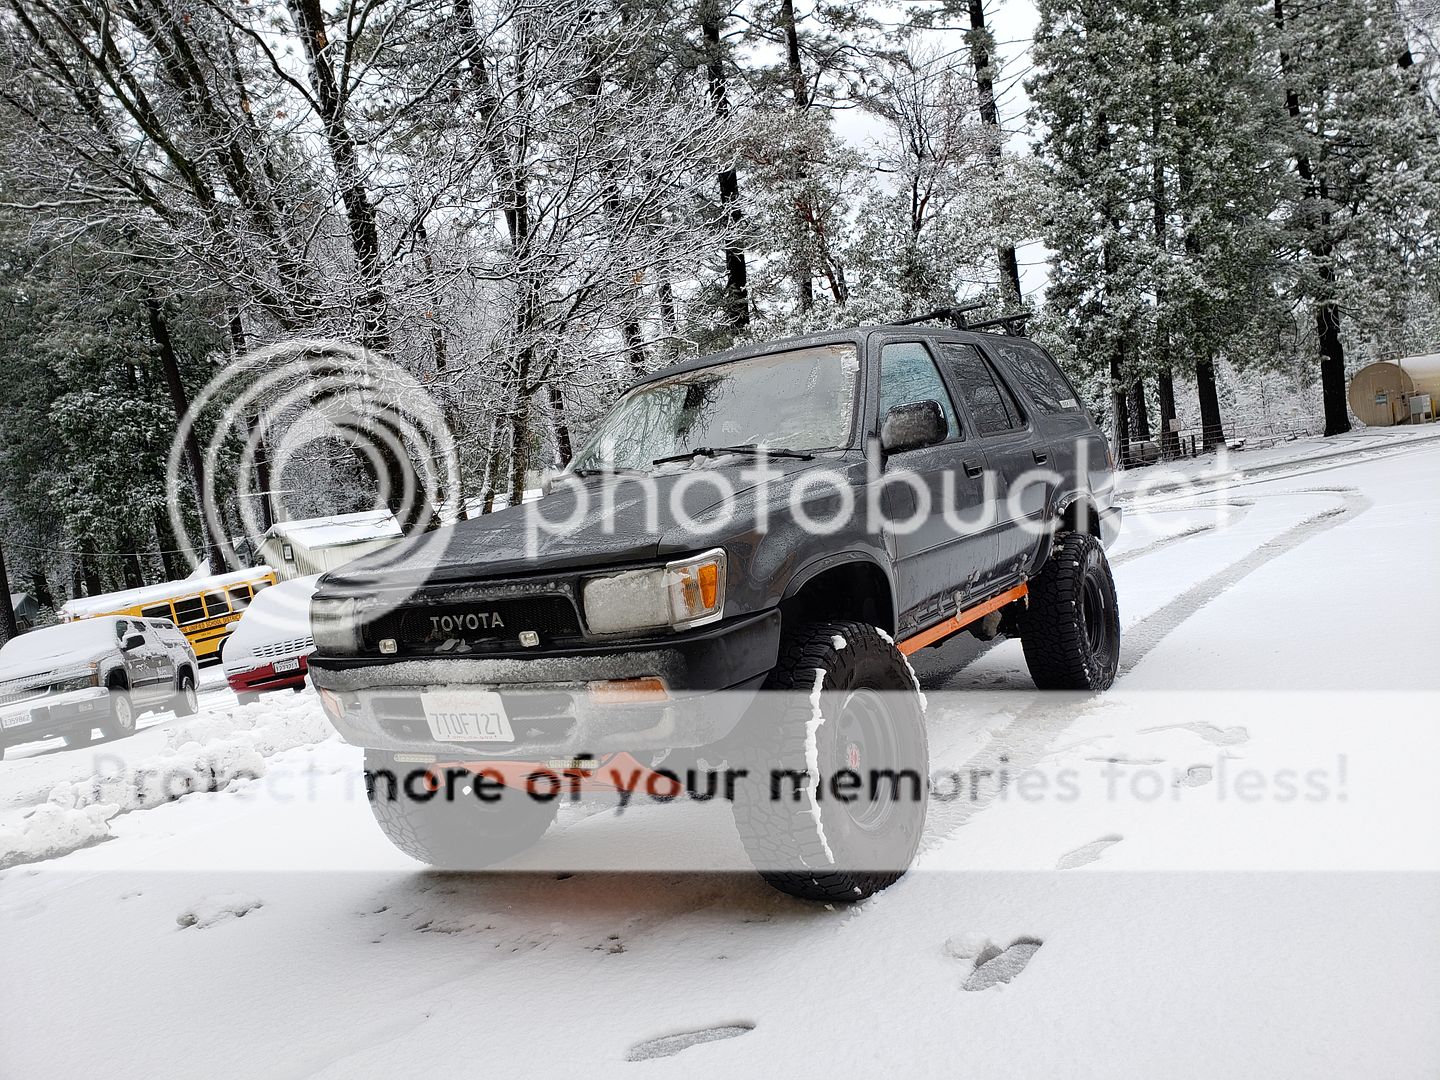


After driving around with these on for awhile though I decided I didn't like all that extra weight, plus they just kind of got in the way of me getting in and out of the truck, so I cut them off:

And this is what they look like now:

#19
Factory Third Brake Light Install
Back in February 2018, I decided I wanted to install a third brake light on the Runner. Well it turns out that even if your rig didn't come with one from the factory, the factory plug is still wired in regardless, so no splicing or wiring work is required. After doing a bit of exploration at a local pick and pull, I found a 2nd gen 4runner that had a factory third brake light. Removal was fairly straightforward; tear off the rear plastic trim inside the cab, the one that has the rear dome light and speakers in it, and unbolt two nuts from studs that are installed in the brake light housing. I also snagged the spoiler at the same time, as it has a different contour built into it to allow visibility of the light.
For install, and the moment of no return, I used a hole saw to drill a hole in the roof big enough for the plug to fit through, and then drilled two more holes for the studs to fit through. There is a rubber gasket built into the housing, but I didn't want to risk any leaks, so I used a substantial amount of black RTV silicone to ensure a complete seal between the housing and the roof. If I remember correctly, the housing was initially tan, but I painted it semi-gloss black. Overall I'm really happy with how it turned out. And now I'm a bit more visible to drivers behind me.
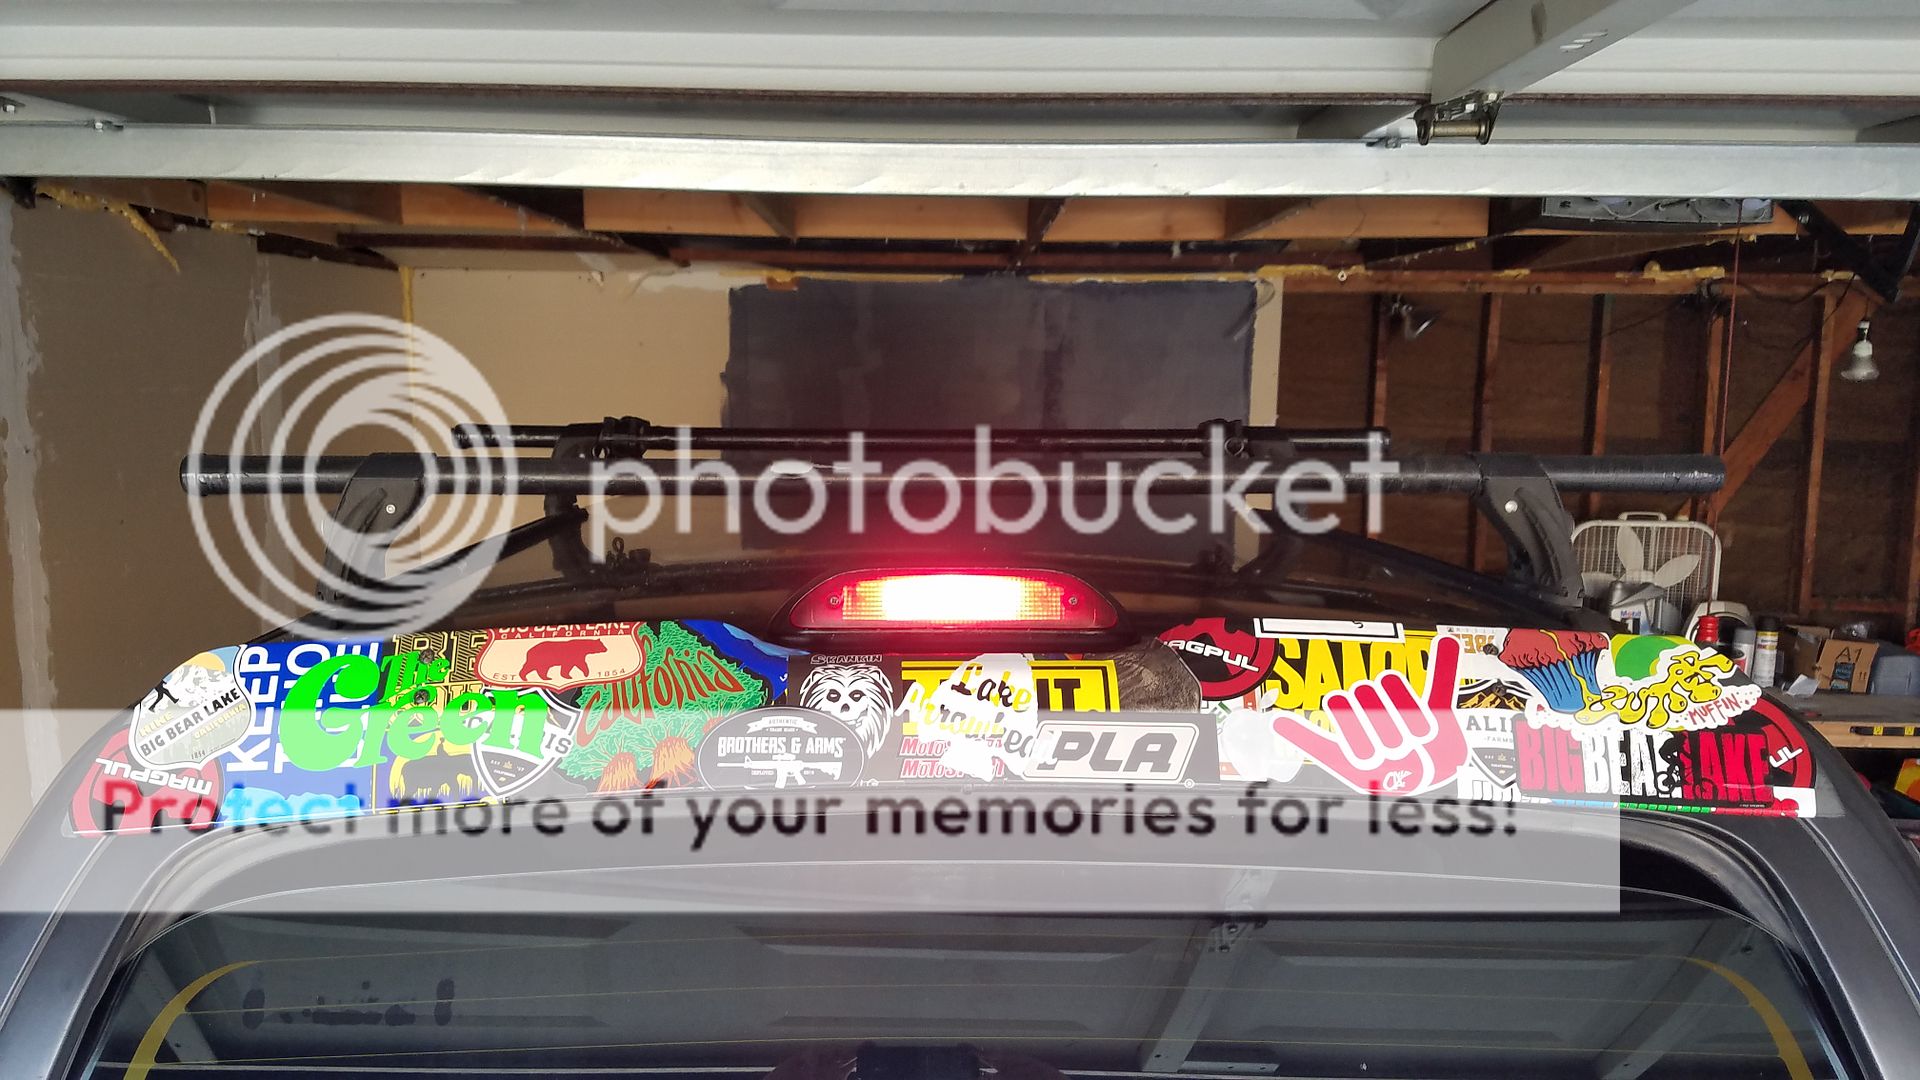
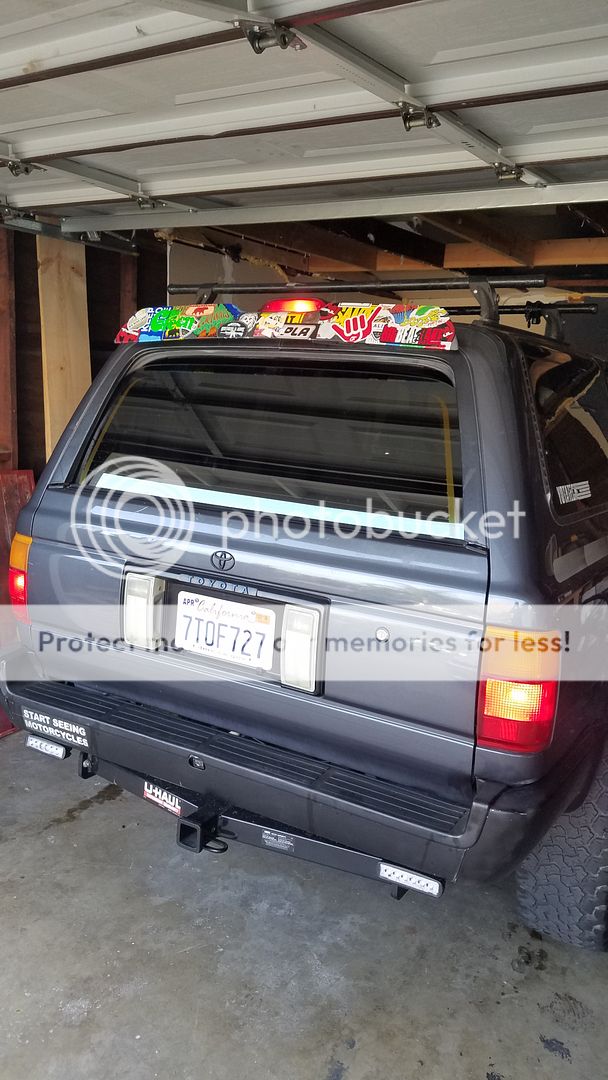
For install, and the moment of no return, I used a hole saw to drill a hole in the roof big enough for the plug to fit through, and then drilled two more holes for the studs to fit through. There is a rubber gasket built into the housing, but I didn't want to risk any leaks, so I used a substantial amount of black RTV silicone to ensure a complete seal between the housing and the roof. If I remember correctly, the housing was initially tan, but I painted it semi-gloss black. Overall I'm really happy with how it turned out. And now I'm a bit more visible to drivers behind me.


#20


