When you click on links to various merchants on this site and make a purchase, this can result in this site earning a commission. Affiliate programs and affiliations include, but are not limited to, the eBay Partner Network.
i picked up an engine in lakewood colorado 3 weeks ago that had a known issue. on the phone via text, the person selling said 22r-e informed me that he was selling it for 100 dollars because he thought a wrist pin was failing. i didnt question him and assumed he didnt know what he was talking about. when i showed up to pick it up, he had it nicely wrapped and only the alternator attached. i wasnt complaining as it appeared he took good care of it. he also had receipts that showed he did some maintenance to it as well. with the mileage he claimed it had to how dirty it was i was slightly confused, but for 100 dollars and a trip to denver i didnt really care. 3 of us man handled the engine into my runner and i was off.
sunday i pulled the original motor and slowly disassembled it. nothing appeared out of the ordinary. today i pulled the clutch apart and noticed it was literally brand new. it said EXEDY on it. im guessing its aftermarket.
today i pulled the pan to see about this 'wrist pin'
here she is
initial awesomeness
connecting rod bearing number 1
main bearing number 1
main bearing 1 crank surface. i can feel alot of differences in the face of it. i dont think its useable. i cannot catch my finger nail on any of it if it matters.
main bearing number 2
main bearing 3
main bearing 4
everything else appears to be fine. ideas? suggestions?
Leaving for Louisiana pretty soon for a sit down so I need to finish this. I got the crank in rod and mains torqued down along with the new oil pan gasket valve cover gasket. I was in the process of installing the motor mounts and some accessories when a guy shows up at my unit asking for some help.
He had a generator wedged between his tool box and the bed of his truck. I was about to jump in the back and shove it over the wheel well when it slipped and smashed my pinky between the bed and the generator. I have no skin or nail now lol.
I also ordered a v8 advanced adapter kit for the w56. Motor mounts and the wiring is all I'm lacking now.
so the last few weeks gizler and i have been working on this. since i dont have an imageshack account i cant access all the original pictures so ill need to get those back. so heres whats going on with it right now.
the rest of the pictures are on my phone which is currently dead. when it turns back on ill upload the rest. so far i have everything except the frame tubes/shocks and it will be complete. i am extremely excited to be driving this after having it in storage the past 3-4 years.
everything cut and ground down. torch skill is key in this situation as the amount of grinding will really give you a workout. i had some of the kids practice with the torch as well.
a few gouges, maybe a hole or two. a few spot welds and its good as new
same with the passenger side
more welding
and more welding
so after all the cutting and grinding we decided to keep the motor mounts and box them. i found some scrap steel around and started on the passenger side
looking good
looking better
all done. driver side i have chopped off but havent boxed in yet.
ordered and received the frame tube kit greaseable bolts for the shackles and 2.5in shackles. awhile ago i picked up the rear springs to put up front along with a front hanger and ford truck shock mounts. im only missing the flat pitman to make it all work.
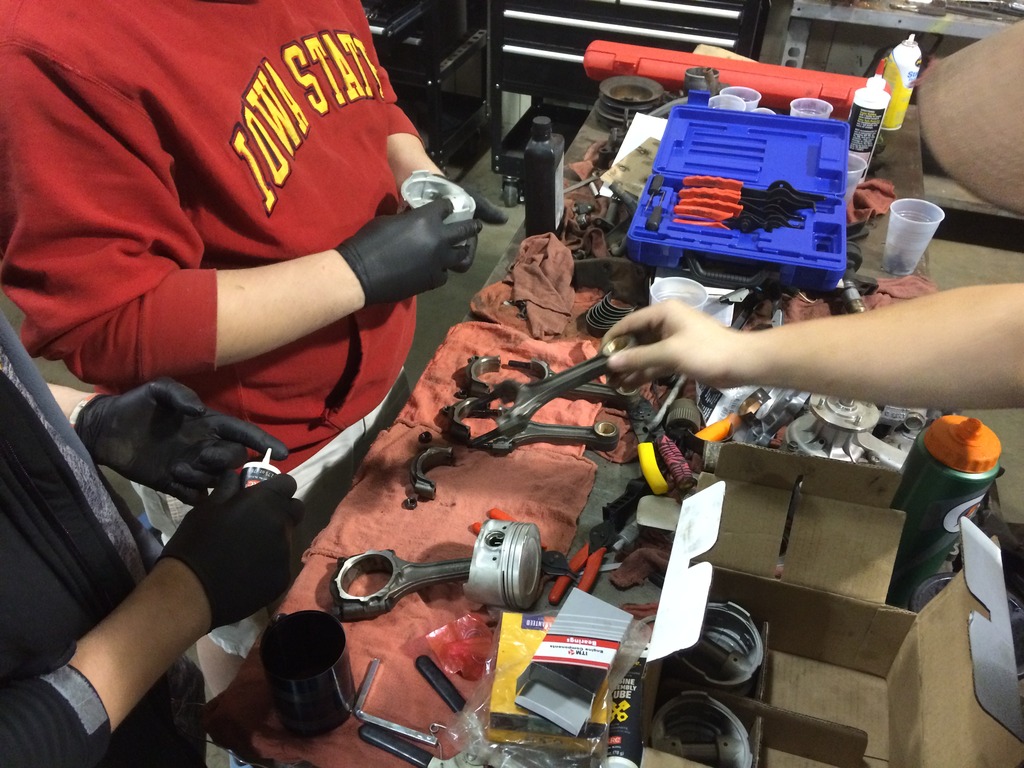
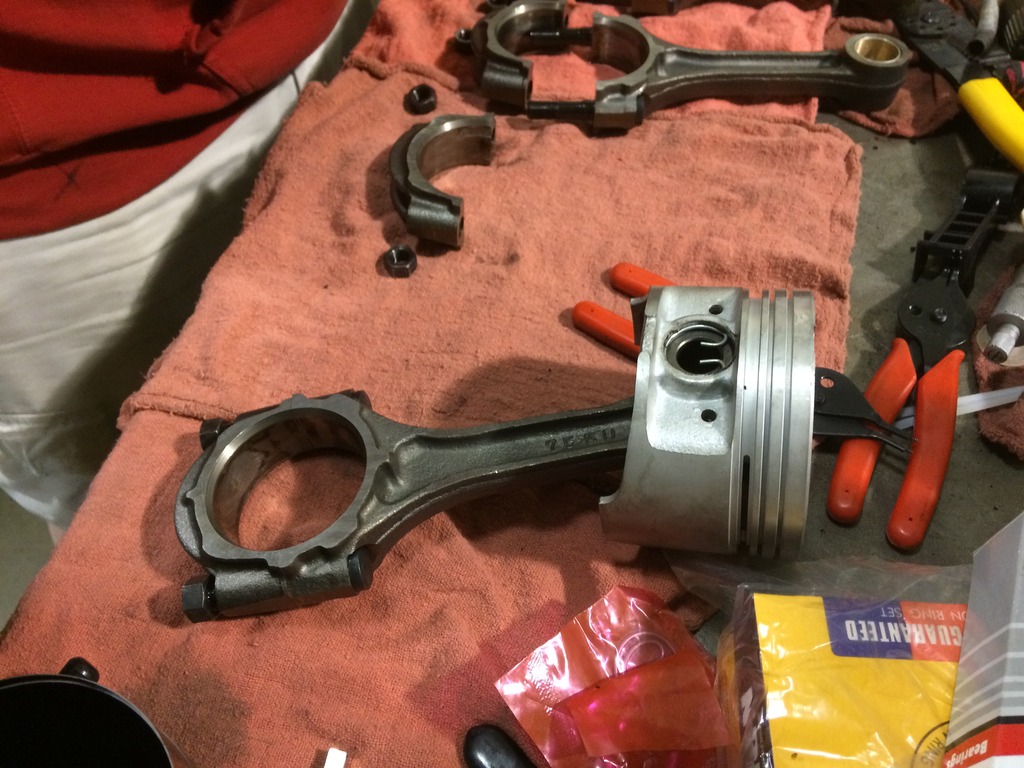
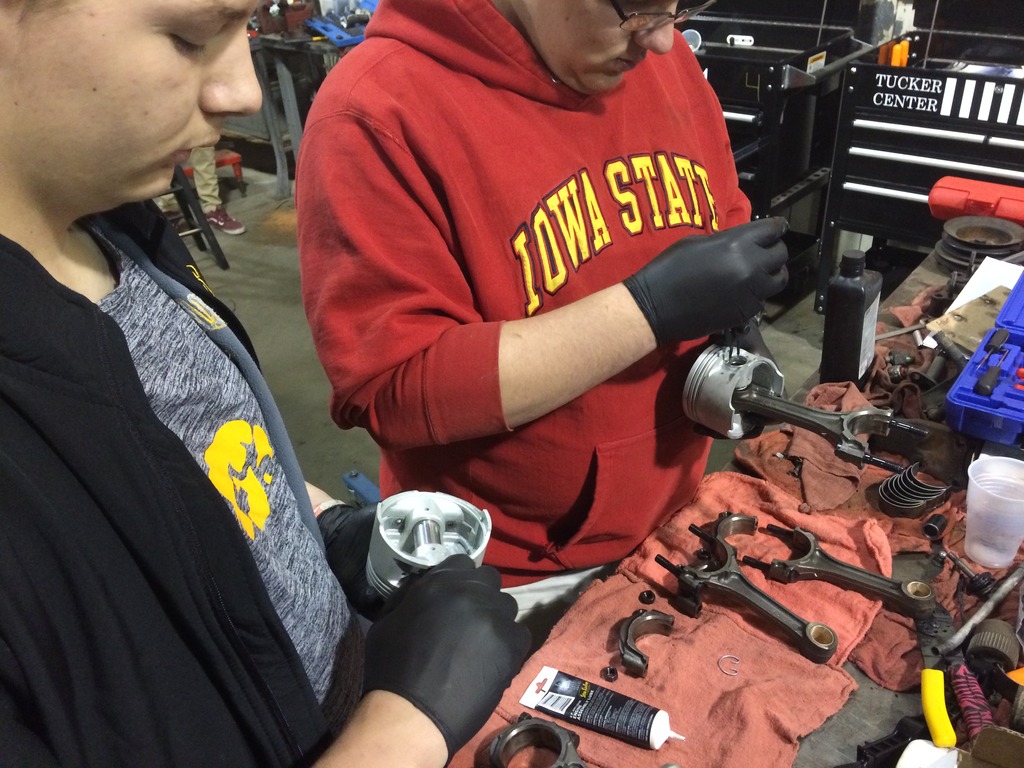
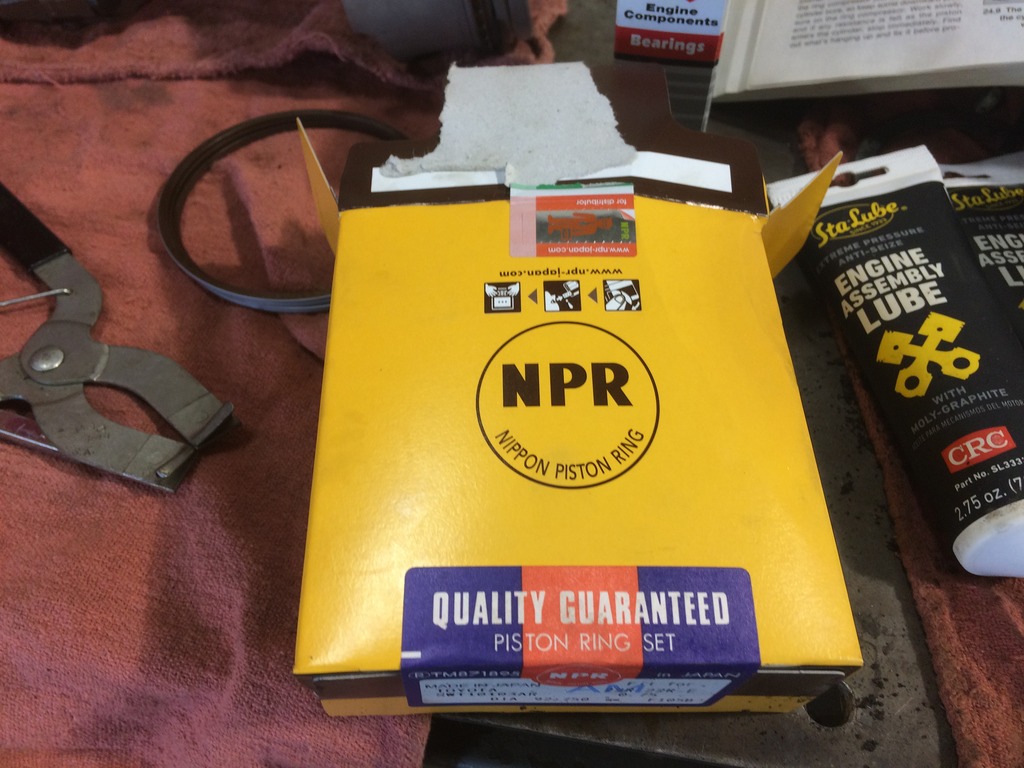
yesterday we started assembling the motor and hit a bump almost immediately. since the engine was bored 30 over we had to remove the connecting rods from the old pistons. a few different deep well sockets we were able to push the wrist pins and bushings out. installed the new bushings and our snag was the wrist pin/bushing clearence. we were using an arbor to push everything out and to install the new stuff. pushing the wrist pins through the piston was fine but half way through the rod it just locked up. stopped on that one and tried the 2nd one.....same thing. did some reading and found that sometimes the bushings need to be clearenced for the wrist pin. after some measuring with a mic we were two hundredths off. we took everything back to the machinist to be fixed so hopefully when i come back tuesday it will all be good.
huge thanks to mark aka gizler00 for the space and equipment to do all this because without him i would still be putting this project off. its nice to have someone with this much knowledge and having a question can be answered or figured out very easily.
i guess i can post one picture. monday night/tuesday morning at a small local bar they had a show in town that a friend and i got alittle intoxicated and decided to take it out on snapchat. he had his safety glasses on so we were good.
Looks like you have been getting quite a bit done. It does help having someone that can get you over the hump. Something that might be a minute for them could be forever for the next guy. Ouch on the finger. I have used aersol to get some fires going in the shop stove, makes quick work of it, lol
Tuesday we should have the motor assembled or close to it. After that either move on to finishing the axle or clean out the engine bay and install the motor. Fingers crossed it's done by the end of the month or may.
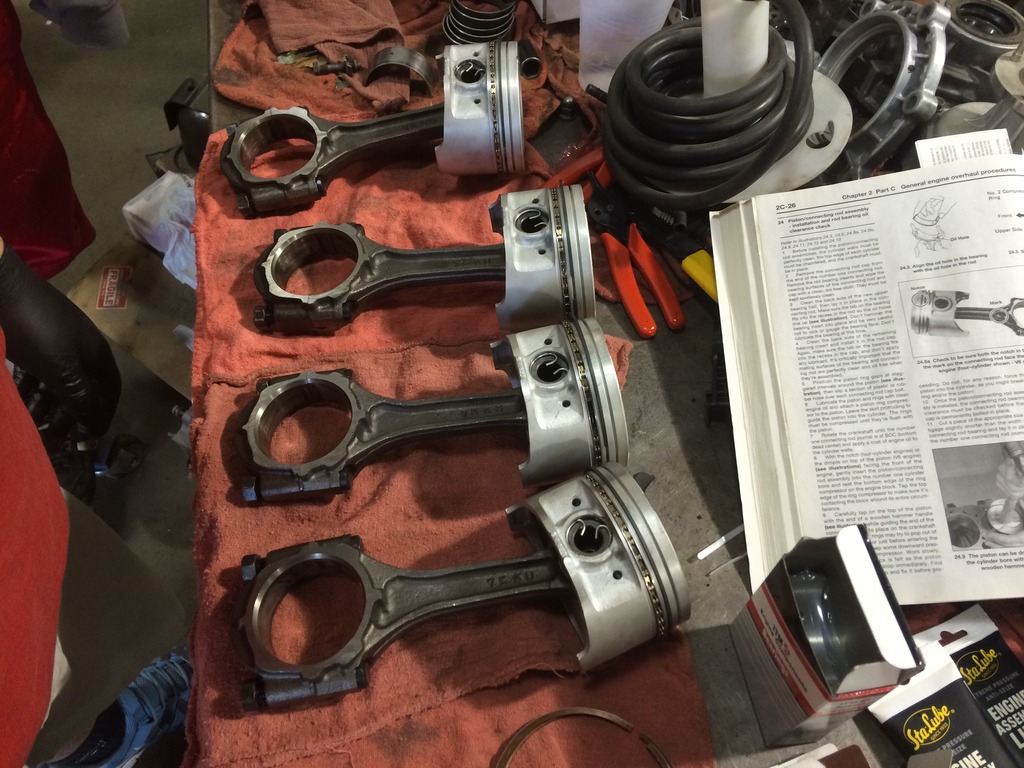
Ahead of schedule with the Engine. We started to assemble it last week and ran into an issue with one Rod. It would not compress the plastigauge at all, and another rod would lock the crank when torqued down.
So I quickly figured out that two caps were mixed up on the rods. Got that all sorted out and all the rod clearance is 1-2 thousandths. So all good.
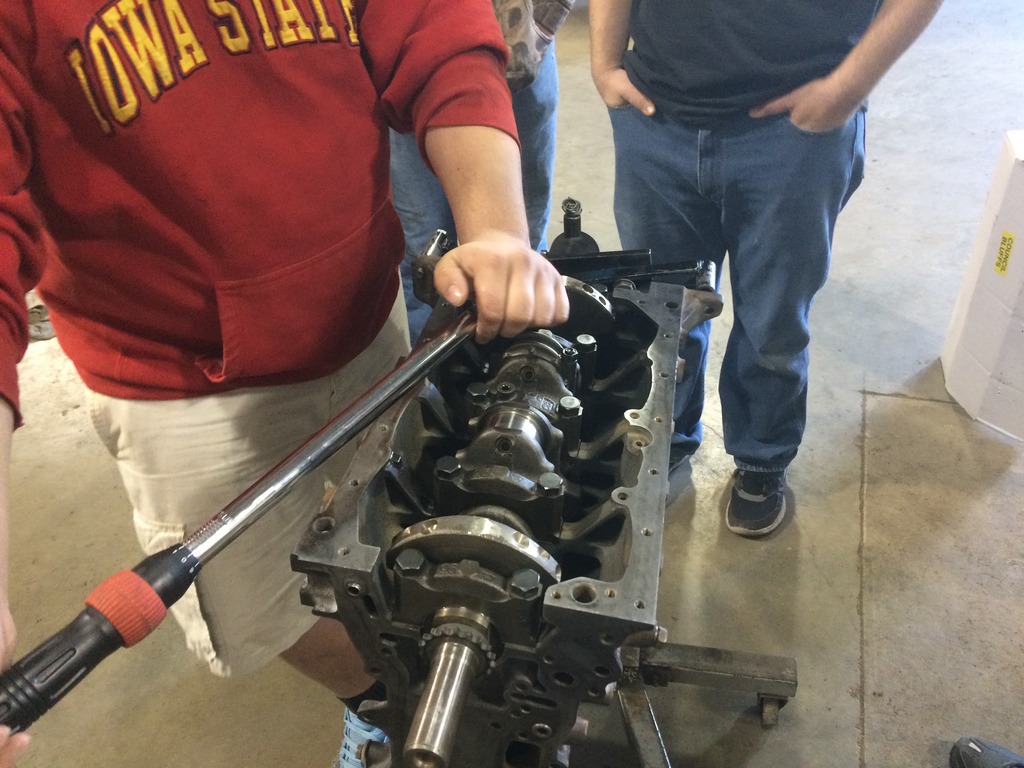
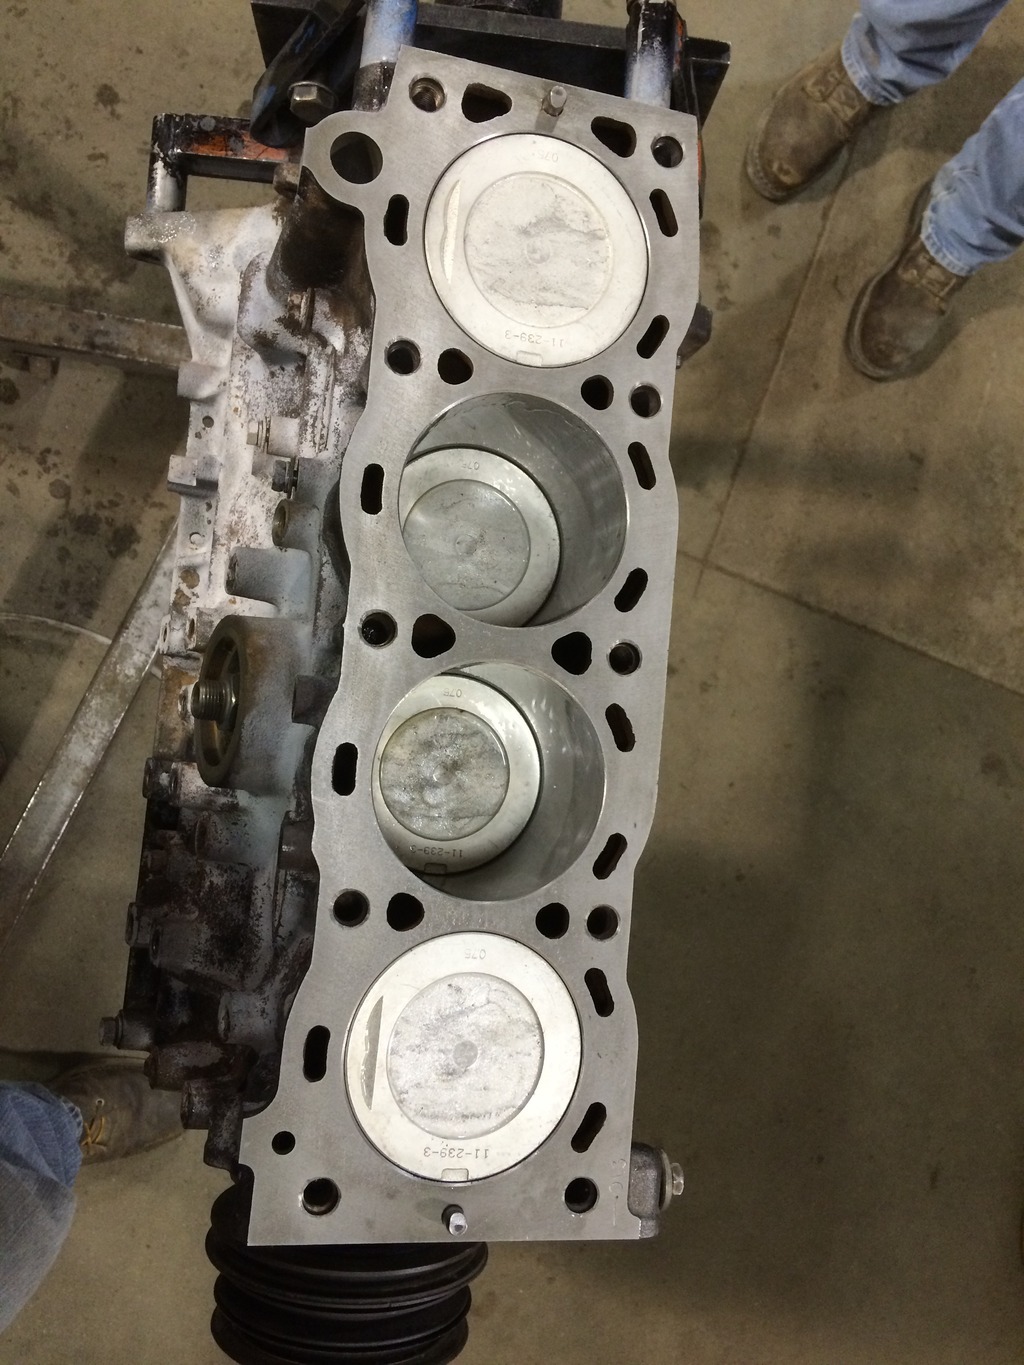
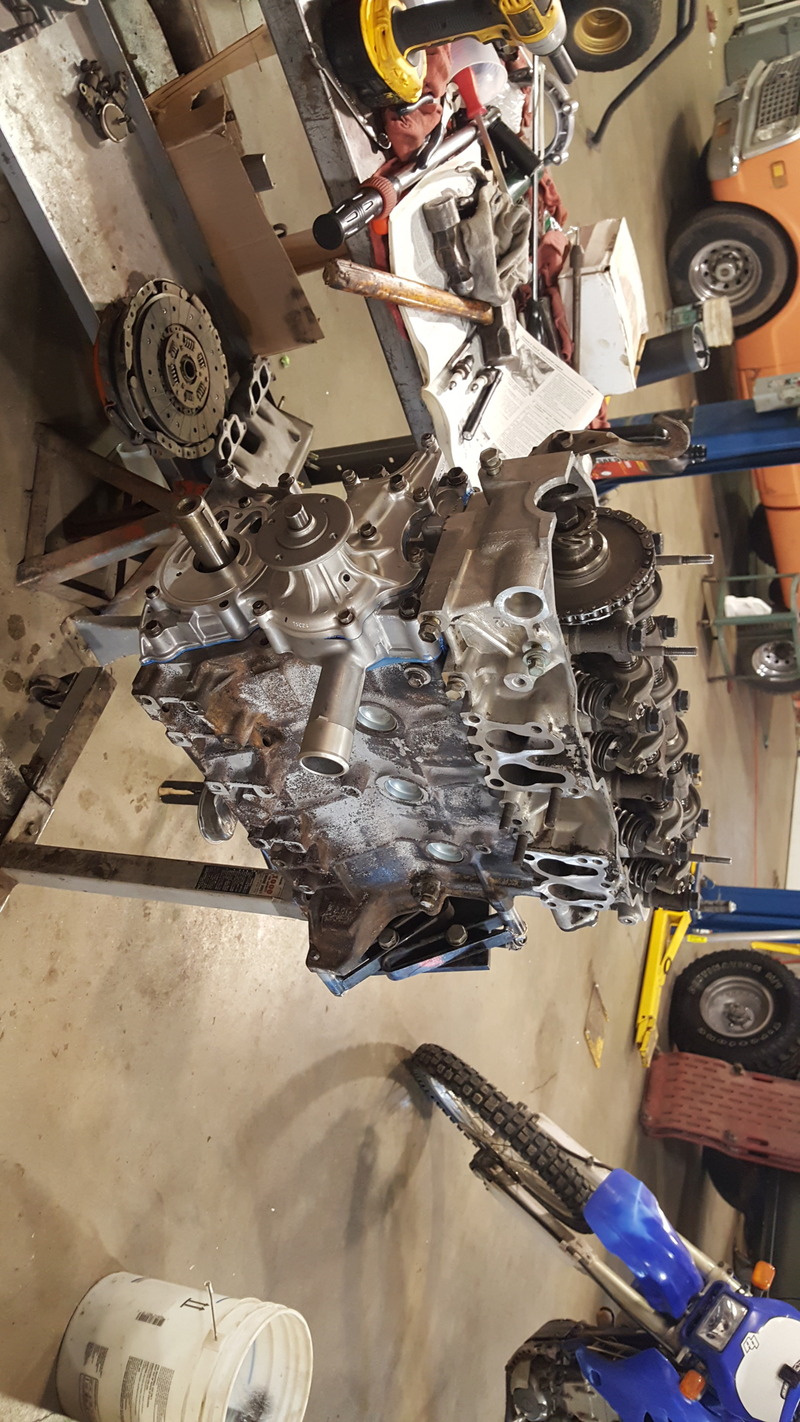
Went up yesterday and today to work on the motor. Got a majority of it assembled and torqued down. Oil pump is on but here's what it looks like.
Had a weird issue with the timing chain. Cam gear would absolutely not go on. With no tensioner or chain guides it would go. Found a timing chain I had bought back in 2013 that must of been correct or slightly looser that slid on. Kinda weird.
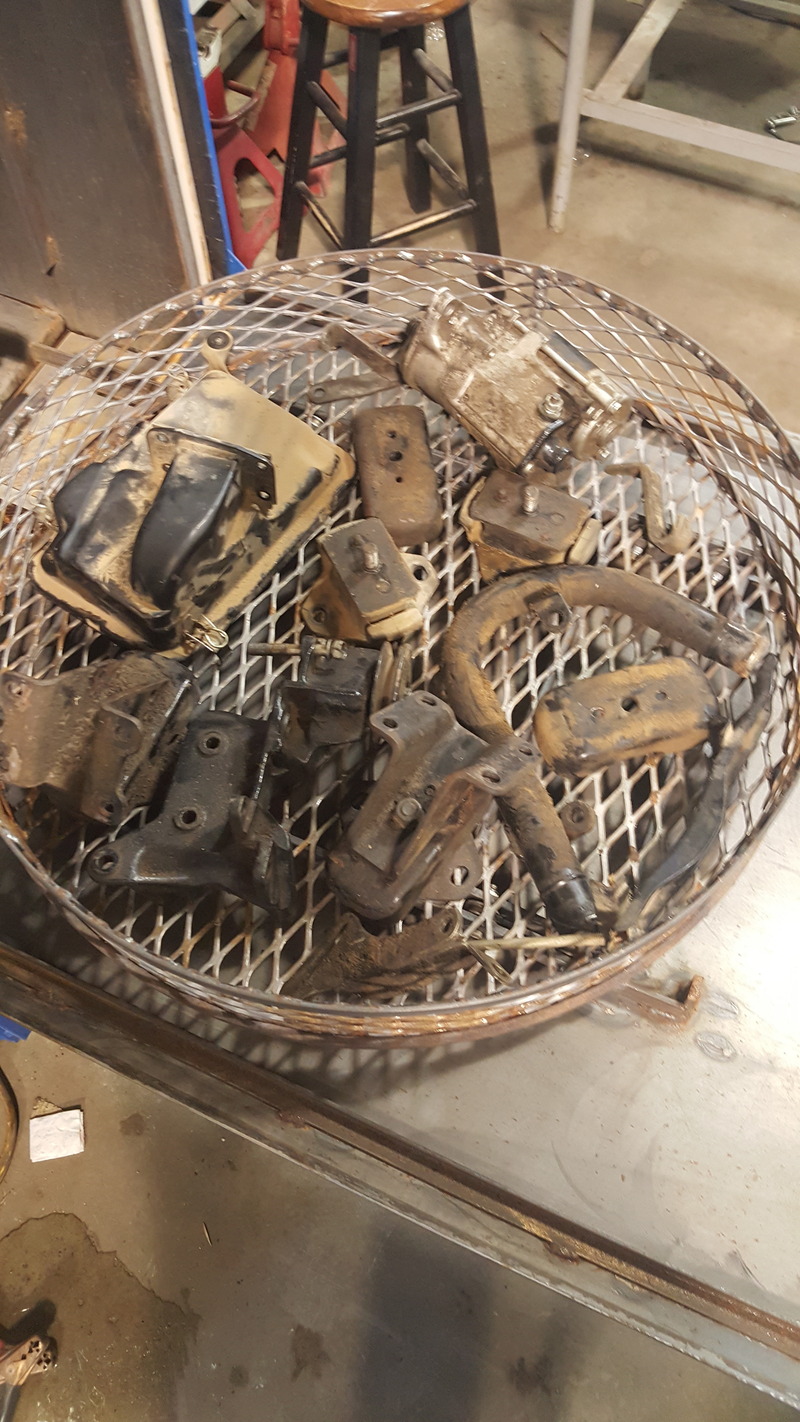
I'll have to take a picture of the parts after cleaning them but they all turned out looking new. This parts cleaner would pay for itself in no time with what I've put through it. So low maintenance and easy to use.
Went up yesterday and today to work on the motor. Got a majority of it assembled and torqued down. Oil pump is on but here's what it looks like.
Had a weird issue with the timing chain. Cam gear would absolutely not go on. With no tensioner or chain guides it would go. Found a timing chain I had bought back in 2013 that must of been correct or slightly looser that slid on. Kinda weird.
I'll have to take a picture of the parts after cleaning them but they all turned out looking new. This parts cleaner would pay for itself in no time with what I've put through it. So low maintenance and easy to use.
Spot on with the parts washer! It's an amazing tool.
I still get excited when I hear a new motor start up, I can only imagine what the kids are going to think when they see a bunch of parts, nuts and bolts make a noise for the first time. I am sure this will be some of thems first experience.

 07-31-2013, 06:35 PM