When you click on links to various merchants on this site and make a purchase, this can result in this site earning a commission. Affiliate programs and affiliations include, but are not limited to, the eBay Partner Network.
Well, I've been on here for a while and been looking and reading and even though I don't really have the time or patience to document my ground up build I thought I'd at least put some pics up I started in Feb this year here's some pics of where I am now
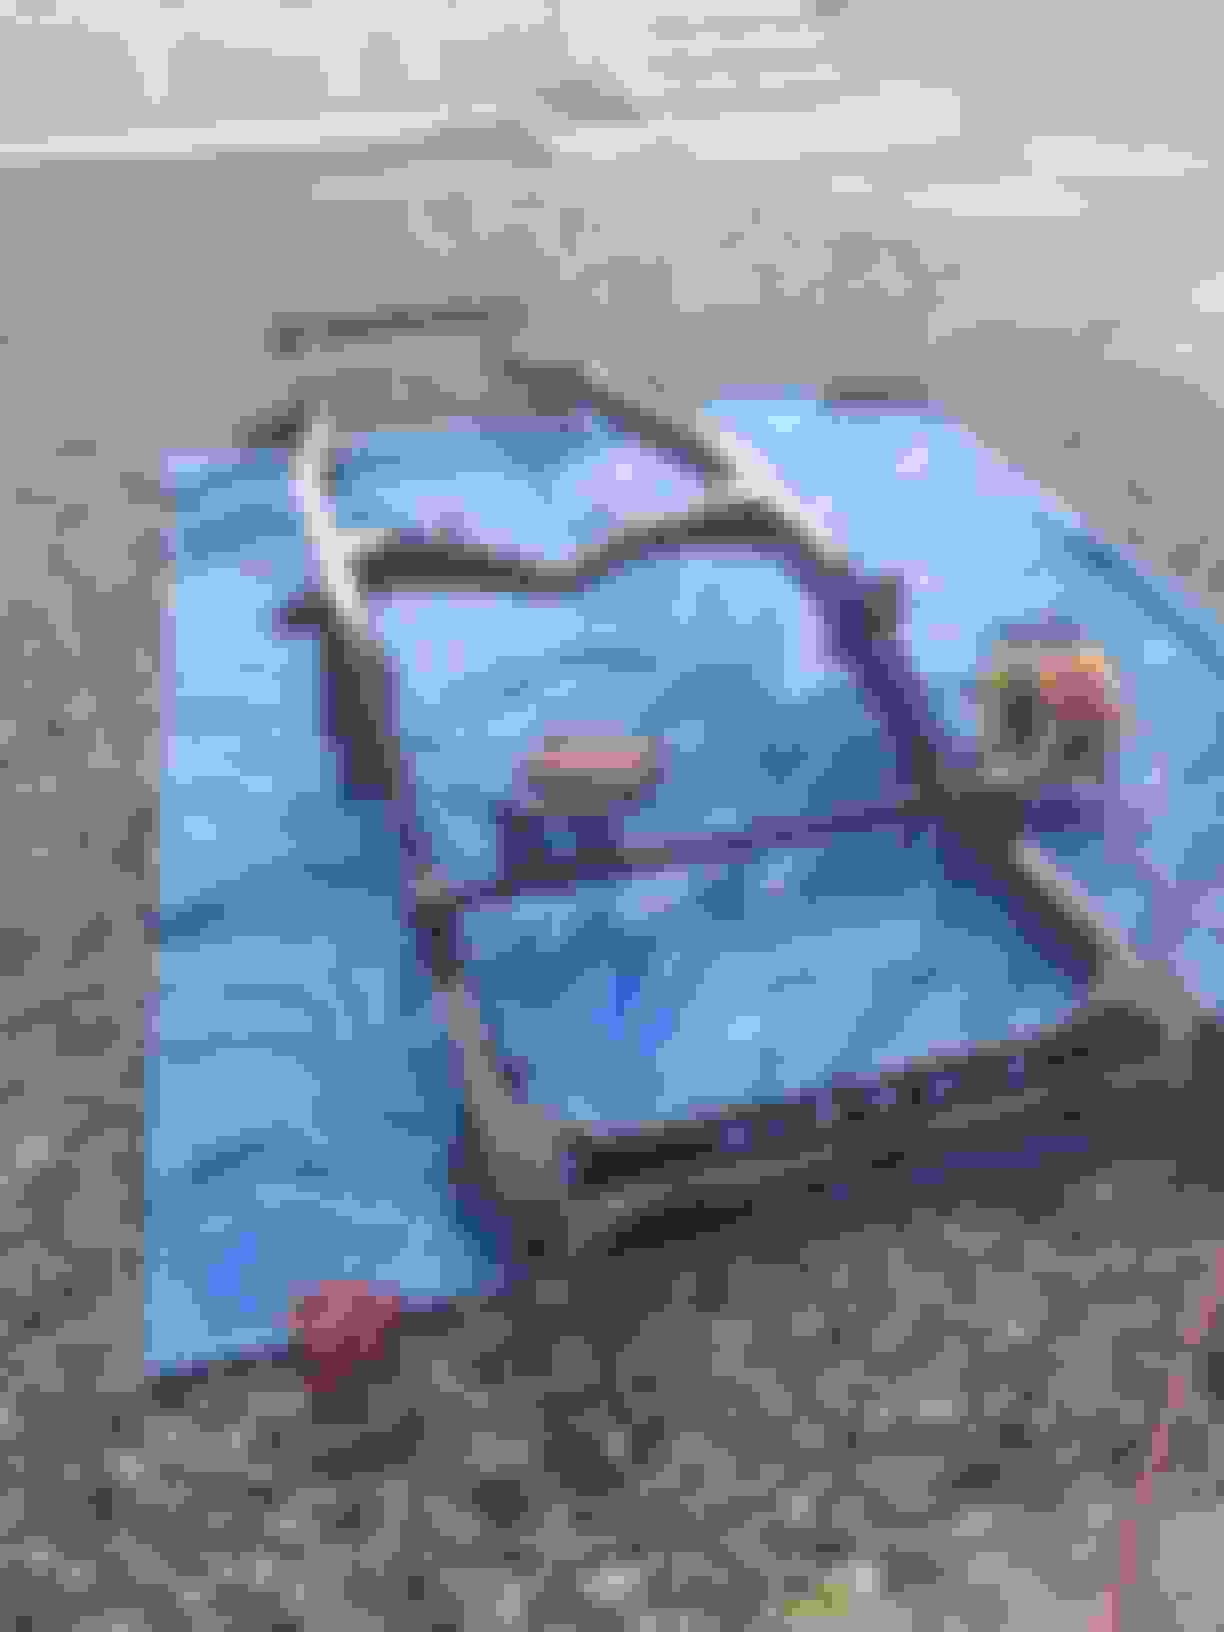
After powder coating and a few days later a rolling frame, completely rebuilt solid axle and rear end
Got to work on it today, added the brake lines and 1 gas line and the LSPV
Then I put on the tranny mount just to get it out of the way, and mounted the steering box
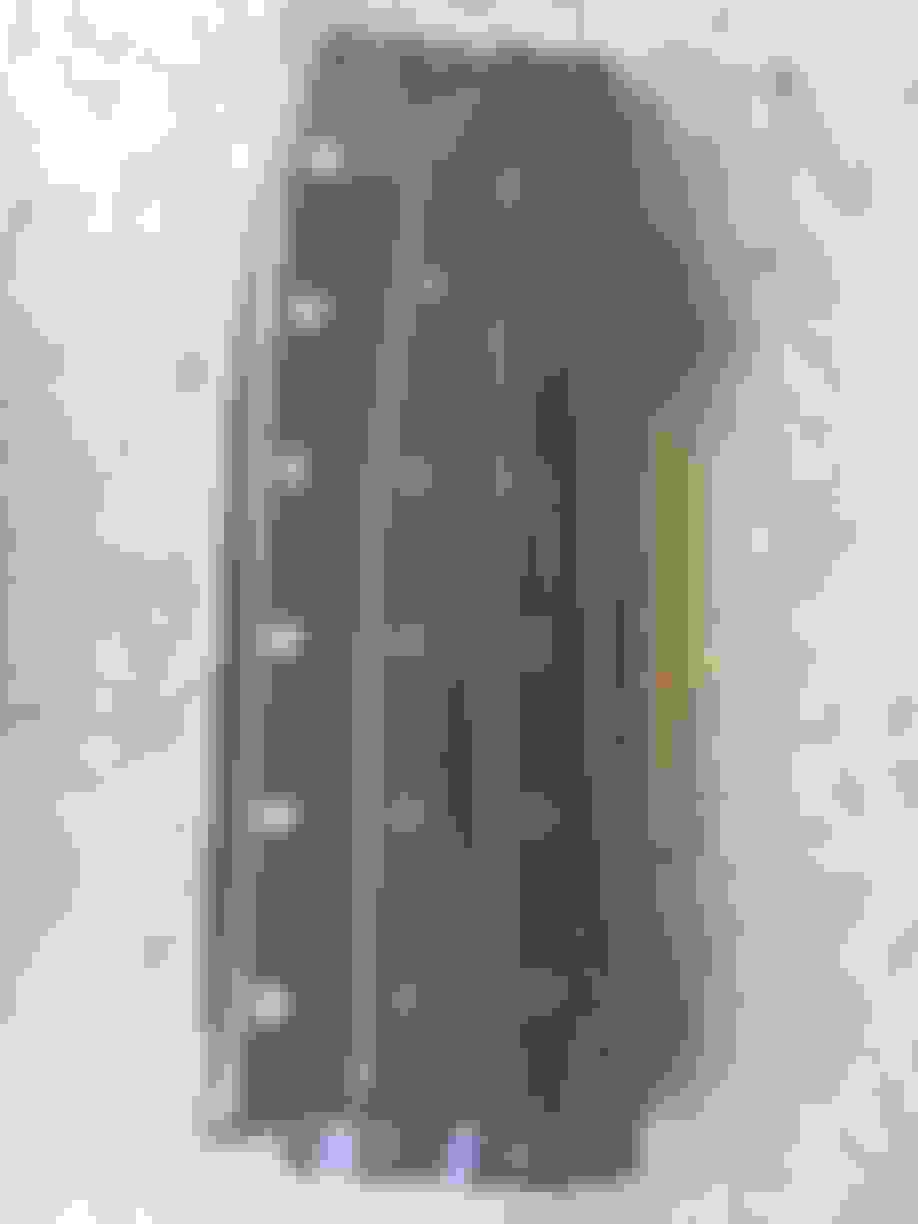
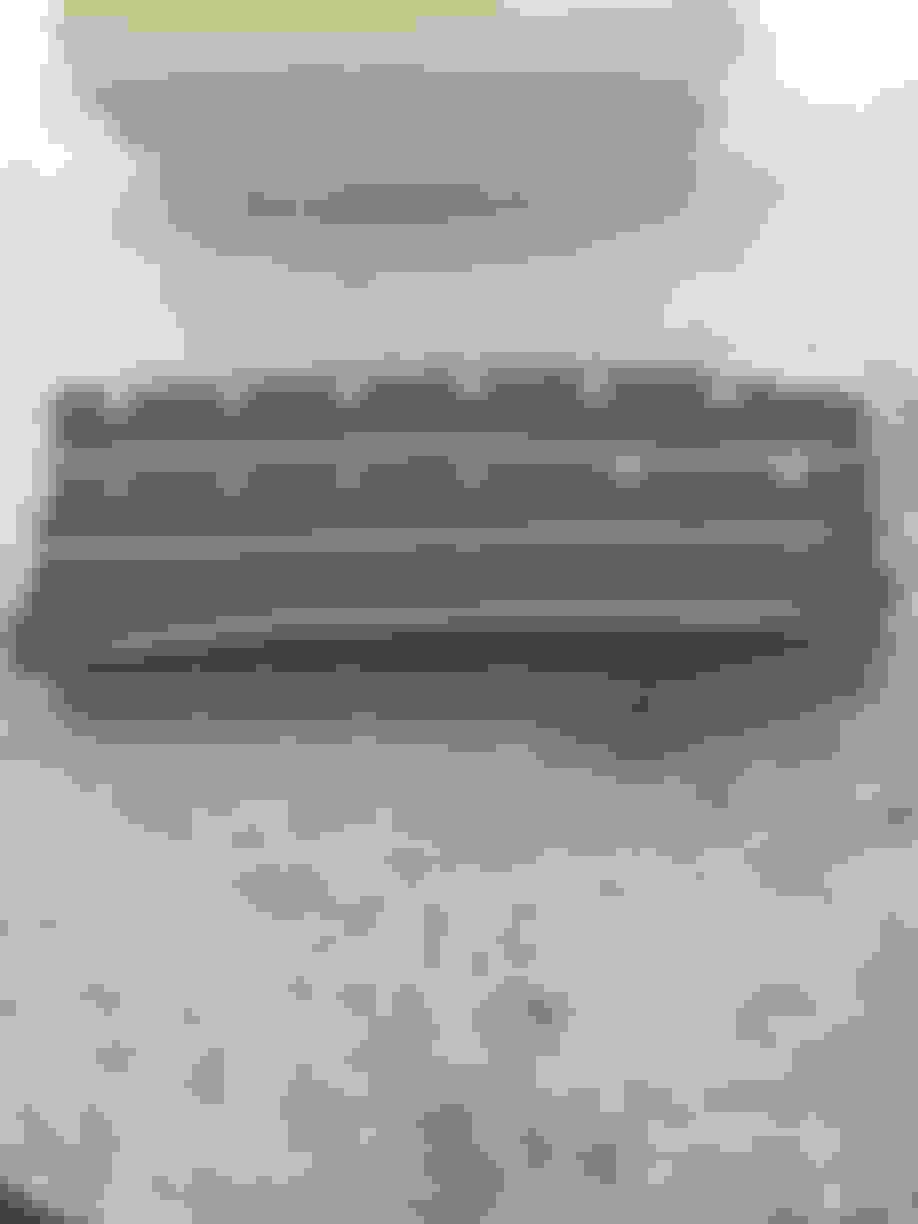
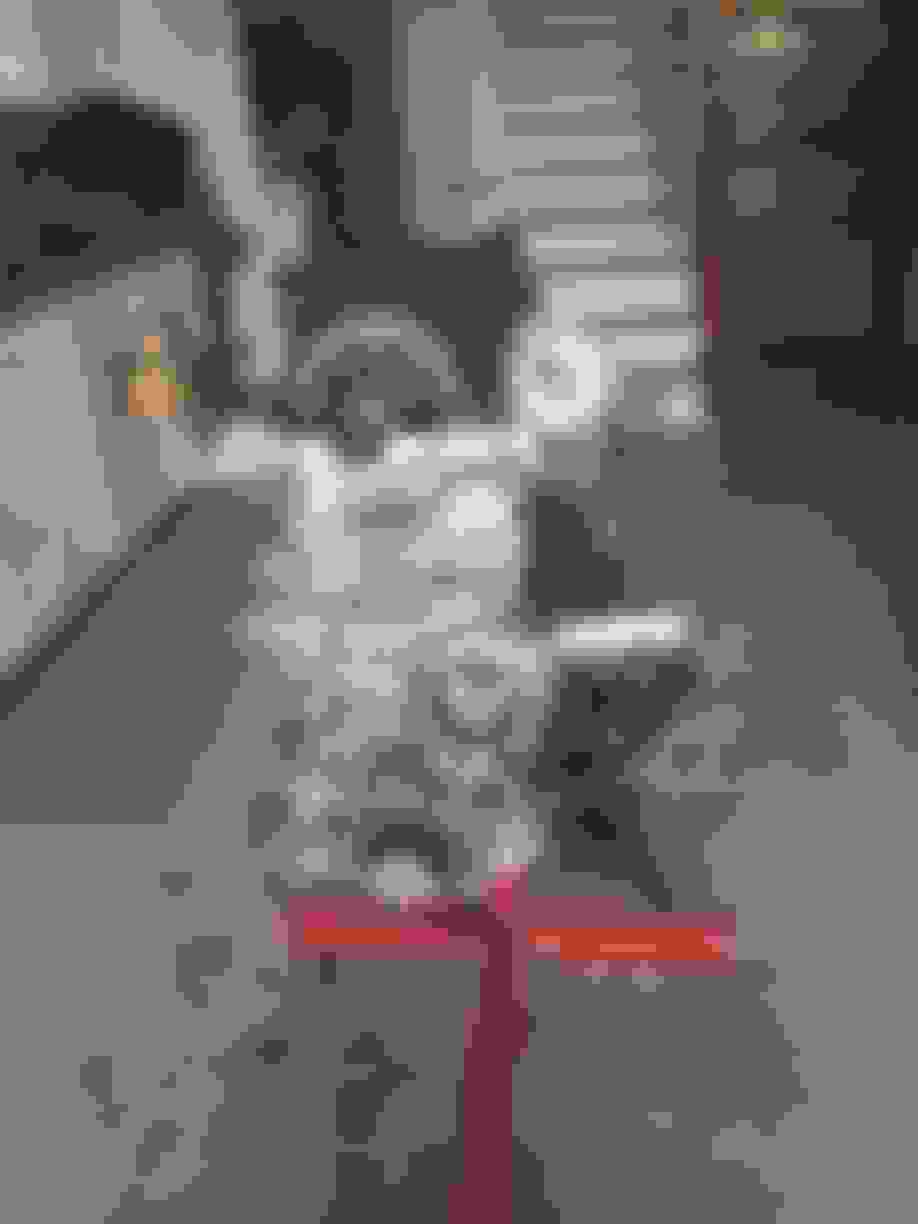
Skid plates back from powder coating
And the gas tank
And then i installed them
All in all a pretty good day
I have a new gas filter and new hose somewhere..................somewhere.............. .I'll find it when I'm not looking for it
Last edited by NYHumpinUtah; 05-04-2018 at 05:26 PM.
No, I just "sandblasted it" Amazing how rubber comes out when you sandblast it. I did the rubber under front fender pieces and they look brand new. I'll take some pics tomorrow. There is also the same rubber skirting underneath the bed, I'll do those as well.
Today I cleaned up a bit and started the engine rebuild. I did the mains and the rods with plastigage and all were within .0015 and .002 clearance, so far so good.Waiting on a dial bore gage to "double check" my machine shop guy who I don't trust anymore.
It's all good, no rush, and I will take my time on the engine.
Last edited by NYHumpinUtah; 05-05-2018 at 05:47 PM.
Humm
I'll have to look at that tomorrow, I didn't think I had a problem...................
I know the frame shackle bolt came close but that's not a moving part.
Well, I checked it out today and it does clear, not by much but it is a good 6" from the gas tank. I will however turn the bolt around so the nut is on the outside.
Last edited by NYHumpinUtah; 05-07-2018 at 07:48 PM.
After procrastinating for a few hours I finally put the engine together, oil pump. water pump, timing chain cover, timing chain and head.........sure hope I didn't forget anything............. Oh, and I set the intake and exhaust valves .008 and .012 Put the distributor in and the fuel pump while I was at it
I also put the oil sender(s) in and the coolant drain plug
Tomorrow the intake side.

 04-29-2018, 04:47 PM