
Live4soccer7's Build / WIP Thread - 84runner


 01-17-2013, 06:27 PM
#64
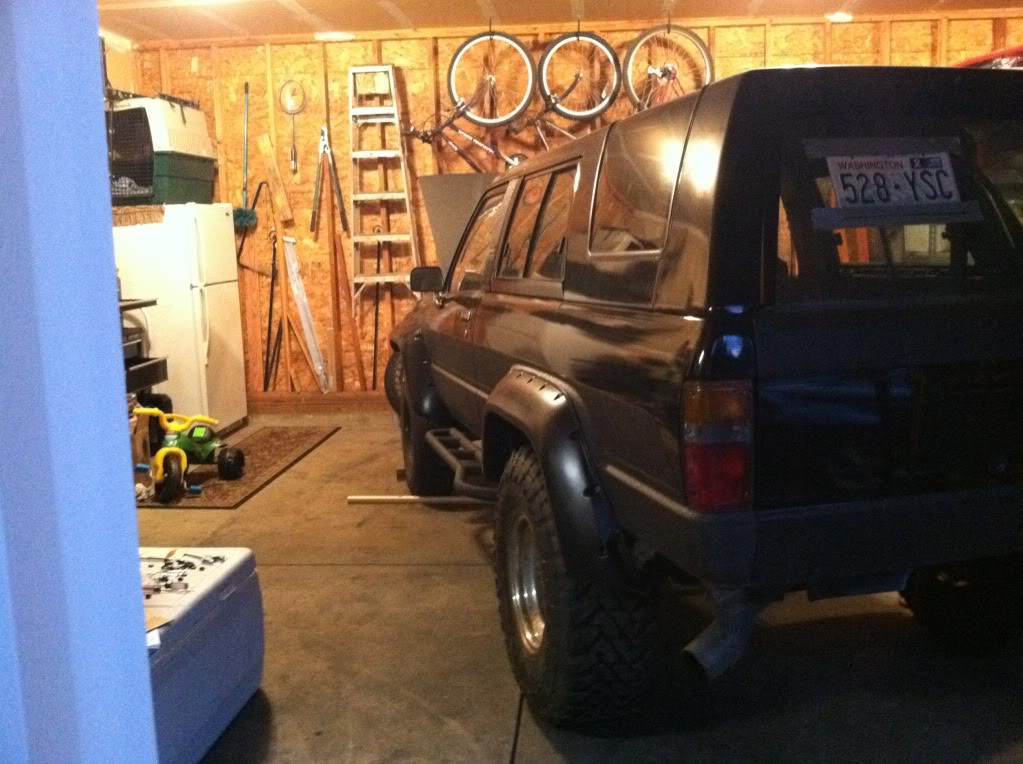
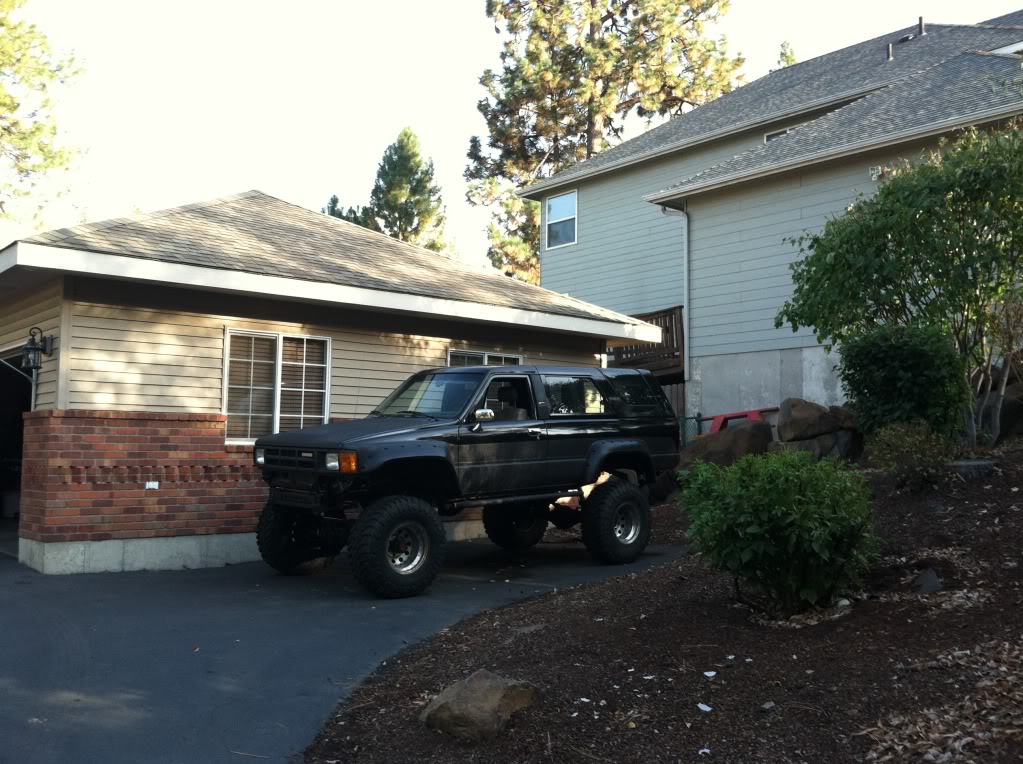
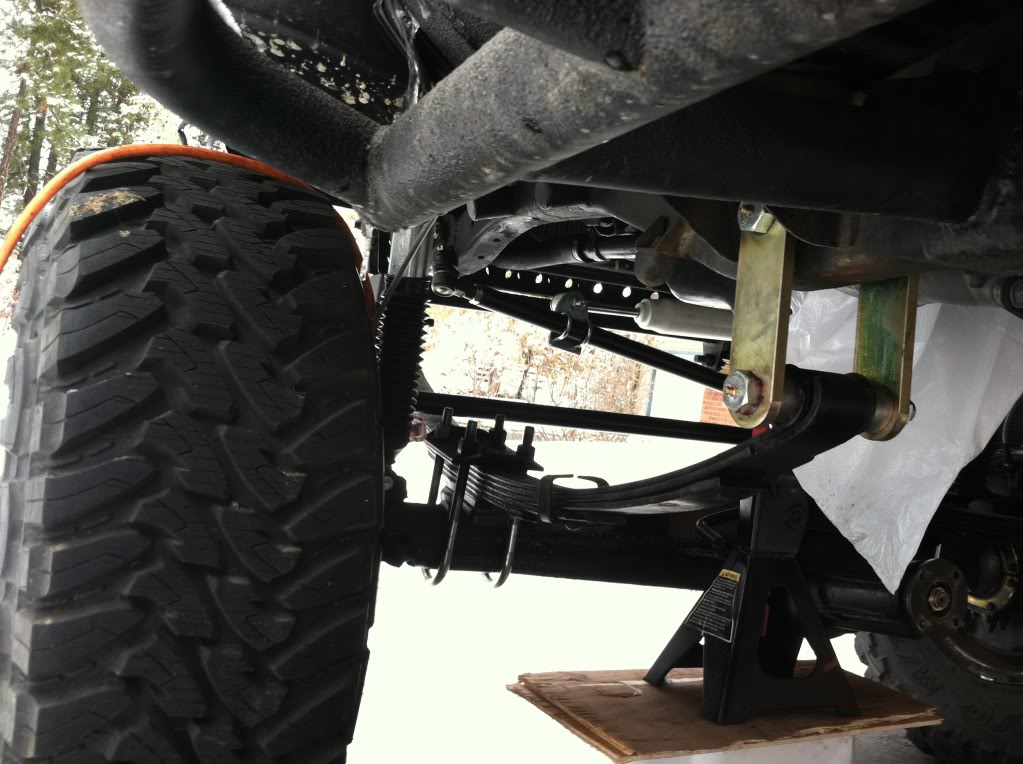
Finally!! on to the lift. I don't have a ton of photos because it was put up in a fury. Me and a friend put it on in a couple days, then it sat for a little until I finished the cross over high steer.


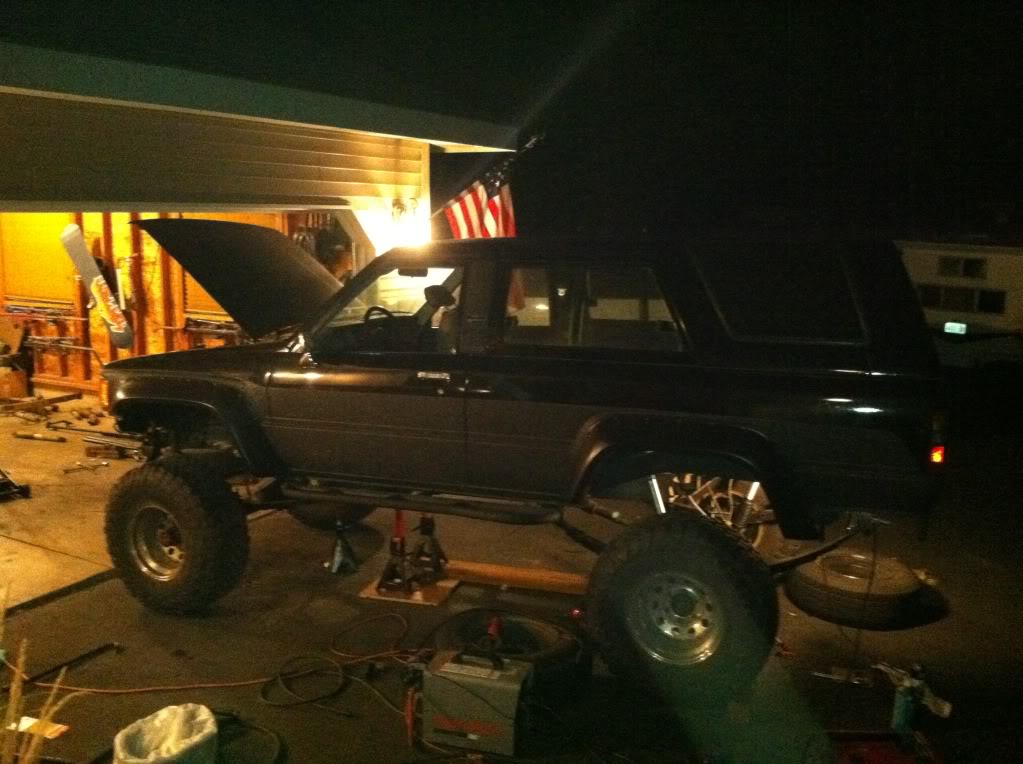
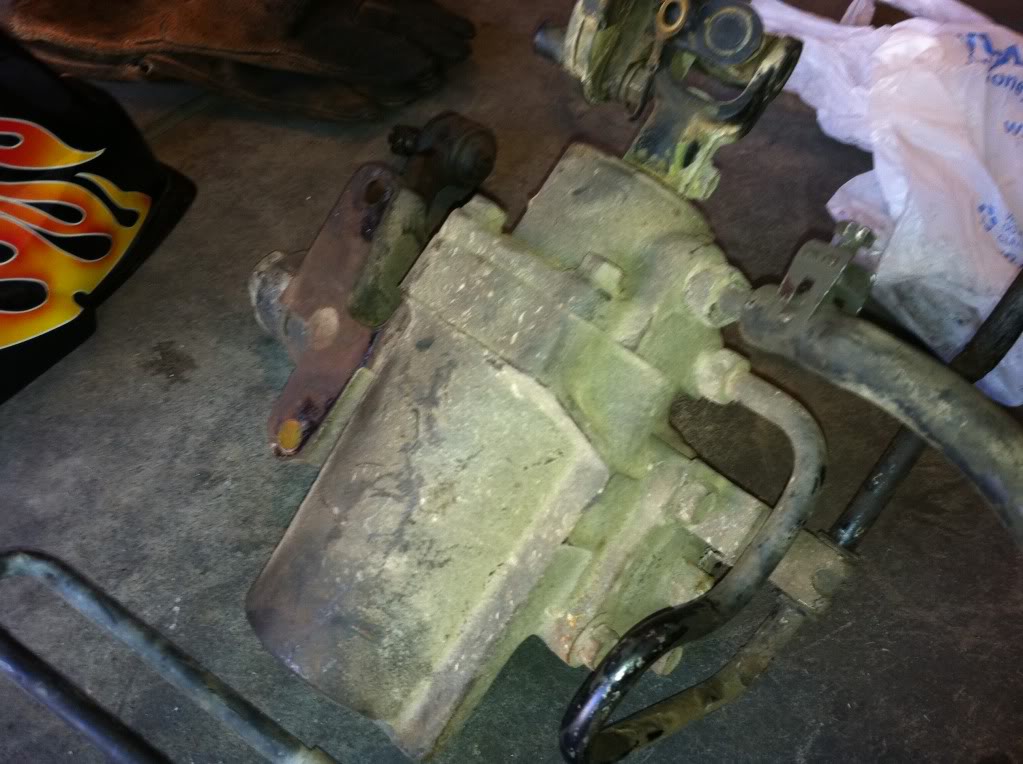
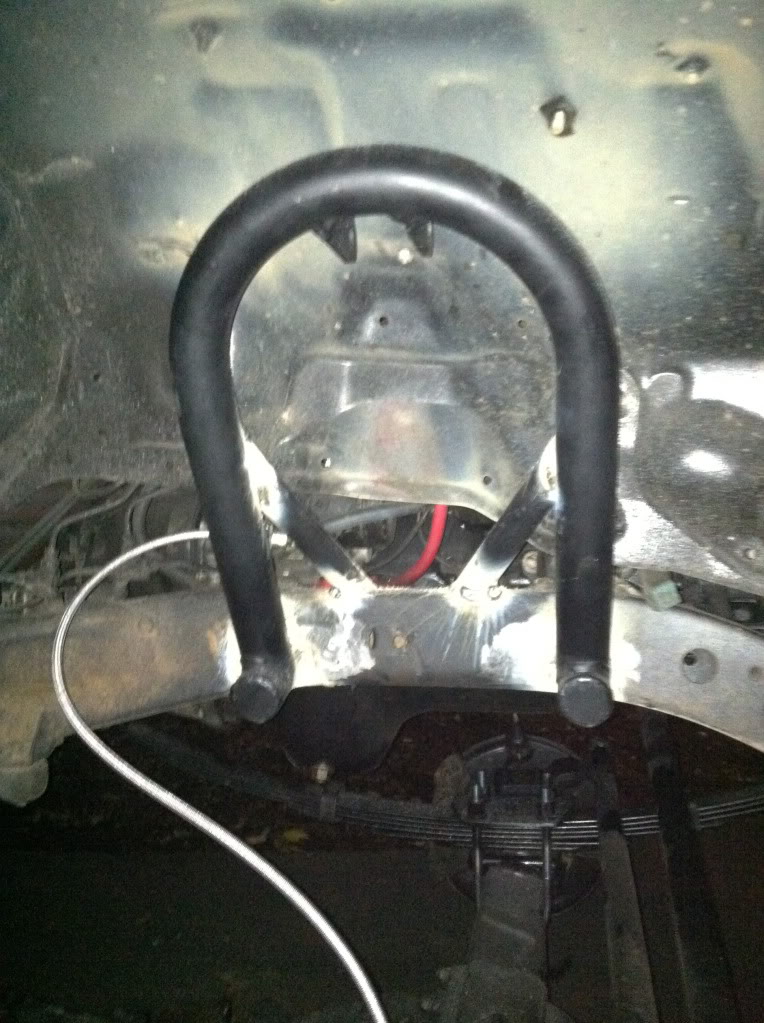
This image is deceiving, it isn't crooked:
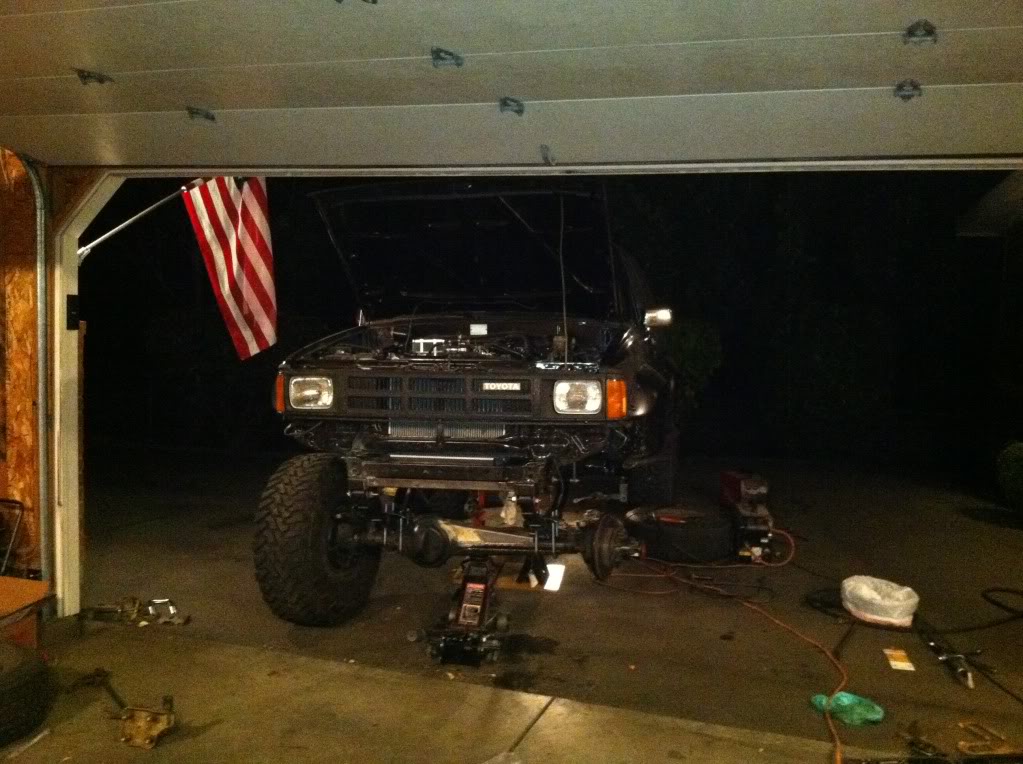


p/s gear box. earlier lower ratio IFS style.
This image is deceiving, it isn't crooked:
p/s gear box. earlier lower ratio IFS style.
01-17-2013, 06:40 PM
#65
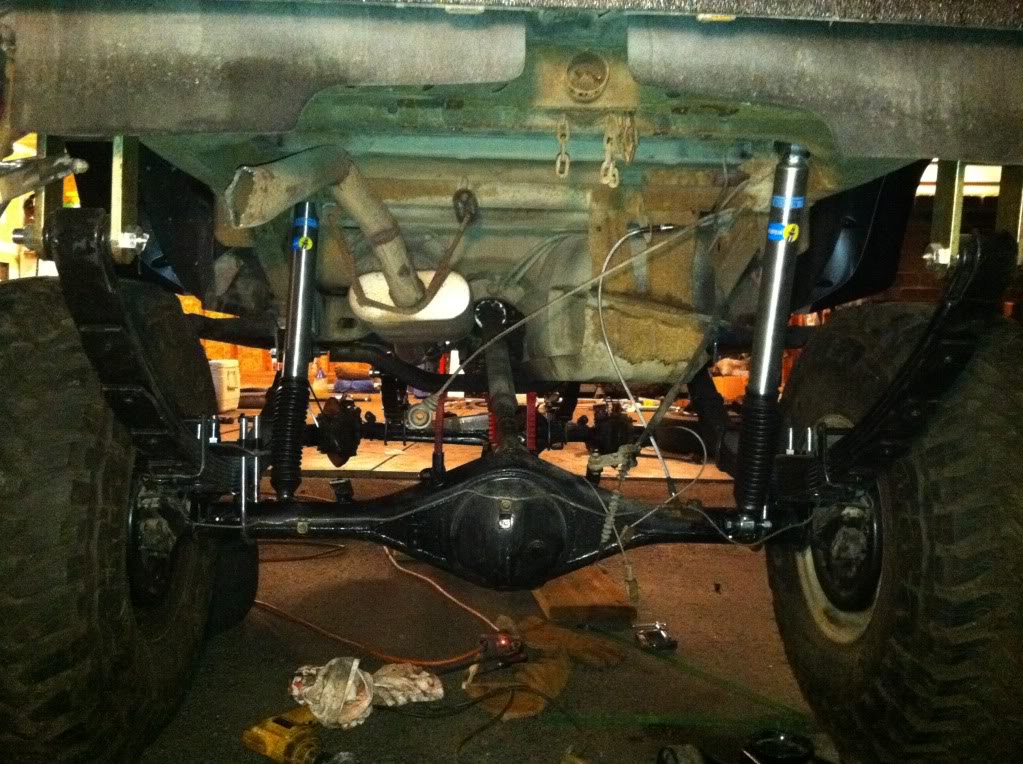
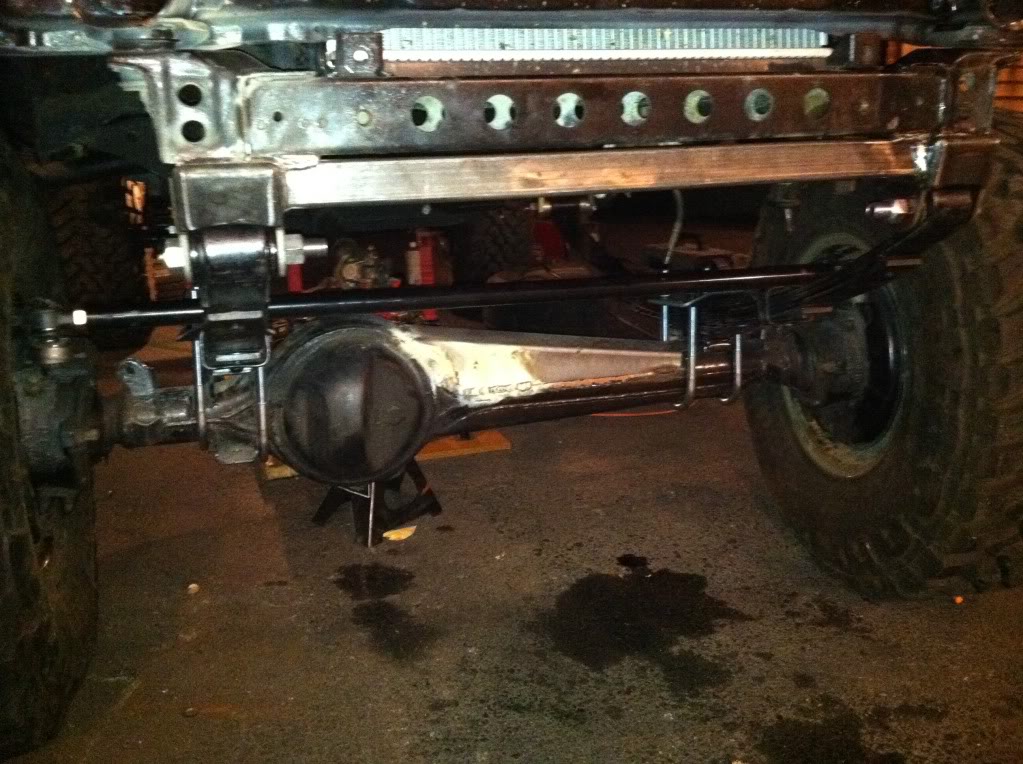
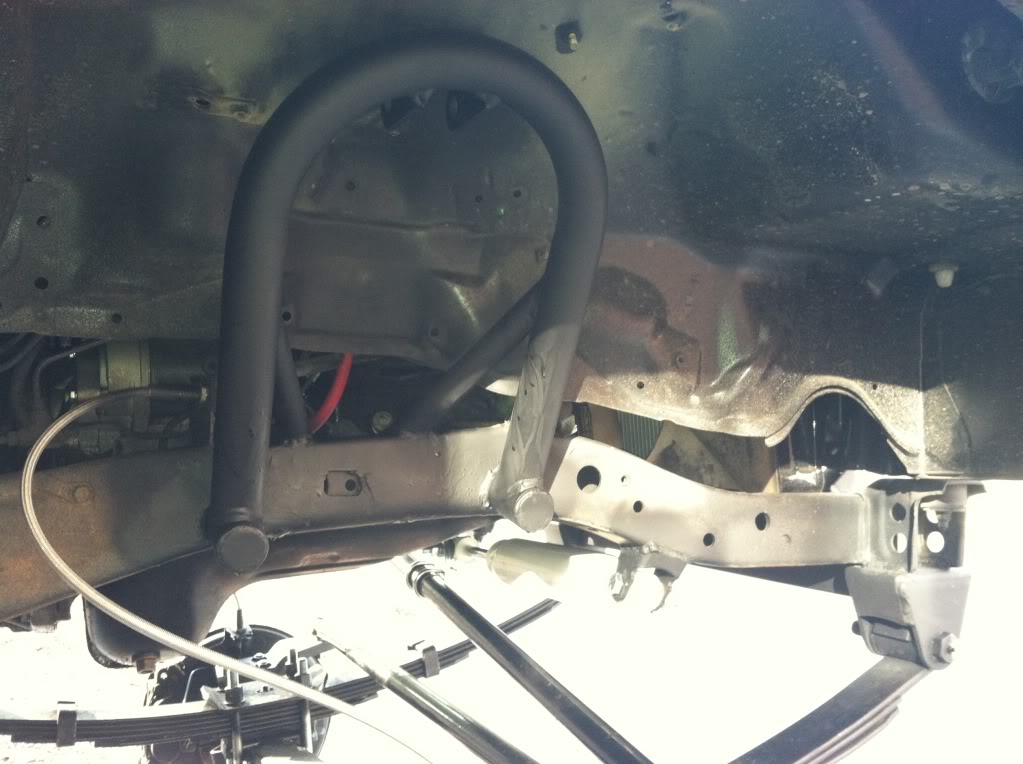
setting up the IFS steering box. need to make sure there is enough clearance under flex.

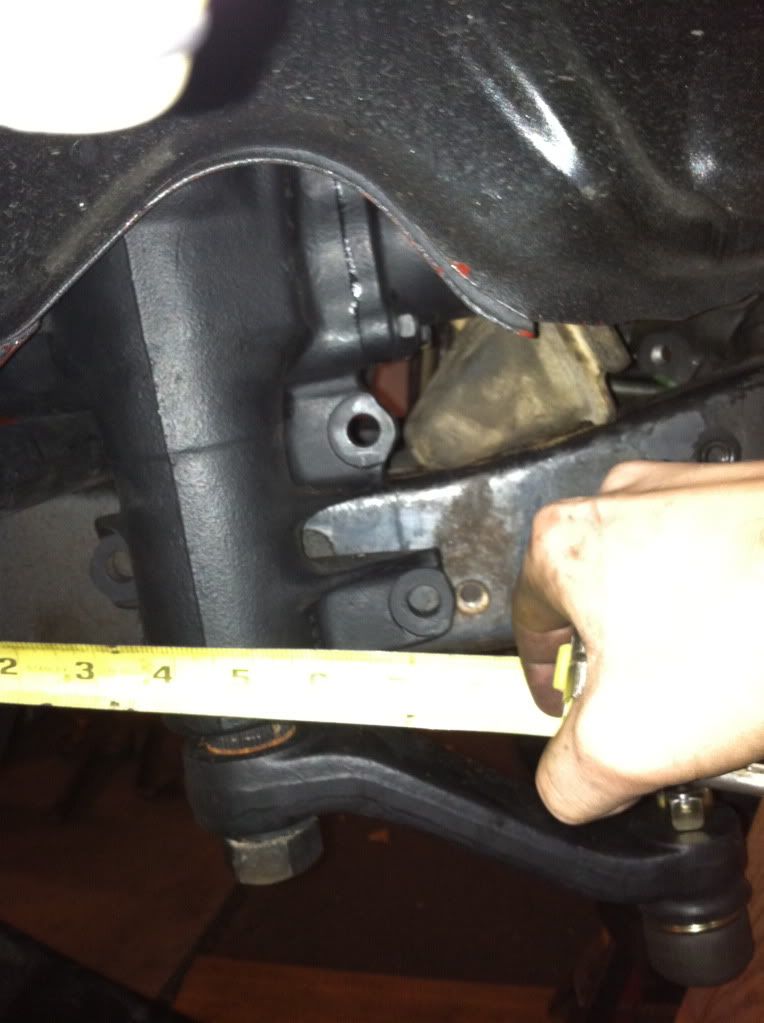
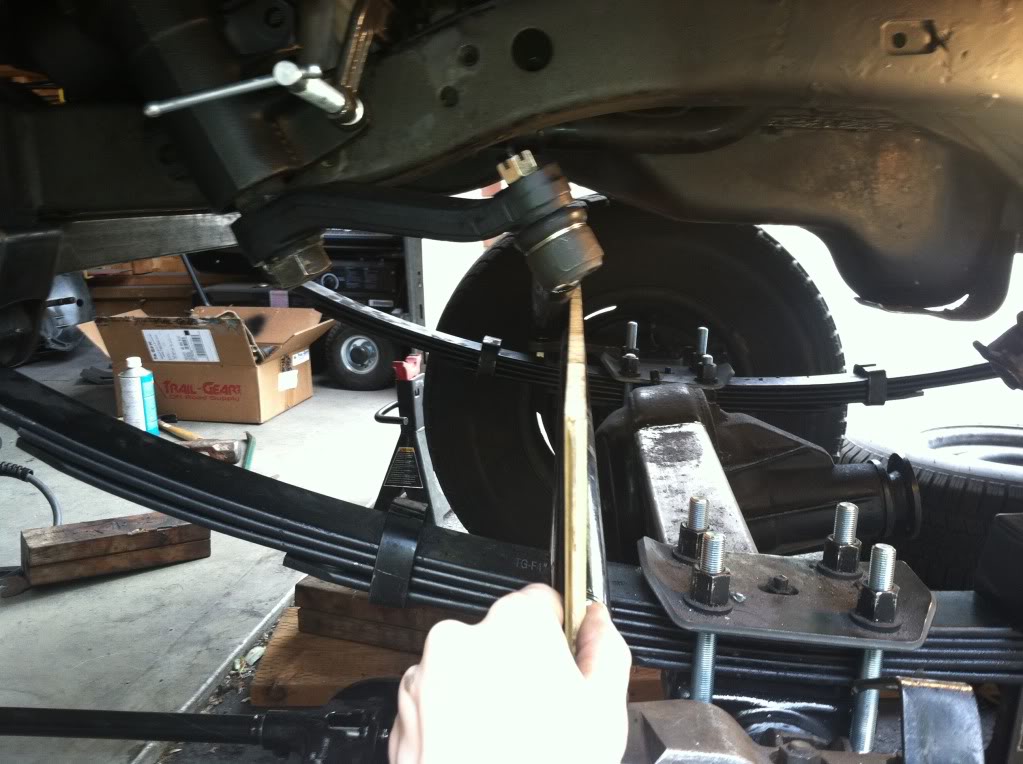
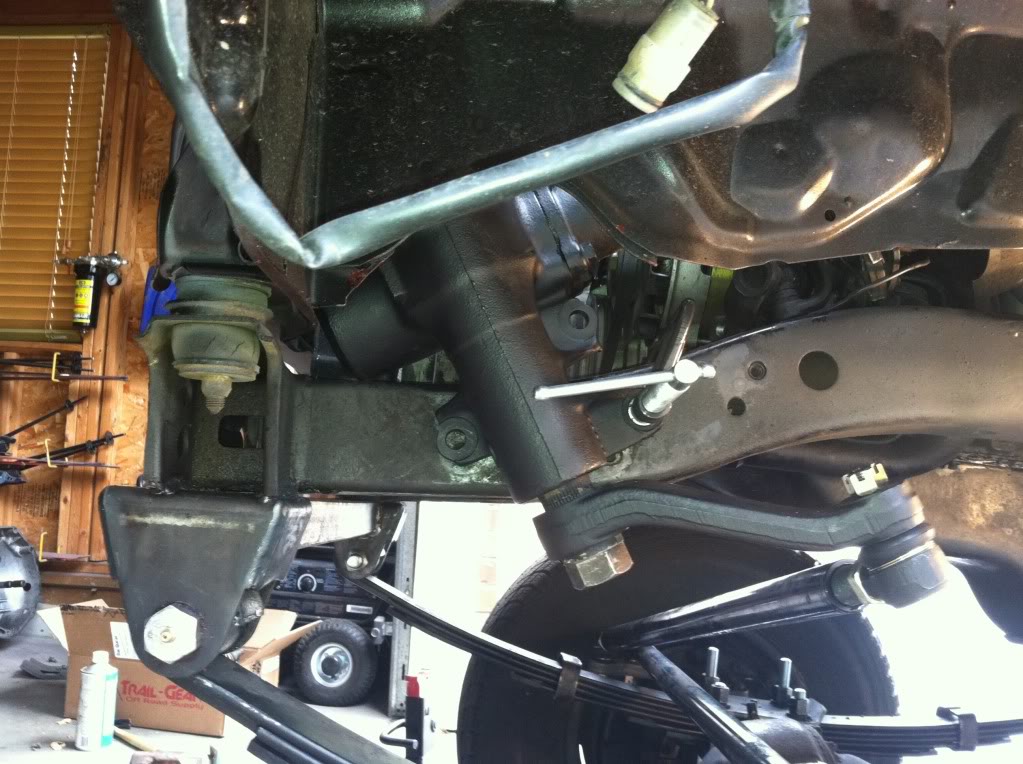
I ended up having to push it through the body/front support a little, next to the body mount. If I find a picture of the final position, I will post it up.
shock hoops getting welded up:
shocks all finished up:

steering stabilizer, what a huge difference it makes. I think it could actually use another one or more resistance.

I ended up having to push it through the body/front support a little, next to the body mount. If I find a picture of the final position, I will post it up.
shock hoops getting welded up:
shocks all finished up:
steering stabilizer, what a huge difference it makes. I think it could actually use another one or more resistance.


 01-17-2013, 07:00 PM
#68
replacing tranny input seal, was leaking:

all shiny:
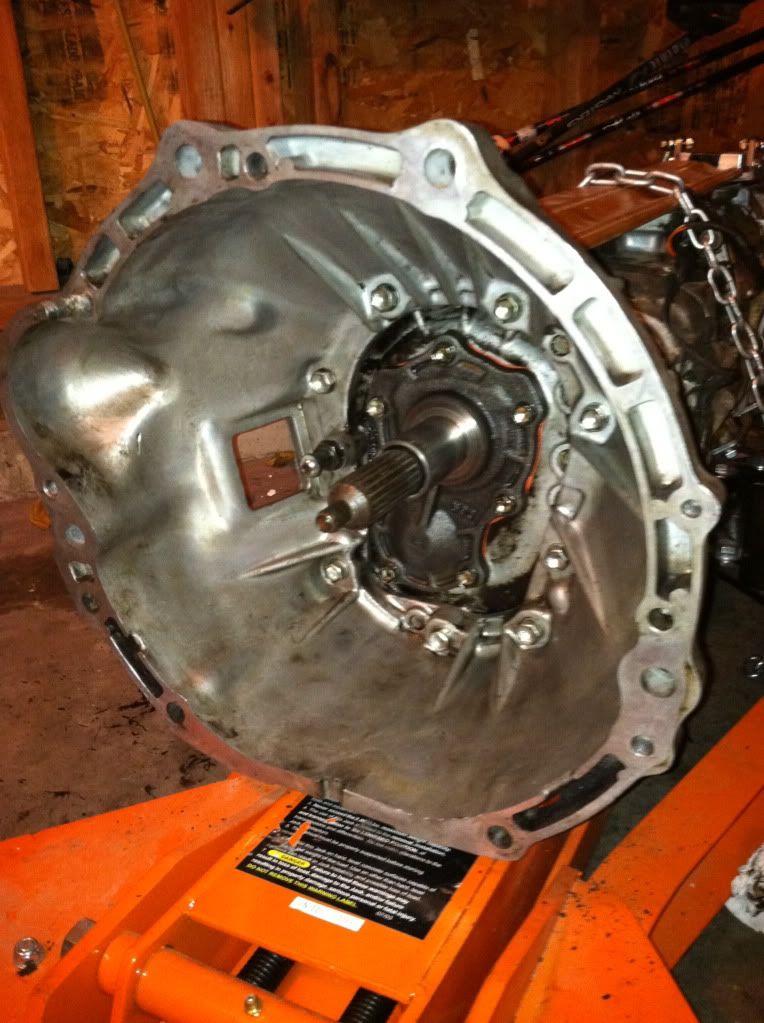
mating the two up:
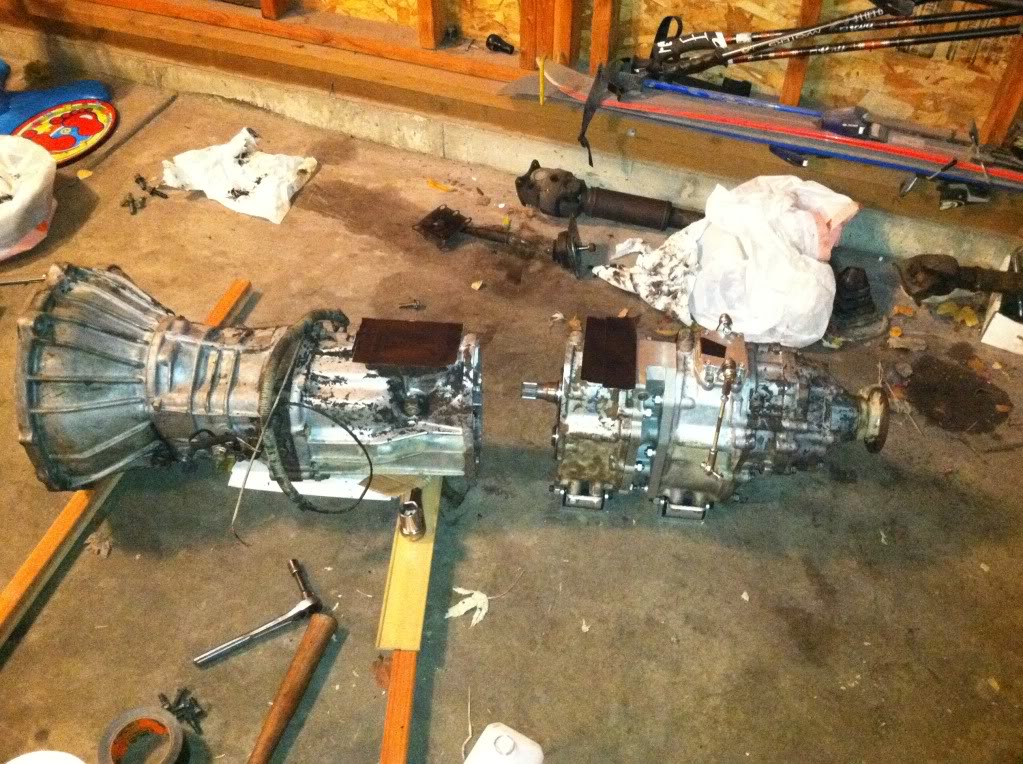
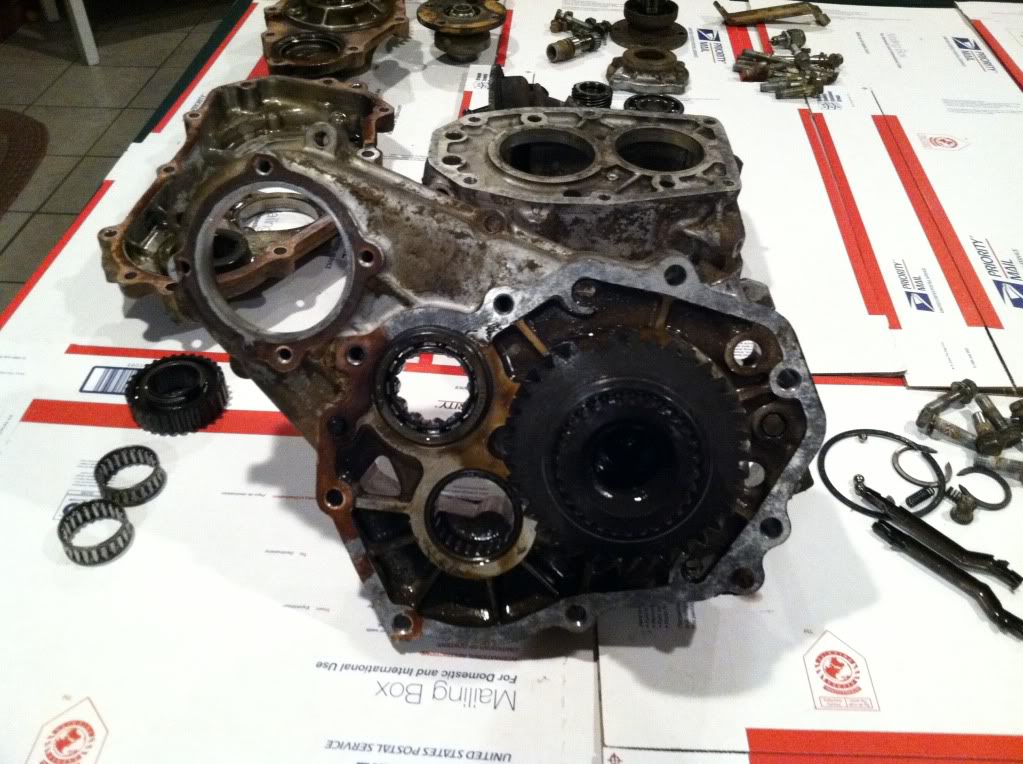
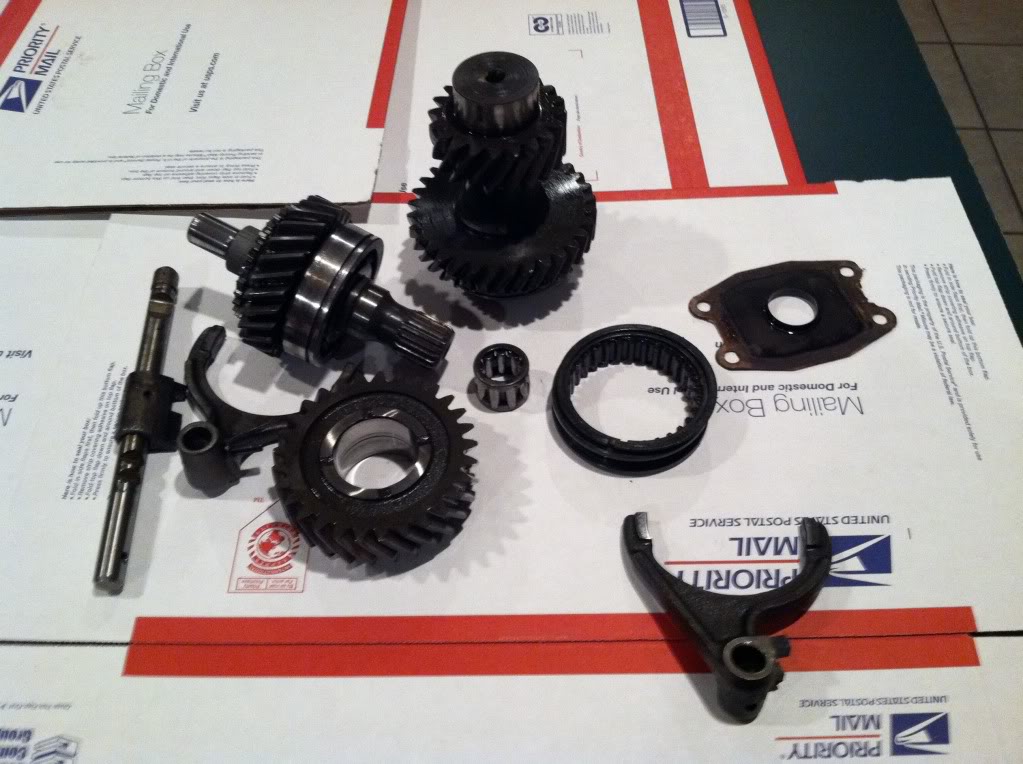
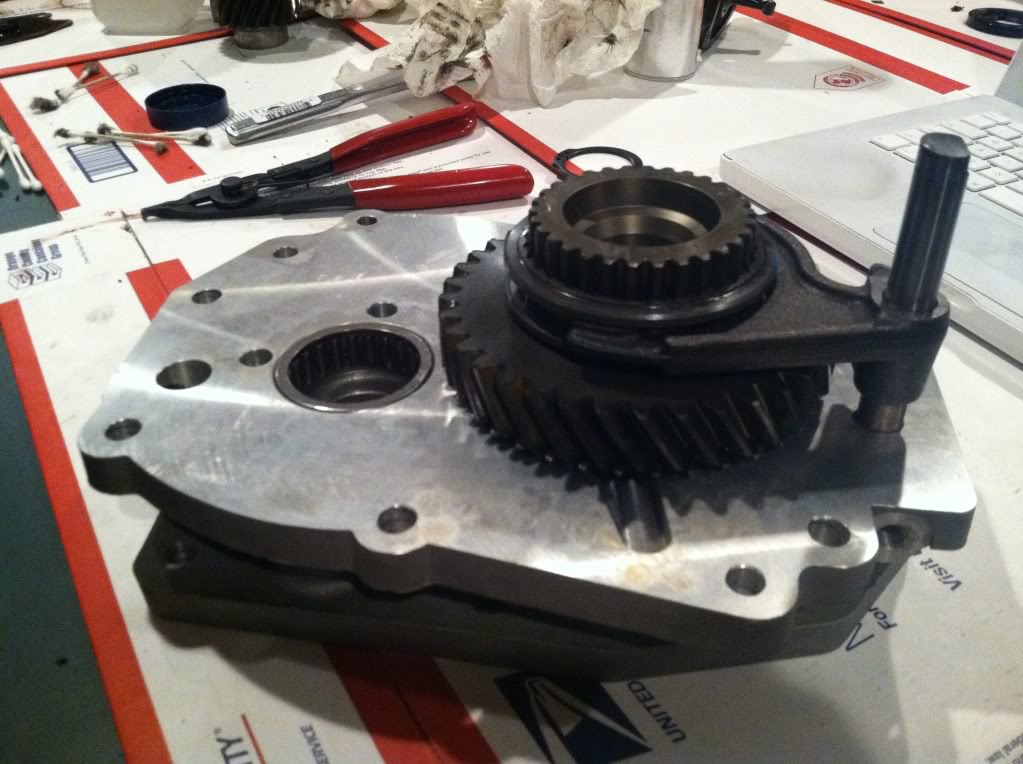
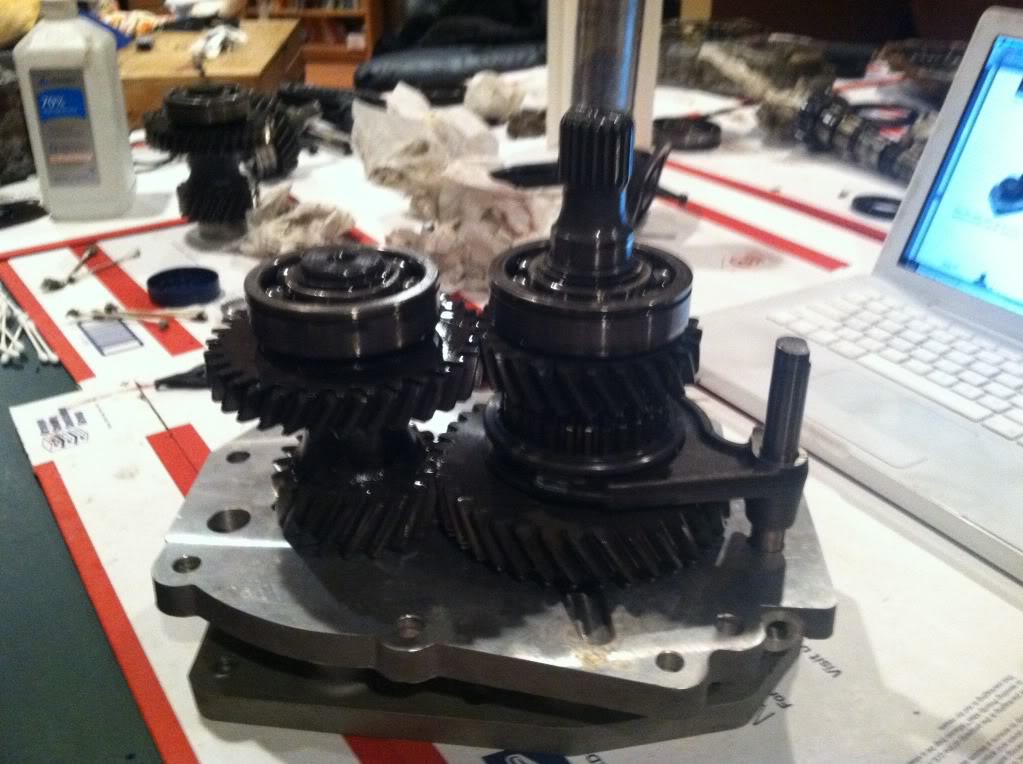
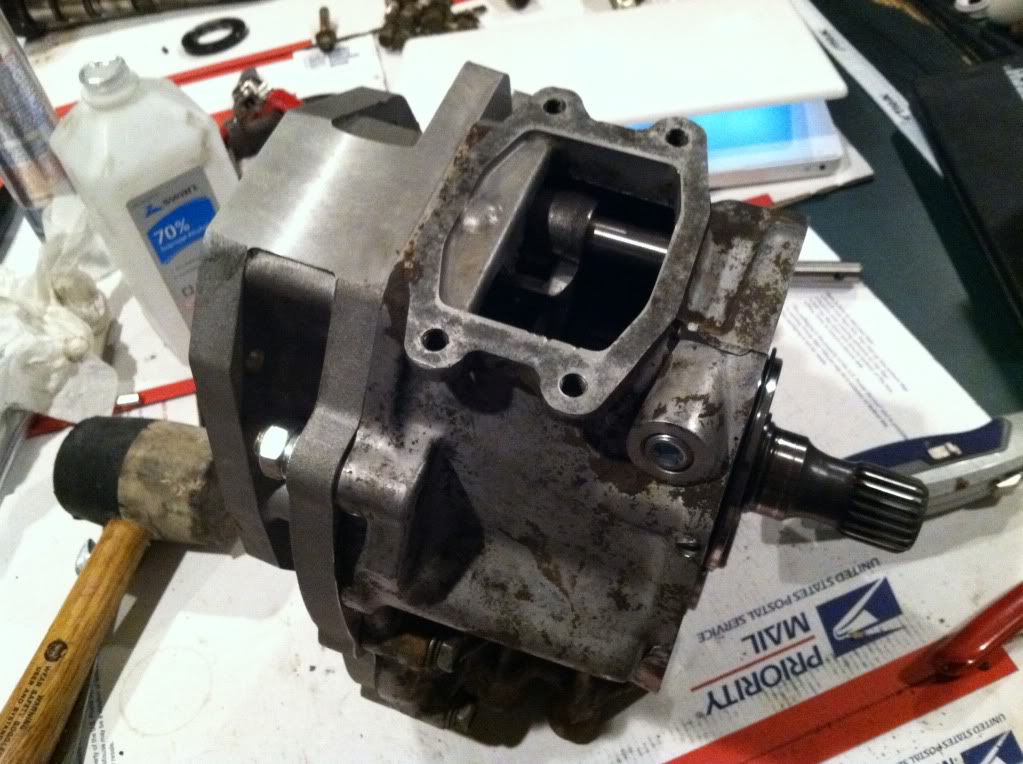
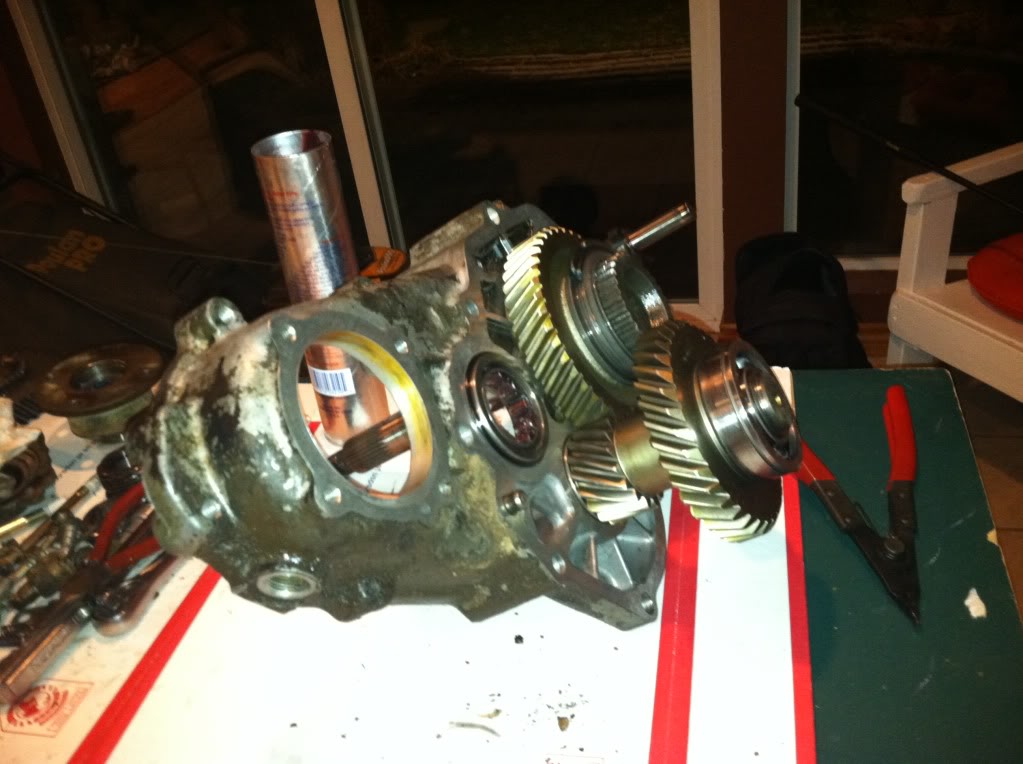
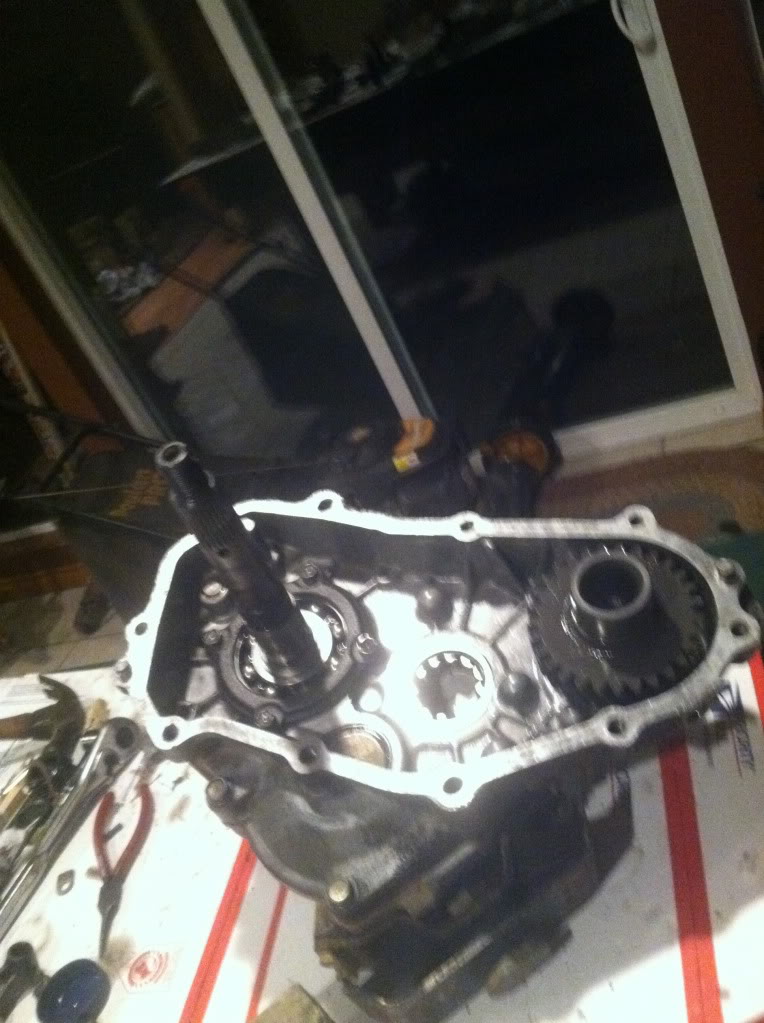
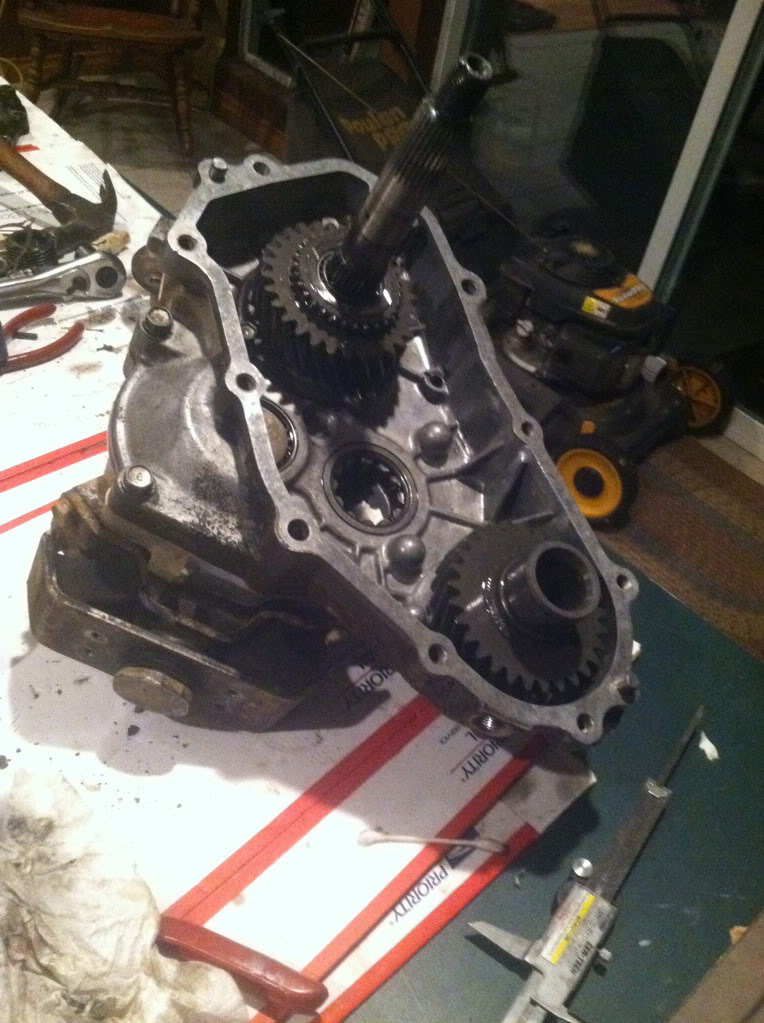
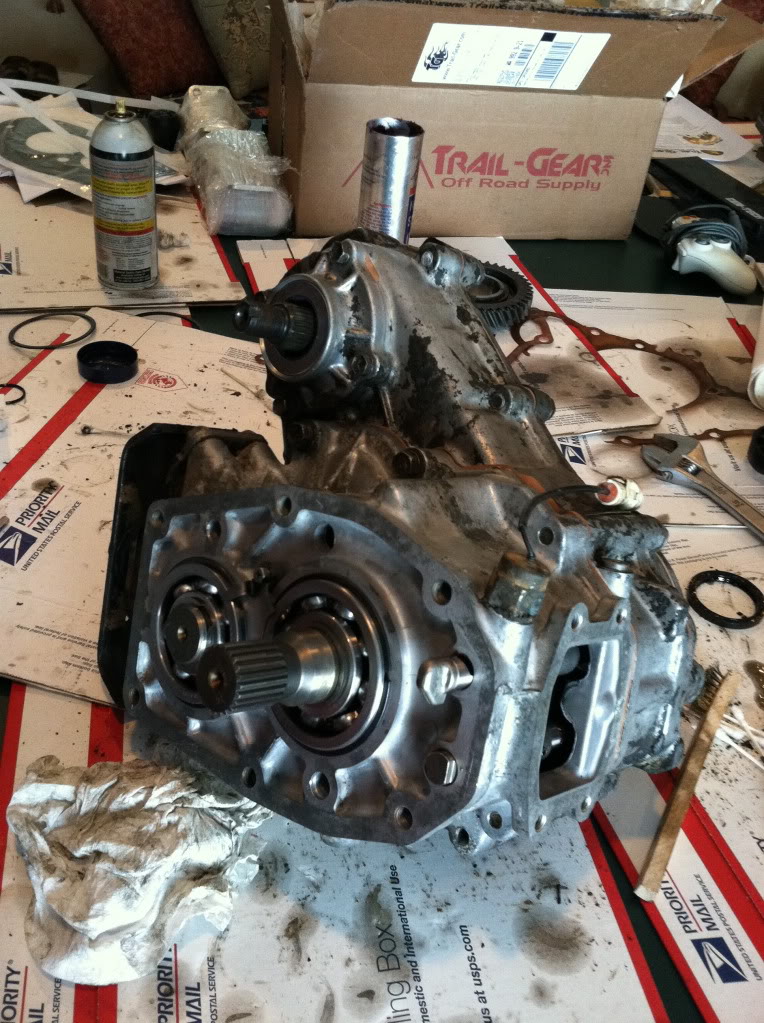
I lost the g series tranny and picked up a w56. Ended up being a PIA, had to rebuild it.
https://www.yotatech.com/forums/f116...ng-way-257925/
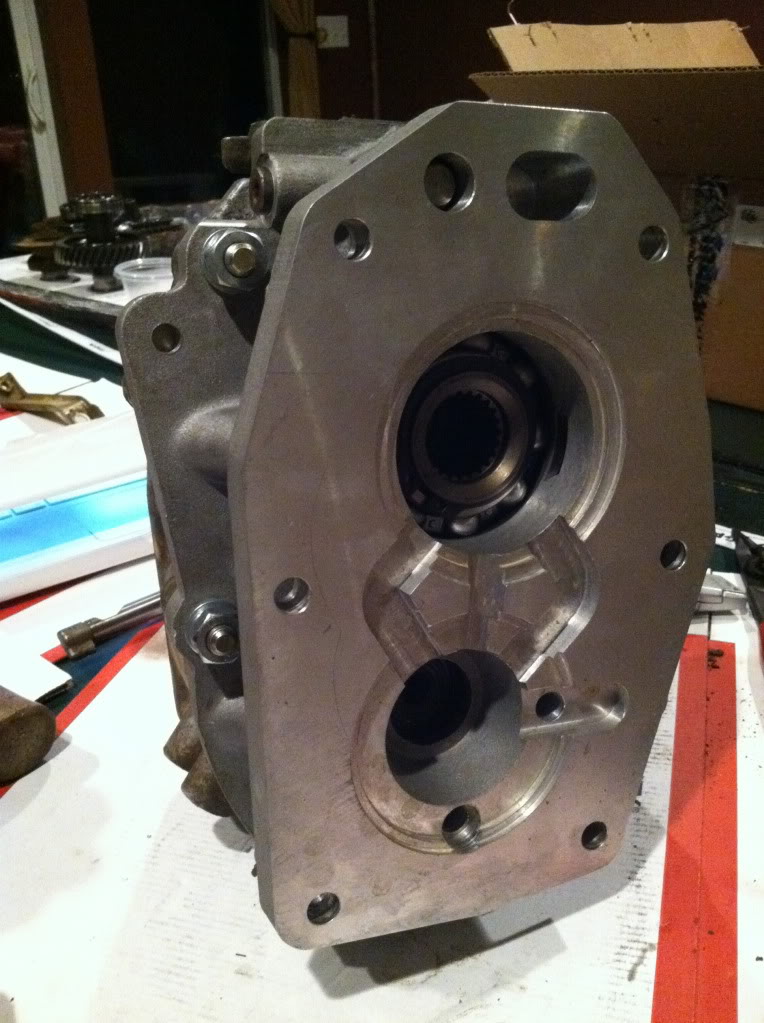
taking anti rust precautions. I pretty much recommend rustoleum auto paint for all of this kind of stuff. I had used POR15 and all that good stuff. The rustoleum is way less picky and is super fast and surprisingly durable for a spray paint.
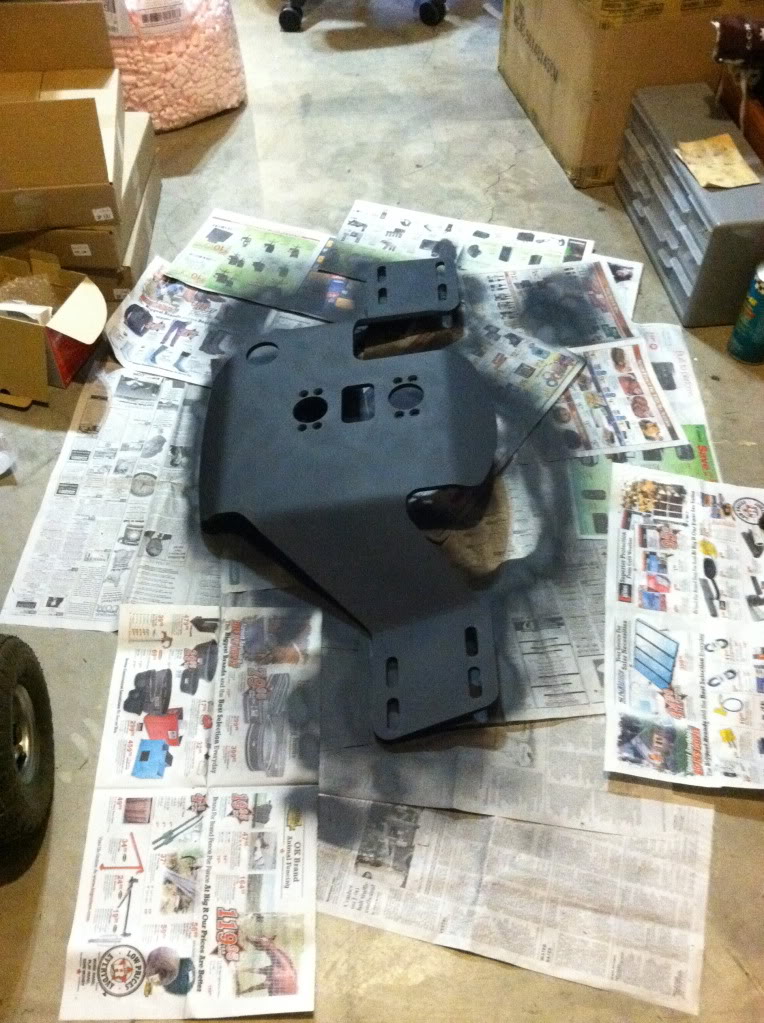

and she's all ready to go.

all shiny:
mating the two up:
I lost the g series tranny and picked up a w56. Ended up being a PIA, had to rebuild it.
https://www.yotatech.com/forums/f116...ng-way-257925/
taking anti rust precautions. I pretty much recommend rustoleum auto paint for all of this kind of stuff. I had used POR15 and all that good stuff. The rustoleum is way less picky and is super fast and surprisingly durable for a spray paint.
and she's all ready to go.
01-17-2013, 07:04 PM
#69
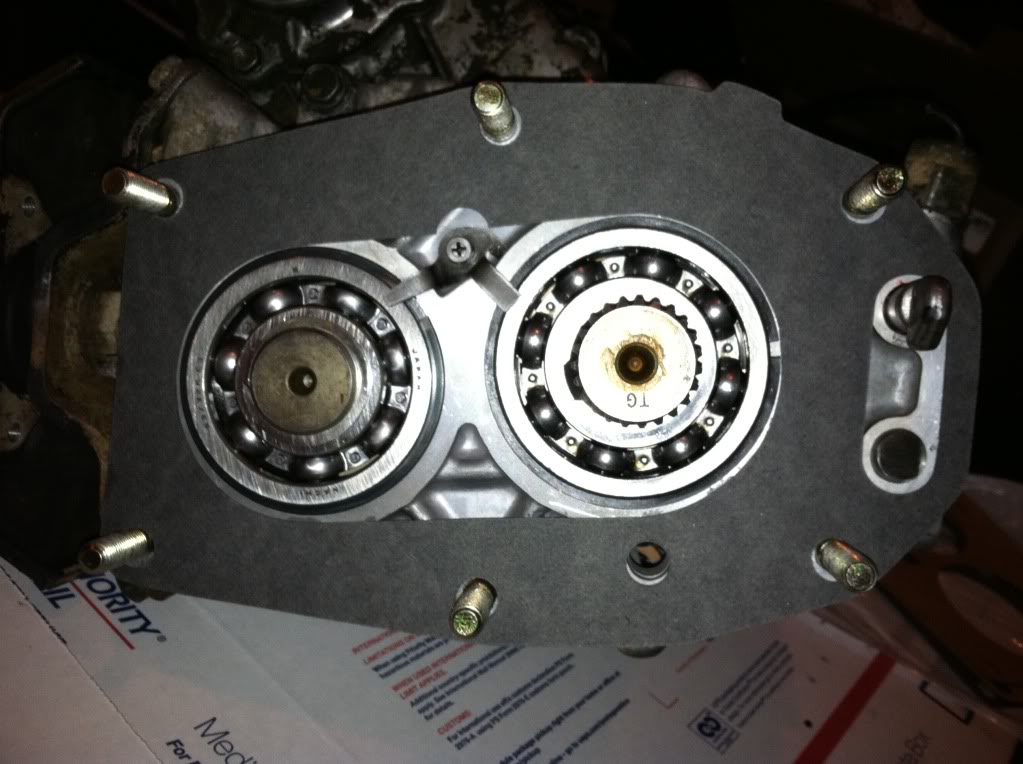
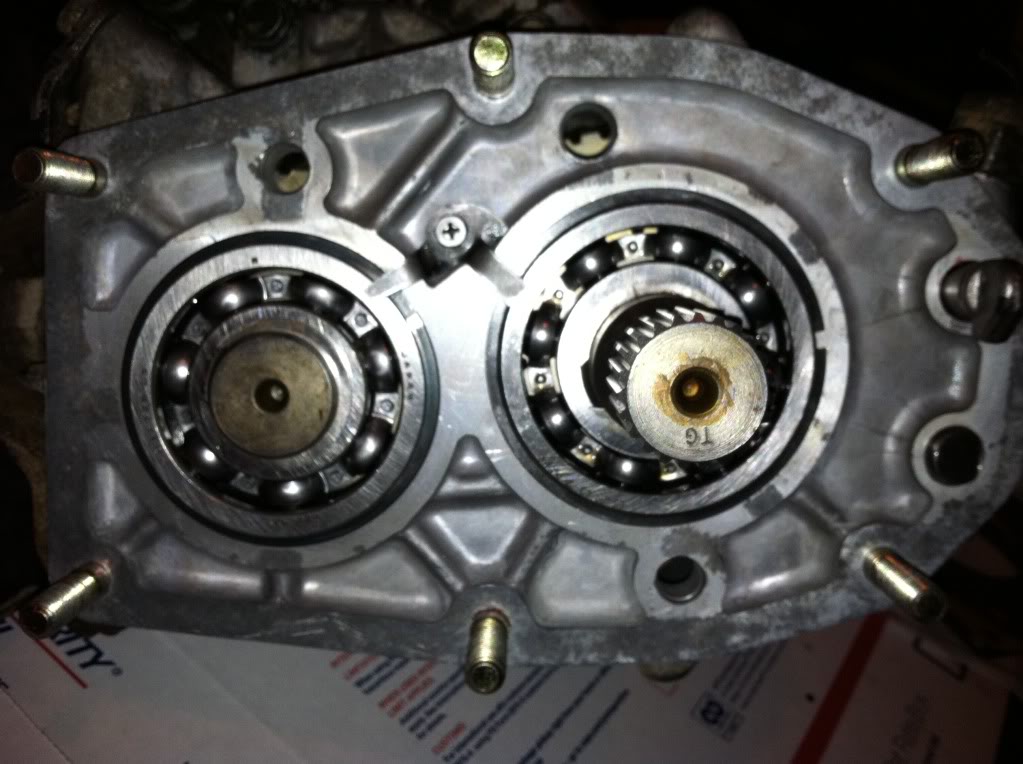
anyone see the problem?
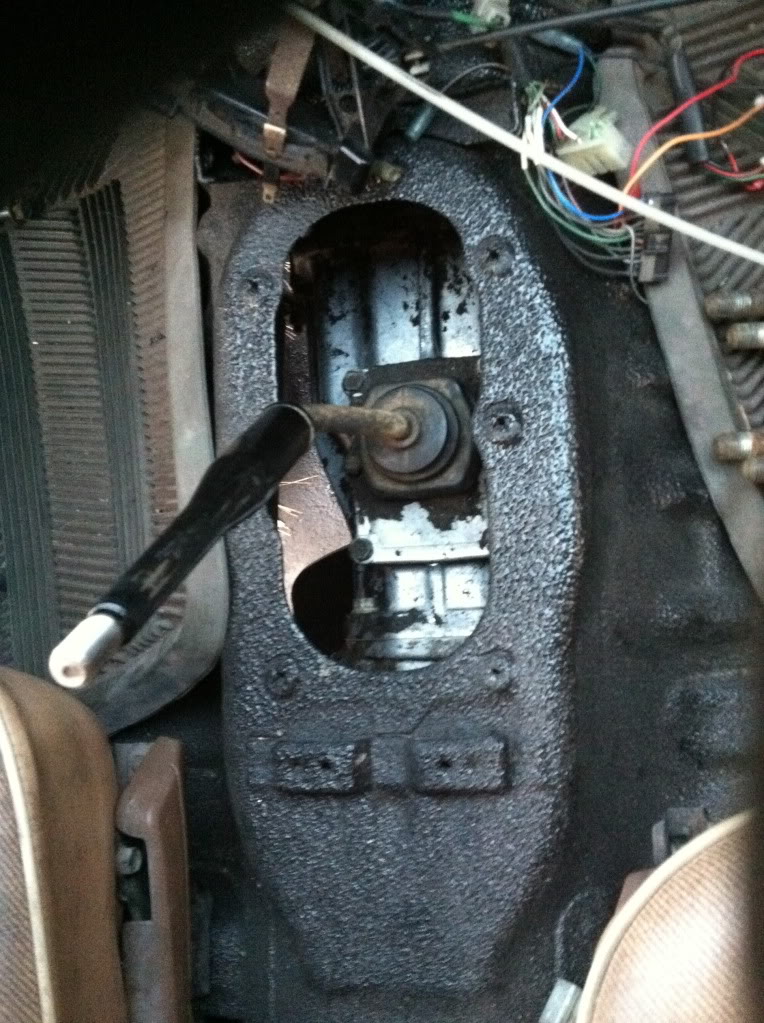
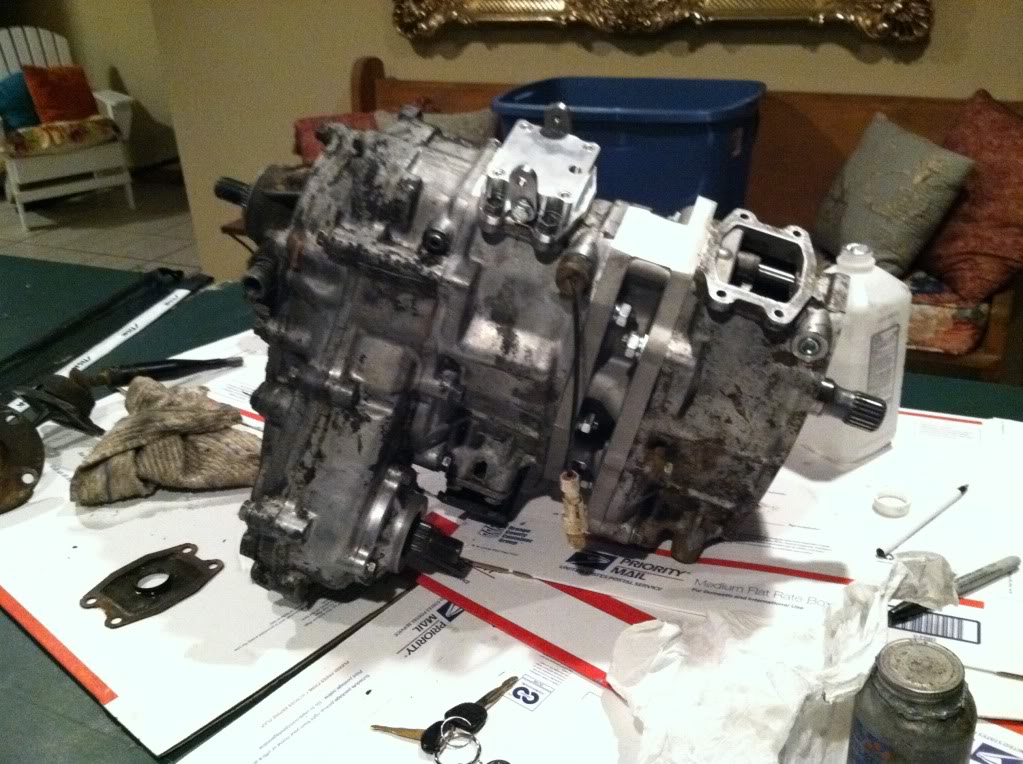
making room for the triplets:

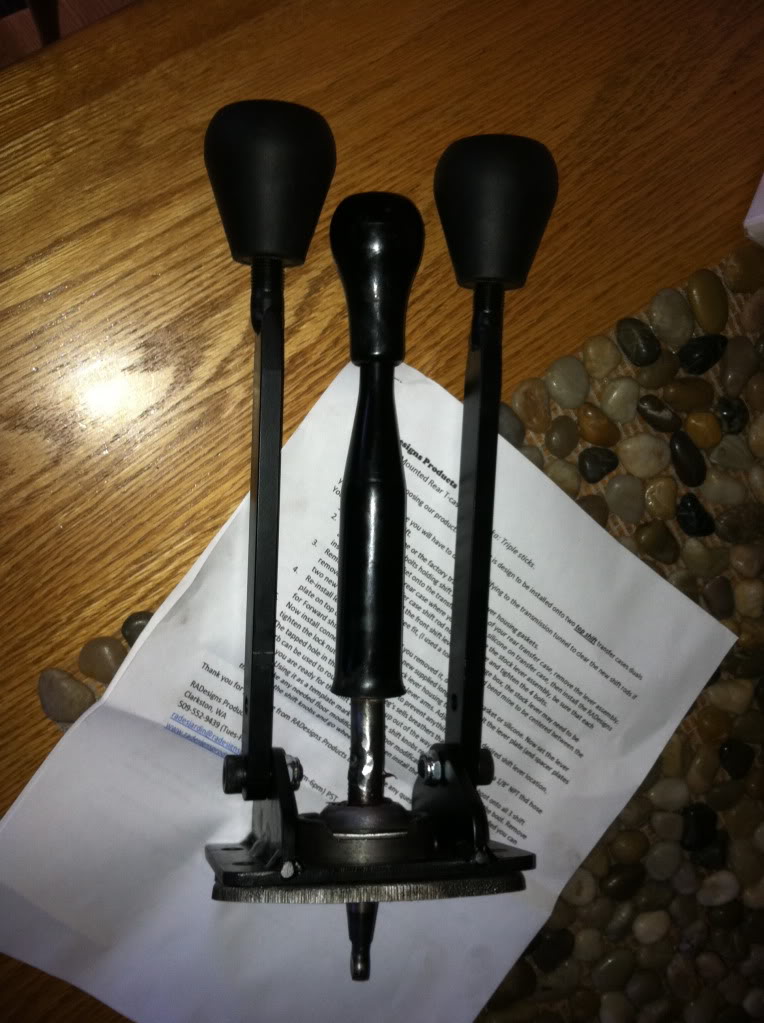
Can't recall which vendor I got the triple shifters from, but I have not had any real problems with them. I used the HD springs for the shifters on the transfer cases, so the shifts are pretty stiff and there has become a little "slop" in the shifter linkage (not in the transfer case). I haven't taken a look at it yet, but that part could have been designed a little more robust. I'm guessing I will have to remove them and weld them to make it a little stronger.
Cleaning or something:

making room for the triplets:
Can't recall which vendor I got the triple shifters from, but I have not had any real problems with them. I used the HD springs for the shifters on the transfer cases, so the shifts are pretty stiff and there has become a little "slop" in the shifter linkage (not in the transfer case). I haven't taken a look at it yet, but that part could have been designed a little more robust. I'm guessing I will have to remove them and weld them to make it a little stronger.
Cleaning or something:
01-17-2013, 07:07 PM
#70
I had to straighten the middle shifter on the top of the front case so they would all sit next to each other. Easily down with a grinder and welder. Just cut it 3/4 way through, bend it and then weld the space that needs filled. Not even a whiff of it wanting to bend/break.

01-17-2013, 07:08 PM
#71
fitment pictures:
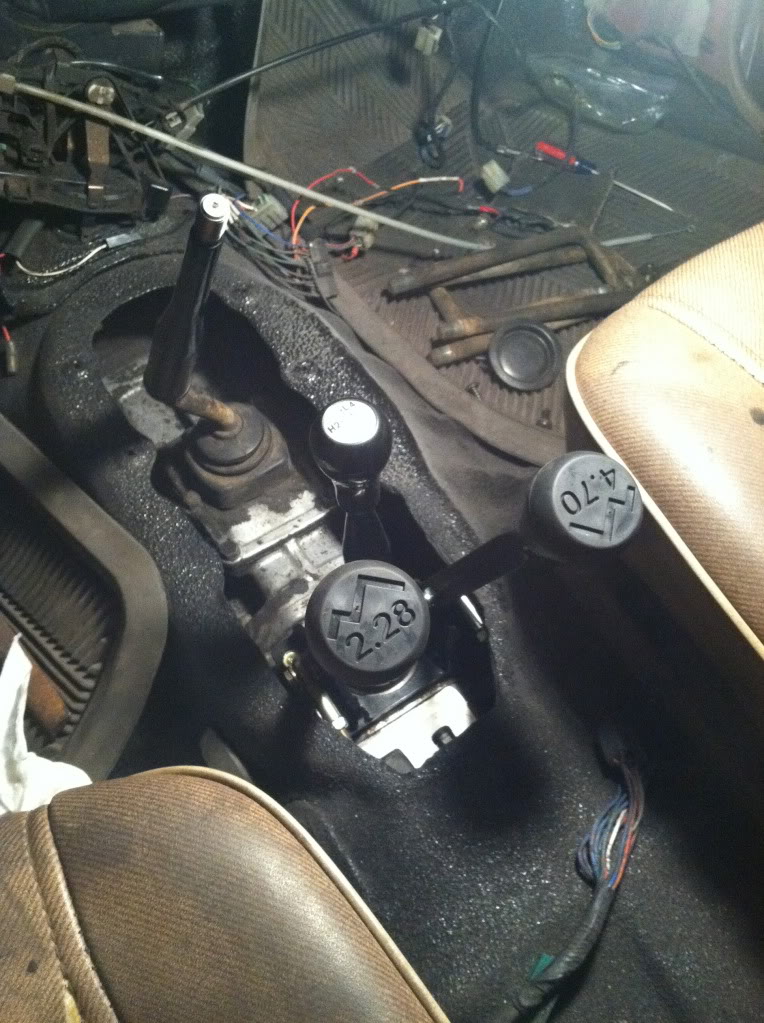

I guess I bought it from RaDesigns. You can see in the picture above. Great guy. His number is in the pic if you want a triple shifter setup.
I guess I bought it from RaDesigns. You can see in the picture above. Great guy. His number is in the pic if you want a triple shifter setup.
Last edited by live4soccer7; 01-17-2013 at 07:11 PM.
01-17-2013, 07:14 PM
#72
Re-doing the ducting seals because my dash hasn't been in the truck for over a year. I figure it was time to get the heat going again since it is coooold outside. I just picked up some closed cell foam with adhesive on the back from home depot. Worked pretty well. I would recommend getting a few different thicknesses. This will allow more heat to end up in coming out of the dash instead of leaking behind the dash with the old foam that is deteriorated.

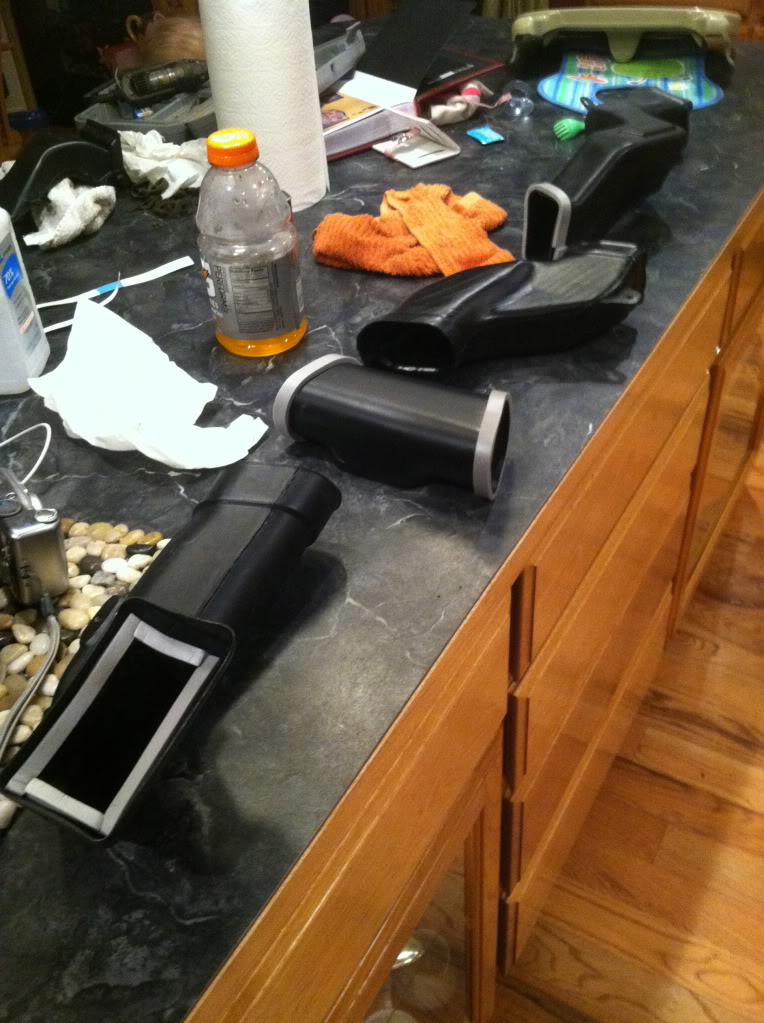
In the dash:
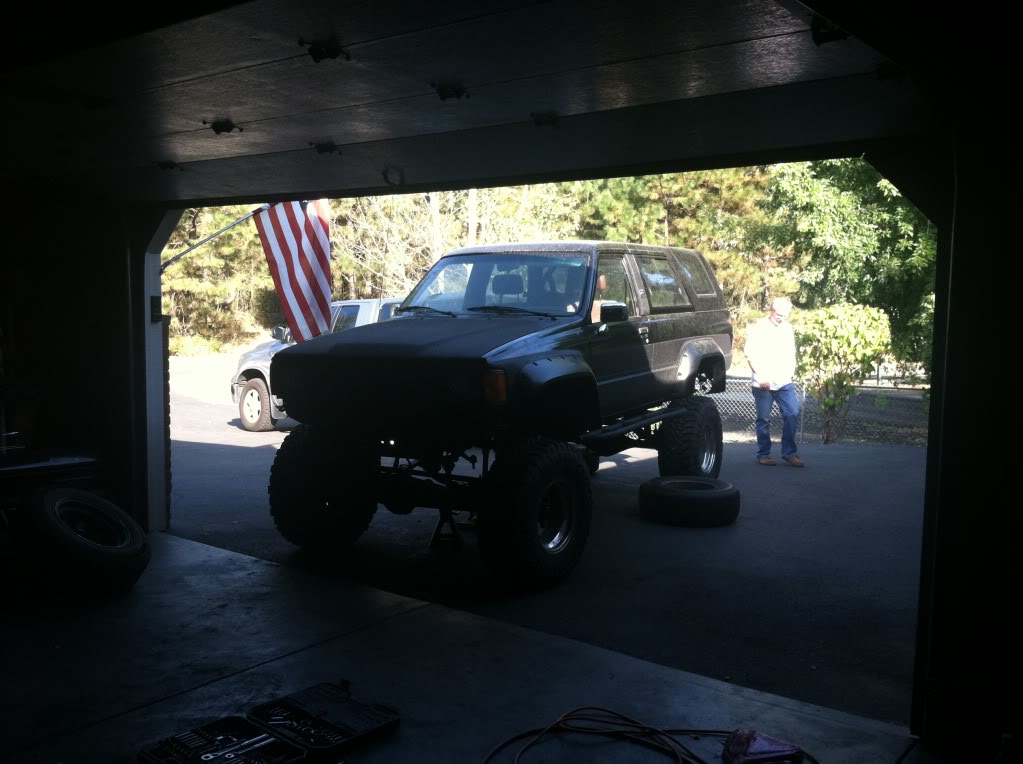
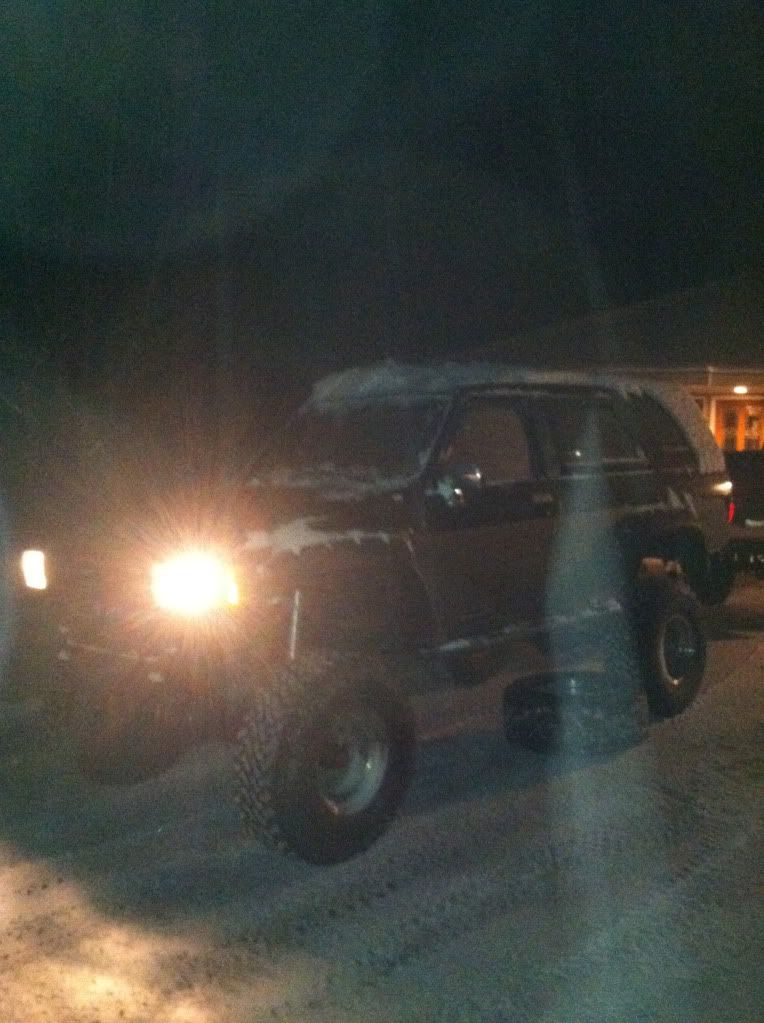
Taking it out for a little fun and to test the cases.

In the dash:
Taking it out for a little fun and to test the cases.
01-17-2013, 07:16 PM
#73
Making a shifter cover that will allow the original boots to work. Made of several layers of fiberglass and then some bondo to smooth it out.

more on this will come, but I left this project at the time.
more on this will come, but I left this project at the time.
01-17-2013, 07:25 PM
#74
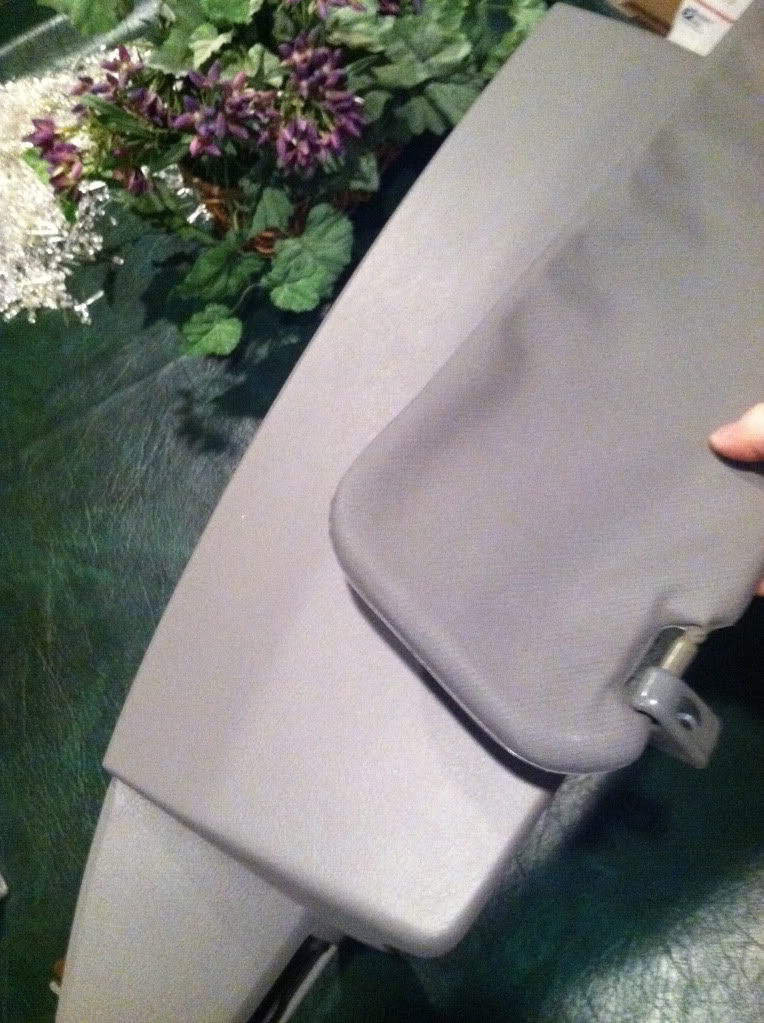
Now that the heating and dash is going back together, it only seems fitting to refresh it a bit as well.
repairs to some of the plastics:


Test run:

Gun setup and my custom holder, ha ha:


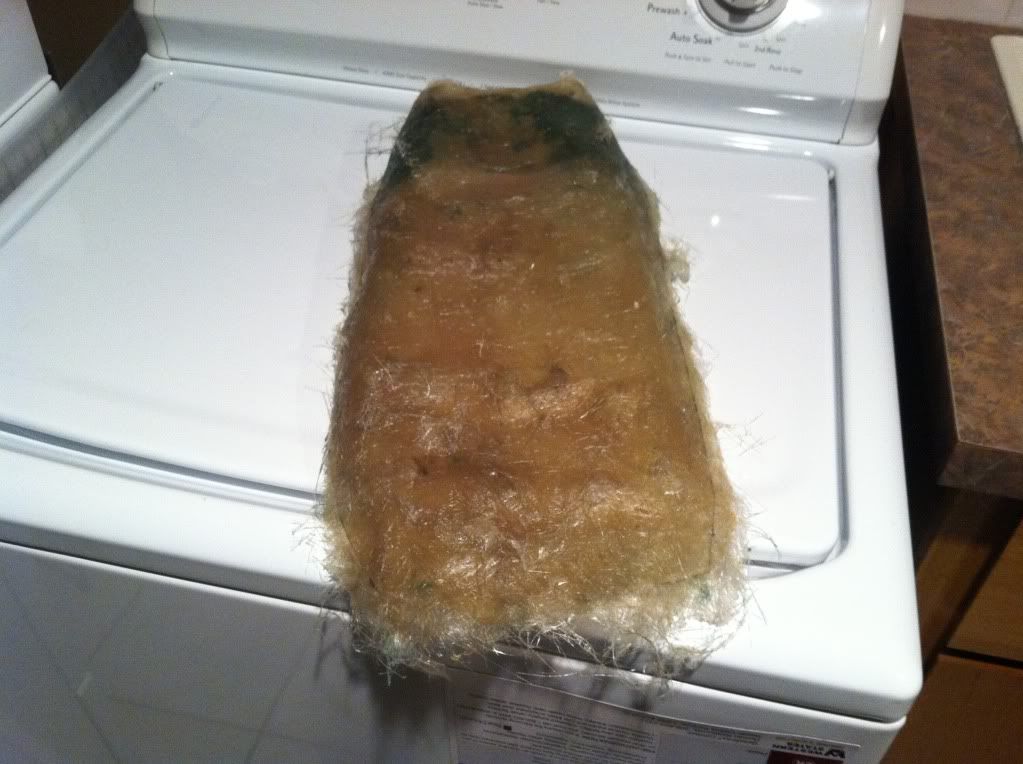
way lighter than the test piece at the store. very disappointing:

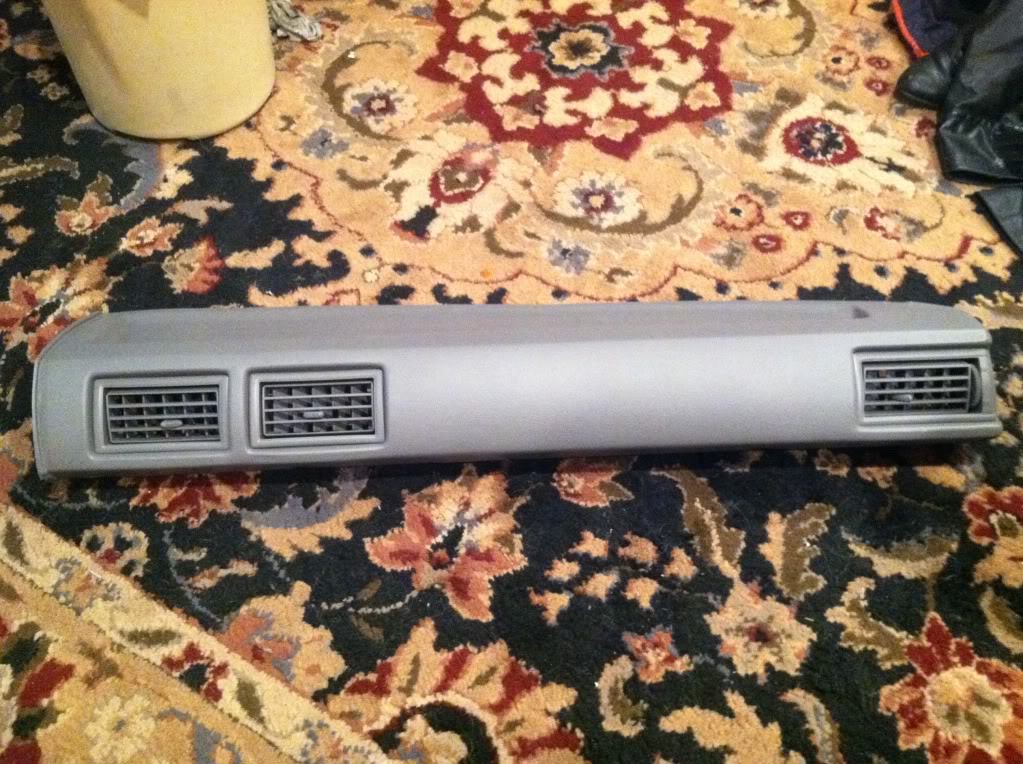
test fit:

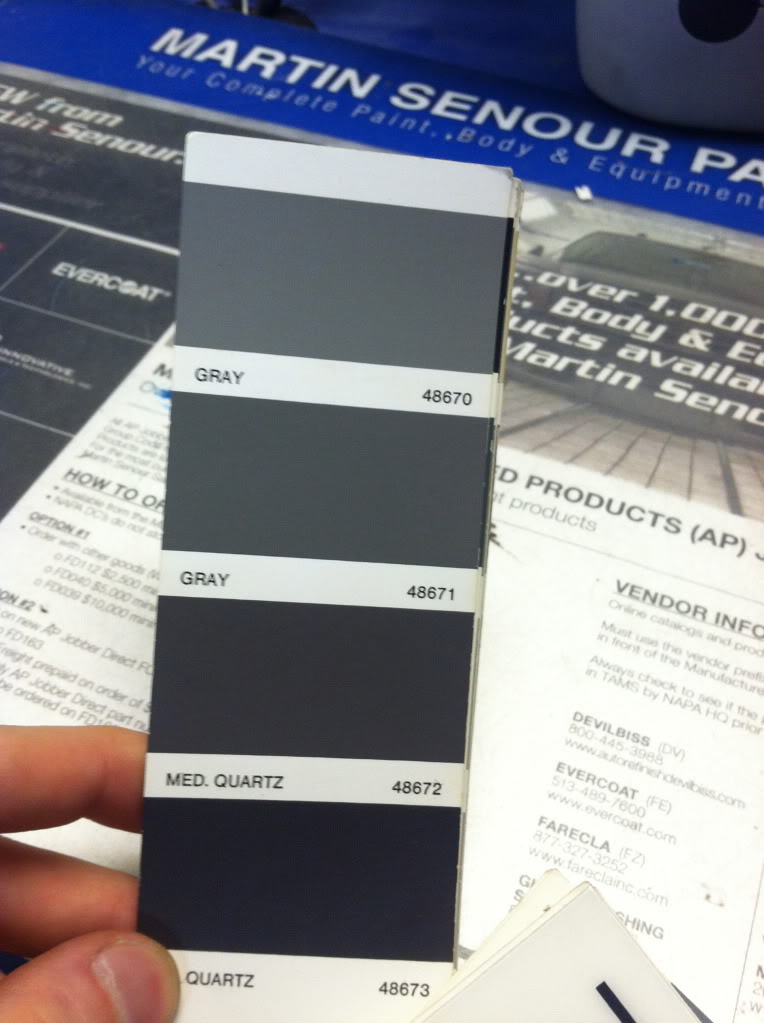
choosing colors again.
final attempt, regardless of color. I'm not a huge fan of painting.


Much better, but still a lot lighter than what was shown on the swatch:

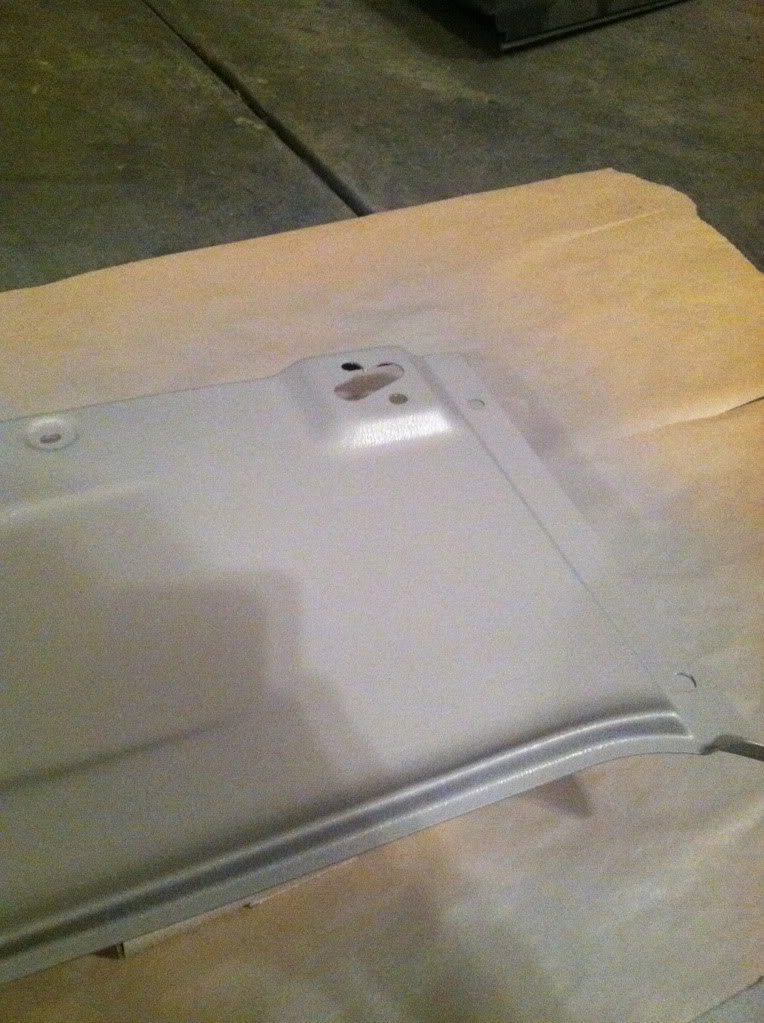
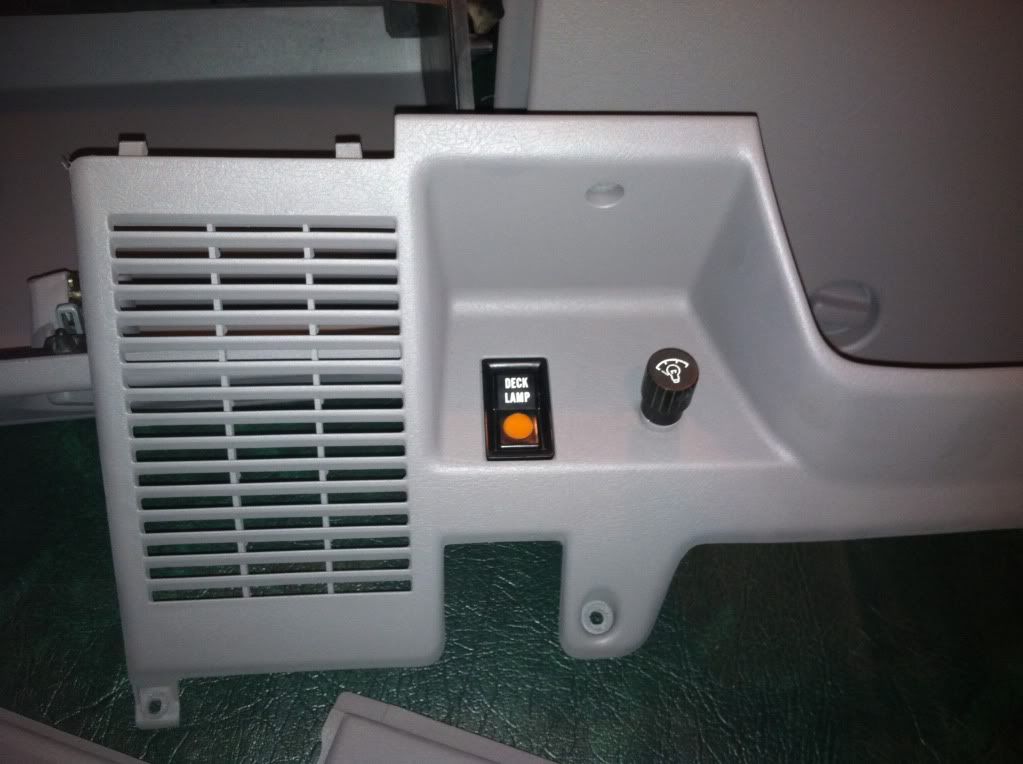
repaired and painted:


more to come later... I have to take off. Enjoy the photos/build and let me know if you have any questions.
repairs to some of the plastics:
Test run:
Gun setup and my custom holder, ha ha:
way lighter than the test piece at the store. very disappointing:
test fit:
choosing colors again.
final attempt, regardless of color. I'm not a huge fan of painting.
Much better, but still a lot lighter than what was shown on the swatch:
repaired and painted:
more to come later... I have to take off. Enjoy the photos/build and let me know if you have any questions.
01-17-2013, 09:27 PM
#75
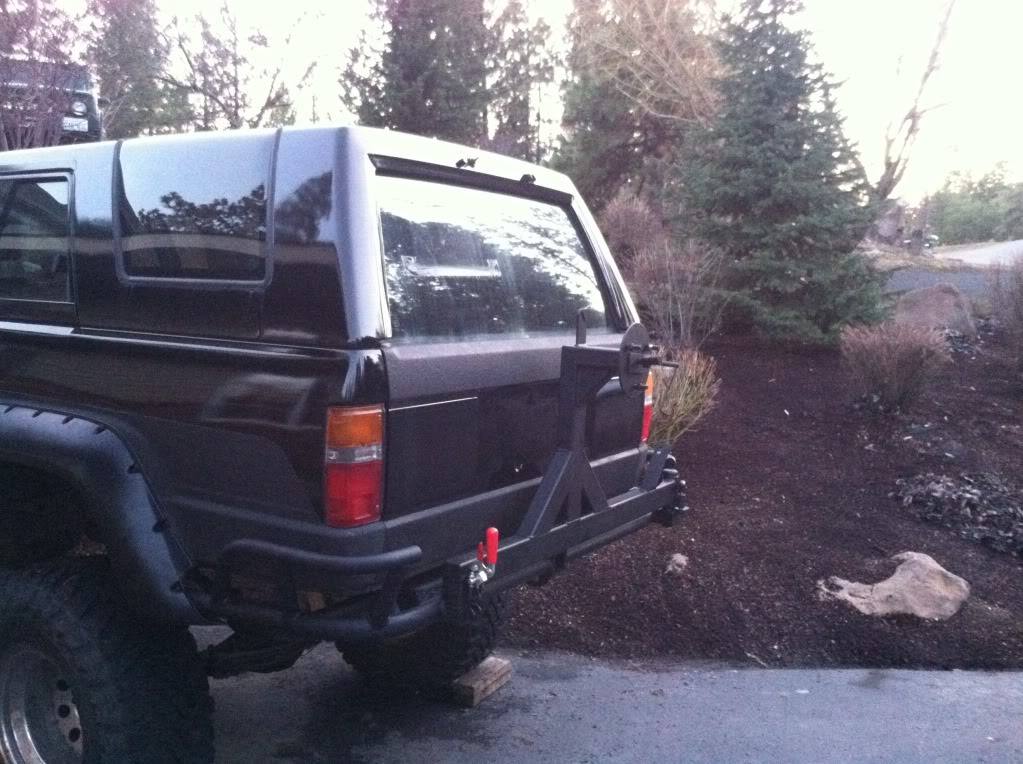
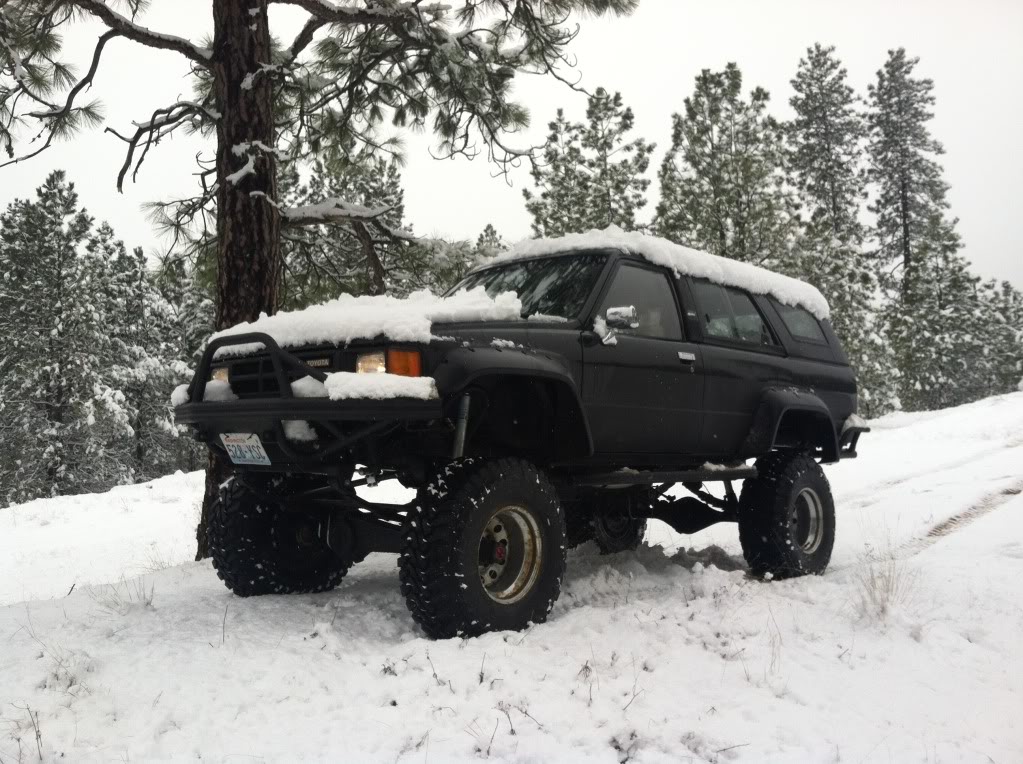
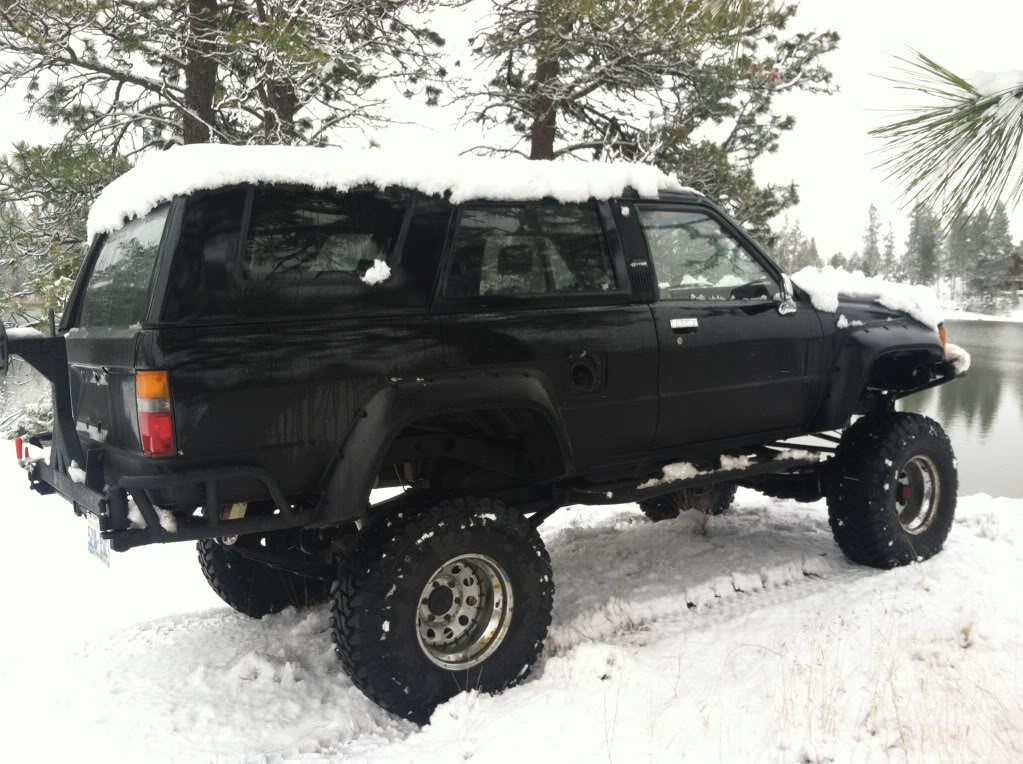
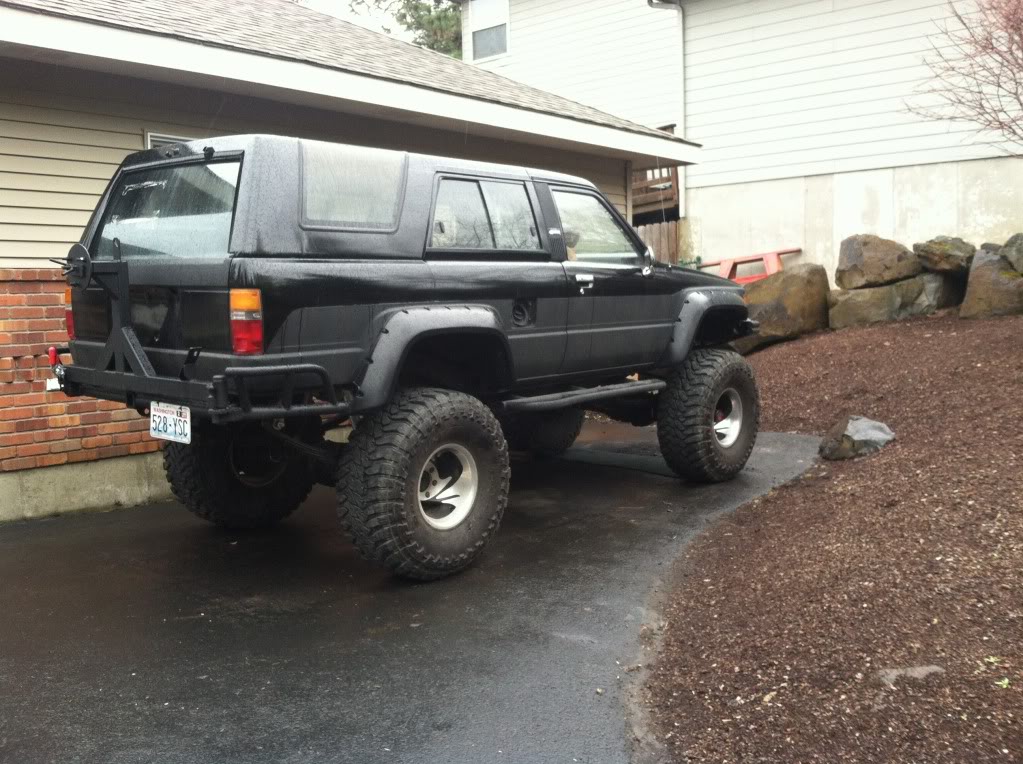
Now that some of the interior is finished up, back to the exterior for some protection. If I had the appropriate benders etc.., i would have gladly made my own. I got these from badland bumper. Great guy over there. I had him doing a few custom things on them for me, so they were a little more unique.

my standard flat black rustoleum rust protection:

fitment:

rear bumper with carrier and hi-lift holder:
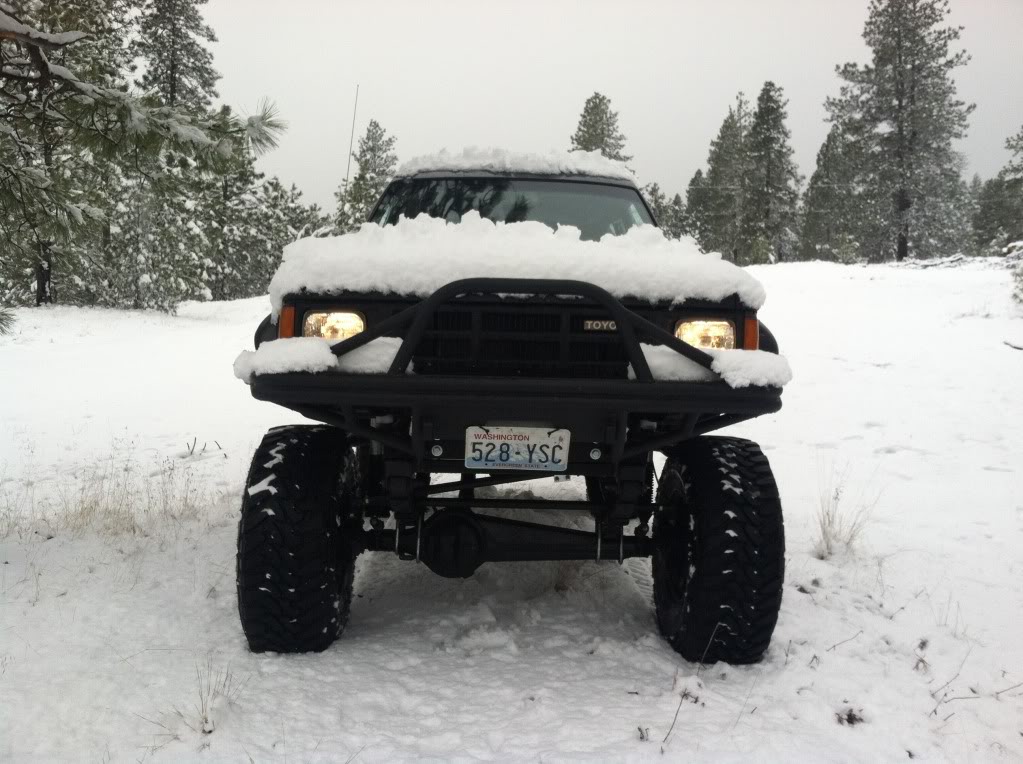
Playin around in the snow in the back country:
my standard flat black rustoleum rust protection:
fitment:
rear bumper with carrier and hi-lift holder:
Playin around in the snow in the back country:
01-17-2013, 09:42 PM
#76
I will jump around a bit here, but stick with me on the photos.
Some work on the interior lining. I decided to learn how to be a seamster. lol. $15 dollars at joanne fabrics and some elbow grease turns out a new headliner.

To the junk yard. To my surprise I found a 4runner with a gray interior. I went to town on this thing and got all the gray parts that were there and applicable for my truck. Definitely an unexpected score.

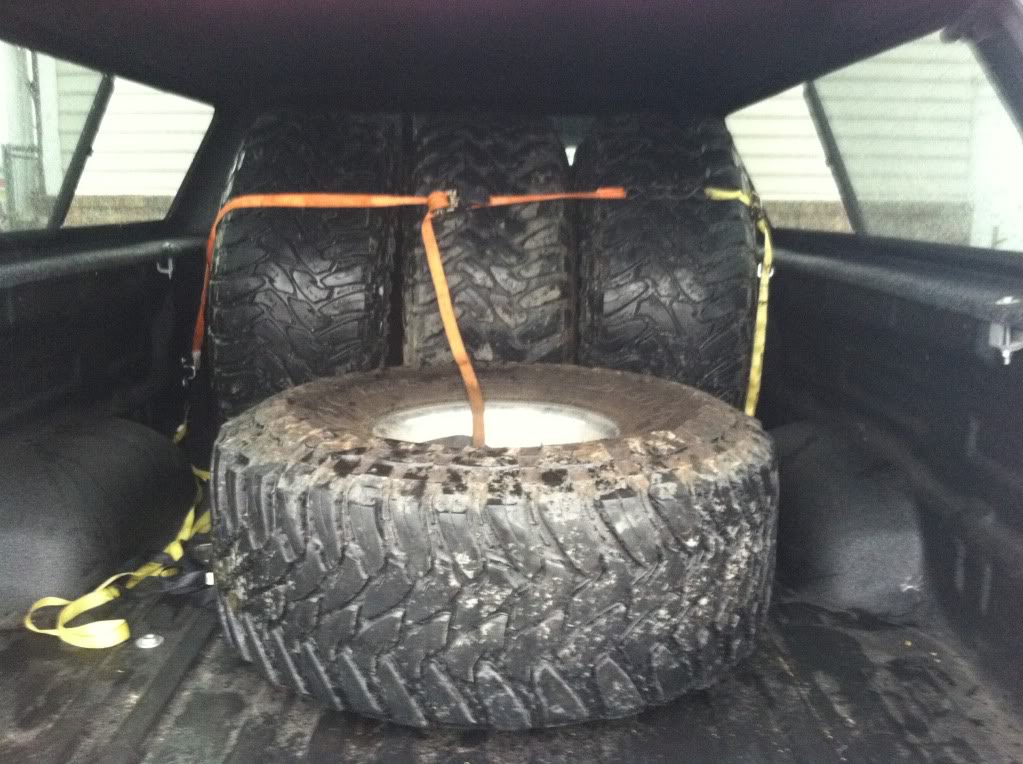
Now, why would I be taking such photos of my tires/wheels?
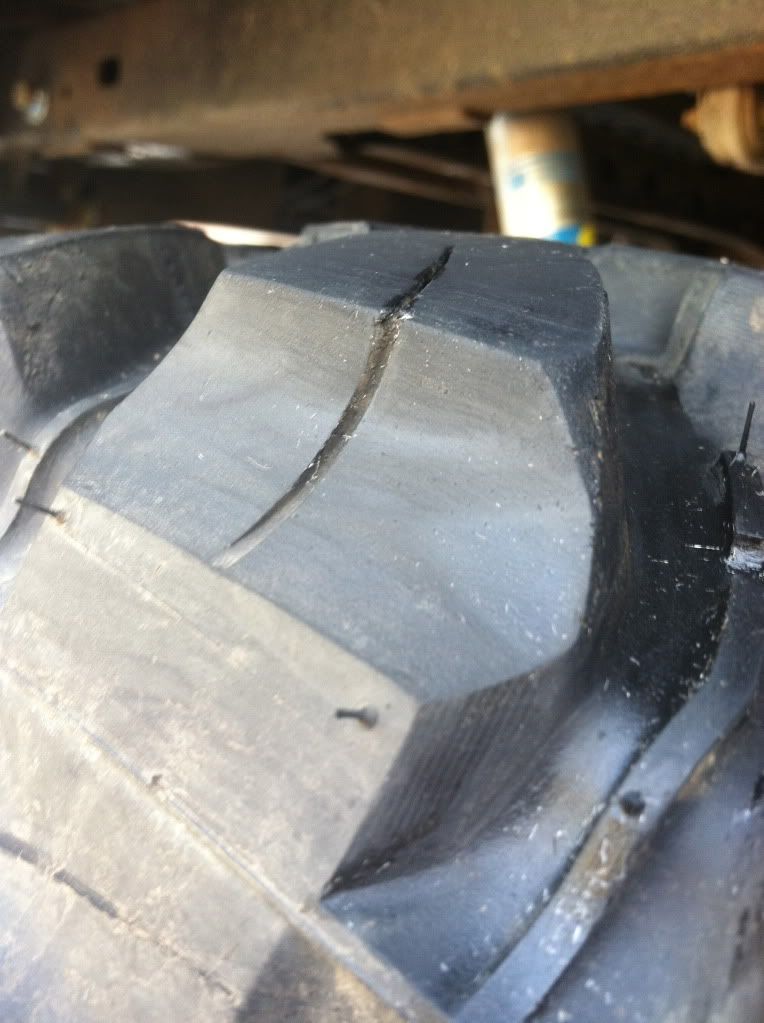

Because I traded them straight across for these (I had to drive an hour and a half). I would say 33's on steelies for 37x14.5x15's on aluminum wheels is a hell of a trade straight across. Worked out perfectly.

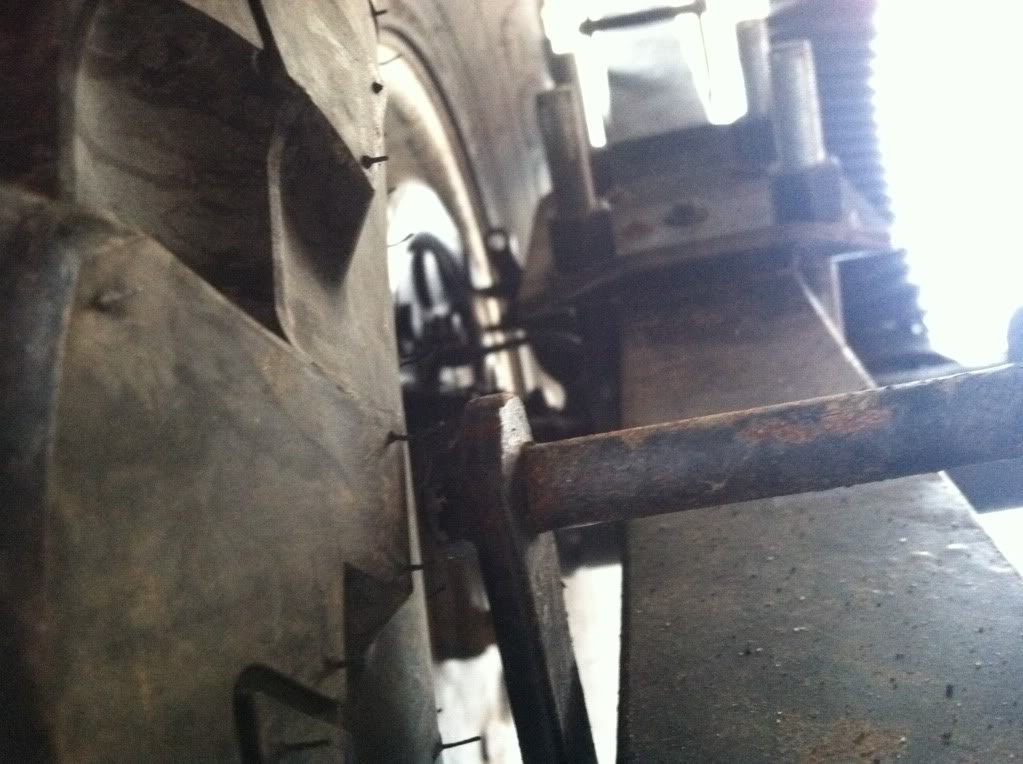
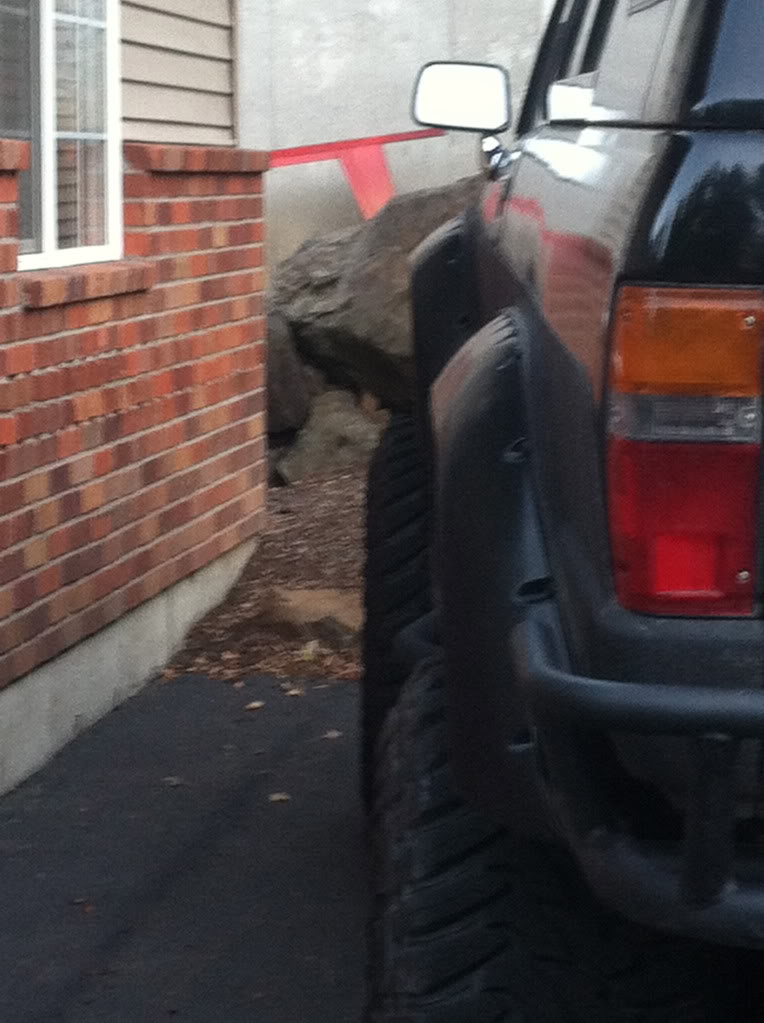
Now this is a problem. A little close for comfort. Time for some spacers:

Found this running around in the backwoods. Surprising since we don't really have many around my area. I've seen 2 in the last 13 yrs I've been here.

I found the ghost buster van!!!

Another entertaining feature of the summer, seems like a tiger muskie got a hold of this little guy.

Some work on the interior lining. I decided to learn how to be a seamster. lol. $15 dollars at joanne fabrics and some elbow grease turns out a new headliner.
To the junk yard. To my surprise I found a 4runner with a gray interior. I went to town on this thing and got all the gray parts that were there and applicable for my truck. Definitely an unexpected score.
Now, why would I be taking such photos of my tires/wheels?
Because I traded them straight across for these (I had to drive an hour and a half). I would say 33's on steelies for 37x14.5x15's on aluminum wheels is a hell of a trade straight across. Worked out perfectly.
Now this is a problem. A little close for comfort. Time for some spacers:
Found this running around in the backwoods. Surprising since we don't really have many around my area. I've seen 2 in the last 13 yrs I've been here.
I found the ghost buster van!!!
Another entertaining feature of the summer, seems like a tiger muskie got a hold of this little guy.


 01-17-2013, 09:53 PM
#79
Finally, some more performance enhancing mods!!
Housing clearanced for what is to come. I have a thread that explains this well if anyone is interested. I have a 4cyl axle and am putting in a v6 third.

New 5.29's with arb's
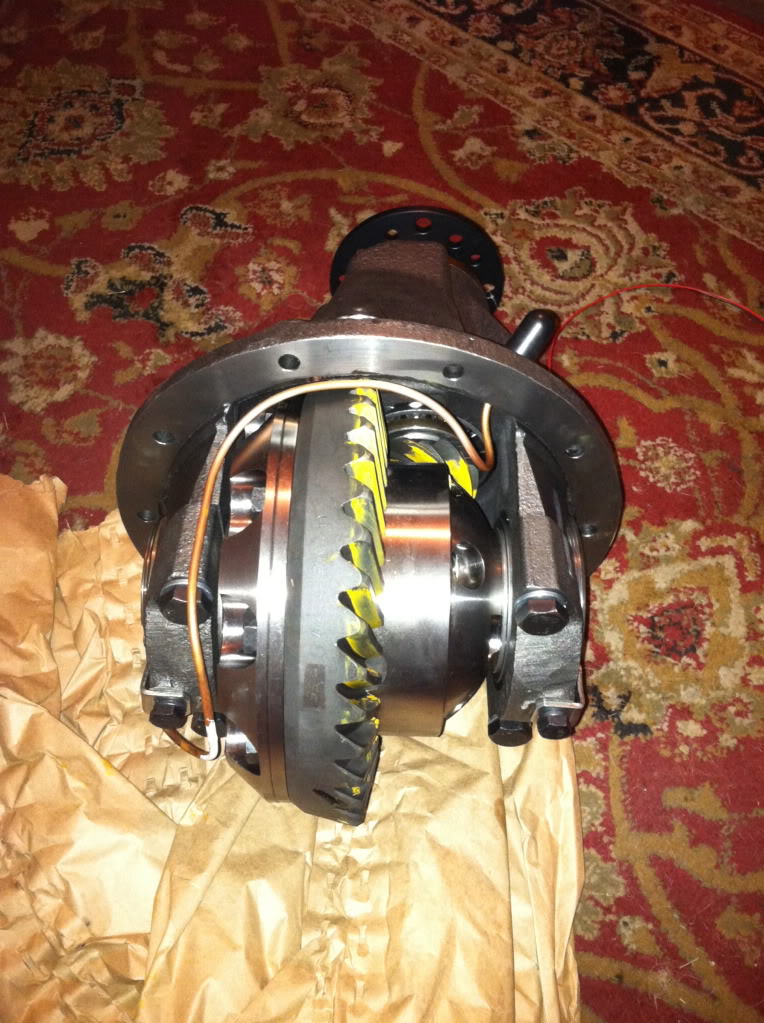
Another pic:
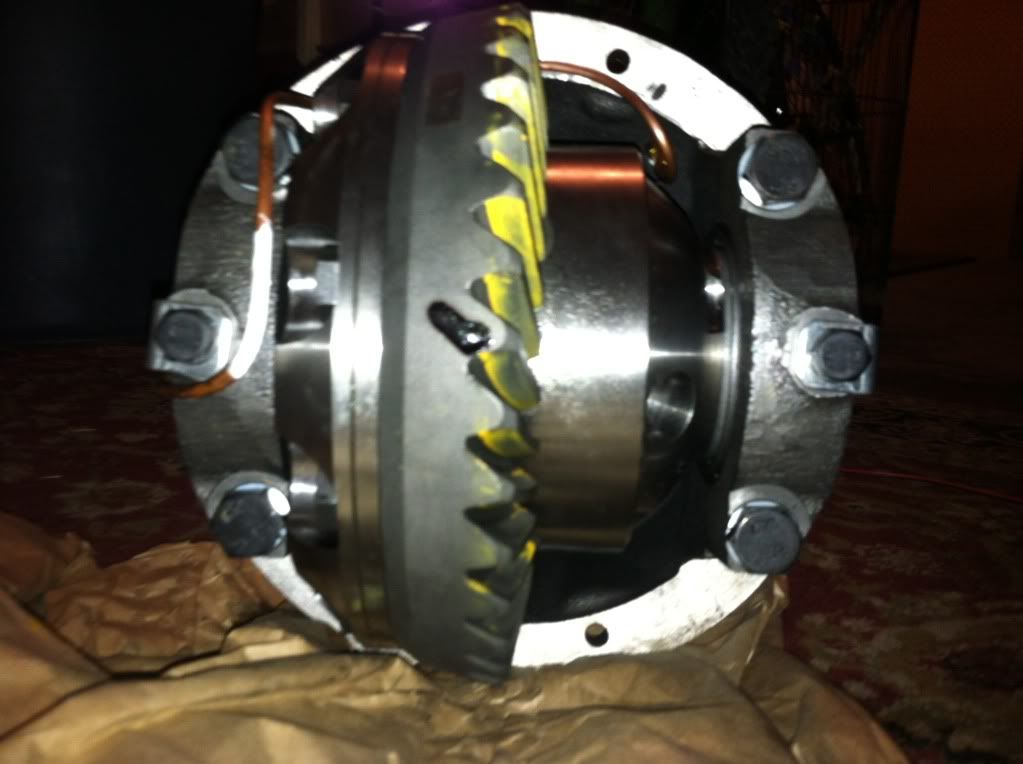
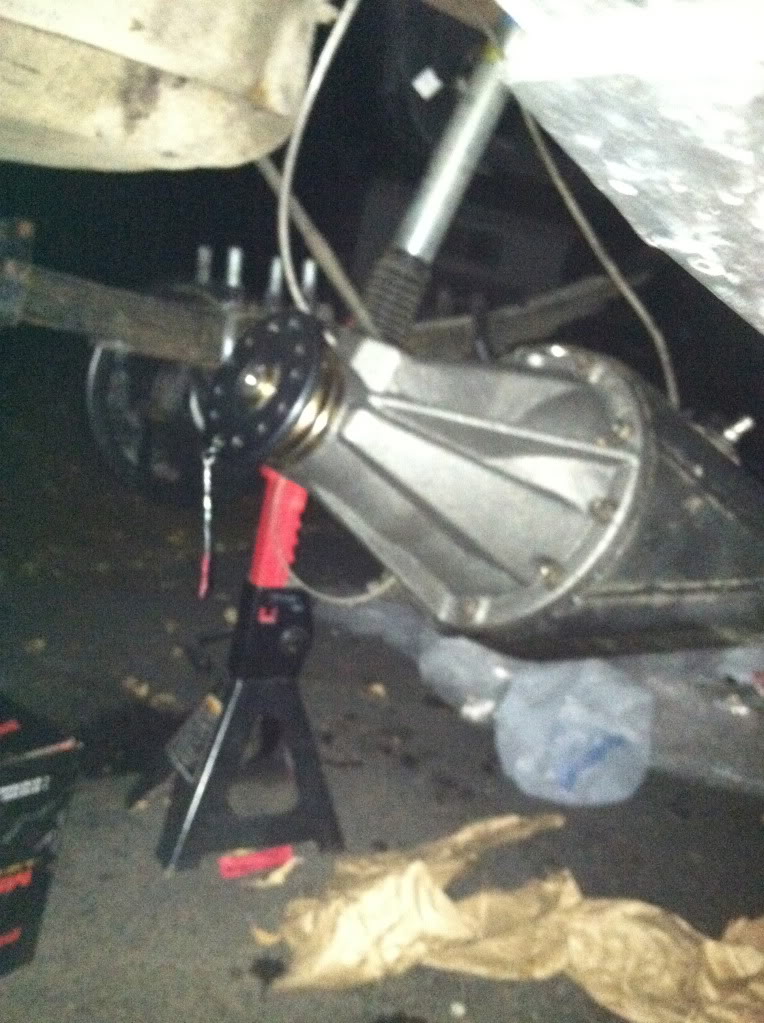
Installed, fits like a glove. I would recommend getting longer studs. I did not and wish I would have. When I pull my axles again, I will likely get longer studs:
Housing clearanced for what is to come. I have a thread that explains this well if anyone is interested. I have a 4cyl axle and am putting in a v6 third.
New 5.29's with arb's
Another pic:
Installed, fits like a glove. I would recommend getting longer studs. I did not and wish I would have. When I pull my axles again, I will likely get longer studs:
01-17-2013, 09:55 PM
#80
No, they didn't leak from the clearancing done.
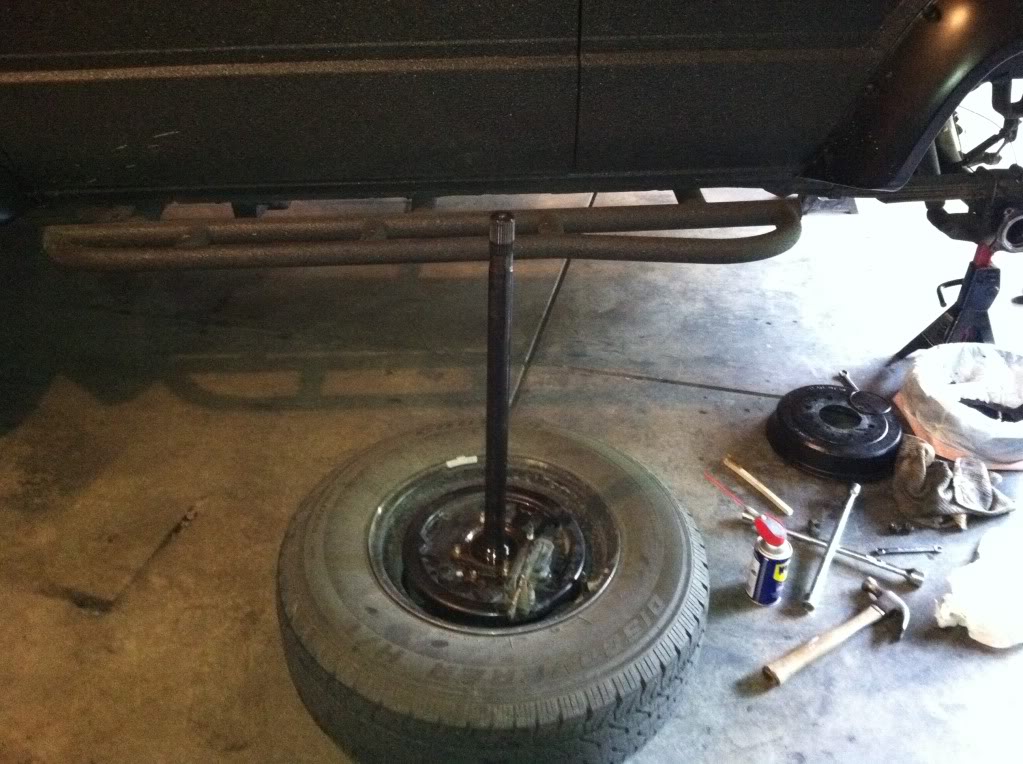
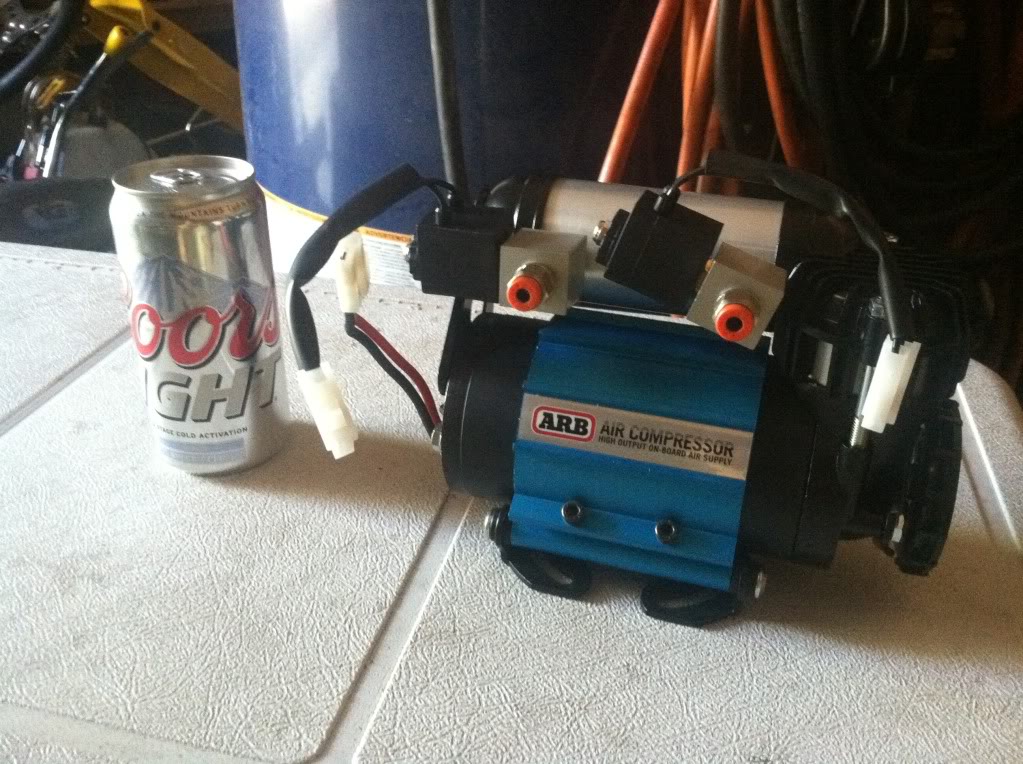
Now for some air so that they can work:
finally put the bumper to good use. No really, it makes a hell of a tool holder though:
Almost installed:

All finished:


Now for some air so that they can work:
finally put the bumper to good use. No really, it makes a hell of a tool holder though:
Almost installed:
All finished:


