When you click on links to various merchants on this site and make a purchase, this can result in this site earning a commission. Affiliate programs and affiliations include, but are not limited to, the eBay Partner Network.
Sup dudes! I've been bouncing around other sections of the forum and jumping over to Marlin Crawler and Pirate 4x4 for a couple of weeks to answer questions about doing a W56 swap...fast forward, I had a plan to start doing fabbing stuff up for the crossmember to get ready for the transmission swap and now I am absolutely dumbfounded:
I got under the truck today to start measuring and drawing new crossmember mounts so I could fab them up this afternoon. Well I got the whole thing drawn up and then out of curiosity I decided to look at exactly how the transmission mount attached to the crossmember. Well I was looking at the transmission mount and just started scratching my head because it didn't look like all the stock ones I had been researching and it definitely looked like the p.o. fabbed up something further back, like for a W56...so in disbelief I googled original cross members and they definitely didn't have this extra plate welded on them, then I looked at what the L52 transmission looks like in the Marlin Crawler webshop and it didn't look one at all...and finally i measured the transmission and holy crap! I got a W56 already in the truck.
I am the second owner of the truck and the guy I bought it off of was a car guy (chevy's though) so I doubt he did that work because I figured it would have been mentioned in the sale. Im just surprised with how clean and primarily stock my truck is that it already had this swap. I bought the truck and it already had a Weber 32/36, it was desmogged (albeit the quick way with vaccuum line plugs instead of block off plates), and the engines been rebuilt before (I just found that out by the guy that did my rebuild) and now I find out it already has a W56...strange, i'm just still amazed. Just saved me a couple weeks of time and a whole lot of money. Definitely doesn't look like the L52 bell housing This is definitely not stock It's the same length as an W56!
Further updates:
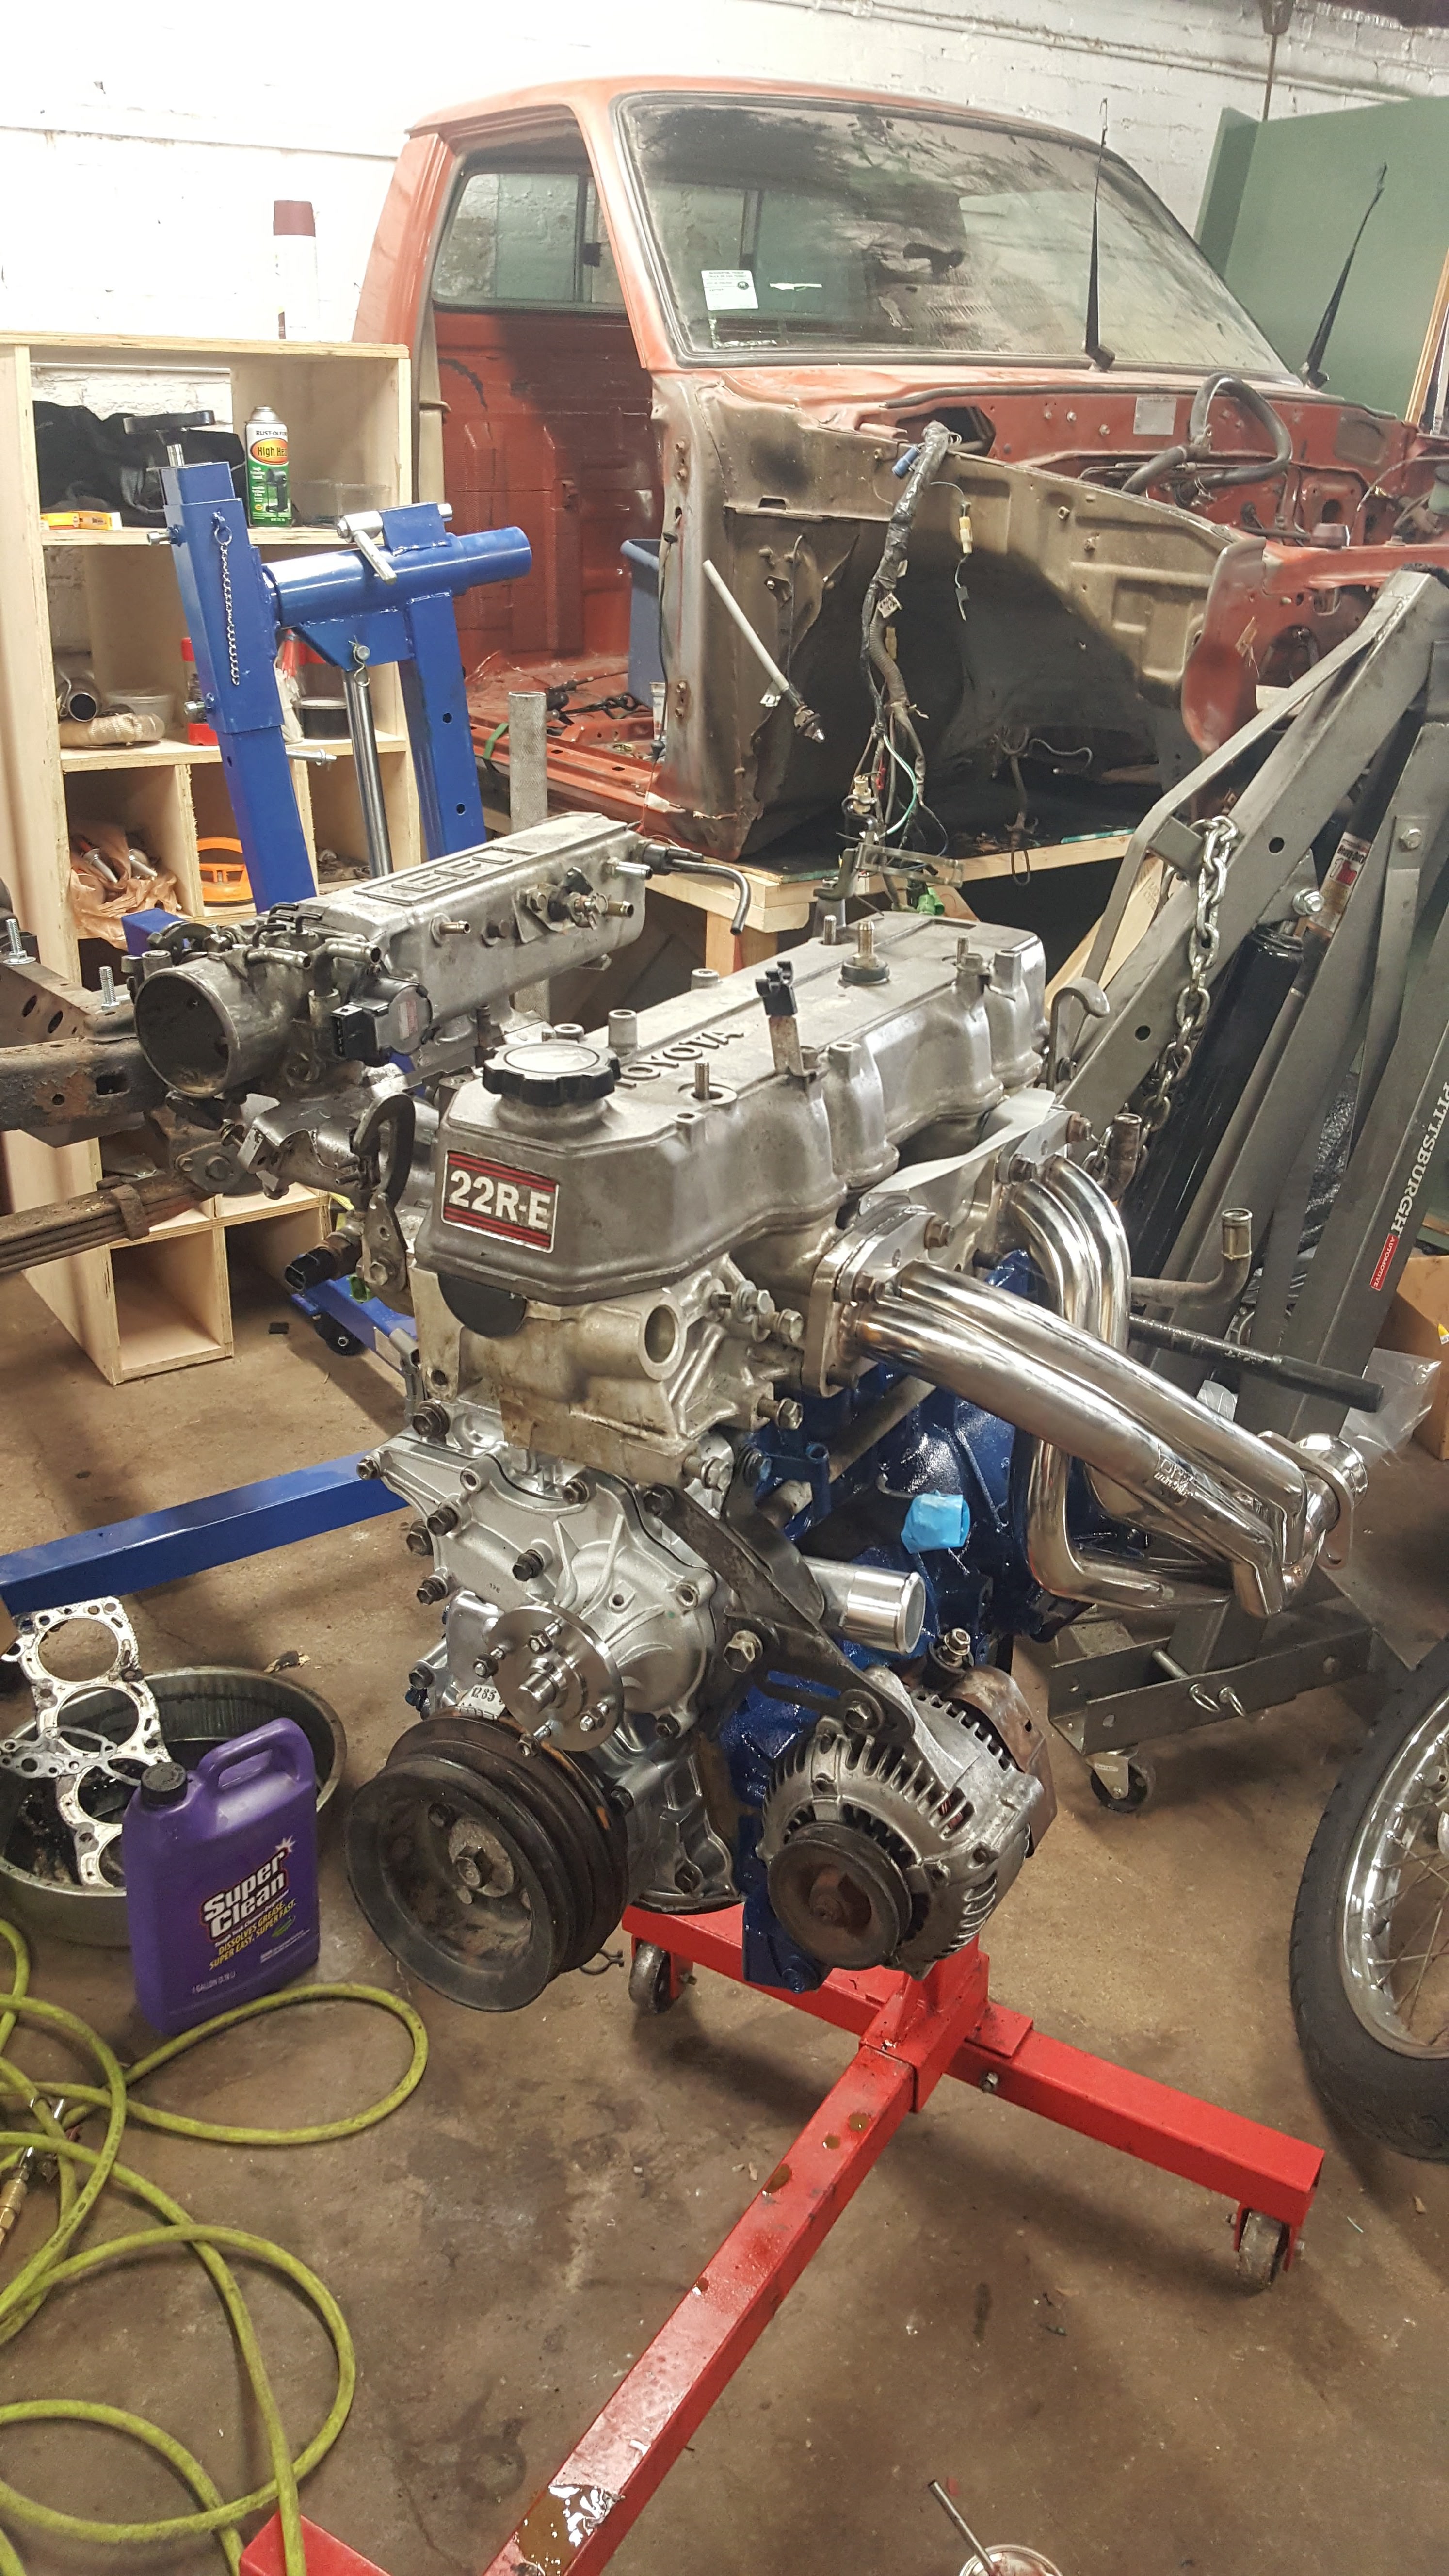
The motor has been cleaned, bored and rebuilt. I pick it up tomorrow and I'll post pics of it.
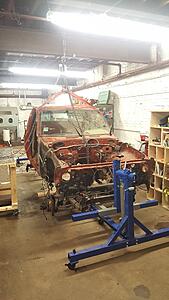
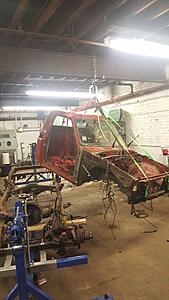
I got the rotisserie built and attached to the truck, I'm going to remove the cab and then i'll post a detailed review and photos.
Wow, it has been a long time since I updated this build thread. Not to be worried I have been still steadily working on the truck and making progress although winter here in Chicago has slowed things down a bit but
Things that have been accomplished in the past months:
-Finally built up that rotisserie! its pretty good if anyone is considering the cheap $1000 special rotisserie it actually works really well. I had to modify it a little bit to fit the narrower front end of the chassis but it was easy. You do need two people to flip the thing but it spins easily.
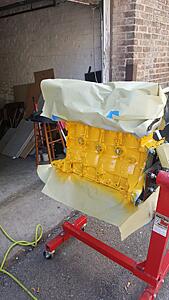
-Got my Engine back and painted the block
-I got the truck on the rotisserie and removed the cab and axles, stripped everything else.
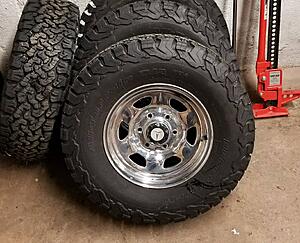
-Found and purchased a set of OEM rims with new TA's from a Michigan FJ owner
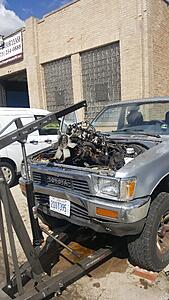
-Blew the head gasket on the 1990 yota, pulled the engine rebuilt it and sold the truck to a guy for $3500 (hows that for a turn around!)
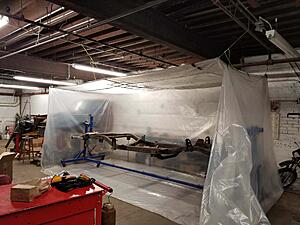
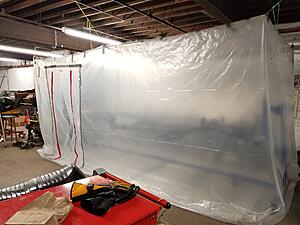
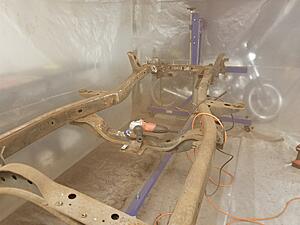
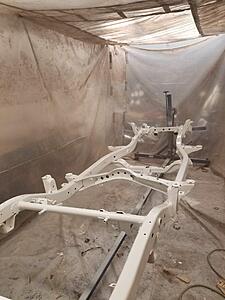
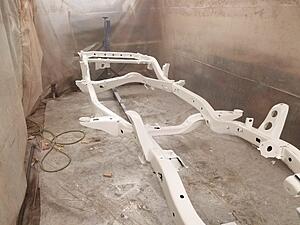
-I have assembled a make shift paint tent and commenced cleaning and coating the chassis
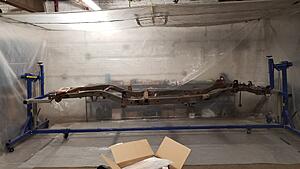
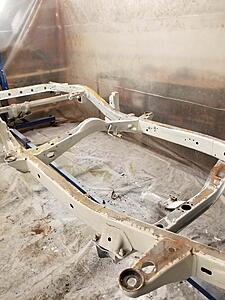
-Cleaned and coated the frame with KBS products and have layed a coat of self etching primer before spraying my final top coat hopefully this week!
The 1990 Rebuild:
Engine block painted:
My very mint OEM Rims:
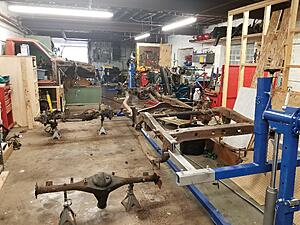
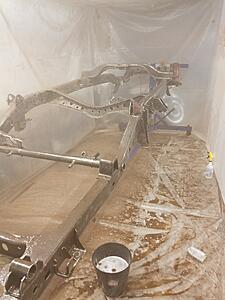
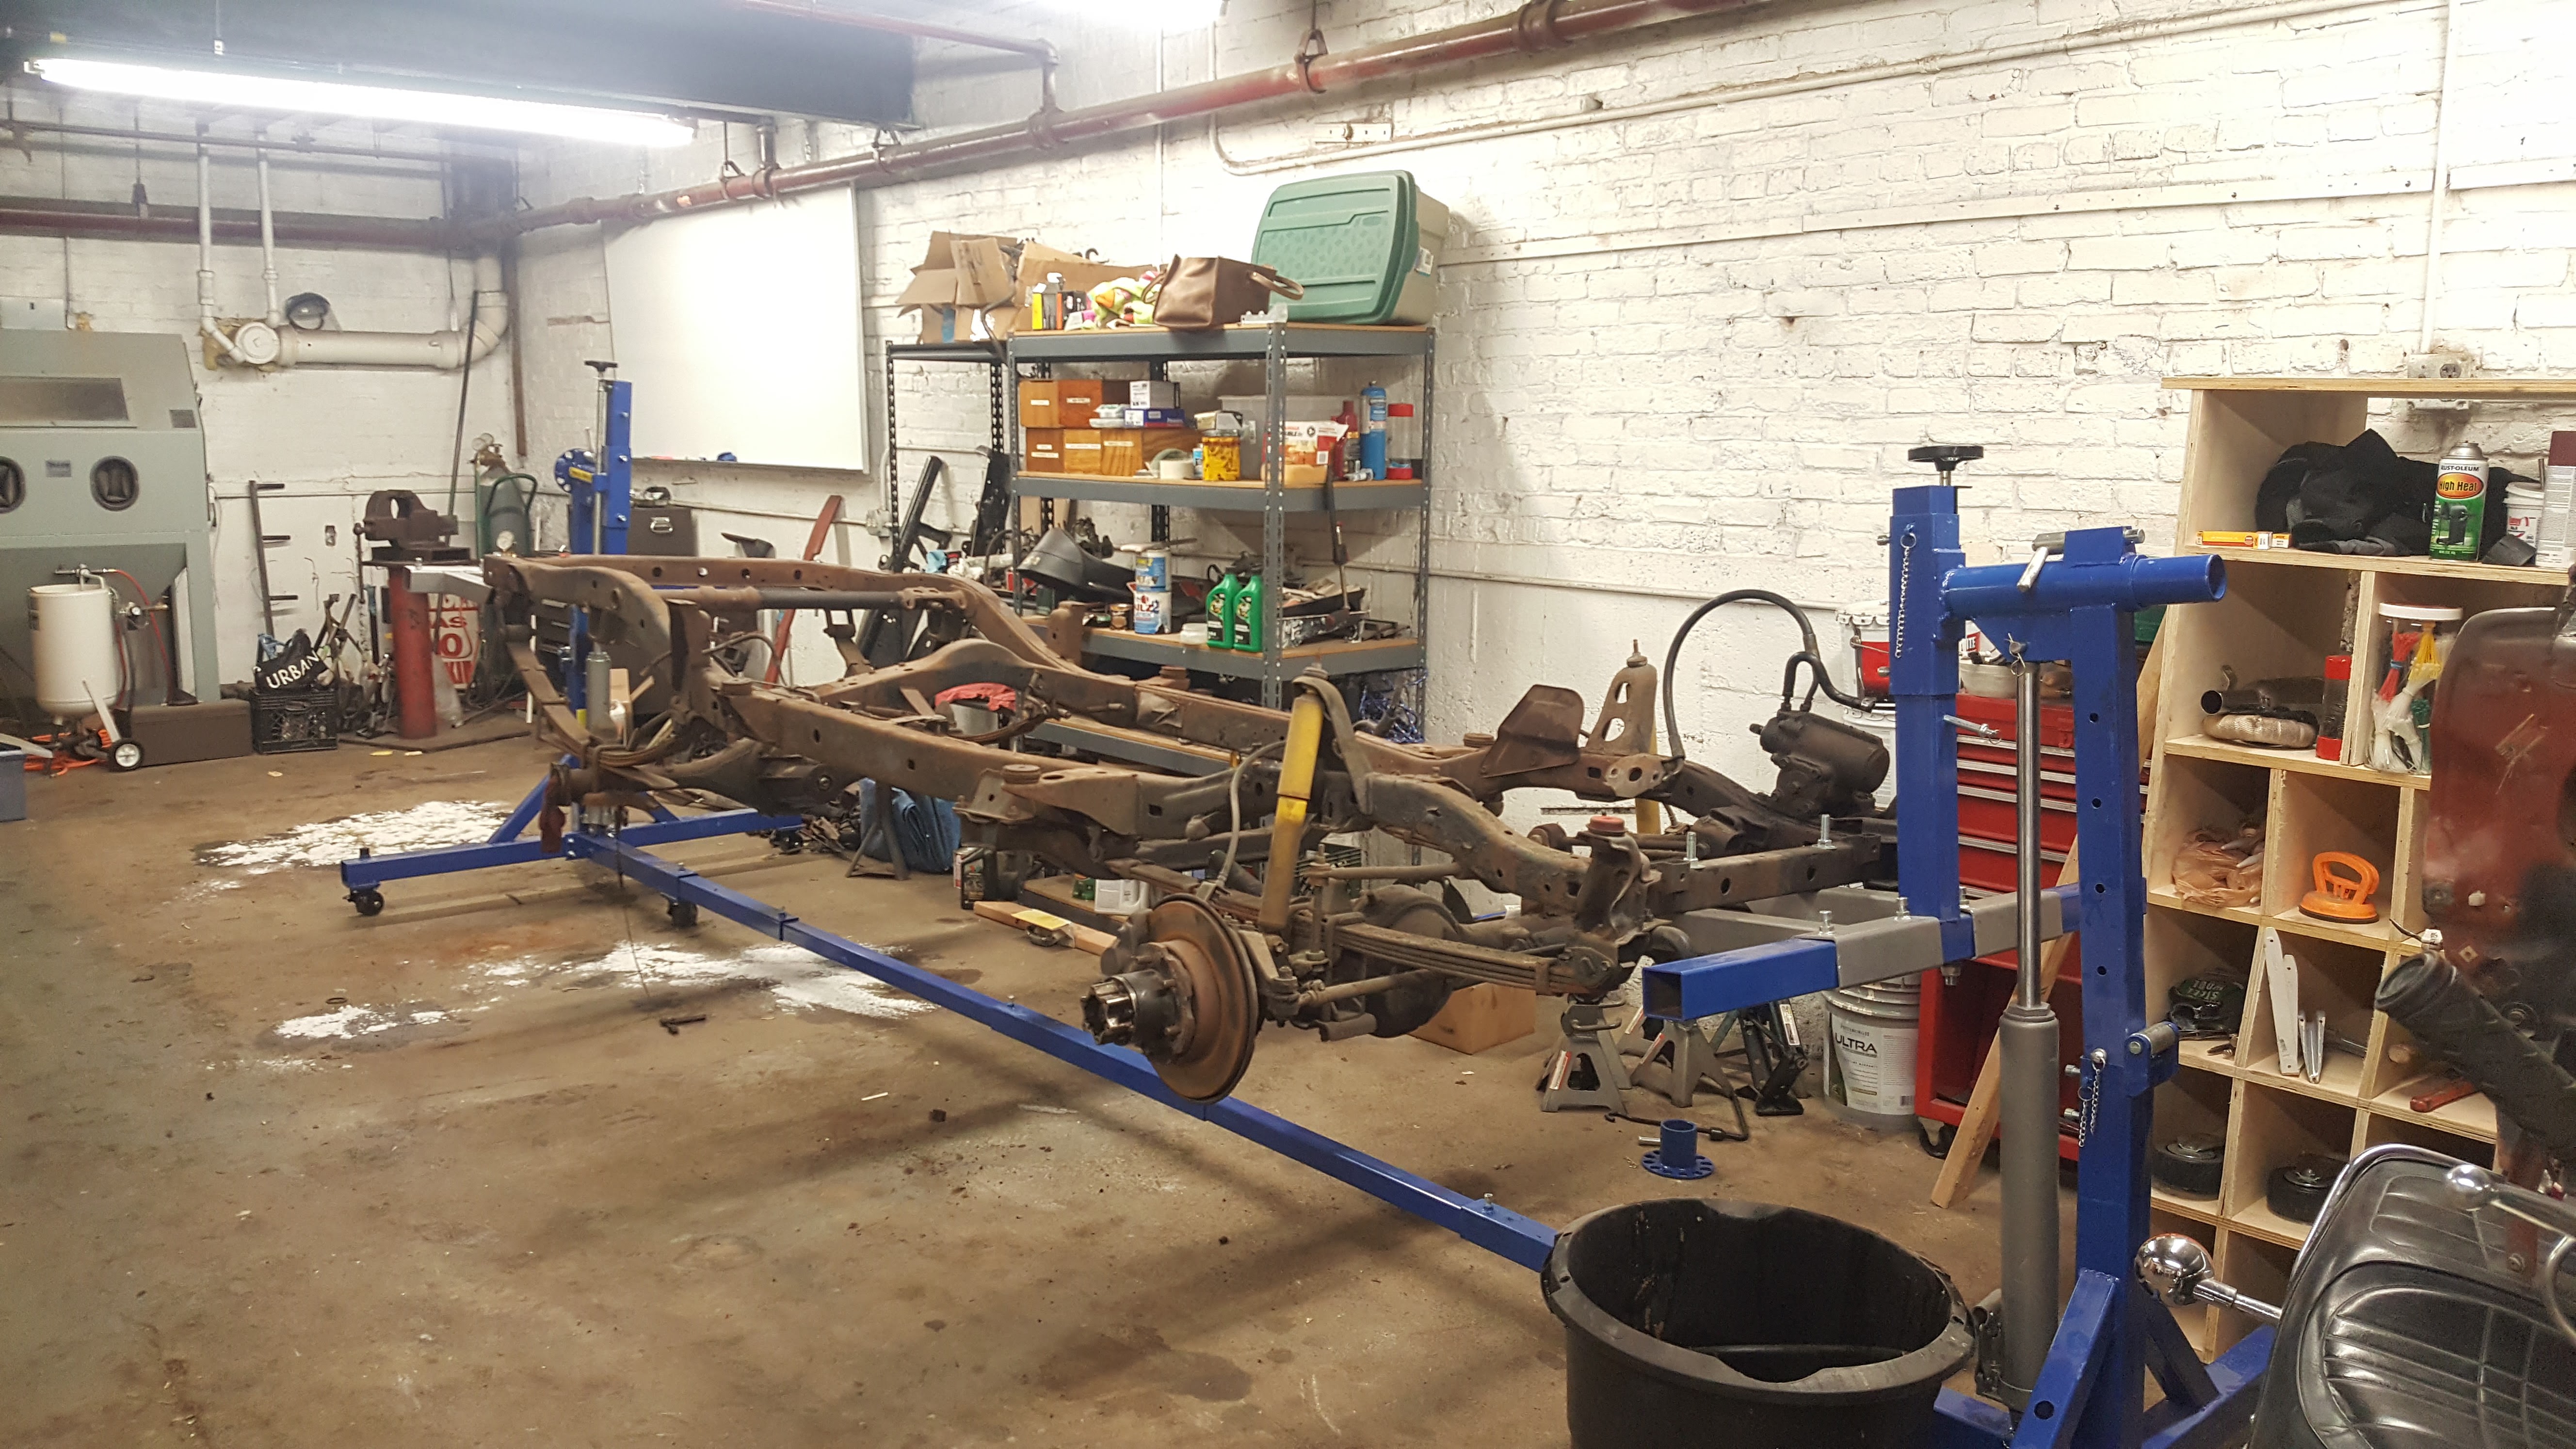
Frame stripped and ready to clean and coat:
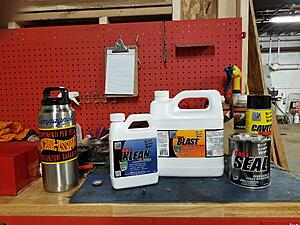
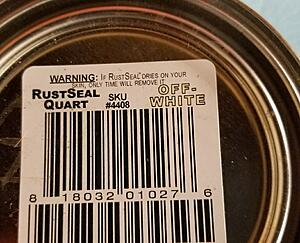
I used KBS Coatings Line of Rust removal and sealing products, they work fantastic and I recommend them to anyone!
Its a three part system
KLEAN, heavy degreaser removes any oil, spent about 4 hours scrubbing off everything
Then I used the grinder to remove any heavy rust and surface scale
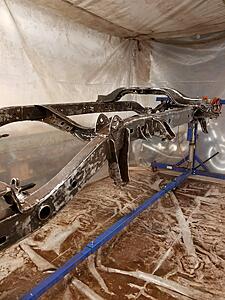
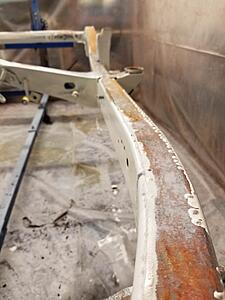
BLAST, next was sprayed on I kept applying it for several hours and it removed rust almost instantly and left a bare metal surface, leaving only old paint that wasn't removed by the grinder. It also has Zinc in it to etch the metal for adhesion, making sandblasting unnecessary and it protects the raw frame for up to 30 days before coating with rust seal.
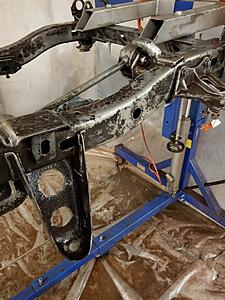
SEAL, is a moisture curing rust inhibitor and primer coat, its only weakness is UV light (makes sense because that would remove moisture that hardens the paint) since the truck chassis will be exposed to some light (albeit not a lot) I am opting to top coat it as well (I also want a custom color chassis) but you can forgo top coating the chasis and only use rust seal. It sprayed on like dog ˟˟˟˟, and cured like glass you can even brush it on and it will cure with out strokes! Worked great, it not only seals but it converts rust too (any rust in the photos is flash rust after the BLAST procedure).
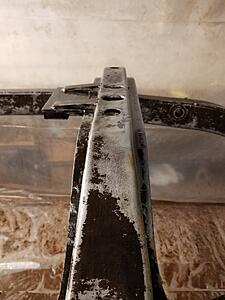
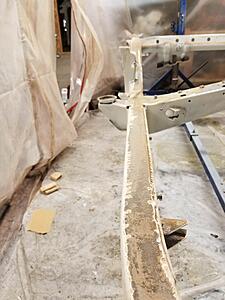
Knocked down my drips:
Couple more coats
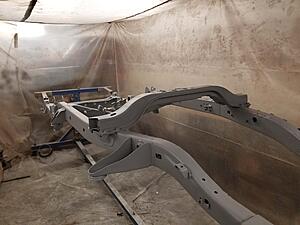
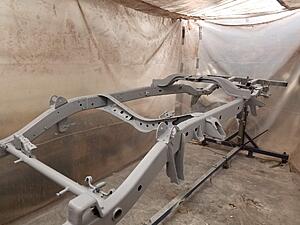
Sprayed over with self etching primer:
Ready for top coat tomorrow! I will try and be more adamant about keeping this updated. More on the list is ordering my OME suspension kit, front axle rebuild kit, painting my axles and getting my rear disc kit from LCE and turning this back into a roller!
Nice truck you have and nice work. I miss my 82. What Does Ey_Amigo mean? I have a dog named Amigo, this is him bailing from my 90 4Runner. LOL
Nice lookin truck and pup!
I own a bicycle frame building company called Amigo Frameworks and I'm also a white boy that grew up in a hispanic neighborhood in San Diego. Ey Amigo! Is just something that I got used to being called, its hey friend! in spanish.
Man what a kick ass place to do the work in. There is no way that truck spent all it's years in IL. Or it was stored winters. No way it was driven year around in the midwest. That frame is awesome.
I live in Big Bear CA and work out of Redlands for a commercial roofing company. I have lots of Amigos!!! lol
Do you build frames? If so I would be interested in seeing your work, I'm a Mountain bike and BMX guy.
Wow! That truck is Awesome! Yes ive been building frames for a while now, was a bike mechanic and then got into the more custom realm doing painting and fabricating. I mostly do road bikes, touring, and commuting. I am about to start a bmx bike for a customer and mountain bike for myself. Here are some photos of that work:
P.S. Are these photos showing up huge? cant seem to get them to resize in BBcode or upload right
Man what a kick ass place to do the work in. There is no way that truck spent all it's years in IL. Or it was stored winters. No way it was driven year around in the midwest. That frame is awesome.
95yoda, I bought this truck in brookfield, IL. its originally from georgia. The guy I bought it from garaged it and kept good care of it and I have done the same for the last 4 years. it was in great condition when I got it, say for the electrical. I've learned while digging through it, that its had one engine rebuild already which warranted me getting a new head and the transmission was swapped with a w56 which was a very pleasant surprise upon finding out (i was planning on doing it myself.)
As far as my space goes, there truly isnt anything like it. I share a live workspace with 5 other roommates we have 9000sqft total, 6 beds and 3 baths (if ya count the drop sink in the basement haha). The rent split is cheap as heck (at least better than renting a room and individual workspaces) and we have a lot of room to play. the warehouse is an attachment on the 3 floor apt, and has two levels. the garage level houses our tools and motorcycles, paint booth, metal work area and bicycle repair station. Its as close to a mechanic commune as you could get. the top floor we have our bar, halfpipe and we've added a pool table since this photo was taken, its a real clubhouse.
And Finally I got more progress to show! The truck frame is now coated in a Dupont Imron Oxide Yellow!
I also ordered a ton of parts from Low range offroad, EMU suspension kit, front and rear axle rebuild kits, motor mounts and I started cleaning and tearing down the front axle for paint and rebuild. hopefully I'll have a roller after the first week of april!
Got the OME kit in the mail and the low range offroad front axle rebuild kit.
Started painting the smaller suspension parts and the rear axle.
Also started installing the OME leaf springs. I did some searching, this is a 2" classic lift kit, for stock 4x4 ride height. When the axles are installed and the truck is on the ground I am assuming that the shackle angle will go to more of a 90 degree position than the steep angle it is currently at?
I don't know but I would be concerned. Maybe those are front springs.
Theyre Definitely the rear shackles and springs. I did see on pirate 4x4 a similar thread, and people were saying the ome springs are very stiff and they need to be weighed down and broken in. The kit I got is for the hilux 4x4 model, i bought this one off low range off road:
Thanks for asking and reminding me to update this thread.
I've gotten done what I consider a significant amount of work:
-Cleaned and coated bottom, bay and inside of fenders on the cab with tintable truck liner
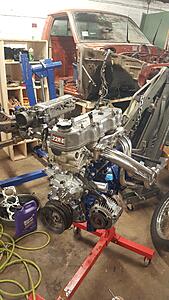
-Finished the transmission and mounted it
-Motor has most of the new stuff installed including intake, carb, timing chain, and water/oil pump
-Painted the drive shafts
-Axles are rebuilt and painted with the rear disc kit installed
Ran into a snag last week when I realized my motor mount brackets (just the brackets not the mounts themselves) had been misplaced by the machine shop that did my engine almost a year ago. Ordered some pick n pulls off fleabay for an 85-90, so hopefully those work. I'm pretty sure ill have to turn a spacer for the non-drive bracket but that'll be easy. Was hoping to get the cab on last week but cant until I mount the engine, whatever. Once the cab is back on I'll get on the electrical and lines and try to get it running.
I move to Nashville at the end of December, so hopefully I'll have it running so I can drive it on to a trailer and get her down south. Its gonna be a busy couple of months with moving a whole shop and finishing other side projects. Luckily a buddy is helping out and speeding along the process.
I am feeling a lot more confident with my deadline, I hit a slump in the summer having been to busy with school and not seeing "big" progress. Painting takes so long and doesnt look like much progress in the build.
Once I got the axles done though, and it started to look more like a truck, I really got that excitement again. And now that things are painted and ready to be put on its going back together really quick.
I mean in one week I would have had a complete roller with the cab installed had I not run into the engine bracket snag, I'm getting stoked and starting to look for body shops in Nashville to do the exterior paint. I want to be driving this thing by the summer!
I'm gone for the weekend and writing this all on a plane to Seattle but when i get back those mounts should be waiting for me, and I'll be jumping right in!

 06-20-2017, 09:16 PM