
irab88's 1983 Coleman Sun Valley Build-Up Thread
 03-08-2013, 08:27 AM
#401
last weekend's progress
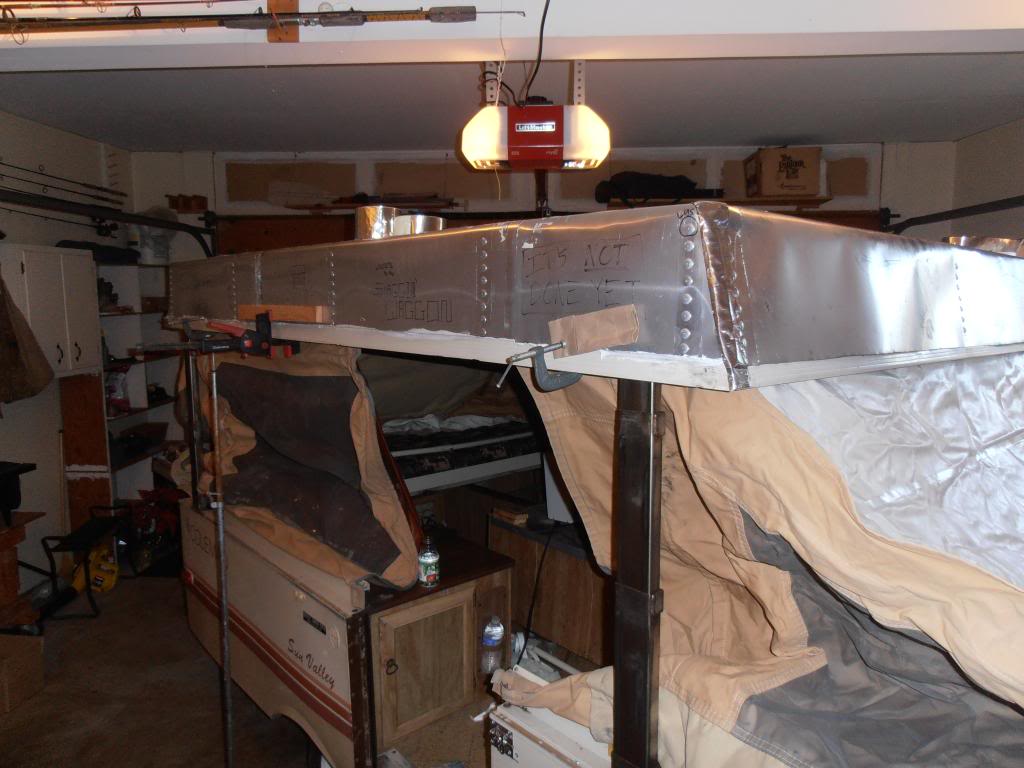
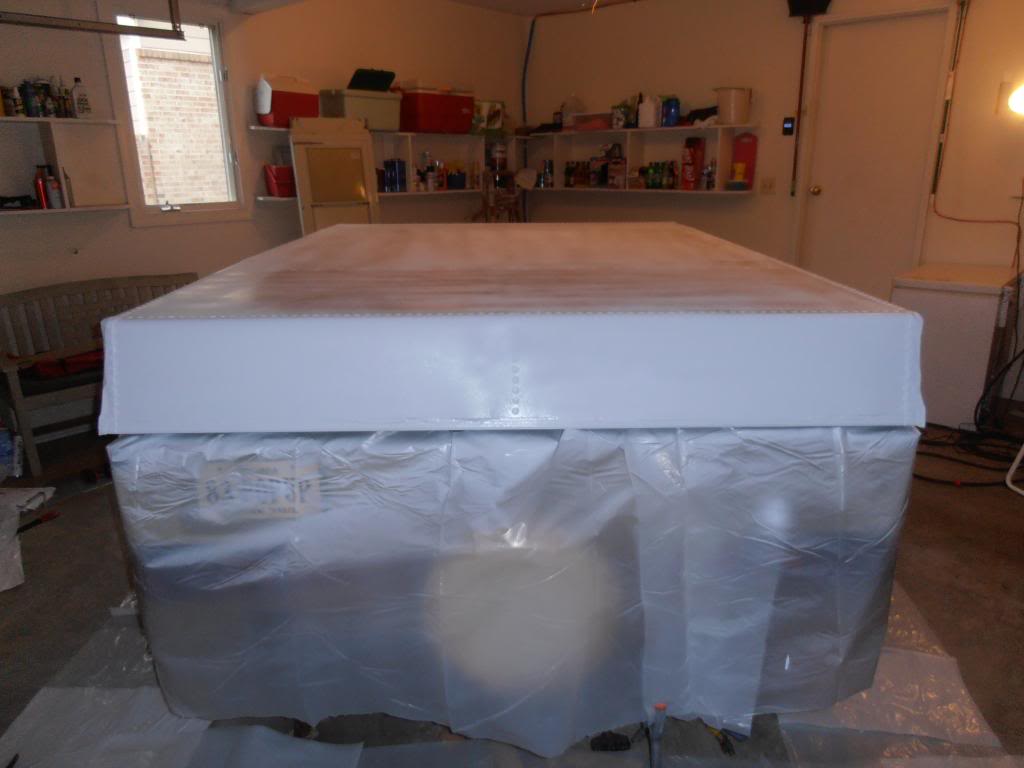
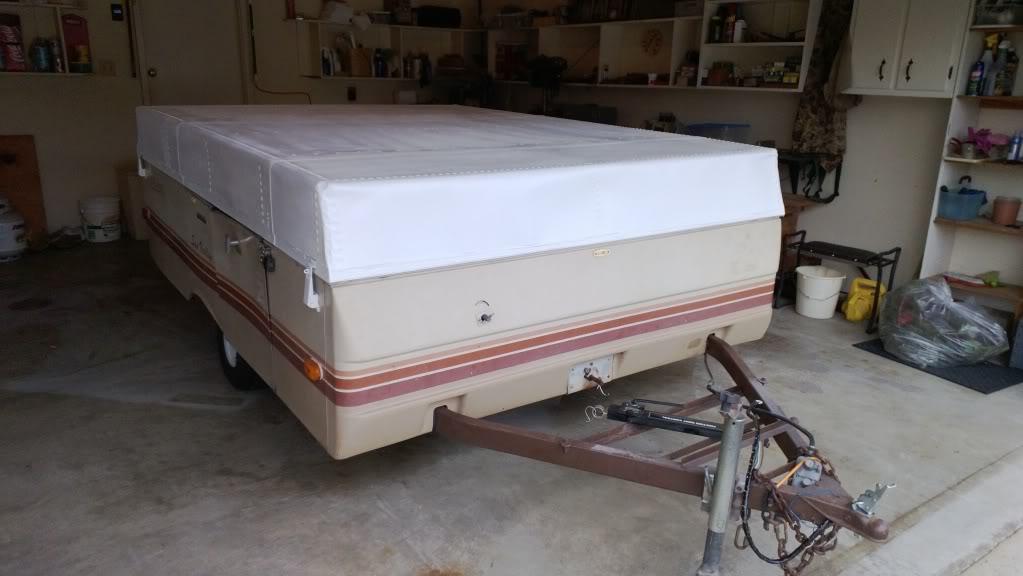
parked the trailer and removed all the duct tape. i still have a few bits to take off, but it's good for now
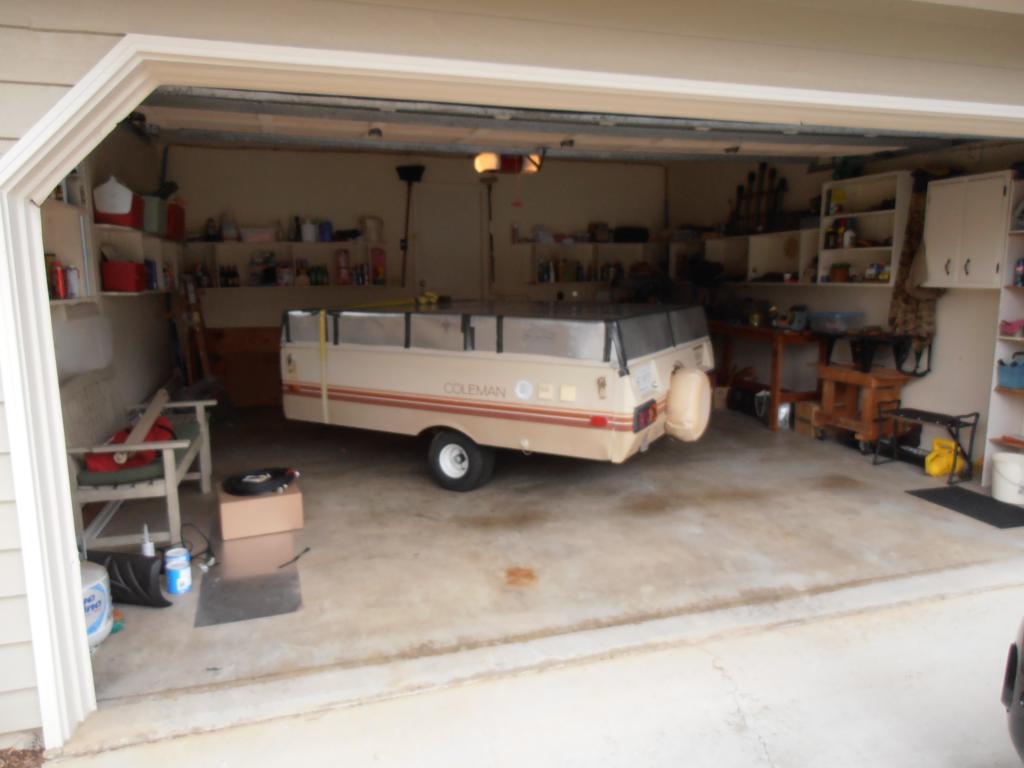

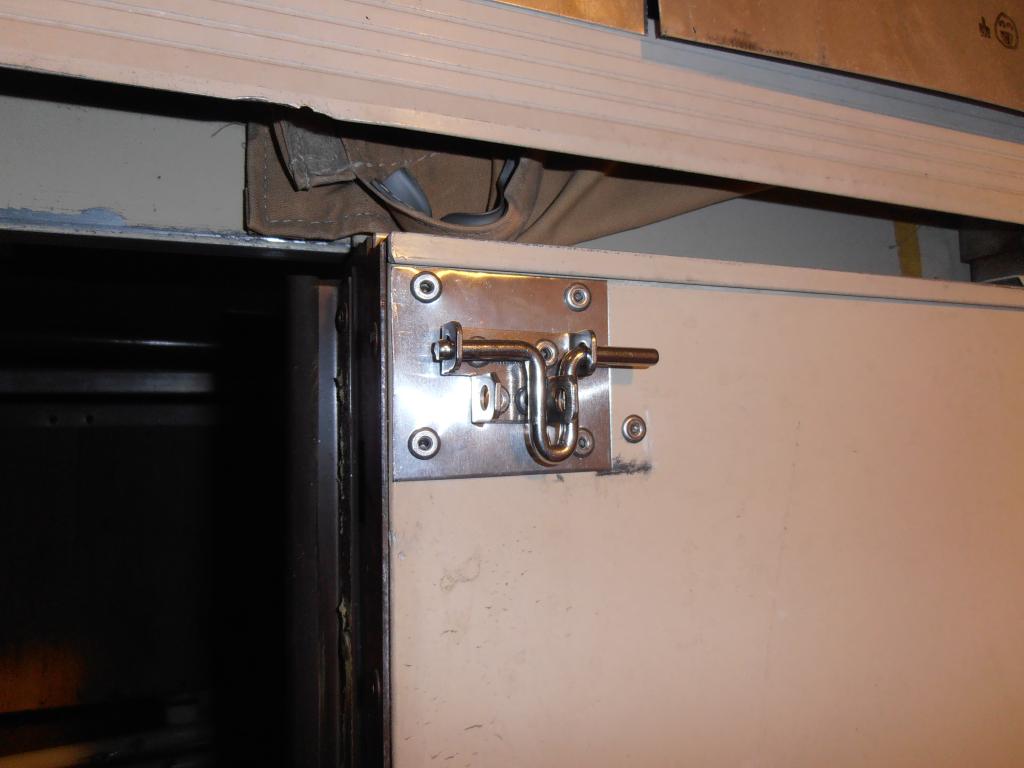
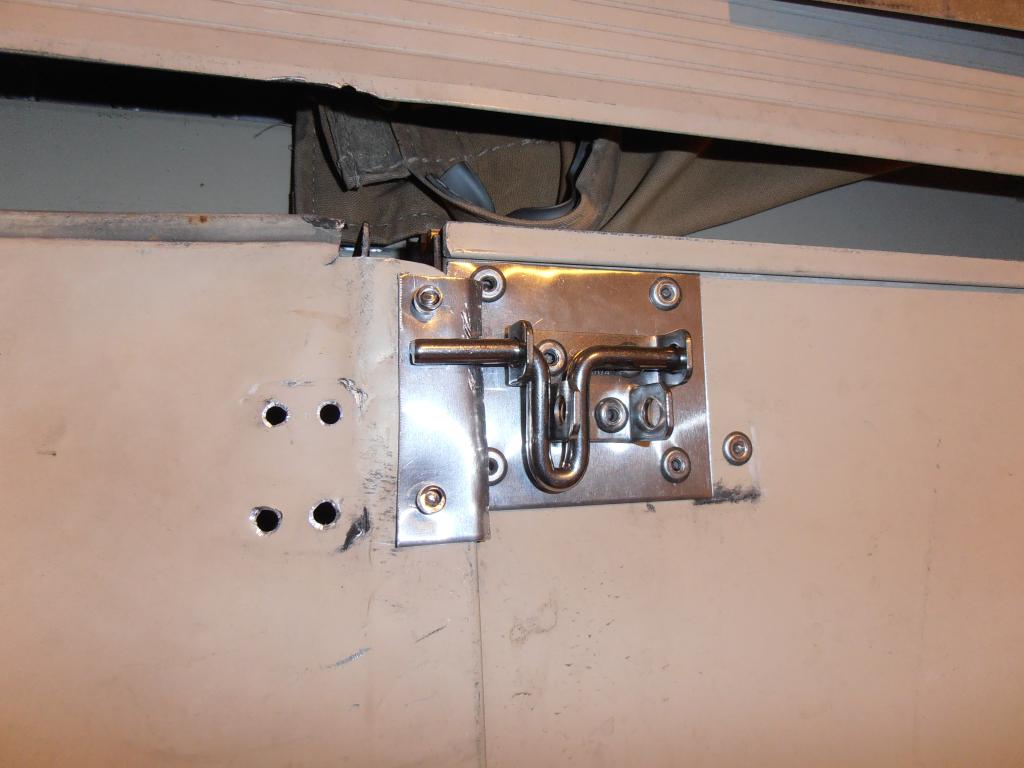
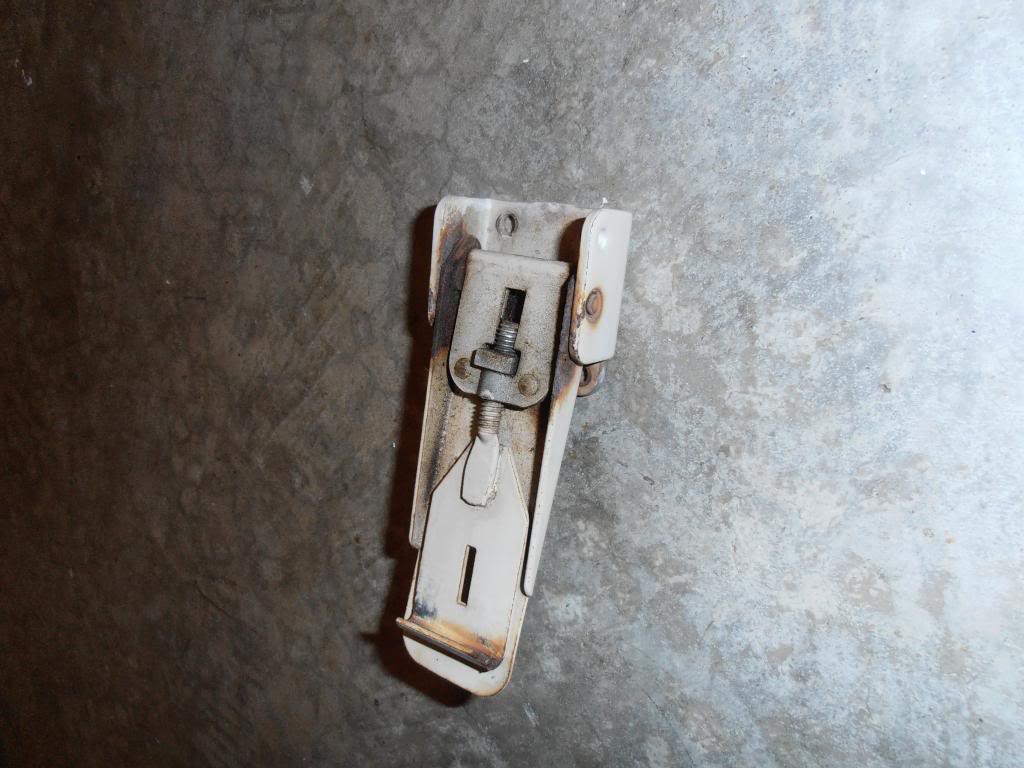
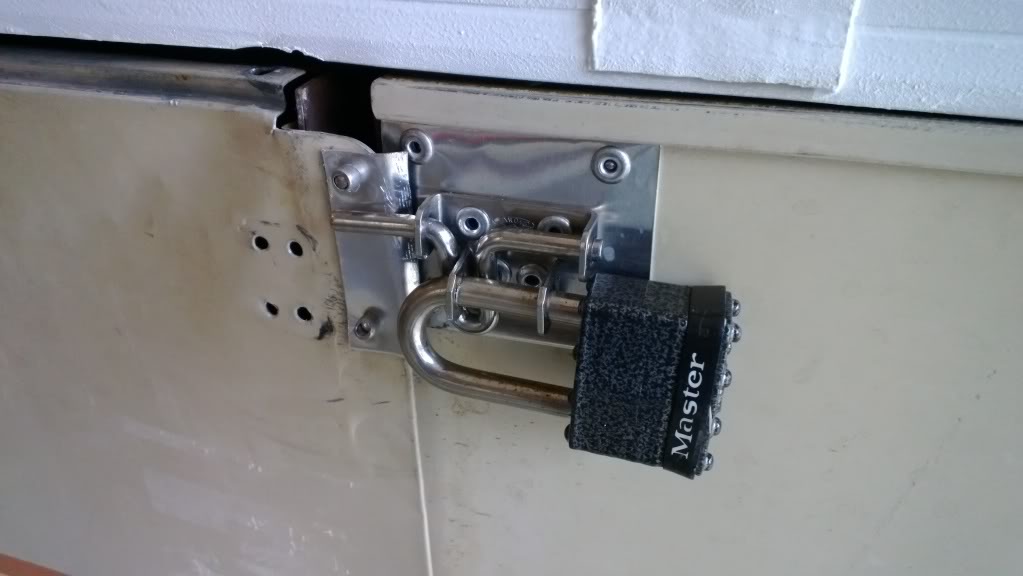
then i installed a new, temporarily-permanent latch. much better than what was on there before
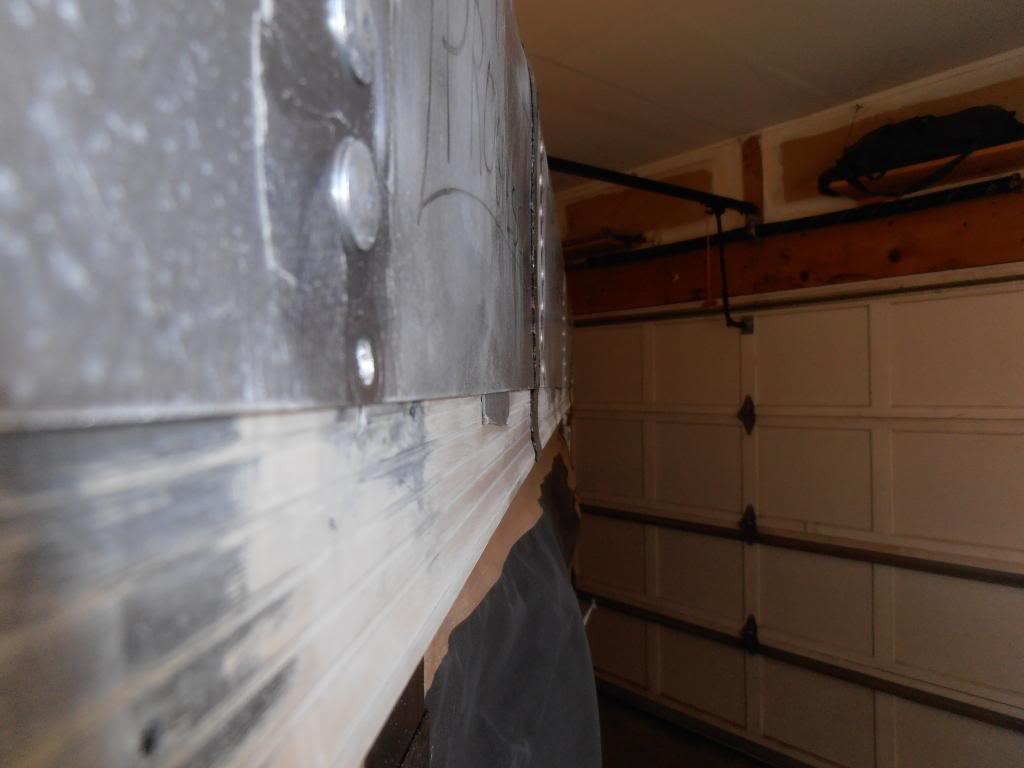
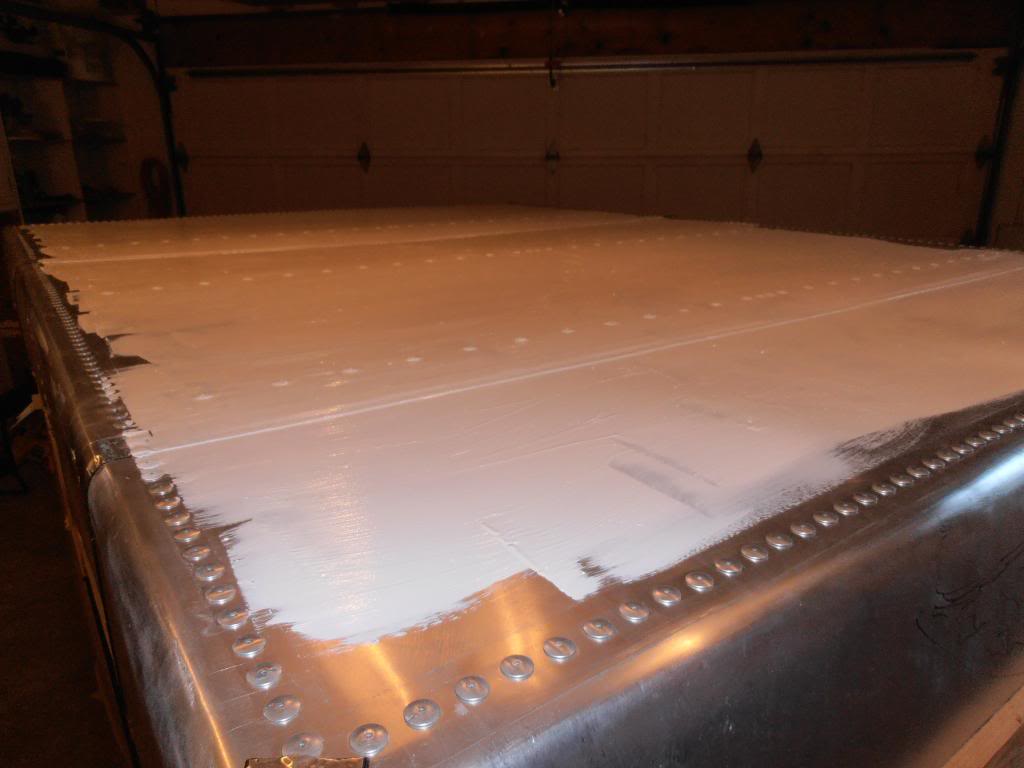
then i started wit the sealing tape. this stuff is strong, flexible, and is aluminum-backed
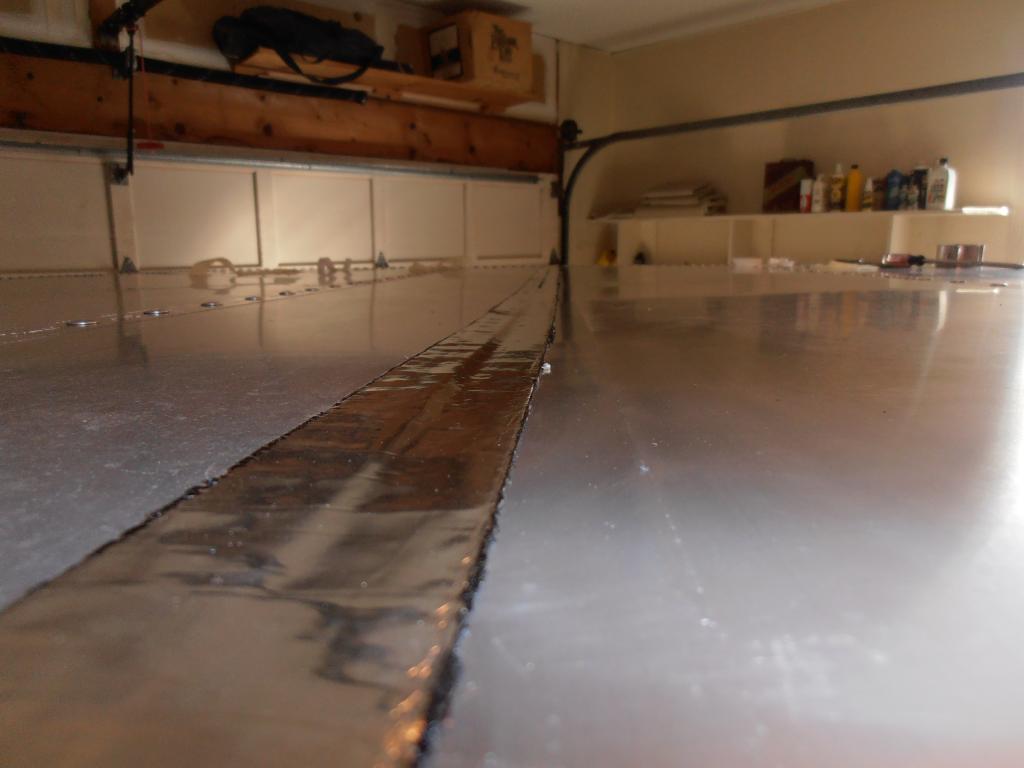
and how i left it on sunday
this weekend i'll try to finish up the exterior (aside from vents and lights). the goal is to be able to tow it without having to store it with a tarp or ratchet strap
parked the trailer and removed all the duct tape. i still have a few bits to take off, but it's good for now
then i installed a new, temporarily-permanent latch. much better than what was on there before
then i started wit the sealing tape. this stuff is strong, flexible, and is aluminum-backed
and how i left it on sunday
this weekend i'll try to finish up the exterior (aside from vents and lights). the goal is to be able to tow it without having to store it with a tarp or ratchet strap
 03-09-2013, 04:07 PM
#402
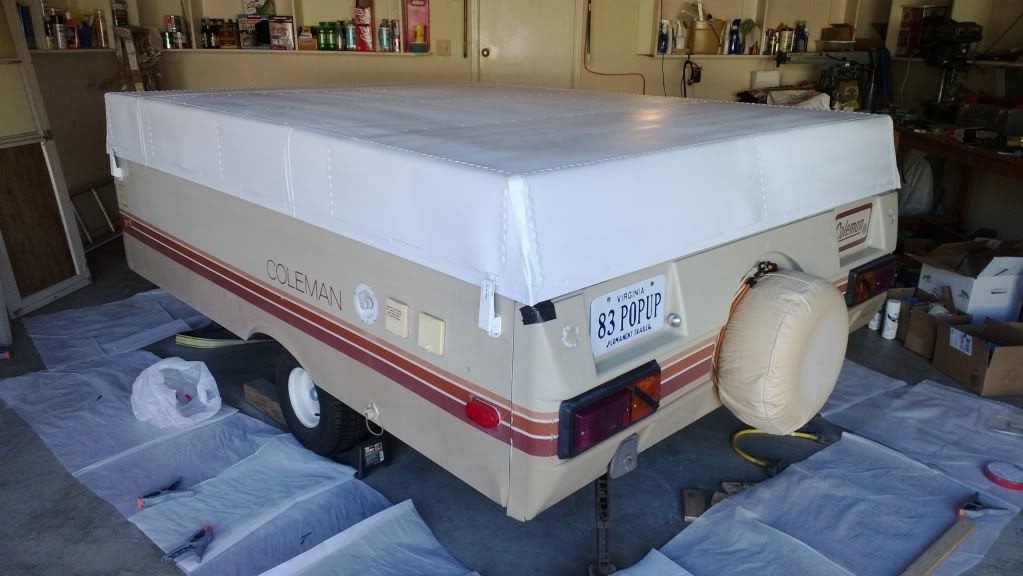
more progress yesterday and today
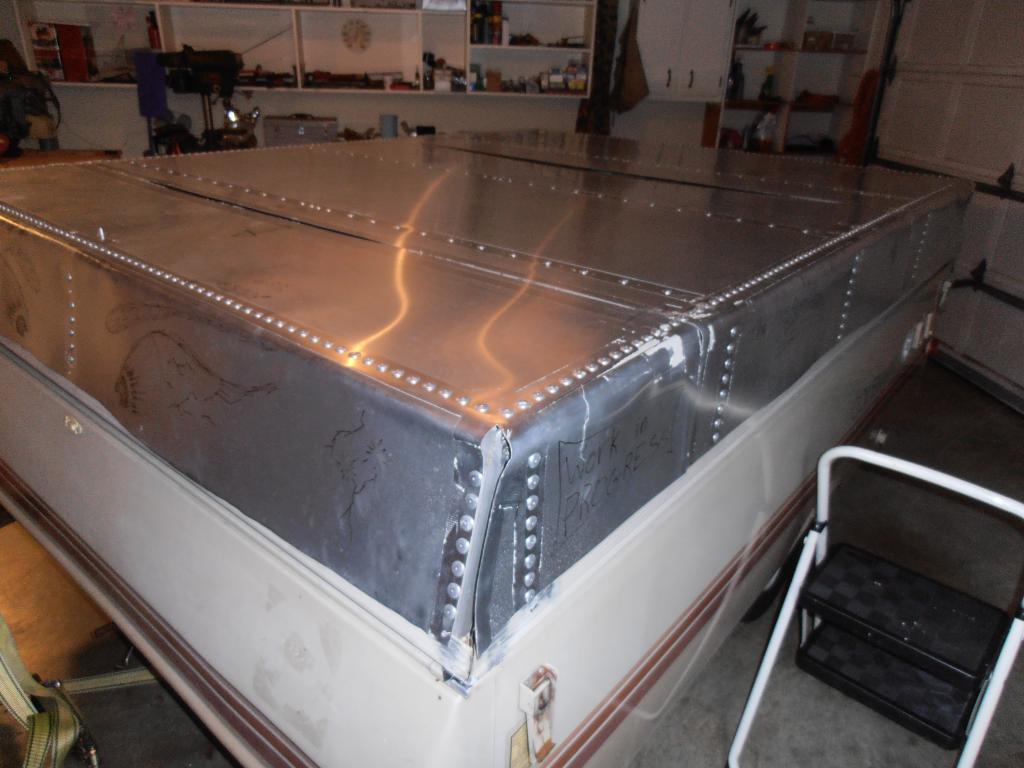
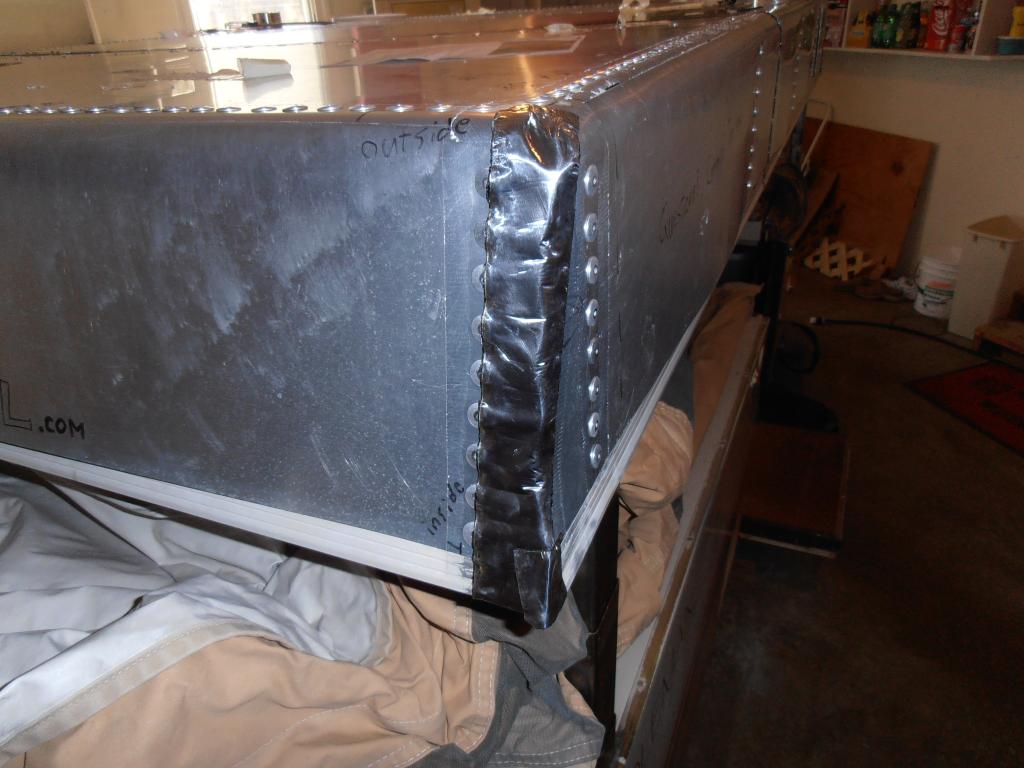
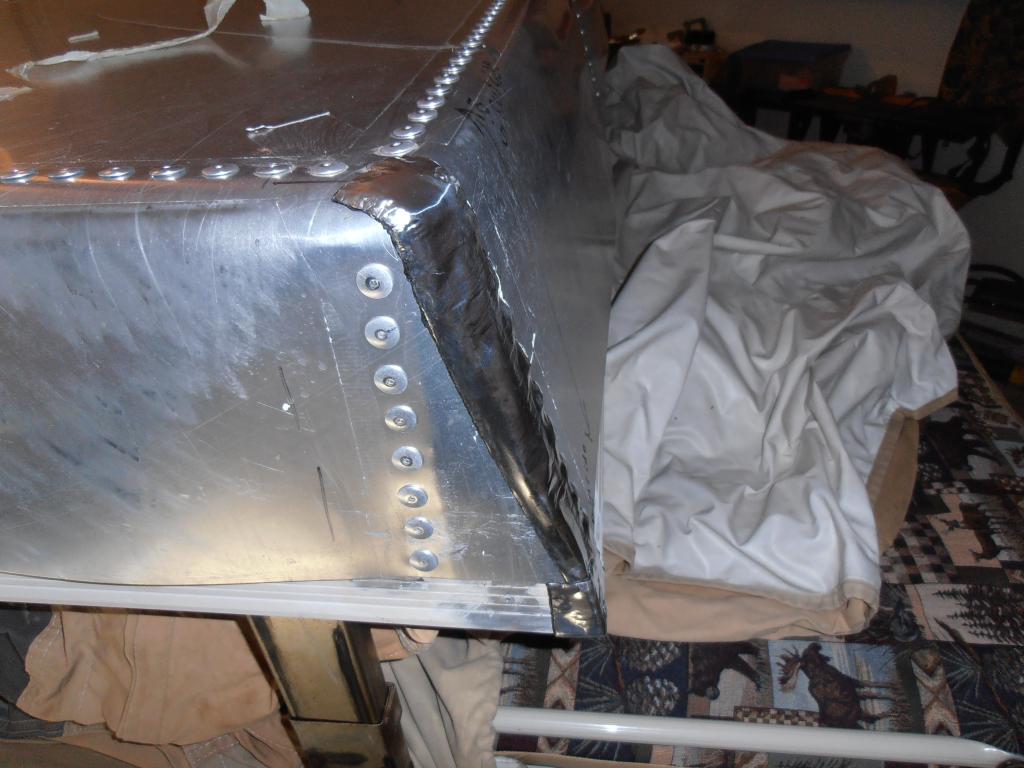
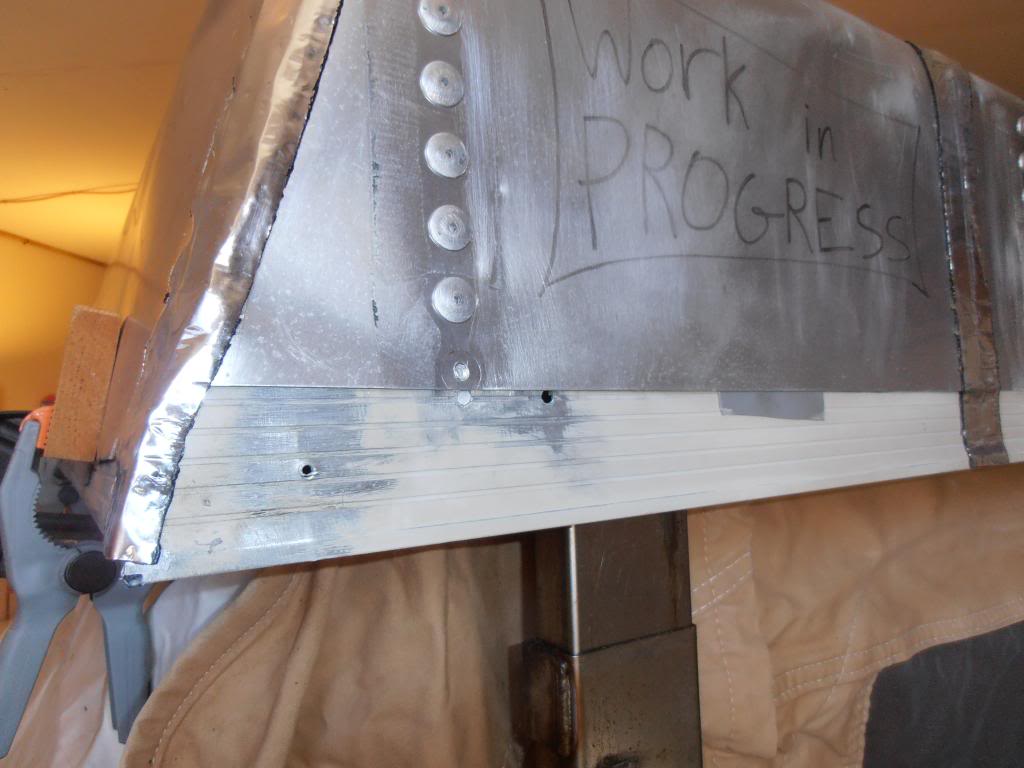
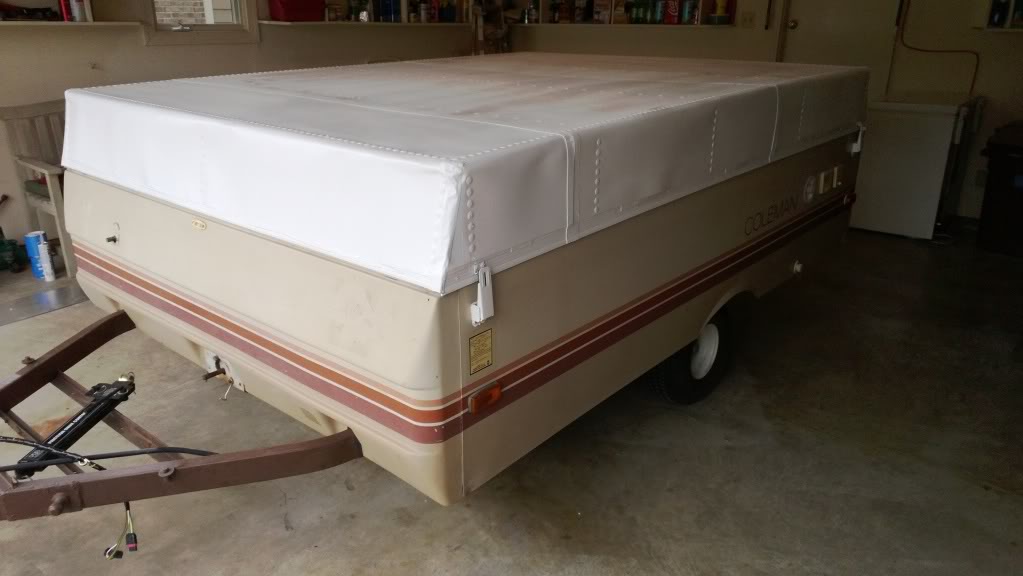
bought 3m vhb tape for the edges. works like a charm, but it doesn't reach full strength for 3 days, so i'll have to wait til next weekend to finish the roof
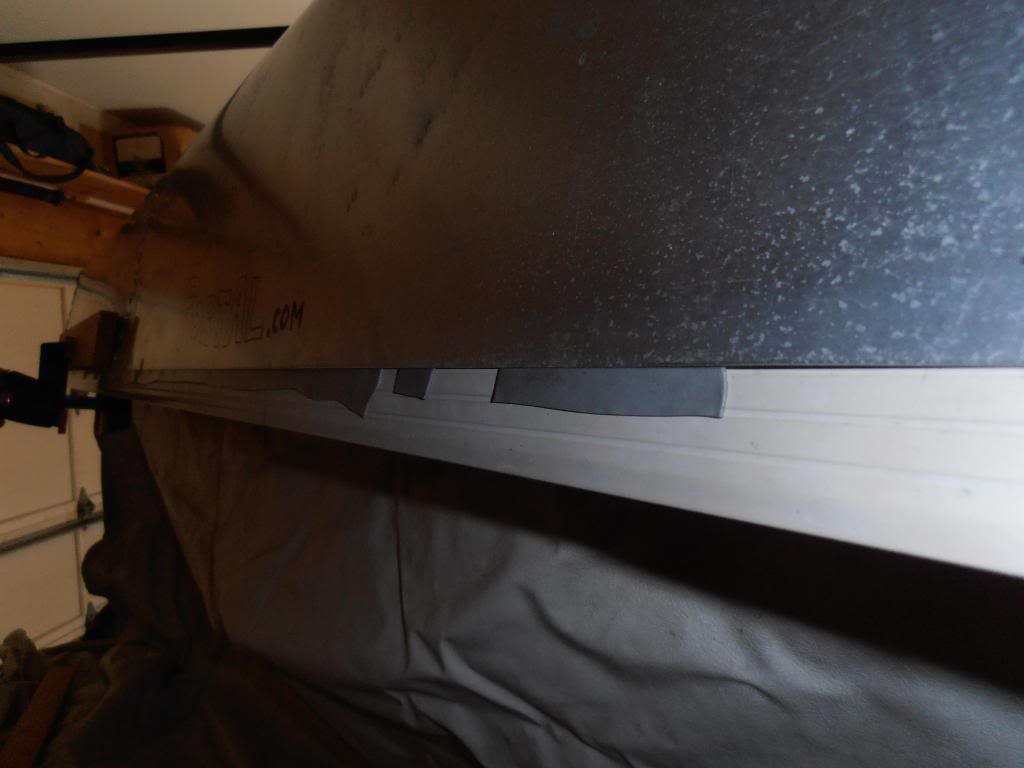
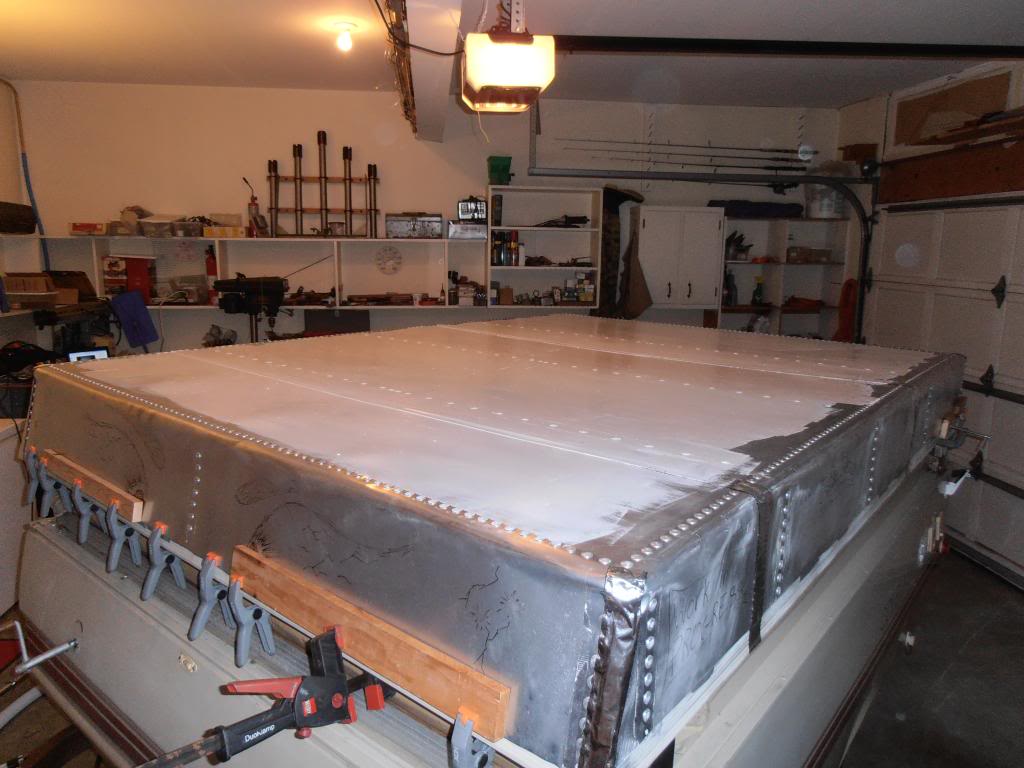
got the edges nice and flat

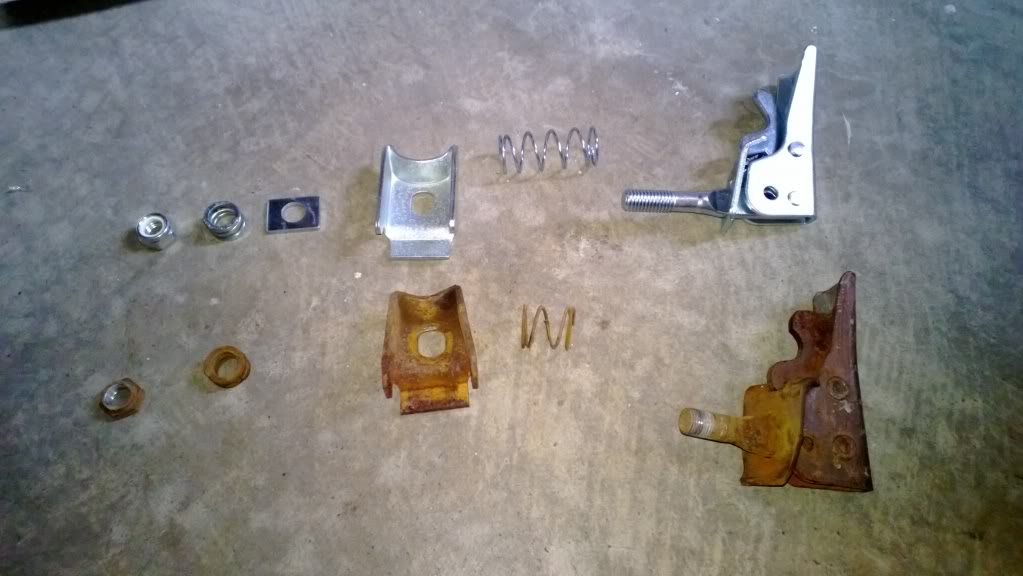
then i replaced the latches, sealing them along the way
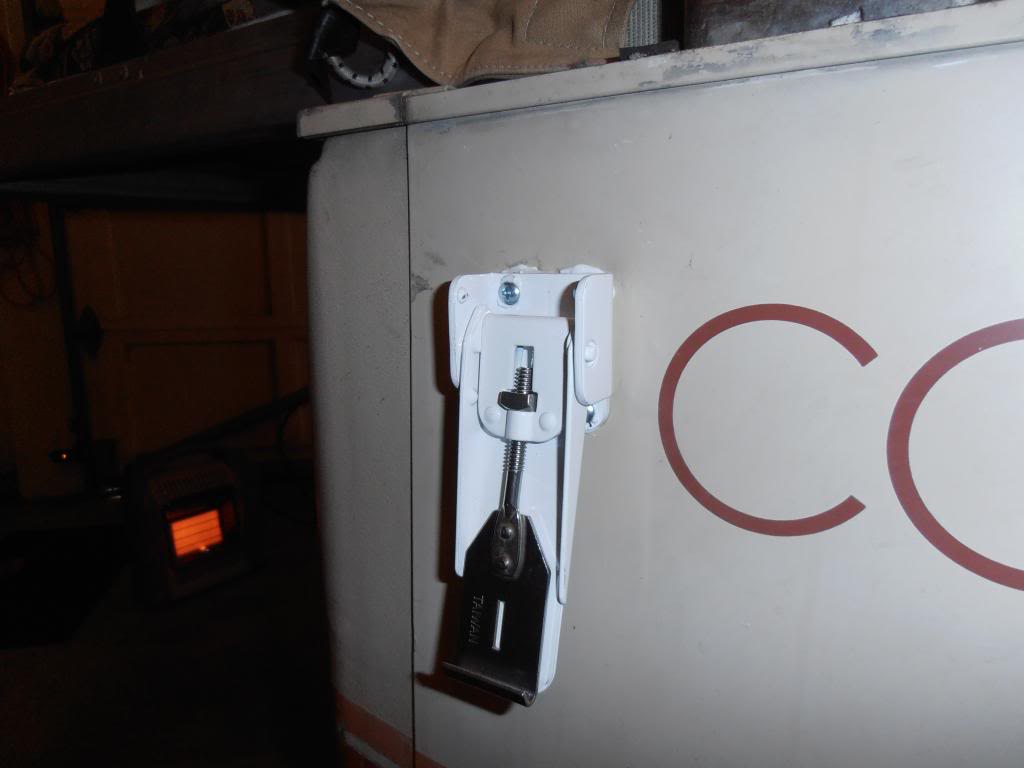
(old)
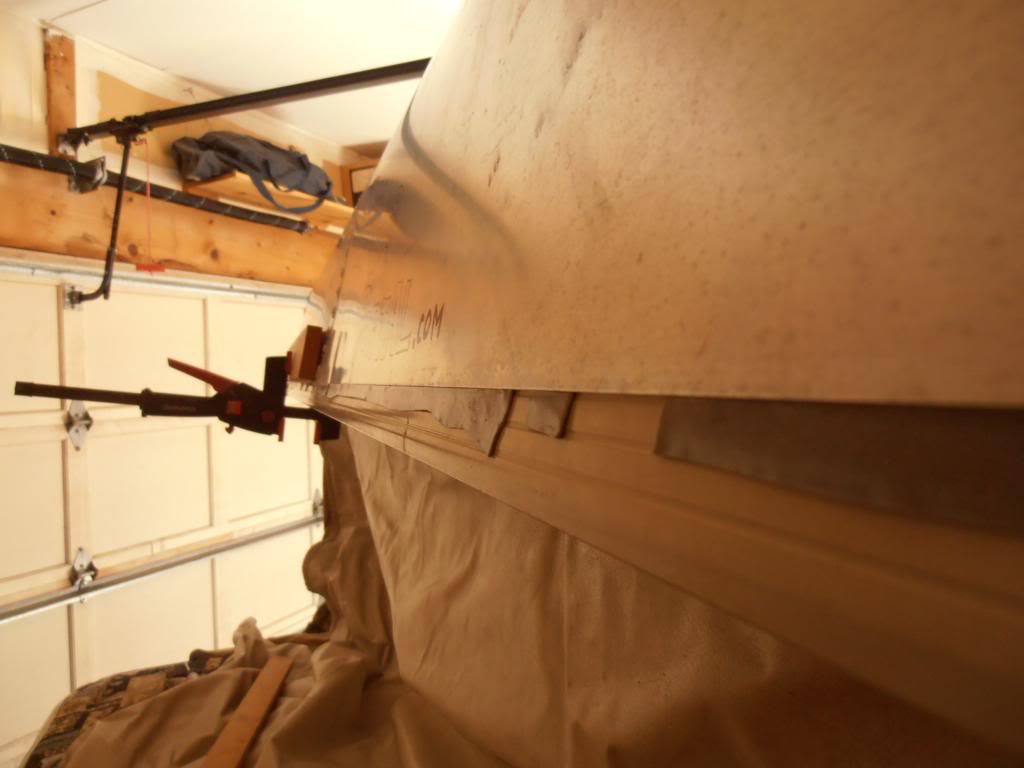
front edge was pretty warped, so the clamps are staying on for a while

side
front corner
i had to remove a few rivets for the latch catch on the roof. here's my grandfather's awesome cordless drill i used...

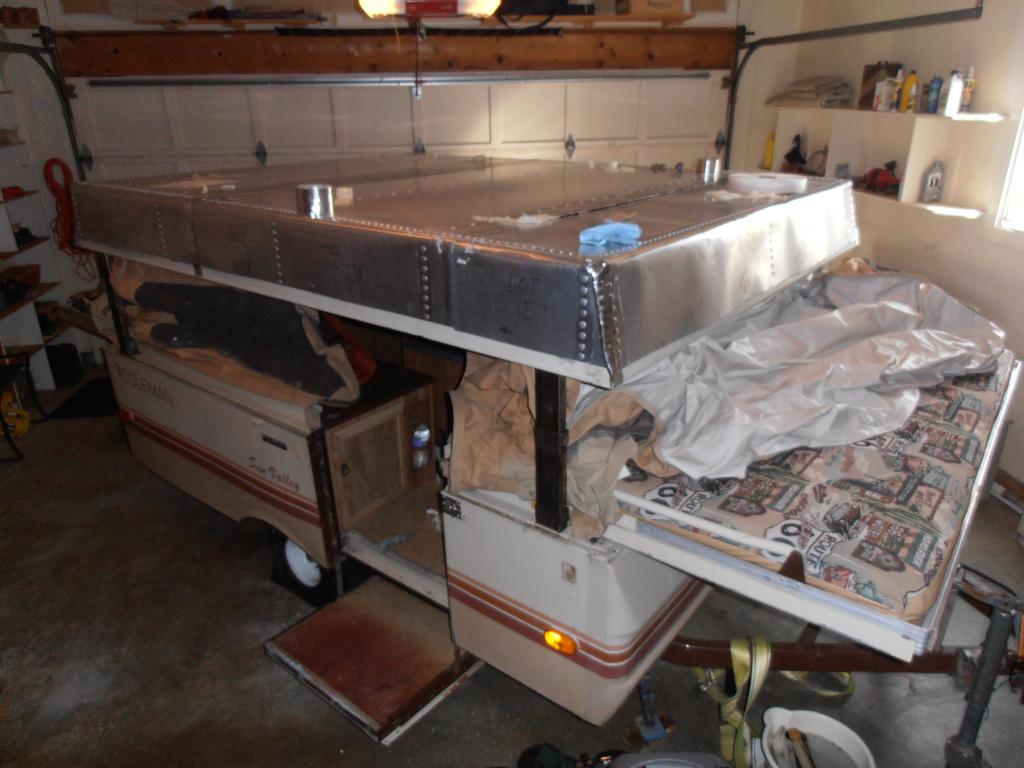
and then i started on the rubber coating. the area you see there is from a single quart. i need to pick up some more (forgot that i was going to be doing 2 coats... d'oh), but i can get the top finished tomorrow
this stuff is easy to work with. i'm using a 4" paint brush, and it's going on very easy
bought 3m vhb tape for the edges. works like a charm, but it doesn't reach full strength for 3 days, so i'll have to wait til next weekend to finish the roof
got the edges nice and flat
then i replaced the latches, sealing them along the way
(old)
front edge was pretty warped, so the clamps are staying on for a while
side
front corner
i had to remove a few rivets for the latch catch on the roof. here's my grandfather's awesome cordless drill i used...
and then i started on the rubber coating. the area you see there is from a single quart. i need to pick up some more (forgot that i was going to be doing 2 coats... d'oh), but i can get the top finished tomorrow
this stuff is easy to work with. i'm using a 4" paint brush, and it's going on very easy
03-09-2013, 08:29 PM
#404
it's called heng's rubber roof coating, and it's specifically designed for rv roofs
https://www.google.com/search?q=huan...w=1024&bih=511

https://www.google.com/search?q=huan...w=1024&bih=511
03-10-2013, 05:20 AM
#407

 03-10-2013, 10:04 AM
#408
probably, but with less resonance. the insulation i want to add should help keep the noise down (ya know, for sleeping perhaps?)
thanks mark! uuuum, don't know where i'll take it just yet. good question. but i'm also trying to save up for a week at the beach this summer, so i don't know how many trips i'll be taking before then. (and yes, i'll be camping at the beach in this thing)


thanks mark! uuuum, don't know where i'll take it just yet. good question. but i'm also trying to save up for a week at the beach this summer, so i don't know how many trips i'll be taking before then. (and yes, i'll be camping at the beach in this thing)
Almost bought one again a few weeks ago. Just needed too much work. 400$.... ALL the upholstery needed redoing, +++.. ya know? No time for that.
Did find a 27 Footer Pop up for 3400$.... Not bad, seemed to be in really good condition for the money. Just don't have 3400$ lol. He wouldn't budge.... I don't blame him. Lil big for a solo camper, anyhow, most likely.
 hahaa.
 Can't tell you how impressed I am with all the detail you've put into this thing... Just great to see. Those things ROCK!
 03-17-2013, 01:05 PM
#411
just trying to get it camp-ready right now. if i had my way, i would start another camper project using all i learned from building this one. while i like this p'up, and would buy another in a hearbeat, it's just not clean enough.
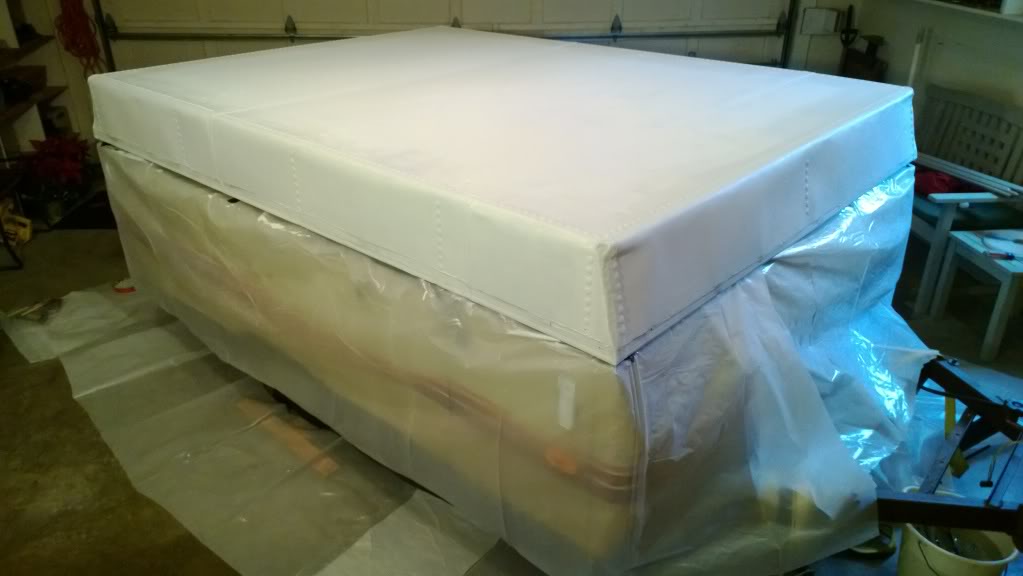
but anyway, here's today's progress. i'm gonna wait a week to let it all set up, then finish out the wiring, fix the hitch, and add the latches. then it's back to the bay-front
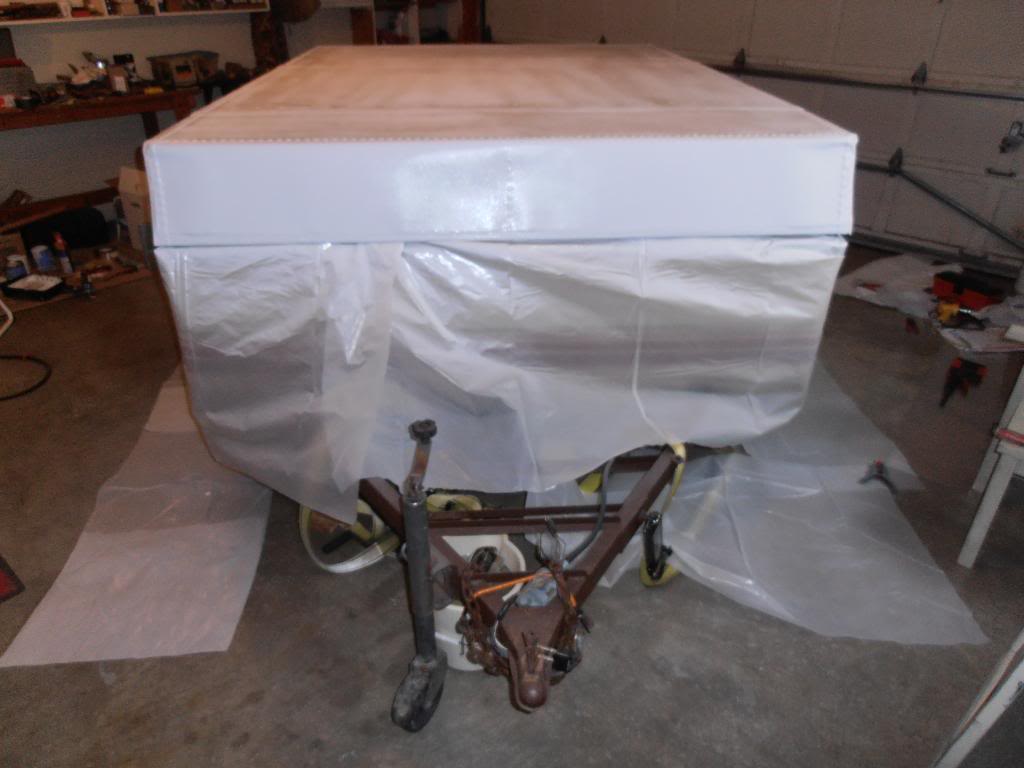
everything gone over in gloss white. there's no marker, tape, or rivet color showing through
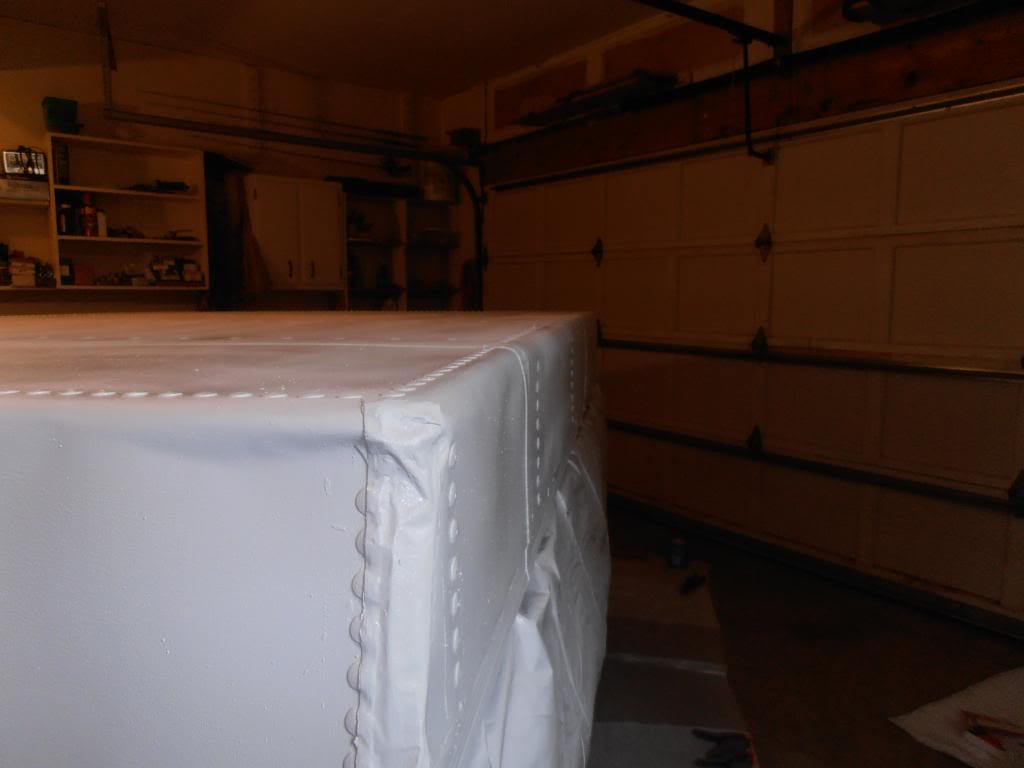
it's gonna make the rest of the trailer look that much dirtier

but anyway, here's today's progress. i'm gonna wait a week to let it all set up, then finish out the wiring, fix the hitch, and add the latches. then it's back to the bay-front
everything gone over in gloss white. there's no marker, tape, or rivet color showing through
it's gonna make the rest of the trailer look that much dirtier
03-17-2013, 06:55 PM
#412
Contributing Member
Join Date: Mar 2003
Location: COTKU,Ontario,Canada
Posts: 11,334
Likes: 0
Received 0 Likes
on
0 Posts
Sooo... just get busy with the sander and then paint the rest of it white too... or red to match the truck... though white would be better for resale value...
 ... that is gonna make for some CUSH Camping! Haha.. I'd be very proud to own that after the work you've done
  03-25-2013, 11:32 AM
#415
pics incoming soon. i had to get a new photobucket account (old one was full), and the camera is at home.
heading out last night, i realized that this was only the second time pulling the trailer without a big strap holding the roof down
heading out last night, i realized that this was only the second time pulling the trailer without a big strap holding the roof down
03-25-2013, 02:02 PM
#416
first up: i wired the trailer for either standard lights (red lenses only) or separate turn signals. right now, i have the truck wired up for separate signals. after chasing some gremlins, this is the result (hazards on, separate signals work as well)
(if i could get that one license plate bulb out without cracking the plastic, i would replace that bulb)
(if i could get that one license plate bulb out without cracking the plastic, i would replace that bulb)


 03-28-2013, 10:31 AM
#418
Ian, that thing is a great example of how taking the time to "do it right" is so worth it! It looks great. Its funny how just switching out rusty for shiny-new goodies can make such a difference... And so true that MOST walking by or even into it wont ever know how reinforced/modified/upgraded/restored it has been. So many "hidden" or non-obvious 'fixes'.
Great work, and congrats, you have a FINE and very practical piece of classic equipment there, sir!
Great work, and congrats, you have a FINE and very practical piece of classic equipment there, sir!


