
irab88's 1983 Coleman Sun Valley Build-Up Thread
 03-25-2012, 09:50 PM
#341
Contributing Member
Join Date: Mar 2003
Location: COTKU,Ontario,Canada
Posts: 11,334
Likes: 0
Received 0 Likes
on
0 Posts
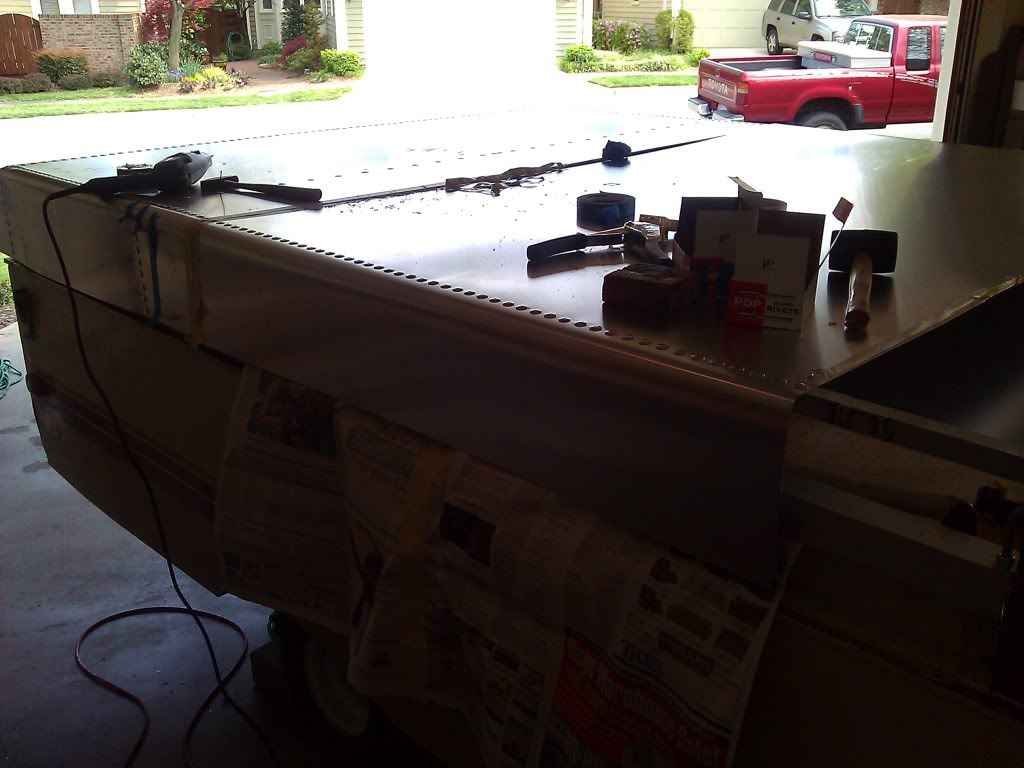
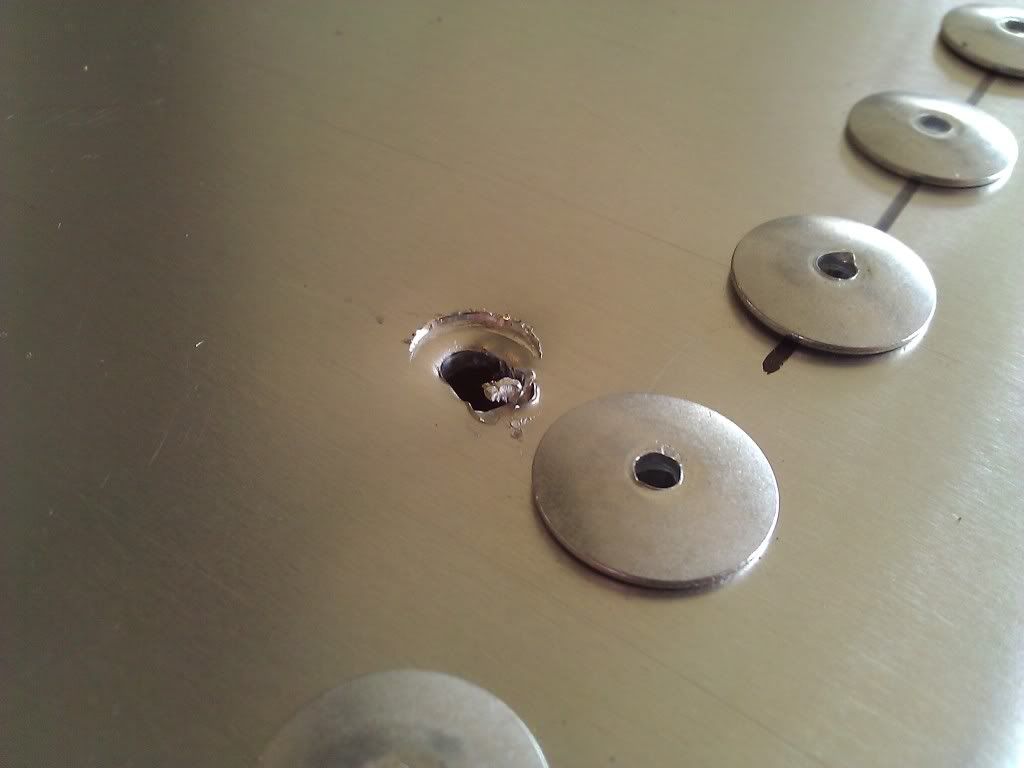
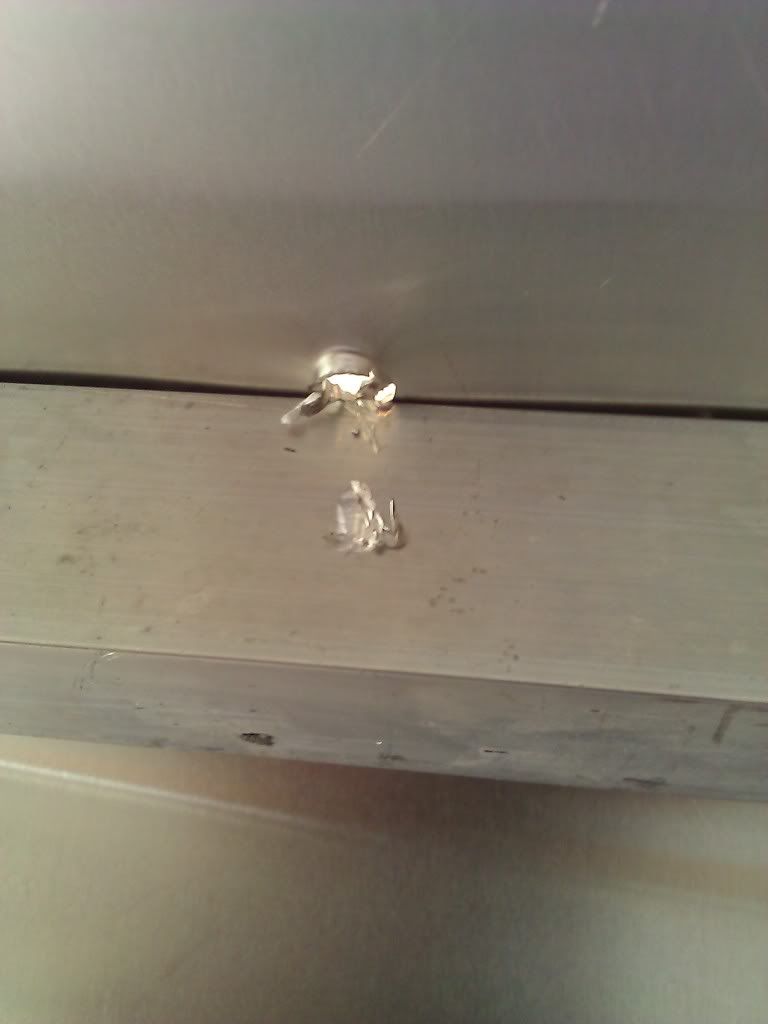
oooo dude you got a couple of "pinches" there eh? (like above the H in yotatech) where the rivet got too close to the edge and spoiled the arc of the edge... I gotta ask where you one of those kids that played with a "Bedazzler"?... 
Looks good... you know you could always apply a little bondo to smooth the arcs and apply a single layer of fibreglass cloth and the gel coat to get a super smooth finish... not sure what the weight would end up being though...
you went with pop rivets eh? guess you did'nt feel like using blind countersunk and the air hammer... lol
When I was getting rivnuts for my door panels the A&P I work with told me that when it comes to projects with rivets order twice what you think you'll need and you might just have enough to get it done...
Last edited by aviator; 03-25-2012 at 09:53 PM.
 03-26-2012, 04:20 AM
#342
oooo dude you got a couple of "pinches" there eh? (like above the H in yotatech) where the rivet got too close to the edge and spoiled the arc of the edge... I gotta ask where you one of those kids that played with a "Bedazzler"?...
this aluminum is thick (.030) and hard to work with. next time i'll buy a $5,000 brake with the appropriate die set. but for now, my plywood/broomstick combo work just fine (what the heck is a bedazzler?)
Looks good... you know you could always apply a little bondo to smooth the arcs and apply a single layer of fibreglass cloth and the gel coat to get a super smooth finish... not sure what the weight would end up being though...
too heavy, too much work, too much time, too expensive. there is one spot i dented that i want to smooth over, though.
you went with pop rivets eh? guess you did'nt feel like using blind countersunk and the air hammer... lol
i can't reach the back of the rivet; it's inside the square tubing. also, i'm working alone, so i don't have anyone to hold the bar on the back for the long reaches
When I was getting rivnuts for my door panels the A&P I work with told me that when it comes to projects with rivets order twice what you think you'll need and you might just have enough to get it done...
sure... now you tell me
this aluminum is thick (.030) and hard to work with. next time i'll buy a $5,000 brake with the appropriate die set. but for now, my plywood/broomstick combo work just fine
(what the heck is a bedazzler?)Looks good... you know you could always apply a little bondo to smooth the arcs and apply a single layer of fibreglass cloth and the gel coat to get a super smooth finish... not sure what the weight would end up being though...
too heavy, too much work, too much time, too expensive. there is one spot i dented that i want to smooth over, though.
you went with pop rivets eh? guess you did'nt feel like using blind countersunk and the air hammer... lol
i can't reach the back of the rivet; it's inside the square tubing. also, i'm working alone, so i don't have anyone to hold the bar on the back for the long reaches
When I was getting rivnuts for my door panels the A&P I work with told me that when it comes to projects with rivets order twice what you think you'll need and you might just have enough to get it done...
sure... now you tell me
i also have plans for the seal around the outside, but i need to find a good source first
03-26-2012, 08:33 AM
#343
Contributing Member
Join Date: Mar 2003
Location: COTKU,Ontario,Canada
Posts: 11,334
Likes: 0
Received 0 Likes
on
0 Posts
You never heard of the Bedazzler? I guess you never watched TV growing up... this ad used to run afternoons all the time after school... and late night for some reason...
http://www.youtube.com/watch?v=amicrtFYgVQ
as for the pinches the bends were fine till your rivet got to close to the corner... just sayin... bondo hides a multitude of sins and boo boos... as for finish why not consider using a rubberized paint like you would use for rocker guard? It would be waterproof and protect from the stones chucked up by the truck...
Last edited by aviator; 03-26-2012 at 08:35 AM.
03-26-2012, 08:38 AM
#344
...
as for the pinches the bends were fine till your rivet got to close to the corner... just sayin... bondo hides a multitude of sins and boo boos... as for finish why not consider using a rubberized paint like you would use for rocker guard? It would be waterproof and protect from the stones chucked up by the truck...
as for the pinches the bends were fine till your rivet got to close to the corner... just sayin... bondo hides a multitude of sins and boo boos... as for finish why not consider using a rubberized paint like you would use for rocker guard? It would be waterproof and protect from the stones chucked up by the truck...


 03-31-2012, 11:02 PM
#349
Contributing Member
Join Date: Mar 2003
Location: COTKU,Ontario,Canada
Posts: 11,334
Likes: 0
Received 0 Likes
on
0 Posts
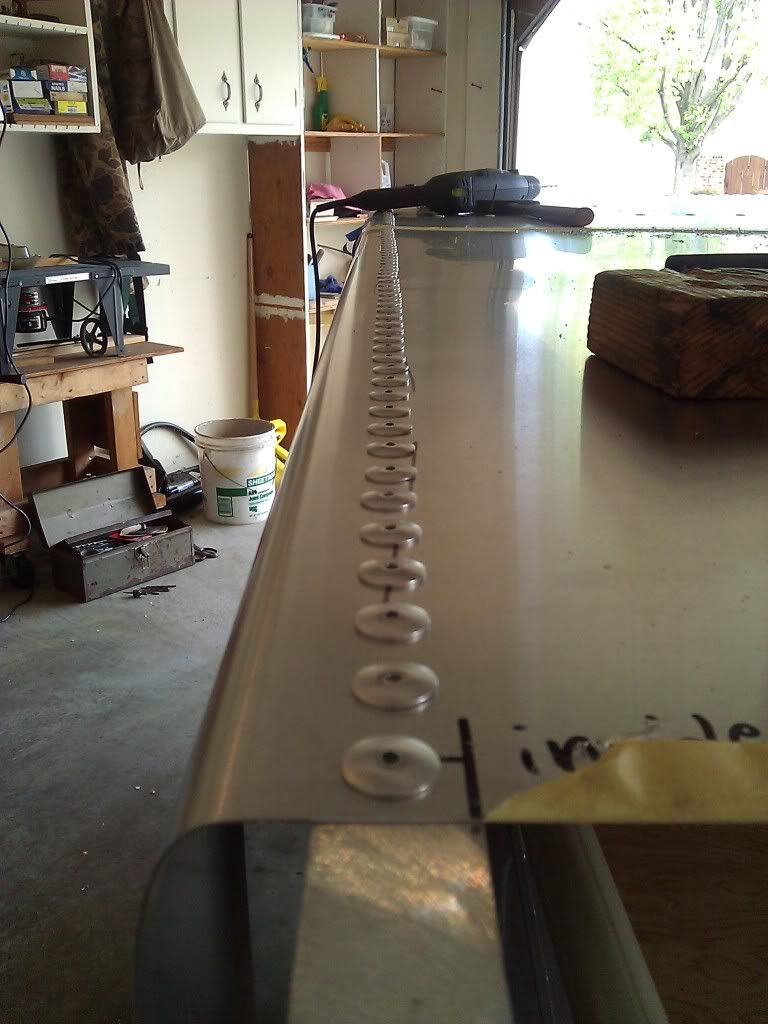
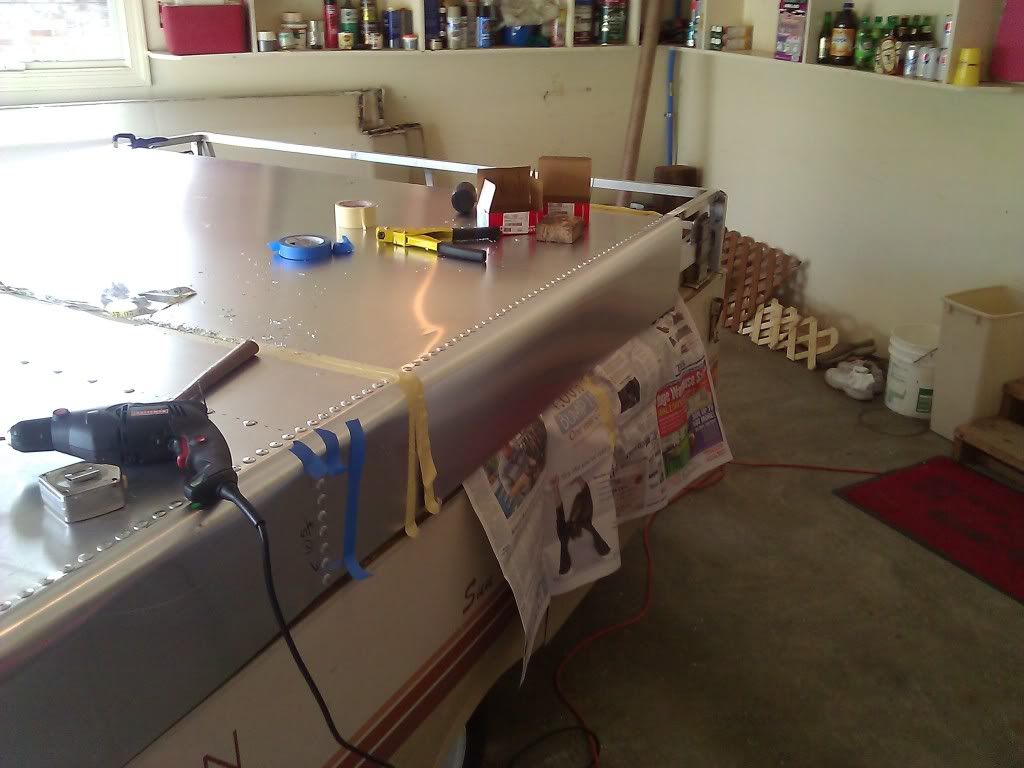
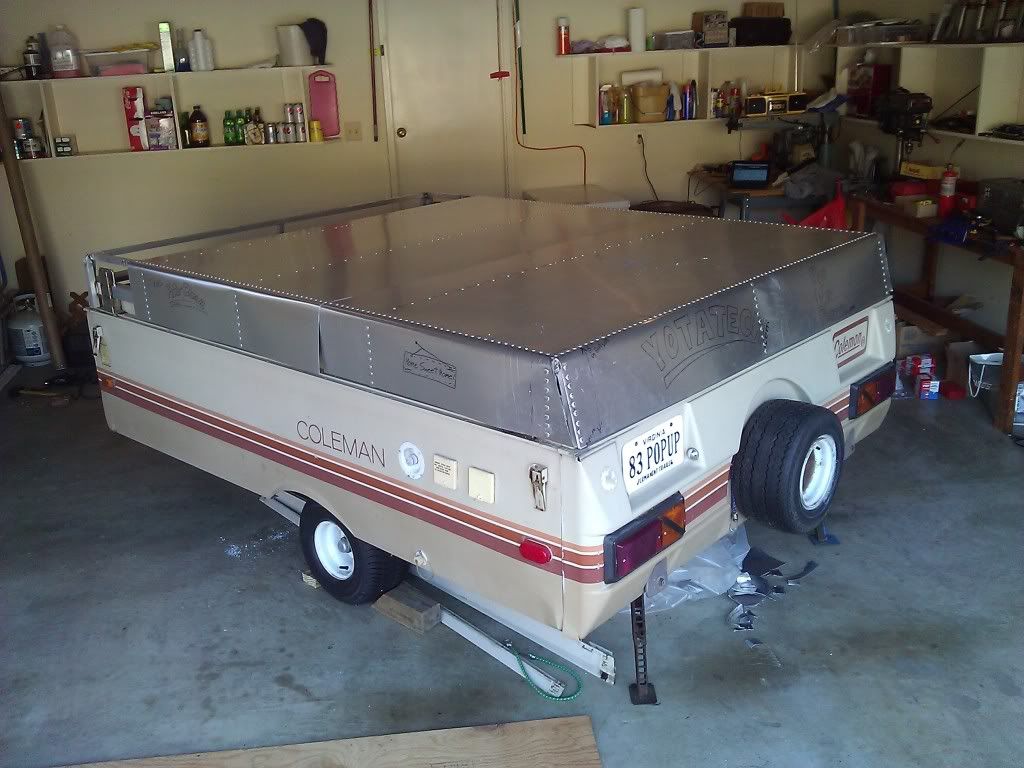
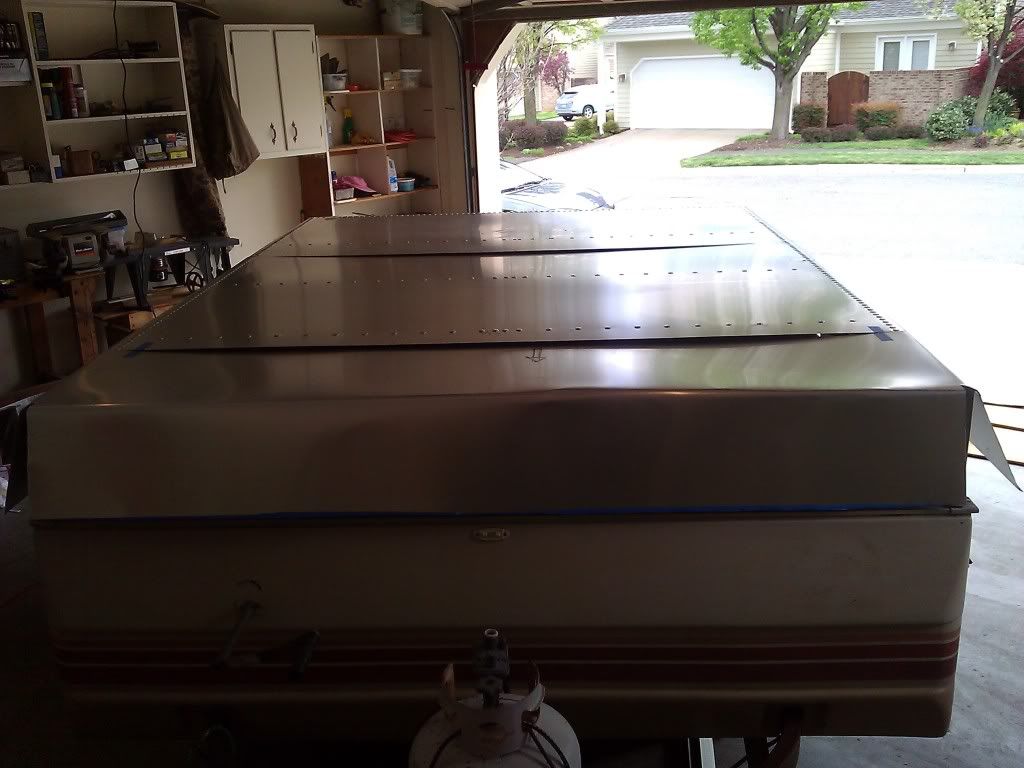
Looks sweet Ian... second panel looks better than the first... practice makes perfect...
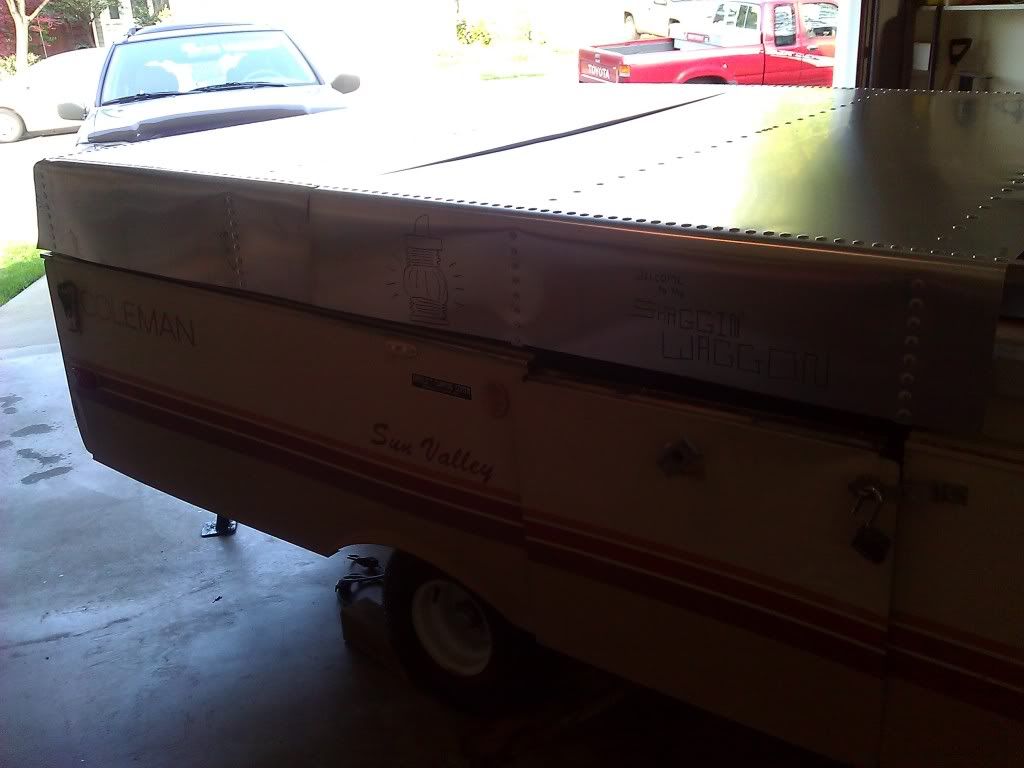
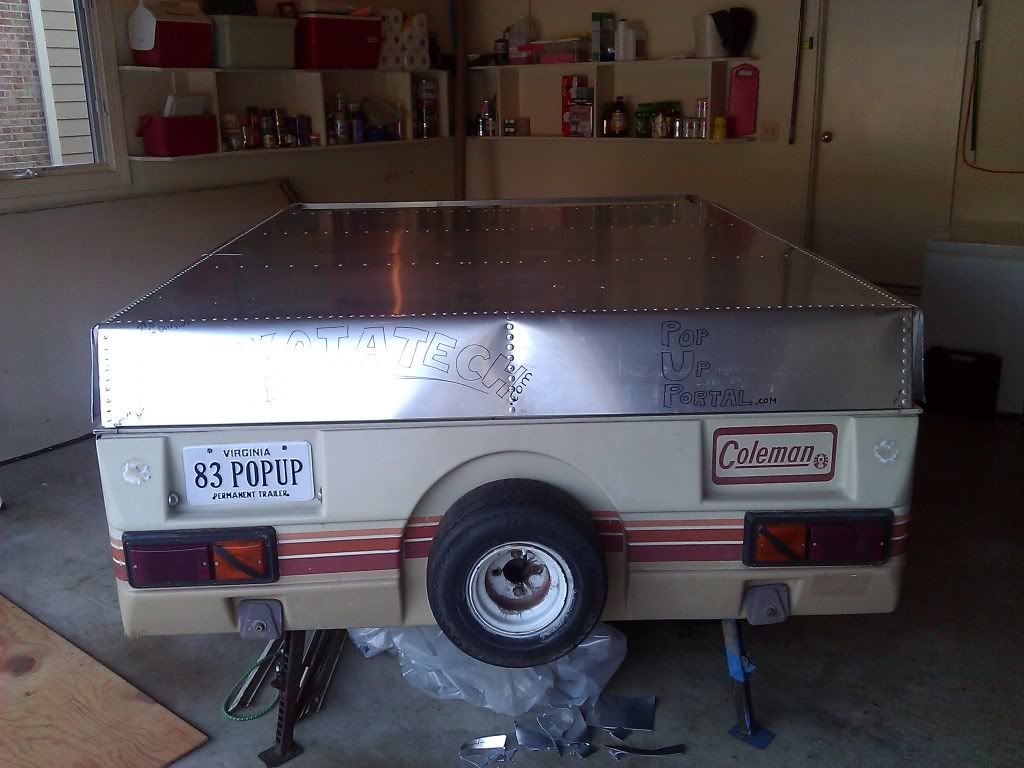
love the soon to be "hidden" slogans... she won't know but you will... heh heh heh...
make sure you get some good closed cell foam insulation or something on the inside before you close it up or it will sound like you're inside a snare drum in the rain... with the whole VSU drum corp beatin' on it...


 04-01-2012, 09:44 AM
#355
I would try to match the other paint... it will keep the heat down in there, well.... On my 83, the blue one with the white shell?.... I had originally had a blue shell... then went with white shell and white wagon wheels... I spent LOTS of time out near Death Valley, ...and I can tell you first hand... WOW, what a HUGE difference in the heat it collected compared to the darker blue. (Plus the fading factor isn't good, lol.
04-01-2012, 07:01 PM
#356
Contributing Member
Join Date: Mar 2003
Location: COTKU,Ontario,Canada
Posts: 11,334
Likes: 0
Received 0 Likes
on
0 Posts
Good point Chef... that's why most camper roofs are white... just curious did you remember to run a bead of urethane sealant under the lap joints on the roof?
If you did'nt I fear there will be a drip or two in your future...
If you did'nt I fear there will be a drip or two in your future...
04-01-2012, 08:07 PM
#357
they're butt-joints, not lap-joints. i'll be worrying about sealing it a little later, as i want to get all the metalwork done now. i'm not at all concerned with water damage to the roof, as i'm making it unable to rot. so yeah, there might be a few trouble spots on the first couple of camp-outs, but the beds are under the canvas, so that's what i'll need to be completely waterproofing (any suggestions? i've found a few, wondering if anyone has had experience with any specific types)
04-01-2012, 11:00 PM
#359
Contributing Member
Join Date: Mar 2003
Location: COTKU,Ontario,Canada
Posts: 11,334
Likes: 0
Received 0 Likes
on
0 Posts
butt-joints? on a surface that will experience thermal flex and mechanical flex?... dude I thought you"d been to AME school ... If that is what you have you'd better rivet some plates along the seams if you can to help hold it together... and skin the outside with at least a single layer of fibreglass cloth to weather proof it...
imho you shoulda gone for lap joints with sealant... 'specially if you were going to go for a rhino liner only type top coat...
the beds may be under canvas but that won't help you when you're trying to cook/eat dinner under the middle with drips down your neck... or under the canvas with black mould spores invading your lungs while you sleep...
assuming the trailer still has the white cotton liner cloth inside to stop you from touching the outside... there are several sprays you can use to water proof fabric.. some are wax based and others silicone based... I would go to Coleman and find out what they recommend imo that would be your best bet for a dry night's "sleep"...
speaking of mould that reminds me there is some mould resistant insulation materials you can get... I would go for one of these... IK in cali you can get bats of shredded denim jeans that are mould and fire resistant and sound deadening also enviro friendly... a quadruple plus...
... If that is what you have you'd better rivet some plates along the seams if you can to help hold it together... and skin the outside with at least a single layer of fibreglass cloth to weather proof it...imho you shoulda gone for lap joints with sealant... 'specially if you were going to go for a rhino liner only type top coat...
the beds may be under canvas but that won't help you when you're trying to cook/eat dinner under the middle with drips down your neck... or under the canvas with black mould spores invading your lungs while you sleep...
assuming the trailer still has the white cotton liner cloth inside to stop you from touching the outside... there are several sprays you can use to water proof fabric.. some are wax based and others silicone based... I would go to Coleman and find out what they recommend imo that would be your best bet for a dry night's "sleep"...
speaking of mould that reminds me there is some mould resistant insulation materials you can get... I would go for one of these... IK in cali you can get bats of shredded denim jeans that are mould and fire resistant and sound deadening also enviro friendly... a quadruple plus...
Last edited by aviator; 04-01-2012 at 11:05 PM.
04-02-2012, 05:34 AM
#360
butt-joints? on a surface that will experience thermal flex and mechanical flex?... dude I thought you"d been to AME school ... If that is what you have you'd better rivet some plates along the seams if you can to help hold it together... and skin the outside with at least a single layer of fibreglass cloth to weather proof it...
imho you shoulda gone for lap joints with sealant... 'specially if you were going to go for a rhino liner only type top coat...
lap joints require a joggle, and i don't have the stuff to do an eight-foot joggle. after looking at my seams, i'll be putting a strip on the underside for support. there's also a local guy who does tig welding, so i might ask how much to do a few stitches (not the same guy that welded the frame)
the beds may be under canvas but that won't help you when you're trying to cook/eat dinner under the middle with drips down your neck... or under the canvas with black mould spores invading your lungs while you sleep...
a few drips over that area is better than a few drips over the beds. i'm not saying i'm going to ignore that area, but rather, focus on getting it camp-worthy for a dry camp-out first. and besides, i won't know if it's got any leaks until it rains (don't worry, i'll be checking it with a garden hose before i do anything)
assuming the trailer still has the white cotton liner cloth inside to stop you from touching the outside... there are several sprays you can use to water proof fabric.. some are wax based and others silicone based... I would go to Coleman and find out what they recommend imo that would be your best bet for a dry night's "sleep"...
thank you
speaking of mould that reminds me there is some mould resistant insulation materials you can get... I would go for one of these... IK in cali you can get bats of shredded denim jeans that are mould and fire resistant and sound deadening also enviro friendly... a quadruple plus...
never heard of it, thanks
... If that is what you have you'd better rivet some plates along the seams if you can to help hold it together... and skin the outside with at least a single layer of fibreglass cloth to weather proof it...imho you shoulda gone for lap joints with sealant... 'specially if you were going to go for a rhino liner only type top coat...
lap joints require a joggle, and i don't have the stuff to do an eight-foot joggle. after looking at my seams, i'll be putting a strip on the underside for support. there's also a local guy who does tig welding, so i might ask how much to do a few stitches (not the same guy that welded the frame)
the beds may be under canvas but that won't help you when you're trying to cook/eat dinner under the middle with drips down your neck... or under the canvas with black mould spores invading your lungs while you sleep...
a few drips over that area is better than a few drips over the beds. i'm not saying i'm going to ignore that area, but rather, focus on getting it camp-worthy for a dry camp-out first. and besides, i won't know if it's got any leaks until it rains
(don't worry, i'll be checking it with a garden hose before i do anything)assuming the trailer still has the white cotton liner cloth inside to stop you from touching the outside... there are several sprays you can use to water proof fabric.. some are wax based and others silicone based... I would go to Coleman and find out what they recommend imo that would be your best bet for a dry night's "sleep"...
thank you
speaking of mould that reminds me there is some mould resistant insulation materials you can get... I would go for one of these... IK in cali you can get bats of shredded denim jeans that are mould and fire resistant and sound deadening also enviro friendly... a quadruple plus...
never heard of it, thanks


