

 03-23-2016, 02:55 PM
Last edit by: IB Advertising
See related guides and technical advice from our community experts:
- Toyota 4Runner, Tacoma, and Tundra Paint Modifications<br>Overview of popular modifications to help you customize your Toyota.

Show us your best cheap mods!
 01-21-2011, 09:52 AM
#503
12V air compressor porting
port your cheap 12V air compressor for increased flow


not so cheap, but impressive anyway, was this hybrid HF / MF1050 compressor build
not so cheap, but impressive anyway, was this hybrid HF / MF1050 compressor build
Last edited by corax; 01-21-2011 at 10:02 AM.
01-21-2011, 10:01 AM
#504
Cheap Cargo Lighting
I found these overpriced LED strips from Autozone and decided to upgrade the interior lighting in my 4runner since the �Deck Light� is all but useless. These cost $15, but 1/2 the price is probably due to the �TRY ME� switch and battery in the package. The same type LED strip lights can be found online for much cheaper and can be cut into 4� sections (5 meter lengths on eBay for less than $30) � then it�s just a matter of soldering 2 wires onto each separate section. Measured current draw on both is 20-30mA (leave them on for a few days and the vehicle should still start) and best of all it�s an easy connection as these run straight off 12V (no need for a LED regulator).

Mounted them in the rear corners & drilled a 1/8� hole for the wires to pass through. These have 3M tape already on them, so just clean the shell and stick �em on (if you�ve never used 3M tape before, make sure the lights are where you want them because they won�t move once the tape makes contact).

The upper rear section of the shell is hollow and connects to the �d� pillar, but I still had to use a stiff piece of wire to run my LED wires into the pillar. Here�s the wiring at the base of the �d� pillar � I used a spare 2 pin Toyota connector that I had lying around to connect the shell to the body.

All that�s left is to run two wires straight to the Deck Light itself � connect the LED wires to the wires going to the bulb and you�re done. I tried taking some night-time photos, but anyone who�s tried that before knows that night pics don�t work very well. Suffice it to say that now there�s plenty of light in the back, but not so bright as to be blinding (I could comfortably read a book by this light, even up by the front seats).
Here's 4crawler�s Deck Light Mod for some more info
Mounted them in the rear corners & drilled a 1/8� hole for the wires to pass through. These have 3M tape already on them, so just clean the shell and stick �em on (if you�ve never used 3M tape before, make sure the lights are where you want them because they won�t move once the tape makes contact).
The upper rear section of the shell is hollow and connects to the �d� pillar, but I still had to use a stiff piece of wire to run my LED wires into the pillar. Here�s the wiring at the base of the �d� pillar � I used a spare 2 pin Toyota connector that I had lying around to connect the shell to the body.
All that�s left is to run two wires straight to the Deck Light itself � connect the LED wires to the wires going to the bulb and you�re done. I tried taking some night-time photos, but anyone who�s tried that before knows that night pics don�t work very well. Suffice it to say that now there�s plenty of light in the back, but not so bright as to be blinding (I could comfortably read a book by this light, even up by the front seats).
Here's 4crawler�s Deck Light Mod for some more info
01-21-2011, 10:04 AM
#505
cheap 1st gen 4runner cargo tie-downs
I made these years ago, so no step-by-step pics (if you can't figure it out, you probably shouldn't be playing with a welder)
Materials:
1.5" chain (link size, duh )
)
1" long, 7/16" diameter, fine thread bolt
cut a link off your length of chain, weld it to the bolt head

I welded it with the cut side towards the bolt . . . you know, so the link doesn't bend and open up again. The tie-downs are threaded into the same hole that the Canadians used for the rear seat belt shoulder straps, so I don't think attachment strength sohould be an issue.
oh yeah,
** WARNING: DO NOT USE THESE FOR VEHICLE RECOVERY OR EXTRICATION**
can't be too safe with disclaimers these days, if you do try though, make sure to take video
BTW, the 1.5" chain links are the perfect size for nylon tie strap hooks - use whatever size you want.
Materials:
1.5" chain (link size, duh
)1" long, 7/16" diameter, fine thread bolt
cut a link off your length of chain, weld it to the bolt head
I welded it with the cut side towards the bolt . . . you know, so the link doesn't bend and open up again. The tie-downs are threaded into the same hole that the Canadians used for the rear seat belt shoulder straps, so I don't think attachment strength sohould be an issue.
oh yeah,
** WARNING: DO NOT USE THESE FOR VEHICLE RECOVERY OR EXTRICATION**
can't be too safe with disclaimers these days, if you do try though, make sure to take video
BTW, the 1.5" chain links are the perfect size for nylon tie strap hooks - use whatever size you want.
01-25-2011, 04:26 AM
#506
Registered User
Discovery I Horns
Land Rover Discovery Series I horns.
Grab a set of horns(hi & lo) from the local 'yard. $5 each.
Snip the wires from the donor vehicle.
Snip the wires from your truck (my truck is an 88, your results may very)
Solder, heat shrink, and mount the Disco honkers, done.
No more Meep, Meep!
I believe 85-89 trucks(possibly other years) use a two wire isolated horn. A constant hot wire, and a ground lift(horn switch side) to activate the horns. I took the two Disco horns and connected like colored wires, then soldered/connected them to the my rigs snipped horn wires. It makes no difference which wire is ground and which is hot....just connect them to test and you'll see...uh...hear!
01-25-2011, 05:41 AM
#507
Registered User
Join Date: Oct 2010
Location: North Idaho
Posts: 59
Likes: 0
Received 0 Likes
on
0 Posts
Got allot of ideas from this thread. here's my cheap mod
$2 thrift store box speaker with 8in sub and a high pass filter, used it crossover style with my 2 2way amp and then bought a better sub for it.
$2 thrift store box speaker with 8in sub and a high pass filter, used it crossover style with my 2 2way amp and then bought a better sub for it.
01-27-2011, 08:58 AM
#508
Registered User
Join Date: Aug 2009
Location: Spokane, WA
Posts: 242
Likes: 0
Received 0 Likes
on
0 Posts
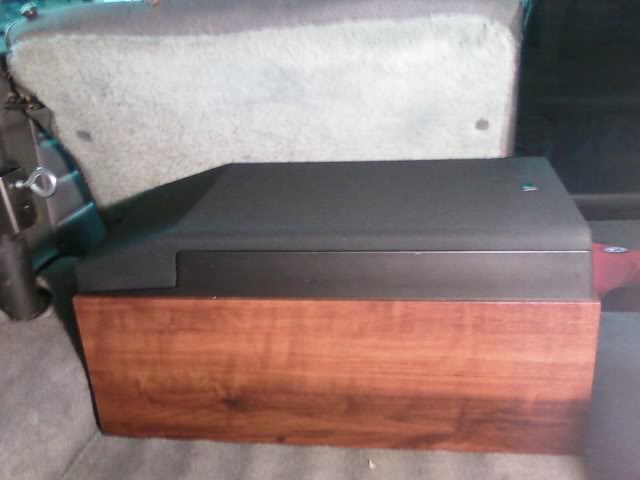
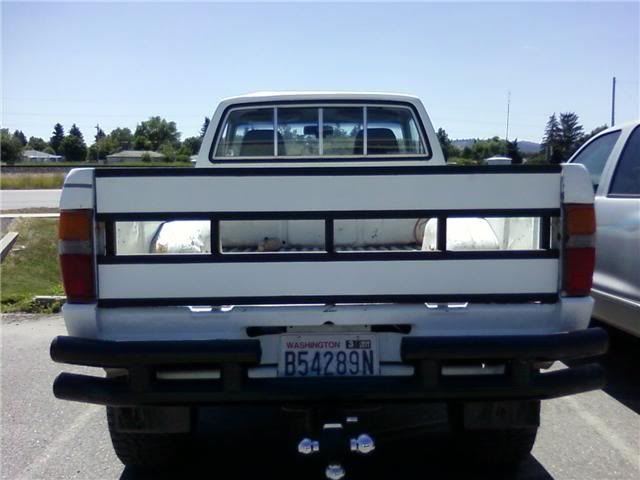
I didn't have a tailgate when I bought the truck so I decided to make one. All the parts are from a cd rack from a music store that was getting thrown away. Rack - free, 2 cans of gray, 2 cans black and 2 cans white primer, some cutting and welding. Total cost about $30.

01-27-2011, 11:55 AM
#509
Registered User
I didn't have a tailgate when I bought the truck so I decided to make one. All the parts are from a cd rack from a music store that was getting thrown away. Rack - free, 2 cans of gray, 2 cans black and 2 cans white primer, some cutting and welding. Total cost about $30.
02-07-2011, 07:41 PM
#511
Contributing Member
Join Date: May 2010
Location: Rogue Valley OR
Posts: 83
Likes: 0
Received 0 Likes
on
0 Posts
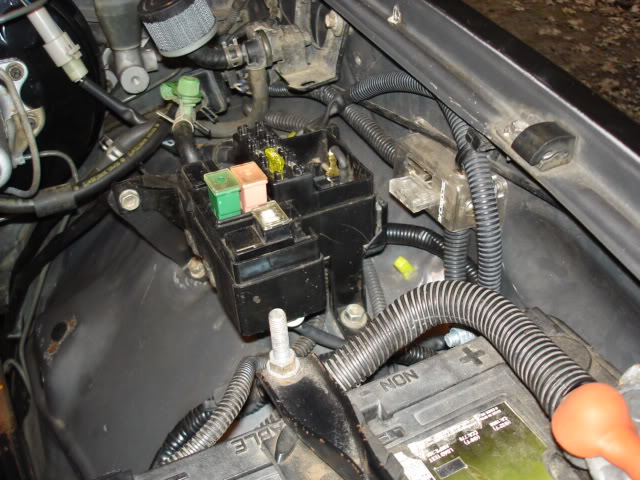
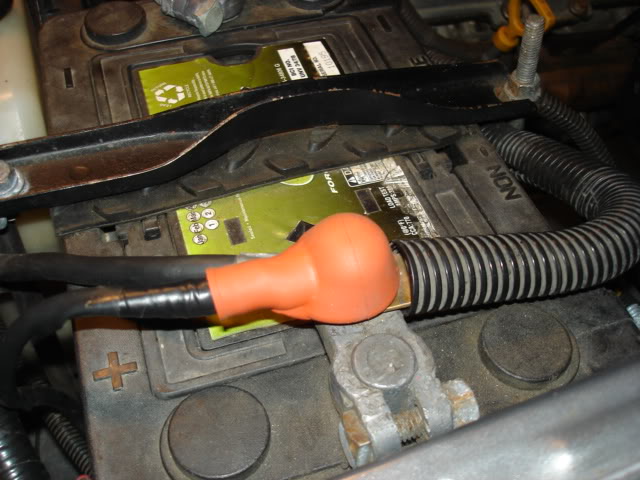
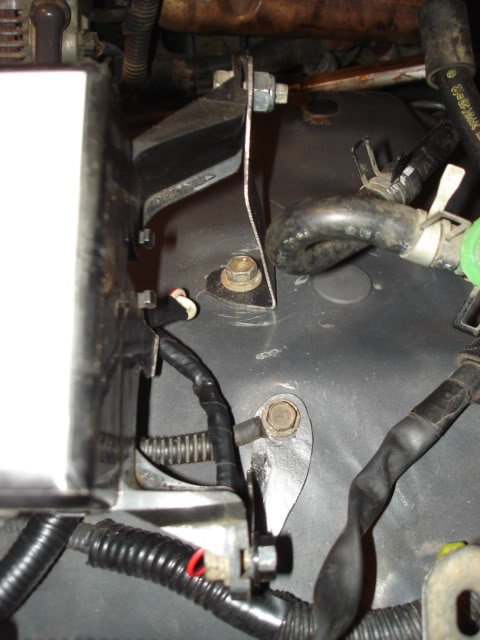
Had a spare under hood fuse box nobodoy wanted from a recent 1st gen part-out. Took the alt wire and hooked it to the battery, ran it through the 80a fuse to the 6 fuse slots, retained the 40 and 30 for future accessories. Made some brackets out of an old whiskey barrel ring (the only proper gauge material I had, it has been refined since the pics) and used the captive nuts on the inner fender to mount it. The bracket paint is Duplicolor BTY1557, a match for the 138 dark gray metallic, dang close. Right now I have my power windows and fans through it. The red boot on the battery is the factory alt boot, and the label is a temp I made in MS Paint mainly to cover the crack. When I get another cover without a crack I'll shink the label up and mount it inside the cover......

02-14-2011, 05:56 PM
#512
Registered User

Join Date: Jan 2011
Posts: 179
Likes: 0
Received 0 Likes
on
0 Posts
sure it has already been said but Deckplate mod and ISR together is a solid improvement for next to nothing. i just used an ABS pipe coupling with a thread in plug for one side for the deckplate got it for under $3.00(PIC ON RIGHT, YOU CAN SEE IT LIT UP ON THE BOTTOM LEFT). and removing the intake silencer was free i just pulled the pipe out cut it off at the silencer,(PIC ON LEFT) then hooked it back up with the silencer gone and the resinator capped and the deckplate, correct me if im wrong but wouldnt this now be a cold air intake at its simplest? (PIC ON RIGHT)

 02-15-2011, 04:42 PM
#519
Registered User
ohh u wanna see dirty interior...i wish you could smell the stink that goes on inside this truck
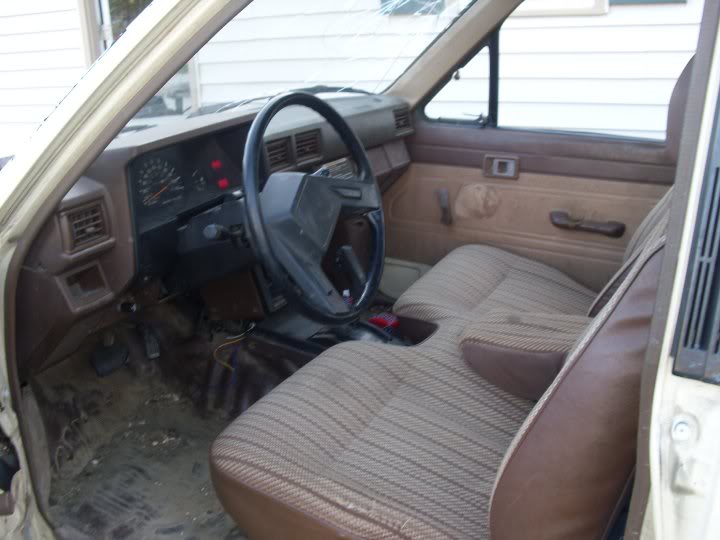
...man you shoulda seen the worms i found when i took out the seat...and not to mention roaches...roaches by the thousands...all squirming in the mud that was PACKED from the bottom of the seat to the floor. ohhh these pics dont do justice, youve gotta see the truck in person...and maybe if your lucky you will be able to smell it too.
...man you shoulda seen the worms i found when i took out the seat...and not to mention roaches...roaches by the thousands...all squirming in the mud that was PACKED from the bottom of the seat to the floor. ohhh these pics dont do justice, youve gotta see the truck in person...and maybe if your lucky you will be able to smell it too.
Last edited by Tofer; 02-15-2011 at 05:09 PM.


