First motor build ever - Thread
#21
Well if the machine shop put the wrong grit on there at least it's a easy fix for you at this point. Would suck after the motor is back together or even worse installed and running.
Sorry about that millball
Sorry about that millball
The following 2 users liked this post by thefishguy77:
MasterOfNone (04-27-2019),
millball (04-26-2019)
#22
I listened to the 'experts' at the machine shop who assured me that the fine hone they put on my 22RE block would be OK. They said they always finish with 400 grit stones.
I should have followed my gut and honed it myself with the 220 grit stones I always have used with 100% success in the past
After 4000 miles, smoking substantially and consuming a quart of oil in 4-5 hundred miles.
Just opened it back up, honed with my coarse hone and set some new rings. only 180 miles so far but I expect success.
Here's what the Hastings Company says about cylinder refinishing::https://www.hastingspistonrings.com/...re-refinishing
It really depends on your shop and what they specialize in.
I once had a 20R built by a respected machine shop. They did a variety of rebuild and hi perf V8 stuff but didnít pay enough attention to the details on mine. I ordered a new Crane cam (22R) and the shop did not follow Craneís advice and used the 20R cam followers instead of the 22R. The cam was eaten within a couple hundred miles. I never went back again.
The following users liked this post:
MasterOfNone (04-27-2019)
The following users liked this post:
MasterOfNone (04-27-2019)
#24
Their shop is dirty and full of piles of motors(shouldíve taken this as a sign (but I live in East Tn and there arenít many clean shops that pay attention to detail around here). Who knows the crud that wouldíve stayed in the motor if Iíd let them build the whole thing.
Going to so my deep research This week and will post back with the conclusion and what Iíll be doing. Thanks for the replies.
#25
I listened to the 'experts' at the machine shop who assured me that the fine hone they put on my 22RE block would be OK. They said they always finish with 400 grit stones.
I should have followed my gut and honed it myself with the 220 grit stones I always have used with 100% success in the past
After 4000 miles, smoking substantially and consuming a quart of oil in 4-5 hundred miles.
Just opened it back up, honed with my coarse hone and set some new rings. only 180 miles so far but I expect success.
Here's what the Hastings Company says about cylinder refinishing::https://www.hastingspistonrings.com/...re-refinishing
I should have followed my gut and honed it myself with the 220 grit stones I always have used with 100% success in the past
After 4000 miles, smoking substantially and consuming a quart of oil in 4-5 hundred miles.
Just opened it back up, honed with my coarse hone and set some new rings. only 180 miles so far but I expect success.
Here's what the Hastings Company says about cylinder refinishing::https://www.hastingspistonrings.com/...re-refinishing
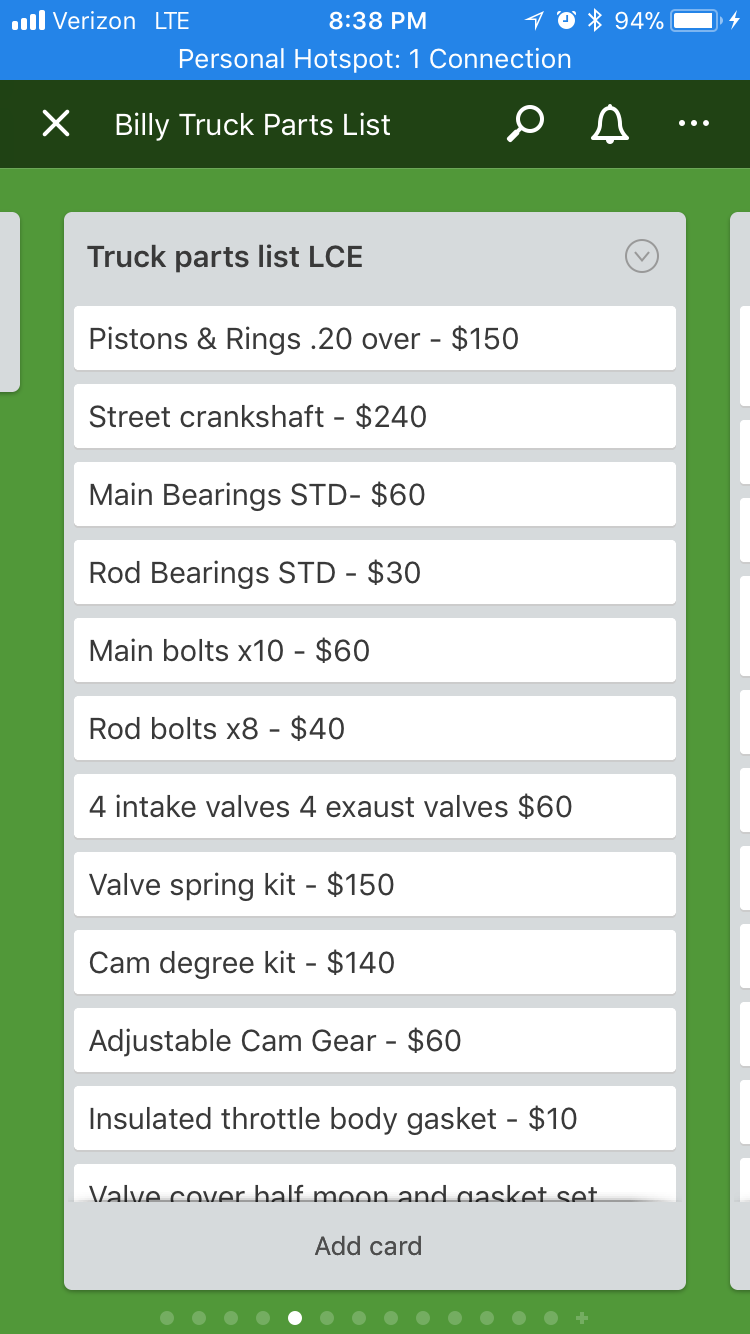
Iím planning on using Hastings rings set from LCE that comes with the street heads and they have a moly too ring. Iíve read that these rings prefer a scenario where the hone finish resembles a slightly broken in cylinder wall for them to seat good. Like a smoother finish and that with the right finish, they tend to seat very soon after start up.
Iím still planning on sending photos (better ones) off to other local machine shops and get their advice. As well as talk with LCE a bit more and be certain my hatch pattern and hone finish is ideal before moving forward with the build.
Am also going to measure the bore and as much more parts as possible to check the machine shops work(I donít trust anyone to pay as close attention to detail as me, the owner spending the $$ on this truck.
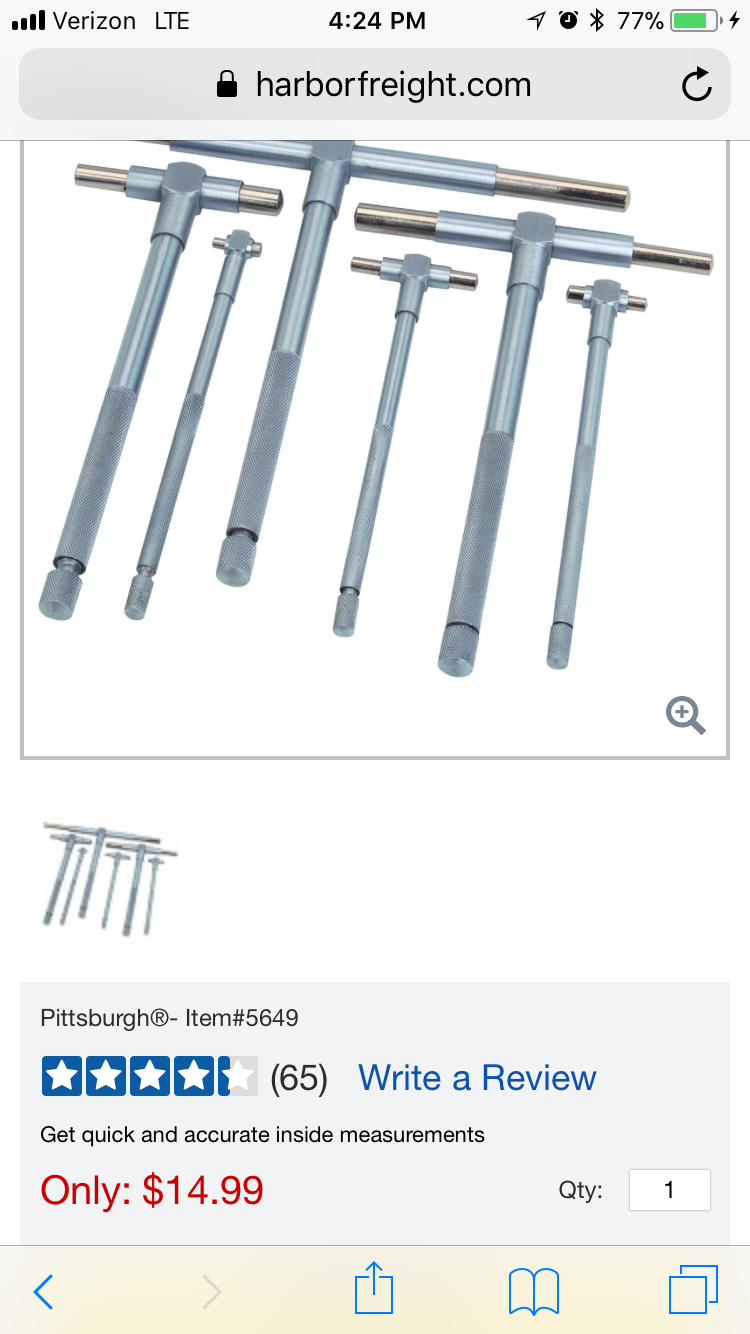
Still wanting some feedback on harbor freight torque wrenches and their reliability for major torque points (block/Head/internals etc). Please chime in with any knowledge or experience.
Thanks!!

#26
I have the harbor freight torque wrench and wouldn’t hesitate to use it. Before that i got by with an old Sears on with the bendable beam and scale.
The HF one is easier to use if nothing else.
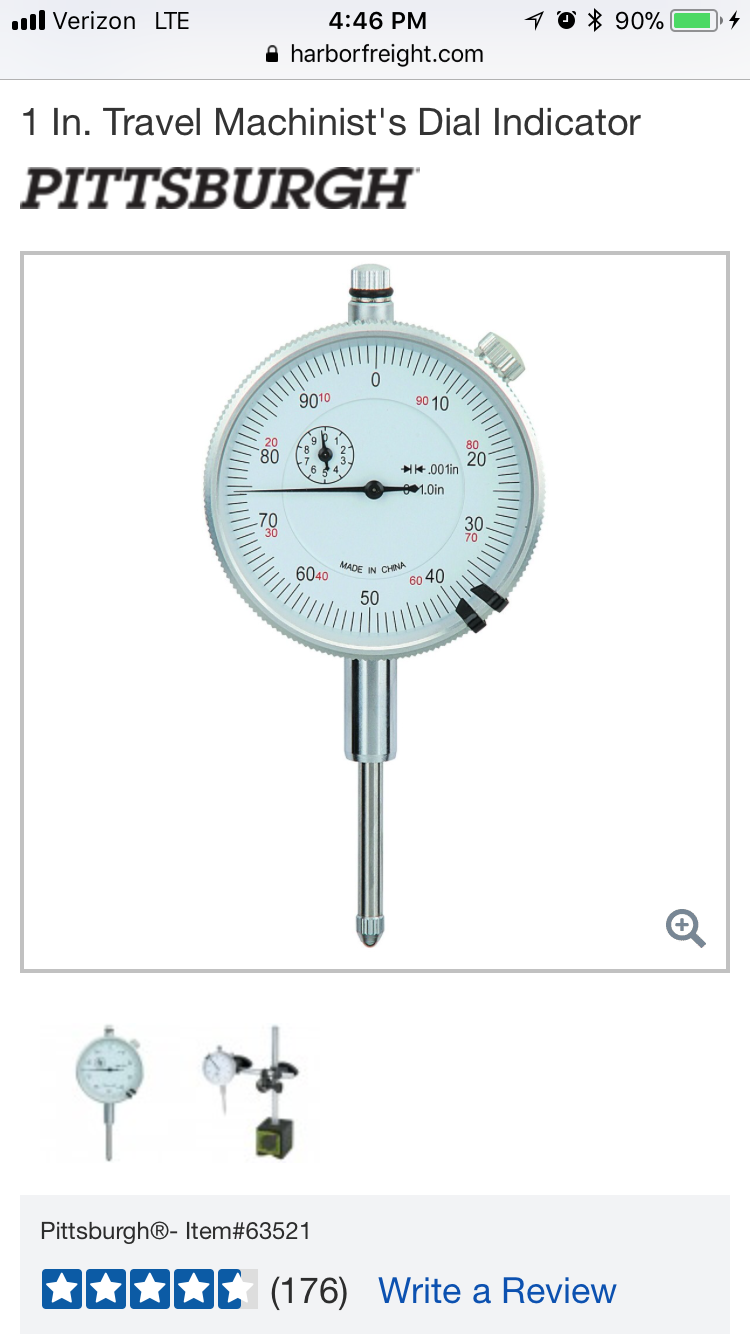
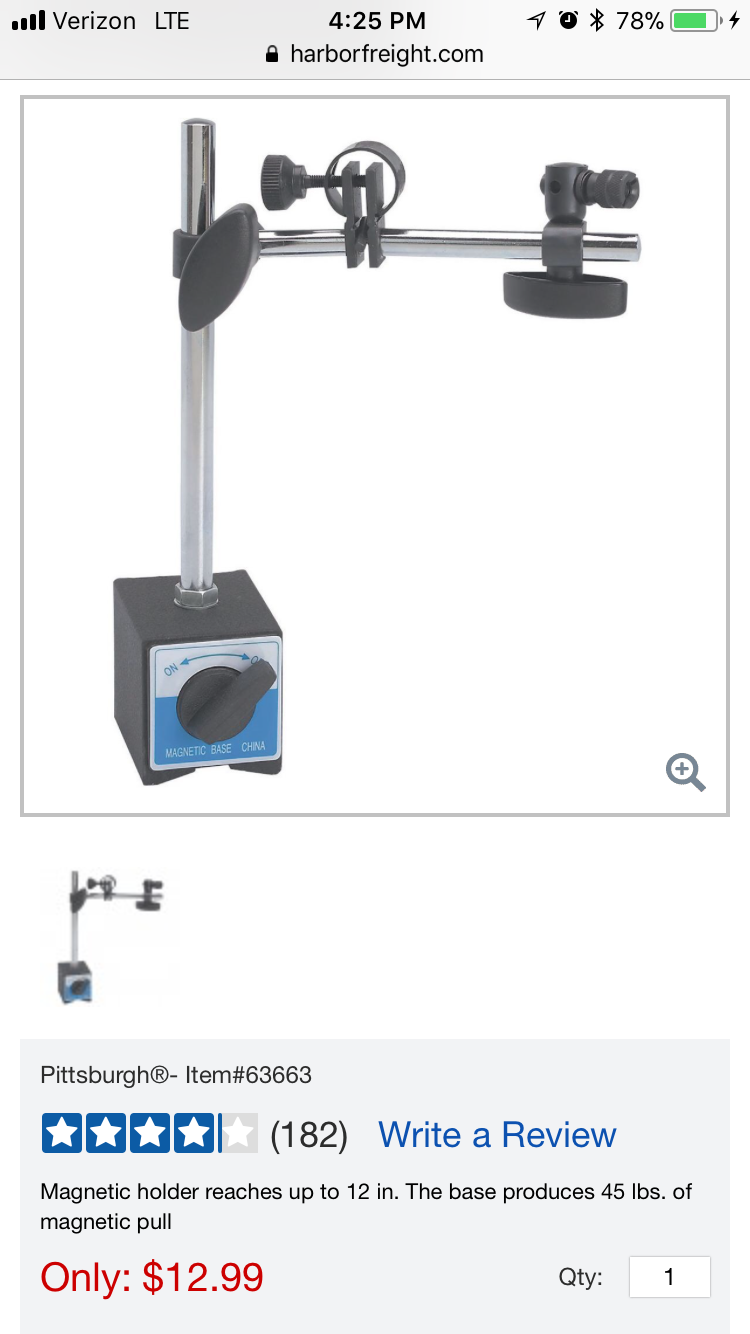
i also have the HF dial indicator setup. It’s perfectly fine for my needs.
The HF one is easier to use if nothing else.
i also have the HF dial indicator setup. It’s perfectly fine for my needs.
#27
I have the harbor freight torque wrench and wouldnít hesitate to use it. Before that i got by with an old Sears on with the bendable beam and scale.
The HF one is easier to use if nothing else.
i also have the HF dial indicator setup. Itís perfectly fine for my needs.
The HF one is easier to use if nothing else.
i also have the HF dial indicator setup. Itís perfectly fine for my needs.
the only reason Iíd concider getting the kit from LCE is due to the detailed directions on how to dial the cam in. Hoping to find a write up on it so I can just save some $.
This build has been adding up quick!!$$$$
granted I have a lot of tool to use on a future 22re build. Plan to find an 80ís 4 runner to restore somebody day.... Hopefully.
#28
The rings that failed to seat in the fine honed bores were NPR. I have used plenty NPR rings in the past in bores I coarse honed and never built a single oil pumper.
This time, I used Hastings moly rings in my coarse honed bores.
Some say that moly rings want a finer finish, but Hastings DOES NOT say such. They say that a 220 to 280 grit finish is correct for iron, moly, or chrome. All the same.
Who would know better than the ring makers??
This time, I used Hastings moly rings in my coarse honed bores.
Some say that moly rings want a finer finish, but Hastings DOES NOT say such. They say that a 220 to 280 grit finish is correct for iron, moly, or chrome. All the same.
Who would know better than the ring makers??
Last edited by millball; 04-27-2019 at 08:03 PM.
#30
The rings that failed to seat in the fine honed bores were NPR. I have used plenty NPR rings in the past in bores I coarse honed and never built a single oil pumper.
This time, I used Hastings moly rings in my coarse honed bores.
Some say that moly rings want a finer finish, but Hastings DOES NOT say such. They say that a 220 to 280 grit finish is correct for iron, moly, or chrome. All the same.
Who would know better than the ring makers??
This time, I used Hastings moly rings in my coarse honed bores.
Some say that moly rings want a finer finish, but Hastings DOES NOT say such. They say that a 220 to 280 grit finish is correct for iron, moly, or chrome. All the same.
Who would know better than the ring makers??
Forget where I read about moly rings liking a finer finish but it was from what seemed like a reputable source. Who knows, so much info out there, it takes some work to get down to whatís correct and accurate.
Thereís just so much info itís overwhelming at times.
Like using a torque plate for boring and/or honing. It may not be necessary but after reading up on it, seems like it could make a longer lasting motor with less wear. Thereís so many topics like this that I get stuck on and end up wanting to research more and more. I enjoy learning but also want to make the right decisions for my needs without going to overboard. Trying to find that line to ride.
#31
#32
Originally Posted by Melrose 4r
I have the harbor freight torque wrench and wouldn’t hesitate to use it. Before that i got by with an old Sears on with the bendable beam and scale.
The HF one is easier to use if nothing else.
i also have the HF dial indicator setup. It’s perfectly fine for my needs.
The HF one is easier to use if nothing else.
i also have the HF dial indicator setup. It’s perfectly fine for my needs.
The following users liked this post:
MasterOfNone (04-28-2019)
#33
Gonna see if LCE will email me the instructions from their kit or do any of you know of a good how to write up for when the time comes? Thanks
#34
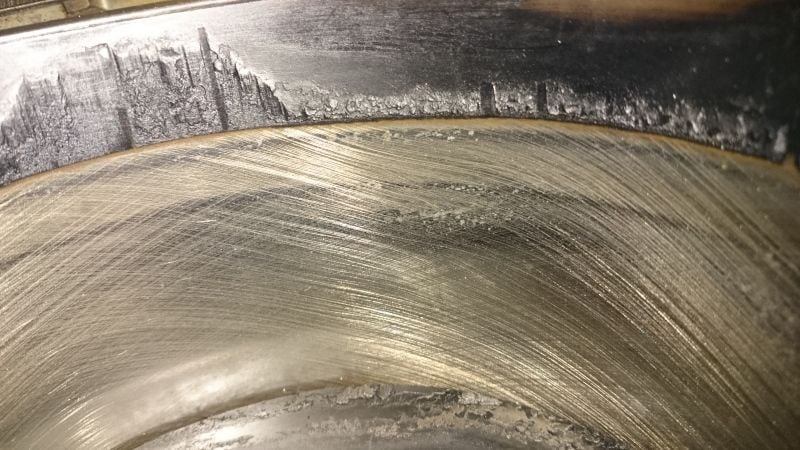
So the machine shop I used said that they just use a ďstandard honeĒ finish and that the reason I canít visibly see the crosshatch is because they used a scotch brite pad after doing the honing.
They also didnít give me my Main caps and 1 intake and 1 exaust valve I found out. Theyíre shipping the main caps soon but donít have the valves..
So frustrating dealing with anyone doing any kind of work for you.
What would you do and what do you think of this situation and their response. How would you handle this.
Its my first rodeo and Iím learning still. So looking for advice from a seasoned mechanic/engine builder.
Thanks!
Also, Iíll be ordering my bottom end parts in a few days hopefully. Will update the build process very soon.
#35
"Standard finish' ????? Sounds like they're shinin you on. I'd expect a competent machinist to be able to say something more concrete than that.
Scotch-brite after honing. huh??? Get yourself an inexpensive glaze breaker like this and do a light hone yourself.
https://www.ebay.com/itm/Furnished-W...72.m2749.l2649
Scotch-brite after honing. huh??? Get yourself an inexpensive glaze breaker like this and do a light hone yourself.
https://www.ebay.com/itm/Furnished-W...72.m2749.l2649
#36
"Standard finish' ????? Sounds like they're shinin you on. I'd expect a competent machinist to be able to say something more concrete than that.
Scotch-brite after honing. huh??? Get yourself an inexpensive glaze breaker like this and do a light hone yourself.
https://www.ebay.com/itm/Furnished-W...72.m2749.l2649
Scotch-brite after honing. huh??? Get yourself an inexpensive glaze breaker like this and do a light hone yourself.
https://www.ebay.com/itm/Furnished-W...72.m2749.l2649
Iím very nice when talking to them and am treated as if Iím an inconvenience and that thereís no way anything they do could possibly be anything but perfect.
I even did research for the ďbestĒ machine shop within a 2 hour radius of me before bringing it here.
Apparently I was wrong. They have zero people skills and possibly worse machining skills.
I plan to measure and mic all the work here soon and maybe have another machine shop inspect the home finish and come to a decision on re honing. (If thereís enough material left to do so and still stay within spec for the 20 over pistons.
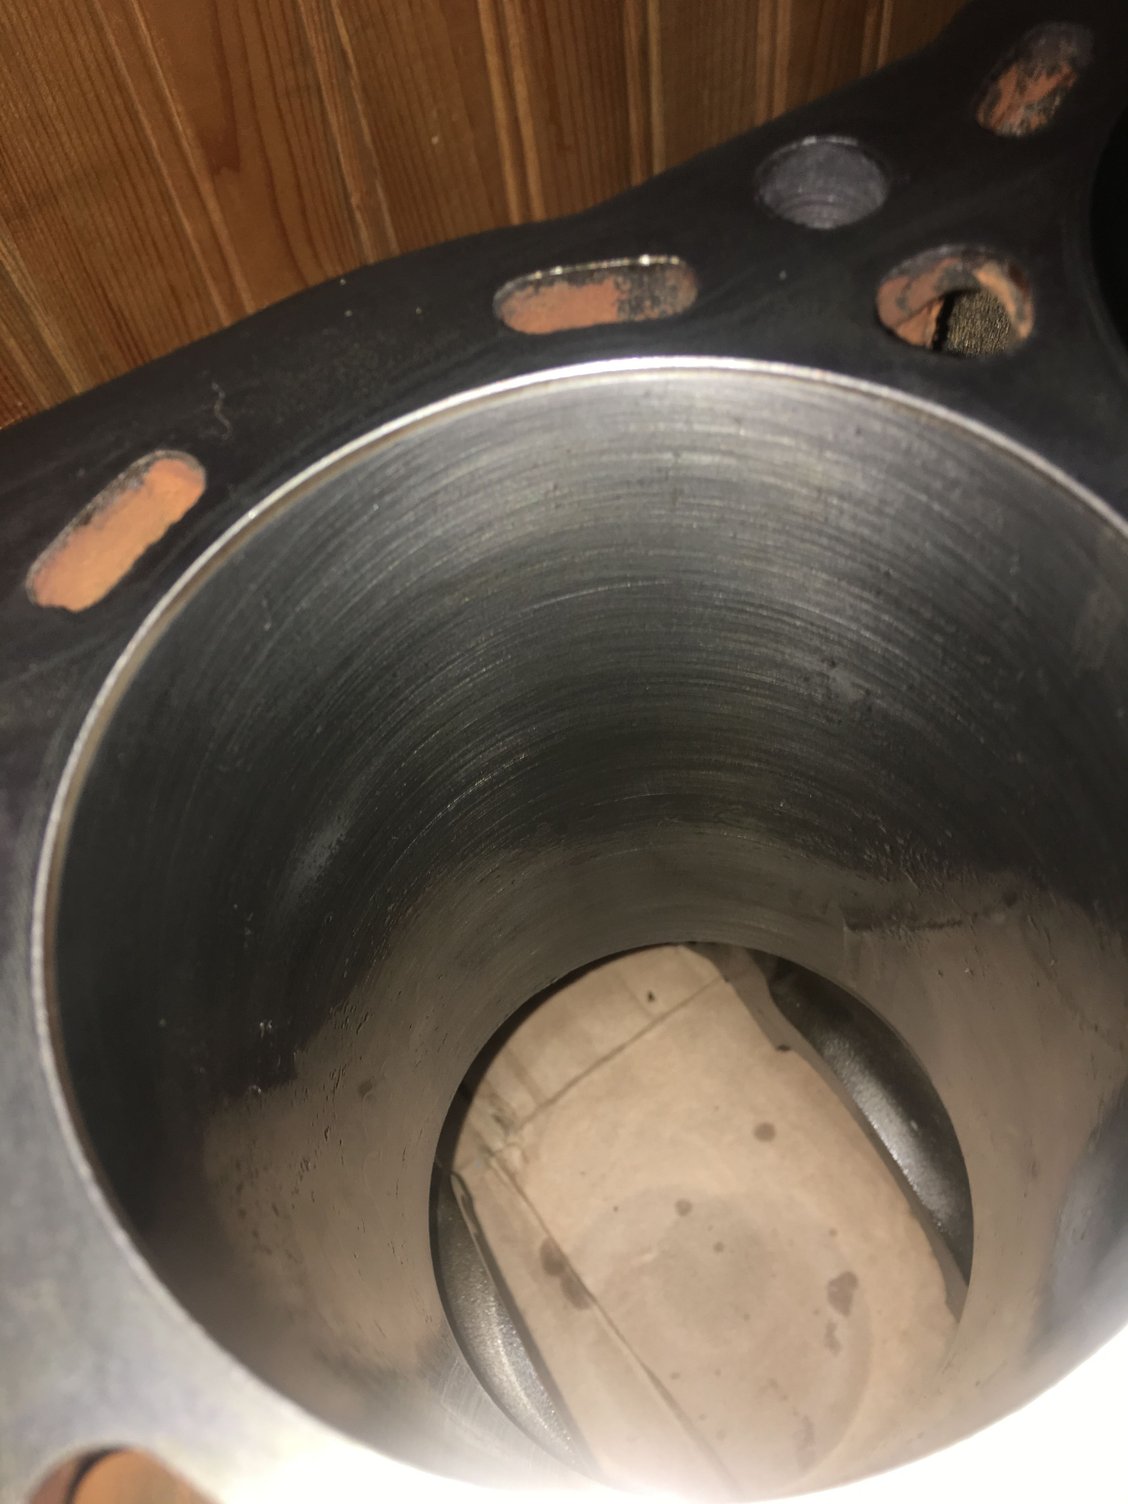
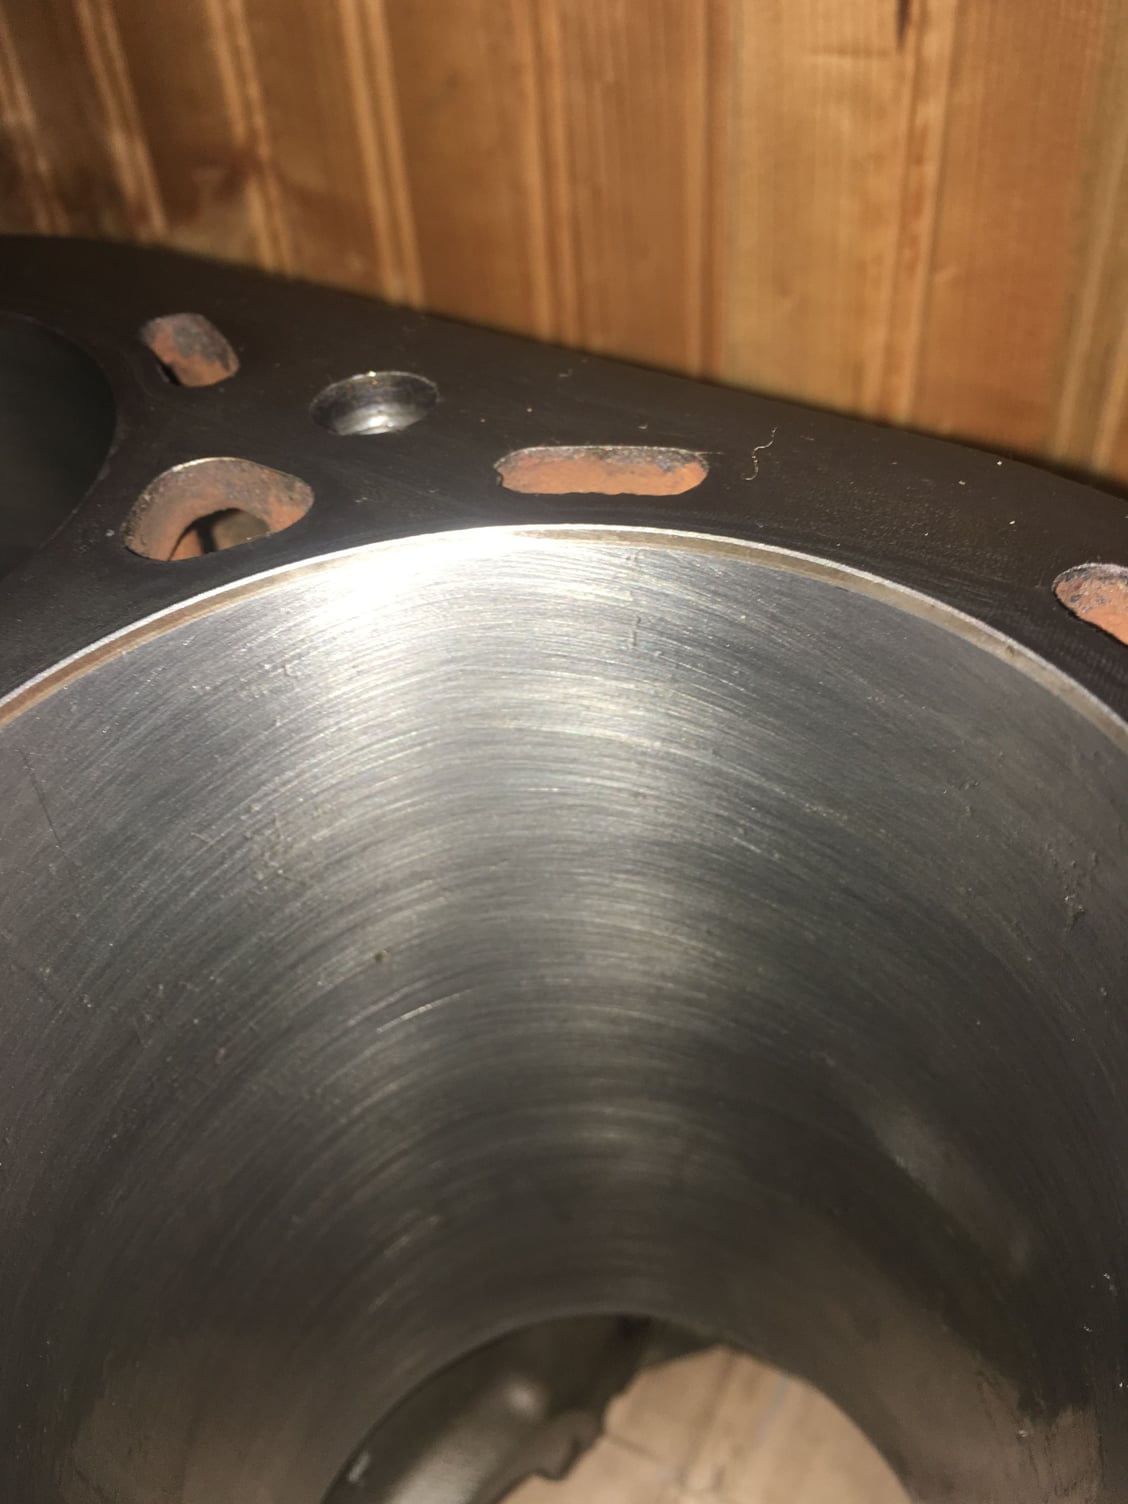
Just expected to see more crosshatch, through ought the bore.
#38
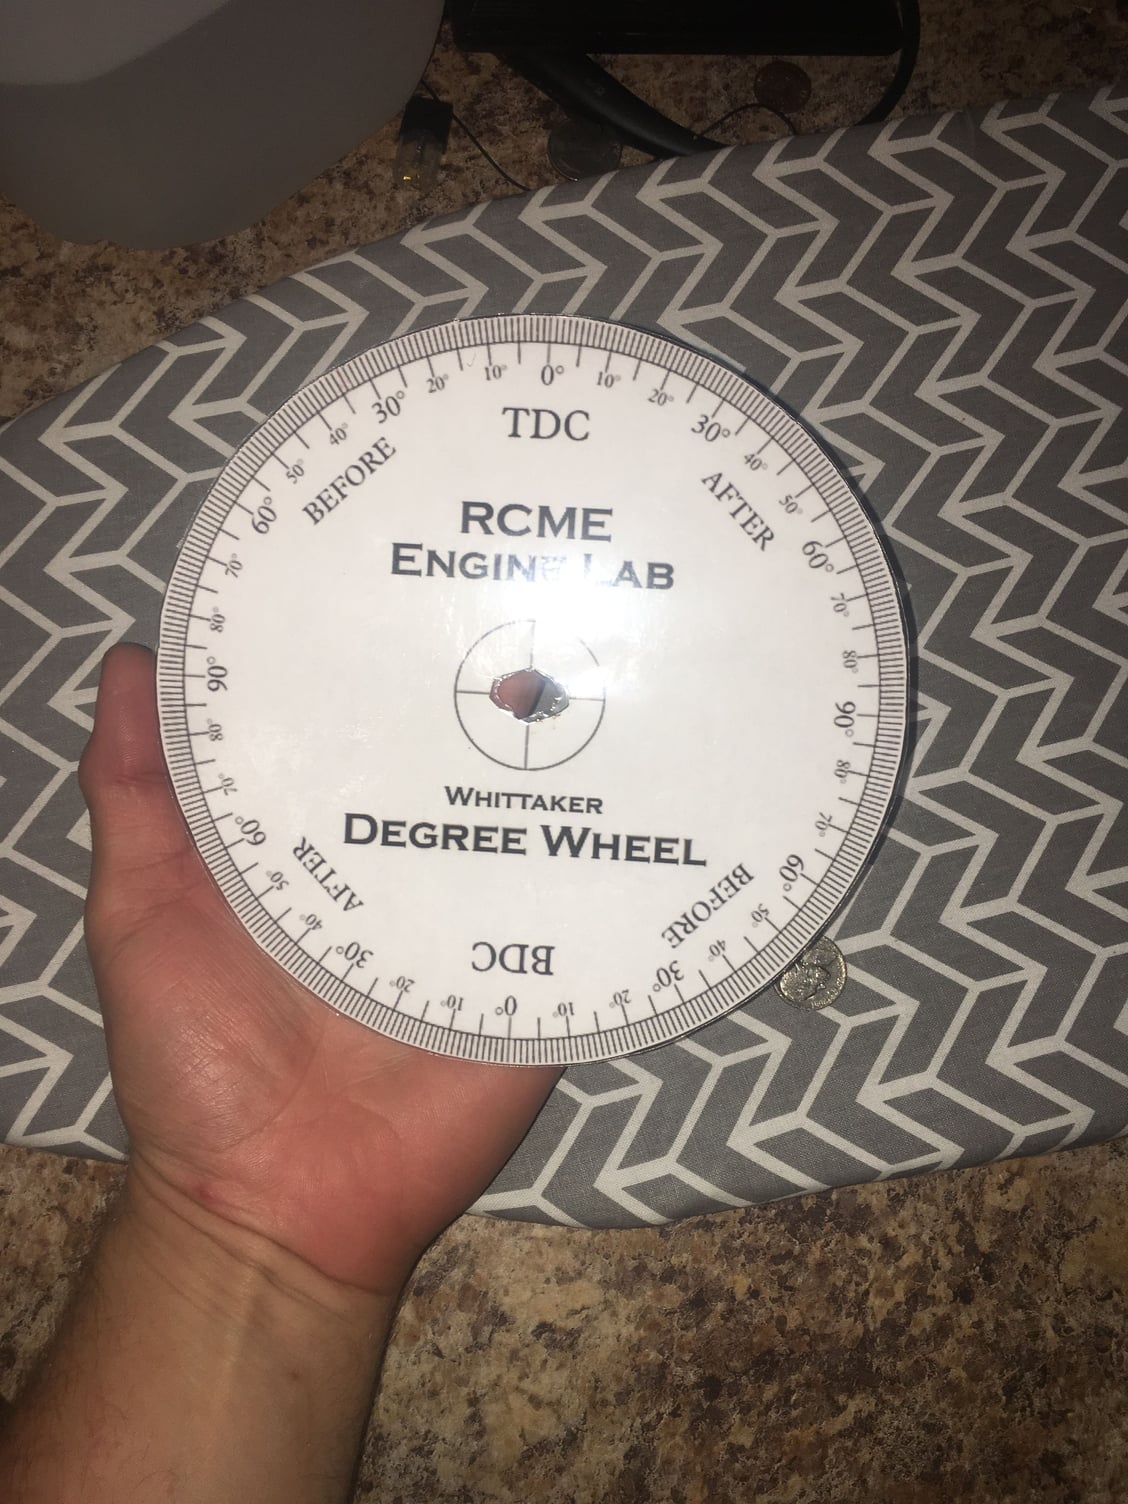
Took your advice and printed and laminated a degree wheel at work tonight. Now to find some detailed directions on how to degree In the camshaft, and pickup the dial indicator @ magnetic base from harbor fright and make some kind of bracket to stick it to.
Gonna see if LCE will email me the instructions from their kit or do any of you know of a good how to write up for when the time comes? Thanks
Gonna see if LCE will email me the instructions from their kit or do any of you know of a good how to write up for when the time comes? Thanks
all the write ups i remember are from the Hot Rod type magazines. There should be lots out there.
Basically you have two goals. First find true TDC. Then insure your cam is installed per its own grind/timimg specs(and prove it’s the right cam along the way!). Ok 3 goals...correct cam position using an adjustble cam gear if necessary. Where does the error come from? The distance between the cam and crank centerline can vary due to block being decked, head being shaved, differing head gasket thickness, align boring crank journals. A shorter distance between the centerlines will result in the cam being retarded.
I once ran a TRD adjustable cam gear on my 20r Celica. Iirc, i had advanced the cam 4 degrees wrt the crank. The cam was stock. It woke it up in the lower rpm range. Camshaft design is a compromise. That’s why variable valve timing was invented.
The following users liked this post:
MasterOfNone (05-01-2019)
#39
Okay, so it pays to do your homework and learn a lot before just slapping parts together. Not sure if accurate but hereís what Iíve learned.
Machine shop feedback - The cylinder RA was set to 25 and the lack of crosshatch was done due to the type of low tensile rings being used (moly top ring, cast iron second ring and ss oil rings) They said these low tensile rings prefer the honing pattern with the lack of crosshatch to seat right without unnessecary wear.
Im triple checking this info with LCE when they open just to be sure but all should be good. Maybe have been a bit paranoid of things not being done right but it pays to be cautious when building a motor for the first time. The machine shop definitely sounds tired of my questions (only the second time Iíve called to ask something tho) so will try to better my knowledge for next time I need work done.. or find a shop with better people skills.
Ordering bottom end parts next week. Will update the thread soon
#40
Hey! Very nice.
all the write ups i remember are from the Hot Rod type magazines. There should be lots out there.
Basically you have two goals. First find true TDC. Then insure your cam is installed per its own grind/timimg specs(and prove itís the right cam along the way!). Ok 3 goals...correct cam position using an adjustble cam gear if necessary. Where does the error come from? The distance between the cam and crank centerline can vary due to block being decked, head being shaved, differing head gasket thickness, align boring crank journals. A shorter distance between the centerlines will result in the cam being retarded.
I once ran a TRD adjustable cam gear on my 20r Celica. Iirc, i had advanced the cam 4 degrees wrt the crank. The cam was stock. It woke it up in the lower rpm range. Camshaft design is a compromise. Thatís why variable valve timing was invented.
Ill also be ordering new valves and need to lap them in after checking seating. Will be The first time doing this. Any valve lapping compound or grits you all prefer?
I already have the wooden fire starter stick the suction cups on either end.
The following users liked this post:
SomedayJ (05-01-2019)


