Scuba's Manual Hub Rebuild
#1
Scuba's Manual Hub Rebuild
Well my kit from downey offroad finally came in friday, so yesterday morning I started my venture, today i am finishing up.
Heres some pics for everyones entertainment, And this isnt a write up persee, just some pics so everone can see.
Any questions feel free to ask or PM me
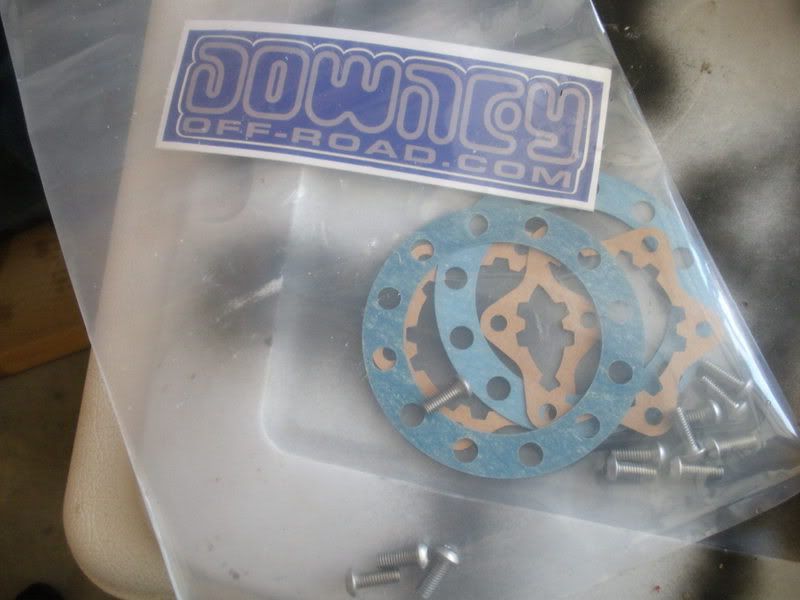
The Downey Offroad Kit comes with everything you need, I.e Gaskets and new hex bots for the face.
I know I could have sourced the gaskets but this was more simple and plus i got some more flare for my truck
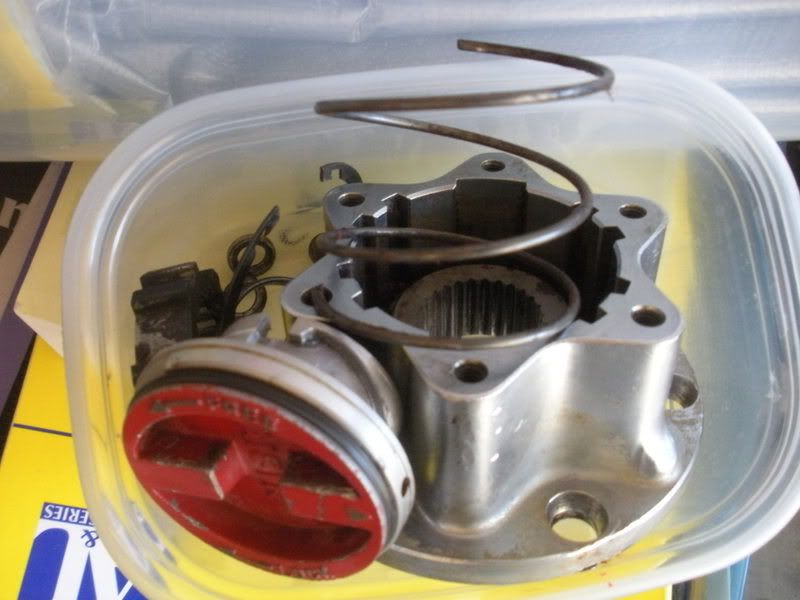
Pass side hub, Dismantled
Driver side
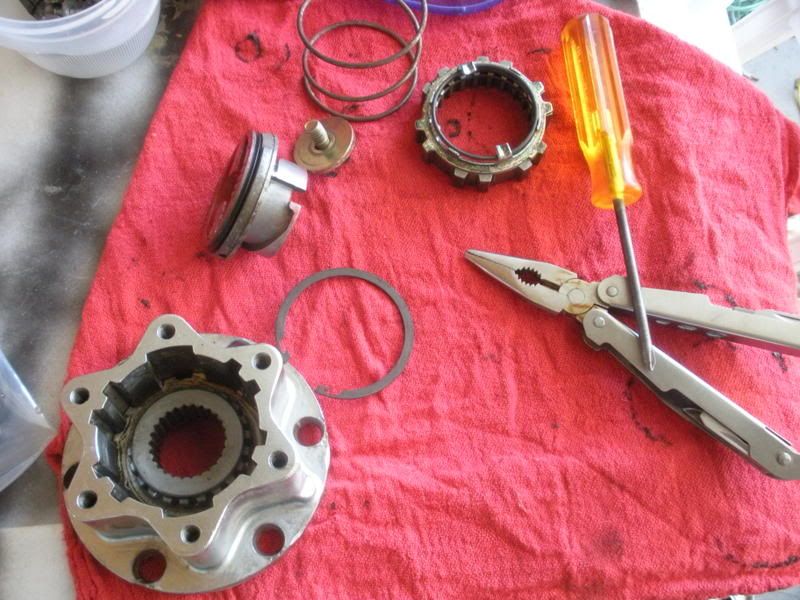
Lots of brake cleaner is needed.
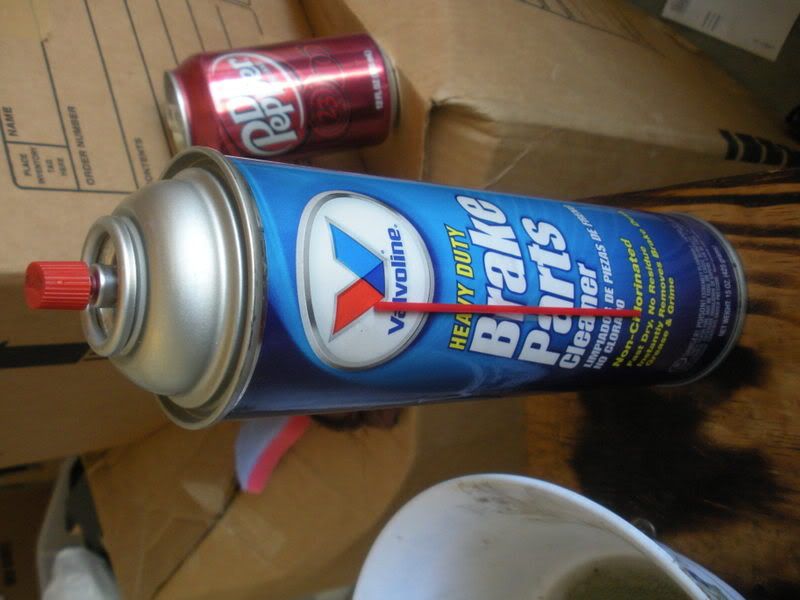
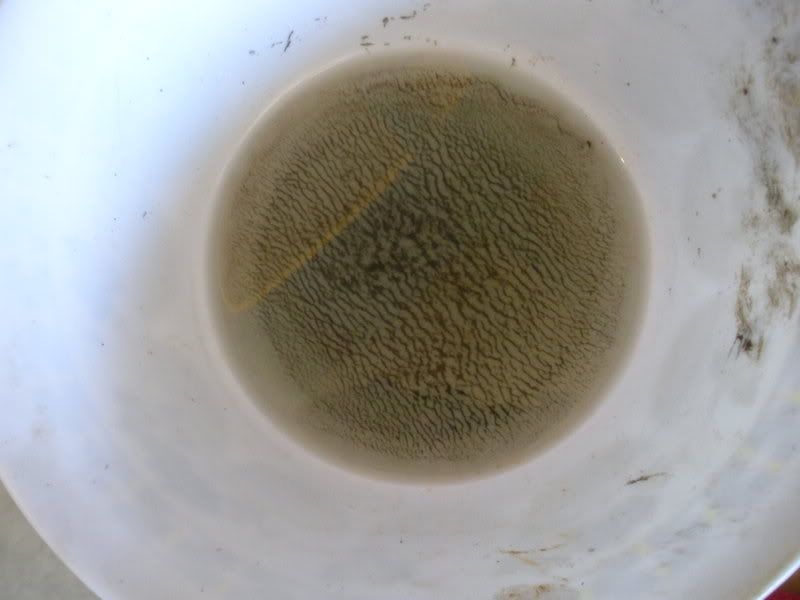
Some People also choose to soak there "guts" in mineral spirits, with none lying around i chose to skip this step.
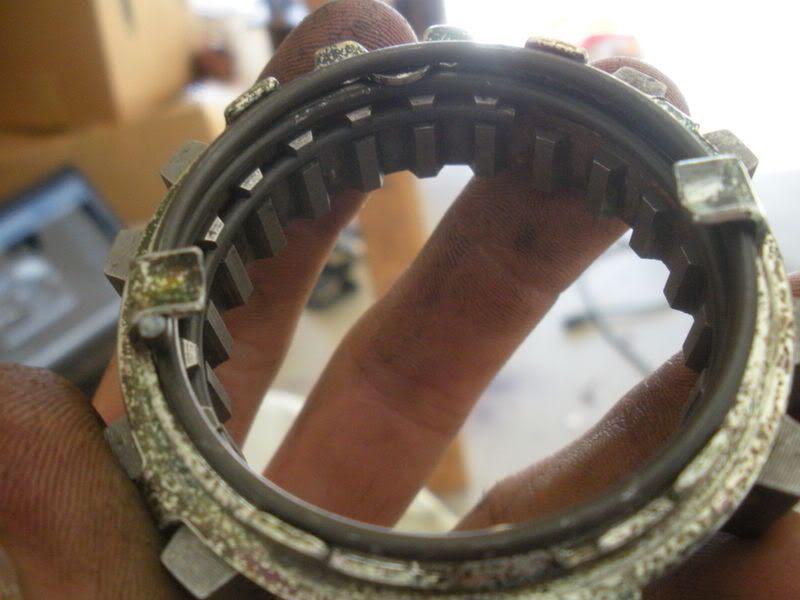
Ewww
These next 2 are of the passenger side "follower pawl" It is pretty bent up so my search for a new one began yesterday.
Abe said he'll probably be going to a parts puller and said he'll see if he can snag me one, or the whole hub for cheap.
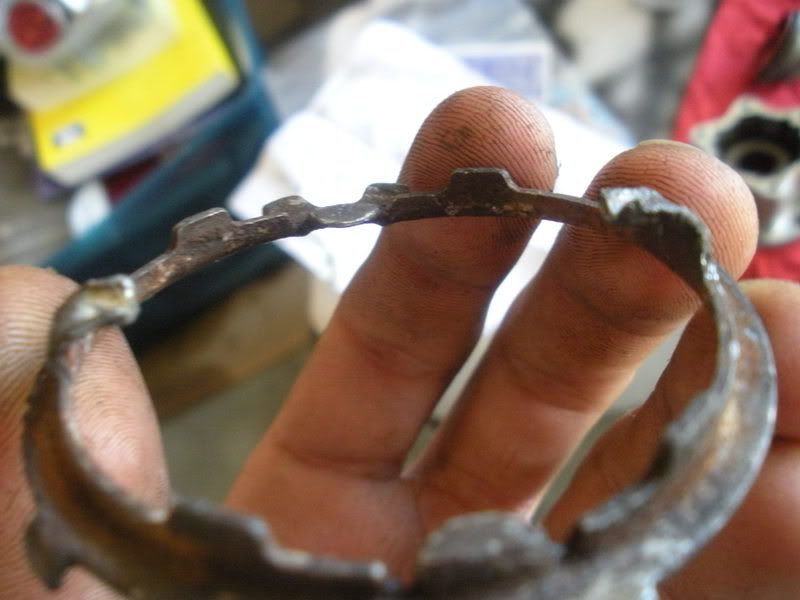
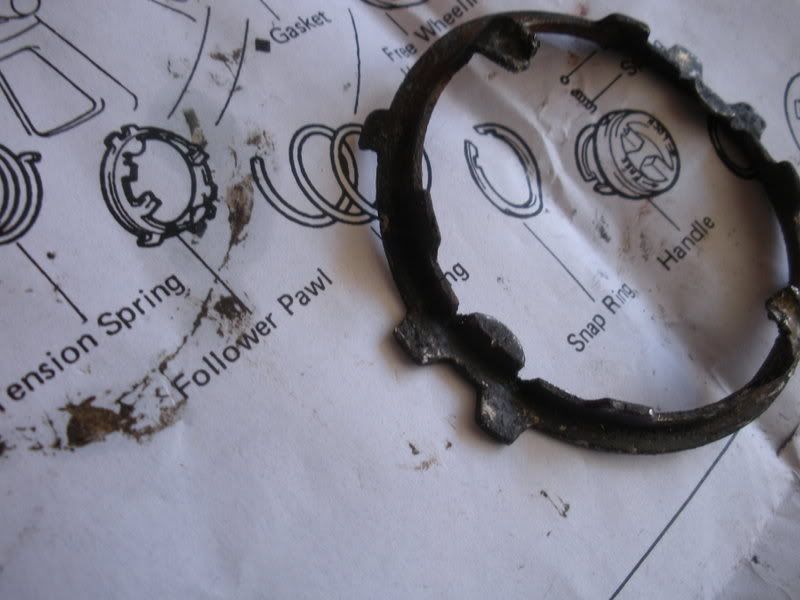
So the pass. side will remain "gutless" until i get a new one.
So While waiting for these to dry...
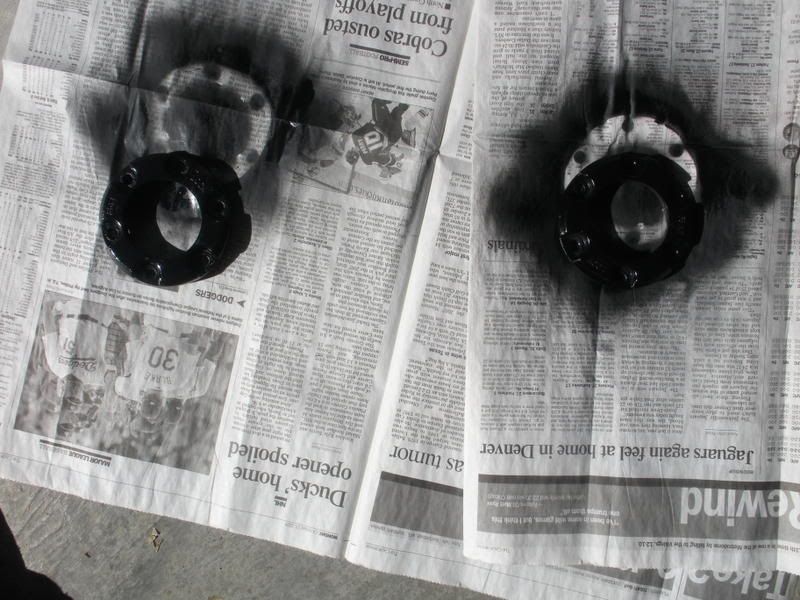
I went ahead and did some reading....
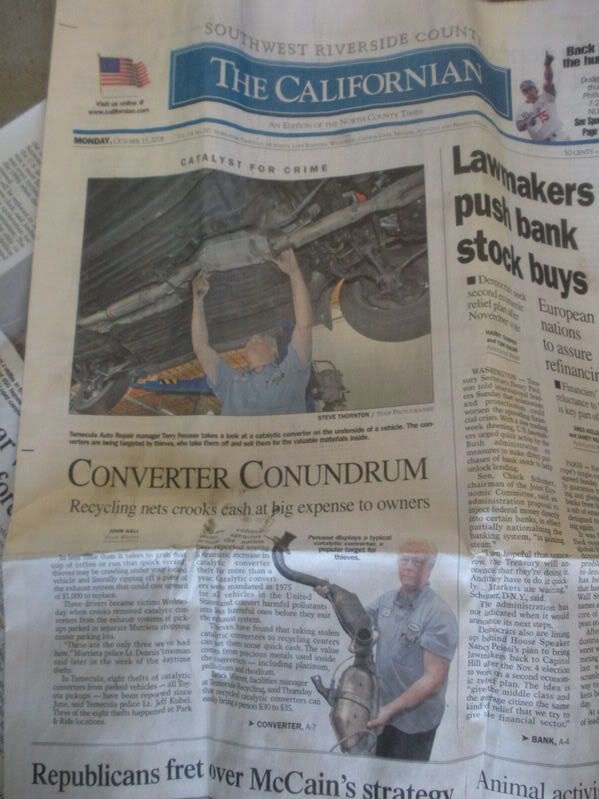
And after I read this part, which i knew was the case anyway...yeah i went and made sure mine was still there.
Surely it was

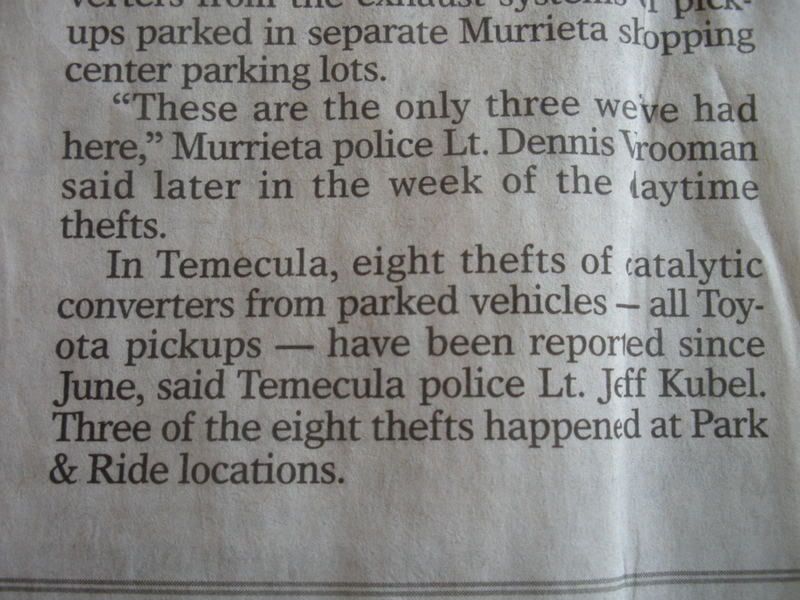
At the moment im still waiting on the paint to dry..
As said, any questions feel free to ask.
Comments and concerns are always welcome also

Heres some pics for everyones entertainment, And this isnt a write up persee, just some pics so everone can see.
Any questions feel free to ask or PM me
The Downey Offroad Kit comes with everything you need, I.e Gaskets and new hex bots for the face.
I know I could have sourced the gaskets but this was more simple and plus i got some more flare for my truck


Pass side hub, Dismantled

Driver side

Lots of brake cleaner is needed.

Some People also choose to soak there "guts" in mineral spirits, with none lying around i chose to skip this step.
Ewww

These next 2 are of the passenger side "follower pawl" It is pretty bent up so my search for a new one began yesterday.
Abe said he'll probably be going to a parts puller and said he'll see if he can snag me one, or the whole hub for cheap.


So the pass. side will remain "gutless" until i get a new one.
So While waiting for these to dry...

I went ahead and did some reading....

And after I read this part, which i knew was the case anyway...yeah i went and made sure mine was still there.
Surely it was


At the moment im still waiting on the paint to dry..
As said, any questions feel free to ask.
Comments and concerns are always welcome also

#6
Selector is staying how it is, i dont have red paint lying around...
And BMC...yes, alot better conditions..although, i wouldnt mind some right about now.
Anyone who has done...Can you point me in the right direction as to why the clutch will go from free to lock, but wont bring the clutch back in when you go to free..?
And BMC...yes, alot better conditions..although, i wouldnt mind some
 right about now.
Anyone who has done...Can you point me in the right direction as to why the clutch will go from free to lock, but wont bring the clutch back in when you go to free..?
#7
Trending Topics
#11
So, i've succeeded in losing one of the ball bearings, wtf do i do now ?
EDIT: Found it, anyway, so after i switched out the ball bearing that looks like crap for one that looks perfect, its still not going back to free from lock.
HELP PLEASE ??!?
EDIT: Found it, anyway, so after i switched out the ball bearing that looks like crap for one that looks perfect, its still not going back to free from lock.
HELP PLEASE ??!?
Last edited by scuba; 10-26-2008 at 03:32 PM.
#13
corey, im sure its not broken, theres the little tension spring, and the big spring.
Refer to picture 1 in post one of the below linked write up....
top right theres the clutch, to the left of it is the tention spring which attaches the piece to the left of it which is the follower pawl to the clutch on the right.
Then the bigger spring.
http://forum.ih8mud.com/79-95-toyota...b-rebuild.html
So im confused....
#14
there is only 1 spring on an ASIN hub .
I dont care what that says .. there is only 1 spring .
If you look closly at the spring ... you'll see where the 2 ends broke .
I dont care what that says .. there is only 1 spring .
If you look closly at the spring ... you'll see where the 2 ends broke .
Last edited by slacker; 10-26-2008 at 03:52 PM.
#15
Not trying to be a pain buddy, and im sure you know your stuff, but do you care what the PDF says ??
http://personal.utulsa.edu/~nathan-b...14freewhee.pdf
And IF it is broken it doesnt make sense..
idk...
http://personal.utulsa.edu/~nathan-b...14freewhee.pdf
And IF it is broken it doesnt make sense..
idk...
#16
yeah .. opps .. MY MISTAKE !!
sorry
there are 2 springs .. it's been a while , sorry again .
check this thread .. might help more then me !!!! http://www.pirate4x4.com/forum/showthread.php?t=281879
sorry
there are 2 springs .. it's been a while , sorry again .
check this thread .. might help more then me !!!! http://www.pirate4x4.com/forum/showthread.php?t=281879
#17
lol, I was scared that was going to be the straw that made you angry...
Anyway, ill take a look at that, and try and figure this out...
im getting erked, and running outta sunlight.
Thanks
And, if anyone has ever had this problem, please let me know what you did to remedy it
Anyway, ill take a look at that, and try and figure this out...
im getting erked, and running outta sunlight.
Thanks
And, if anyone has ever had this problem, please let me know what you did to remedy it
#19

Is this with it installed in the hubs assembly or just the dial/face/spring/clutch in your hand?
Here is how it should go together.
The blue circled piece inserts through that slot with the little wound "spring" next to the dial.
The flat side of the big spring goes against the pawl, not the dial.
Hold the dial, insert the blue circle in the slot following the blue arrow and then twist the pawl tight up on the dial compressing the big spring.
Too much grease and things won't work. If assembled correctly you can hear the pawl moving in and out when you turn free to lock.
You should have gone WabFab instead of Downey for your Aisin hub needs...my stuff looks much better when you get it all assembled...those Downey bolts are cheap looking.

#20
hah, no worries.
And after reading the pirate thread nothing seems to be of problem....wtf
Im contemplating sending the to the wabbit.
but id like to avoid that since i bought the gaskets and the kit from downey.
im angry, last night sucked, today has been pretty ghey, and the ex woman is being stupid...I told her..."im still in no mood for your rubbish"
El Oh El.
Anyway, /rant.
Time for some self medication.
*popped tab*


