
Philbert's 87 4Runner Head Gasket & head replacement - take II

 02-22-2013, 07:57 PM
#23
Registered User
Maybe it's just the pictures, but they look like there totally blocked up with a HG in a bottle fix. If it's just rust, then I would really clean out the cooling system with a flush, red line makes a great product. Just don't want you to pop another HG with your passages looking like that.
02-24-2013, 08:22 AM
#26
Registered User
Thread Starter
iTrader: (2)
Join Date: Dec 2009
Location: Pleasanton, CA - SF Bay Area
Posts: 2,159
Likes: 0
Received 7 Likes
on
5 Posts
Cleaned some stuff yesterday...and is my head warped?
Didn't have a whole lot of time yesterday and I'm off to Seattle all week today for business 
I did get a chance to clean up some parts though:
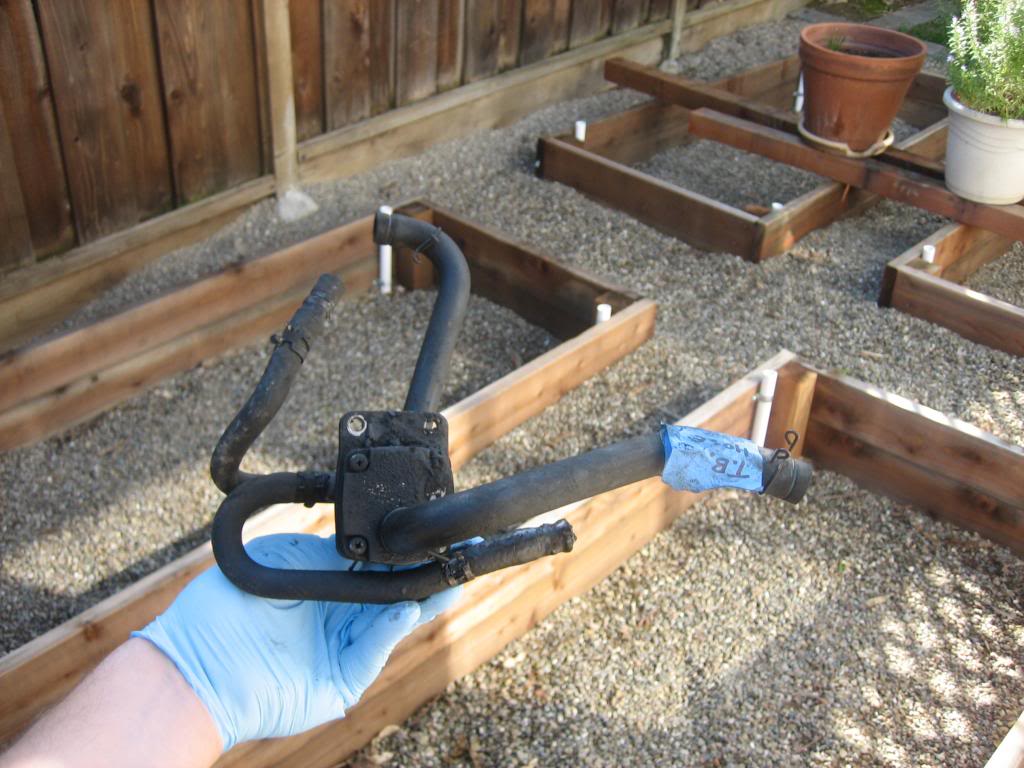
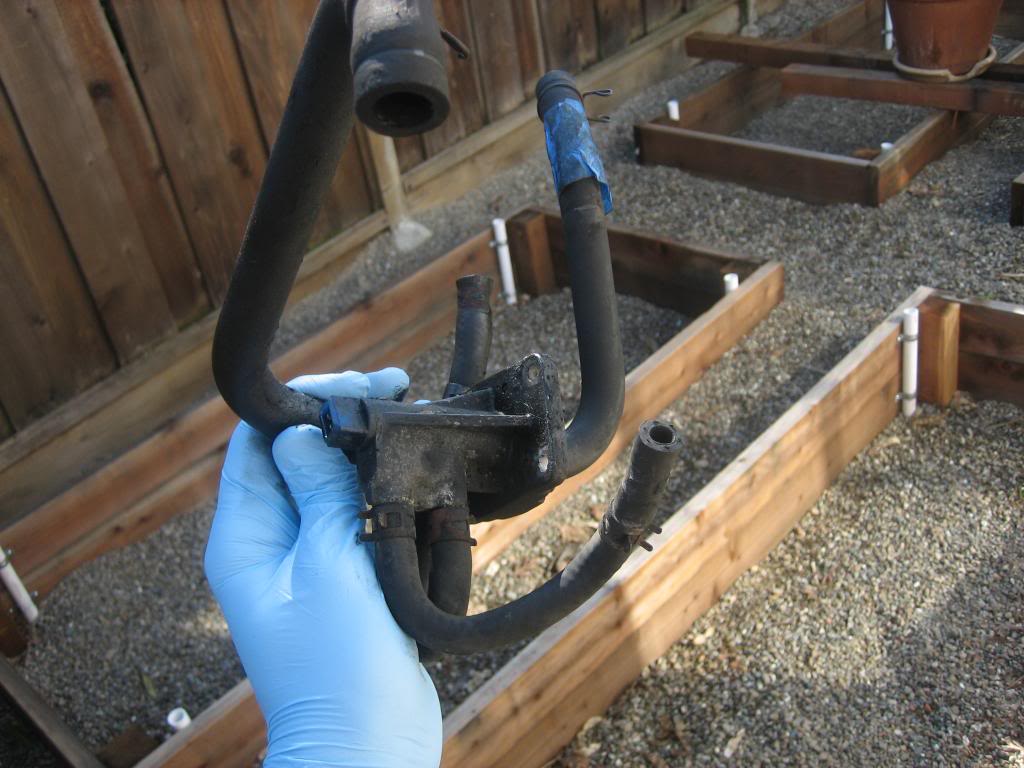
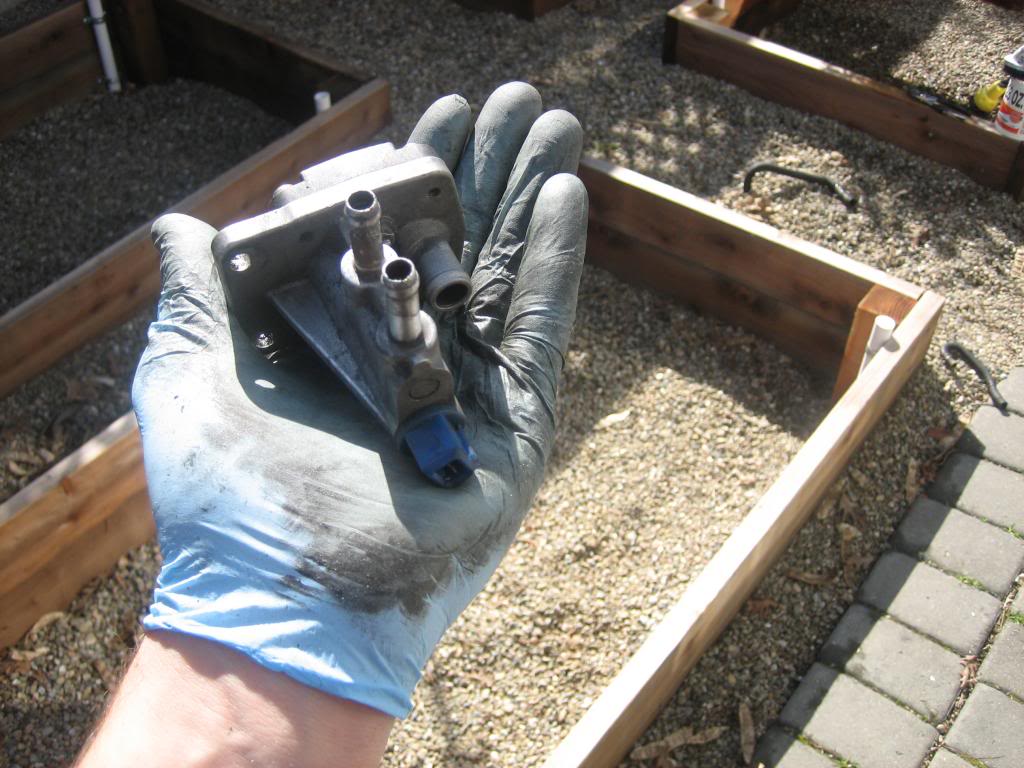
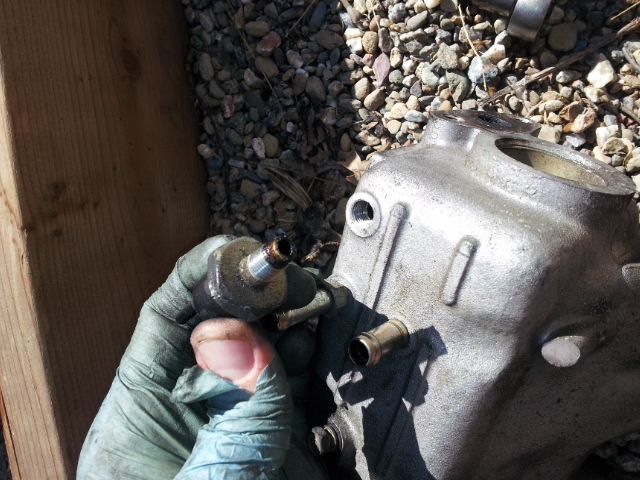
This thing bolts on under the intake manifold and was caked in grime:
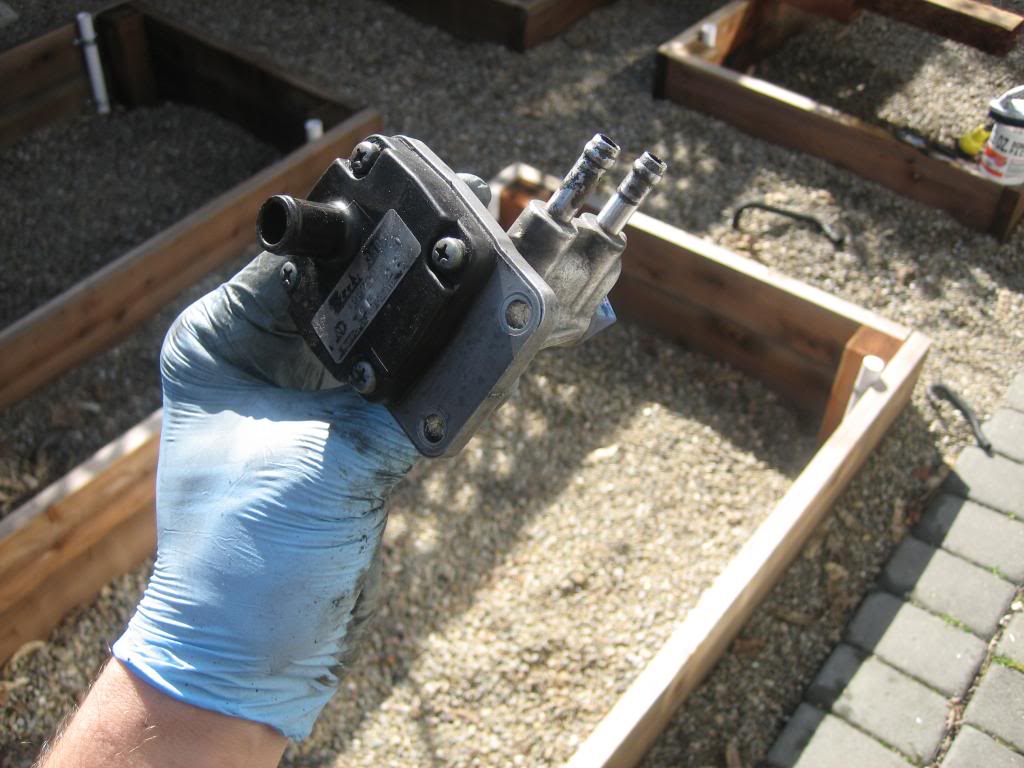
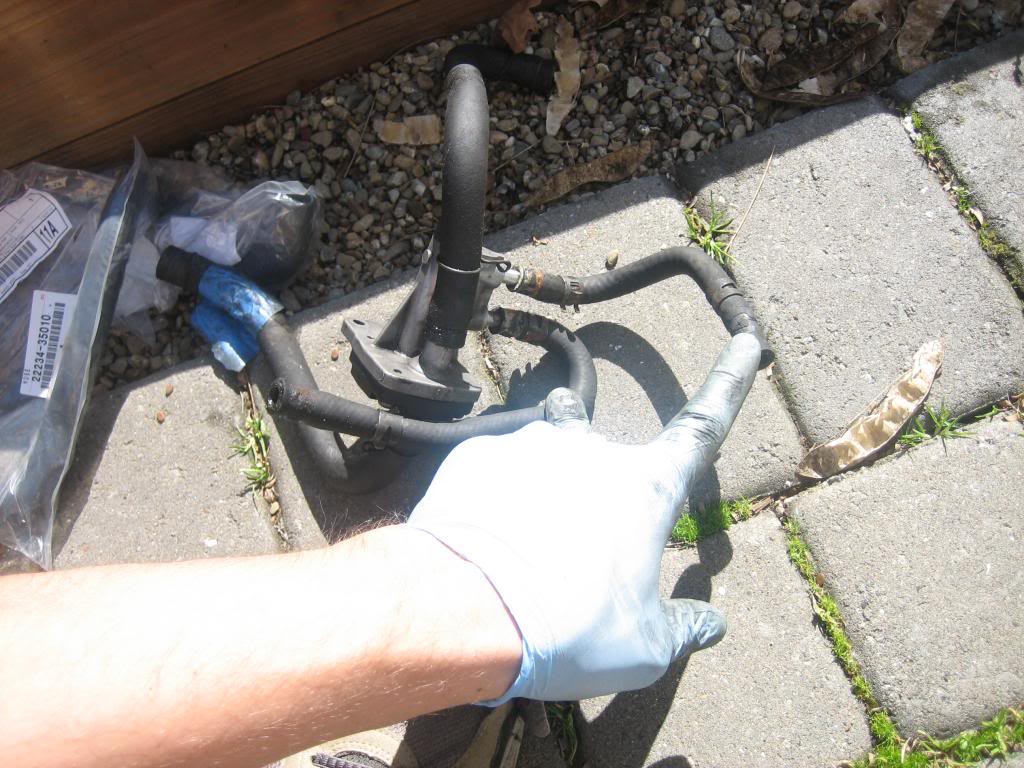
And here it is, much cleaner!
I need to buy these 2 hoses still:
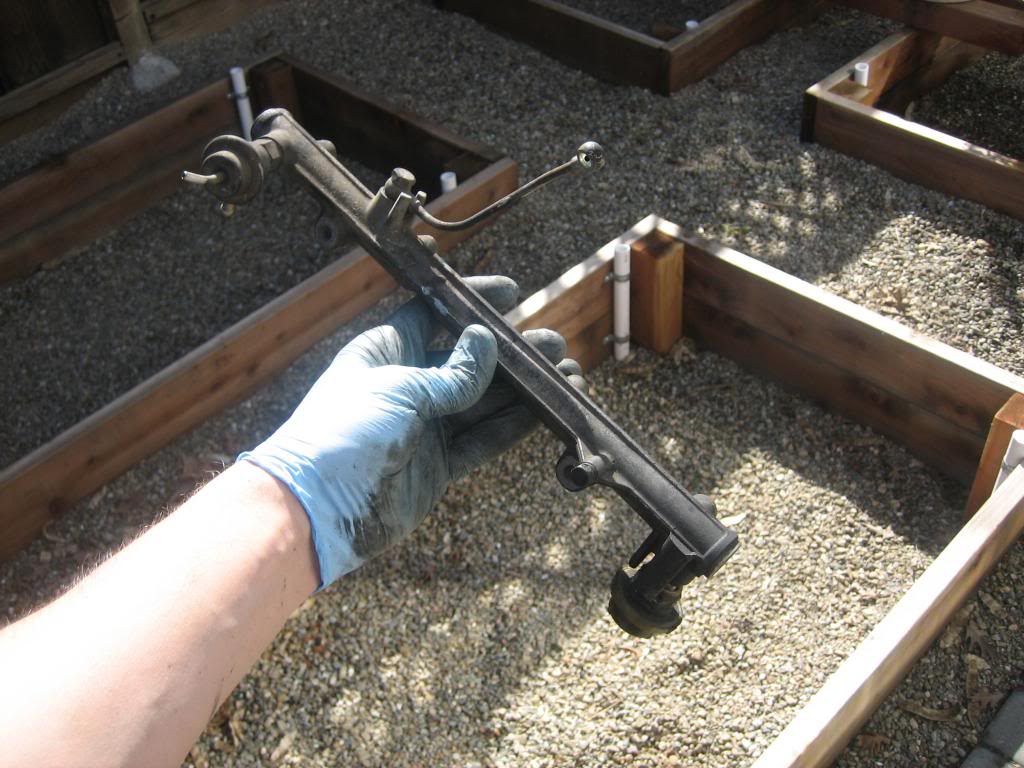
The fuel rail:
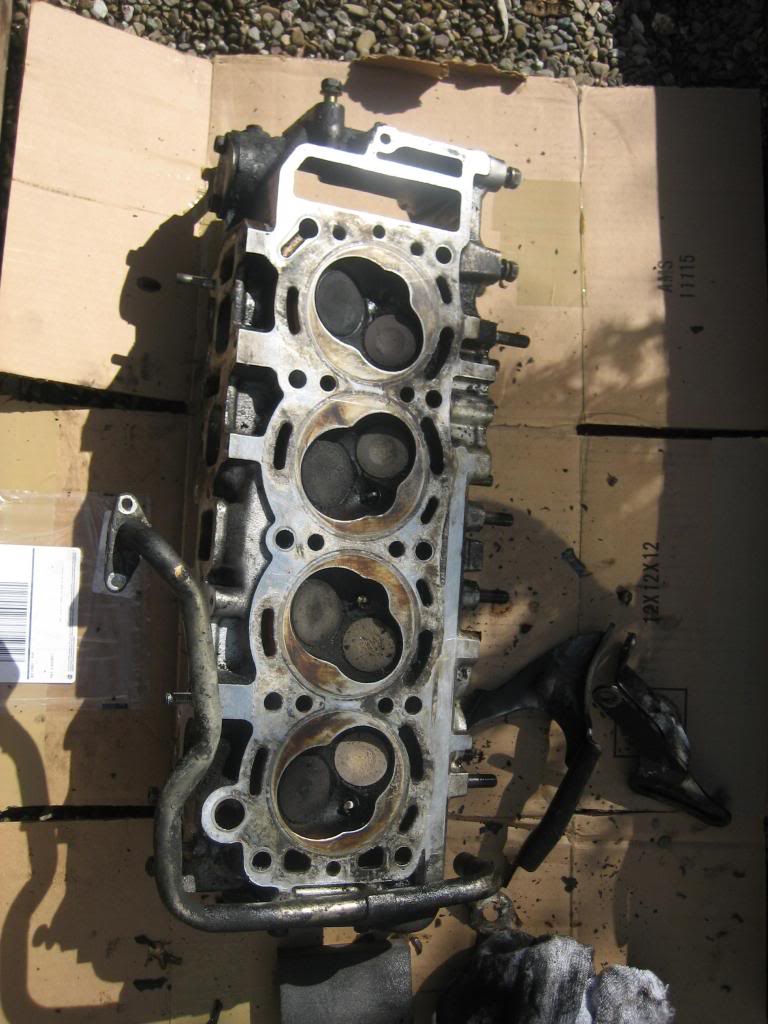
The head before cleaning up the mating surface:

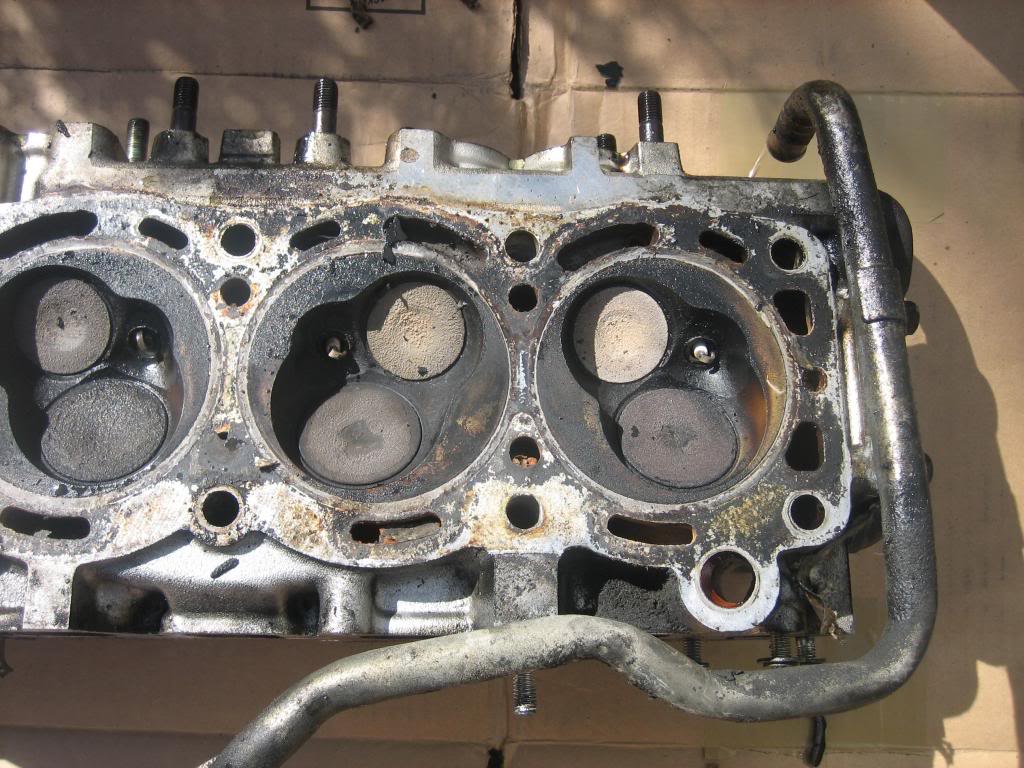
After cleaning:
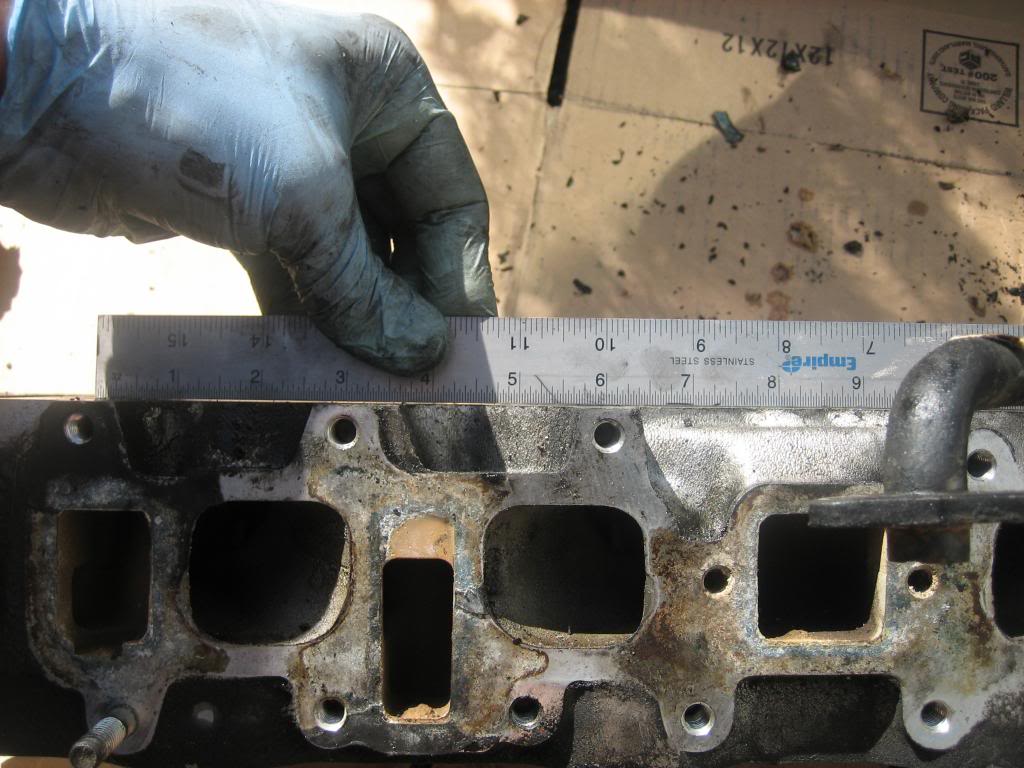
And, using a straight edge along the mating surface of the head, after cleaning with a razor blade - this is the area and the side where the leak was coming from:

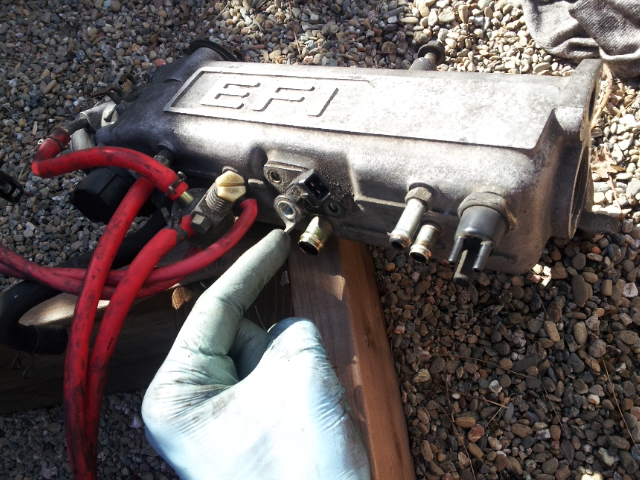
Upper intake manifold:
I'm just documenting this for later if I take these things off to clean:
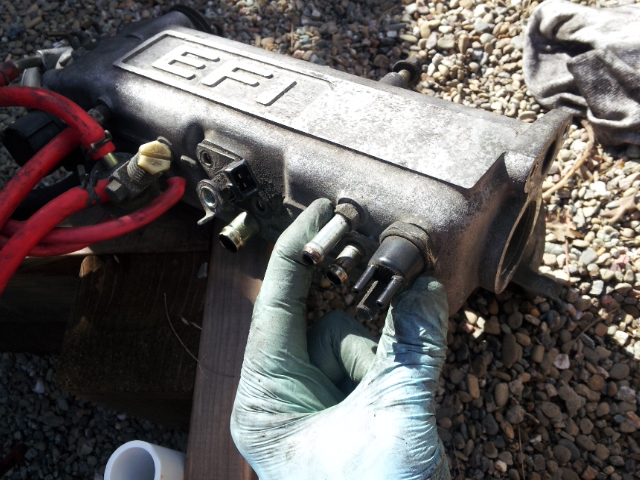

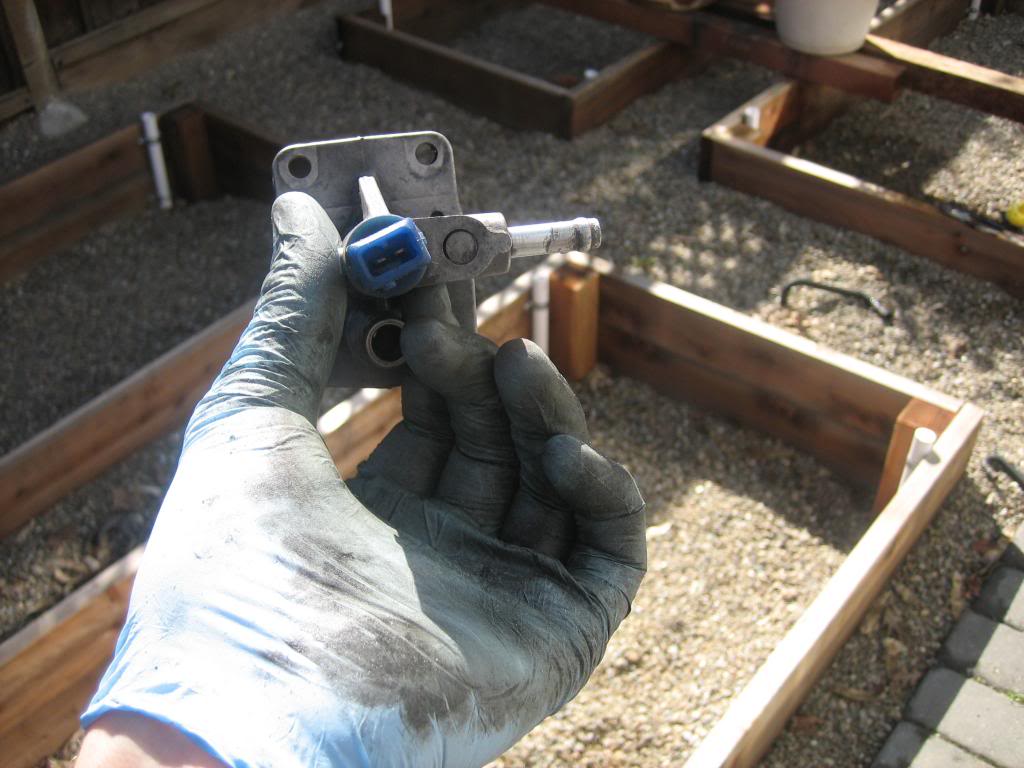
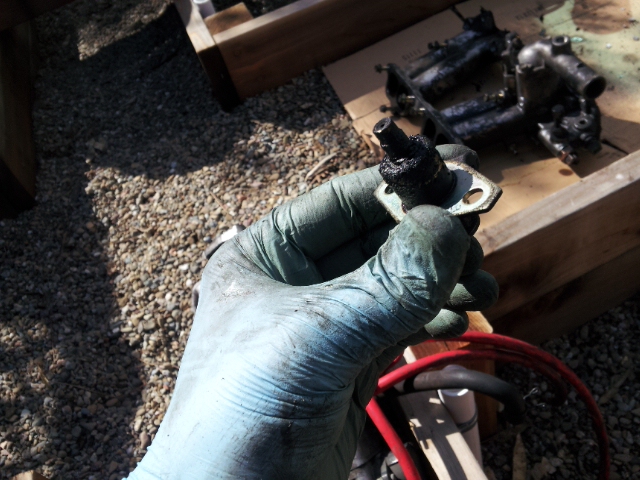
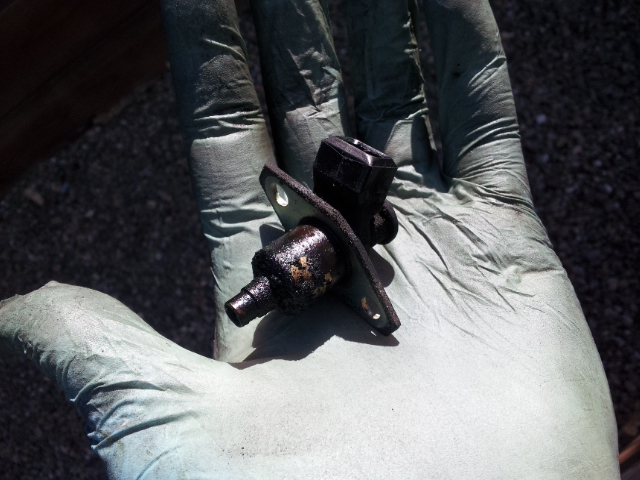
Cold start injector:
Yuck!
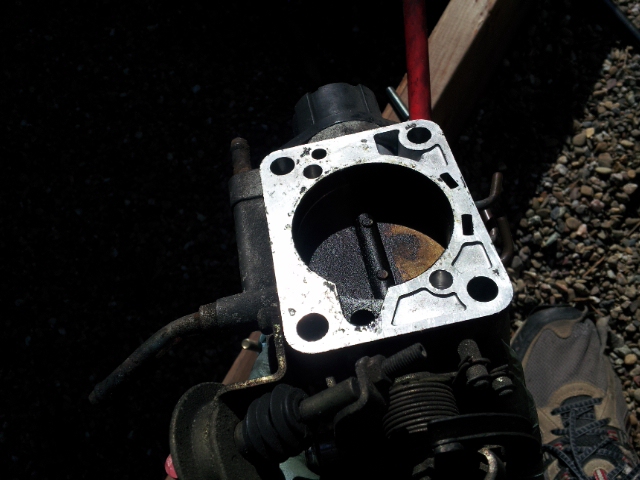
Throttle body removed - yuck!
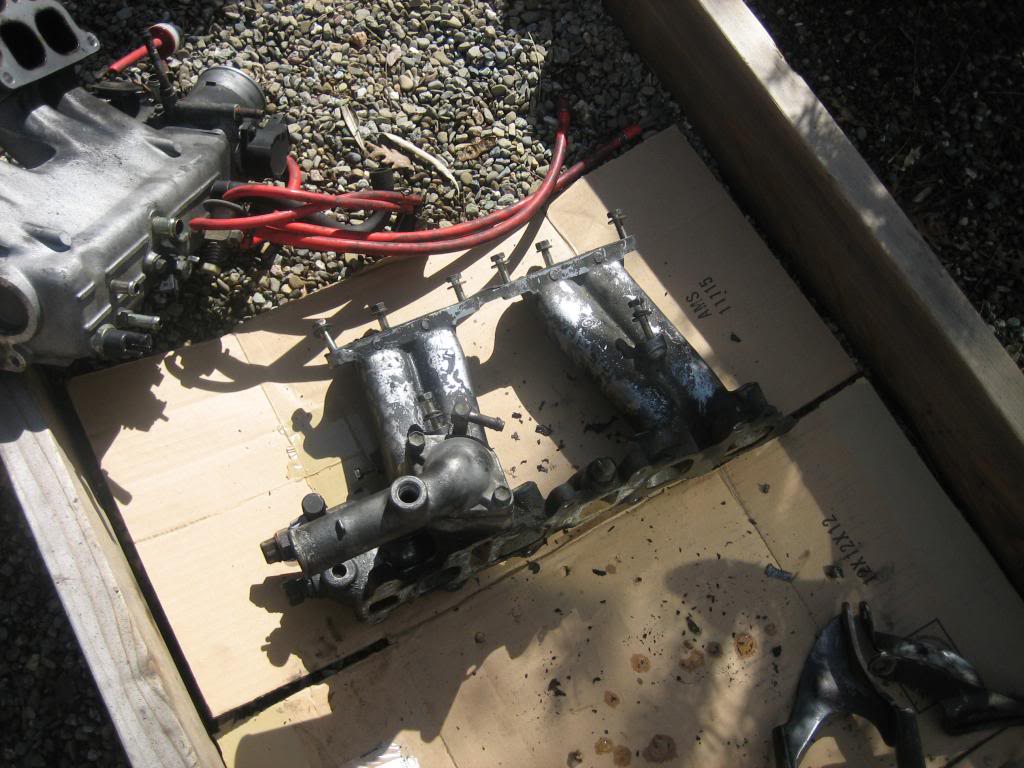
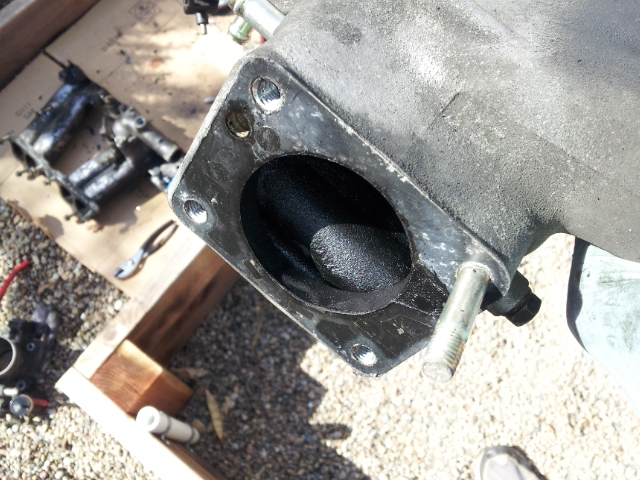
Intake Manifold - YUCK!
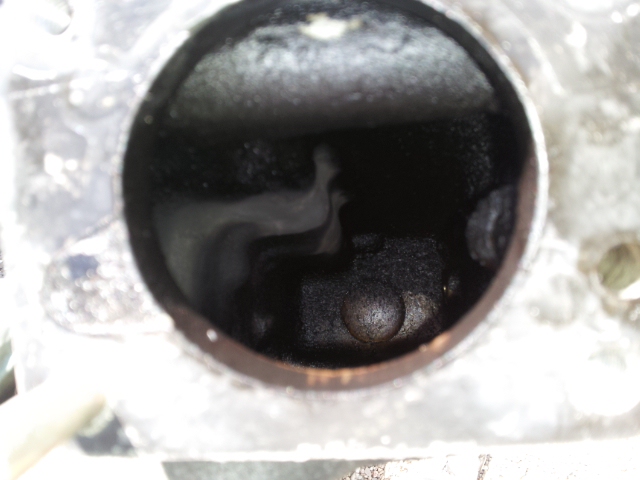
Anyone have tips on cleaning that crap out of the manifold? I sprayed carb cleaner in there but didn't do much.
I used GoJo and a plastic scrub brush on the Power steering bracket, that valve apparatus with the 4 hoses at the beginning of this post and plan to do the same on the OUTSIDE of the manifold...but I do want to clean up the inside too.
Also, thoughts on the head? I took more photos but they didn't come out well - there is a small sliver of "daylight" that comes through when you line up a straight edge along the mating surface - does that mean it's warped and needs replacing?
To do:
- Order various gaskets/hoses from Toyotapartszone that I didn't realize I needed still
- Send injectors and cold start injector to witchhunter
- Clean up and reinstall timing chain cover/chain/etc
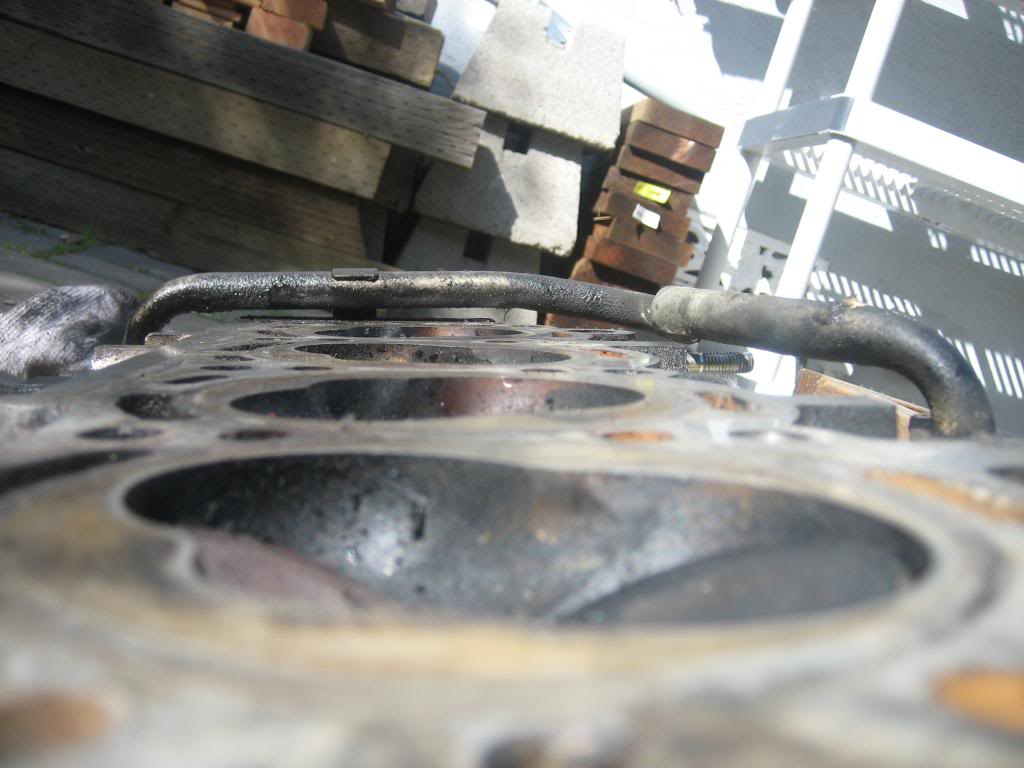
- Clean up block deck more; clean out head bolt holes
- Get new head bolts from ENGNBLDR; possibly new head too
Anything else I should be doing guys?
I did get a chance to clean up some parts though:
This thing bolts on under the intake manifold and was caked in grime:
And here it is, much cleaner!
I need to buy these 2 hoses still:
The fuel rail:
The head before cleaning up the mating surface:
After cleaning:
And, using a straight edge along the mating surface of the head, after cleaning with a razor blade - this is the area and the side where the leak was coming from:
Upper intake manifold:
I'm just documenting this for later if I take these things off to clean:
Cold start injector:
Yuck!
Throttle body removed - yuck!
Intake Manifold - YUCK!
Anyone have tips on cleaning that crap out of the manifold? I sprayed carb cleaner in there but didn't do much.
I used GoJo and a plastic scrub brush on the Power steering bracket, that valve apparatus with the 4 hoses at the beginning of this post and plan to do the same on the OUTSIDE of the manifold...but I do want to clean up the inside too.
Also, thoughts on the head? I took more photos but they didn't come out well - there is a small sliver of "daylight" that comes through when you line up a straight edge along the mating surface - does that mean it's warped and needs replacing?
To do:
- Order various gaskets/hoses from Toyotapartszone that I didn't realize I needed still
- Send injectors and cold start injector to witchhunter
- Clean up and reinstall timing chain cover/chain/etc
- Clean up block deck more; clean out head bolt holes
- Get new head bolts from ENGNBLDR; possibly new head too
Anything else I should be doing guys?
02-24-2013, 12:23 PM
#27
Registered User

Join Date: Sep 2007
Location: San Francisco East Bay
Posts: 8,299
Likes: 0
Received 841 Likes
on
661 Posts
Philbert -
That's not a "straightedge." I wish it was (I have some very expensive "rules" too), but a straight edge looks like this: http://www.use-enco.com/CGI/INPDFF?P...MITEM=327-2915
So it's possible your head is warped, but it is also possible your rule has just a tiny amount of curve in it. Since you're probably going to have a machine shop do the valve job, as part of your "shopping" you could bring in the head and try to get them to lay their straight edge on it. In addition, they'll know if they can straighten it on the mill, or it is too far gone to even try.
02-24-2013, 02:27 PM
#28
Registered User
Thread Starter
iTrader: (2)
Join Date: Dec 2009
Location: Pleasanton, CA - SF Bay Area
Posts: 2,159
Likes: 0
Received 7 Likes
on
5 Posts
Thanks scope for setting me "straight" on that 
Hmm, I hadn't considered taking to a shop really...seems expensive, and I can get the engnbldr head and cam with valves and everything for $500 bucks, which seems pretty solid. What does it normally cost to have a head looked at, cleaned and prepped by a machine shop?
Hmm, I hadn't considered taking to a shop really...seems expensive, and I can get the engnbldr head and cam with valves and everything for $500 bucks, which seems pretty solid. What does it normally cost to have a head looked at, cleaned and prepped by a machine shop?
02-24-2013, 03:37 PM
#29
Registered User
Join Date: Nov 2008
Location: Vancouver< WA
Posts: 247
Likes: 0
Received 0 Likes
on
0 Posts
Thanks scope for setting me "straight" on that
Hmm, I hadn't considered taking to a shop really...seems expensive, and I can get the engnbldr head and cam with valves and everything for $500 bucks, which seems pretty solid. What does it normally cost to have a head looked at, cleaned and prepped by a machine shop?
Hmm, I hadn't considered taking to a shop really...seems expensive, and I can get the engnbldr head and cam with valves and everything for $500 bucks, which seems pretty solid. What does it normally cost to have a head looked at, cleaned and prepped by a machine shop?
02-24-2013, 03:56 PM
#30
Registered User
Join Date: Sep 2007
Location: San Francisco East Bay
Posts: 8,299
Likes: 0
Received 841 Likes
on
661 Posts
5 yrs ago I paid $450 for two heads (the 3VZE is twice as good as a 22RE), including all new exhaust valves and the gasket set (the shop needs the valve stem seals, and he got me as good a price for the set as I was hearing from elsewhere). This is in Oakland, CA which may be more expensive than Vancouver, WA. Or maybe I could have done a better job shopping.
The shop can do a lot of stuff I have no way to do (like pressure testing and valve grinding). Almost as importantly, he had access to a complete set of valve shims. So the head comes back with the valve clearance set, without my having to locate 2-3 replacement shims. In the end, I figured there was little point to replacing the head gasket without getting the valves ground.
DO shop around. The prices I was quoted ranged over a factor of 2. And while you're shopping, you might find out if your head is really warped, if your straight edge is really straight (it certainly could be), and if just throwing in the towel and buying a "new" head is worth it.
02-24-2013, 04:14 PM
#31
Registered User
Another route might be to toss up your old head on classifieds someplace. If you could offset the cost of a brand new head it might make it worth your while.
02-24-2013, 04:37 PM
#32
Registered User
Thread Starter
iTrader: (2)
Join Date: Dec 2009
Location: Pleasanton, CA - SF Bay Area
Posts: 2,159
Likes: 0
Received 7 Likes
on
5 Posts
Thanks guys for weighing in. Scope, didn't realize you were in the Bay Area as well, cool!
I would sell my old head with the caveats mentioned here - maybe someone wants to do this themselves, or have the OEM head fixed, who knows. I'm really leaning toward the ENGNBLDR head/cam set up since it's well reviewed, comes with the 268* cam, and oversized valves/etc - more power, better fuel economy, and it's "new".
LTLRED - did ENGNBLDR tell you that about the head HE sells, or just in general, you need to resurface any head when you're doing the gasket (unless it's one of his new ones)?
I ordered my missing hoses/gaskets just now from Toyotapartszone too.
Any recommendations on cleaning out the TB?
02-24-2013, 04:48 PM
#33
Registered User
Join Date: Sep 2007
Location: San Francisco East Bay
Posts: 8,299
Likes: 0
Received 841 Likes
on
661 Posts
Dishwasher detergent and a bottle brush.
I couldn't fit the plenum into my sink (one of the few benefits of living alone), but I had an inexpensive plastic mortar tub that was easily big enough. Mix up a strong solution of hot water and dishwasher detergent, soak it overnight. You'll need to use a bottle brush, and I'll bet you'll end up with a "greaseless" residue of dirt you'll have to scrape with a wooden stick.
It goes without saying that you do not want to get the TPS or anything else electrical any where near water.
Do NOT use "oven cleaner" unless it promises to be "aluminum safe." Regular oven cleaner uses sodium hydroxide (lye) as it's main ingredient. Great in ovens, but it will dissolve aluminum.
Of course, the best, fastest, and easiest method is to take it to a machine shop and use their parts cleaning machine.
02-24-2013, 07:03 PM
#34
Registered User
Thread Starter
iTrader: (2)
Join Date: Dec 2009
Location: Pleasanton, CA - SF Bay Area
Posts: 2,159
Likes: 0
Received 7 Likes
on
5 Posts
Thanks scope...I think if I do this in my sink I will be living alone shortly thereafter will look into machine shops/hot tanks. If your shop was local to the east bay, can you let me know which it was please?
will look into machine shops/hot tanks. If your shop was local to the east bay, can you let me know which it was please?
02-24-2013, 07:09 PM
#35
Registered User
Thread Starter
iTrader: (2)
Join Date: Dec 2009
Location: Pleasanton, CA - SF Bay Area
Posts: 2,159
Likes: 0
Received 7 Likes
on
5 Posts
Oh, and for cleaning out the head bolt holes on the block by spraying air from my compressor in there with a rag covering the hole to catch all the moisture and debris...does that sound right? Would do the same for the cylinders too. There is some debris from initial scraping/gasket removal that rests on top of the cylinders...around their edges .... any reasons to worry about this and can I turn the crank once I "air off" the debris? I want to turn the crank so I can clean the top of cylinders 2 and 3.
02-24-2013, 08:44 PM
#38
Registered User
Join Date: Sep 2007
Location: San Francisco East Bay
Posts: 8,299
Likes: 0
Received 841 Likes
on
661 Posts
As JBurt says, go with the shop vac. A quick spritz of compressed air might help drive stuff out of the head-bolt-holes INTO the vacuum, but using only compressed air just creates a big mess.
02-24-2013, 09:13 PM
#39
Registered User
Thread Starter
iTrader: (2)
Join Date: Dec 2009
Location: Pleasanton, CA - SF Bay Area
Posts: 2,159
Likes: 0
Received 7 Likes
on
5 Posts
Thanks guys and thanks Scope for the contact info, I'll reach out this week. Read some Yelp reviews and they seem great and fair priced.
Good ideas on the shop vac, I do have one. The idea on the bolt holes is to hod the nozzle in the hole, with a shop rag around it, covering the hole...then spray in bursts of air to scare up the debris and moisture into the rag. I saw it on a youtube of "eric the car guy". Will try shop vac first.
Thanks guys - wish I wasn't 900 miles away this week so I could make some progress!
Phil
02-24-2013, 09:29 PM
#40
Phil, I know you've probably already read everything posted on the entire internet about this but I'm still going to link Roger Brown's write up.
http://www.4crawler.com/4x4/CheapTri...l#CylinderHead
Two things that I took away from it was to get the tap (12x1.25mm) he mentions in there to clean out the headbolt holes. I got one when I did mine and the amount of crap that I got out with it was impressive. And this was after I thought I had them "pretty good". It isn't a standard size though so you may have to hunt around for it. I found mine at a NAPA here in town. I was going to offer to mail it to you but now I can't find which just pisses me off and means I'm going to have to clean the garage now
The second thing is his trick with the studs to help line up the head when replacing it. I didn't get studs but I did have new bolts so I picked out the best 4 and cut off the heads and loosely started them in the holes to be a cheap redneck alternative to Rogers idea. Worked great! Dry fit it first though to make sure you don't screw 'em in too far and can't get them out again with the head on. This of course assumes you are getting new bolts...
Scope's suggestion of a mortar tub is great. I did the same with all my stuff. This way you can soak it long term and then just brush alot of stuff off. I used some orange/citrus degreaser from ZEP that I found at Home Depot that worked great. Also, a lot of guys on the motorcycle boards soak their carbs in Pine Sol without issue. As long as you're going to be out of town you might as well have that stuff soaking and let time do some of the work for you. You might have to coax/beg/cajole/bribe/threaten your wife to add some water to it while your gone though. At least here in the AZ desert nothing stays wet for a whole week. Good luck.


