When you click on links to various merchants on this site and make a purchase, this can result in this site earning a commission. Affiliate programs and affiliations include, but are not limited to, the eBay Partner Network.
Hey everyone, let me start off by saying I really don't know much about off-road builds. I've built mostly street queens and some track cars ( tuners specifically). I'm excited to be on the forum and even more excited about building something that is totally new to me! This will be pretty detailed and updated regularly as I progress with my build and skills... let's get this started!
So a little back story about this rig. Its a 1986 Toyota 4Runner 4WD 5 speed with a 22re. it belonged to a really good friend of mine who bought it as a shell shortly after getting out of high school and tracked down a motor/ trans for it. If the clock is correct the chassis only has 200k and the motor has a little less if memory serves him right. That should be as of now BTW. He drove it while he was in college and made the occasional trip to moab. Well eventually one of the ears on the engine lost the bolts and when pressing the clutch in would separate one side of the engine from the bell housing. After awhile of this problem the clutch LITERALLY disappeared.. you could see thru this thing, worn down (and thru some) the rivets holding the material together... AND then it was parked in the field behind his shop. There it lived for about a decade until I came along.. after about 3 years of staring at it and asking to fix it. HE GAVE IT TO ME!.... This is where my story begins.
So the weekend I picked this beast up, I had to clear out a TON of bushes, clear out some random equipment, remove a couple of fallen branches off the vehicle, air up all the tires. 2 tires had to be replaced entirely because they rotted into the ground. Took an old key ( Chevy I think) and shaved it down. To my surprise, it actually worked and I got the steering column to unlock.. After all that I was FINALLY ready to put it on a trailer and bring her home.
After getting it home, I started with cleaning out the inside (there was a milk crate with some goodies in it) I spent most of that first day cleaning the inside, that night I got into the fuel tank and removed the fuel pump which was covered in ancient fuel that turned into jelly LOL. I spent that night removing the molasses like old fuel out of the tank. Adding some chemicals to the tank and scrubbing where I could and vacuuming out as much as I possibly could until I couldn't really get anything out. Called it good after spending 6+ hours getting to this point. The next day I went to O'Reilly and ordered a new fuel pump kit, fuel filter, spark plugs and wires, oil, oil filter, coolant, and air filter. Went home and got to work.. I started by draining the coolant... there wasn't any. At first I thought that it rotted through a water jacket and the engine was a lost cause, but I found that he actually drained it before parking it.. super good call... I spent the day putting all that stuff in, hooking up a few vacuum lines. Put a TINY bit of oil in each cylinder while changing the plugs and turned it over by hand listening for anything concerning.. I cleaned up a few things in the engine bay, wiped some stuff down, and quadruple checked everything. Looked good so I grabbed a battery and some new fuel. Put some techron fuel system cleaner in and clenched my butthole while I turned the key over... Cranked a few times and nothing, waited a few min and tried again... BOOM!! Fired up with 3 secs of cranking and was running surprisingly well. Let it idle and warm up for about 45 min, nothing bad was happening so I started to rev it a bit and after a few hours of this slow process.. All went well and this point she was alive again!
So from here it was time to tackle the clutch. Started unbolting everything so I could drop the trans. Ordering new bolts and parts as needed.. get to divorce the trans. Chunks, fragments, dust and little silver balls started to fall to my garage floor as the trans was slowly lowered and pulled out from under the truck. Flywheel warped, cracked, canyons growing thru it.. just real sad.. new one ordered, cha-ching. Few weeks go by and all the parts have arrived.. everything back together, system bled and back on the ground.. fire her up, go to put it in first.. nothing, its like I'm hitting a wall. Just wouldn't not go in, BOOOO... Mind is racing thru all the possibilities of what could be causing my issue, replaying my whole weekend and analyzing everything for a mistake.. well after replacing the master, slave, and clutch lines still nothing.. spoke with transmission shops and ran a few tests and got multiple opinions and even stalked some threads. Finally said screw it and decided to drop the trans. AGAIN. This time I ordered everything, clutch fork, pivot ball, seals, NEW CLUTCH KIT, shifter bushings. Anything I could think of that I would come across while doing this again.. turned out that the clutch kit I found in the passenger seat was not the right one.. installed everything, much faster this time and it all worked. Could not have been more excited!!
After I knew that it was drivable I got some wheels and tires from a friend, got it registered and started driving as a daily.. I've slowly done more stuff to it over the past few months. I've gotten rid of vacuum lines, deleted the bean can, finally replaced the shattered headlights with some L.E.D. headlights as well as the broken tail lights. Been trying to clean the engine bay up so its not cluttered ( not as bad as my Subaru tho lol)
I have had to replace a few things as a they were in need of fixing. Alternator has been replaced, water pump has been replaced, oil pump was replaced, front main seal, timing chain and all the timing components was done. While I did the timing I also did a valve adjustment and valve cover gaskets.. I have also deleted the egr system with the delete plates, I have also deleted the cold start fuel injector. And finally upgraded the radiator and replaced the hoses with silicone.
Right before I sat down to write this up, I replaced the FACTORY front shock absorbers with some bilstien shocks. Let me tell you, HELL OF A DIFFERENCE. That is everything up to date as of now.. With LOTS more planned, I intend to update this regularly.
I do plan on finding and posting all the pics I have taken while up to this point and will post as many pics as possible for any future tasks. As of today tho this is how she sits
I apologize for the NOVEL lol but I'm really excited about this build and being a part of an awesome community.
Swampedout was the member who gave me the idea to write this, so thank you for the idea..
Hope to get some awesome advice from everyone, and again really excited to meet all of you. Can't wait to improve my skills and knowledge on everything.
Last edited by Heathen_S13; 01-18-2021 at 10:37 AM.
Reason: Added some photos and fixed some spelling.
Picture of the shocks i replaced today. The one is stuck, fully compressed and the top bolt snapped the second I put any force on it Pic of the engine bay after cleaning up some things, also added an oil catch can system. I have the can venting to atmosphere because i dont like having it run back into the intake system.
Last edited by Heathen_S13; 01-17-2021 at 08:55 PM.
Out of curiousity, how/why did you delete your cold start injector?
I had several reasons to be honest. I saw it unnecessary, a potential issue if it starts to leak ( happening to a friend of mine with his 22re), a possible reason why the intake was dirty, and one less thing in the engine to bay so it would look cleaner.
My theory was that most vehicles don't have something like that and still start fine.
I also had an issue with another vehicle having fuel get into the intake system and was causing A LOT of issues. I understand that toyota intended for this cold start system but I personally think that if the injector was located on the other side of the plenum and more center so it would evenly distribute to all cylinders it could be a better system. Where it is located however, 2 of the cylinders are getting the majority of the fuel being injected.
After working on this rig and doing all the work I've done so far, I noticed that the plenum was extremely dirty. A huge reason why I deleted the egr system and added an oil catch can system. I assumed that another reason why it was so dirty was because of that injector putting fuel in, if any fuel get trapped in the plenum and not burned it would cause build up.
As far as deleting it, Yota1Performance sells a kit. Comes with a plate and all the screws needed to plug the line. Was less than $20.
Also thanks for the compliment my wife thinks its hideous, I call it my HEAP OF BITCHIN
Last edited by Heathen_S13; 01-18-2021 at 07:48 AM.
Welcome to club😉 great details on the build! Following.
Thank you I want make this as detailed as possible to help anyone in the future and really include whoever reads this. Until I can start going up in the mountains, this is my adventure and everyone is welcome to join
I had several reasons to be honest. I saw it unnecessary, a potential issue if it starts to leak ( happening to a friend of mine with his 22re), a possible reason why the intake was dirty, and one less thing in the engine to bay so it would look cleaner.
My theory was that most vehicles don't have something like that and still start fine.
I also had an issue with another vehicle having fuel get into the intake system and was causing A LOT of issues. I understand that toyota intended for this cold start system but I personally think that if the injector was located on the other side of the plenum and more center so it would evenly distribute to all cylinders it could be a better system. Where it is located however, 2 of the cylinders are getting the majority of the fuel being injected.
After working on this rig and doing all the work I've done so far, I noticed that the plenum was extremely dirty. A huge reason why I deleted the egr system and added an oil catch can system. I assumed that another reason why it was so dirty was because of that injector putting fuel in, if any fuel get trapped in the plenum and not burned it would cause build up.
As far as deleting it, Yota1Performance sells a kit. Comes with a plate and all the screws needed to plug the line. Was less than $20.
Also thanks for the compliment my wife thinks its hideous, I call it my HEAP OF BITCHIN
Fair enough! I've blocked my cold start injector as well, as I believe it was causing a warm flooding issue. Blocking it stopped that issue for me. I had always intended to unblock it one day and actually troubleshoot the system and get it functioning correctly again, but that day hasn't come yet!
My wife likes to say things about my 4runner too, I just tell her she shouldn't talk about our third child like that!
Looks great on the outside, and the engine bay is much neater than most!
( happening to a friend of mine with his 22re),
Did he use NEW crush washers on it? It's important to always use new crush washers whenever they get loosened, even. Like, you loosen it to try and get it to stop leaking, new washers before tightening it back down. Same for anywhere those crush washers are used. If you think that you'll be doing anything involving crush washers, always get extras. You might forget to do something, or whatever, and need another set of washers than you anticipated. Get 4 or 5 sets for whatever you're doing. Remember too, when you go to install the last washer, it will leap, and I'm serious, LEAP, out of your hand, fall into the engine bay, and vanish. They're malicious that way.
a possible reason why the intake was dirty,
Generally, it's the EGR that causes the worst of the gunk in the TB, followed closely by the PCV system. Since you've eliminated those two, the CSI shouldn't be the cause of hardly any gnrrr (icky, nasty stuff that builds up: GNRRR ), building up in the TB.
Also thanks for the compliment my wife thinks its hideous, I call it my HEAP OF BITCHIN
I hate to say it, but it seems your wife has NO taste in vehicles
My wife claims ours as her own, although I may drive it to take her into town, or the store. As long as she's in it, she's happy to let me drive. She has big trouble with her knees, anyway, so me driving is pretty imperative. She hates driving in snow/ice too. Another reason for me to drive her around.
It's hard to tell from a picture, but did you bleed out the brakes? That fluid looks pretty dark. Maybe time for a brake fluid replacement? Especially if that fluid is what sat in it while it was under cover in the shrubbery. Don't forget to bleed out the LPSV when you do!
Also, did you set the idle speed, and timing? You didn't specify.
My final thought: Did you check all your main grounds? 4 in the engine bay, two in the cab under the kick panels. Pretty important to check. They can cause all sorts of mystery problems you will chase all over the place. Just a thought. As good as the engine bay looks, I thought you might have but it can't hurt to ask.
Thanks for the great write-up! Keep it going.
Pat☺
It's hard to tell from a picture, but did you bleed out the brakes? That fluid looks pretty dark. Maybe time for a brake fluid replacement? Especially if that fluid is what sat in it while it was under cover in the shrubbery. Don't forget to bleed out the LPSV when you do!
Also, did you set the idle speed, and timing? You didn't specify.
My final thought: Did you check all your main grounds? 4 in the engine bay, two in the cab under the kick panels. Pretty important to check.
I have not actually bled the brakes yet.. I know, pretty bad on my end. I've actually been waiting to upgrade some stuff with the brakes like the MC, brake lines, pads etc. Which will be done VERY SOON.
As far as grounds go, no I have not checked them. I honestly didn't know about the 2 in the cab. I was however looking at the " BIG 4" thread about adding some ground wires and was anticipating doing that today.
I did do the timing, myself. As far as adjusting it goes, I just followed LCE timing walk thru and one other timing walk thru and followed that step by step. I will find a link and post that to see what you all think and maybe help someone else in the future.
Idle speed is going to be adjusted today, was waiting on the O-ring for the adjustment screw so I can replace that.
Back to brake bleeding, what is the LSPV?
As far as my buddy goes, he actually never messed with his injector.. He did end up deleting it after I got my kit and his issues have gone away.. I think he was going to test his injector to see if it was leaking or what exactly was going on.
Thank you for engine bay compliment, one of my first go to things with any vehicle is cleaning the engine bay up.. Mine still has alot of cleaning up that I would like to take care of like wires, upgrading hoses and lines,, painting some things.. but all in good time.. typically I work in a horse shoe pattern. I will start on one side of the engine and try to do everything on that side and slowly move to the other side until its where I am satisfied.
Holy gaucamole, thats a heck of a story. Seems like you put a lot of work into this thing already!
Since Im on a roll of giving advice: DONT SELL IT!
Not only are these 4runners approaching "worth their weight in gold" status, and the fact that car manufacturers will probably never make something like these again, your story and your connection is priceless and youve only gotten started. Theres some great build threads of other peoples journeys with their 4runners, some of which go 5 to 10 years back and they somehow never seem to stop building them up. Once you fix everything, you start thinking: maybe I should engine swap, axle swap, install lockers. Welcome to the dark side
The connection I have with this rig and the way everything has played out so far is a huge reason why I don't think I would ever sell it.. It is also a big reason why I am so passionate about this build and the future with this rig. It makes for a great story to share with members of this community which in the end leads to some amazing memories. My S-Chassis Nissan is the same way for me, that car specifically is what made me realize how much I love cars. Some of my favorite memories are with that car. Cars and coffee on the weekends, getting sideways thru the streets late at night and even Canyon cruising with friends.. I've had bad times with that car ( gotten into some serious trouble a few times LOL) but also some of the best times with that car. Again in the end makes for great stories to share with others, some really crazy stories too, and even better memories..
ANYWAYS...
I have already been looking into a S.A.S. but can not seem to find an axle off an early 80's toyota.. the great thing about a project tho, even when you think its finished, it is NEVER finished
I did also find some pics that im going to upload once i get them transfered. As well as some pics of things I've done today
Alright, so today I didn't have work so I decided to do some small things on my 4runner.
- My new ignition lock cylinder was delivered, so that was first on my list.
- I bought a box of random goodies for $100 over the weekend, decided to look thru and see what treasures I've acquired.
- Clean and reinstall some interior pieces.
- ALSO FOUND A 2 SUPRISES
So first for the ignition you will need the following: a PHILIPS screw driver and some type metal pick.. I used a piece of tungsten welding rod.
Step 1. Raise your steering wheel up to make it easier to reach the 6 screws on the bottom plastic piece around the steering column. The screws do go in specific spots so pay attention. But just in case the 4 bigger screws go around the outside, 2 by the steering wheel and 2 closest the gouges. The 2 small screws will go in the middle to tighten this piece up and keep it from rattling and moving around.. For some reason my phone did not save my pic of this step, but pretty easy to figure out.
Step 2. With the steering in the up position, CAREFULLY seperate the 2 pieces and remove the bottom cover. Then drop the steering wheel to the lowest position and CAREFULLY remove the top piece. THESE CAN BREAK VERY EASILY.
Step 3. With your cover removed insert your key and turn the ignition to the ACCESORIES position. This will unlock the little button on top and move the internals out of the way for removal.
Step 4. Take your little pick and locate the tiny hole on the side facing you. This will be pretty close to the key, but after the big fat ring. Insert your pick and press the little pin inside there. This pin is considered a security hardware so no one can steal your bitchin rig! While pressing that pin in pull your cylinder out, try not to jiggle it very much as you could damage more components and then be S.O.L. When you remove this and look down the sleeve it sits in, you will see a little oval piece. That little piece is what pretty much starts your vehicle ( aside from the starter and such) DO NOT TURN IT DURING THIS INSTAL.. but if your cylinder breaks and need to drive your vehicle you can start it by getting to that part... DO NOT GO STEALING CARS NOW!!!
Step 4. Take your new cylinder and insert the key. Again turn this to the ACC. position. This will keep the button unlocked and make sure everything lines up with what is already there. Slowly insert the new cylinder making sure everything is lining up correctly. Don't forget to push the security pin in and at this point give a little bit more force. It should click into place. Turn your key thru all the positions to make sure it is working correctly and you can reassemble. I found it easier to put the top plastic piece on first and then move to the bottom. Ooooo SHINY!
this whole process took me maybe 10-15 min. The part was bought off RockAuto for like $30 I think. Super simple.
I also cleaned and painted my plastics while I had them off which is why they look super good.
I was going to keep typing on that last post but thought if someone needed to use that write up I didn't want a bunch of other stuff cluttering it up.
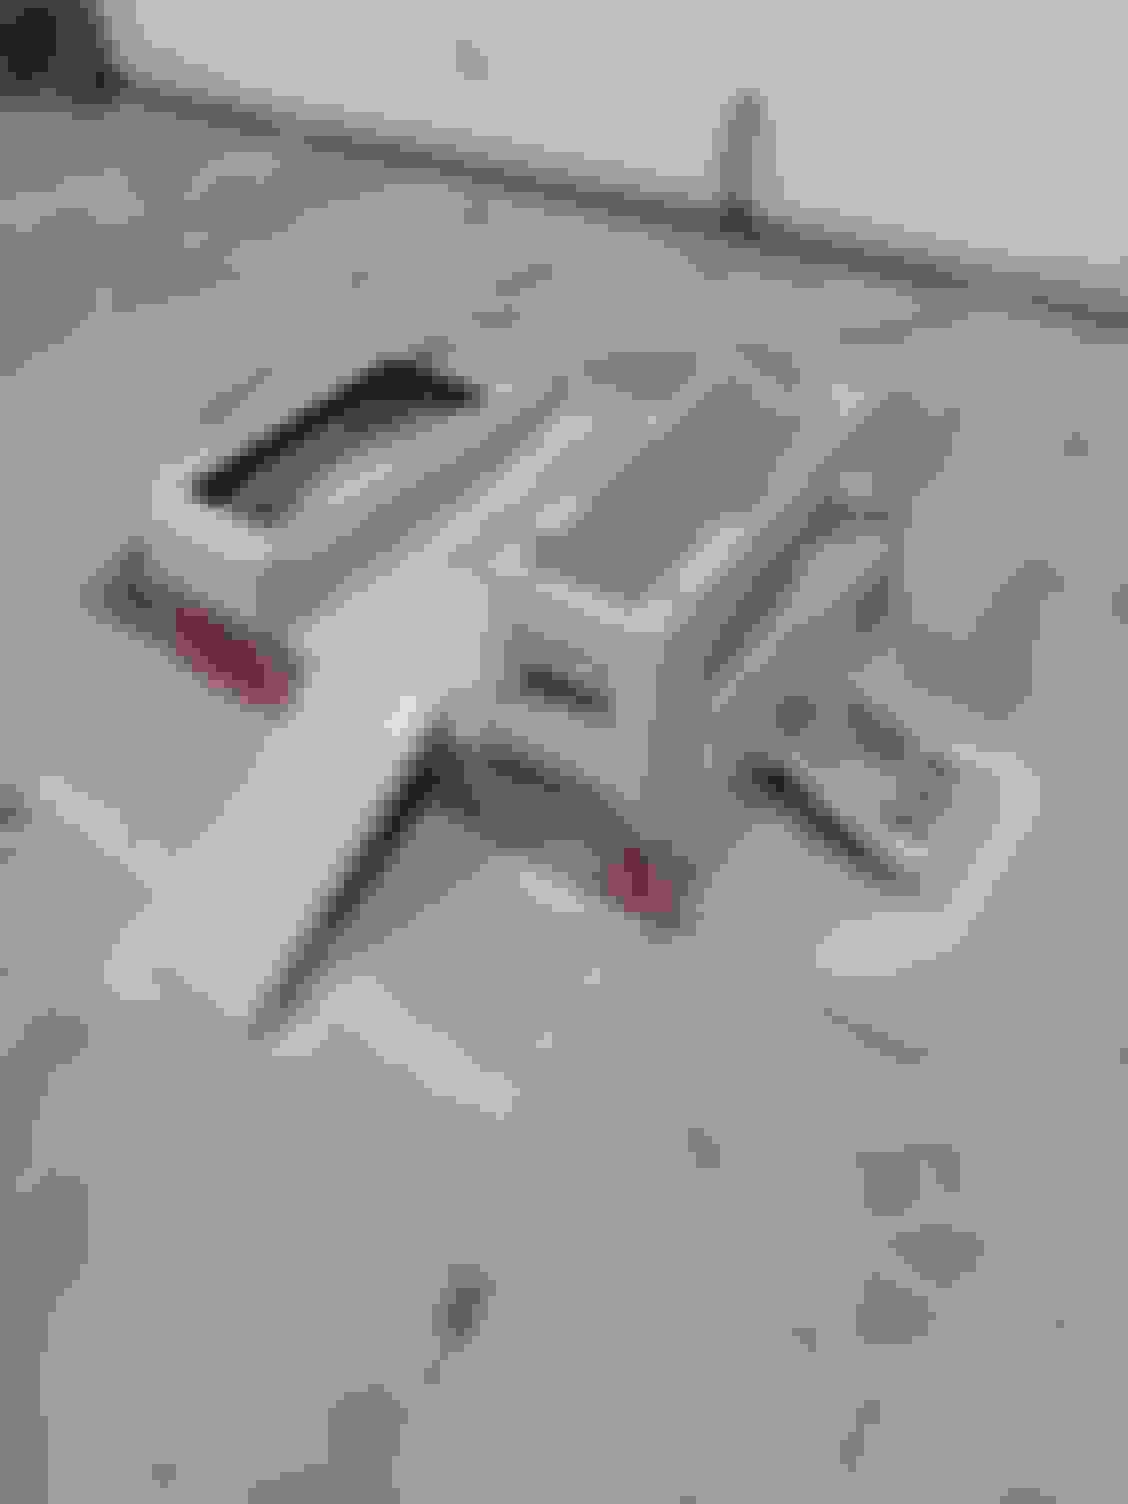
Alright next was to clean up some interior parts. Really all I was doing was cleaning these parts up and painting them black ( I like black)
The parts I am working on was the center console and the shifter bezel.
In that box of treasures i bought, I found the lid to the center console. Other than it being stained and dirty, it was really good shape. I ALSO found a rear up/down window switch and a rear wiper switch. Both in really good shape... lots of other things too like circuits, relays and fuses, bag of screws/bolts, some window trims ( I think) and a bunch of new gaskets for the engine. A couple other things too but didn't really excite me as much as the other stuff did.. for the record as well I originally bought that box for the shock absorbers, front and rear. That is why I did my front ones yesterday and this weekend I will be doing the rear as well as the ZUK mod.
I didn't take any pics of me removing the parts from the truck, but it is pretty simple. 2 screws in the sides towards the front of the shifter bezel. Then 2 more screws closer to the seats, these 2 screws also attach to the center console and attach the 2 pieces together. The center console has 2 bolts on the inside compartment towards the back holding it down. Dont forget to unplug your switches and then you can remove these parts out of the vehicle.. to remove the little black piece that the switches sit in, flip your center console over and remove the 4 screws holding it in. BE CAREFUL with these black plastic parts, I have noticed that they tend to crack and break easily.. Afterwards I soaked them in my bath tub with some dawn dish soap to help break up the 30 years of bodily fluids and Mtn Dew build up. Scrub them clean and now ready for paint.
I used some FILLER PRIMER to help fill in some of the scratches and such before actually spraying my color down. I sprayed about 3-4 coats of primer and about 5-6 coats of black VINYL specific paint. I waited about 30 min sometimes an hr before applying each coat. I also have learned over the years that it is easier to see what spots have been missed after the paint has dried up a bit, at least for me.
Now I didn't take pics of them being drying and being black but I'll post some up tomorrow after I install them. I want them to completely dry over night before I touch them.
NOW FOR THE EXCITING NEWS!!! Exciting to me anyways..
ANYWAYS one day I was cleaning up the shop and found like 40 keys that we were just going to throw away. Me being kinda weird I decided to keep them ( I collected keys at one point) well today I was getting ready to throw them away when I noticed that most of these were vehicle keys. So I decided to see if any of them would fit my 4Runner. Went to the back and started putting keys in the tailgate lock. After going thru almost half of them and started to realize that it was kind of a dumb idea, I put a key in that went in like butter, turned my hand to see if the lock moved... AND IT DID!!! WHOOO-HOOOOO not only did the key actually work, but my relay behind the driver seat for the rear window clicked ( which means it works right?) After that I went around and checked all the locks and the key works for all.. the driver door lock needs some work tho. There is a dent in the door which I think is causing some issues because it doesn't open from the outside. Will try to tackle that later this week.
But that is what I did today, pretty freaking excited. This week so far has been very progressive. I will be posting some more later this week and this weekend will try to do some more bigger things.
Last edited by Heathen_S13; 01-19-2021 at 12:44 AM.
Lol your enthusiasm is contagious.
I'm glad your enjoying your new to you 4 runner. We've had one since 1989 and I still love it.
We have 3 now, 2 87 Turbo 4runners and I still enjoy working on them most days.
Keep up the good work!!
Did some more work today ( job got canceled ) so later I will be posting more pics and details on what I did today. Also some mistakes I made in the process.

 01-17-2021, 07:29 PM


 my wife thinks its hideous, I call it my HEAP OF BITCHIN


 not only did the key actually work, but my relay behind the driver seat for the rear window clicked ( which means it works right?) After that I went around and checked all the locks and the key works for all.. the driver door lock needs some work tho. There is a dent in the door which I think is causing some issues because it doesn't open from the outside. Will try to tackle that later this week.


