
irab88's battery/intake swap

 11-21-2012, 12:29 PM
#144
Registered User
irab88 I really appreciate this thread man great job!  Been itching to do this mod for over a year now. I have not done the trail rig yet but I just got done with the new DD and man what a difference! Of course no AC, power steering, or washer res. in the way made it easy to not only do the swap but I even got to use all the stock parts including piping and air box. Your write up helped a lot, thanks again to you and all others that shared info. on the subject.

-RONI-
Been itching to do this mod for over a year now. I have not done the trail rig yet but I just got done with the new DD and man what a difference! Of course no AC, power steering, or washer res. in the way made it easy to not only do the swap but I even got to use all the stock parts including piping and air box. Your write up helped a lot, thanks again to you and all others that shared info. on the subject. -RONI-
Last edited by AssYriaNrocKer; 11-21-2012 at 12:31 PM.
05-10-2013, 06:05 AM
#145
Registered User

(dial-up: keep out)
new thread for a new topic. originated from this thread
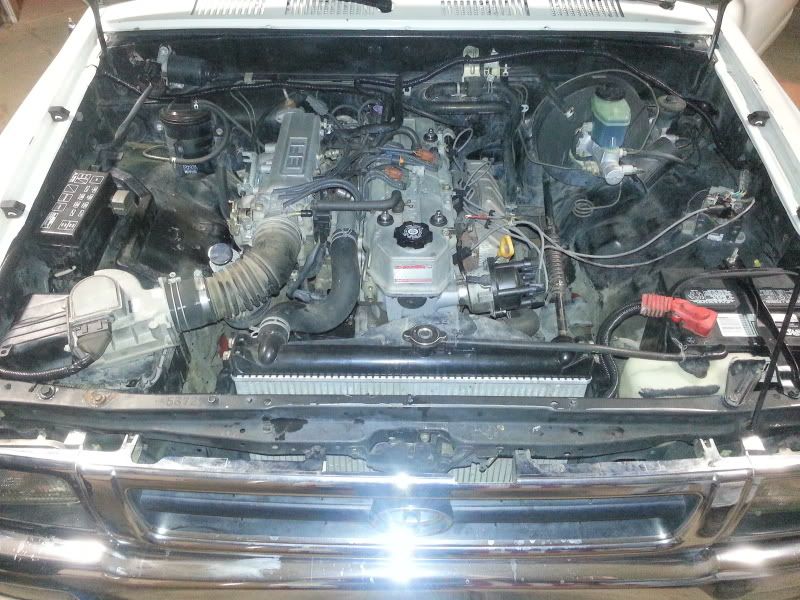
started planning today, so i took out the battery to see how to get over my troublesome a/c hoses. pics
don't need this...
battery out

can't go under it, unless i can find a small radius 90* bend
i might be able to go over it...

and i could try going between the hoses with 2 x 45*
so that's that. i have some other things to do, but i'll try to keep this updated
new thread for a new topic. originated from this thread
started planning today, so i took out the battery to see how to get over my troublesome a/c hoses. pics
don't need this...
battery out
can't go under it, unless i can find a small radius 90* bend
i might be able to go over it...
and i could try going between the hoses with 2 x 45*
so that's that. i have some other things to do, but i'll try to keep this updated
Now to tackle the Battery / Air intake swap relocation...
Roni's "AssYriaNrocKer" thread on this mod I had to modify because he took out the AC lines but here in Miami you gotta have Air Conditioning and Roni also suggested just drilling a hole on the top of the fender well to to secure the battery strap hold down..
I opted for something cleaner like purchasing a battery tray from Advance Auto Parts for $6.99
The air intake parts and sleeves were from Advance Auto:
Chrome elbow $11.99
Blue Sleeves $6.99 each
I took a flat aluminum bar from Home Depot $3.00 and polished it at home and attached it to the AFM... check it out !!
BEFORE:


Separating the AFM wires from the harness.. easy task... just be careful with the mat razor when cutting away at the top shrink material:


Here the two sets of wires are separated:
Make sure you use UL rated Electrical tape.. don't buy the cheap stuff from the Dollar store because you don't want any problems something catching fire.
So i used electrical tape on the wires then i wrapped it in some wire loom $ 2.99 at WalMart

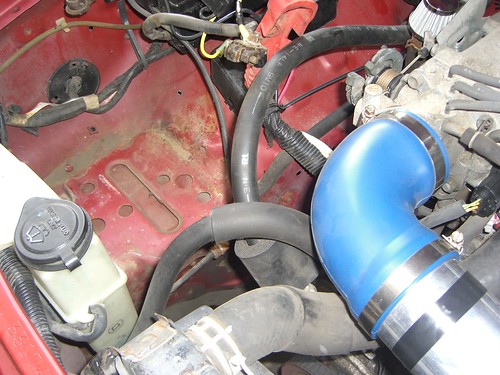
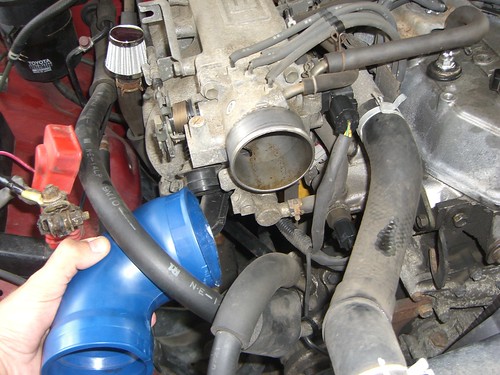
Roni went with the stock rubber Air intake but after many years of mine in the truck it has become dry, hard and brittle plus I have Air Conditioning and the AC lines get in the way .. Here is the before pic:

I tried a 60 degree elbow but somehow it didnt work too well.. i was careful to use a razor to cut the packaging in case i needed to return it and swap for another one.

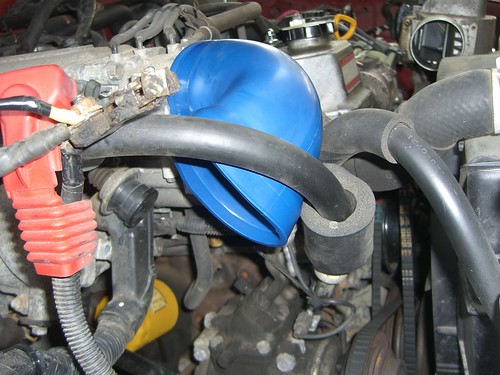
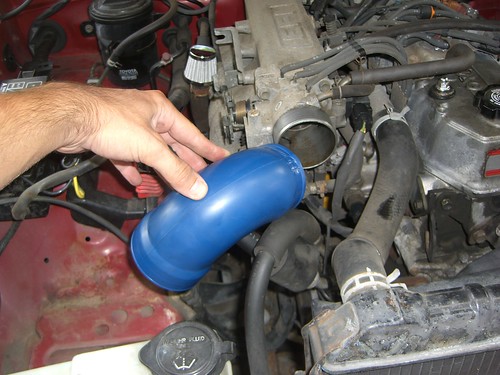
The 90 degree elbow worked best...
I had to P tie down the AC lines for clearance:


Here is another view facing forward... the pollution bottle is coming out..

Here is the flat bar polished aluminum piece i made to secure the AFM in place to keep it from bouncing around... who wants noise ?

This is just a temp mock up of how the battery will sit on the drivers side of engine bay:

So as I mentioned above I preferred to go with a battery tray $6.99 from Advance Auto instead of drilling into the fender well:

I used 6mm self tapping screws to hold the tray in place,,, the great thing about this tray it has a hole for the lock strap:

I also used battery terminal wires that are 4 or 2 gauge that i bought at Advance Auto for $9.00 each.. one black for the ground side and the red one was 42" that went from the passenger side to the drivers side of the engine bay
Here is the finished Battery Swap / Air Intake Swap:
 05-10-2013, 03:18 PM
#147
Registered User
i'm puzzled as to why you wouldn't need an afm 
in any case, what would probably work for you would be:
-a 90 degree 3" to 2.75" silicone elbow
-a 3" aluminum coupler
then you would find an air filter that would fit, one with a 3" opening
http://siliconeintakes.com/
.
in any case, what would probably work for you would be:
-a 90 degree 3" to 2.75" silicone elbow
-a 3" aluminum coupler
then you would find an air filter that would fit, one with a 3" opening
http://siliconeintakes.com/
.
06-19-2013, 06:54 AM
#148
Registered User
on another note. I'm doing this now thanks to you ian!
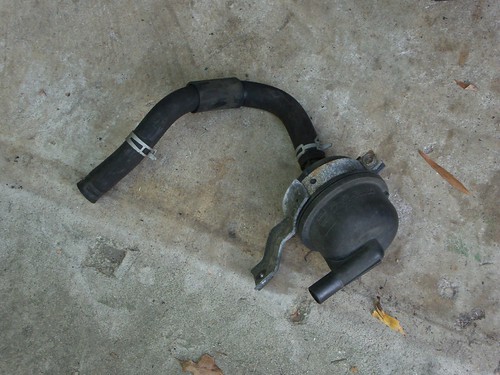
but just for clarification, the black "resonator" can i just remove it and plug the line to where it goes or do i have to keep it vented and filtered?
06-14-2016, 07:22 PM
#150
Registered User
Join Date: Jul 2010
Posts: 29
Likes: 0
Received 0 Likes
on
0 Posts
I ended up deleting the PAIR system signal at the intake manifold. It is all still there and apears totally factory, but I slipped a 1/8 barb cap over the bottom vac line that feeds intake signal to the PAIR activation VSV. I then slipped the vac line over the cap and BOOM!
NO ANNOYING REED VALVE! Even just acting in a normal fashion with the above resonator and into the filter, this thing is stupid noisy, I though I had ring flutter or something awful! Give me the power robbing air pump over this crappy system!
NO ANNOYING REED VALVE! Even just acting in a normal fashion with the above resonator and into the filter, this thing is stupid noisy, I though I had ring flutter or something awful! Give me the power robbing air pump over this crappy system!

Thread
Thread Starter
Forum
Replies
Last Post


