
gave my motor an checkup
 06-17-2009, 05:19 PM
#1
Registered User
Thread Starter
gave my motor an checkup
now that iv got a few thousand miles on my rebiuld i decided to give it an checkup,
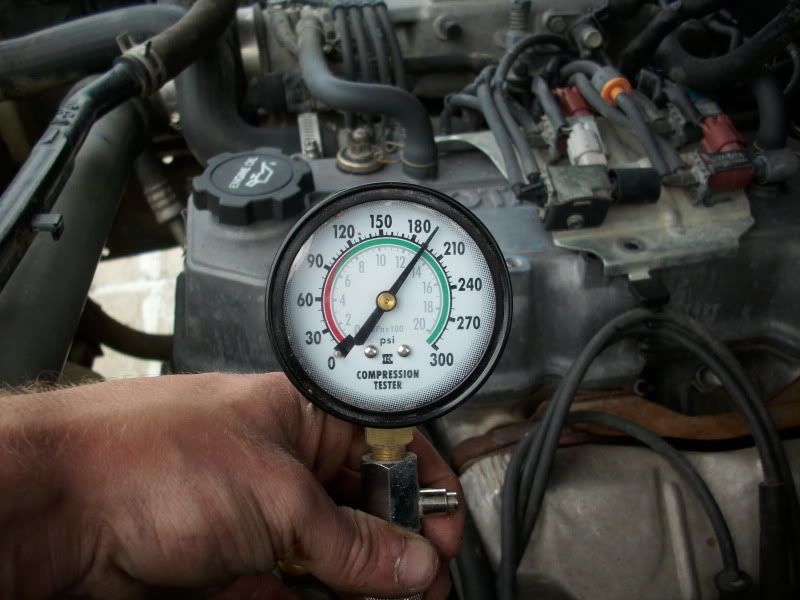
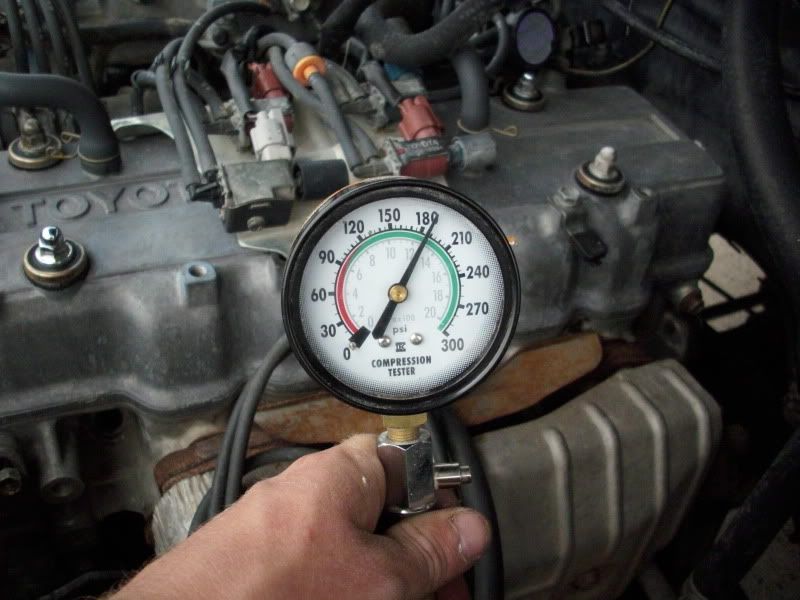
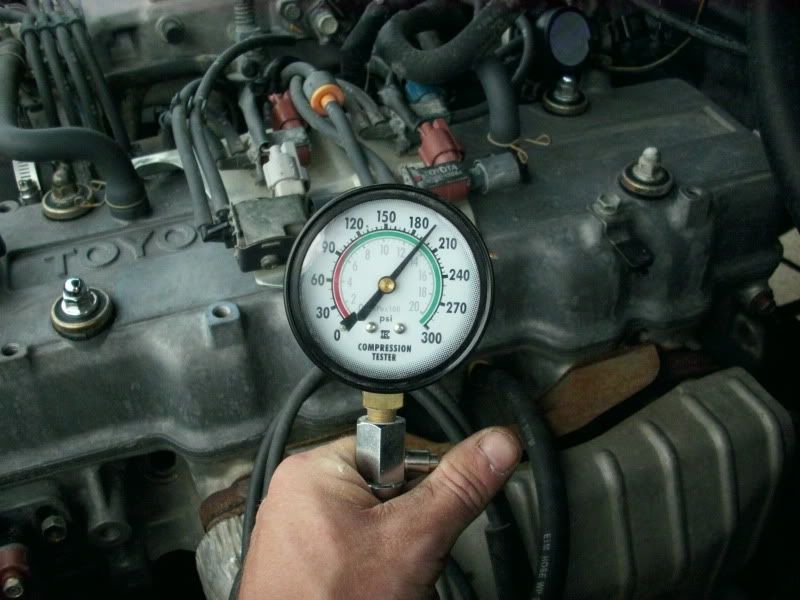
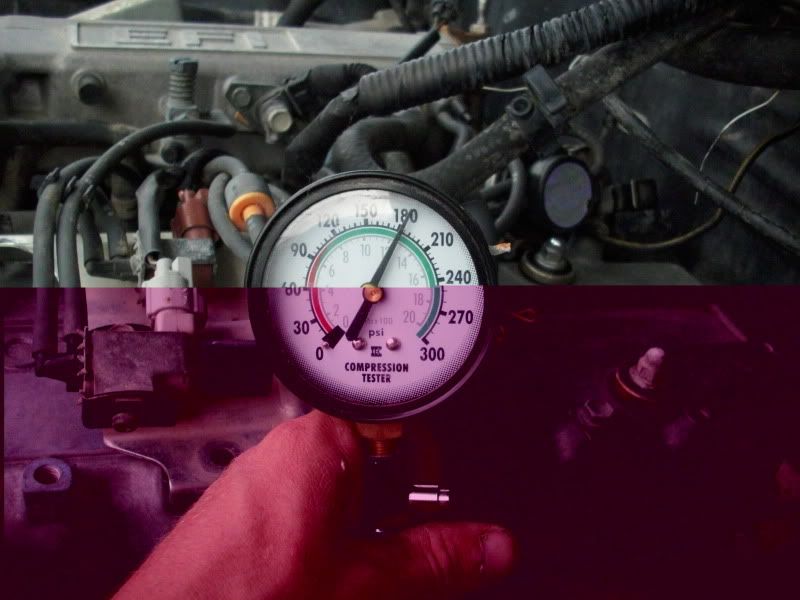
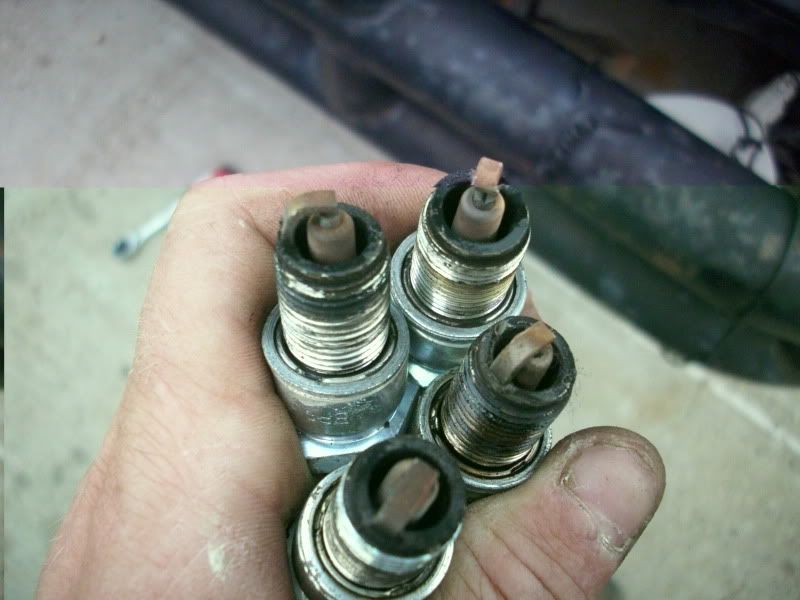
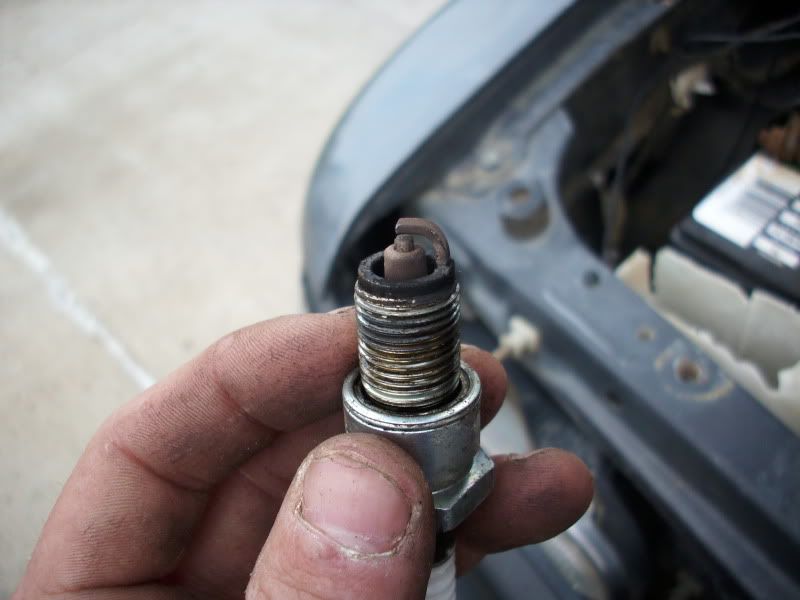
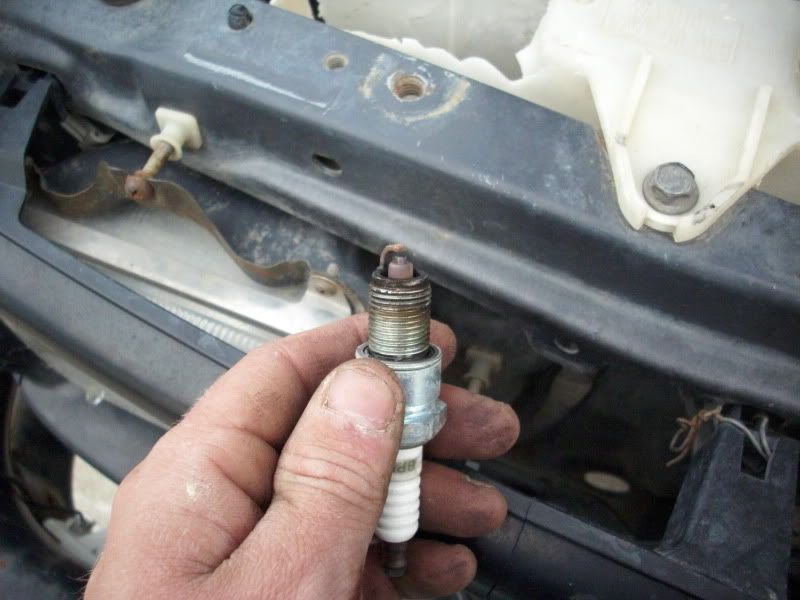
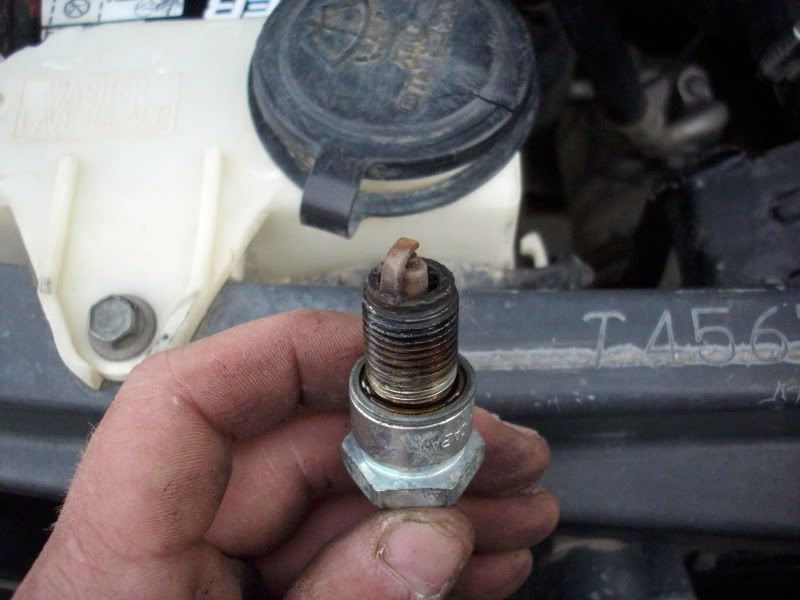
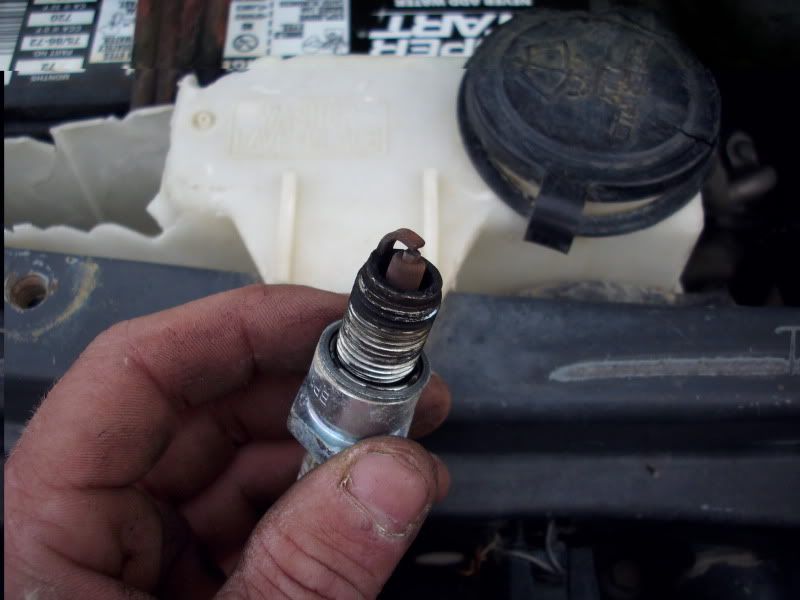
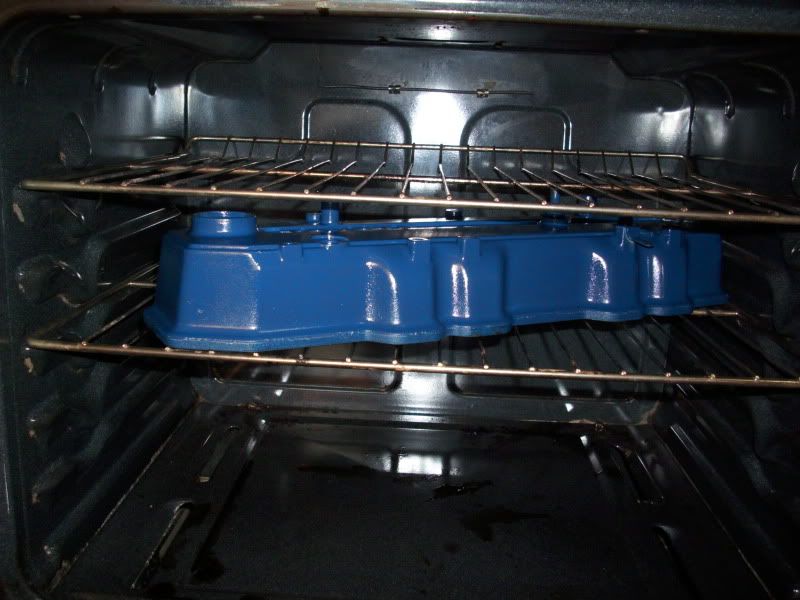
after i did this i pulled the valve covers and did an valve adjustment the two lowest cyl on the compression check had the valves most out of spec. i supose i should have adjusted the vavles then ran the compresion check but all in all im pretty happy with what i see, im also painting my valve cover and an industrial degreaser i used to clean up some parts kinda made some of my alumanum parts look like . ill post pics of that in a little bit, i have my valve cover in the oven right now (shhh don't tell the old lady)
after i did this i pulled the valve covers and did an valve adjustment the two lowest cyl on the compression check had the valves most out of spec. i supose i should have adjusted the vavles then ran the compresion check but all in all im pretty happy with what i see, im also painting my valve cover and an industrial degreaser i used to clean up some parts kinda made some of my alumanum parts look like . ill post pics of that in a little bit, i have my valve cover in the oven right now (shhh don't tell the old lady)


Trending Topics
 06-17-2009, 06:58 PM
#11
Registered User
Thread Starter
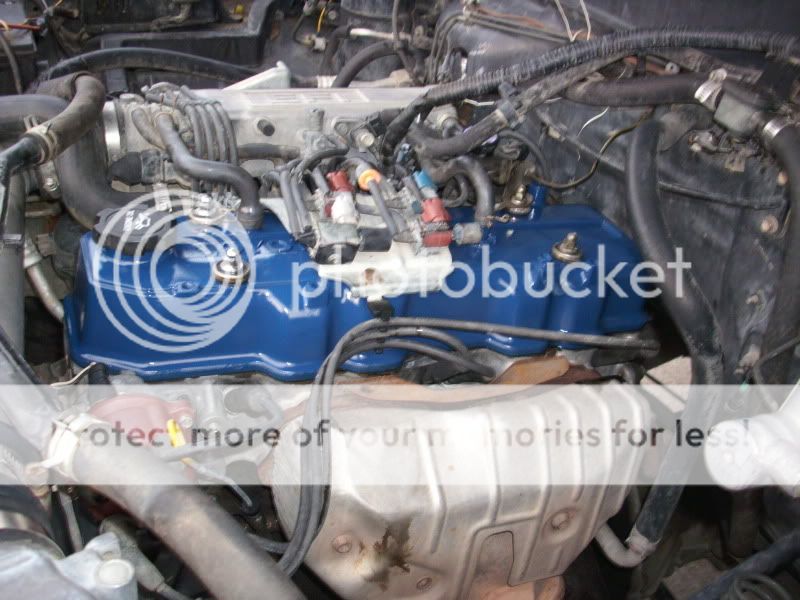
well if i would have thought about painting anything when i was putting the motor together in the first place i don't think it would be realy worth it to pull the intake back off to paint it.

 06-17-2009, 09:51 PM
#16
Contributing Member
lol, I thought it looked like that
I noticed the broken original plug-wire holder was left on and painted, then looked over tha was like "wtf?" lol
I noticed the broken original plug-wire holder was left on and painted, then looked over tha was like "wtf?" lol
06-17-2009, 10:06 PM
#17
Registered User
Thread Starter
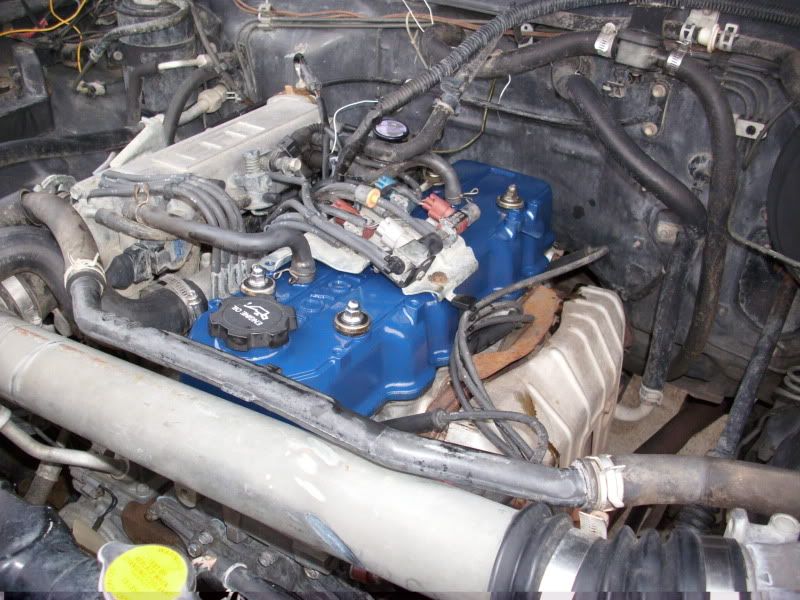
yeah i just stuck an little peice of tape over the top of the pcv valve sprayed the valve cover with some class cleaner wiped it with an paper towel, then sat it down in the gravel part of my driveway and spray painted it, let it dry to the touch and then stuck it in the oven on 200 for 30 mins so i it wouldn't scratch as easily if i bumped something putting it back on. total time including adjusting the valves was maybe an hour to hour and an half. i came up with an idea for the intake too, if i mask it off i could paint just the raised lettering on top to make it match, without having to remove much of anything. would look pretty slick, that will be an project for another day.
06-18-2009, 08:09 AM
#18
Contributing Member
yeah i just stuck an little peice of tape over the top of the pcv valve sprayed the valve cover with some class cleaner wiped it with an paper towel, then sat it down in the gravel part of my driveway and spray painted it, let it dry to the touch and then stuck it in the oven on 200 for 30 mins so i it wouldn't scratch as easily if i bumped something putting it back on. total time including adjusting the valves was maybe an hour to hour and an half. i came up with an idea for the intake too, if i mask it off i could paint just the raised lettering on top to make it match, without having to remove much of anything. would look pretty slick, that will be an project for another day.
 I did the same when I painter my valve cover, which you can get a peak at in my avatar
I ended up painting the upper and lower intake manifold sections
 06-18-2009, 12:40 PM
#19
Registered User
Thread Starter
yeah i saw your thread a couple days ago, its looking great its actually what made me think of painting it while i had my cover off i wish i would have taken the time to paint everything while i had the motor torn down, your motor looks great

Thread
Thread Starter
Forum
Replies
Last Post


