
Fender flares, 1st gen runner (did a lot of looking, nada)
 04-08-2011 | 12:15 PM
#21
Thread Starter
Registered User
Joined: Mar 2008
Posts: 4,371
Likes: 6
From: Texas
Thanks 4C, that works out well since I've already cut some of the front and know how to do it without buggering up the sheet metal and I happen to own a rivet gun. This will be easier than I thought.
Keep fingers crossed that the deal for the flares goes through without a hitch!
Keep fingers crossed that the deal for the flares goes through without a hitch!
04-08-2011 | 12:42 PM
#22

Registered User
Joined: Nov 2006
Posts: 580
Likes: 33
From: Saginaw, MN
Update here: I got a line on a set of BW cut out style flares (I'll tell you how much they cost when they get here, don't want to jinx it) that are going to work out well since I found some rust on the rear passengers side of the back fender  . What I need to know, since there are no directions or mounting hardware, is
1) How much do you need to cut and is it as easy as mounting the flare with you hand and just drawing a line with a sharpie?
2) How in the heck do they attach to the fenders?
I looked online at some pictures and it looks like there are "dents" in the upper part of the flare where the bolts go. I'm guessing a trip to the hardware store will get me what I need to mount them?
Thank you again folks for all the help.
. What I need to know, since there are no directions or mounting hardware, is 1) How much do you need to cut and is it as easy as mounting the flare with you hand and just drawing a line with a sharpie?
2) How in the heck do they attach to the fenders?
I looked online at some pictures and it looks like there are "dents" in the upper part of the flare where the bolts go. I'm guessing a trip to the hardware store will get me what I need to mount them?
Thank you again folks for all the help.
That link I posted........to the bushwacker site. Has a link to download the installation instructions
04-08-2011 | 01:02 PM
#25
Thread Starter
Registered User
Joined: Mar 2008
Posts: 4,371
Likes: 6
From: Texas
Fairchild AFB I hope, chasing a job up there (and if it's as good as it sounds) my lady can stop working and we'll have time to go out and about for camping and things. Not sure if I want to deal with the snow and such but we'll make do.
edit: more off topic but where in the heck did you get that signature line? Please tell me that wasn't an actual post!
edit: more off topic but where in the heck did you get that signature line? Please tell me that wasn't an actual post!
04-08-2011 | 01:20 PM
#26
YotaTech Milestone-Two Millionth Post
Joined: Jan 2009
Posts: 12,009
Likes: 122
From: Northeast Pennsylvania
here's what I did https://www.yotatech.com/forums/f123...p-48-a-213907/
04-08-2011 | 01:26 PM
#27
Thread Starter
Registered User
Joined: Mar 2008
Posts: 4,371
Likes: 6
From: Texas
here's what I did https://www.yotatech.com/forums/f123...p-48-a-213907/
04-08-2011 | 05:30 PM
#28
just to confirm ..
we @ toyotafiberglass.com specalize in 4Runners .. we have 3 different options of fiberglass 1/4rs and fenders ..
stock
custom , with 3" flares
hi-clearance with 3" flares
I guess you didnt look at our stuff ?
.
04-09-2011 | 06:50 AM
#30
Thread Starter
Registered User
Joined: Mar 2008
Posts: 4,371
Likes: 6
From: Texas

The following users liked this post:
ev13wt (04-13-2023)
04-15-2011 | 09:03 PM
#31
Registered User
Joined: Jun 2009
Posts: 30
Likes: 0
From: Delta BC Canada
I bought something called "long johns"
Its plastic like garden edgeing, but is formed with a mud flap.
Come in packs of 2 for like $40 cdn.
Etleast when i lean these into a tree it wont hurt the wallet too bad..
and they keep the fuzz off my back..
Now just need to cut the mudflap off and make them removeable for the trail. Wing nuts and bolts.
04-16-2011 | 06:32 PM
#32
I can attest to bushwacker cut-out style fit amazingly.
As for it taking 6 hours to install? I'd sit there and watch them install it. It literally takes 15 minutes to install each flare.
If you've ever peeled double sided tape and can work a screwdriver, you can install these.
All you do is peel the backing off the seal tape, install the tape, place the flare up to the body, screw in the self-tapping screws and pop on the plastic covers of the screw head.
The cut-out style gives you 3" of coverage. To check how much coverage you need, park somewhere on flat and level ground, pull out a measuring tape and a straight 2x4, put the 2x4 up against the tire, and measure from the fender to 2x4.
Two thumbs way up for bushwacker flares.
04-18-2011 | 06:54 PM
#34
Registered User
Joined: Apr 2010
Posts: 65
Likes: 0
From: Thunder Bay Ont.
LOL! I know alot of people dont like the b/w cut outs, but i think I had less body metal than rust.. so it was a choice of $$$ body panels, or flares to cover what metal I didnt have  plus around here you need flares covering the part of your tire past the body.
Here's some pics just for reference - bought them at truckaddons.com (cheapest place I could find anything bushwacker brand)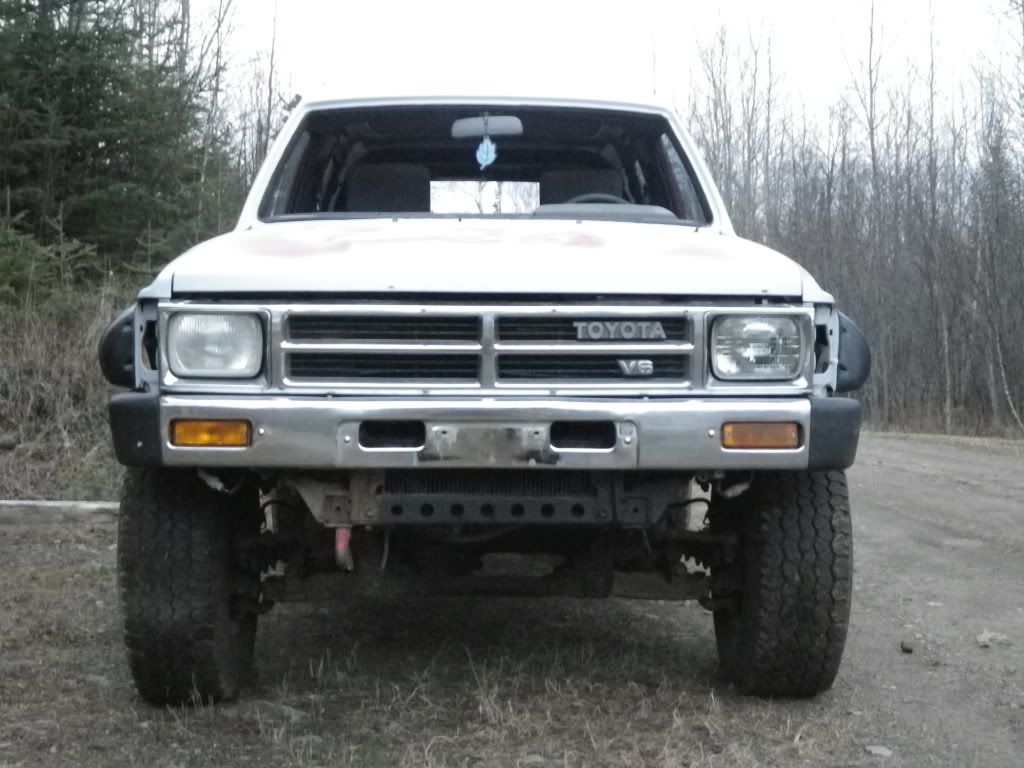
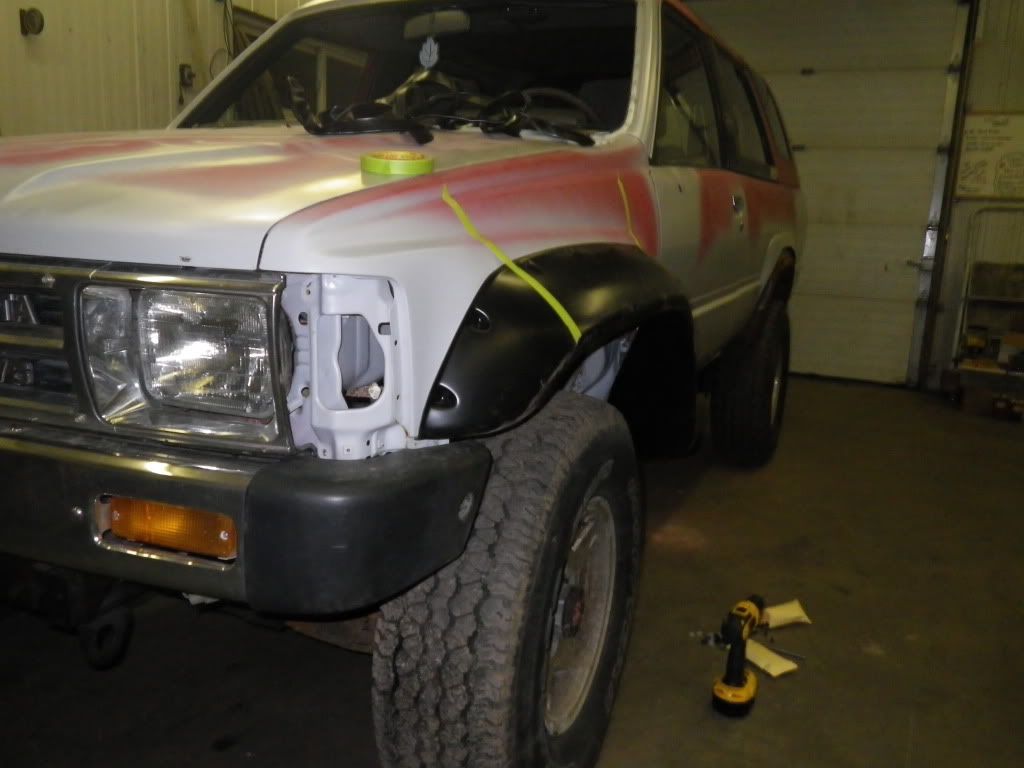

And finally.. the reason I have the flares on...
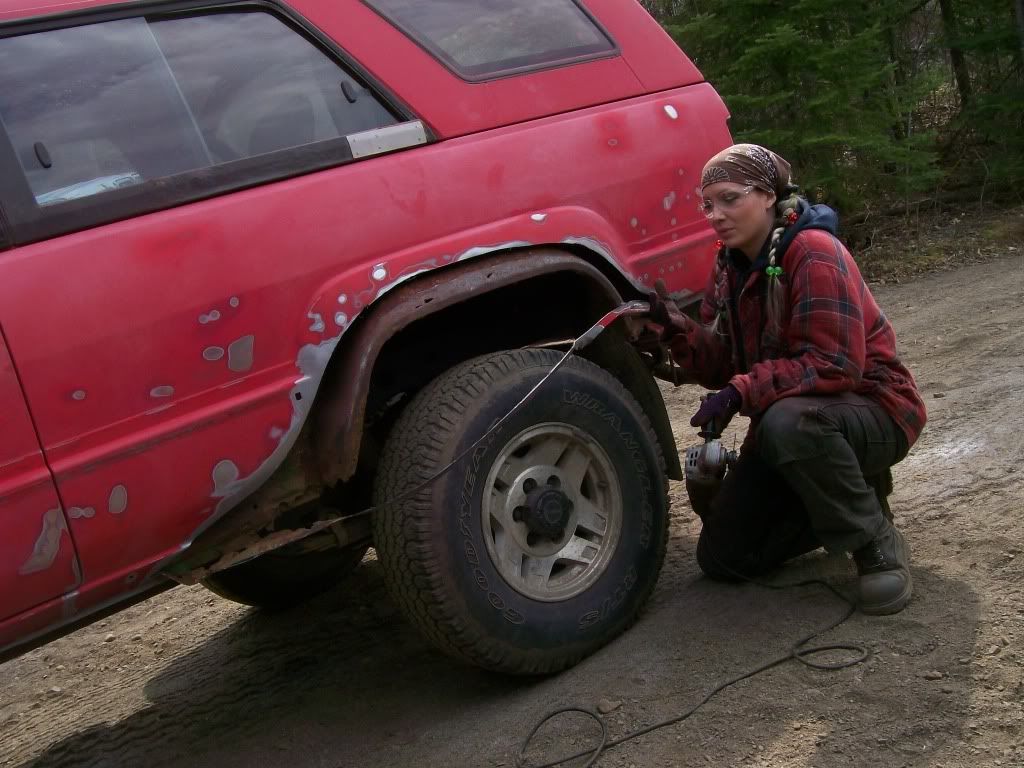
oh and it took me about 6 min per flare to put on, with the rubber gasket, and they fit perfectly.
plus around here you need flares covering the part of your tire past the body. Here's some pics just for reference - bought them at truckaddons.com (cheapest place I could find anything bushwacker brand)
And finally.. the reason I have the flares on...
oh and it took me about 6 min per flare to put on, with the rubber gasket, and they fit perfectly.
Last edited by 89 Frunner; 04-18-2011 at 06:56 PM.

Thread
Thread Starter
Forum
Replies
Last Post


