When you click on links to various merchants on this site and make a purchase, this can result in this site earning a commission. Affiliate programs and affiliations include, but are not limited to, the eBay Partner Network.
Hey guys! I am currently building a flatbed for my truck crunchy and figured I'd document the process.
I'll be updating this as I work on it. I'm still in the early stages of cutting and mocking everhthing up. Stay tuned!
I bought the truck last year with a flatbed already on it, but the bed is so rusted and bulky that I decided to cut it off and start building my own.
first, the truck with the old flatbed.
Heres what it looks like after I cut it off
The plan is to utilize the existing bed mounting locations. I'm in the process of building some risers for the bed. The rises are made of 2 inch 11guage square steel. I cut them to be 2.5 inches tall with a 3/16 plate with a half inch bolt welded into the bottom. This will make it so the bed is removable. In case I need to change anything later on.
Below is the idea I have for the bed. Simple frame. Probably 6ft by 3.5 feet i believe. Not much bigger than the existing frame. Itll be made of the same 2 inch square tubing with a section of 1.75 120 wall dom tubing in the middle for clamping my highlight jack to.
Excuse the elementary drawings. Easiest way I could think of to lay out a plan.
This is a quick mock up i made of the truck. The blue lines are the frame. The pink is the existing bed i removed. The green is the new bed idea and the orange is for a future exo cage. Still debating on that portion. And heres the steeamline version of what im thinking.
The bed will have a 10 gallon fuel cell and a small toolbox. Then some tie down points for a cooler and spare trail parts. Pretty excited to get working on this some more.
Toolbox from my dad. Pretty cool little box! Guel cell i got for free from a budy of mine Bed rail mounts
So I got a little bit more done on the truck today. Been busy with work and trying to get this fuel cell situation figured out. I got the bed rail mounts cut, bolts welded in and the mounts tacked up.
I also laid out where the outer edge of the frame will be on the truck to make sure its level and to get the measurements I want.
The bed will be 5ft 9.5 inches long and should be 46inches across.
I wanted it to end about 2 inches after the frame, I plan on bracing the frame eventually with some more 2inch square stock. The frame needs a little rebuild in the future anyway
I'm hoping to get the majority of the metal cut and tacked into place on monday. Aiming to have this project finished in 2 weeks so I can go wheeling. Been spending way too much time tinkering and not enough trail riding.
Terrible lighting. Bolts booger welded on to plates. Mounts tacked up. Did 4 for now and will do 2 more for a total of 6. Laid out and making sure its level We good The mounts in the stock bed locations.
Got off work a little early and got to work on the base. Final measurements ended up being 5ft 9inches long and 45 inches across.
The base is cut, tacked up and measured to accommodate the fuel cell, tool box, and my cooler.
plans are to add some side railing, a spot for tail lights and turn signals, and a hitch welded on the back for recovery.
everhthing is still subject to change on placement but so far I'm digging it.
All angles are within .3 degrees of each other. Pretty happy with the measurements. Liking it so far
Another big day in the books.
got the upper rails done and supports finished up. I still have 2 more supports to make, brackets to fab for the fuel cell tool box and other stuff, cap off the ends of the bed and then on to final welds and doing the wiring for the tail lights and whatnot.
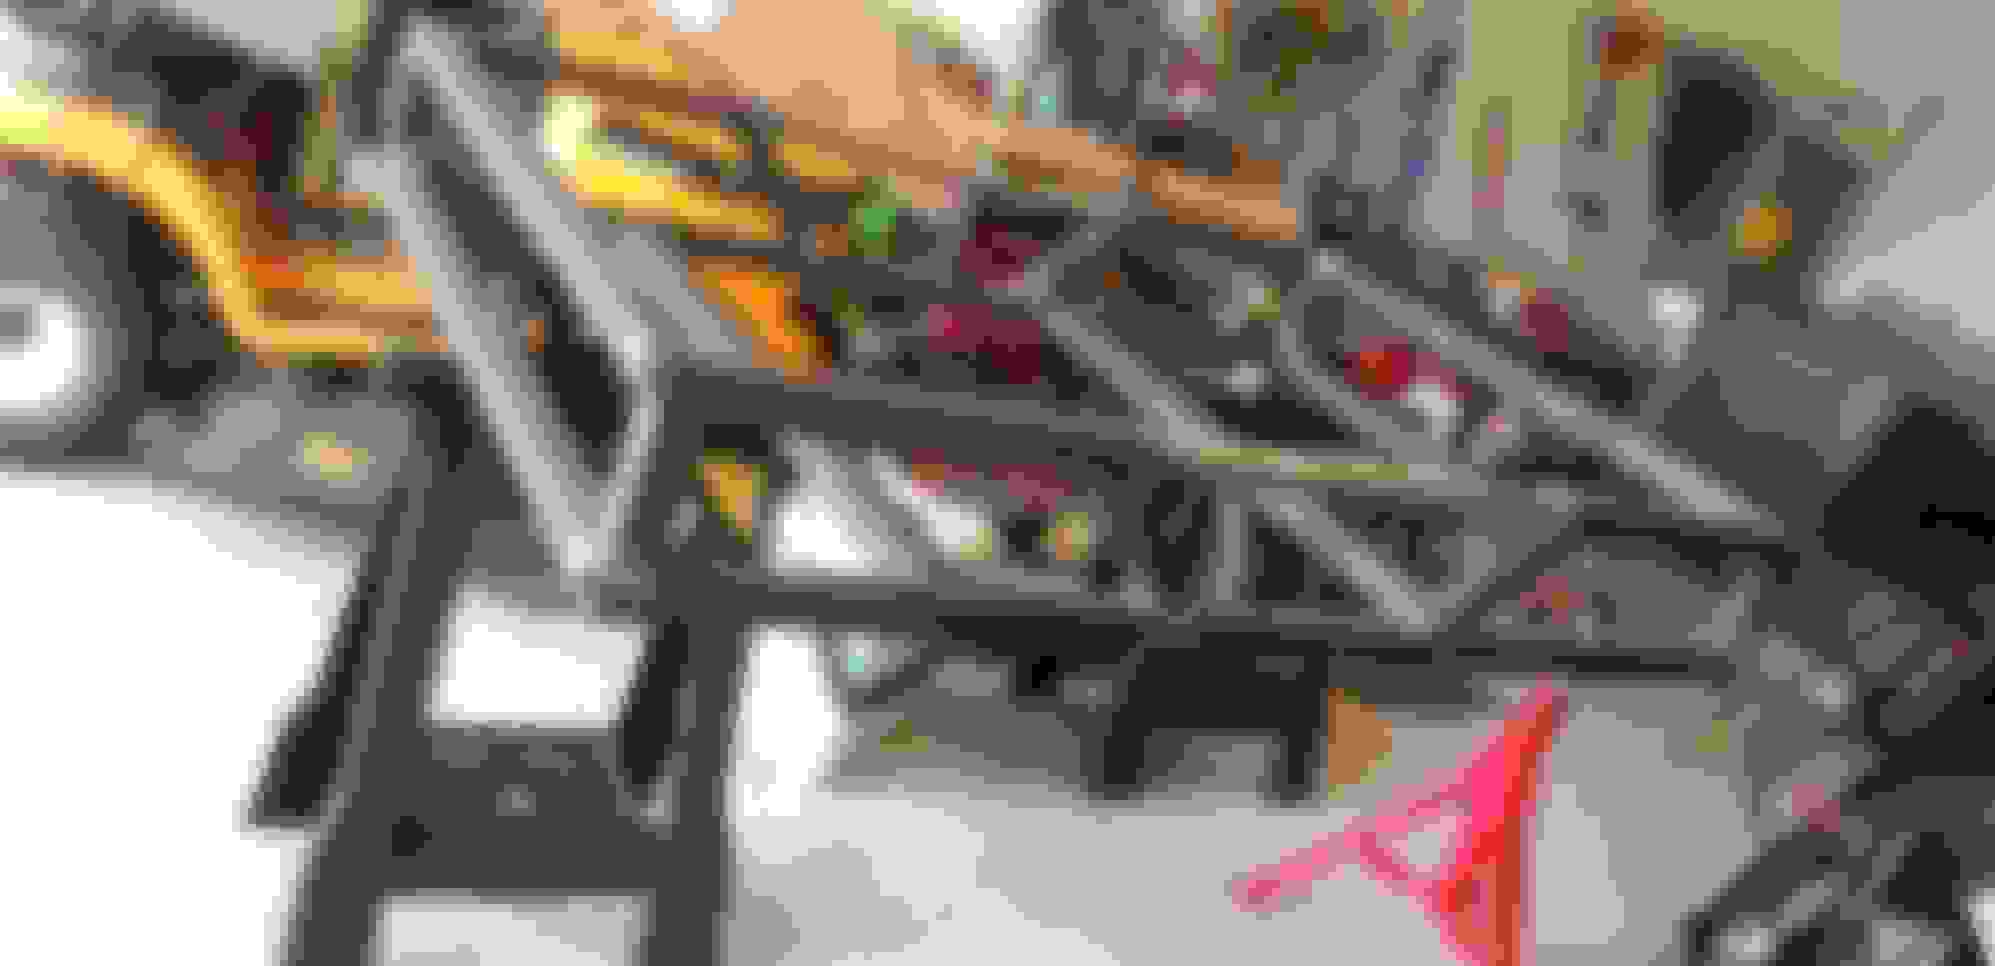
I ended up running out of square stock so I gotta get some more tomorrow. Shorted myself about 2 feet. Base laid on to measure how level it is. The cab is super rusty on the driverside thats why it looks off Got the upper rails built and laid on to check for squareness and how level it is. Supports tacked in. Looking good Enough for today. Back at it tomorrow
oh man I didnt even think about doing that hahaha guess I gotta borrow a forklift or something to that this week. I would hate to have to redo any of this.
thanks for the suggestion!
Feeling pretty beat from working on this thing the other day. So all I did today was finish weld the bed mounts and get to grinding. Picked up the rest of the steel I need to finish the bed.
this week will probably be slow progress. the plan is to tack weld everything this week and then finish weld before sunday so I can spend the weekend grinding and sanding. I mostly use fluxcore when welding. I could stand to get some gas. But heres a before. Hit it with the grinder first and then a zerk wheel. Not too shabby
Almost done welding today. Ran out of wire and had to grab some more. Should be done with most of it tomorrow and I can start working on the end caps and the brackets for fuel cell and tool box.
couple things I learned today, tack everything together before finish welding. I welded the top and bottom pieces separately and I had to use some brute force and some rat he straps to get everything aligned.
Also welding big gaps suuuuuuucccckkkssss Strapped down and tacked together. I was afraid to loosen the straps even after welding it together. Definitely popped a few during the process as well One of the larger gaps i had to fill This was about 3 passes on that gap. Did a left side a right side then ground down and filled the middle. Should hold up.
The bead looks good. Gaps suck but if you built it up right, it will hold
Thanks man. I did my best to build up a solid bead. Did 2 passes one on each side then grooved the middle and did a solid bead down the middle to call them.
Finished all the welding today except for the caps. I dont have the mental capacity to do that today. Got the fuel cell mounts done and mocked up my hi lift for fun. Really liking the way it's coming out.
couple things I learned today, tack everything together before finish welding. I welded the top and bottom pieces separately and I had to use some brute force and some rat he straps to get everything aligned.
Very good pointers. Always tack everything together and recheck before welding solid. Also, jump around to different areas once you start finish welding to help with heat distribution. If you try to start at one end and go all the way to the other, you'll end up with a nice metal pretzel! Ask me how I know
Looking good man! I really like the round section in the middle, nice detail.
Hahaha oh man I kinda wanna know what happened now lmao
Got the fuel pump mount made and fixed up to the frame. And grabbed some goodies for my angle grinder. Cant wait to try this blade. Picked up some sheet metal for the tail lights. Plan on working on the little bits this week. New toys!!!
I didnt take pictures of the template for the lights but heres the mockup. I'll get some photos of the cuts and welding this weekend when I get to work. Starting to see the light at the end of the tunnel.
need to finish the lights, some bolts and hold downs for the fuel cell. Weld on some end caps, grind and paint.
Should be interesting welding this up. 26? Guage sheet metal to 11guage steel. Never done something this thin so itll be an adventure for sure.
So today was a ˟˟˟˟show and quite frustrating.
1st I could not weld on the sheetmetal I got for the tail lights. No matter what I did I just blew right through it. Tried all different settings, different hand speeds and motions, even tried heating the thicker metal with a torch first and brazing the steel together and I just could not get it done.
Luckily I did not use my finished cutout to practice on.
good tip of the day, practice on scraps first to warm up and see if what you want to do will work.
So I moved on to the end caps for the front today. Not super pretty but I got them in there, welded and ground down somewhat flush.
After taking a break I realized I had some self tapping screws I could use to mount the tail lights. This is where all hell broke loose. My drill I've had for 12 years burned up. I broke 3 drill bits even going slow and not pushing very hard, I stripped a ton of the special bits for the self tapping screws so I ended up having to thread them by hand.
All in all today was a pain and I wanted to give up but I pushed through and got it done. I'm hoping to paint tomorrow and call it for the time being.
Template for the lights Not the greatest fit. But it will do So many screws

 07-09-2020, 05:58 AM