
broke my timing chain guide, time to rebuild (pics)


 04-14-2011, 07:33 AM
#202
Registered User
i would save your pennies on the cold start injector. rebuild your other four(have them rebuilt/serviced). But the cold start? There is no performance gain from the cold start, and it is only used for a few seconds....i think i would clean that one myself to save a few bones....my .02$
04-14-2011, 01:45 PM
#205
I had RC Engineering do all mine(they're up the street, walked em in).... Glad I did, because my CSInjector was leaking pretty badly as well as VERY clogged.....which was partially the cause of my more difficult starts before I rebuilt.
I can see RB's point... I can only speak for myself in that I'd rather start fresh up there in the EFI as much as possible. Good thing about that one though, Ian.... you can pull it at anytime without having to yank the plenum, etc. So, yeah.... either way, IT WILL run better, even if you only do the 4
See you're screamin right along, man, that's great... can't wait to see you do that first fire up! WOOT! lol.
04-17-2011, 06:10 PM
#207
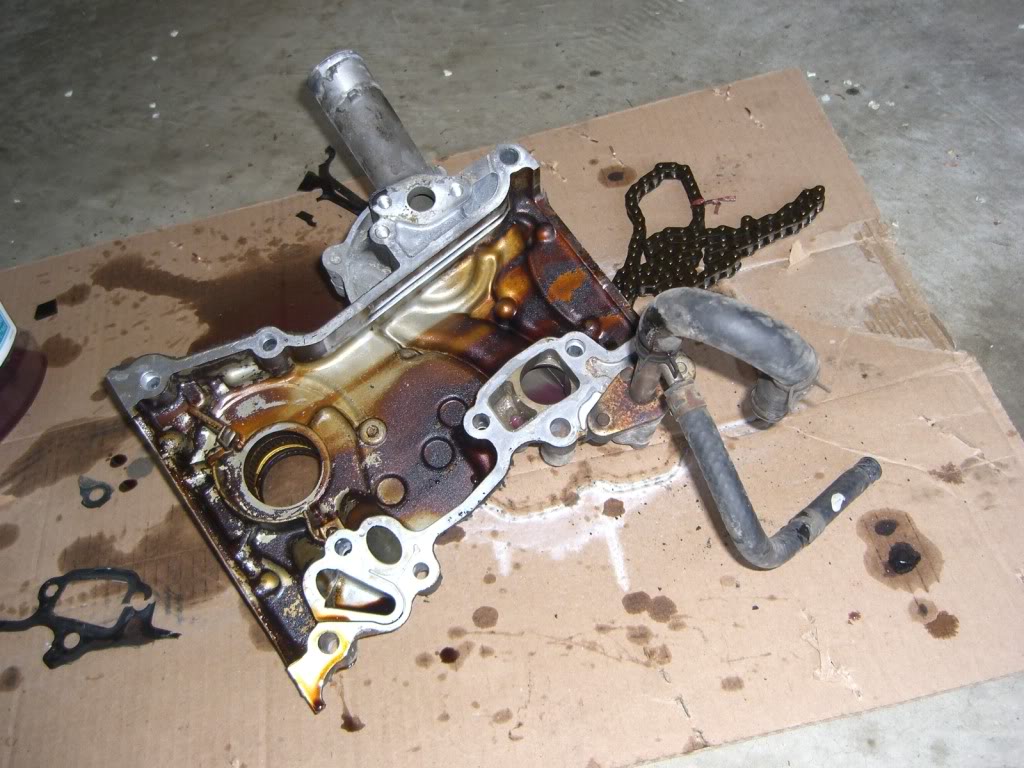
here's what i got done today:
pulley off
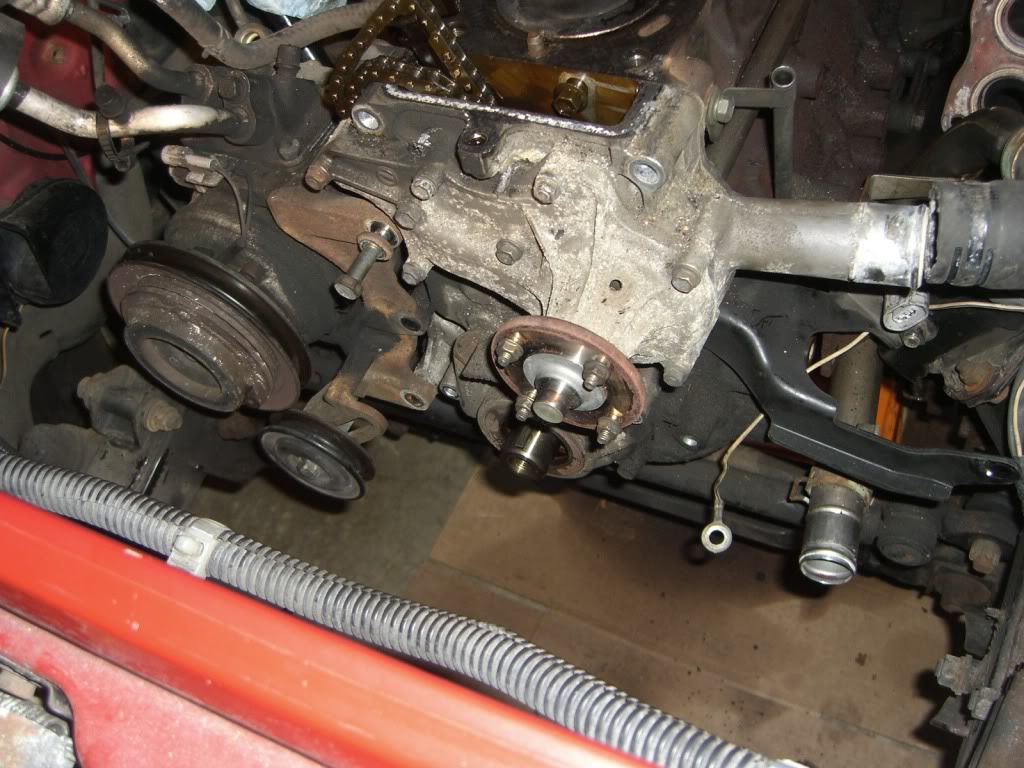
this bolt did not want to come out of it's hole

so i looked, and saw i had to take the entire a/c off
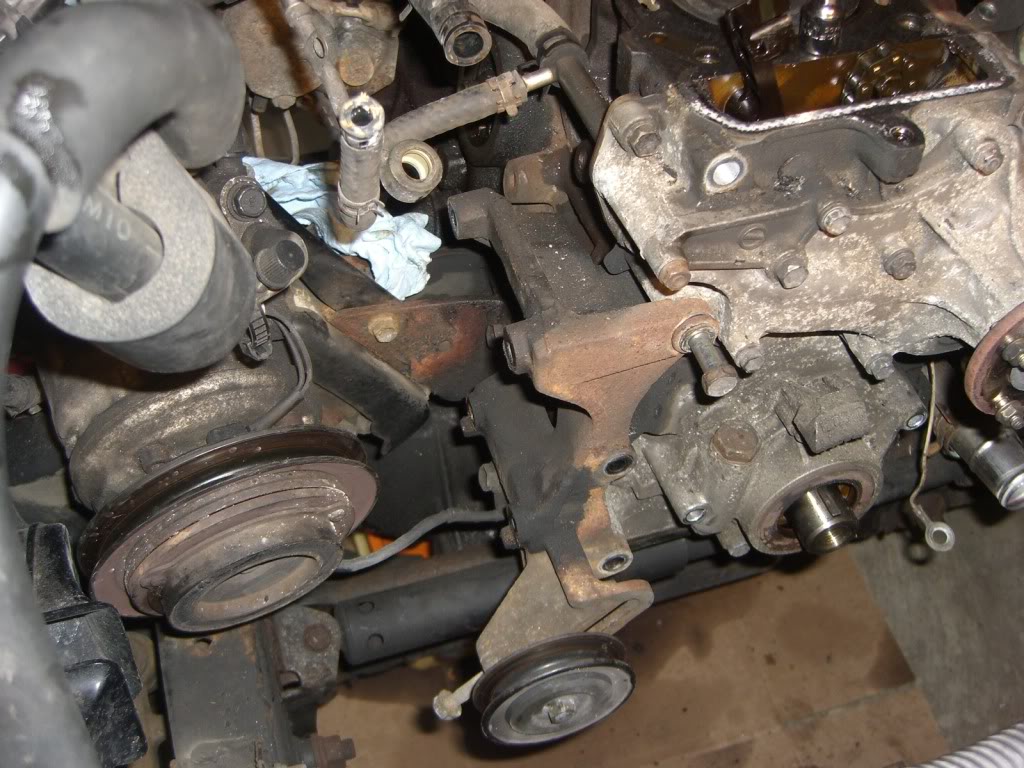
here's the side bolts of the a/c bracket. not in the haynes manual, of course
and the lower one
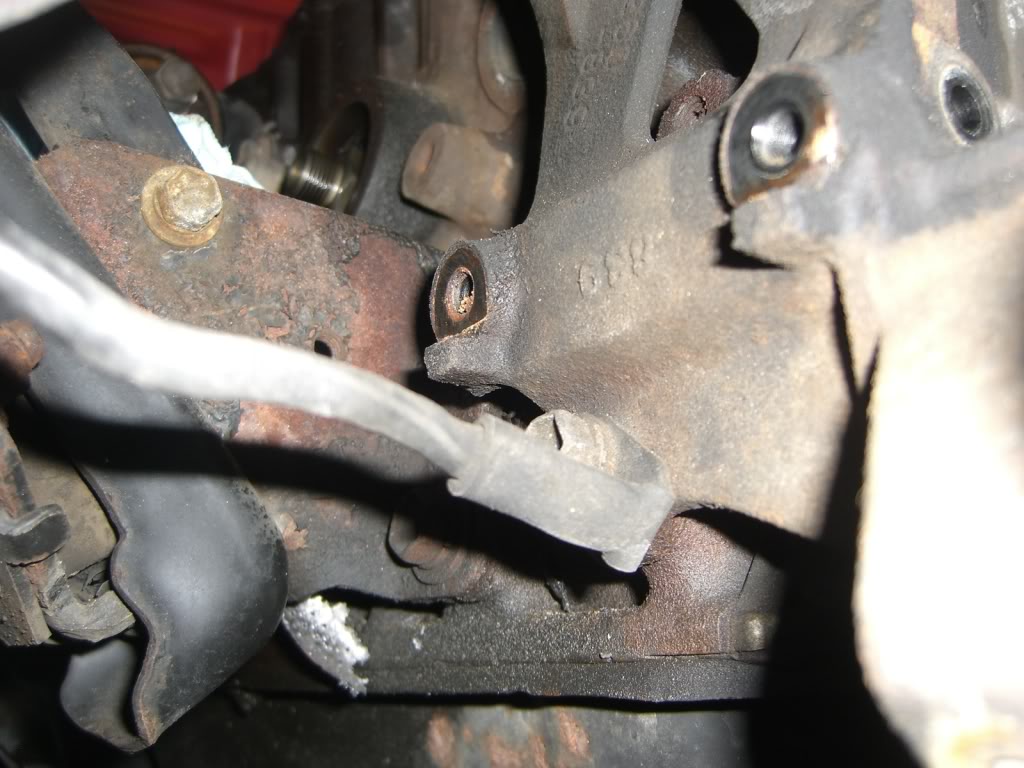
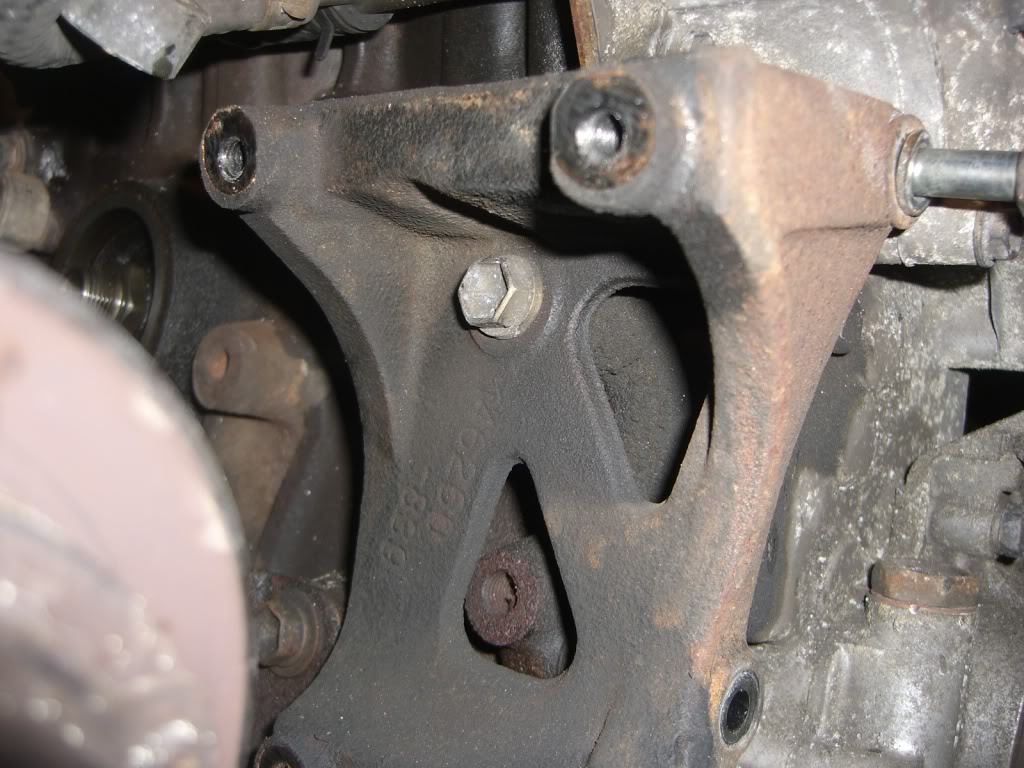
that infamous "hidden bolt"
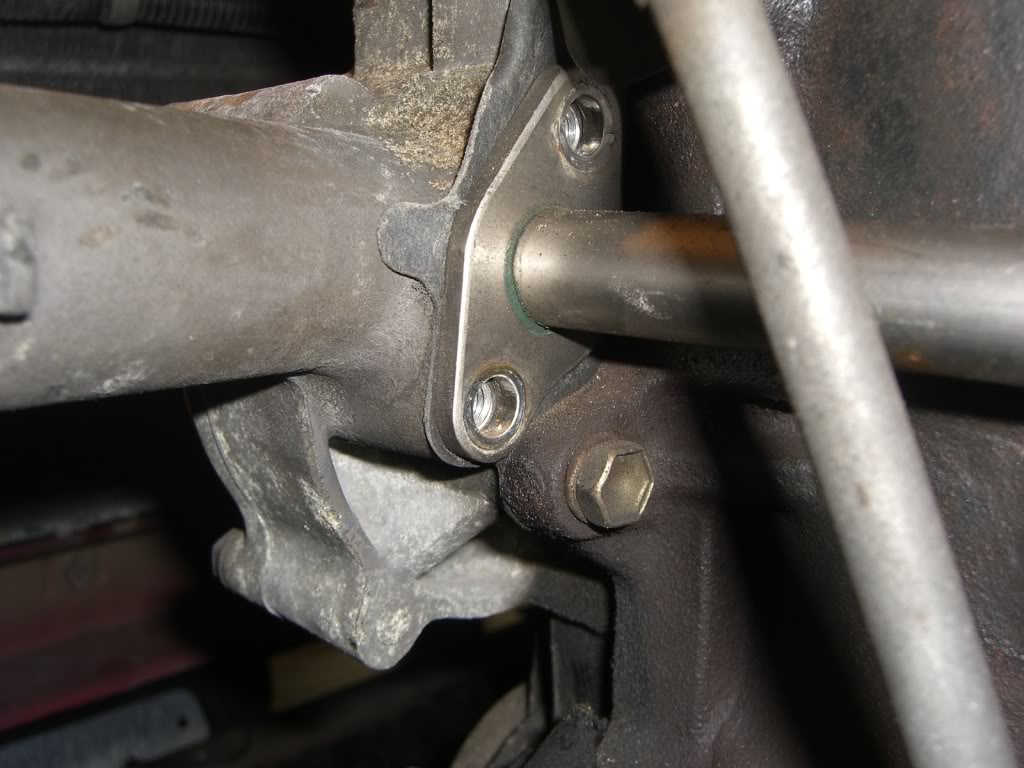
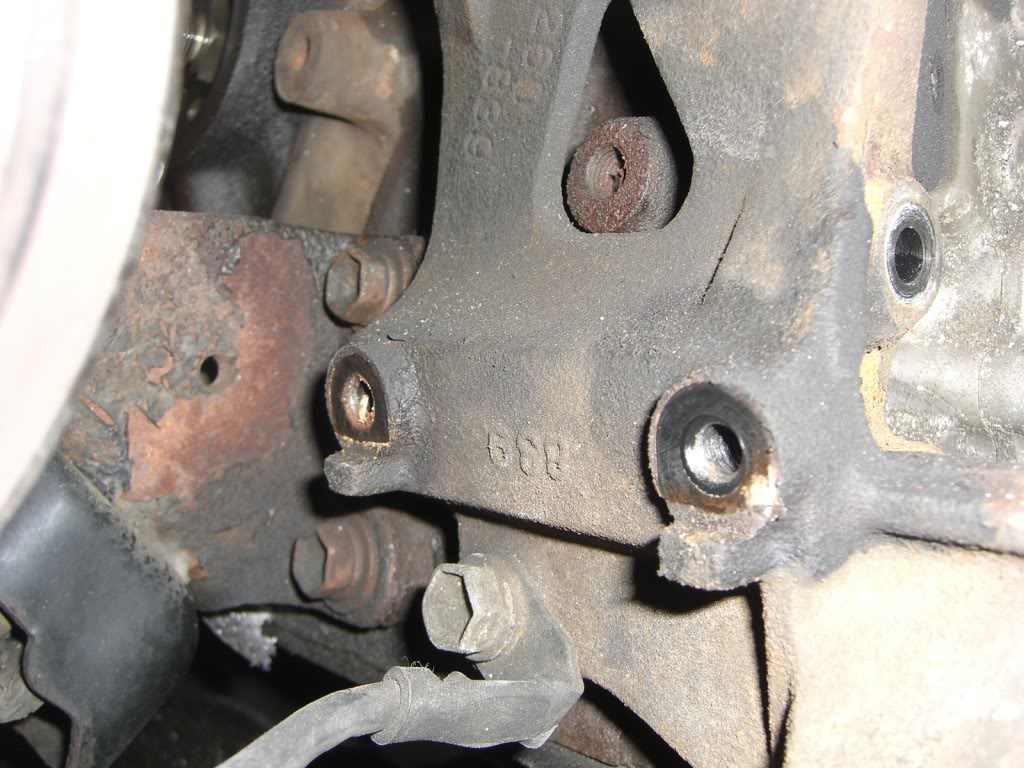
front end off
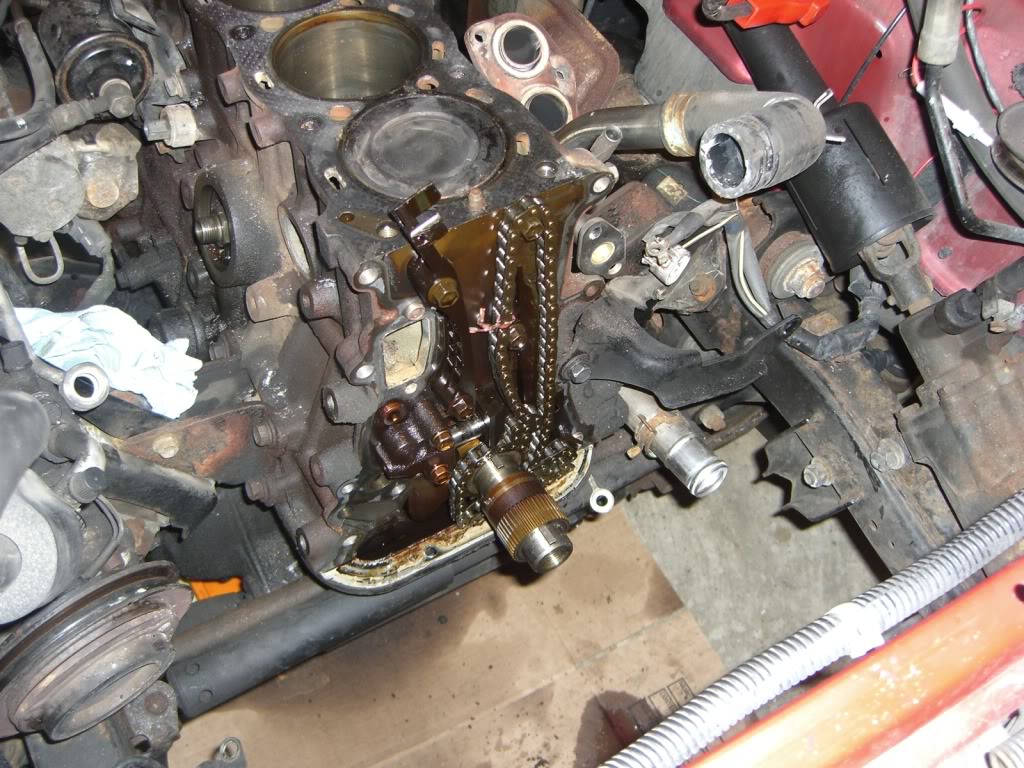
yay... grooves
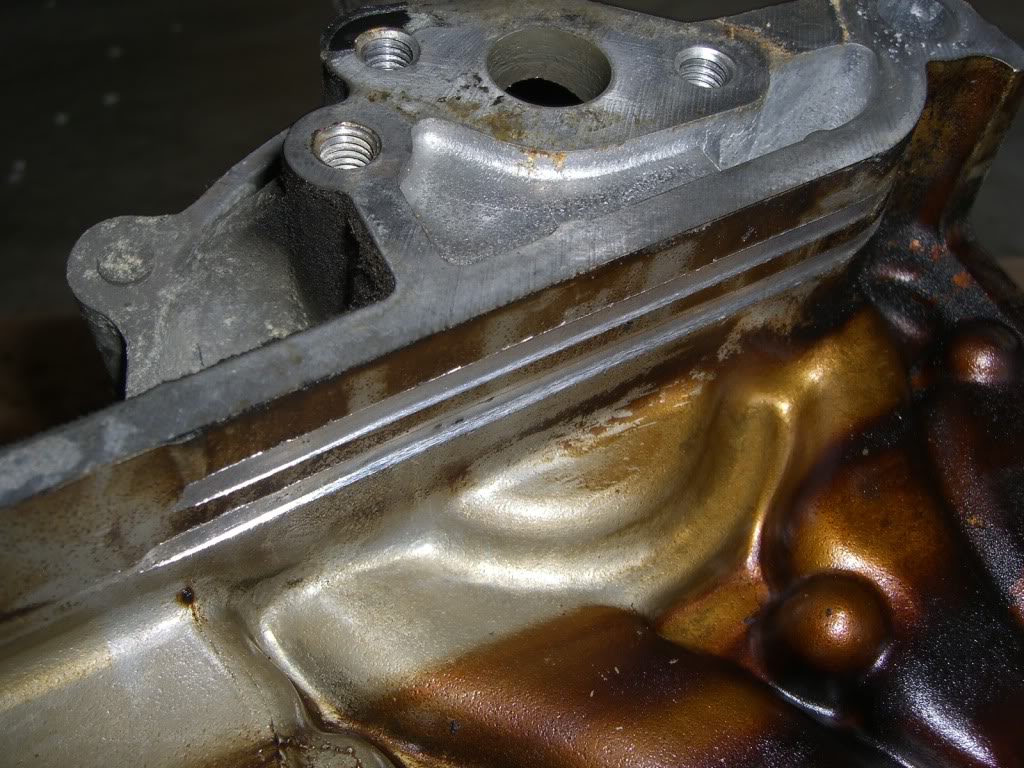
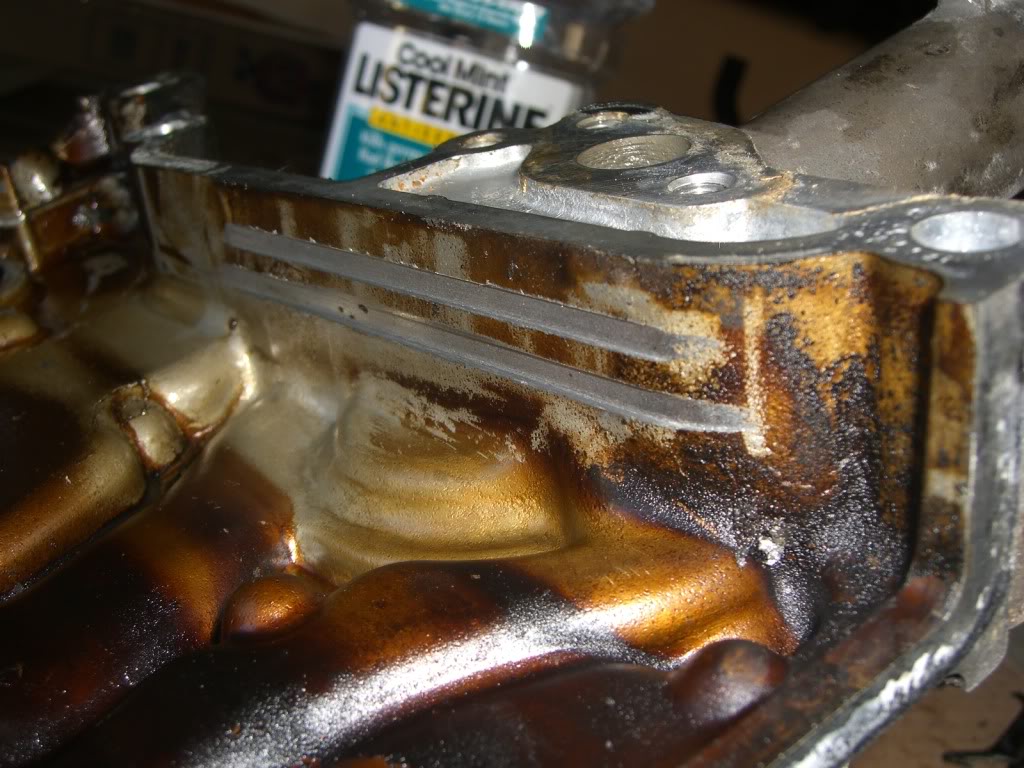
more of the front of the block
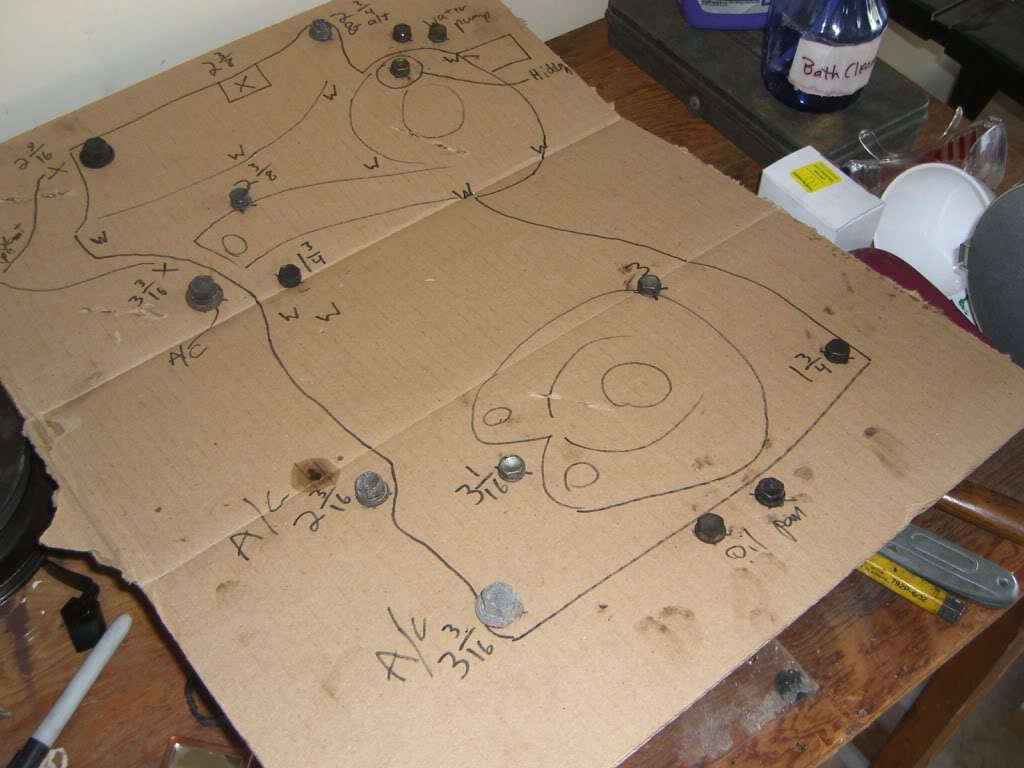
and my bolt layout board. it works well if you prop the whole thing up on some empty (root) beer cans
intermission
sweet. ahead of schedule
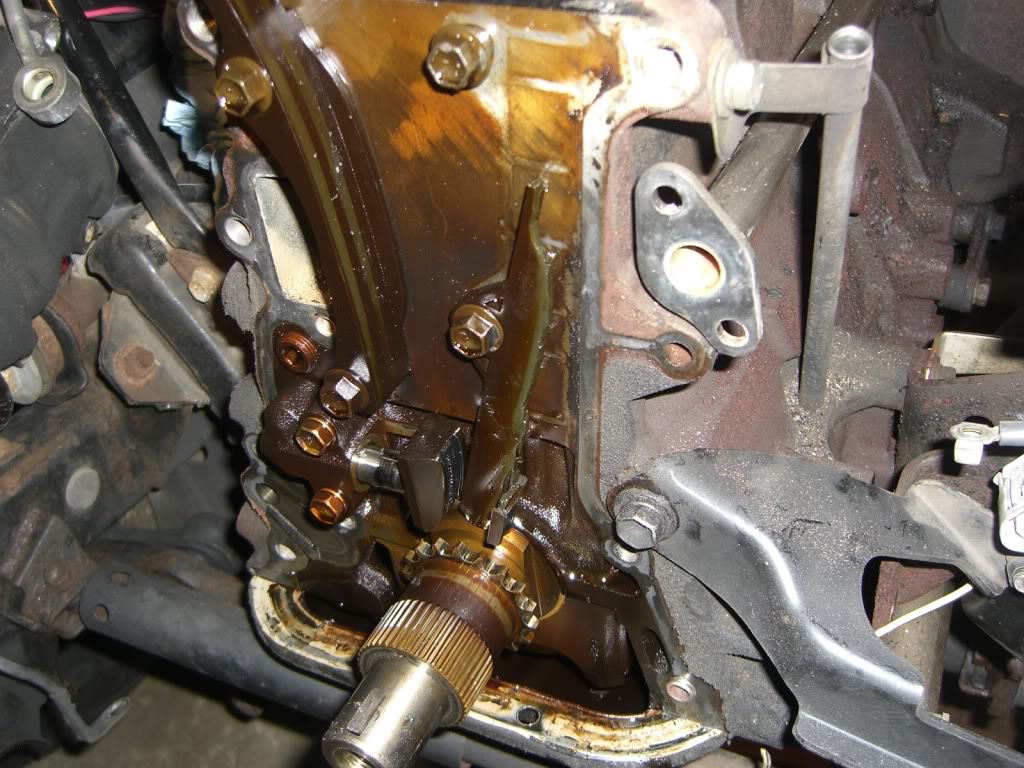
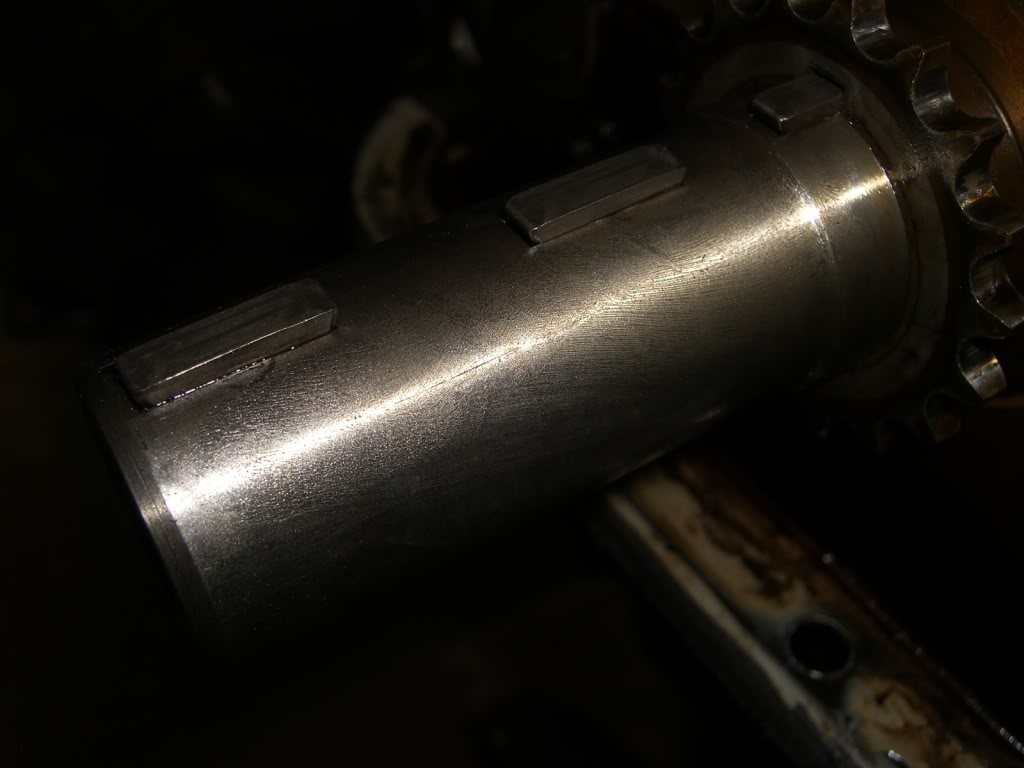
front shaft
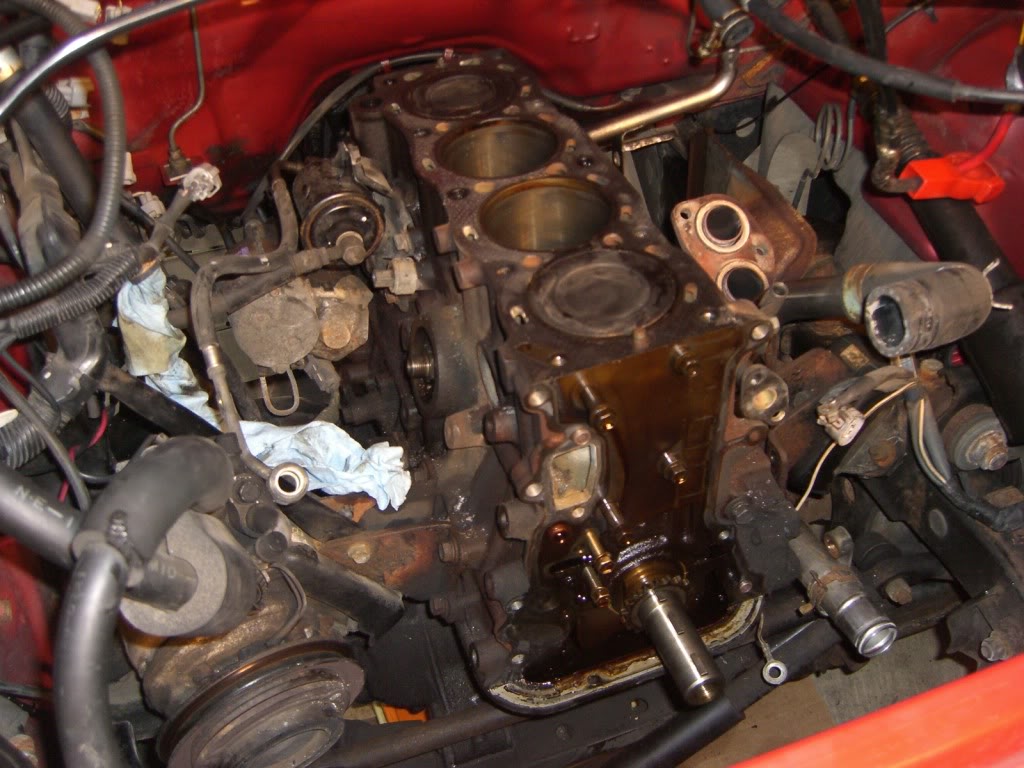
how it sits right now
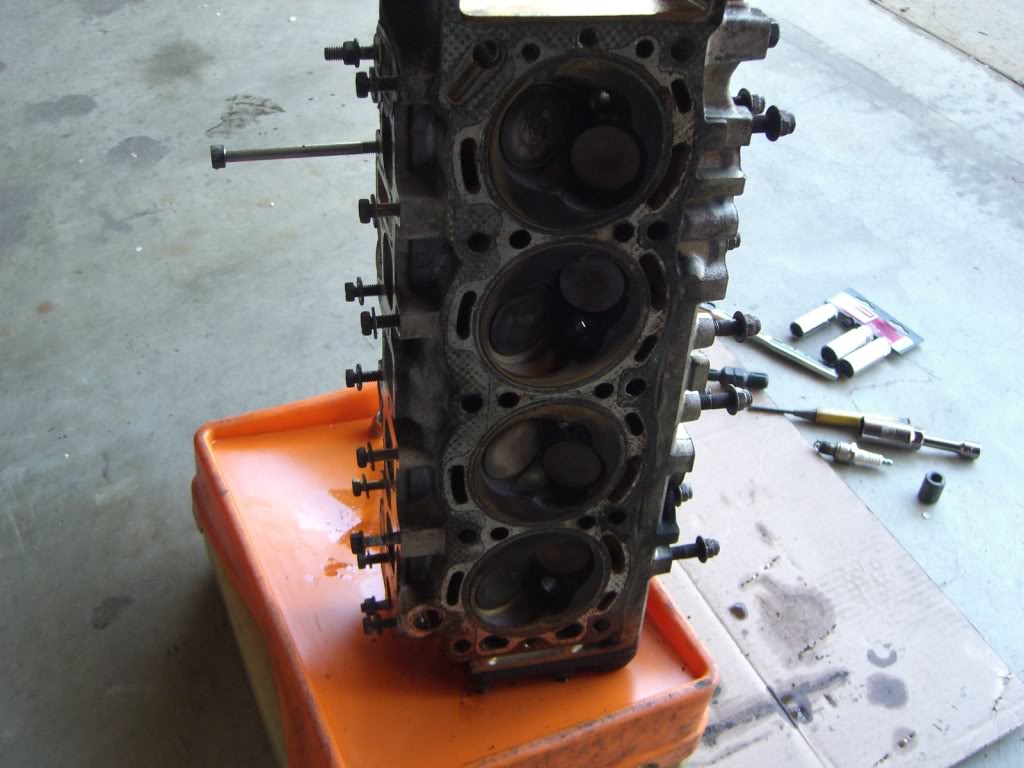
finally drained the pools of oil and chased the threads
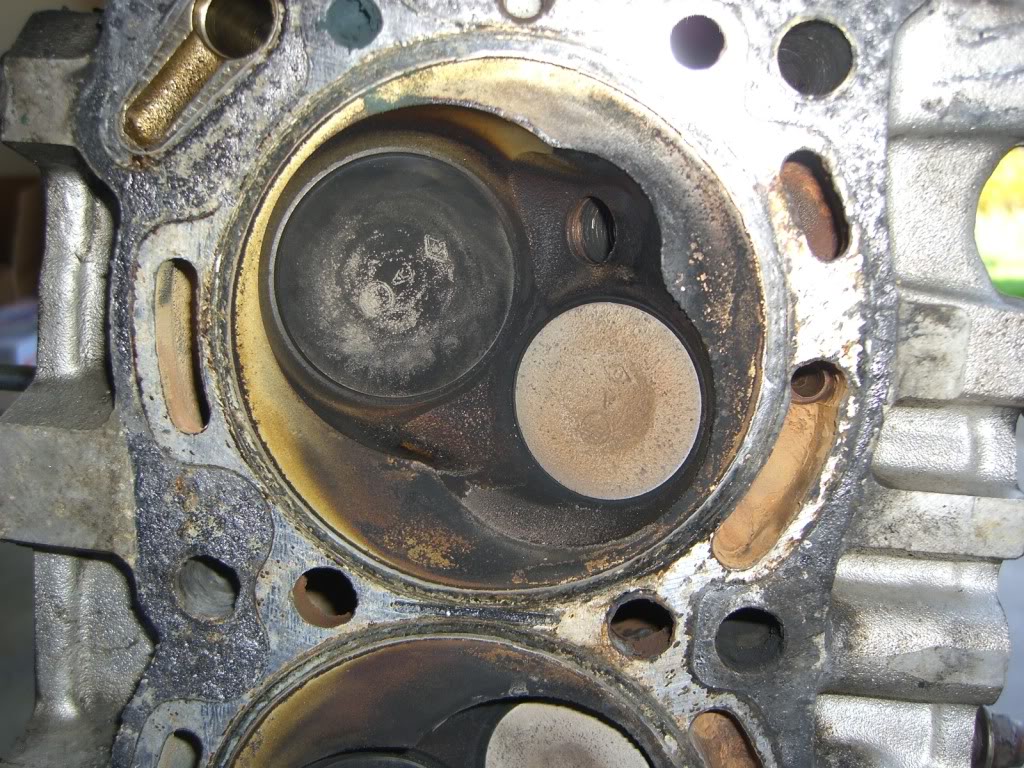
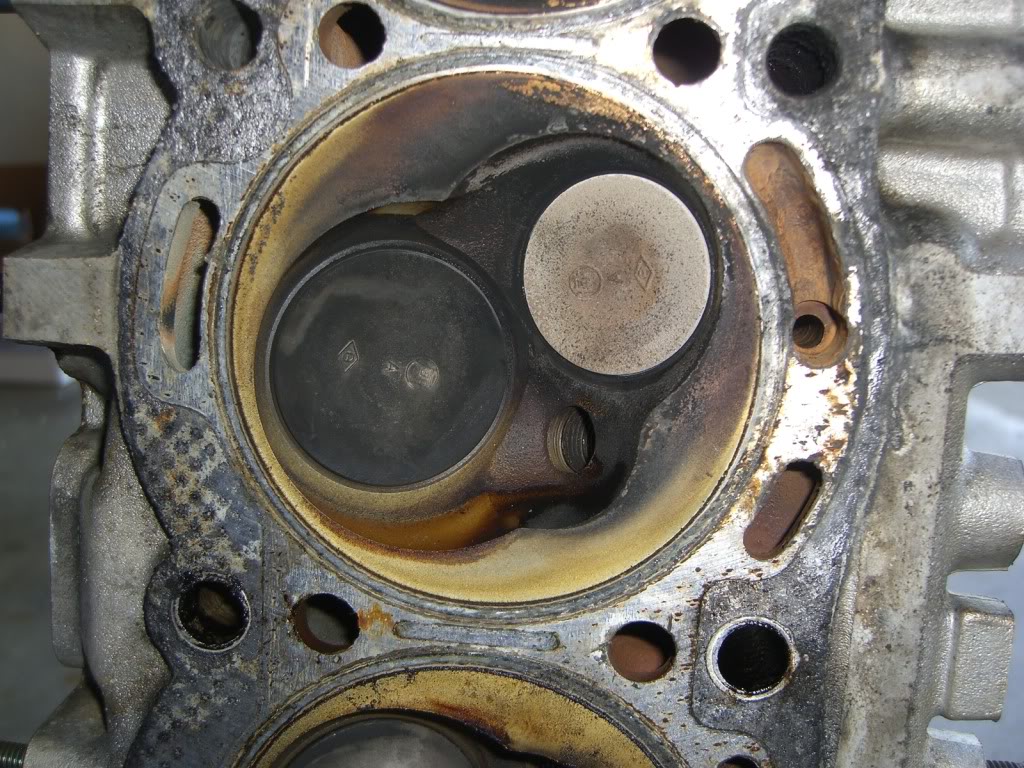
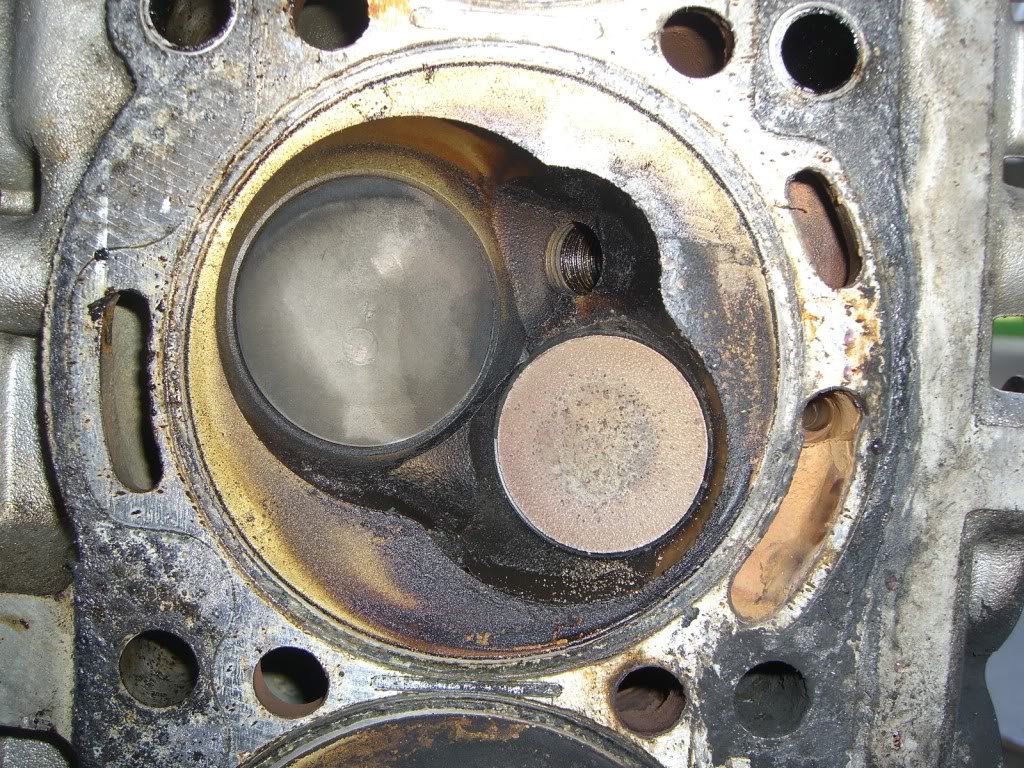
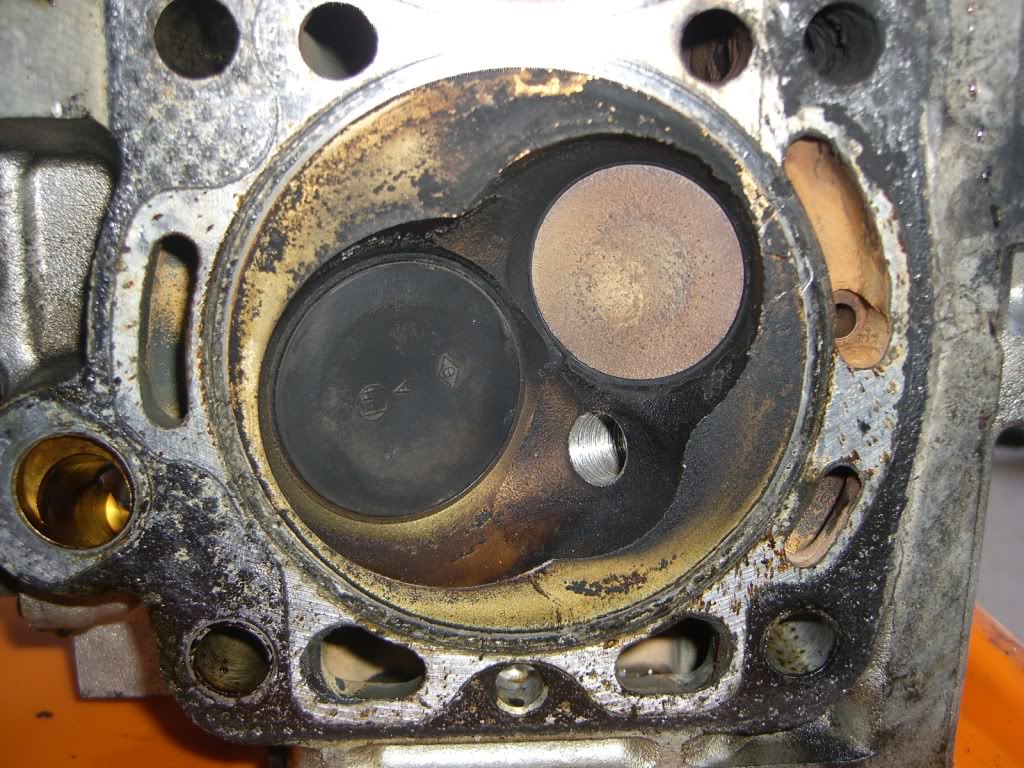
here's the chambers- 1 through 4, in order
1
2
3
4
and that's it. this week is going to be long, but i should have the truck up and running within two weeks. woo!
pulley off
this bolt did not want to come out of it's hole
so i looked, and saw i had to take the entire a/c off
here's the side bolts of the a/c bracket. not in the haynes manual, of course
and the lower one
that infamous "hidden bolt"
front end off
yay... grooves
more of the front of the block
and my bolt layout board. it works well if you prop the whole thing up on some empty (root) beer cans
intermission
sweet. ahead of schedule
front shaft
how it sits right now
finally drained the pools of oil and chased the threads
here's the chambers- 1 through 4, in order
1
2
3
4
and that's it. this week is going to be long, but i should have the truck up and running within two weeks. woo!
Last edited by irab88; 04-18-2011 at 05:03 AM.
04-17-2011, 08:28 PM
#209
SUWEEEEEEEEEET! Great pics, Ian, .... and love seeing those "Toyota" stamps on the valves, lol. Looks like pretty even on the carbon and exhaust ash across the board, and pretty nice in general.(You're not doing anything to the head but the adjusters, etc., right? No 'servicing'?)... Just curious if anything's changed in the plans since you're swooopin right along, lol.
Way to go, man, ..... you're kickin rump!
Mark
Way to go, man, ..... you're kickin rump!
Mark
04-18-2011, 05:00 AM
#210
thanks guys.
nothing's changed from the plan of taking the engine down to the block to get a nice seal. i'll be ordering the last few parts this week.
i feel more comfortable working on engines now, and i probably could do a full rebuild easily. or a swap. but this is first
nothing's changed from the plan of taking the engine down to the block to get a nice seal. i'll be ordering the last few parts this week.
i feel more comfortable working on engines now, and i probably could do a full rebuild easily. or a swap. but this is first
04-18-2011, 05:12 AM
#211
Registered User
Yes Ian, the hardest part of an entire rebuild you just did. Most people get a little intimidated on bottom ends, but really they are more simple then a head. Only critical part is learning how to read and use plastigage most of which don't even bother using. 
Good Job, looks like you will be ready in less then 3 months?
Good Job, looks like you will be ready in less then 3 months?
 )
04-18-2011, 10:58 AM
)
04-18-2011, 10:58 AM
#215
Registered User
hmmm that;s funny, I never had an issue with my 2001. But then again the OEM throttle body was one of the first things to get upgraded on it.
04-18-2011, 05:28 PM
#217
YotaTech Milestone-Two Millionth Post
to witch-hunter?
great progress
sorry i couldn't stick around saturday.
are you going to lap those valves. see my thread for how I cleaned them up.....pretty ingenious if I do say so myself
great progress
sorry i couldn't stick around saturday.
are you going to lap those valves. see my thread for how I cleaned them up.....pretty ingenious if I do say so myself
04-18-2011, 08:29 PM
#218
yeah, witch hunter. hopefully they get back before the weekend, but with a 2-3 day turn-around, they should
no lapping of valves. it's one more thing for me to do. i'll try my best to externally clean it and what-not, but i'll be doing a full rebuild (and maybe a few major upgrades) within a year or so.
that's not to say i don't like what you did with your engine. in fact, i'll probably go back to the thread when i do the rebuild.
and again, thank you all for the help. it's like an online garage of information
04-19-2011, 04:57 AM
#220
indeed it does help.
i think i've ordered the last of my parts. nothing really left to do. i still need to swing by and pick up some of that magic red coolant that costs too much, but that's it. everything else i either have or is in the mail
i think i've ordered the last of my parts. nothing really left to do. i still need to swing by and pick up some of that magic red coolant that costs too much, but that's it. everything else i either have or is in the mail


